33 Naruto Anime Drawing Ideas
I’m not saying I’m obsessed with drawing Naruto characters, but let’s just say if I had a dollar for every time I’ve tried sketching Naruto’s spiky hair, I could probably afford the entire ramen shop in Konoha by now.
You ever try drawing his hair?
It’s like trying to replicate the patterns of a wild, angry hedgehog. And don’t even get me started on trying to get Sasuke’s “I don’t care, but I secretly do” look down.
Spoiler alert: my Sasuke always looks like he’s in desperate need of a nap.
But hey, the beauty of drawing Naruto characters is that you can have fun with all their weirdly impossible hairstyles and intense expressions.
So, whether you’re a pro at capturing Kakashi’s chill, or like me, you’ve given up on capturing Itachi’s depth and instead just turned him into a stick figure with a cloak—let’s dive into some hilarious, challenging, and downright fun ideas for your Naruto fan art!
Oh, and if anyone figures out how to draw Gaara’s sand without it looking like blobs of oatmeal, hit me up.
Seriously.
Naruto Anime Drawing Ideas
1
2
3

4
5
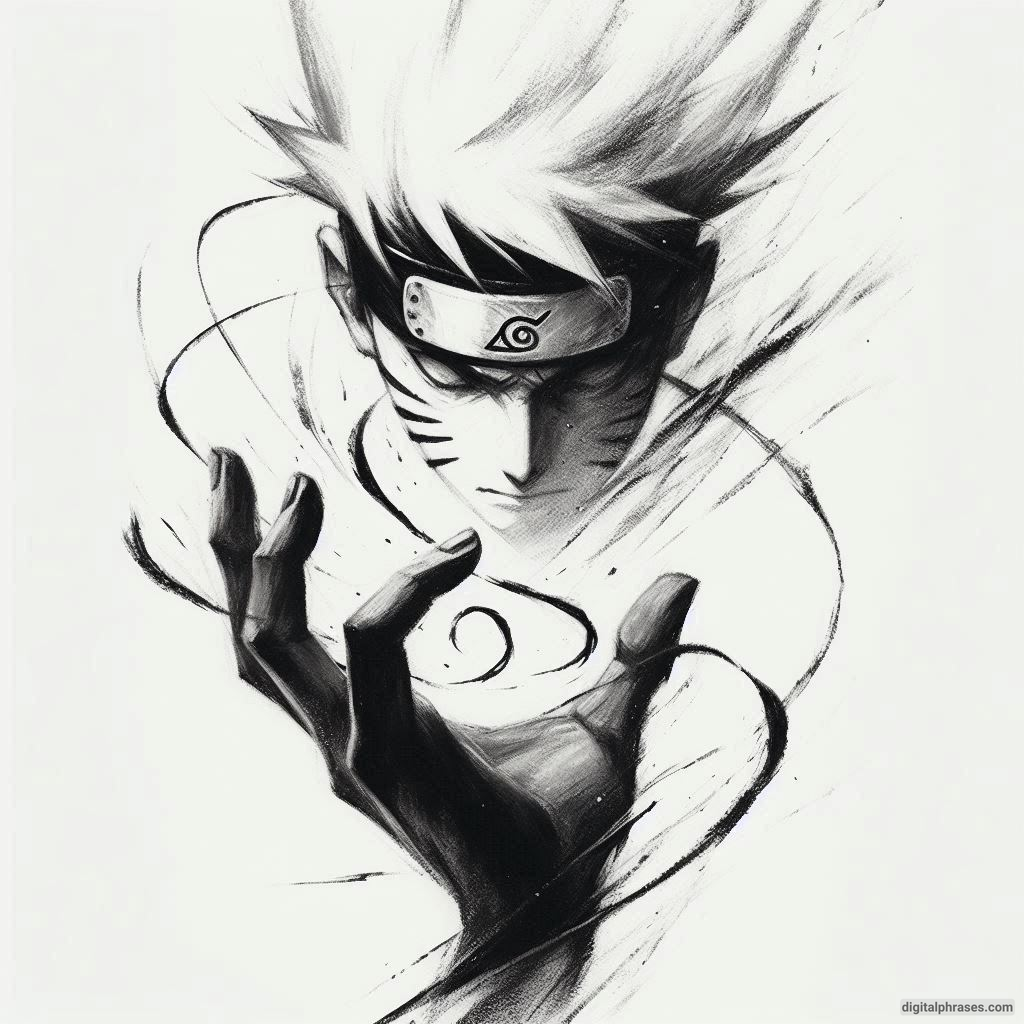
6
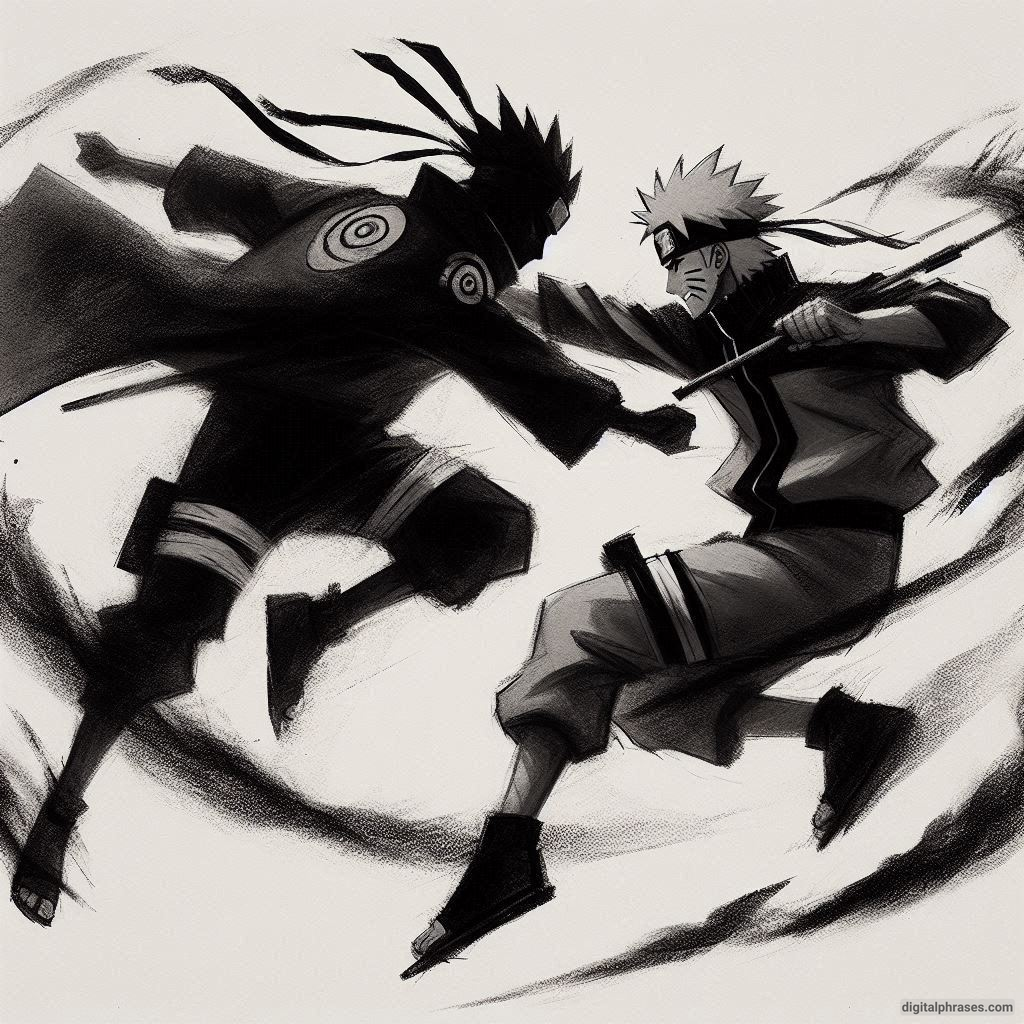
7
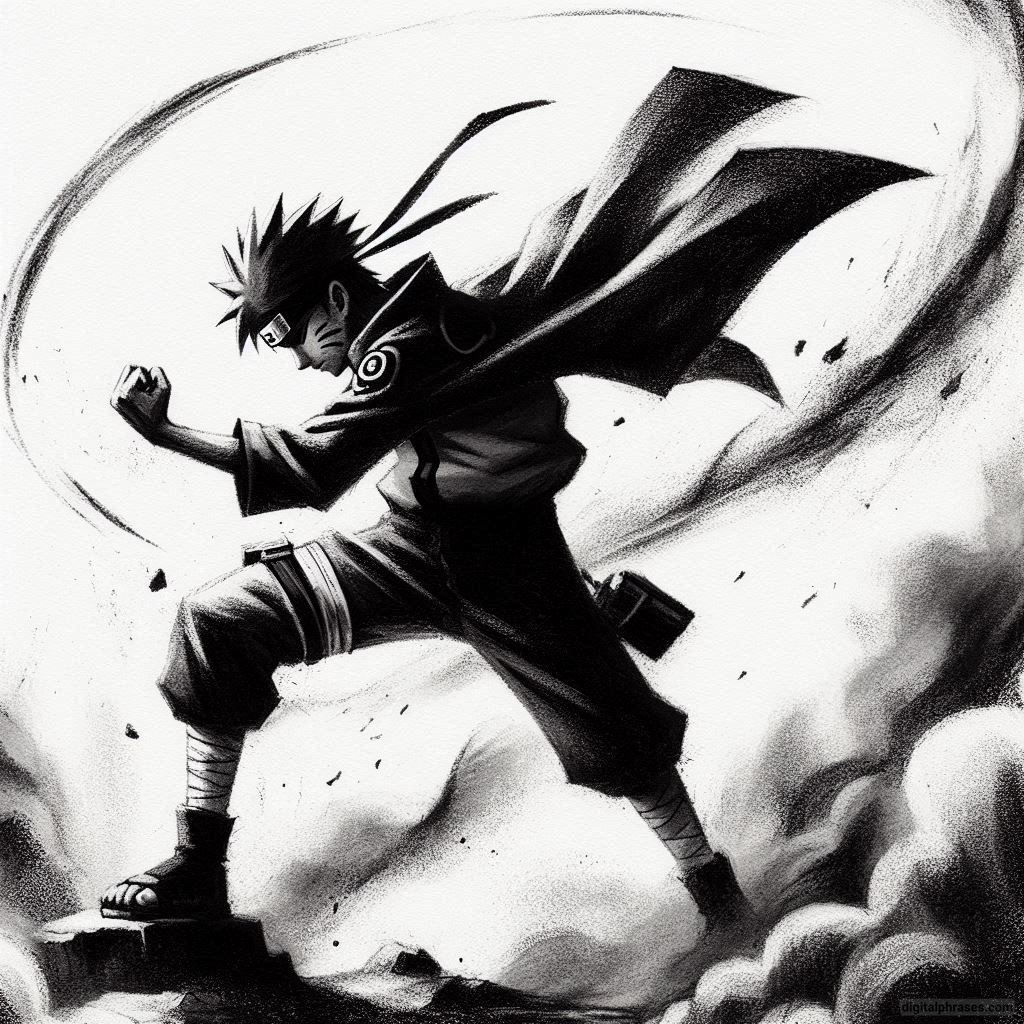
8
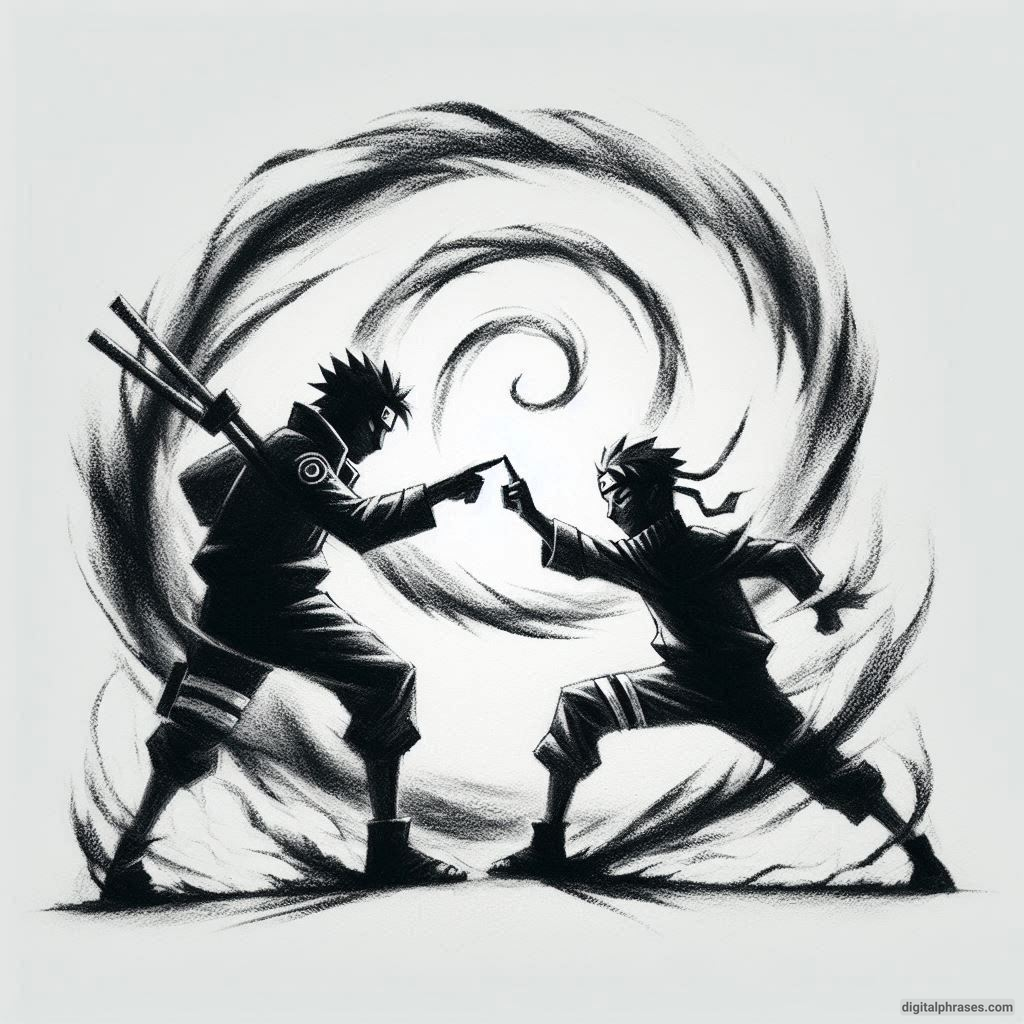
9
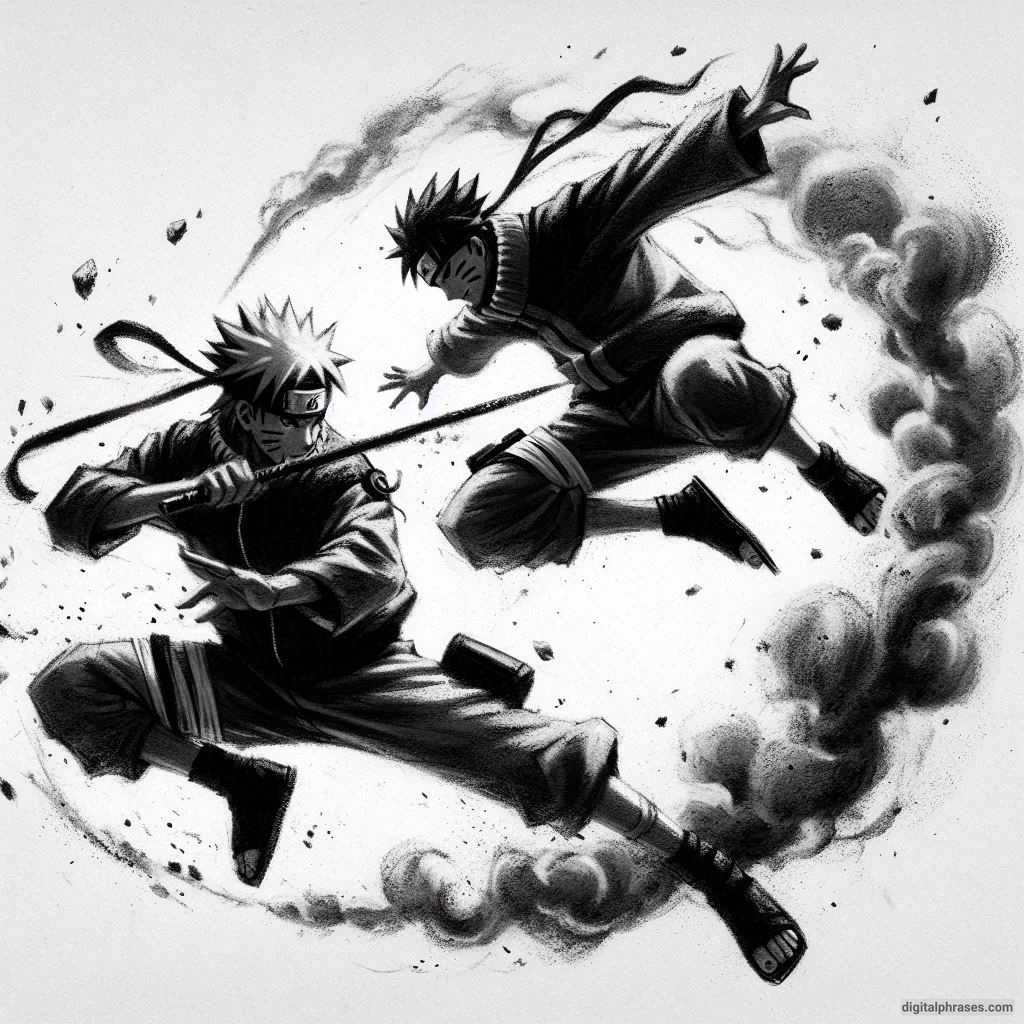
10
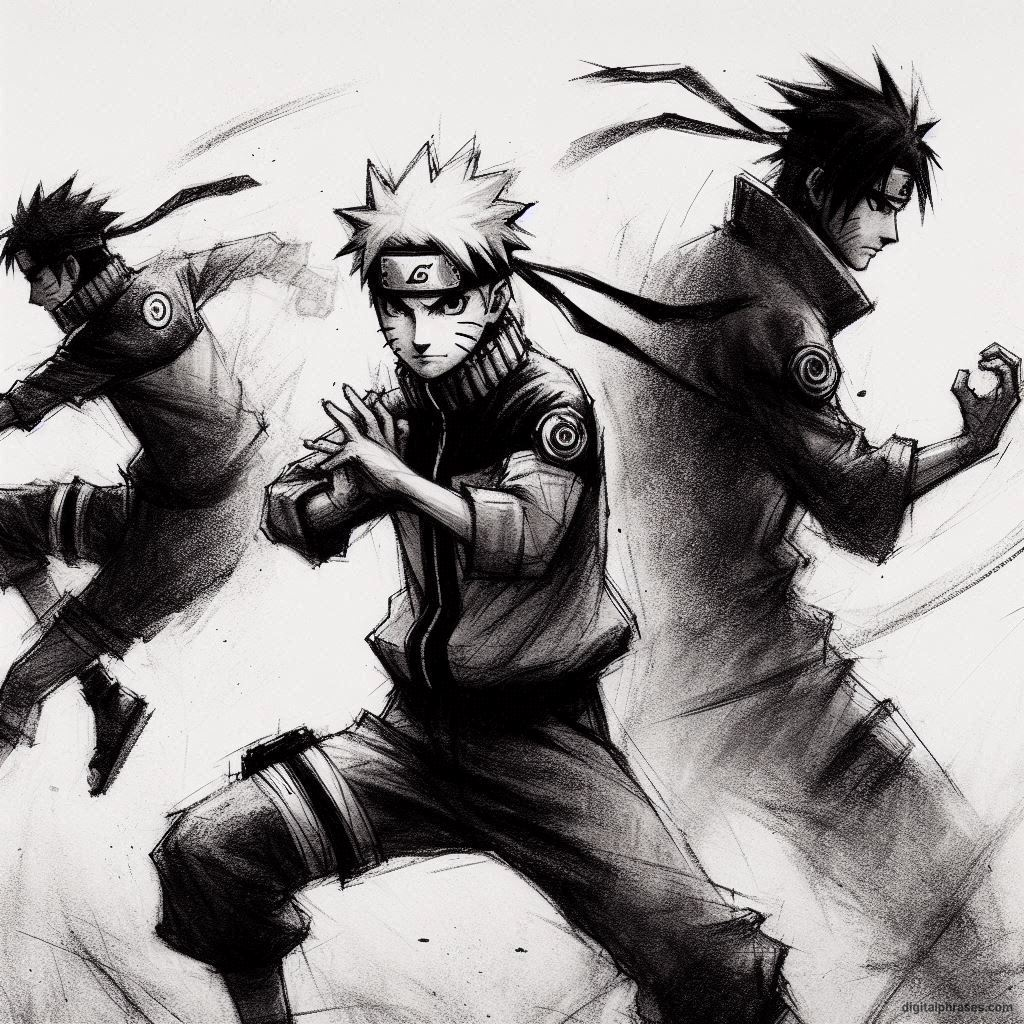
11
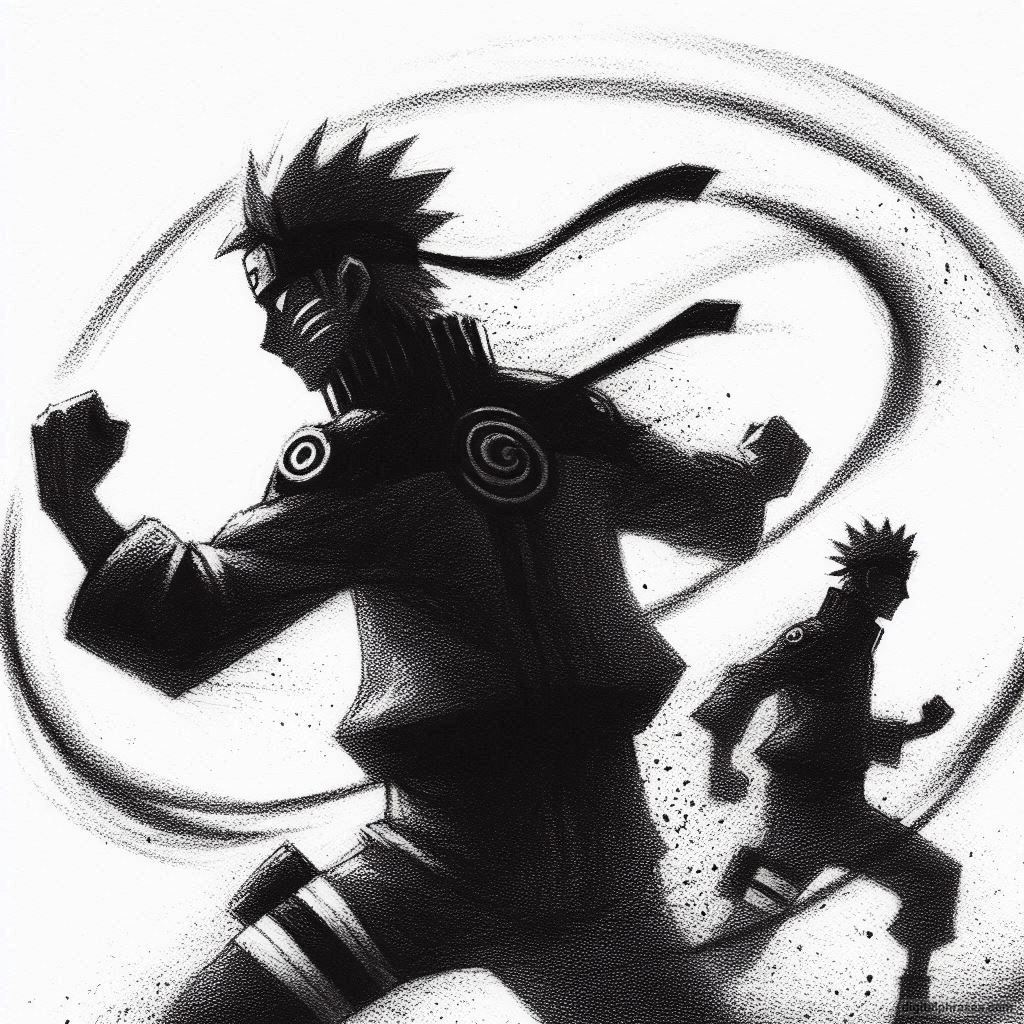
12

13
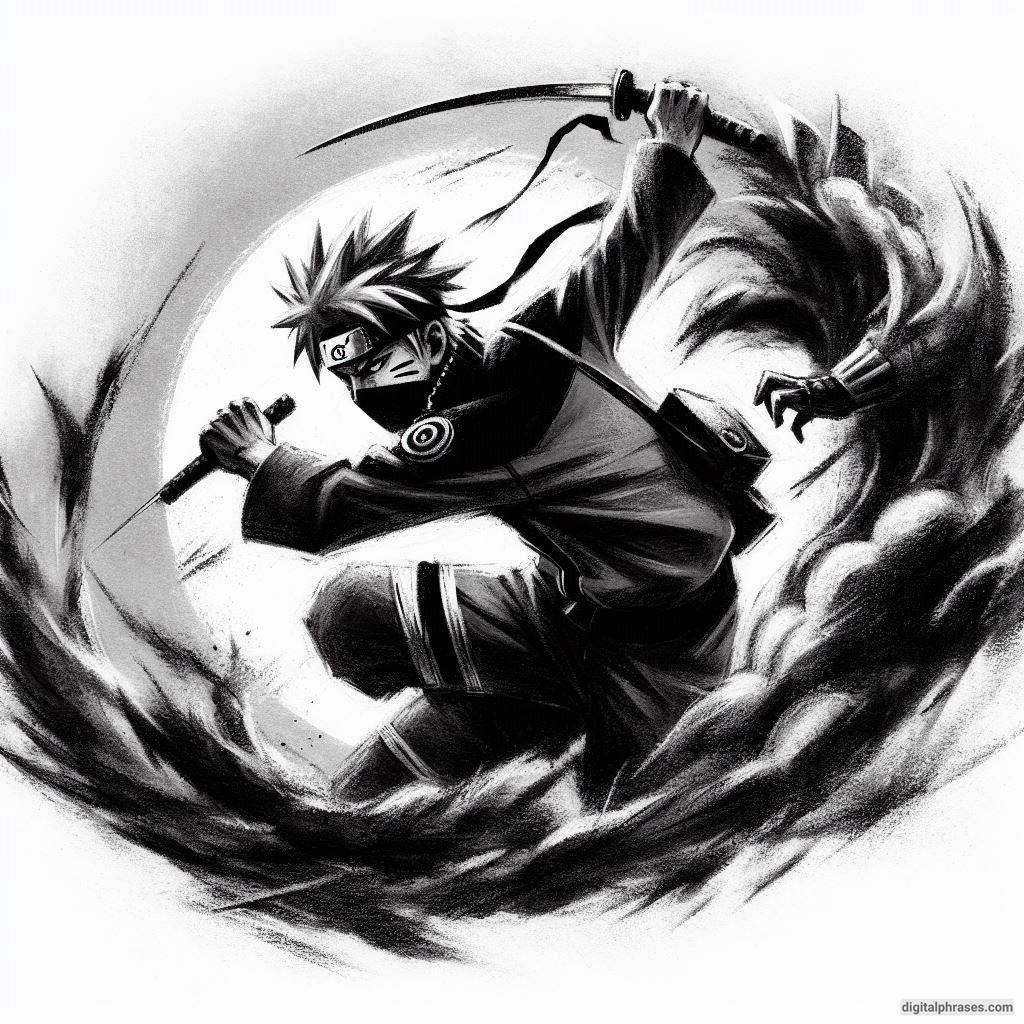
14
15
16
17
18
19
20
21
22
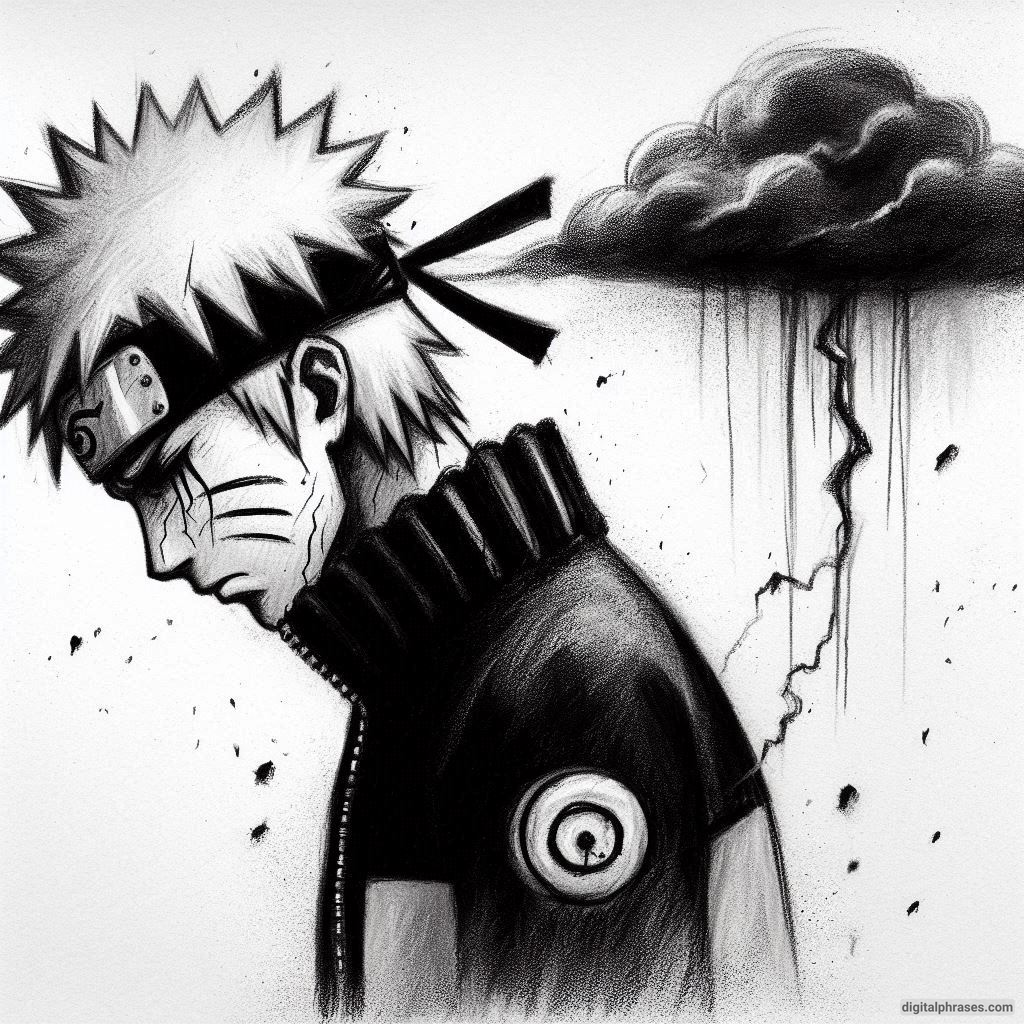
23
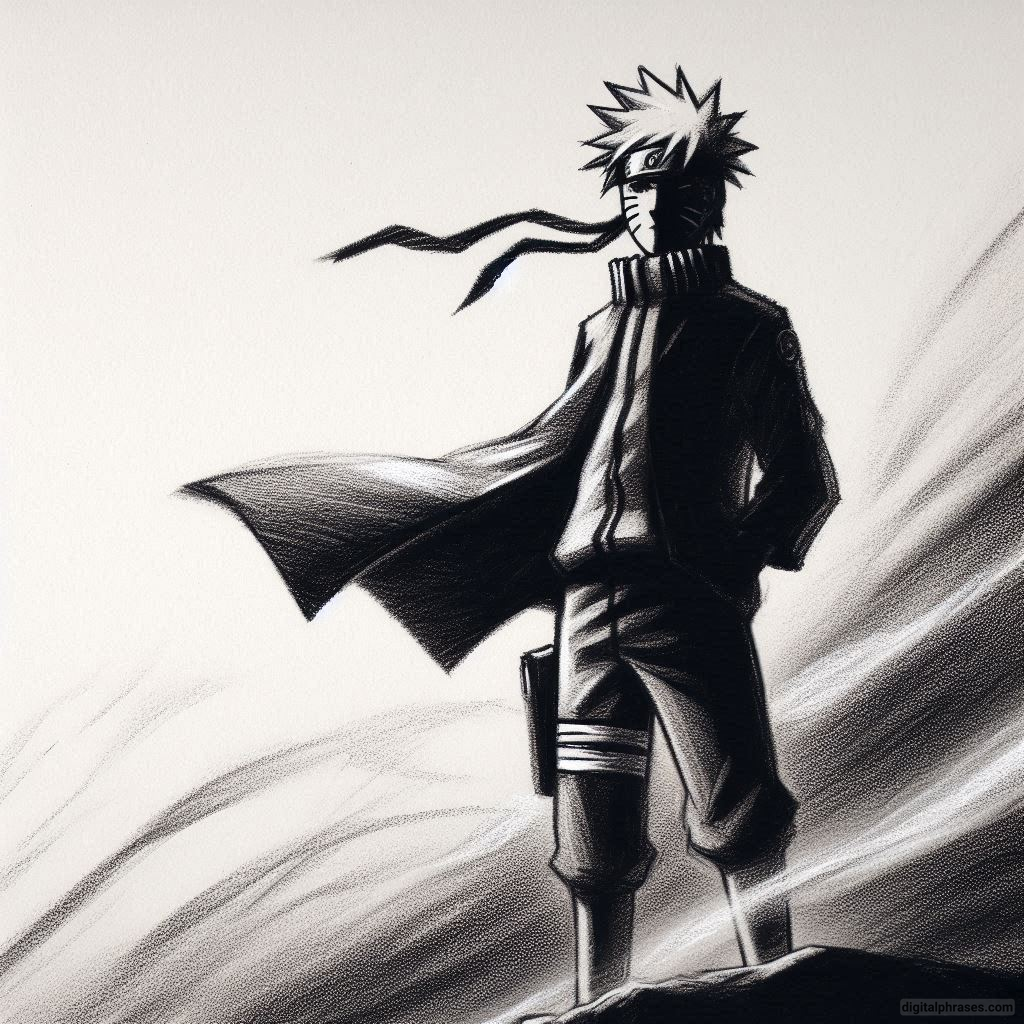
24
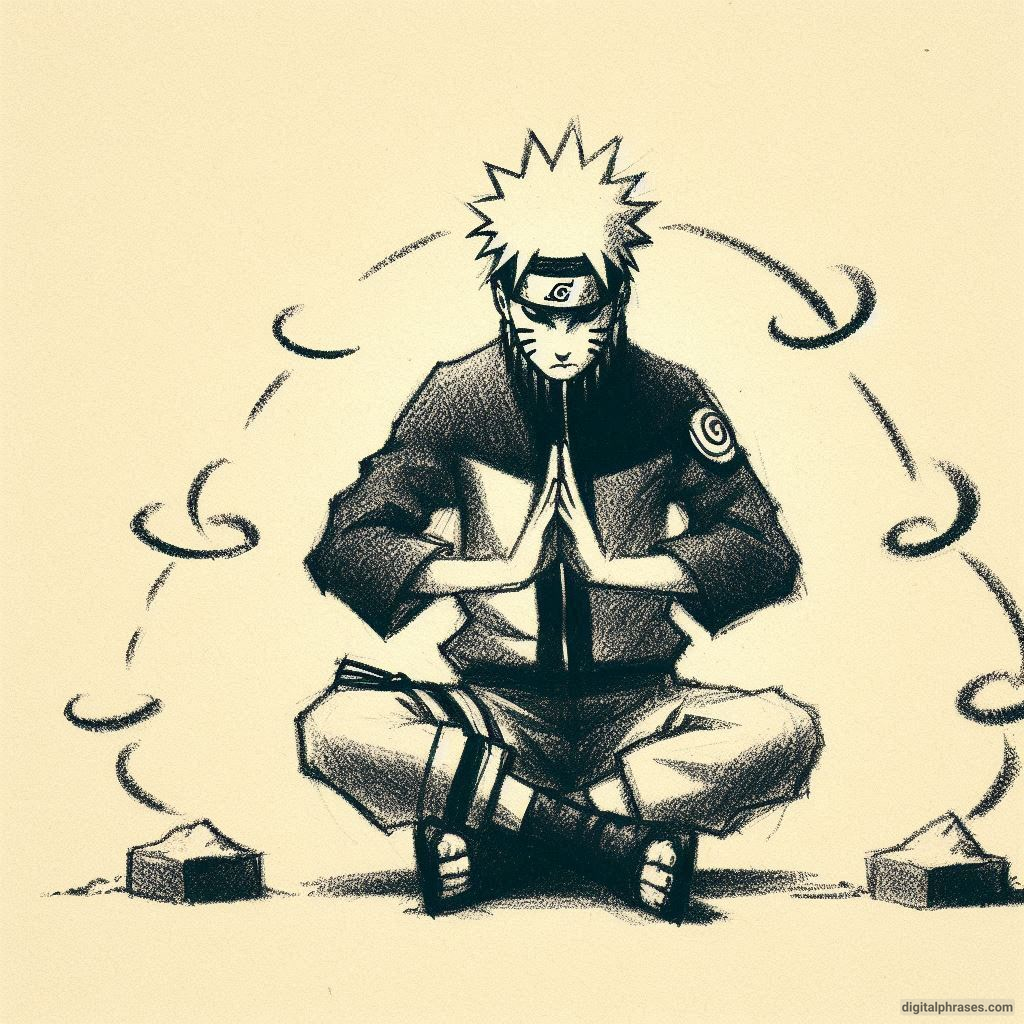
25
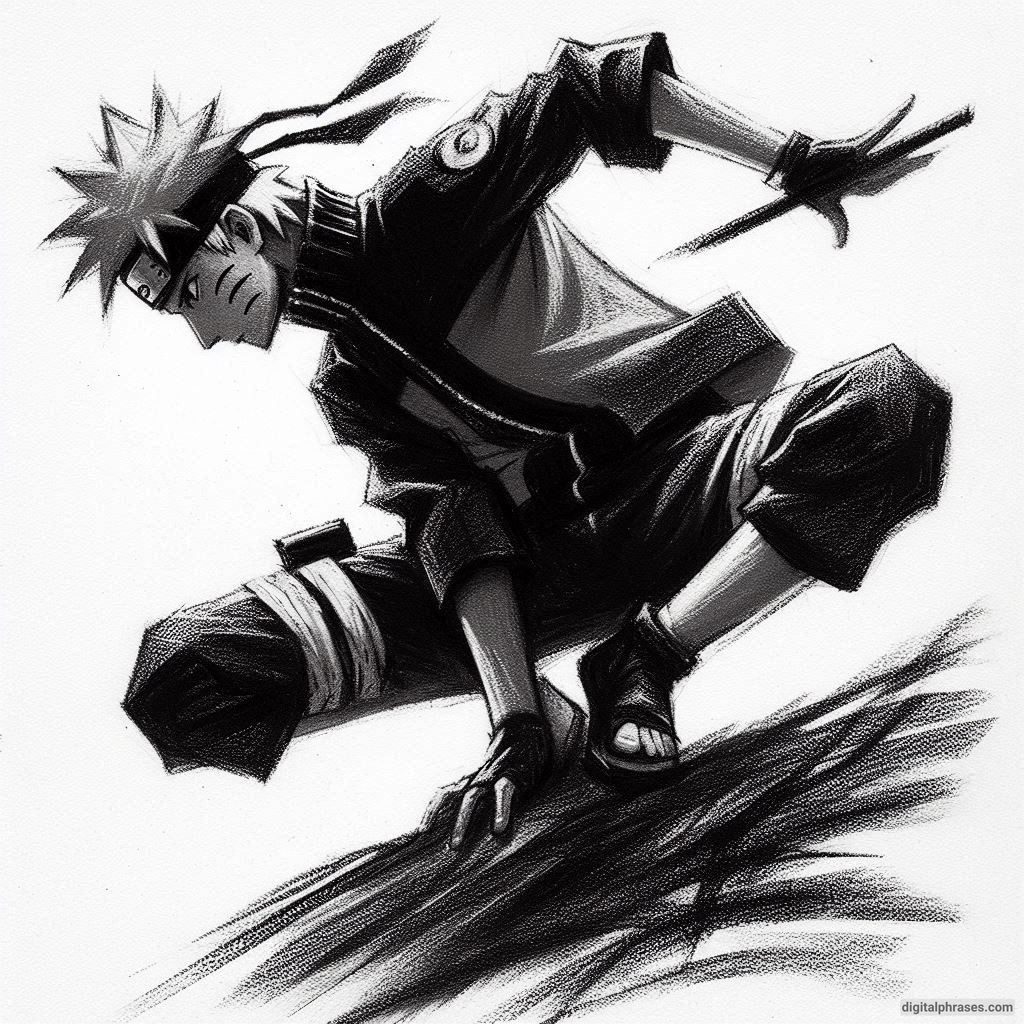
26
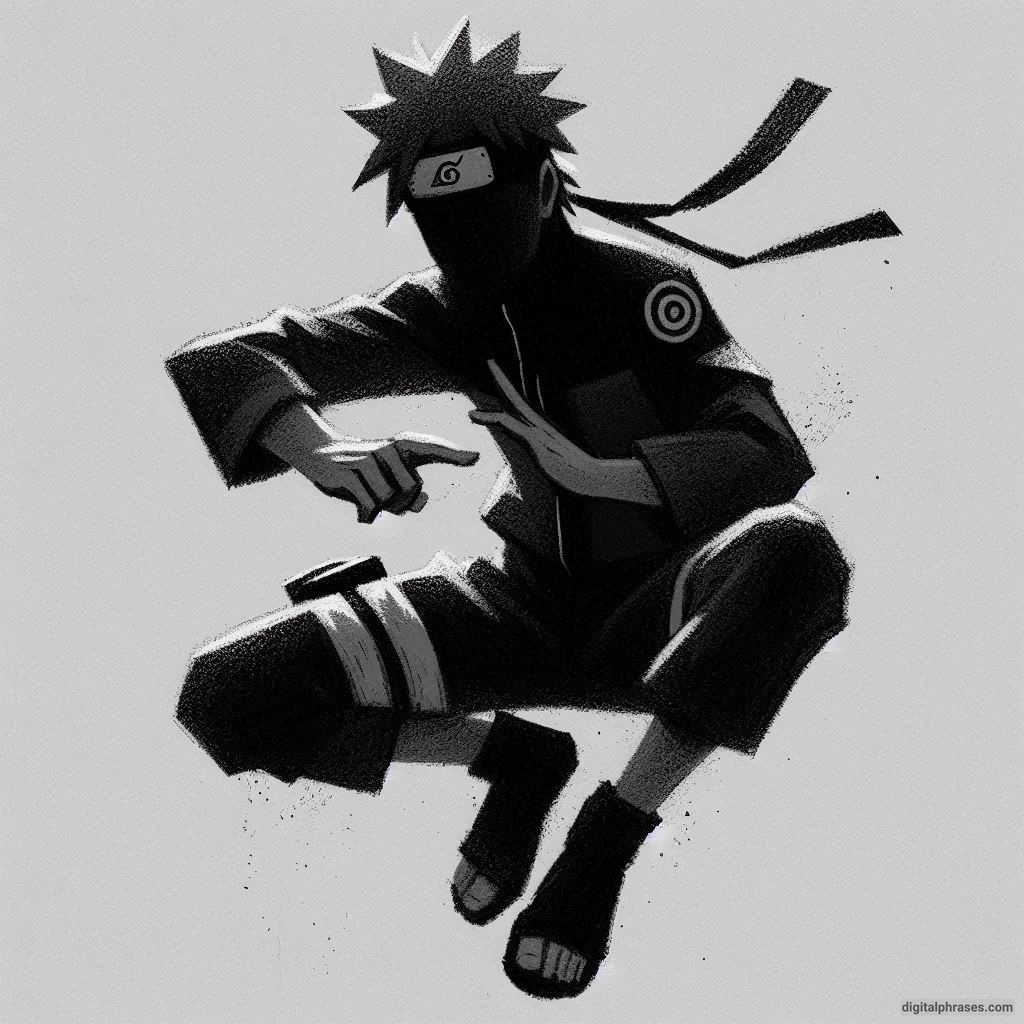
27
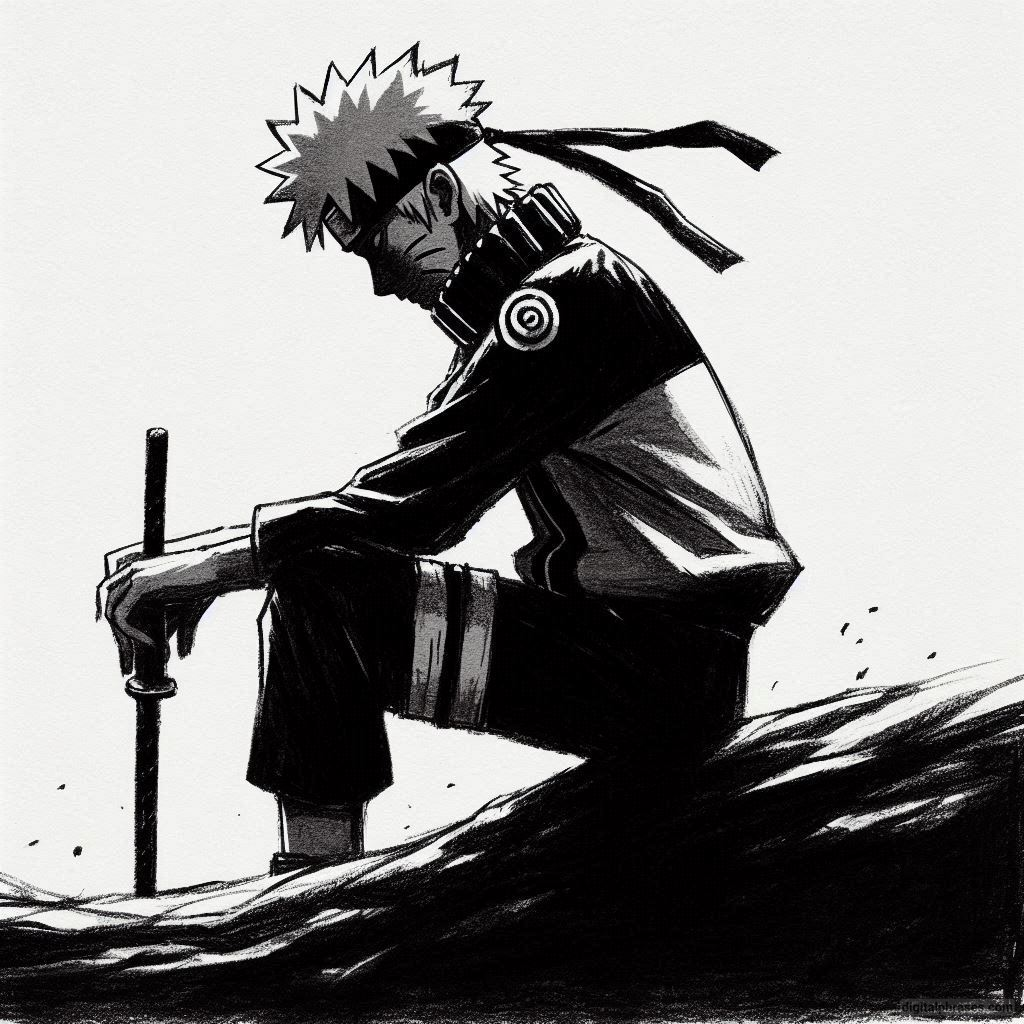
28
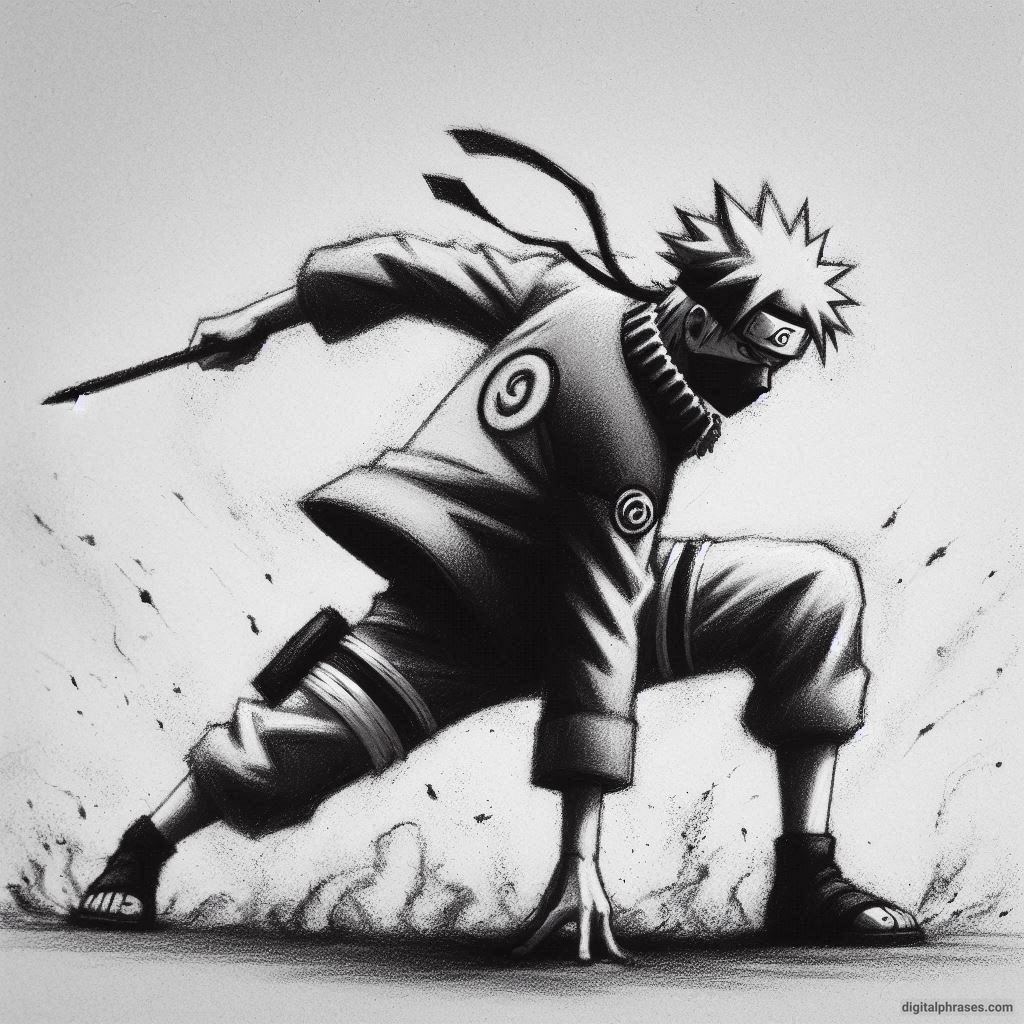
29
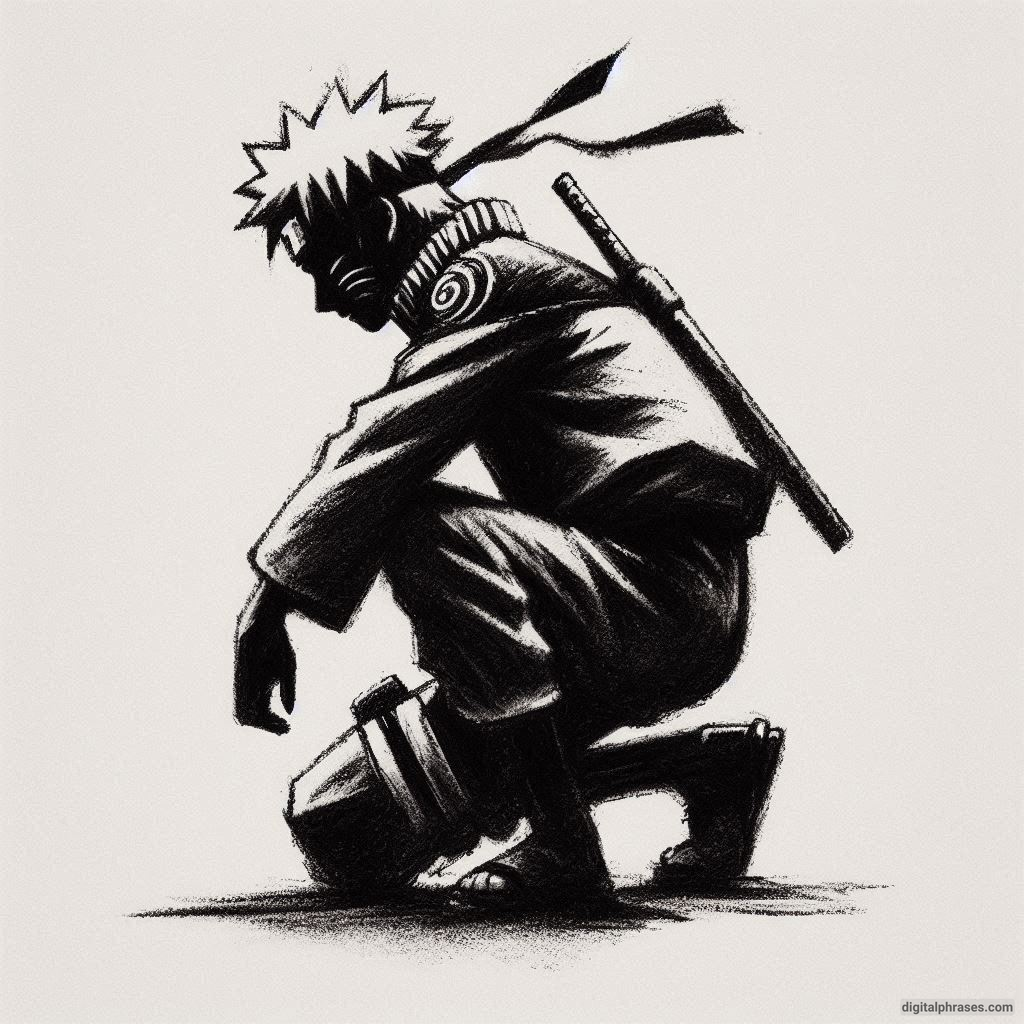
30
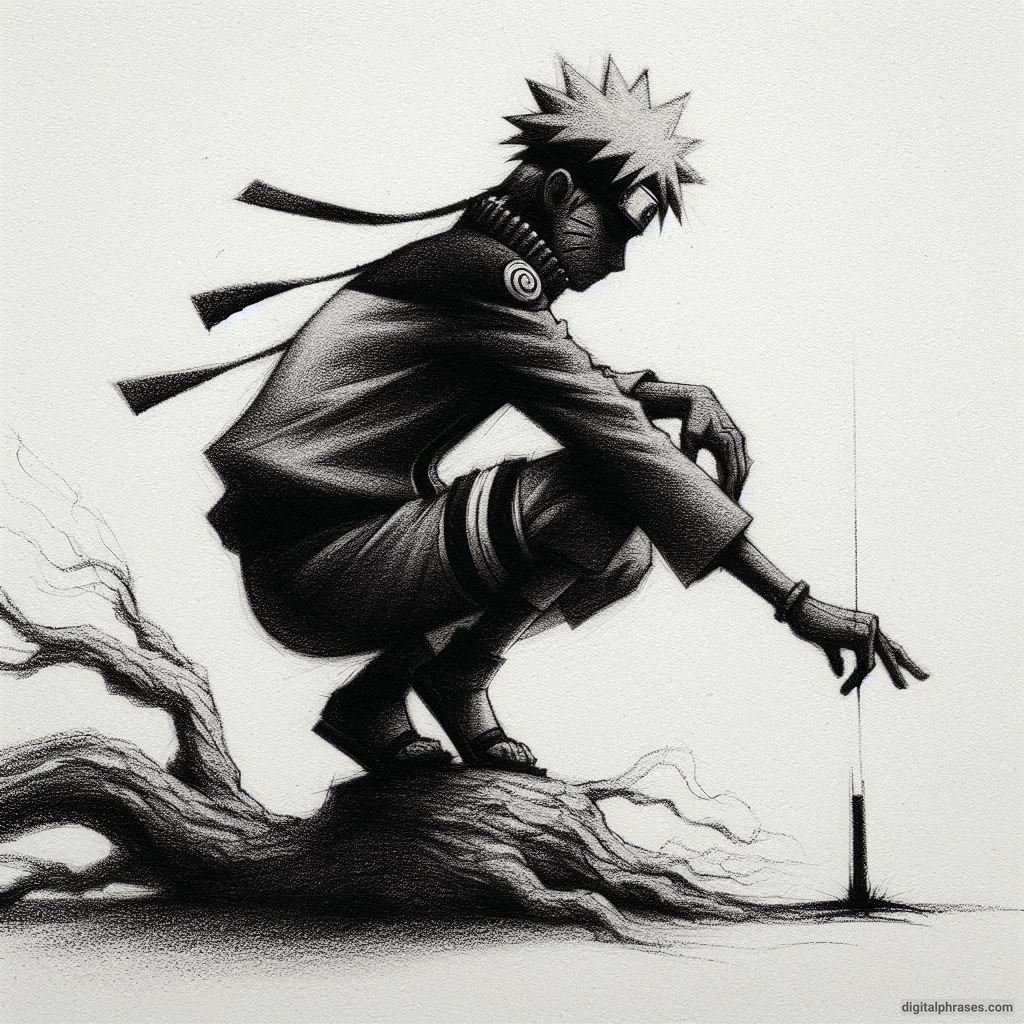
31
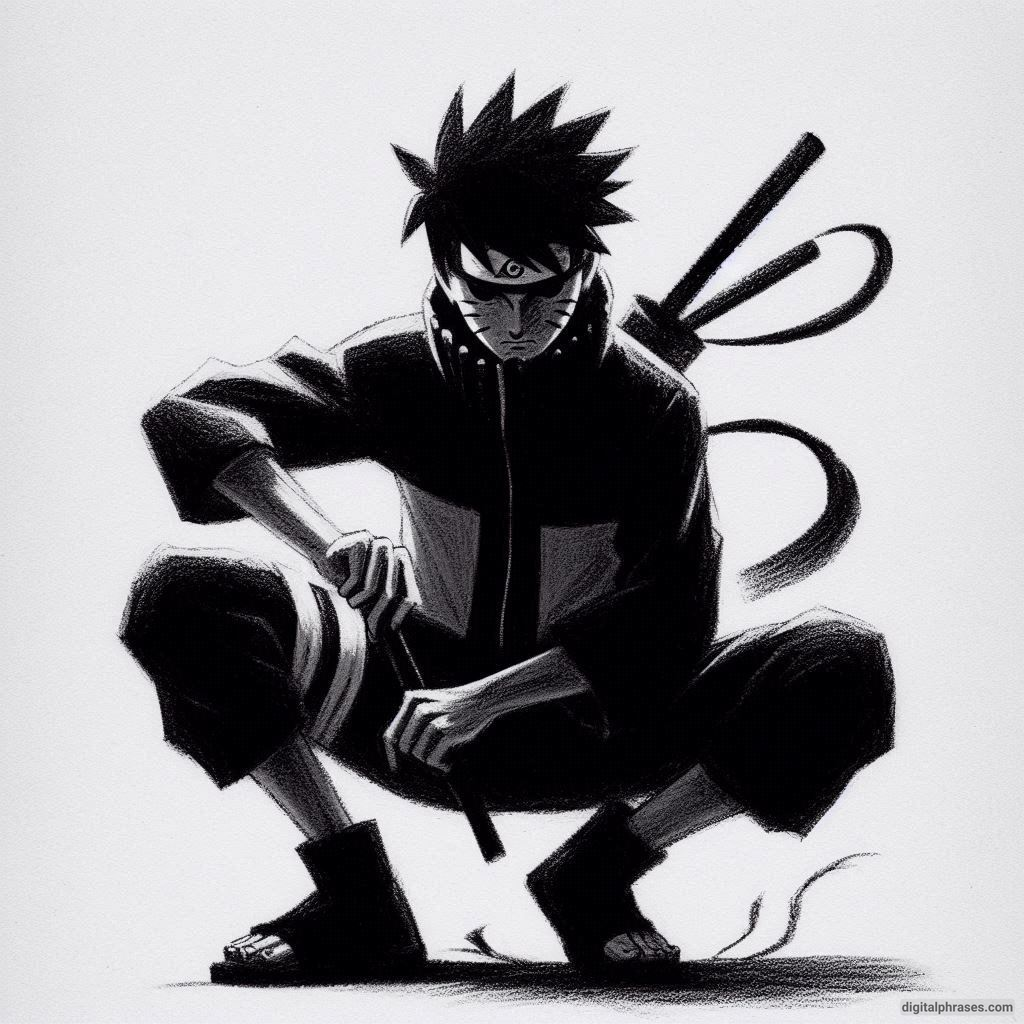
32
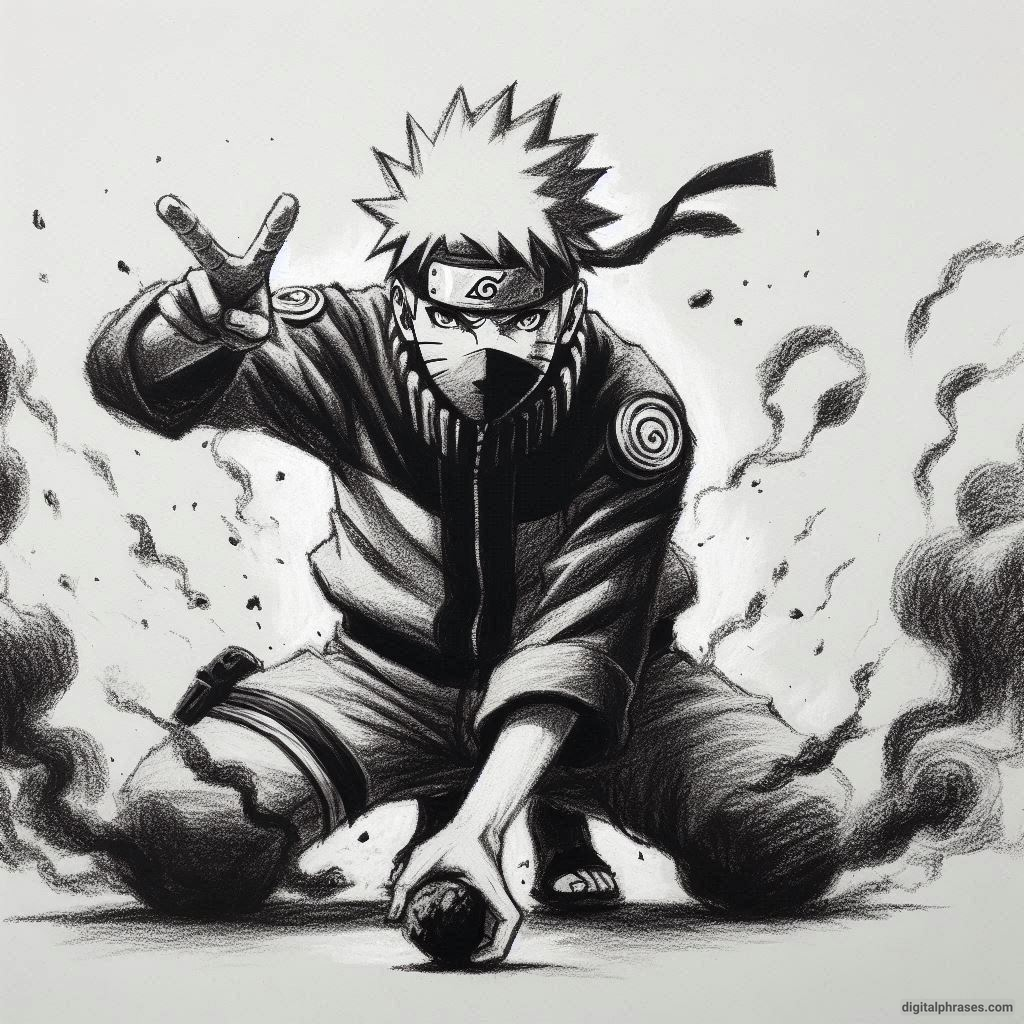
33
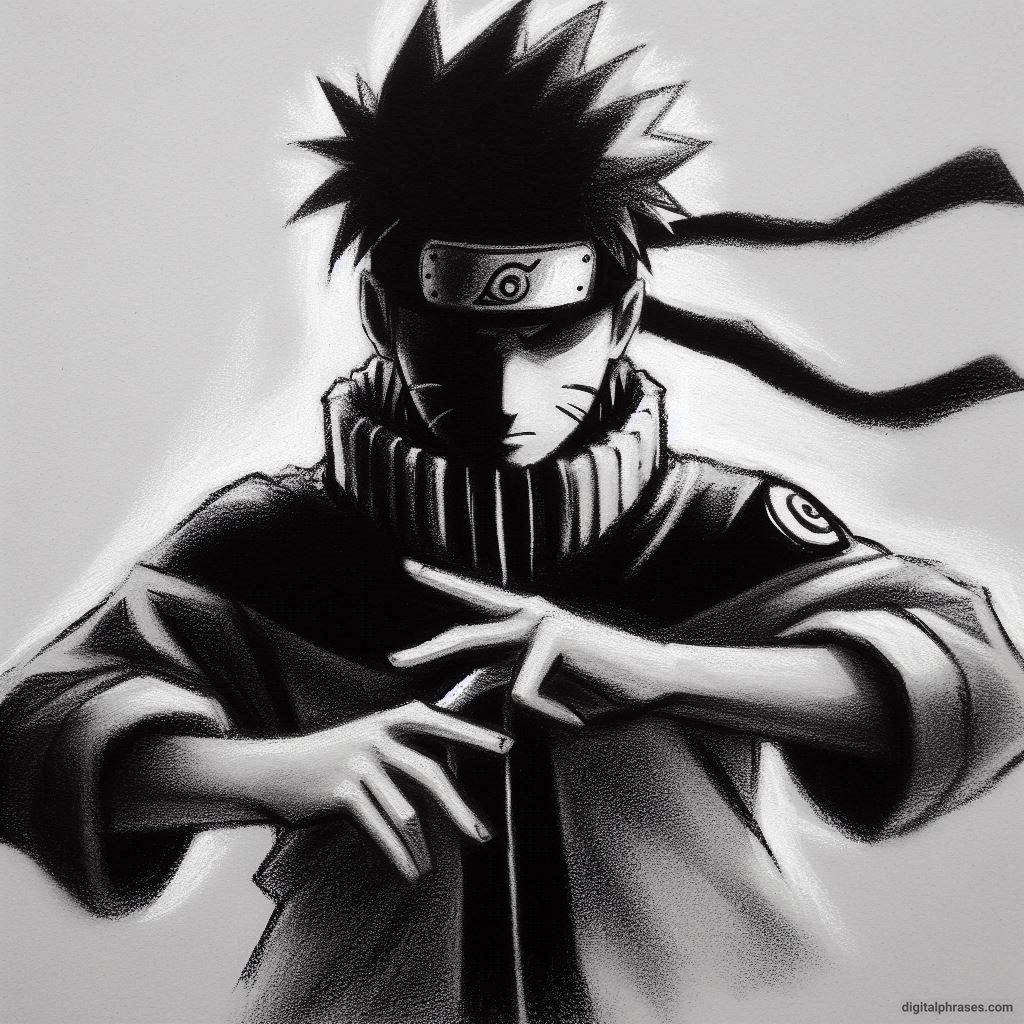
Things To Keep in Mind While Drawing Naruto Anime
1. Master the Basics i.e Start with Simple Shapes
Before we get into the details, here’s a secret: even the most complex Naruto anime drawings are based on simple shapes. You’ll find circles, rectangles, triangles, and cylinders hidden beneath Naruto’s ninja outfit and iconic spiky hair. Understanding the basic shapes that make up a character’s form is key to getting the proportions right.
Pro tip: Start with a light sketch of circles for the head and joints, lines for the body structure, and rectangles for the torso. Naruto’s head can be broken down into a circle for the skull and a triangle for his jawline. Once you’ve nailed these basic shapes, it’s much easier to add those intricate details, like his determined eyes and whisker marks.
Don’t worry if your initial sketch looks like a stick figure—it’s supposed to. You’ll flesh it out soon enough, and those simple lines will give your drawing a strong foundation.
2. The Headband Dilemma – Where To Place It?
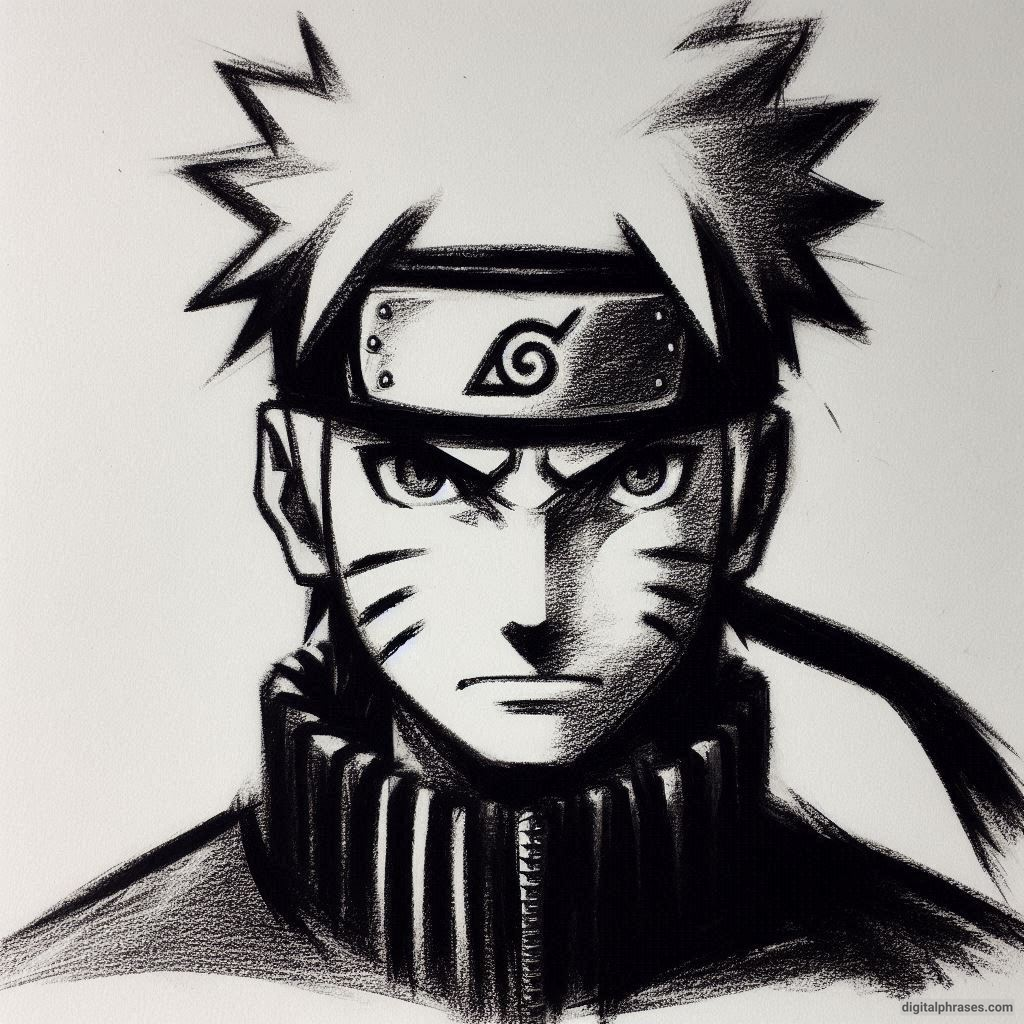
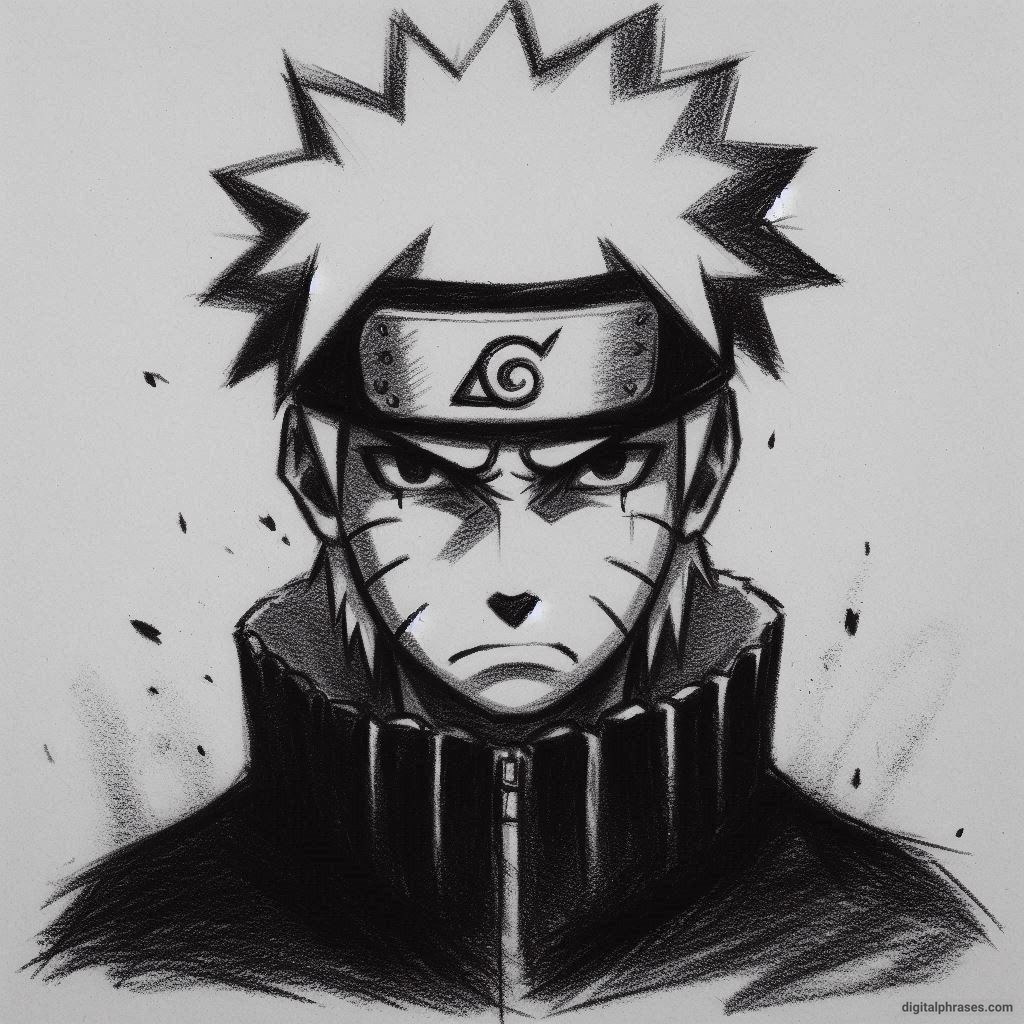
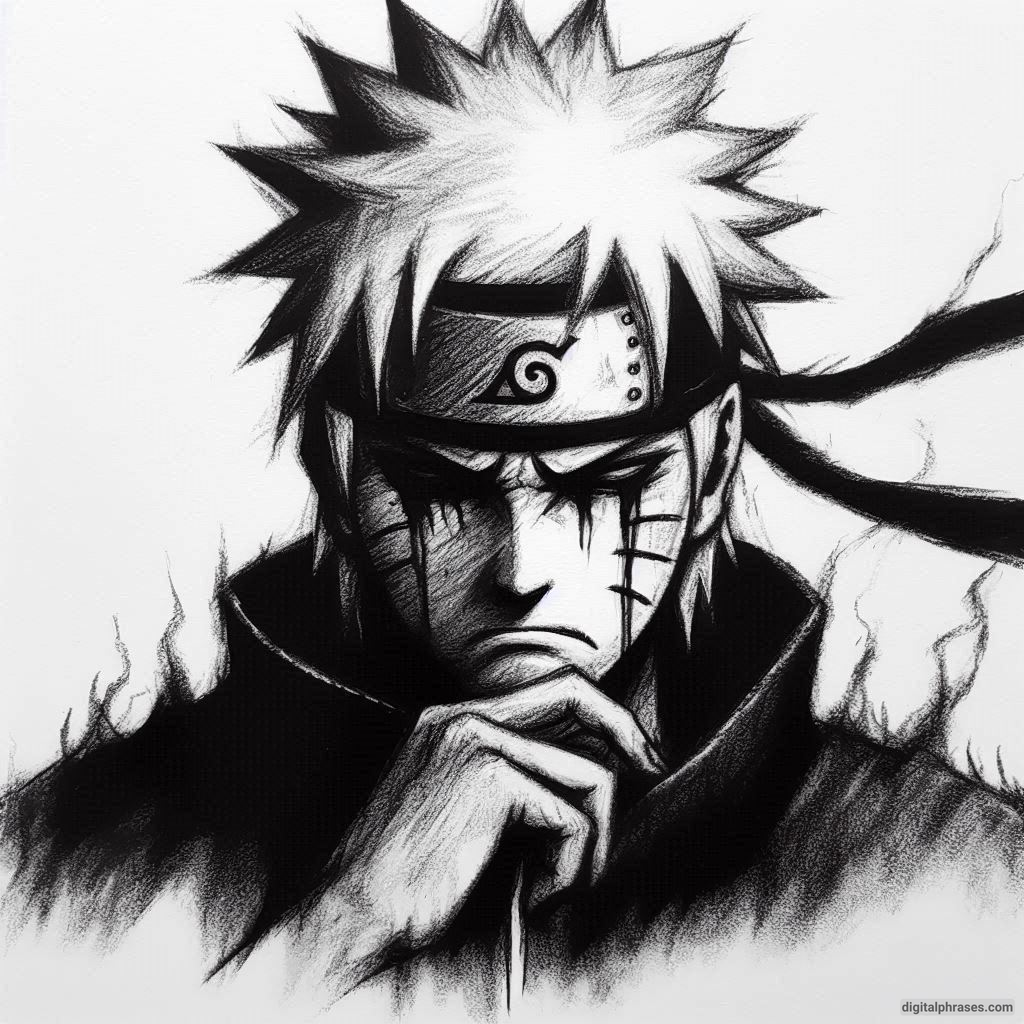
The famous Naruto headband with the Hidden Leaf Village symbol is a must-have, but its placement can sometimes be tricky. If you’ve ever drawn a headband that looks more like a bandana gone wrong, you’re not alone.
Here’s a quick trick: when sketching Naruto’s head, mark where his forehead ends (around the halfway point of the head) and then draw a thin rectangle that wraps around it. The headband sits just above his eyebrows, so keep that in mind while sketching.
Also, don’t forget the knot at the back.
This little detail helps give the headband some three-dimensional depth. If you’re feeling extra adventurous, try adding the small creases that make the fabric look real, like it’s being stretched across Naruto’s head.
Funny side note: I once drew Naruto’s headband too tight, and it looked like it was squeezing the poor guy’s head. I learned the hard way that the headband is snug, but not that snug!
3. Perfecting Naruto’s Spiky Hair
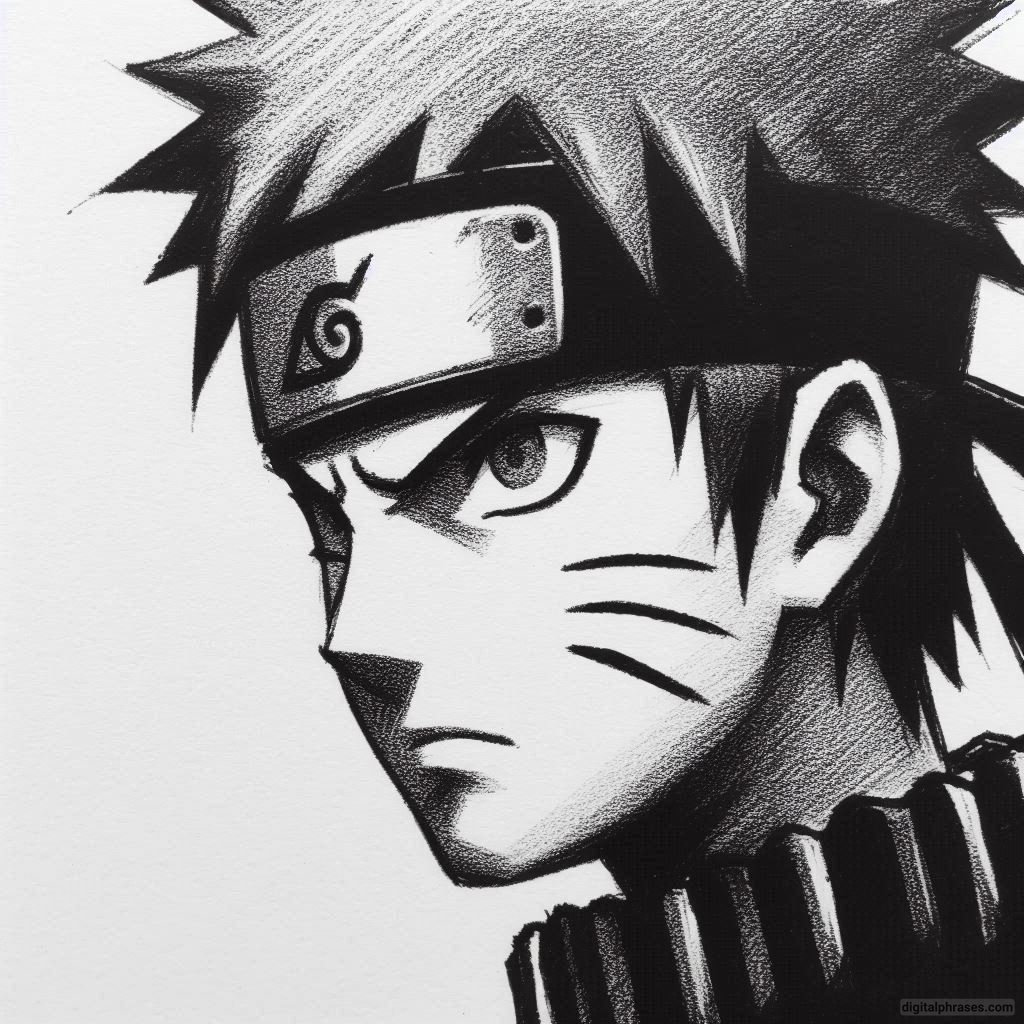
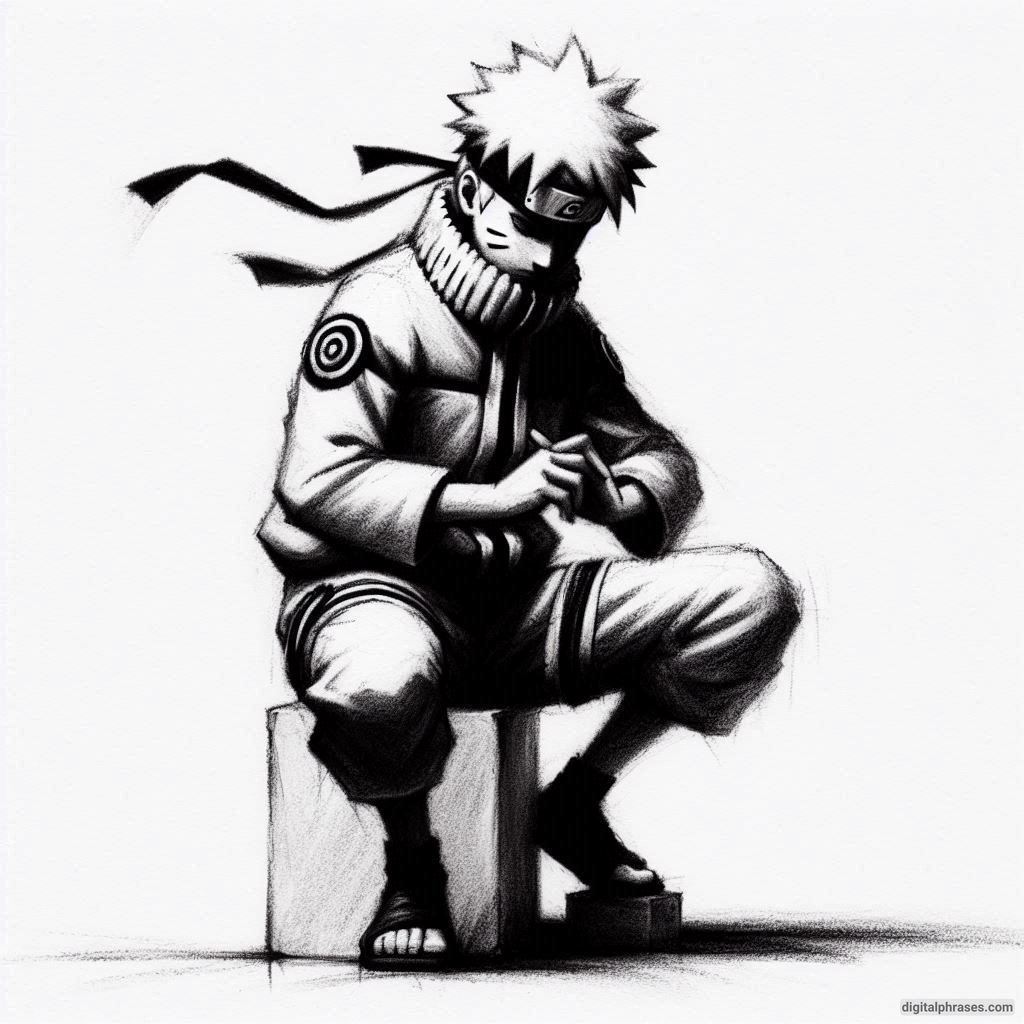
Naruto’s hair is iconic—those wild, gravity-defying spikes are part of what makes him recognizable. But drawing those spikes can be a bit of a challenge, especially if you want them to look sharp and dynamic without turning into a hedgehog explosion.
Start by drawing the basic shape of his hair, which is a round-ish dome. From there, you can add spikes that vary in size and direction.
The key is to keep the spikes uneven, and have them point outward from the head in all directions.
Remember, Naruto’s hair is messy, but it still follows a bit of logic.
The spikes around his forehead are shorter, while the ones near the back are longer and wilder.
Quick tip: Don’t make the spikes too symmetrical or too uniform in length. That’s a common mistake, and it can make your drawing look stiff. Think of each spike like a separate, rebellious piece of hair—some stick up straight, others curve slightly.
4. Eyes That Tell a Story
Naruto’s eyes are one of his most expressive features, and getting them right is essential if you want to capture his determined and sometimes mischievous personality. Anime eyes can be intimidating at first, but they’re all about a few key shapes and lines.
Start with a basic almond shape for the eyes. Naruto’s eyes are more angular, with sharp corners that give him that intense, focused look. His irises are quite large and expressive, so make sure to draw them big.
Don’t forget the small highlight circles that give his eyes life. These highlights are usually drawn in the upper right or left corners of the iris, depending on the direction he’s facing.
Here’s the trick to anime eyes: less is more. You don’t need to draw every single detail. Just focus on the outline, the iris, and the highlights. Once you’ve got that down, Naruto’s personality will shine through!
Funny moment: I once drew Naruto’s eyes too close together, and it gave him this permanently suspicious look, like he didn’t trust his own ramen bowl. Keep those eyes spaced out enough so he doesn’t look like he’s questioning everything.
5. Nailing Naruto’s Signature Facial Marks
Naruto’s three whisker-like marks on each cheek are one of his most distinctive features. While they’re simple, they can make or break the character’s likeness.
Here’s how to get them right: The marks are slightly curved and placed on the middle of each cheek, not too close to the nose and not too far out. They follow the curve of his face, so they should look natural, not like they were drawn with a ruler.
Pro tip: When adding these marks, make sure they are thin and light. If they’re too thick or dark, they’ll overwhelm Naruto’s face and make him look a bit off. And trust me, you don’t want a Naruto with eyeliner-thick whiskers unless you’re going for an avant-garde fashion statement.
6. Dynamic and Action-Packed Poses
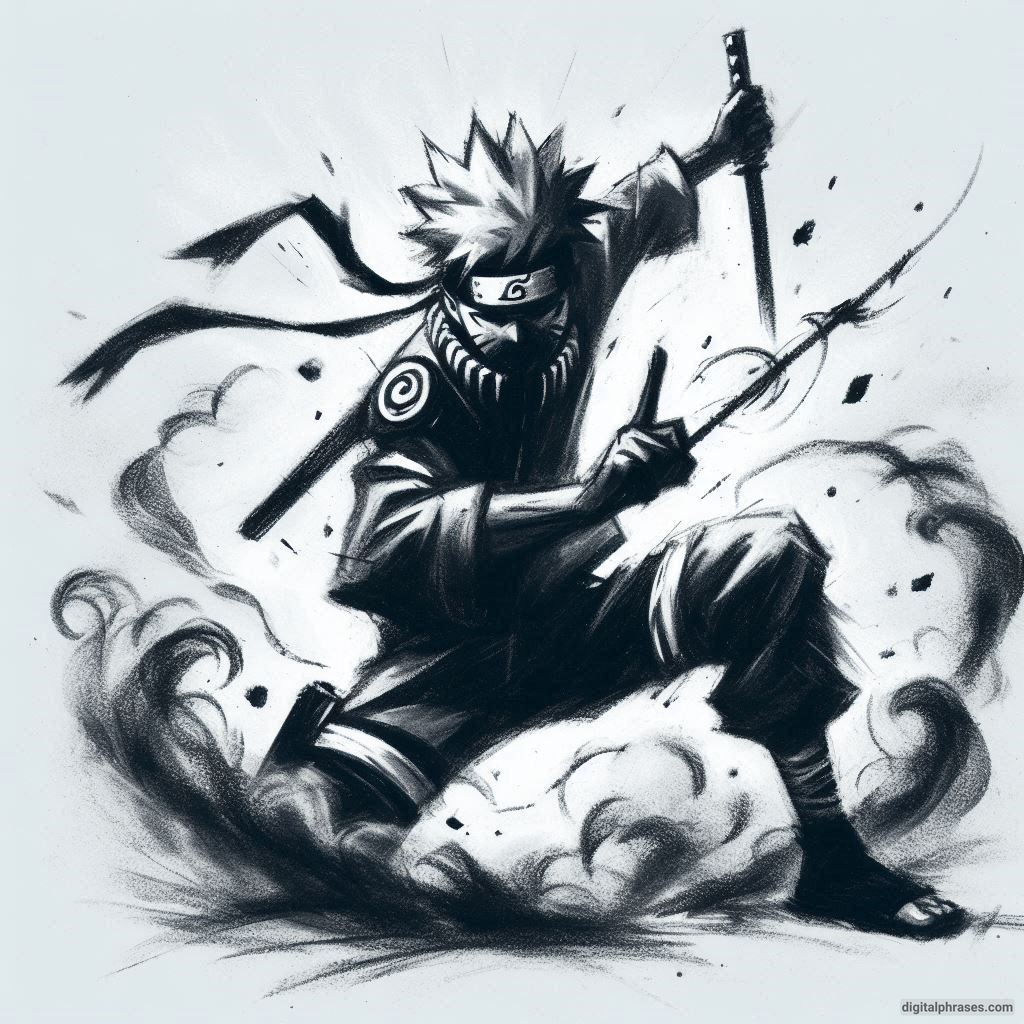
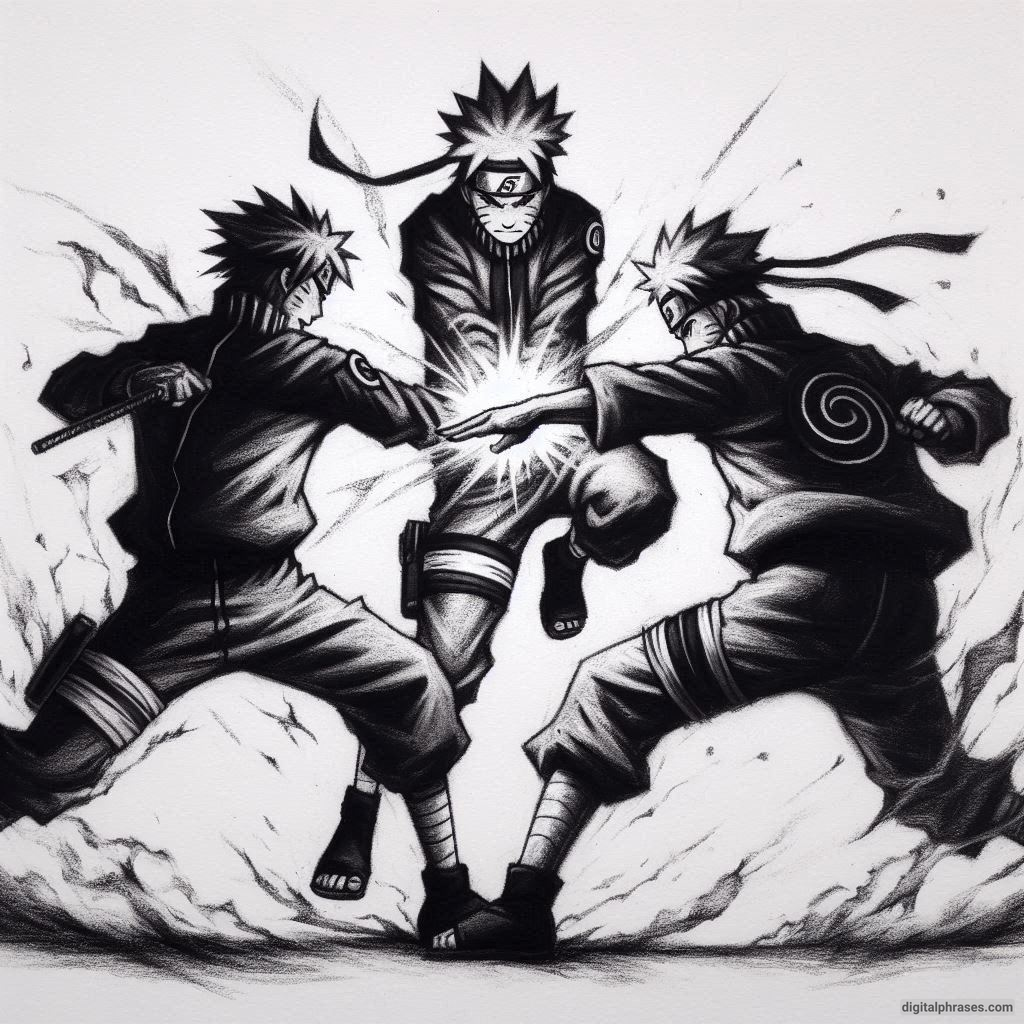
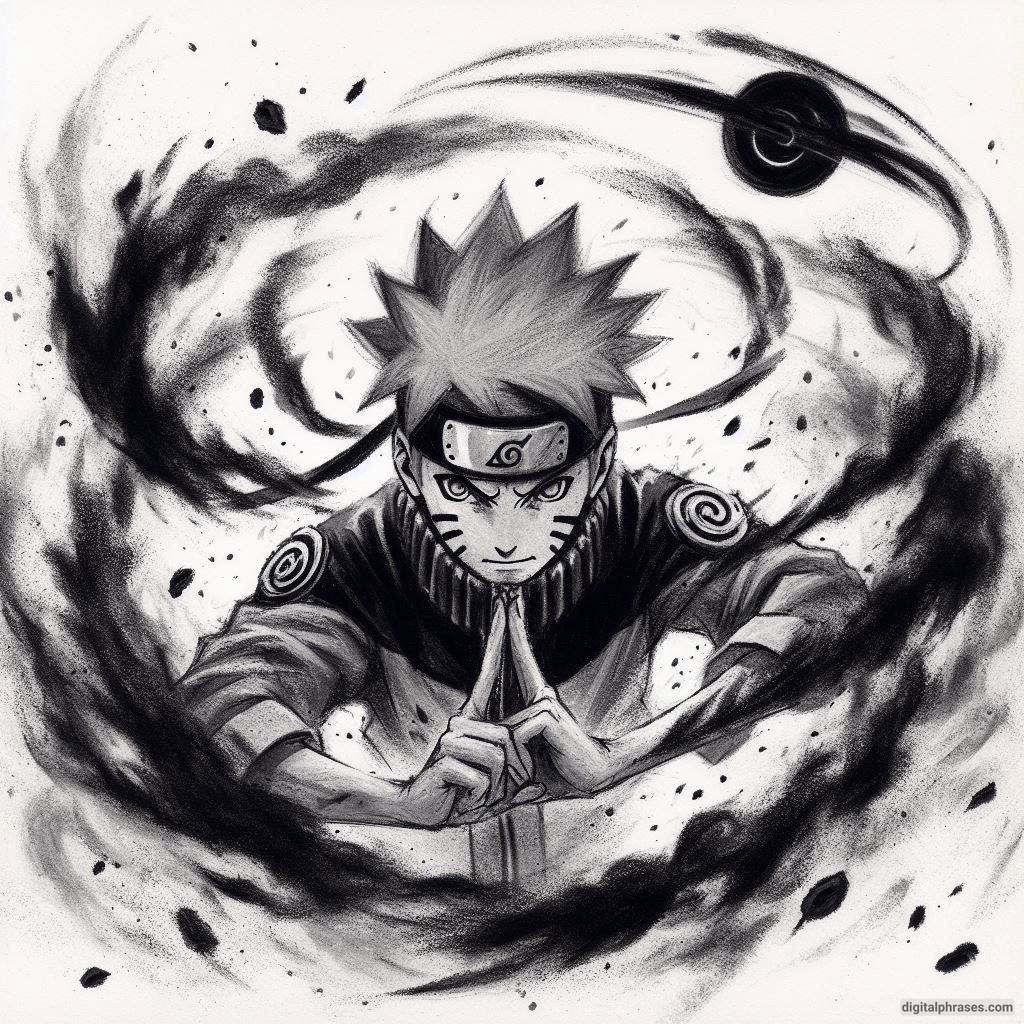
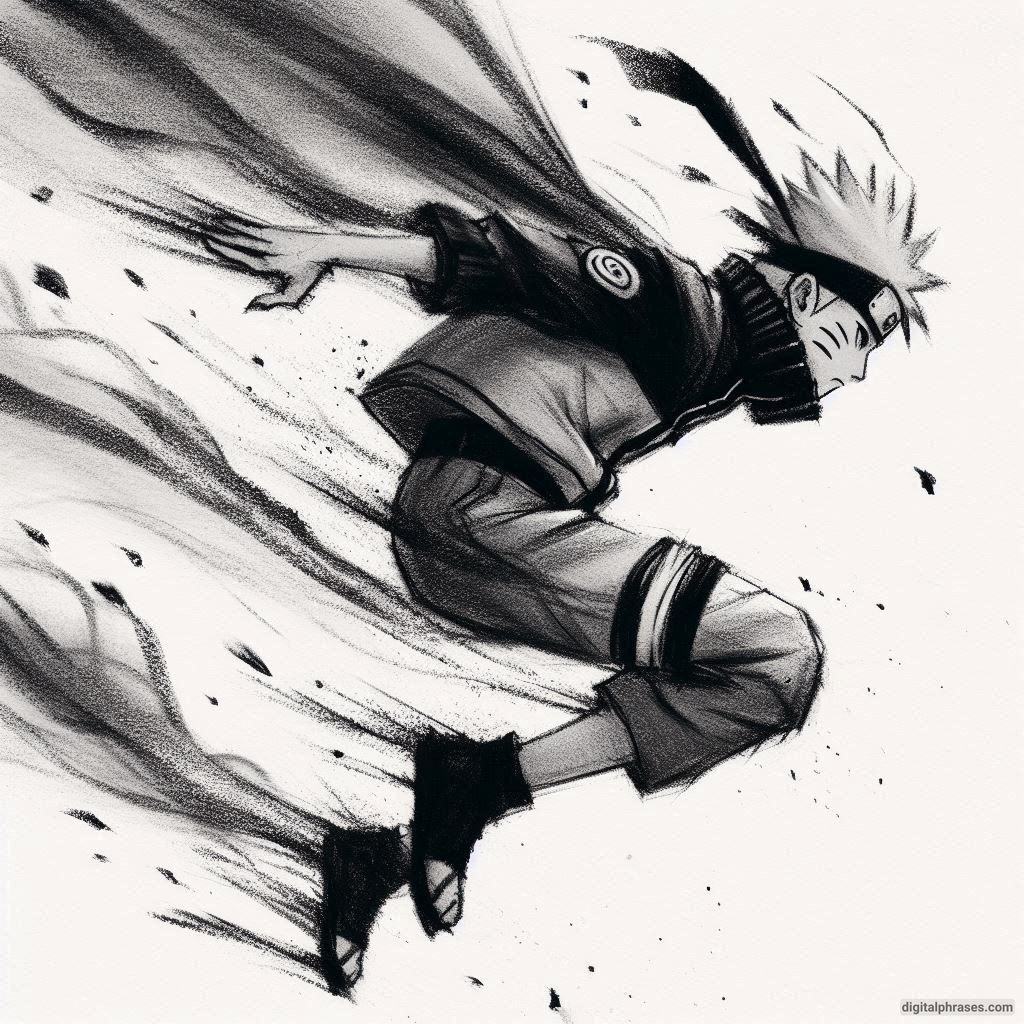
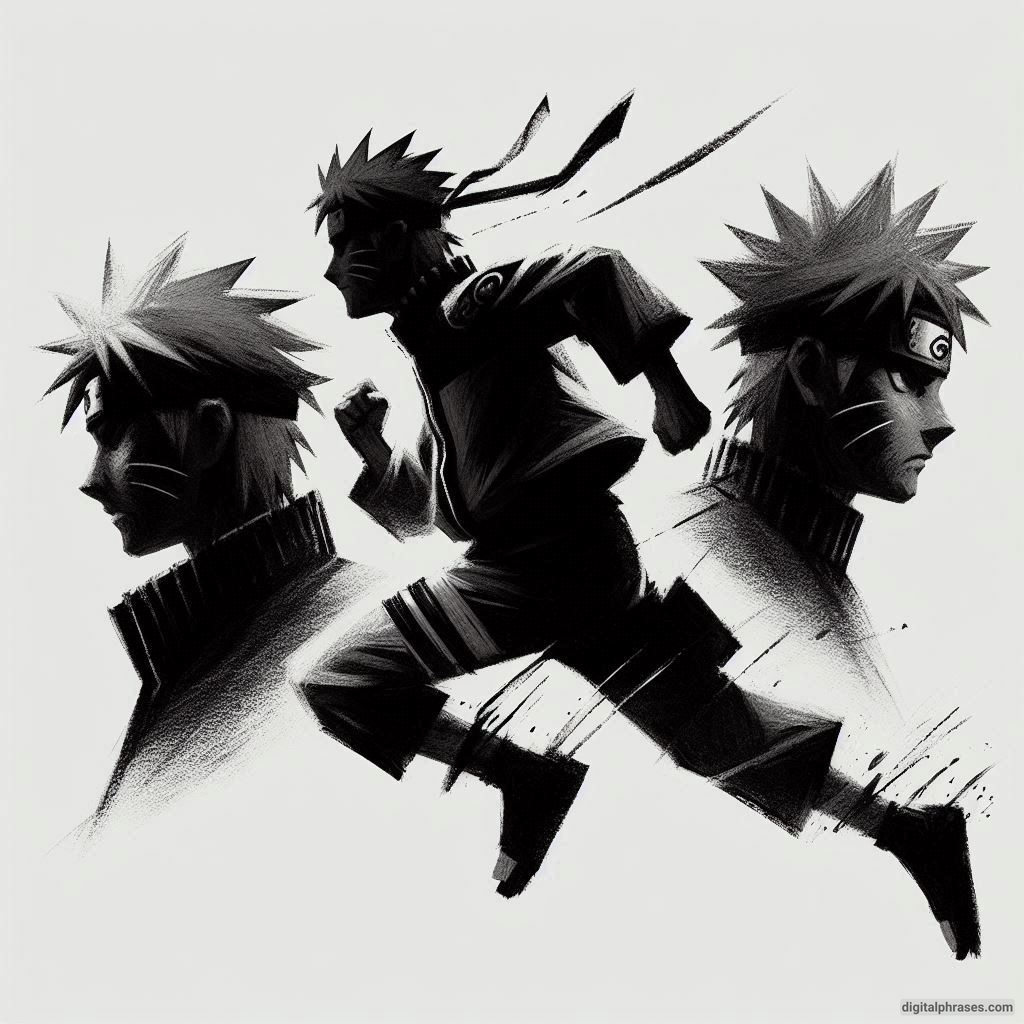
Naruto is almost always in motion—whether he’s launching a Rasengan or running with his signature ninja speed. When drawing him, aim for dynamic poses that capture his energy and athleticism.
Start by sketching a line of action, which is a single, flowing line that represents the movement in the pose. This line helps guide the placement of the body and limbs, making sure the pose looks natural and fluid. For example, if you’re drawing Naruto mid-jump, the line of action might curve upwards, giving a sense of motion.
When drawing the arms and legs, remember that Naruto is a ninja, so his movements are sharp and agile. Keep his limbs bent and ready for action, like he’s about to leap into a fight or perform a jutsu.
Pro tip: Use foreshortening to give your drawing depth. This is where certain parts of the body (like an outstretched arm) appear larger because they’re closer to the viewer. It adds an element of realism and excitement to the pose.
7. Adding the Details (Clothing and Accessories)
Naruto’s outfit is full of little details that can make a big difference in your drawing. From the zippers on his jacket to the folds in his pants, these details bring the character to life.
When drawing clothing, think about how the fabric would move. Naruto’s jacket, for example, is snug but flexible, so it will have some natural creases, especially around the elbows and waist. Adding these small folds will make the clothing look more realistic and less like it’s just glued onto his body.
Bonus tip: Naruto’s accessories, like his kunai pouch and headband, shouldn’t be neglected. They add to the overall look and feel of the character. Just don’t make them too bulky, or they’ll overpower his slender, athletic frame.
8. Practice Makes Perfect: Don’t Give Up!
Drawing Naruto—or any anime character—can be challenging at first, but the more you practice, the better you’ll get. Don’t be discouraged if your first few attempts don’t turn out exactly like you imagined. Even professional artists have to redraw certain parts over and over until they get them just right.
Funny confession: I’ve redrawn Naruto’s nose at least a dozen times in one drawing session because it kept coming out either too big or too small. But hey, that’s part of the process! You’ll learn something new with each attempt, and soon enough, you’ll be creating Naruto fan art worthy of hanging on your wall.

