22 Two Point Perspective Drawing Ideas of Rooms and Bedroom Interiors
Alright, listen up, fellow sketch enthusiasts.
Today, I’m inviting you into the wild world of two-point perspective drawings. That’s right—grab your rulers, your erasers, and maybe a comforting snack because we’re about to make lines converge like they’re all desperately trying to meet up for brunch.
Now, I know what you’re thinking: “Perspective? Ugh, wasn’t that the thing that ruined my 7th-grade art project?”
Trust me, I’ve been there too—draw one line slightly off, and suddenly your elegant bedroom sketch looks like something out of a funhouse mirror. But fear not!
With these 22 two-point perspective room and bedroom interior ideas, you’ll go from “uh, what even is depth?” to “my sketchbook is basically an HGTV show.”
So buckle up, because we’re about to turn your flat, boring pages into rooms with more dimension than my existential crisis at 3 AM.
Let’s do this!
Two-Point Perspective Drawing Ideas of Rooms
1
2
3
4
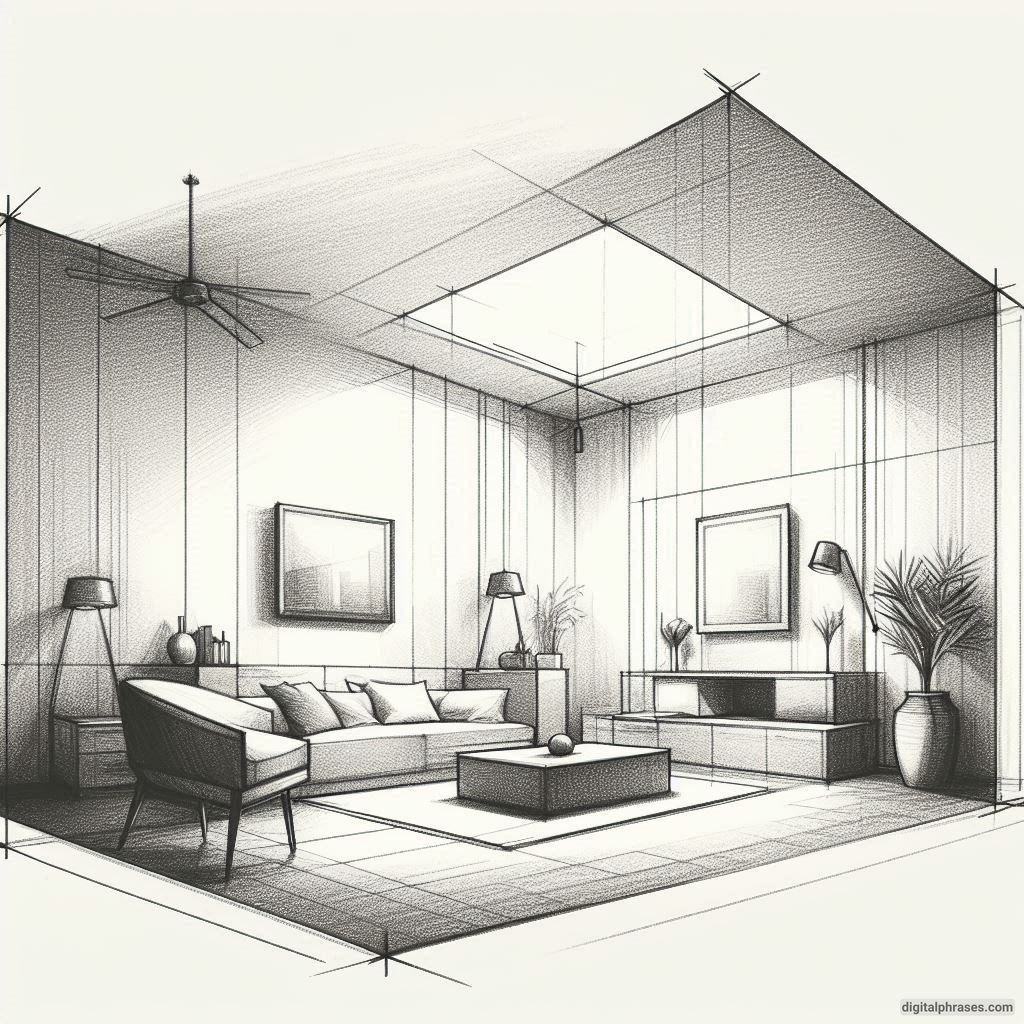
5
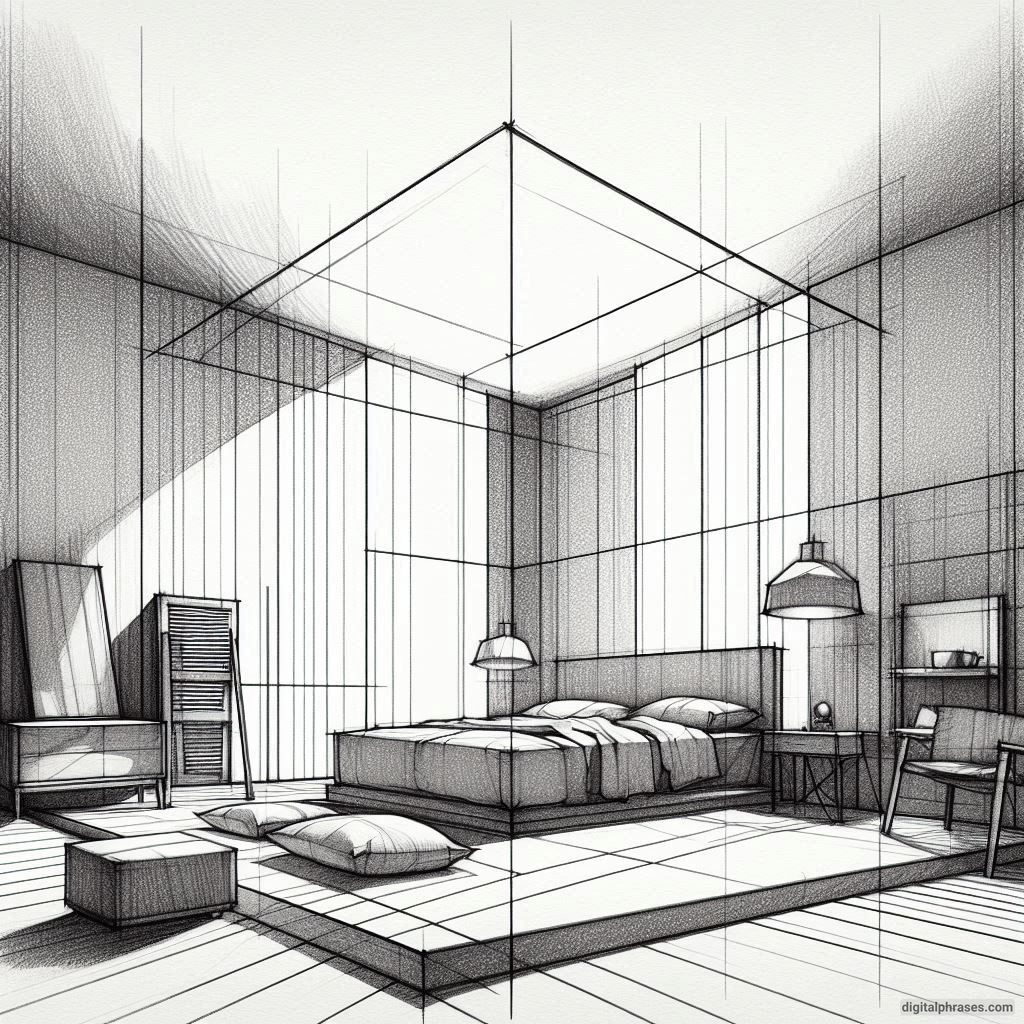
6
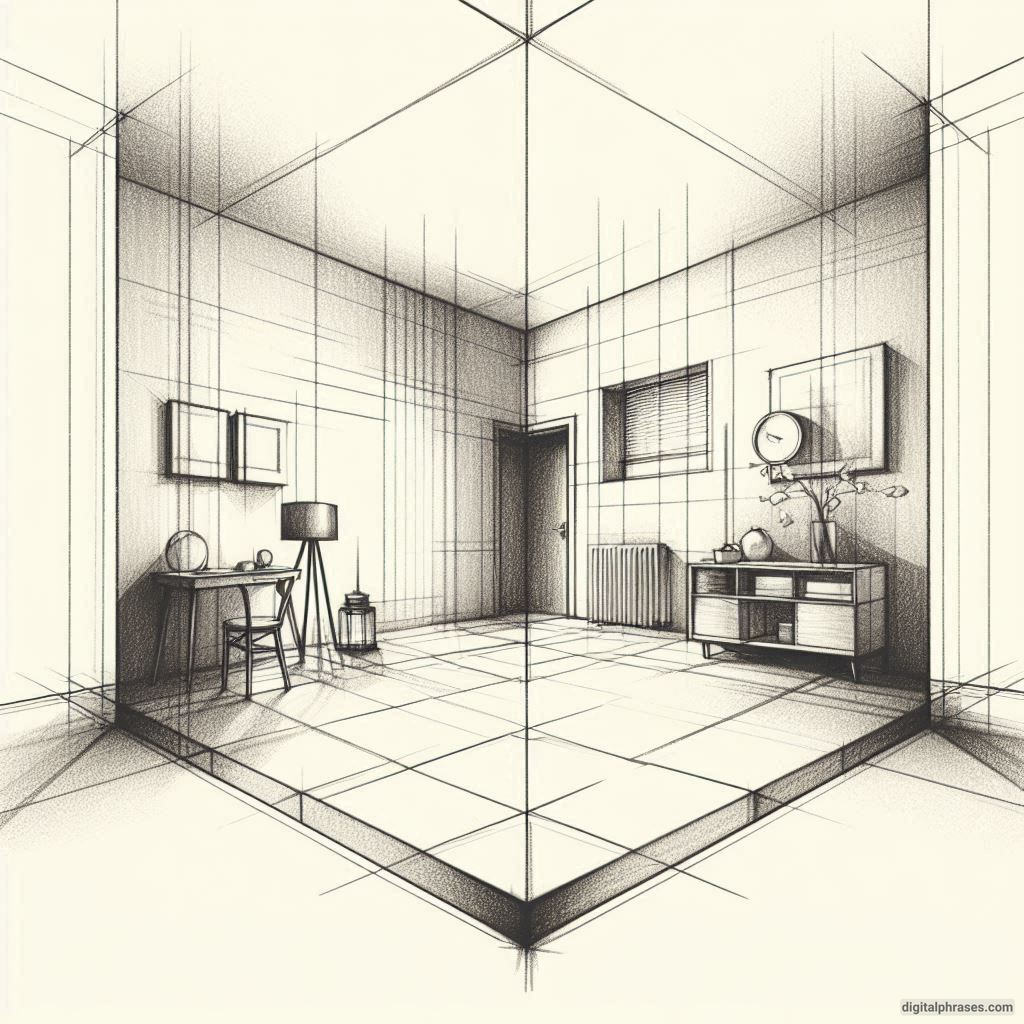
7
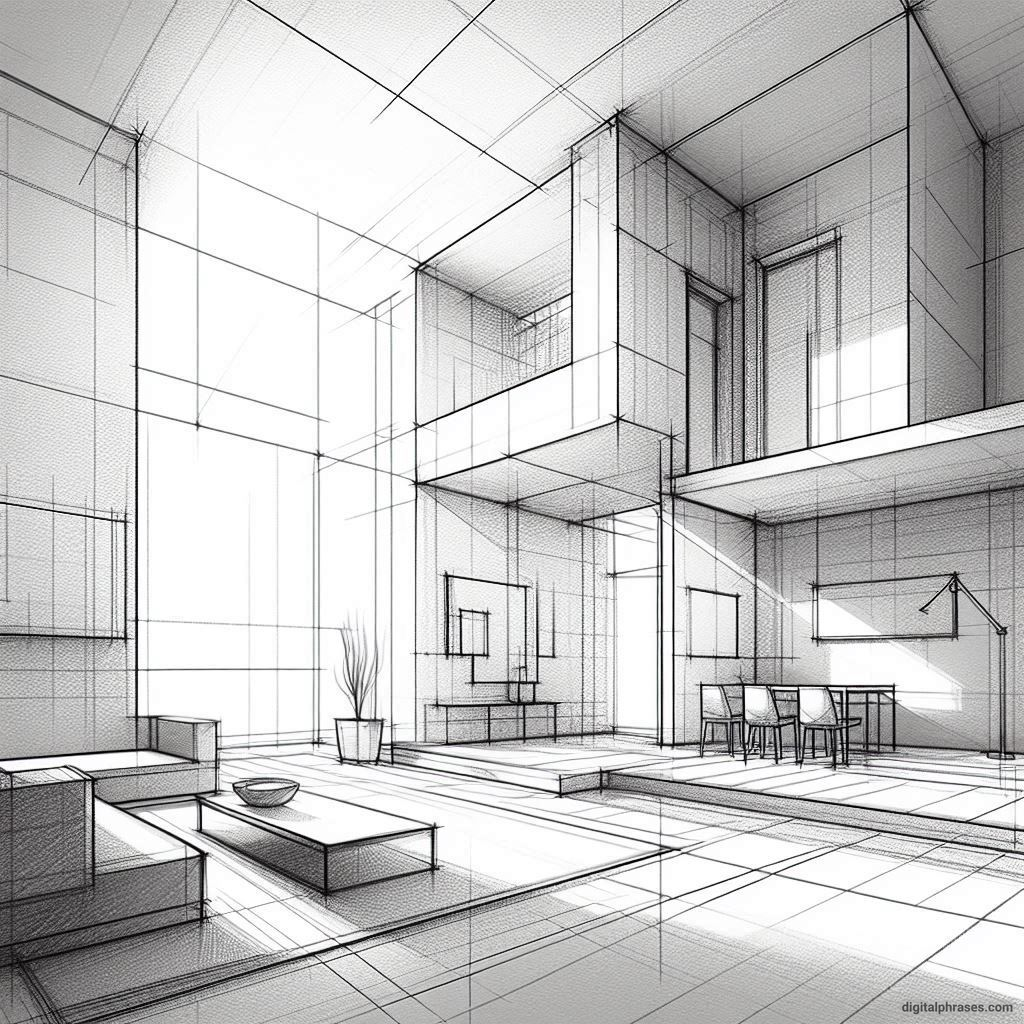
8
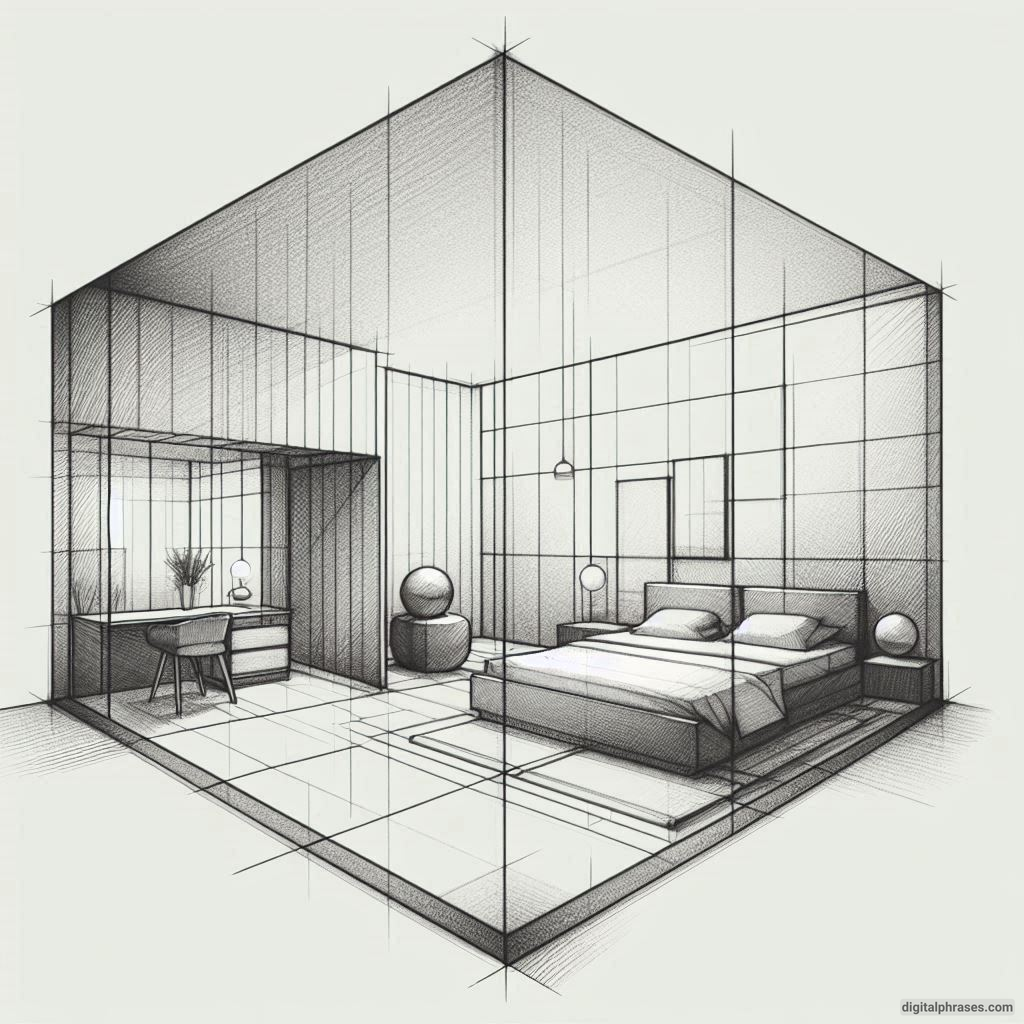
9
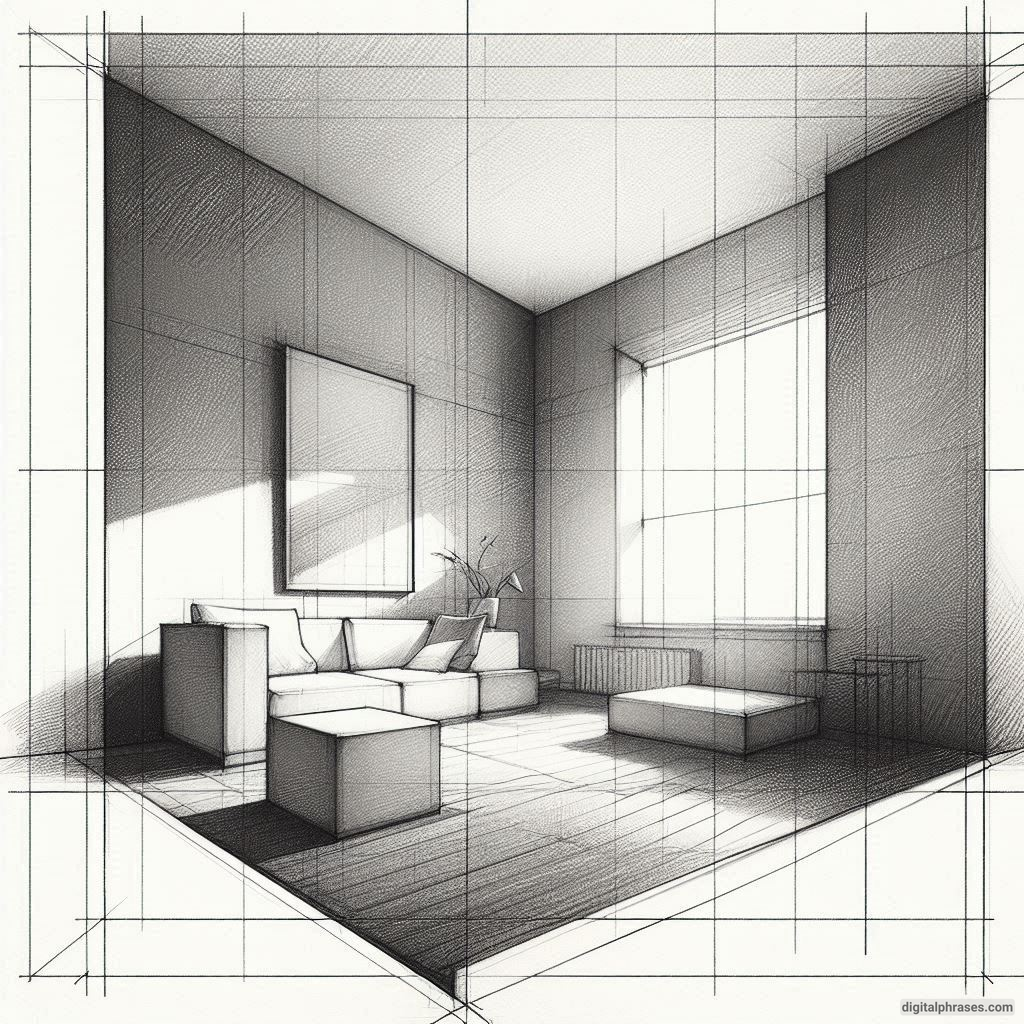
10
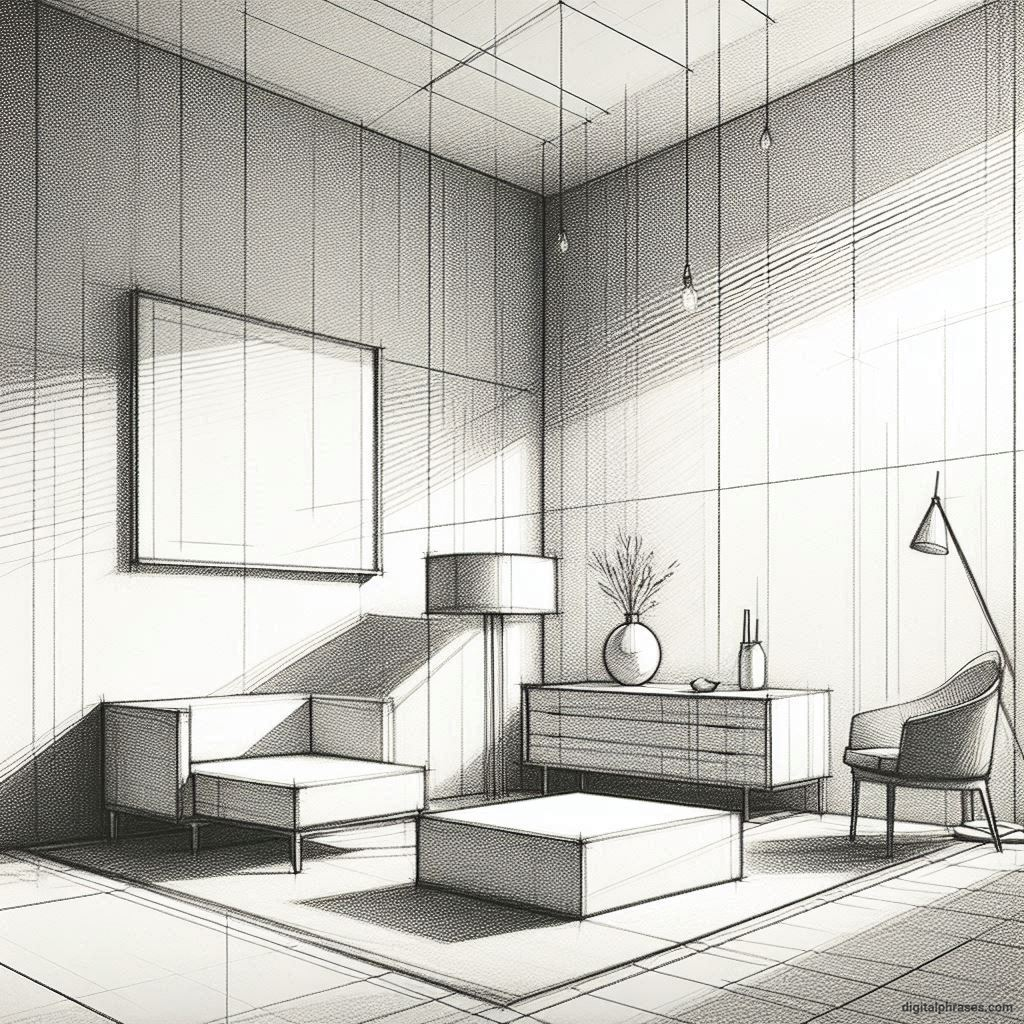
11
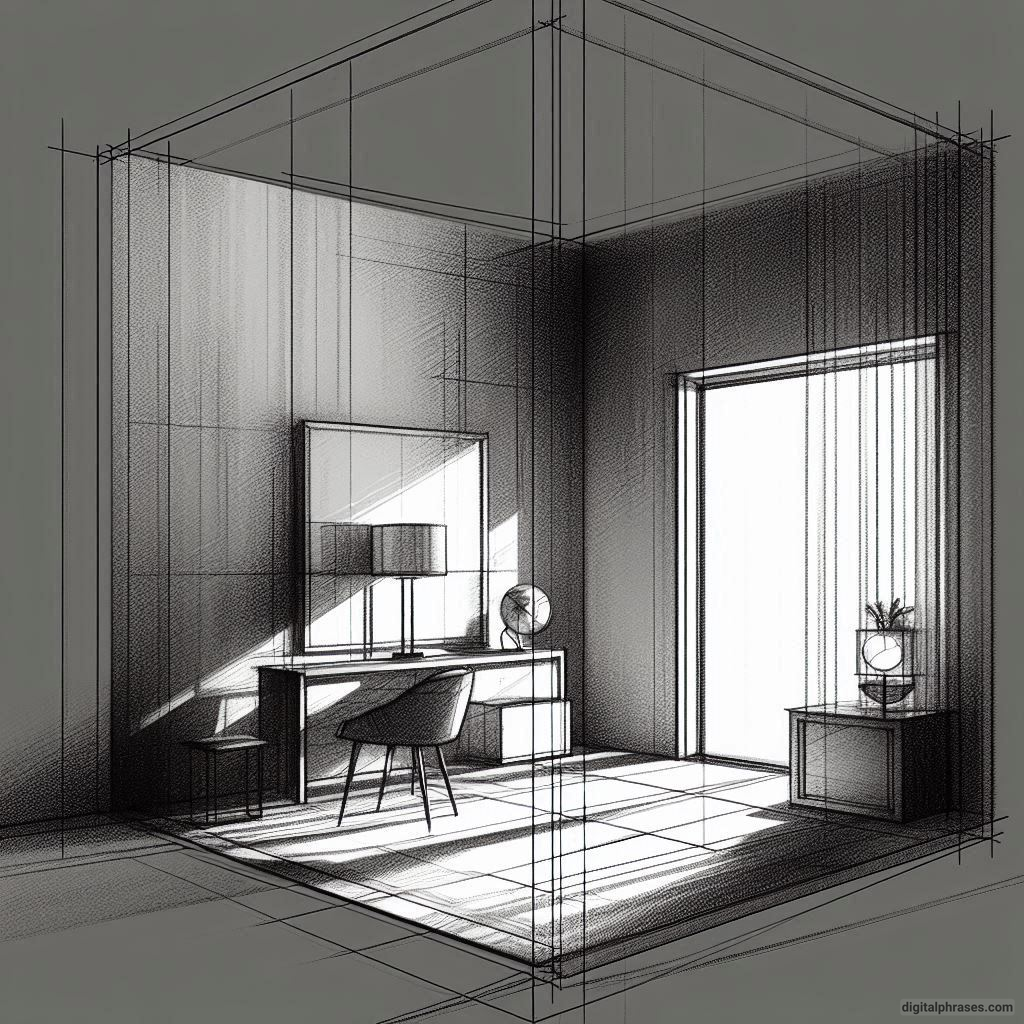
Two-Point Perspective Drawing Ideas of Bedroom Interiors
1
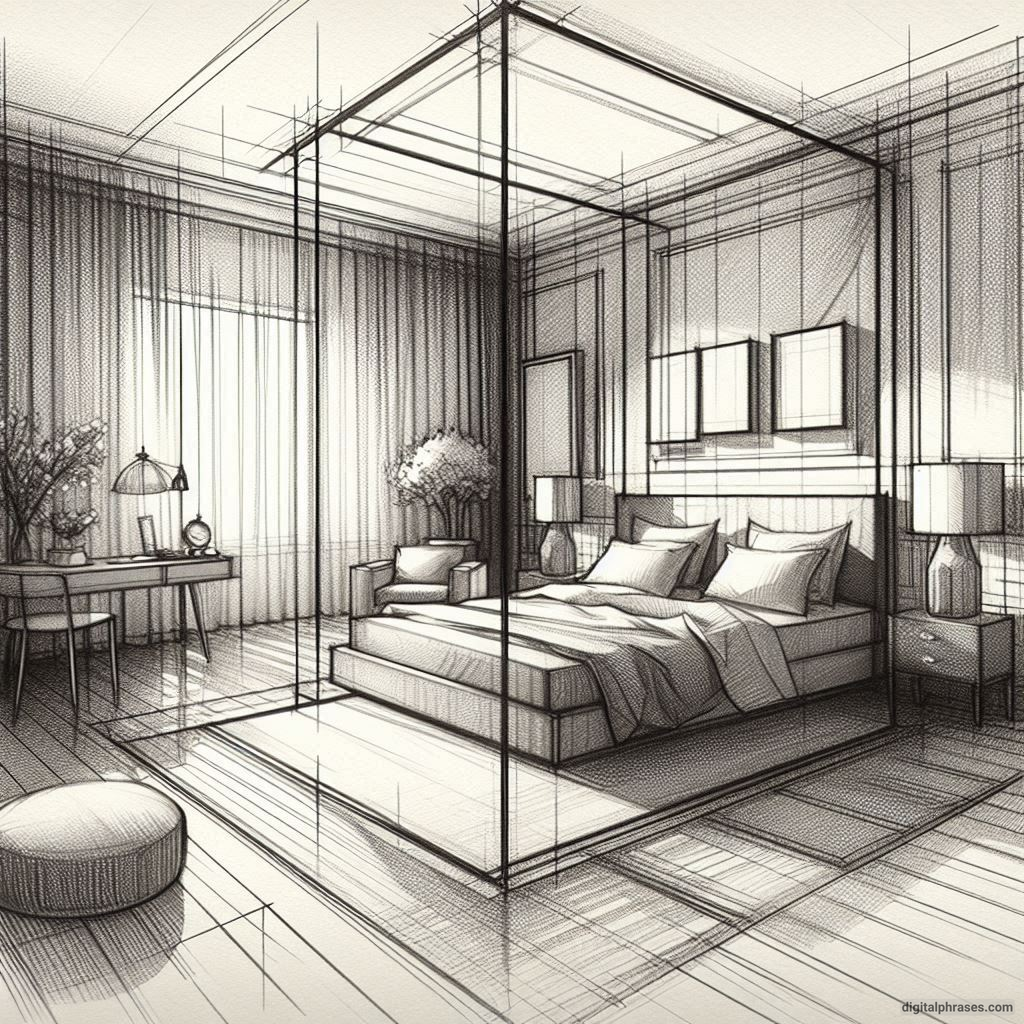
2
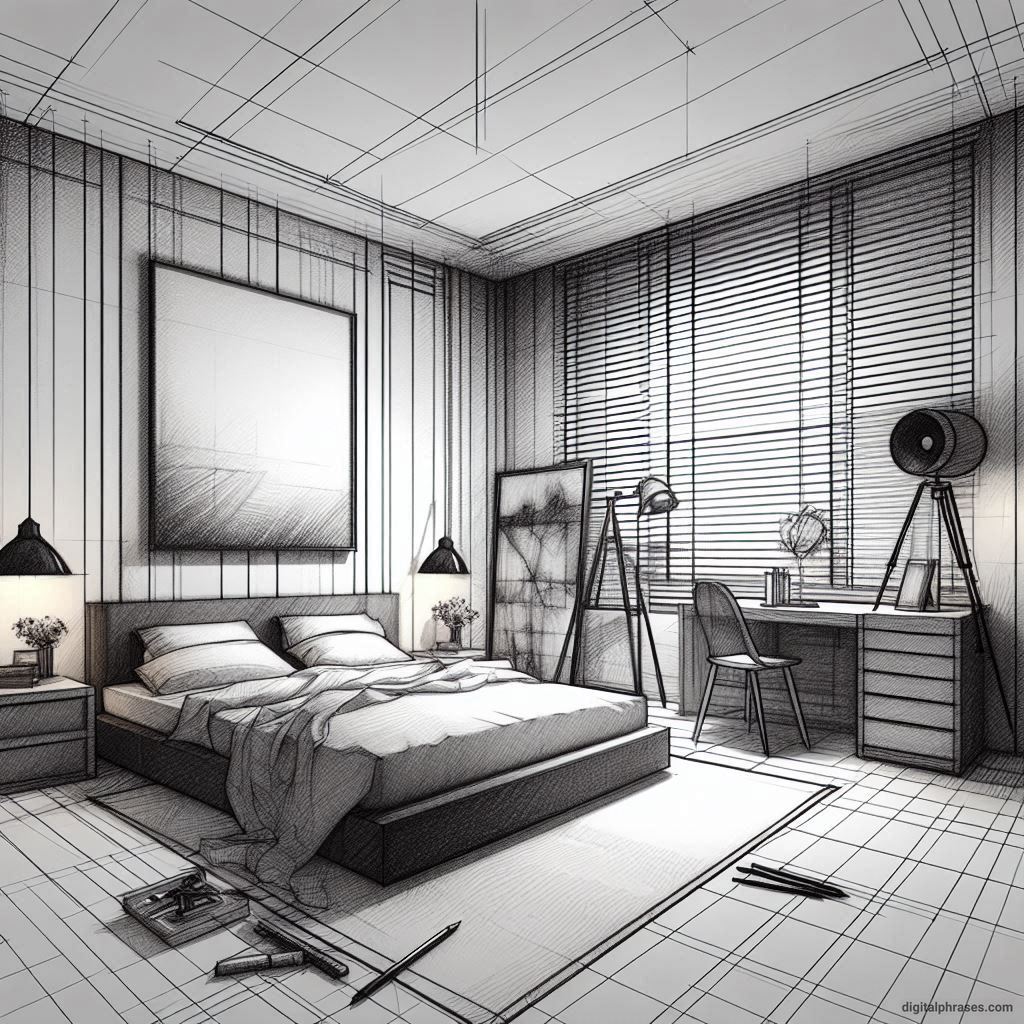
3
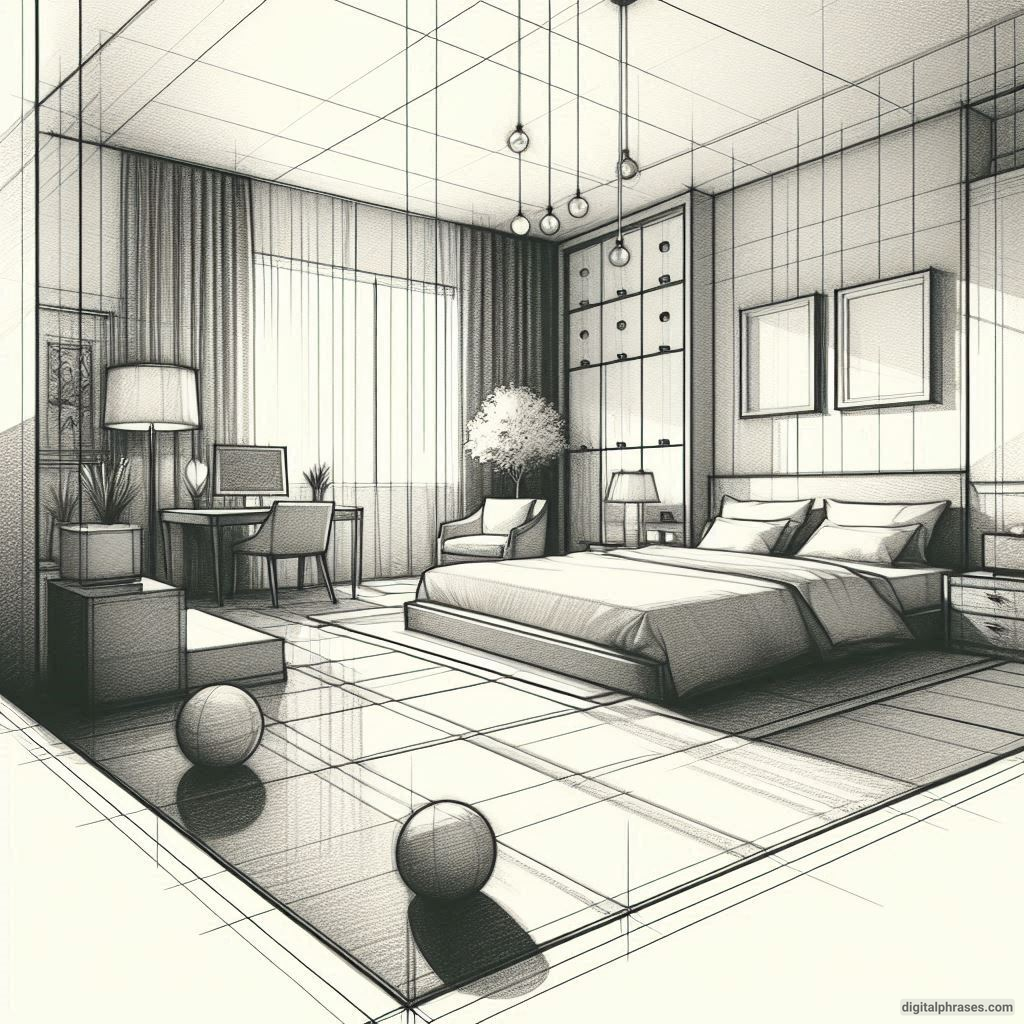
4
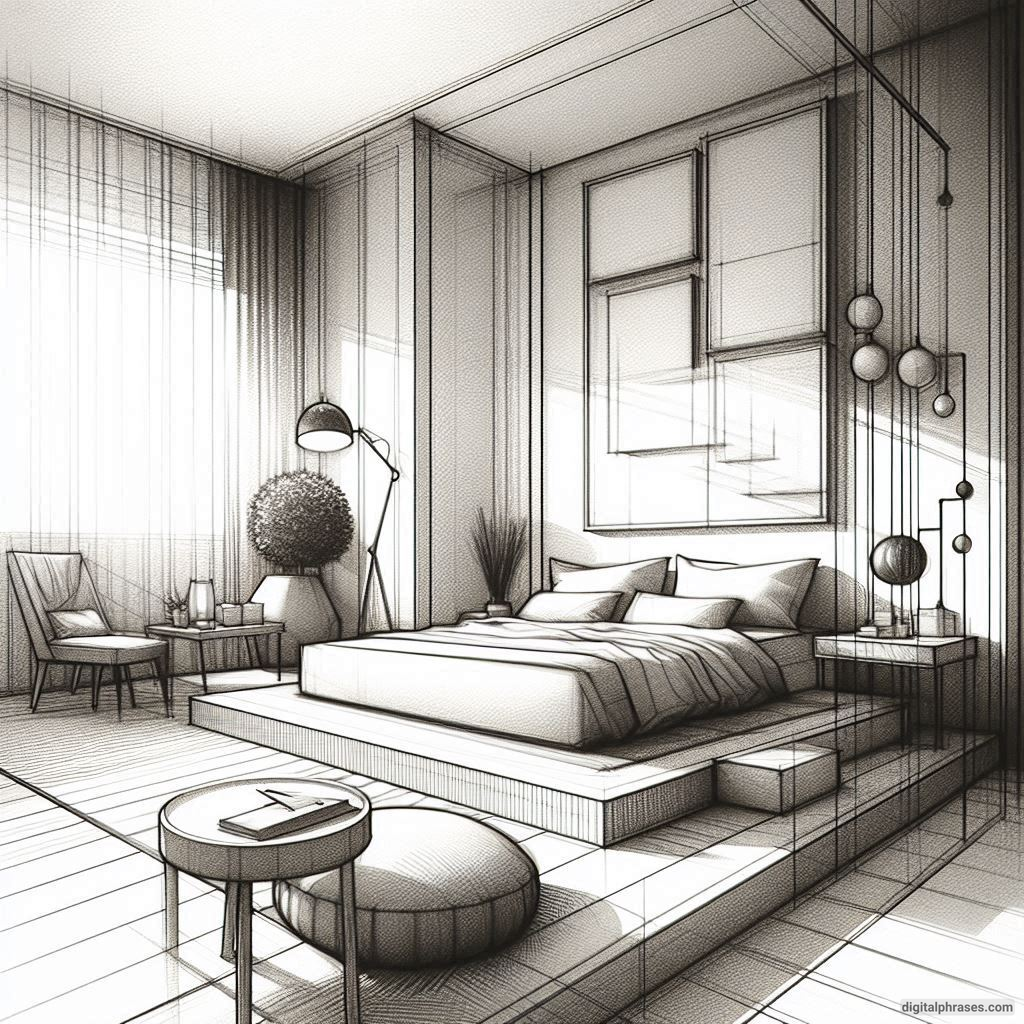
5
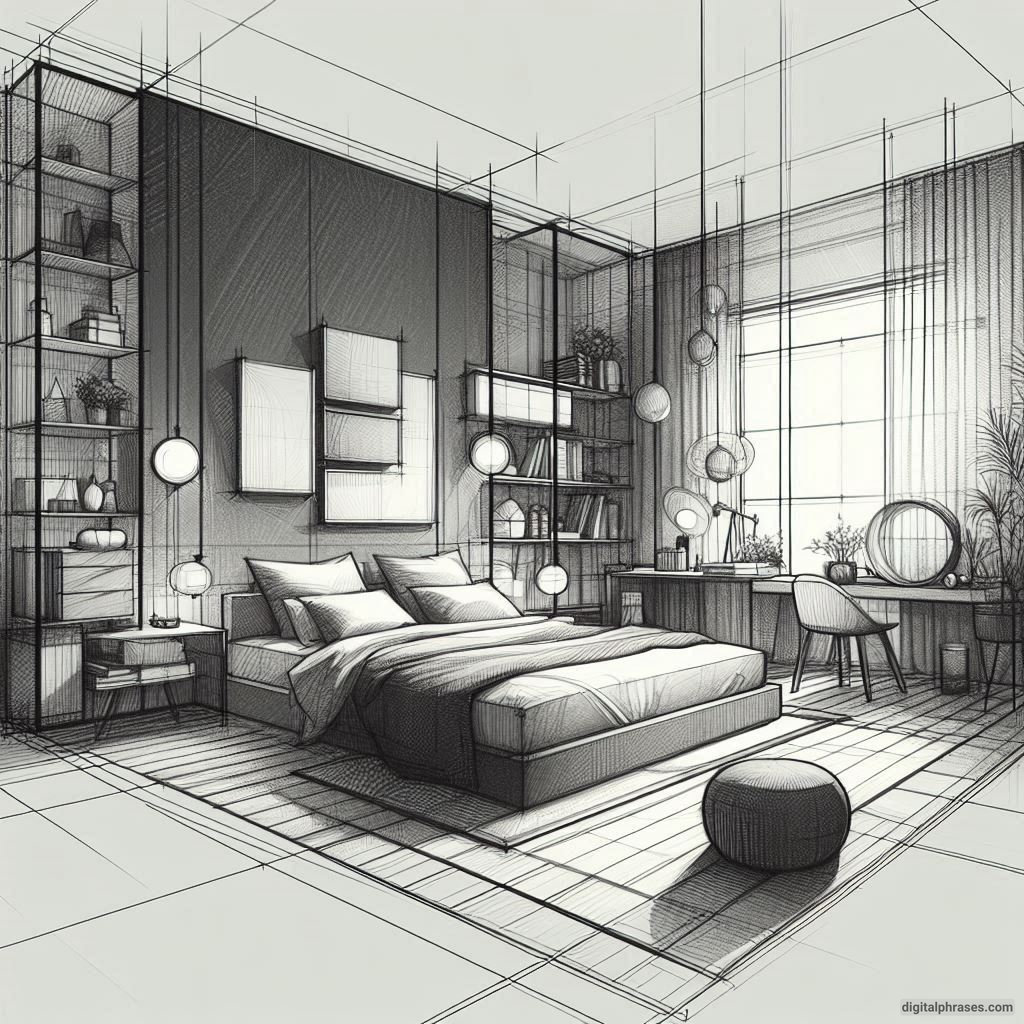
6
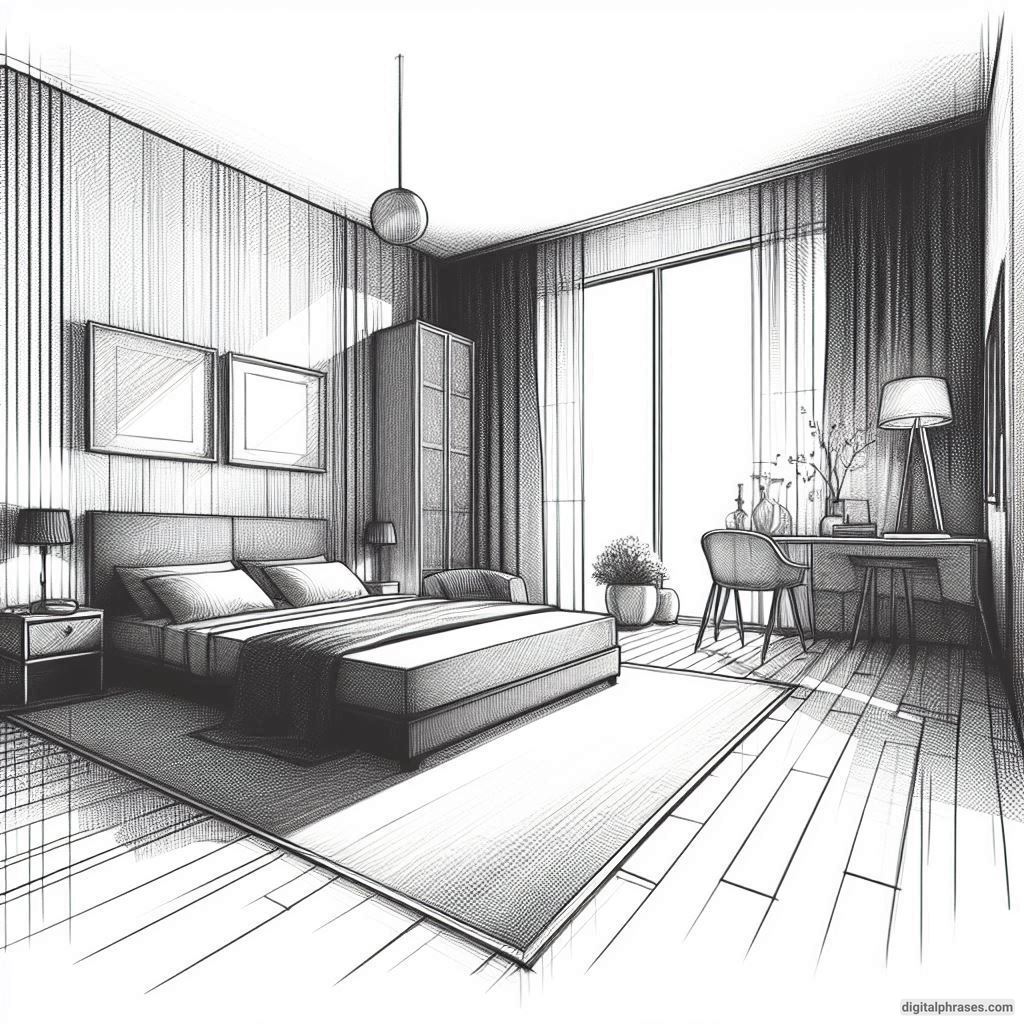
7
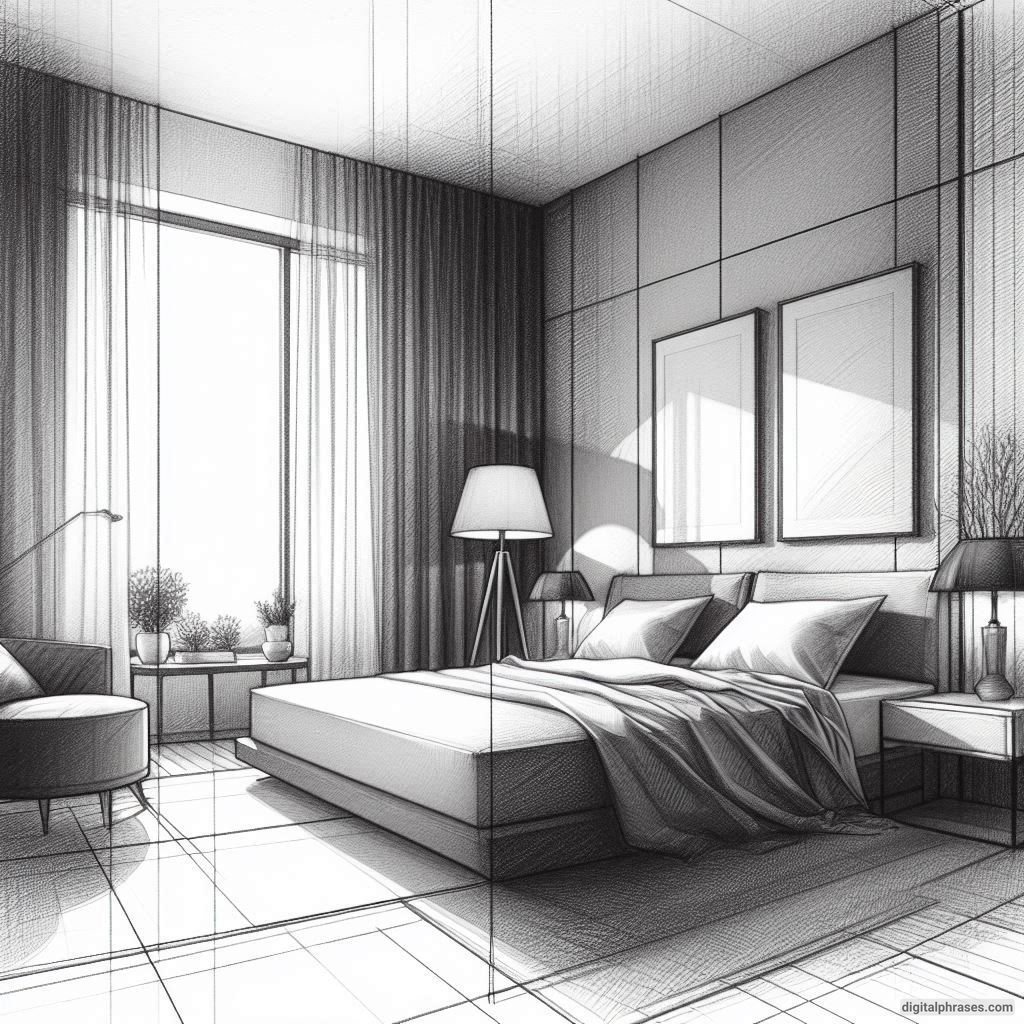
8
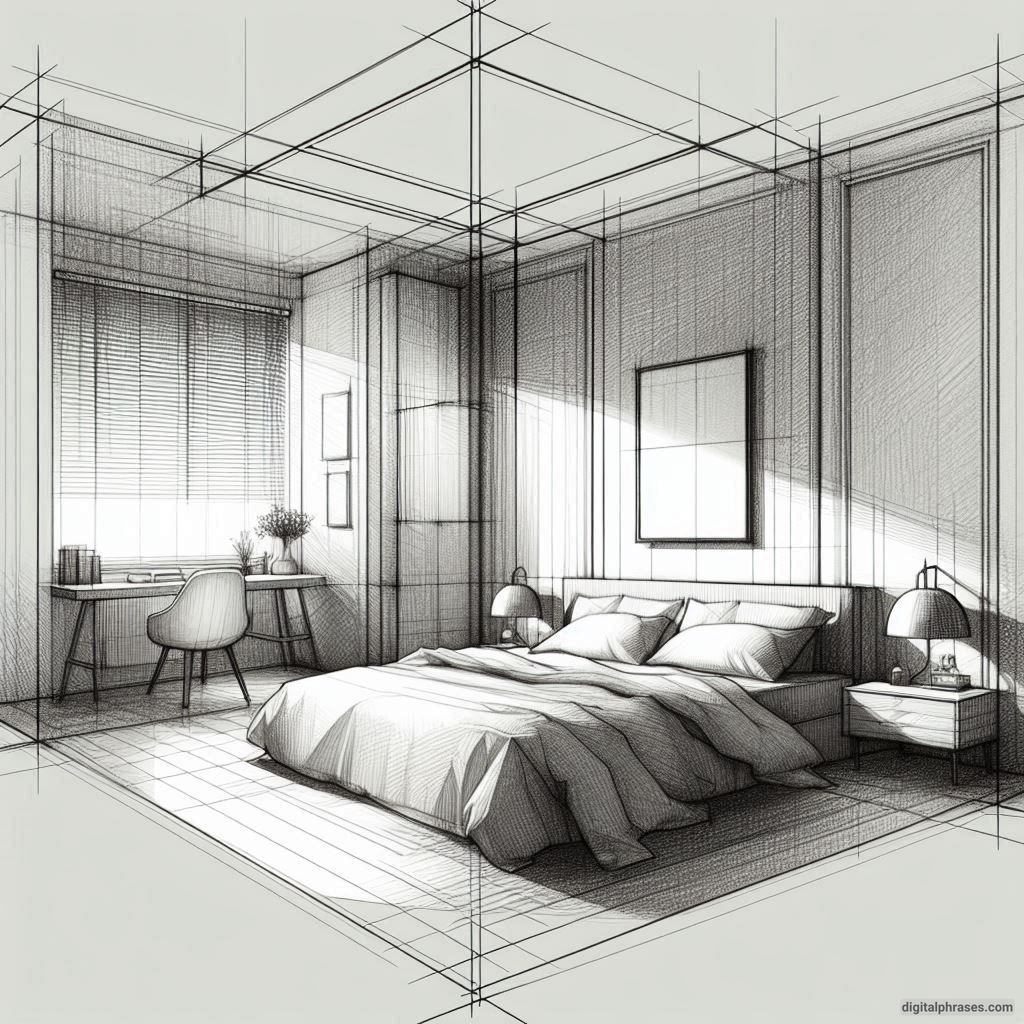
9
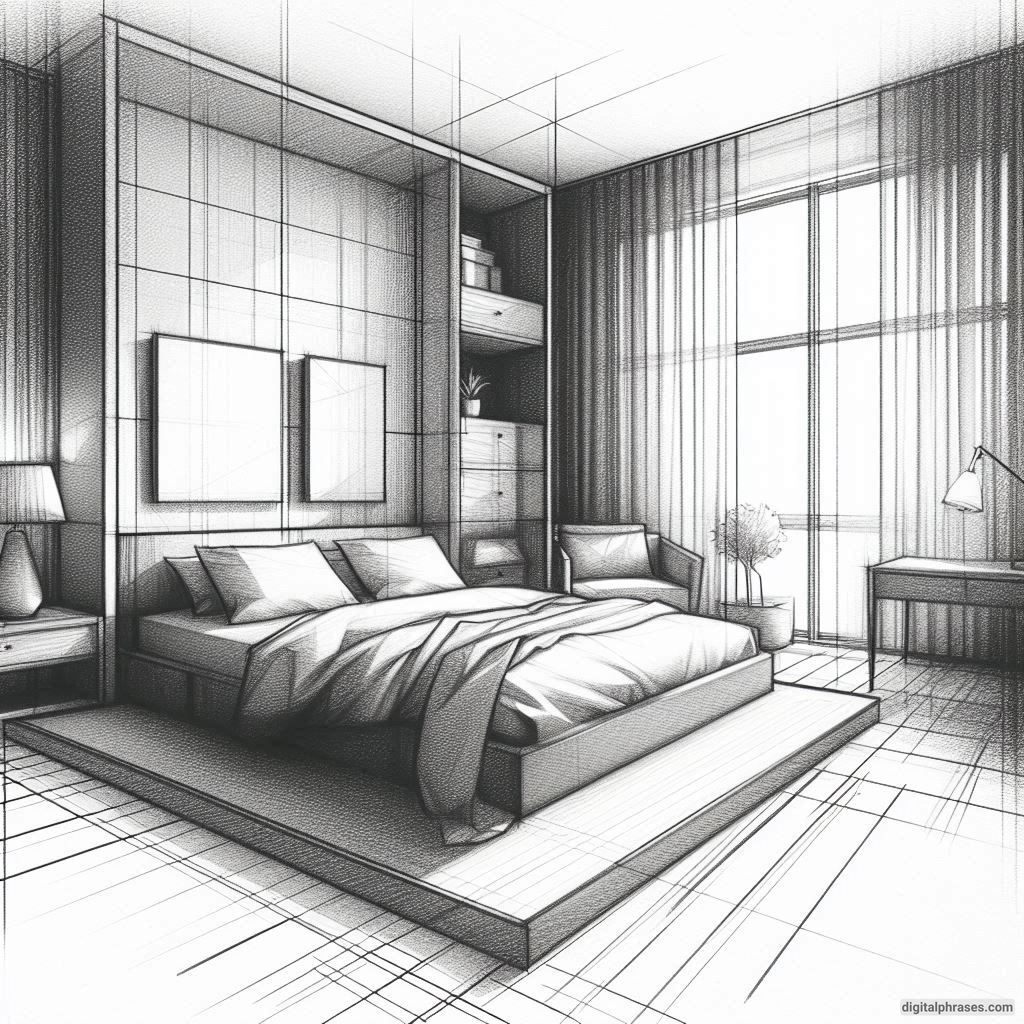
10
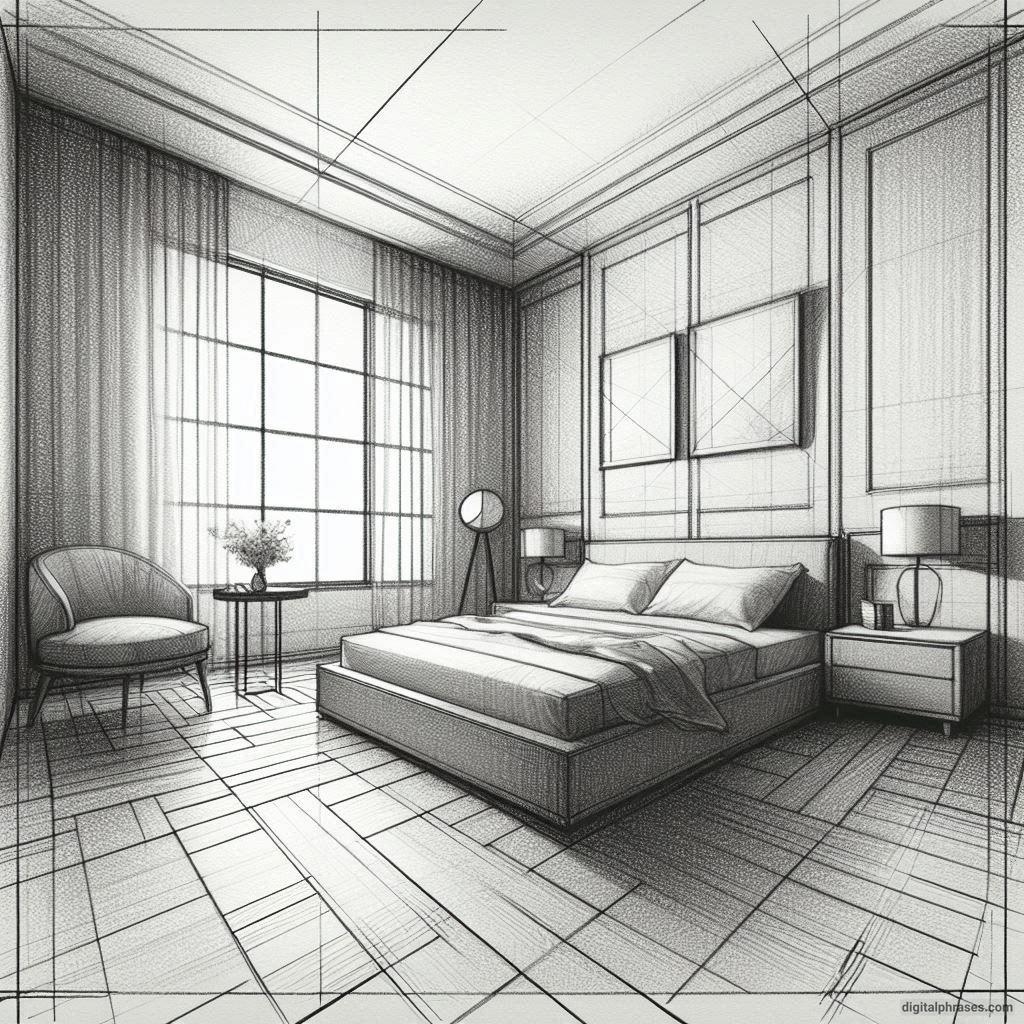
11
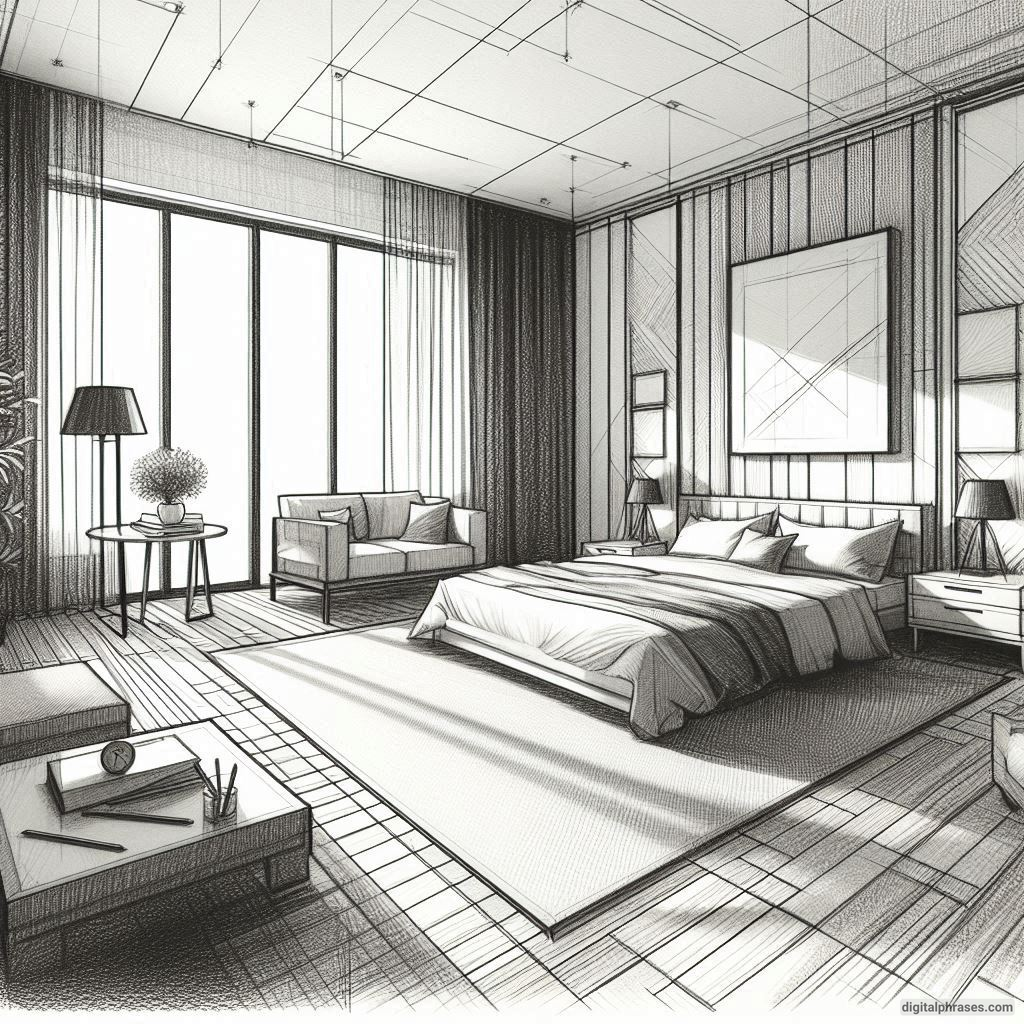
Tips and Tricks To Execute These Drawings To Perfection
Setting Up the Two-Point Perspective Grid
First things first, let’s get that perspective grid in place. In theory, this should be the easiest part: draw a horizon line, pick two vanishing points on either end, and then draw a few lines radiating from those points to create the framework for your drawing.
In reality, this step involves approximately 17 minutes of frantically searching for your ruler, which you swear was right here a minute ago. You eventually find it behind your sketchbook, but only after discovering that your eraser has mysteriously vanished. This is fine. We’re fine.
Now that you’ve got your ruler (and your sanity) back, draw that horizon line. The trick here is to avoid the temptation to place it too high or too low.
A middle-ground horizon line gives you that perfect Goldilocks zone where your bedroom drawing doesn’t look like you’re peering into it from an ant’s perspective or, conversely, hanging out on the ceiling like some kind of bedroom-dwelling bat.
Choosing Your Vanishing Points (A.K.A. Trying Not to Ruin Your Life)
Now comes the fun part: picking the two vanishing points.
These are like the bedposts of your drawing, holding the whole thing together. However, choosing the wrong spots for these points is the artistic equivalent of dropping your ice cream cone on the ground.
One false move, and suddenly your bedroom looks like it’s either collapsing in on itself or expanding into the fourth dimension.
I find that spacing the vanishing points wayyyy out toward the edges of the paper helps keep things looking more realistic.
Of course, this means I often end up drawing on my desk, the floor, and occasionally, my own hand. But that’s a small price to pay for a room that doesn’t look like it’s been hit by an earthquake.
Drawing the Basic Structure
Okay, so you’ve got your vanishing points set up, your perspective lines radiating out like laser beams, and your confidence is at an all-time high. Now comes the part where you actually start sketching the walls, floor, and ceiling of your bedroom.
Here’s where you need to take a deep breath, channel your inner Zen master, and hope to whatever deity you believe in that you don’t mess it up.
I always start with the back wall because it’s the anchor of the whole room.
Once that’s in place, you can start drawing the side walls receding towards your vanishing points.
Just remember: every line that’s supposed to be horizontal should actually not be horizontal at all. It should head toward one of those vanishing points like it’s late for a very important meeting.
At this point, if you’re anything like me, you’ll start second-guessing every single line you draw. “Is that really going to the vanishing point?” you’ll mutter to yourself, squinting at your paper like it just insulted your mother. “Or is it off by half a degree? Oh god, it’s ruined, isn’t it?”
Spoiler alert: it’s not ruined.
Just breathe.
Adding Furniture
Now that you’ve got your basic room structure, it’s time to add some furniture. And what’s a bedroom without a bed? Easy, right? Hahahaha. Wrong. Drawing a bed in two-point perspective is like trying to solve a Rubik’s Cube while riding a unicycle.
The bed, of course, needs to follow the perspective lines, which means every single angle needs to be aligned with your vanishing points. I like to start with a simple rectangular box shape to get the basic volume of the bed down. Once you have that, you can add in the mattress, the pillows, and, if you’re feeling particularly ambitious, some crumpled blankets that look like they’ve been thrown there by a sleep-deprived demon.
Oh, and don’t even get me started on drawing the headboard. I once spent a solid 45 minutes trying to draw a tufted headboard that ended up looking like a giant marshmallow had swallowed the bed whole. Pro tip: keep it simple. Your sanity will thank you.
The Dreaded Wardrobe
Next up: the wardrobe. This is the moment you realize that, for some reason, you’ve chosen to draw a massive, ornate wardrobe that wouldn’t look out of place in Beauty and the Beast.
Why?
Because you thought it would look cool. That’s why.
Here’s where things get really interesting. You have to draw the wardrobe so it lines up with the perspective grid and make it look like it’s three-dimensional.
Draw a vertical line for the edge closest to you, and then draw the sides receding towards your vanishing points.
If you’re like me, you’ll end up with a wardrobe that looks like it’s going to tip over and crush you in your sleep. But hey, at least it’s in perspective!
Adding details like handles, drawers, and intricate carvings? Yeah, that’s where I usually say, “Nope, we’re going minimalist.”
Windows and Doors
At this point, you’re probably thinking, “It’s a bedroom! It needs windows and a door, right?”
Sure, why not.
But let me tell you: windows and doors are sneaky little jerks. They seem innocent, but drawing them in perspective is like trying to teach a cat to fetch.
The trick is to start with a basic rectangular shape and then make sure every corner is angled toward a vanishing point.
Simple, right?
WRONG.
Because now you have to add details like window panes and door frames, and suddenly it’s 2 AM, you’re on your third cup of coffee, and you’re seriously questioning your life choices.
Adding the Finishing Touches
Congratulations, you’ve survived the hardest parts! Now it’s time to add the finishing touches that make your bedroom actually look like, well, a bedroom.
This includes little things like bedside tables, lamps, and maybe a rug that ties the room together (but definitely does not obey any of the perspective rules).
One of my favorite tricks is to add some shadowing to give the room a sense of depth.
But beware: too much shading and your cozy bedroom starts looking like a scene from a horror movie. You want just enough to suggest that, yes, there’s a light source in this room, but no, it’s not a creepy flickering bulb.
Accepting Your Masterpiece
Here’s the final step: put down your pencil, take a step back, and admire your work.
Sure, maybe the bed looks like it’s hovering slightly above the ground. And maybe the wardrobe is a little lopsided. And maybe you accidentally drew the window at an angle that suggests the house is slowly sliding into the sea.
But you know what?
It’s your bedroom drawing, and it’s beautiful in its own chaotic way.
The truth is, drawing a bedroom in two-point perspective is not for the faint of heart. It’s a rollercoaster of emotions that will test your patience, your pencil’s durability, and your will to live.
But at the end of the day, there’s nothing quite as satisfying as seeing that room come together, even if it’s held together by sheer willpower and a lot of eraser shavings.
So, if you’re about to embark on your own journey into the world of two-point perspective bedroom drawings, I have only one piece of advice: have fun with it.
Because if you’re not laughing maniacally while trying to figure out how to draw a dresser drawer in perspective, are you really even living?
Now, if you’ll excuse me, I need to go find my eraser. I’m 90% sure it’s hiding behind the bed I just drew.


