48 Tree Texture Drawings
Drawing the textures of trees is a fantastic way to improve your artistic skills while exploring the natural world.
Trees are incredibly diverse, and their bark, leaves, and overall structure can inspire countless creative ideas.
Here are some of them to inspire you.
Tree Texture Drawing Ideas
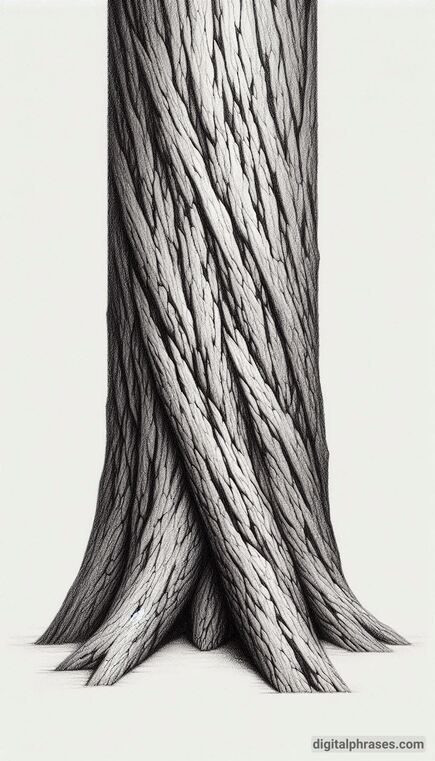
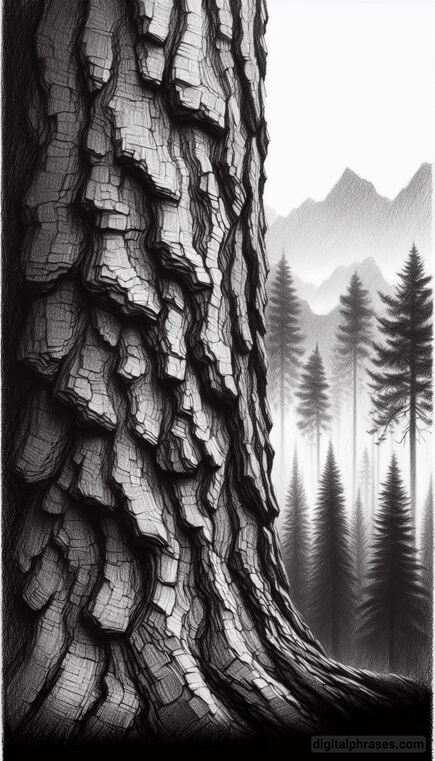
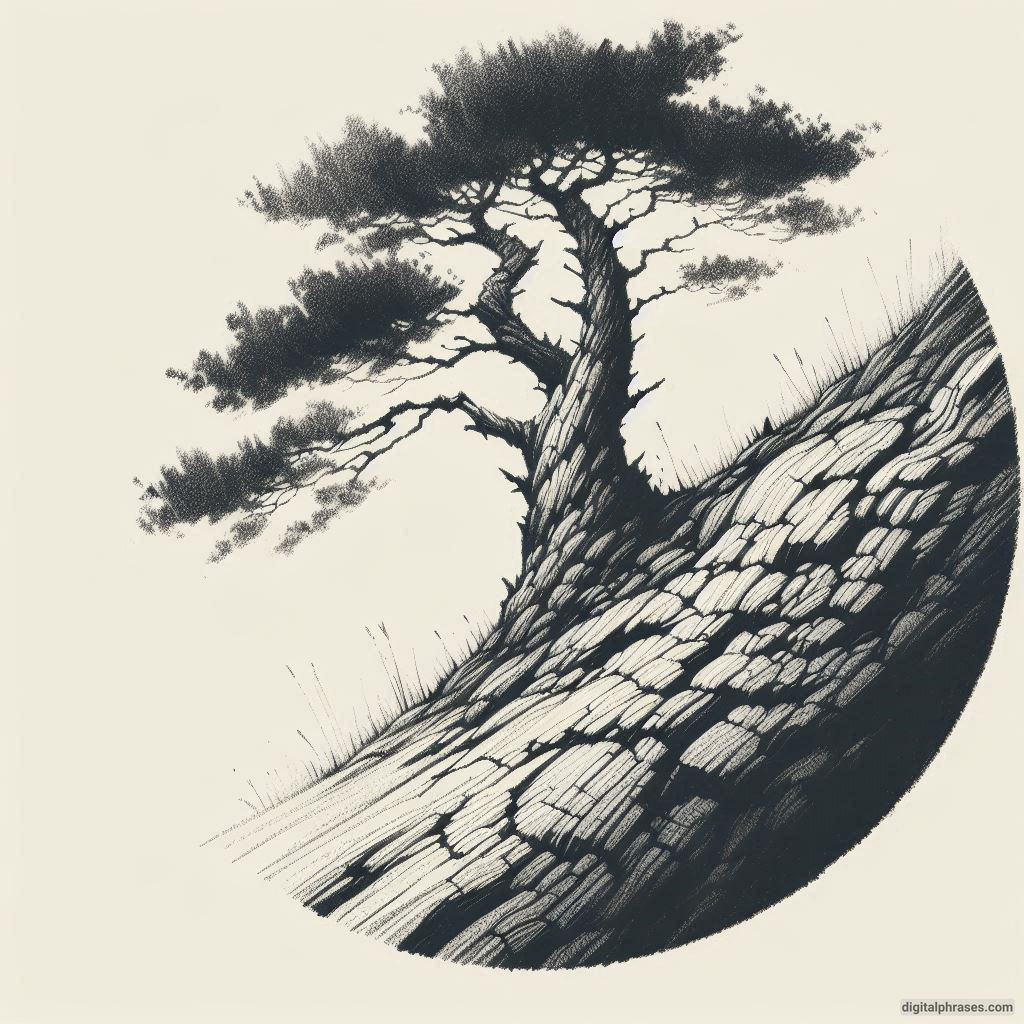
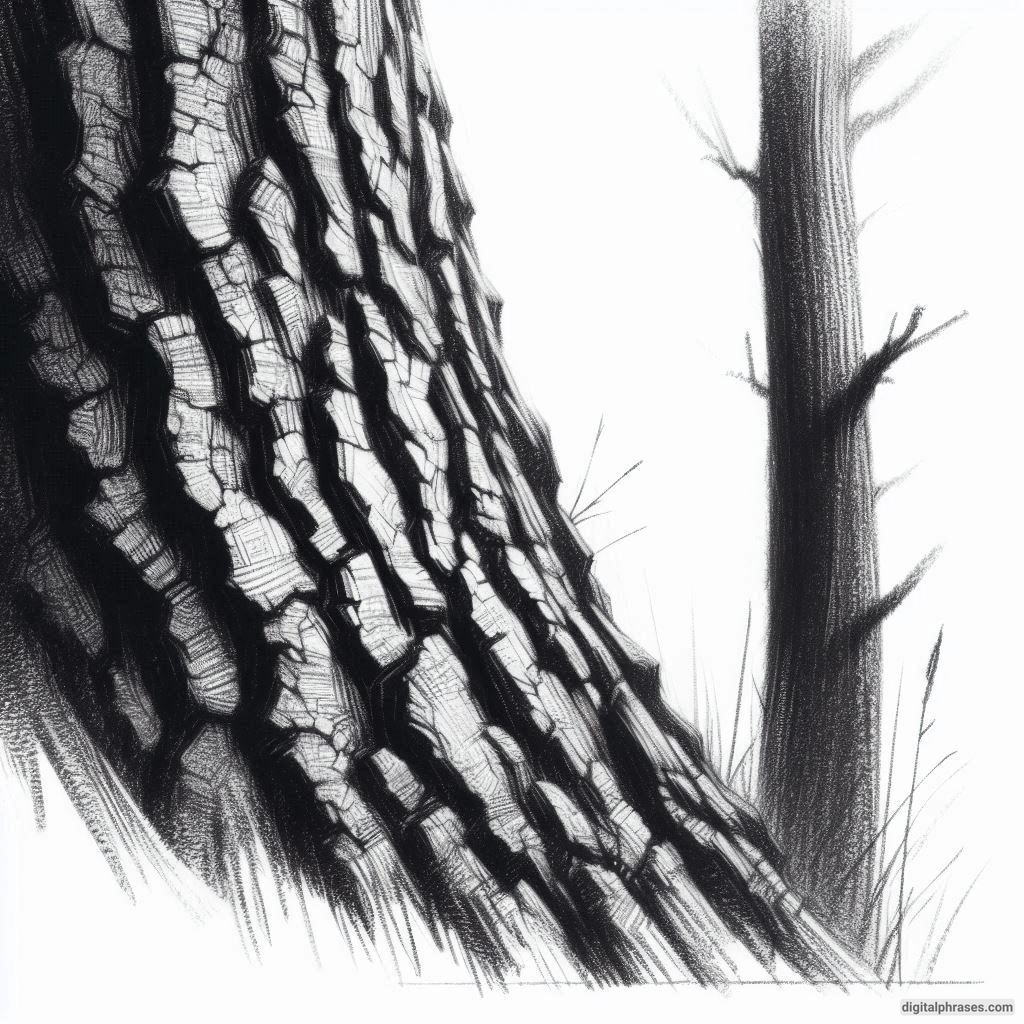
1. Rough Bark Patterns
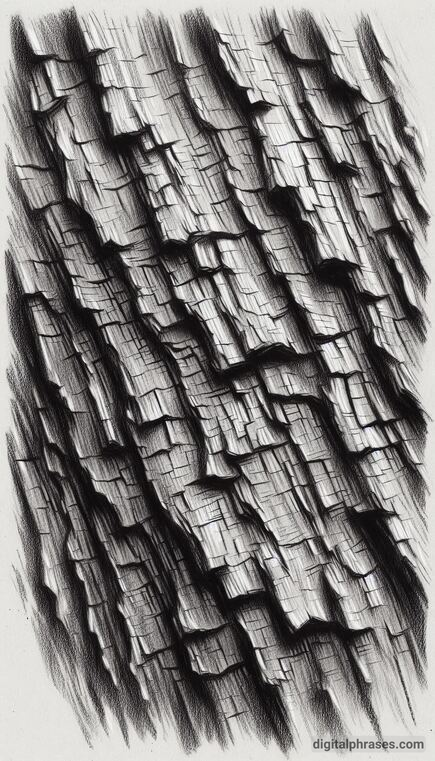
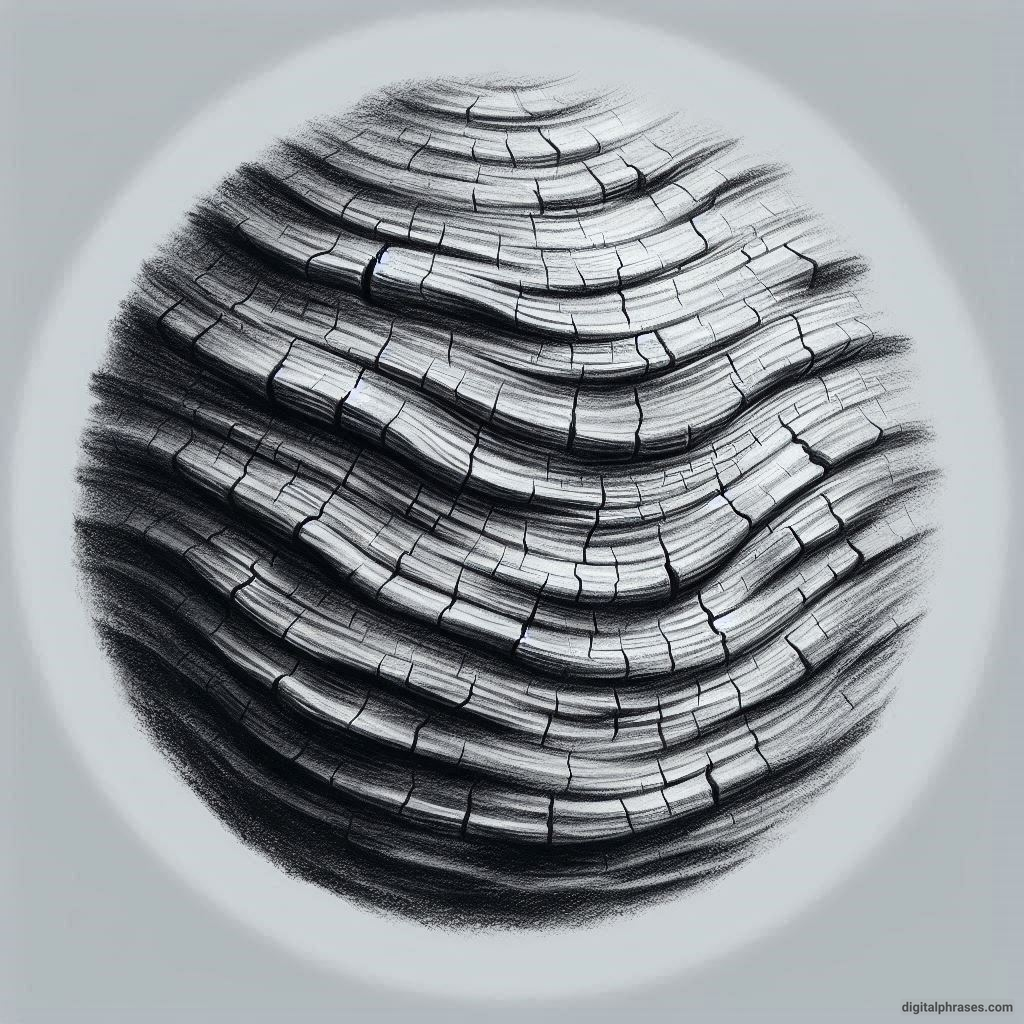
Tree bark comes in all shapes and textures. Start by observing the bark of a tree, such as an oak or a pine. Notice the deep grooves, cracks, and ridges.
Use pencils to sketch these textures with light and dark shading. Add layers to mimic the rough, uneven surface. This technique can make your drawings look realistic and full of life.
Tip: Focus on capturing the irregularity of the bark. No two patches are the same!
1
2
3
4
5
6
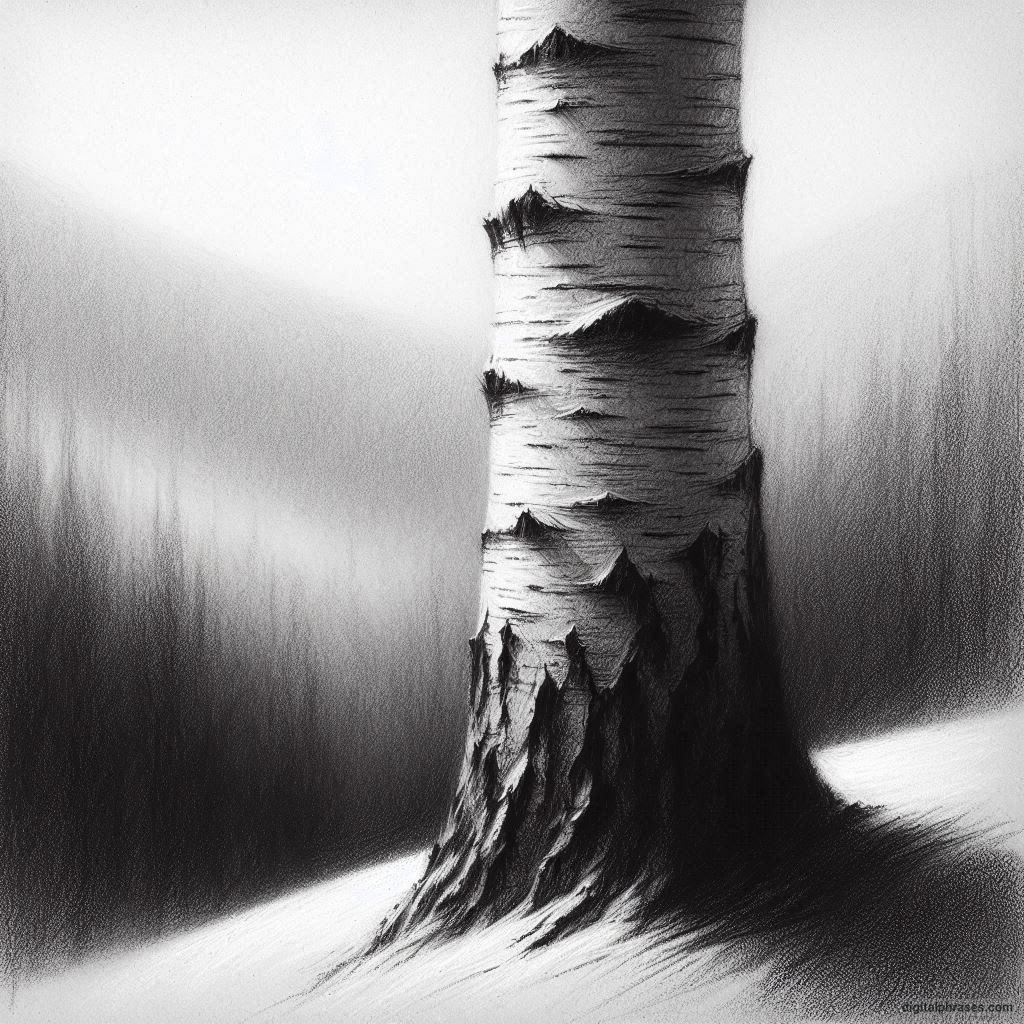
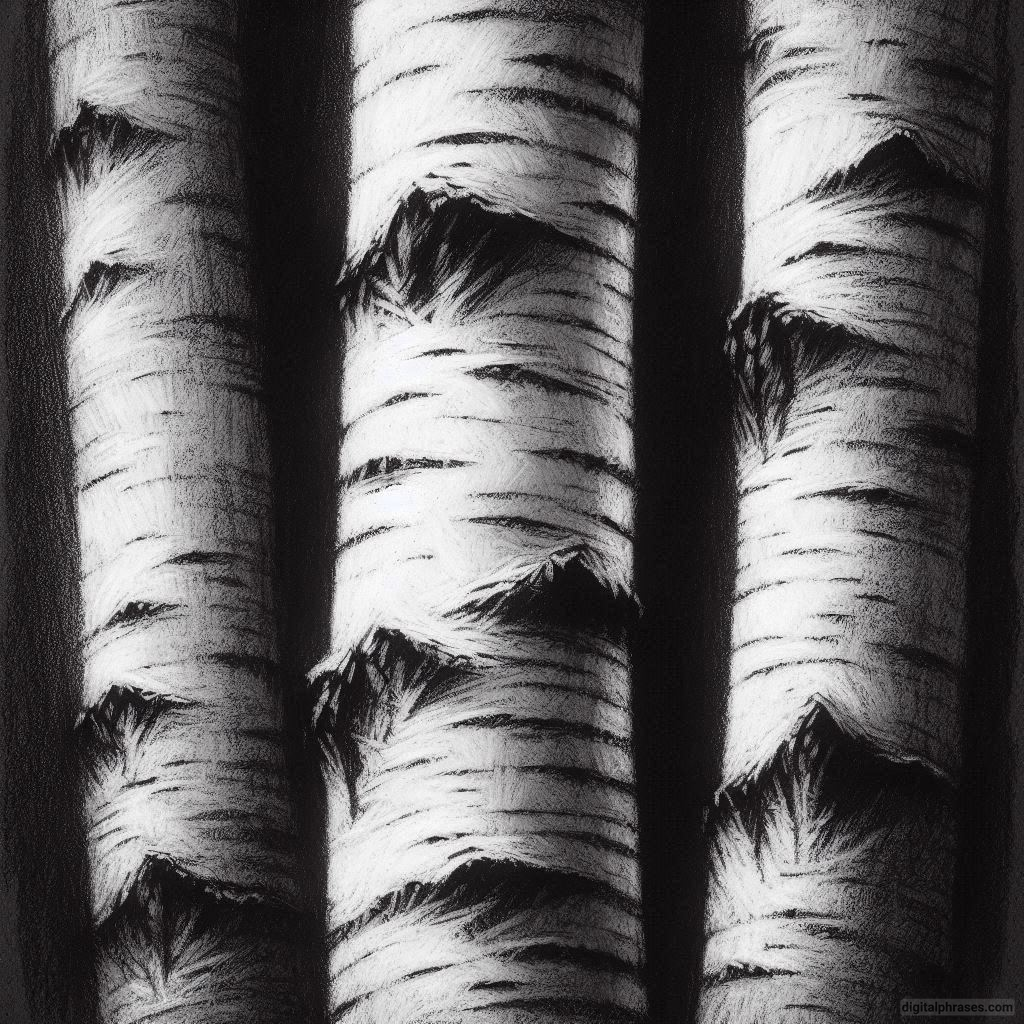
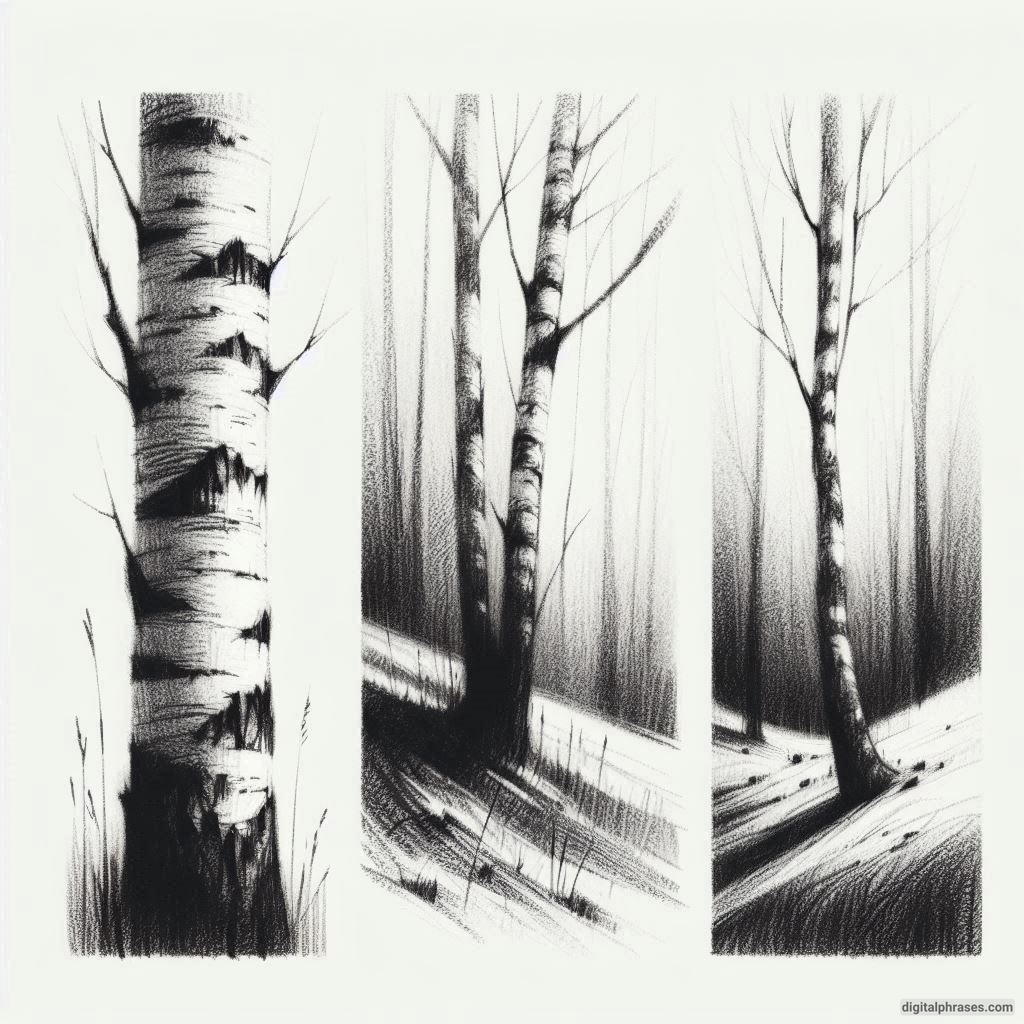
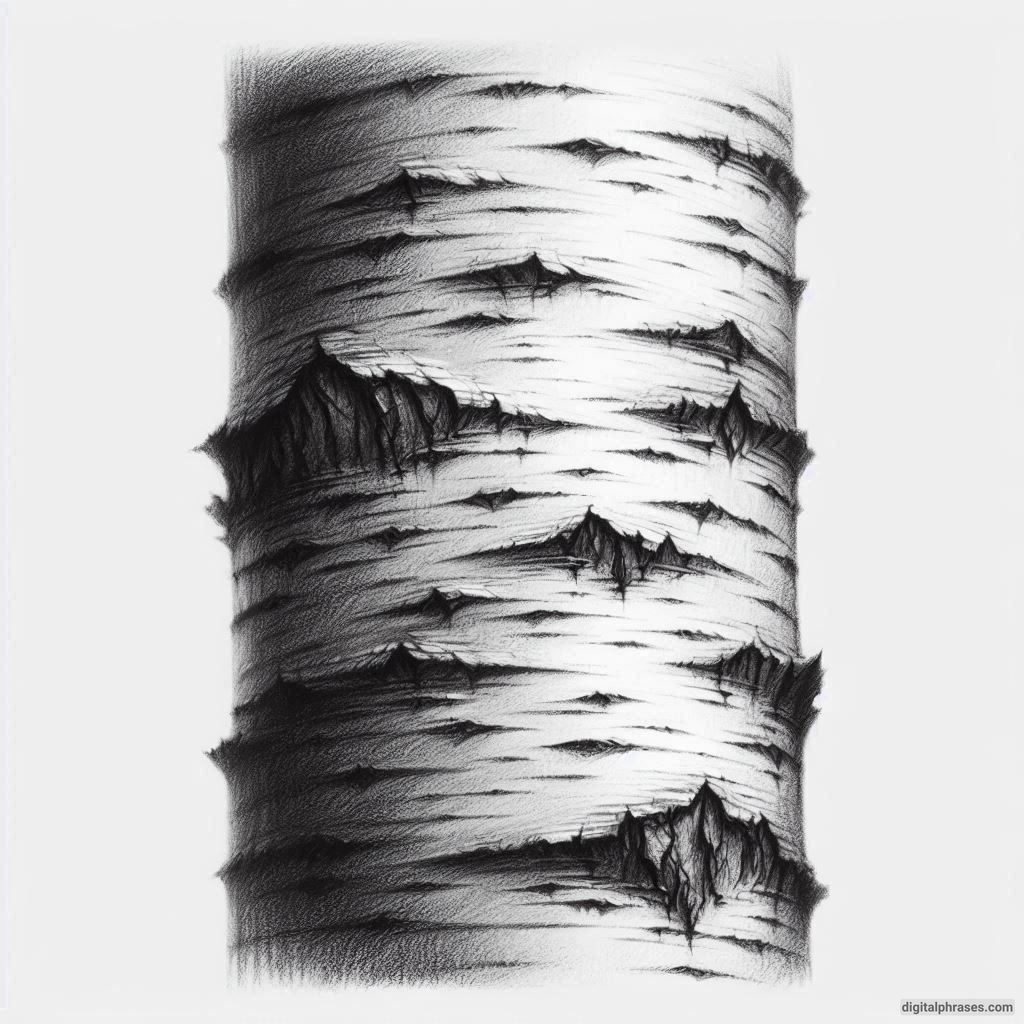
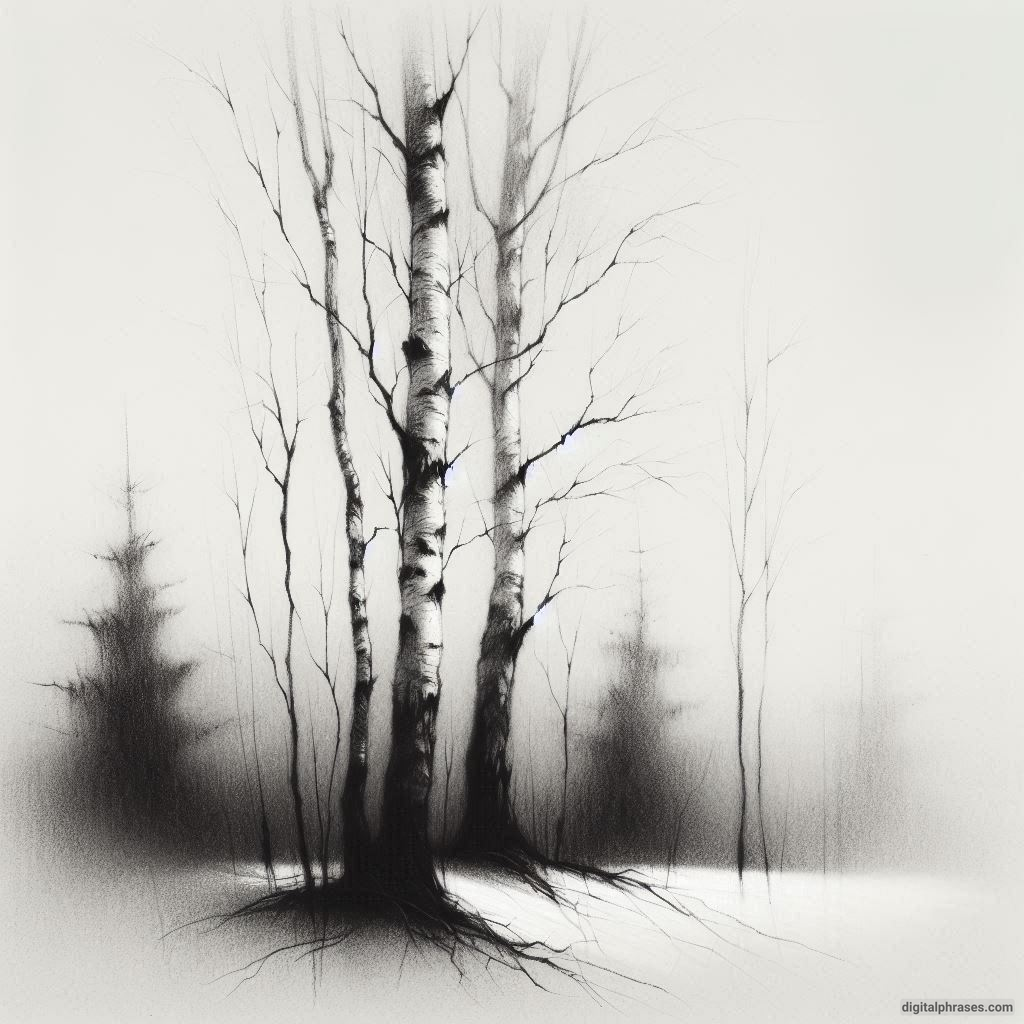
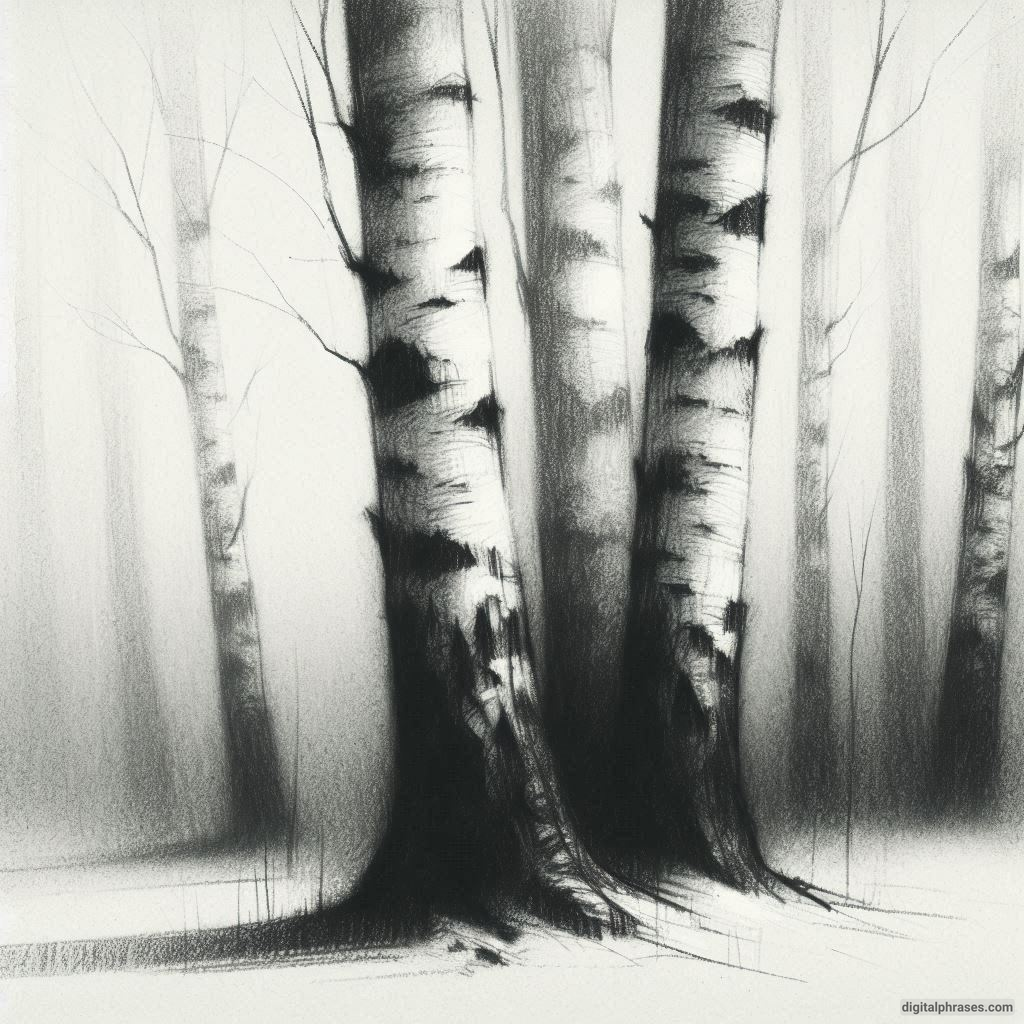
2. Smooth Bark of Birch Trees
Birch trees have a unique smooth bark with thin, horizontal lines and small dark patches. Start with a light base color and add fine details for the peeling effect that birch bark often displays.
A white pencil or chalk on dark paper works well for this texture.
Challenge yourself: Try to capture the paper-like quality of birch bark by experimenting with layering techniques.
1
2
3
4
5
6
3. Knots and Whorls
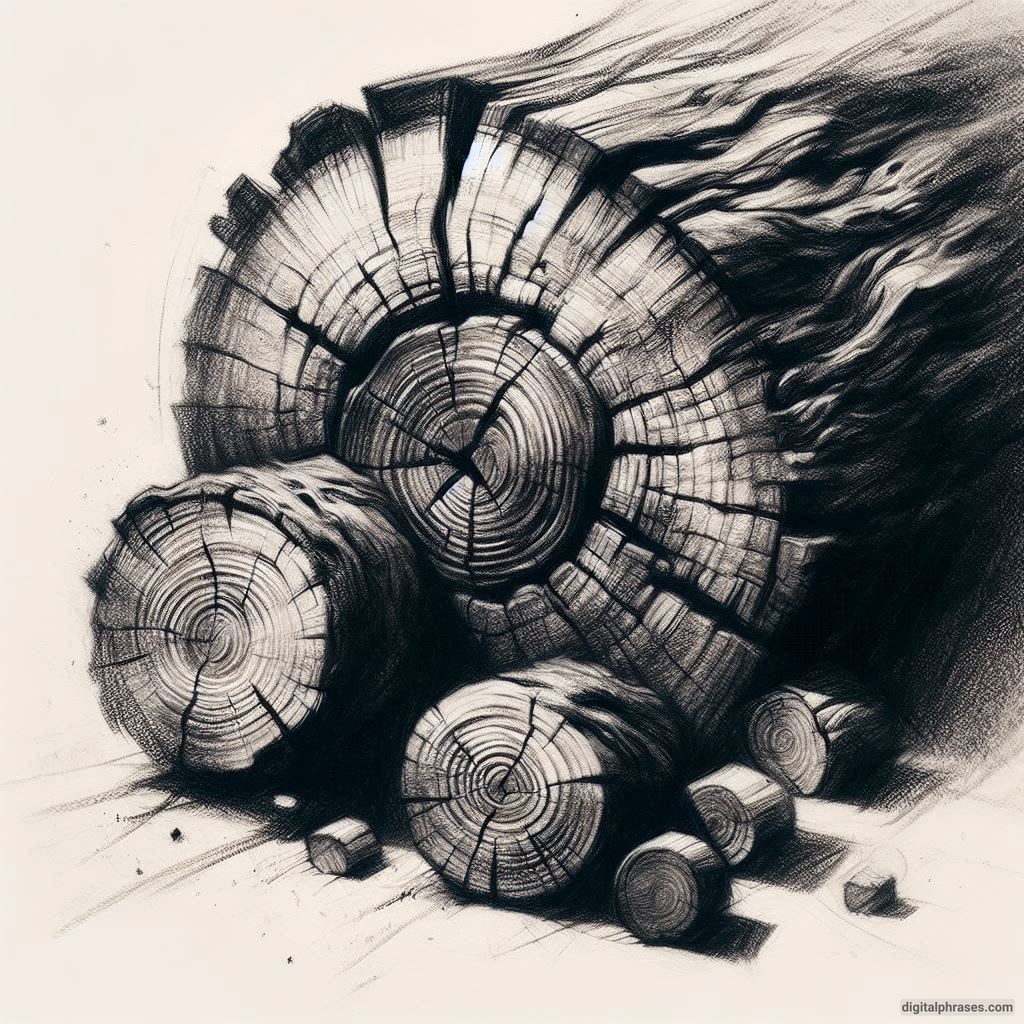
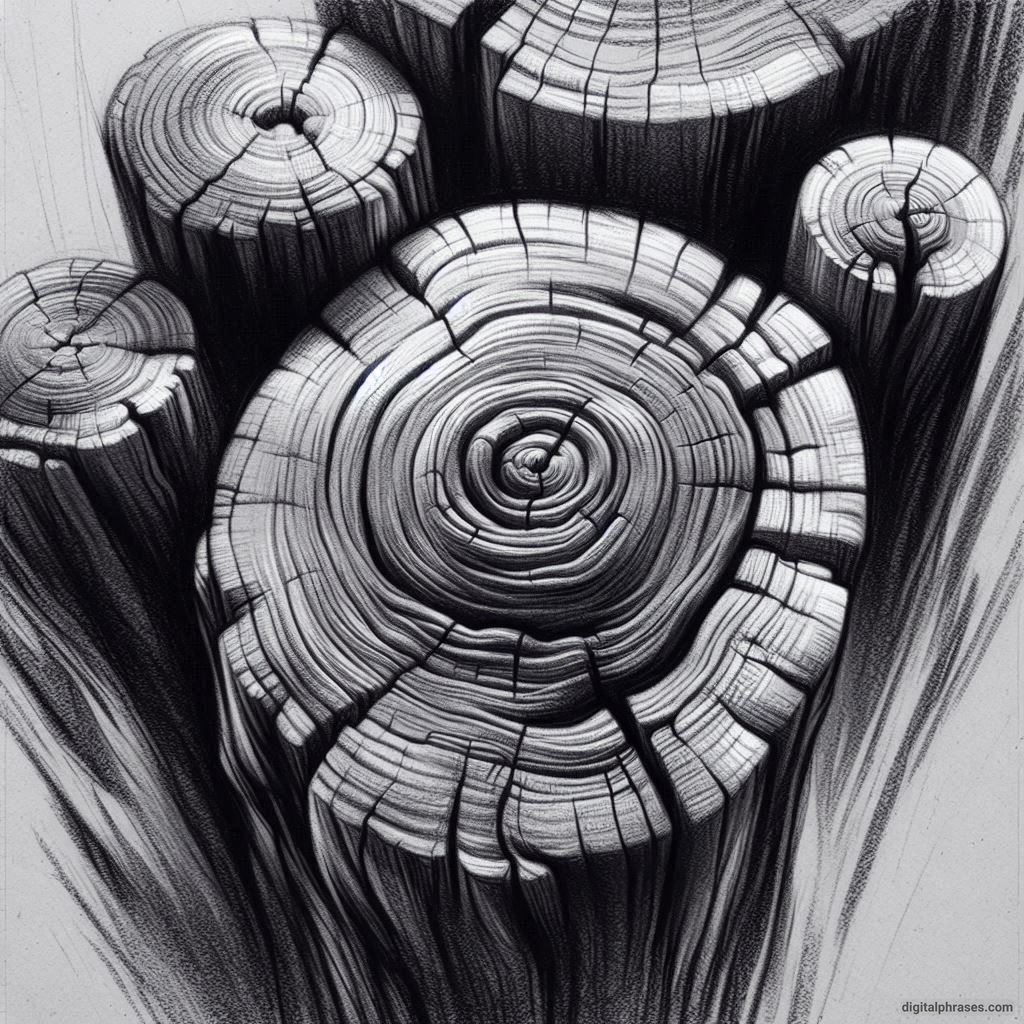
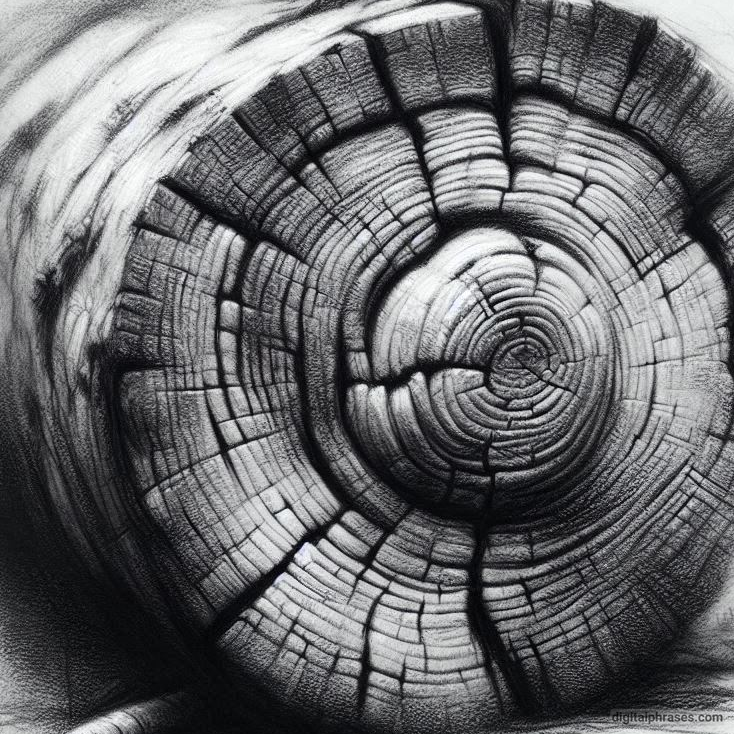
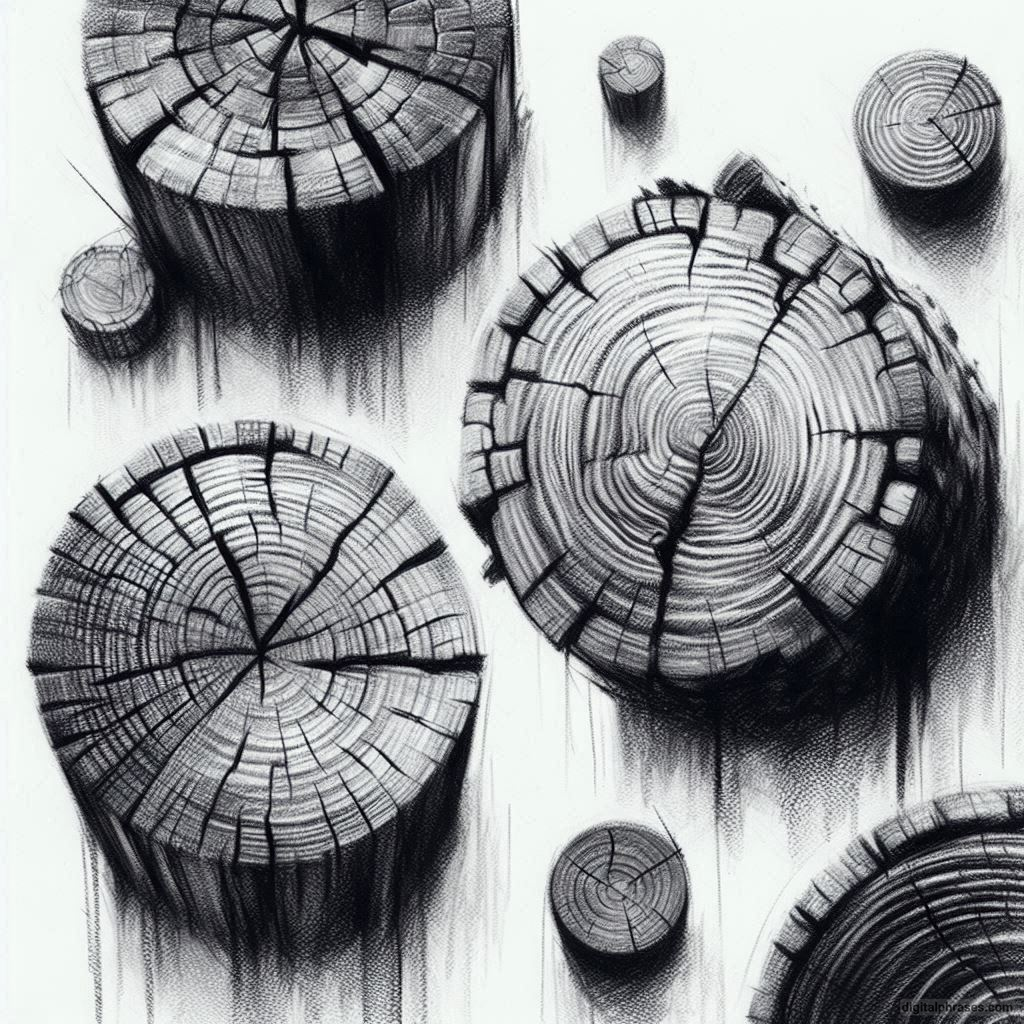
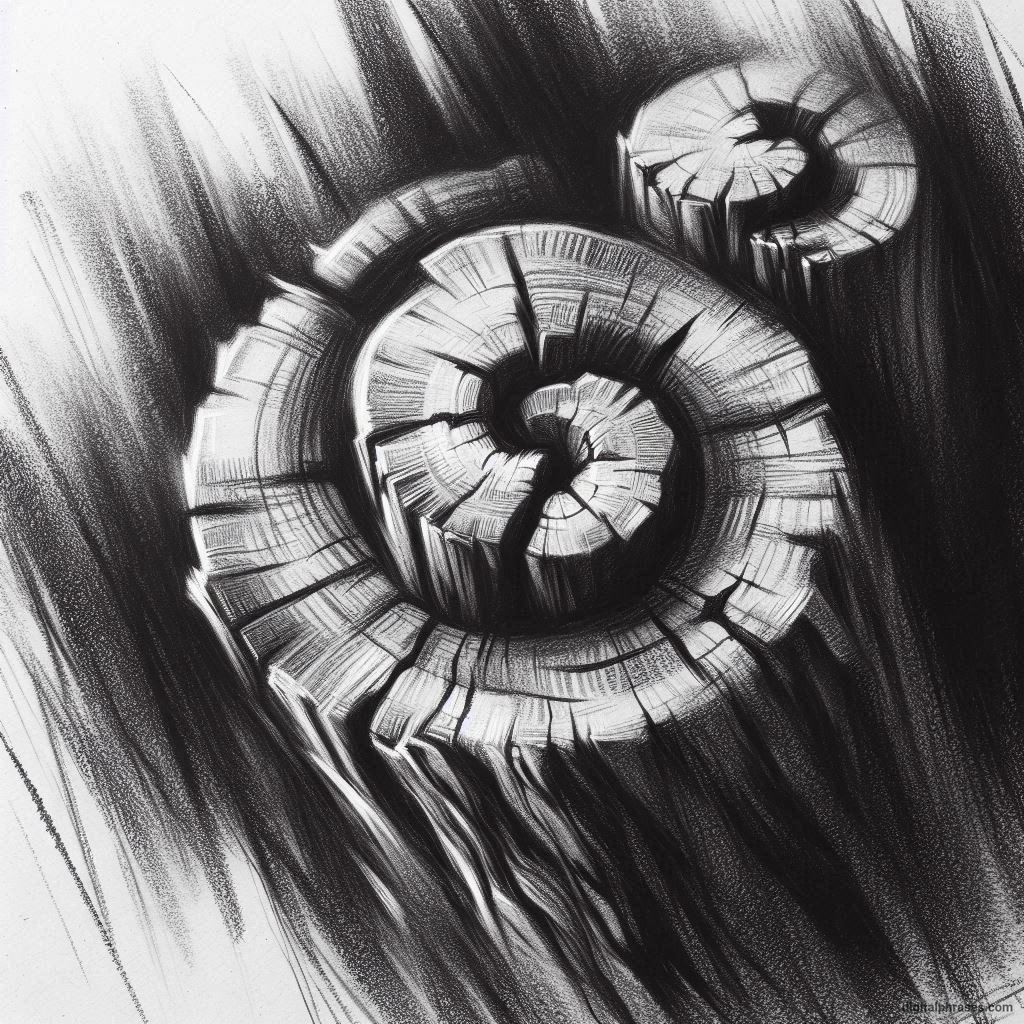
Knots in tree trunks and branches add character to any drawing. These rounded, swirling patterns are often found where branches grow or where the bark has healed over a wound.
Practice drawing circular shapes and add shading around the edges to give them depth. Highlight the spiraling lines inside to make the knot stand out.
Pro Tip: Use a blending stump to smooth out the shading around knots for a realistic finish.
1
2
3
4
5
6
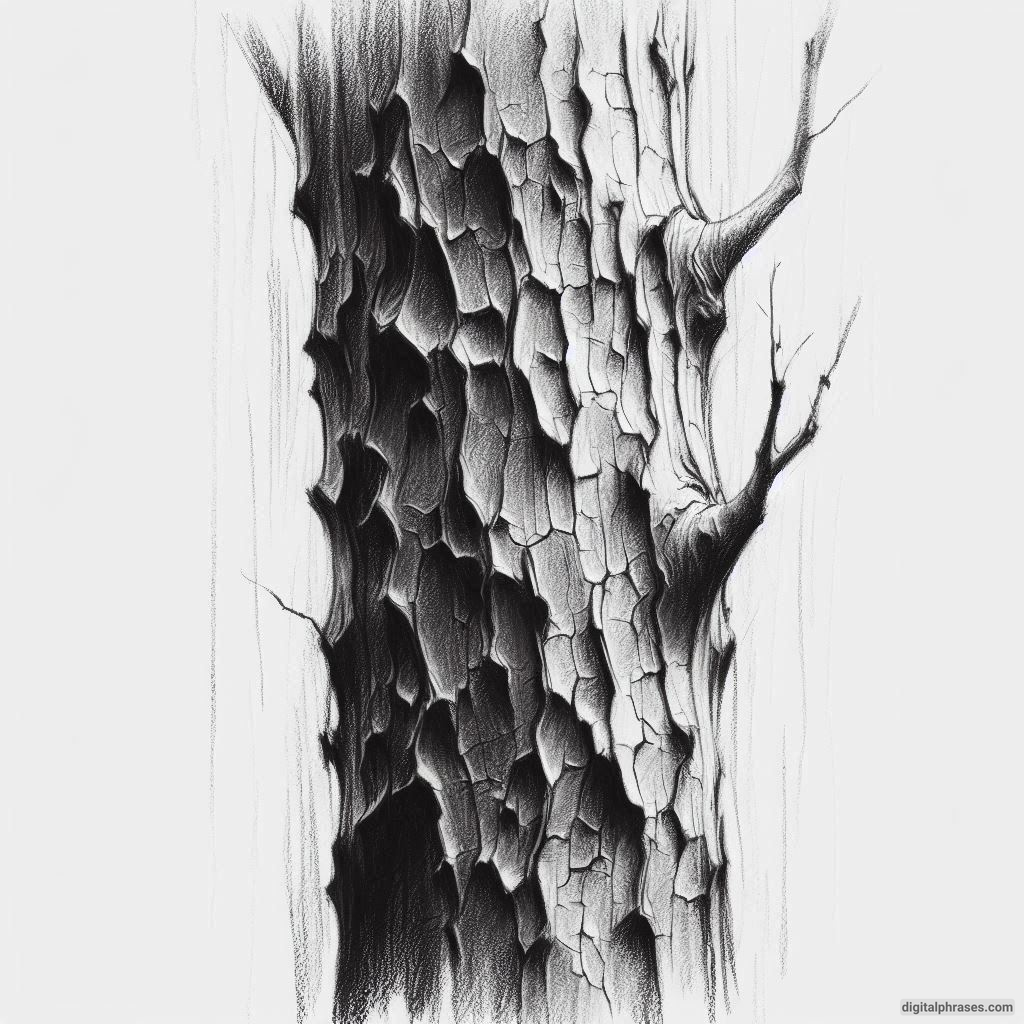
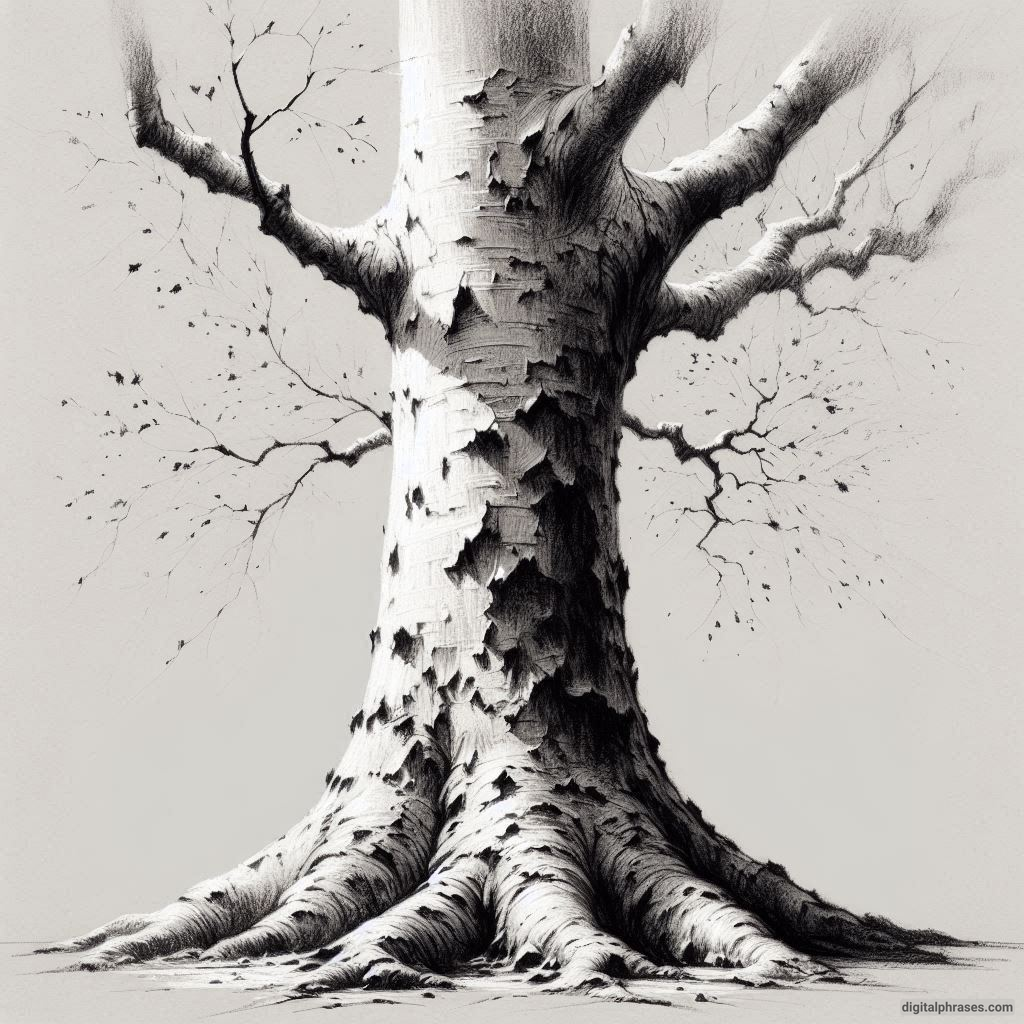
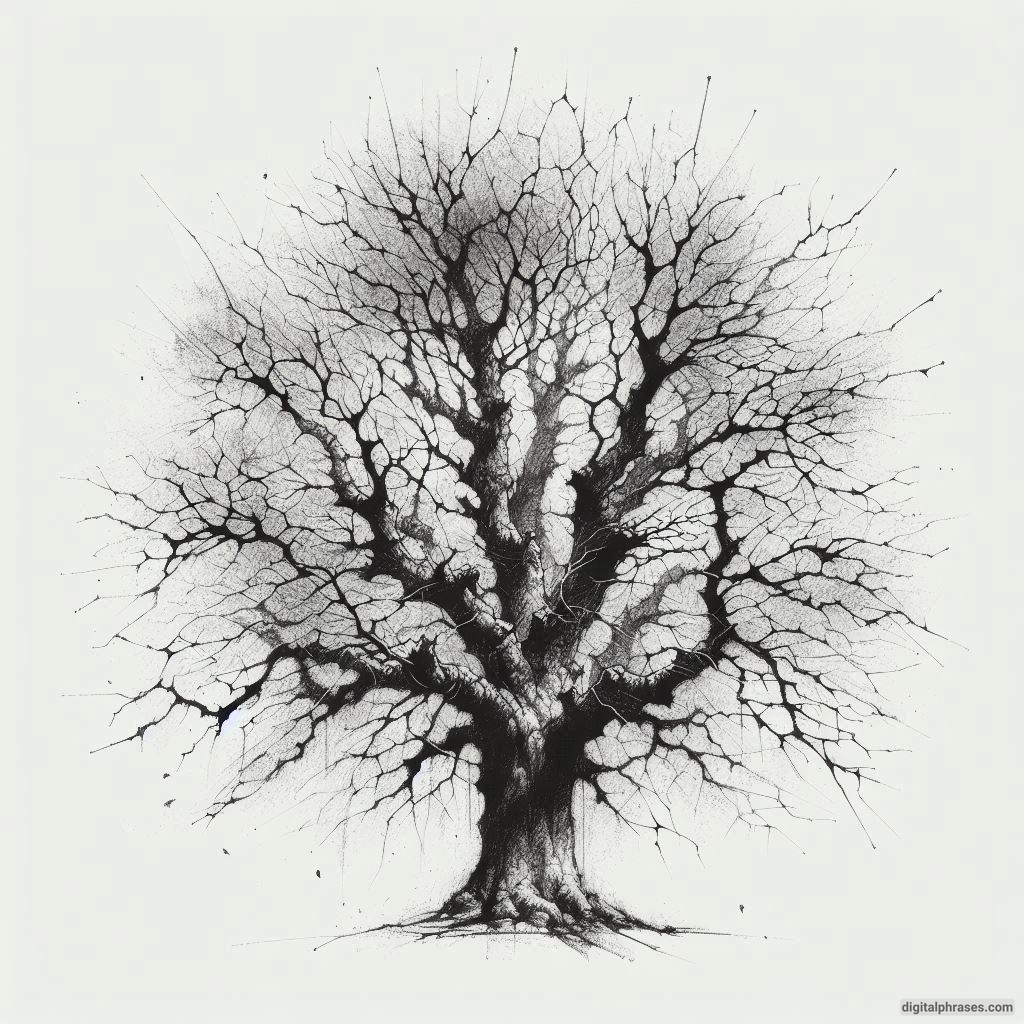
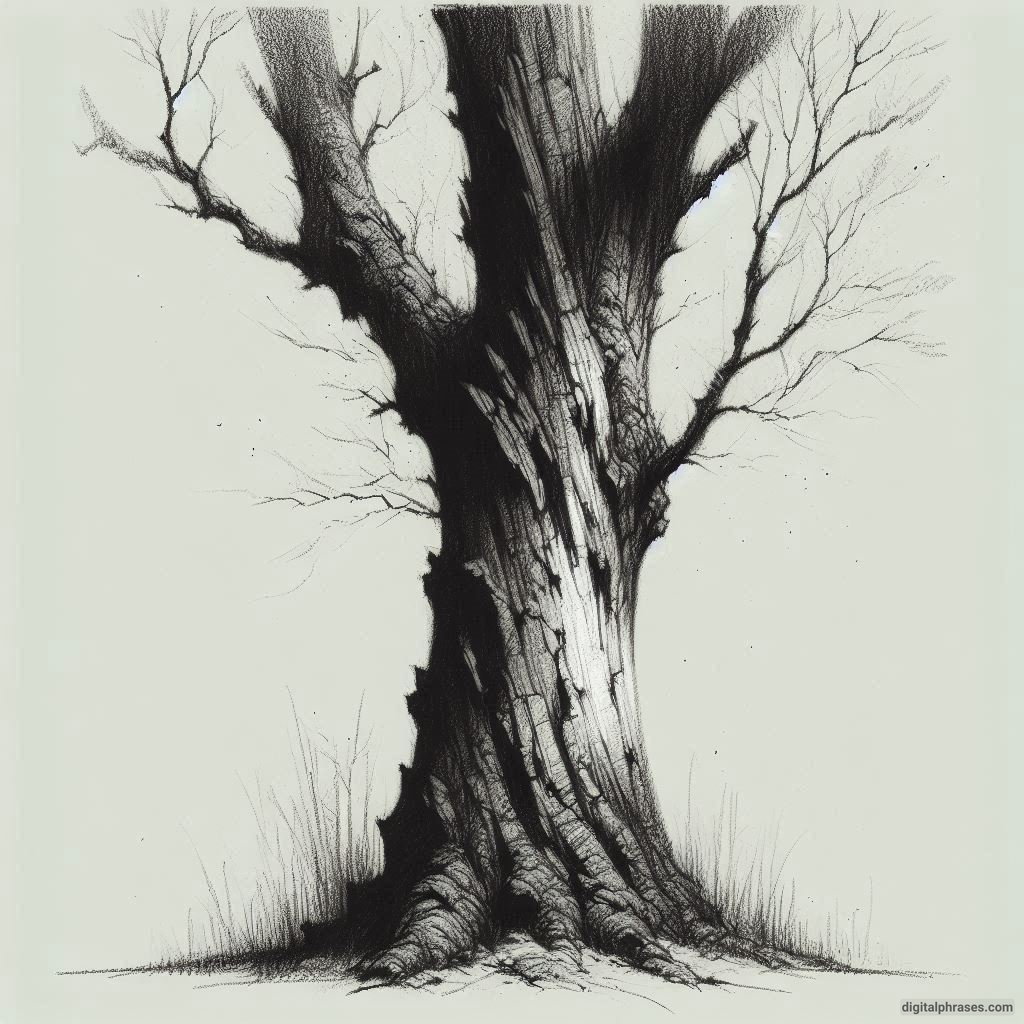
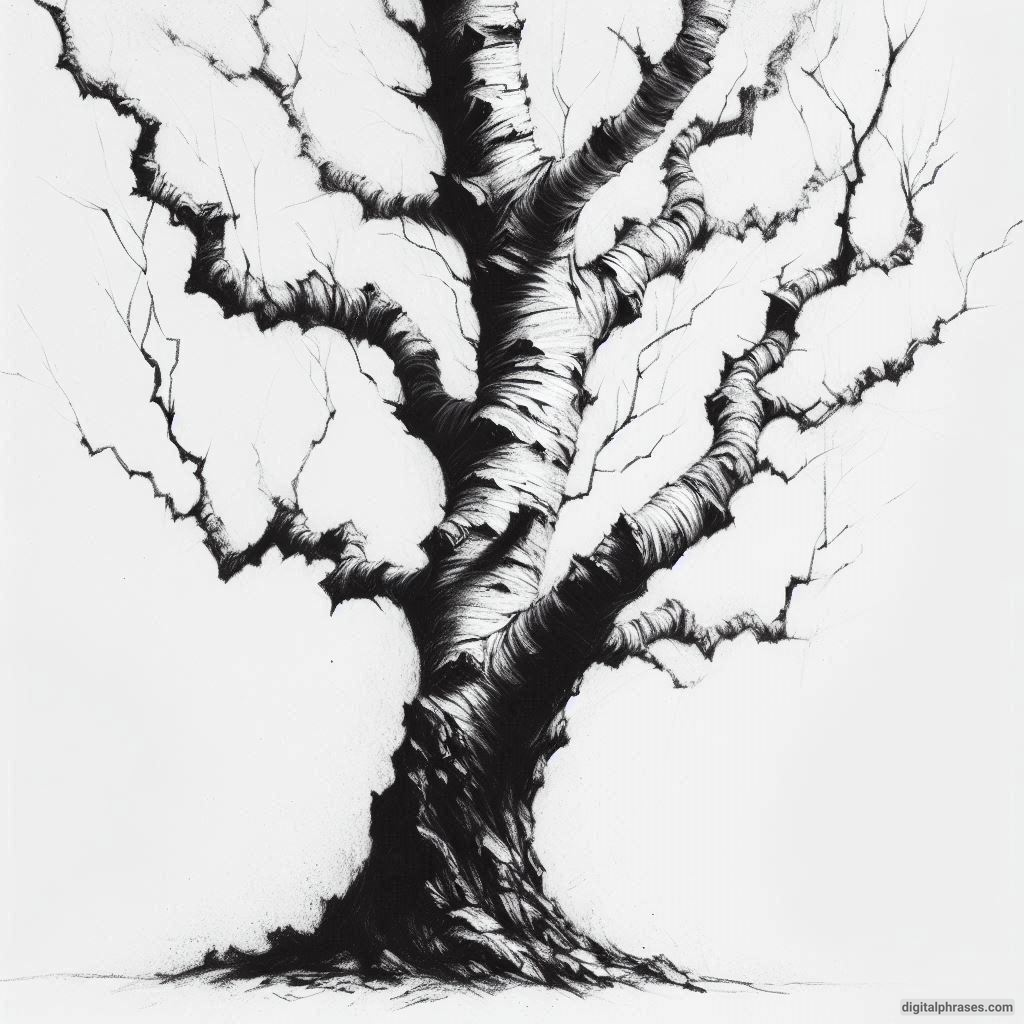
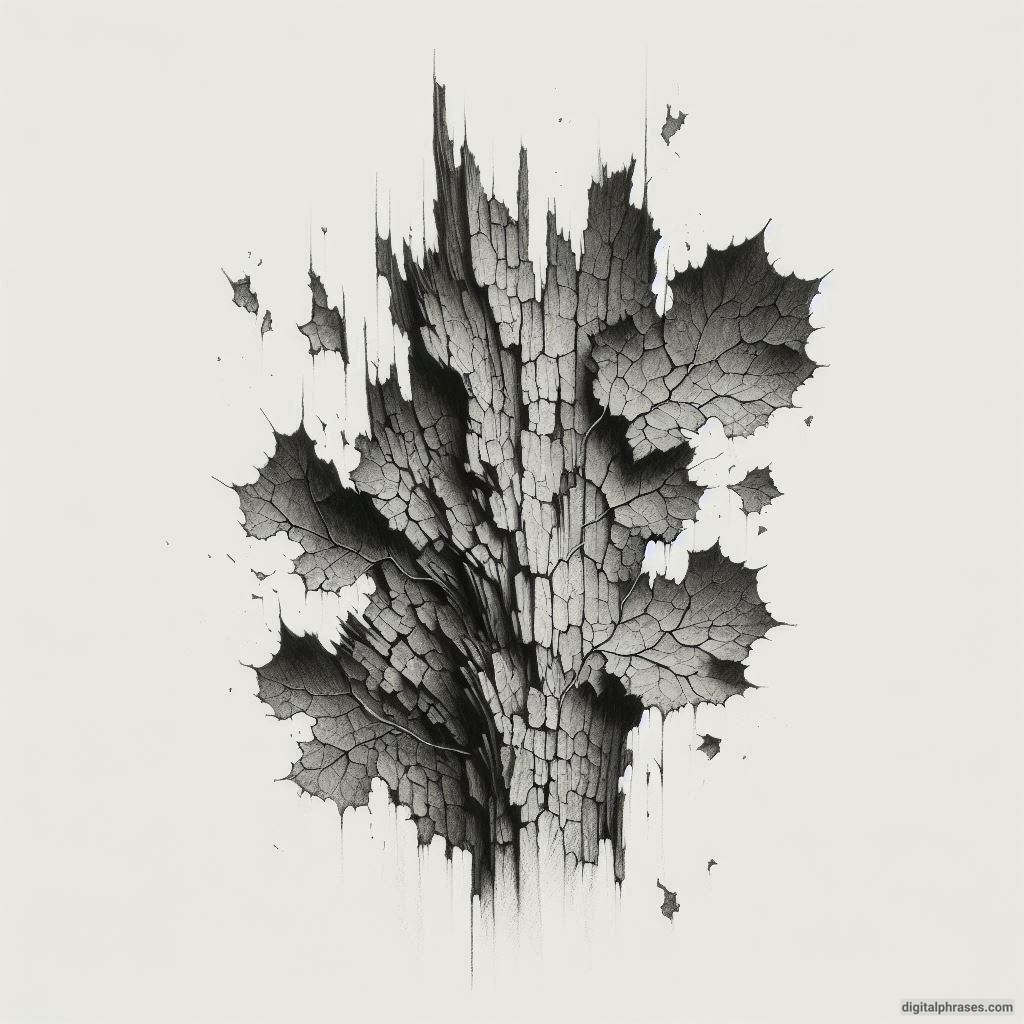
4. Flaky Bark of Sycamores
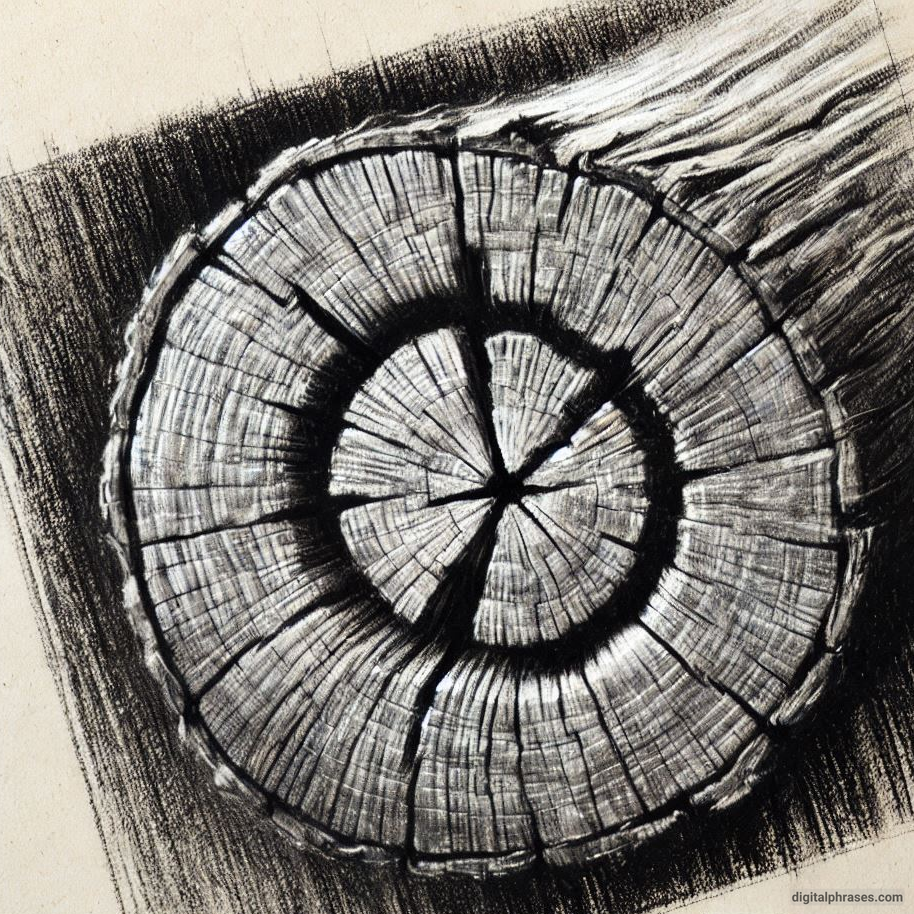
Sycamore trees have bark that peels away in patches, creating a mosaic-like texture.
To draw this, use a combination of light and dark tones to show where the bark layers overlap. Start with the largest patches and gradually add smaller details.
Fun Experiment: Try using colored pencils or watercolors to capture the unique white, green, and gray tones of sycamore bark.
1
2
3
4
5
6
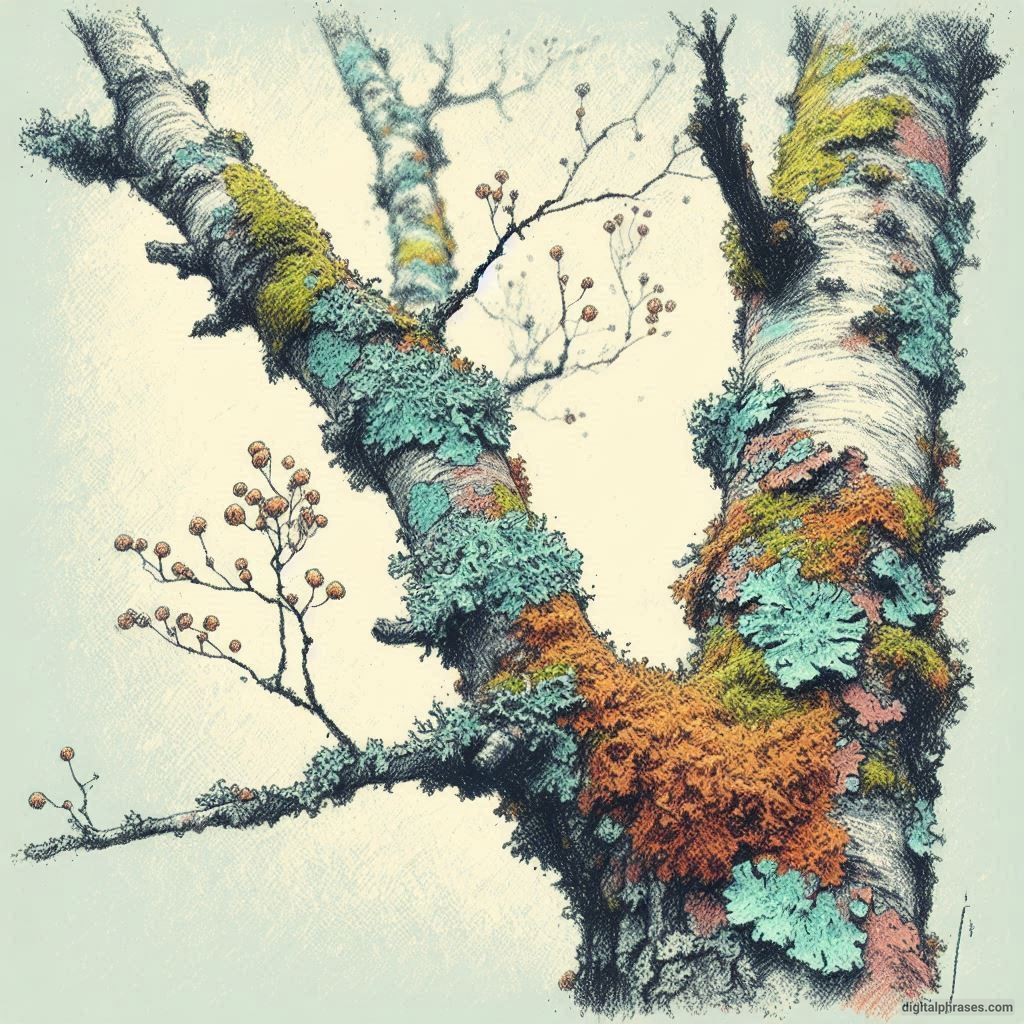
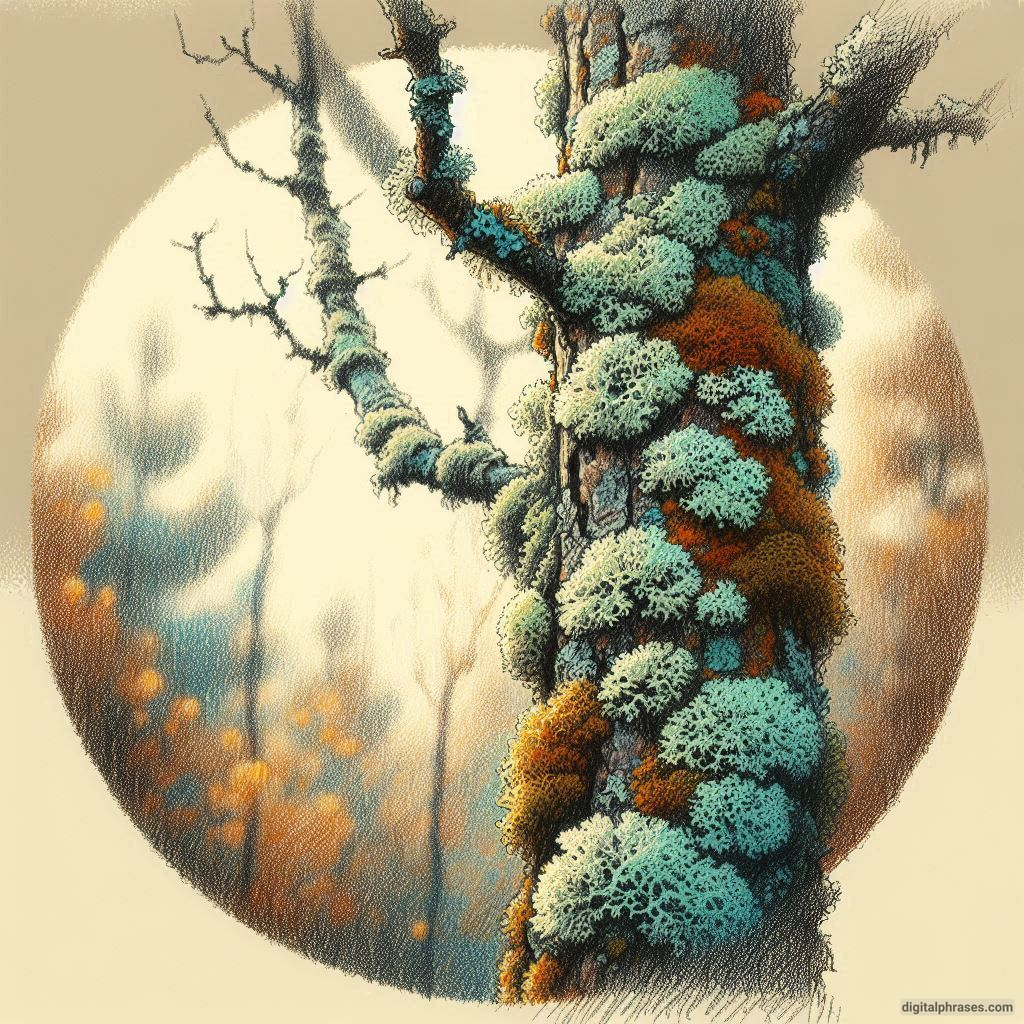
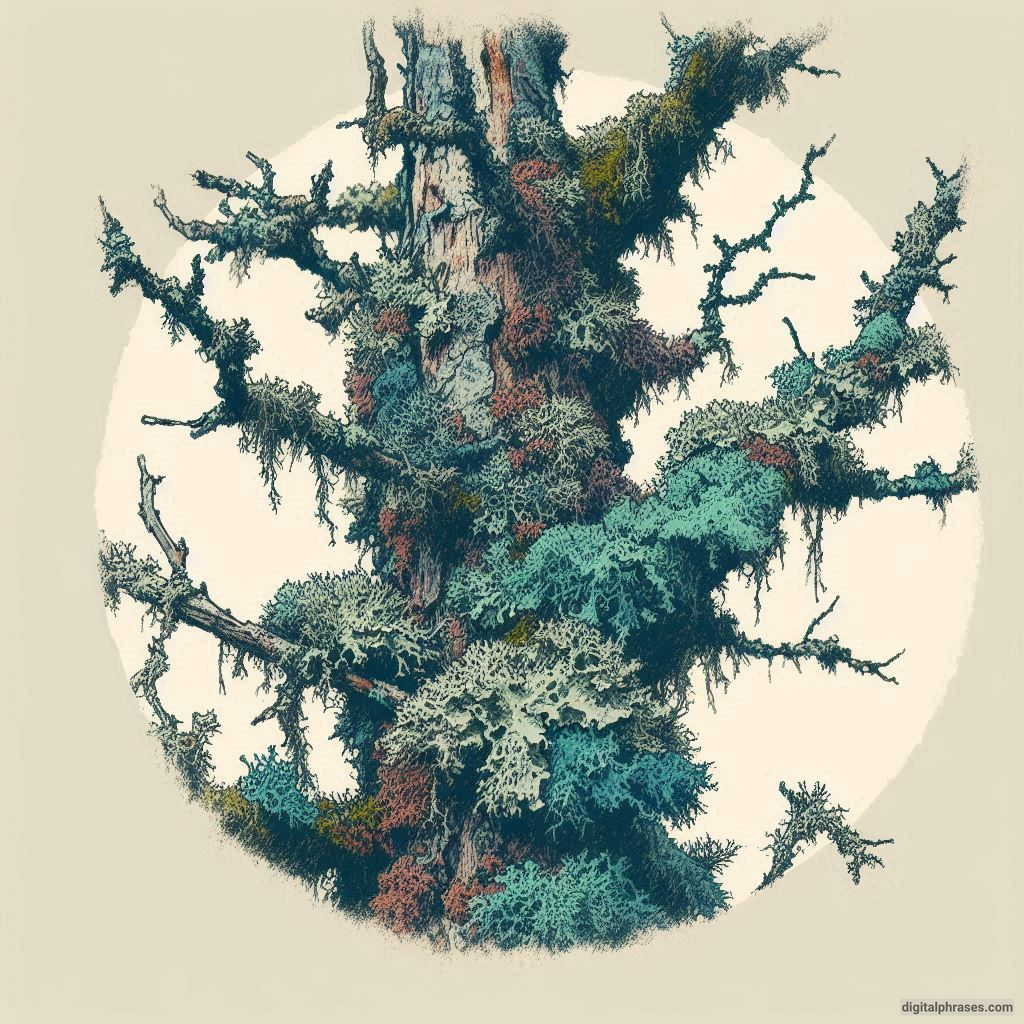
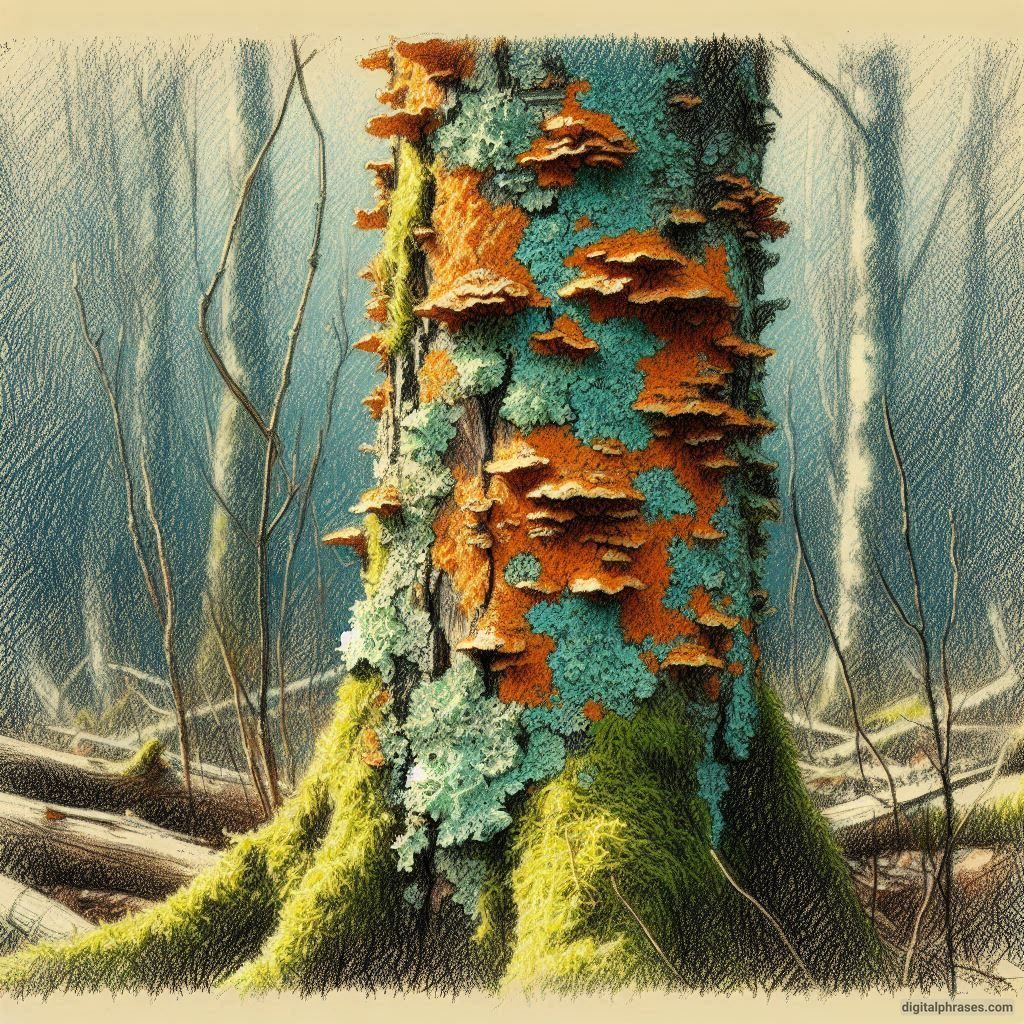
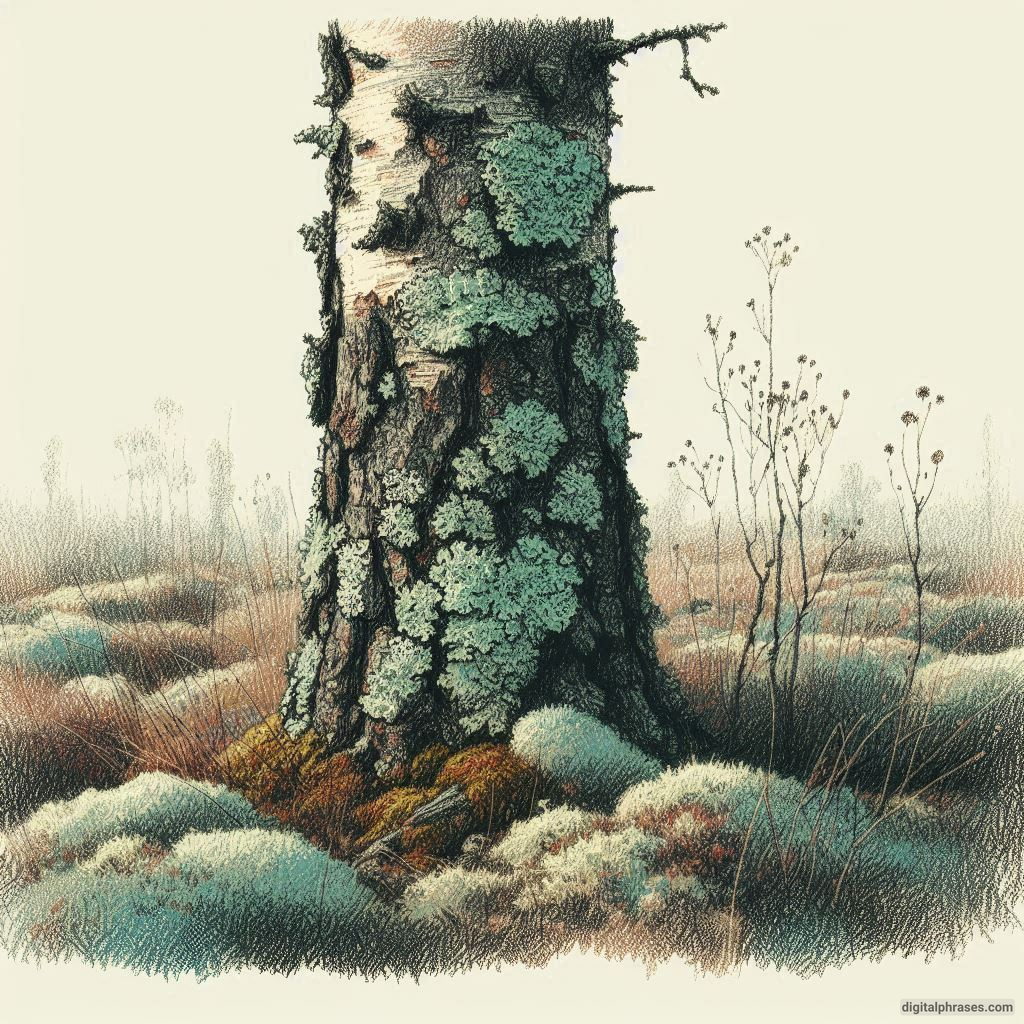
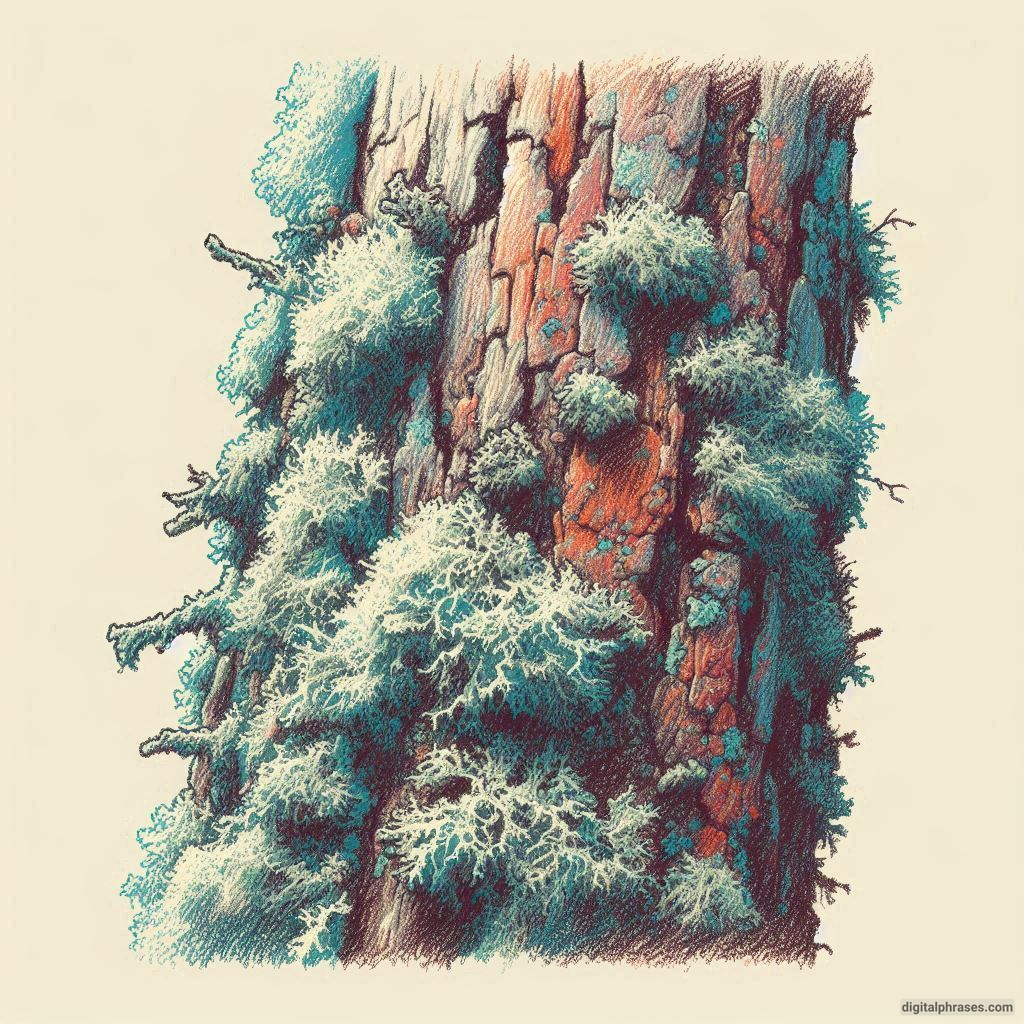
5. Lichen-Covered Bark
Lichen adds a splash of color and texture to tree bark. To draw lichen, start with small, irregular shapes on the surface of the bark. Add tiny, rounded dots or jagged edges to mimic the natural growth.
Use a mix of greens, yellows, and whites to bring your drawing to life.
Quick Tip: Use a stippling technique (tiny dots) to give the lichen a more natural, organic feel.
1
2
3
4
5
6
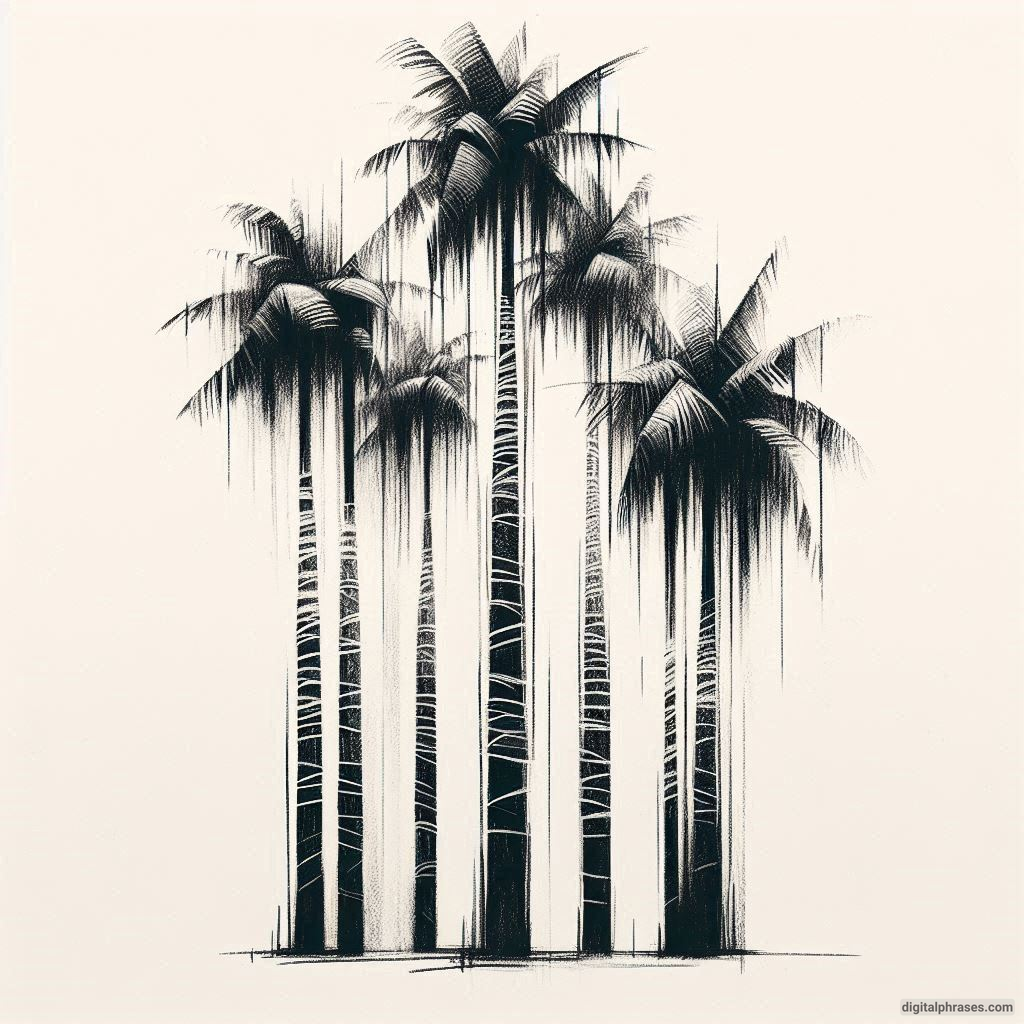
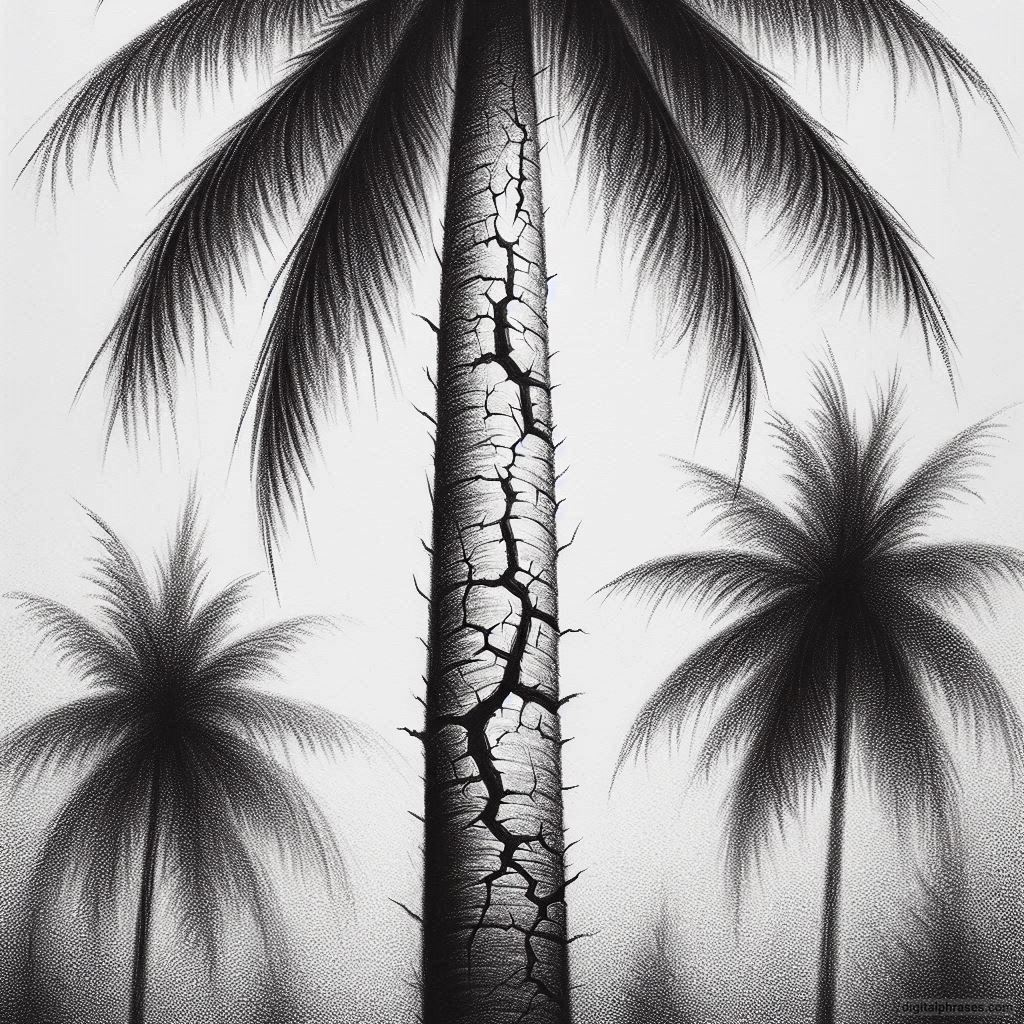
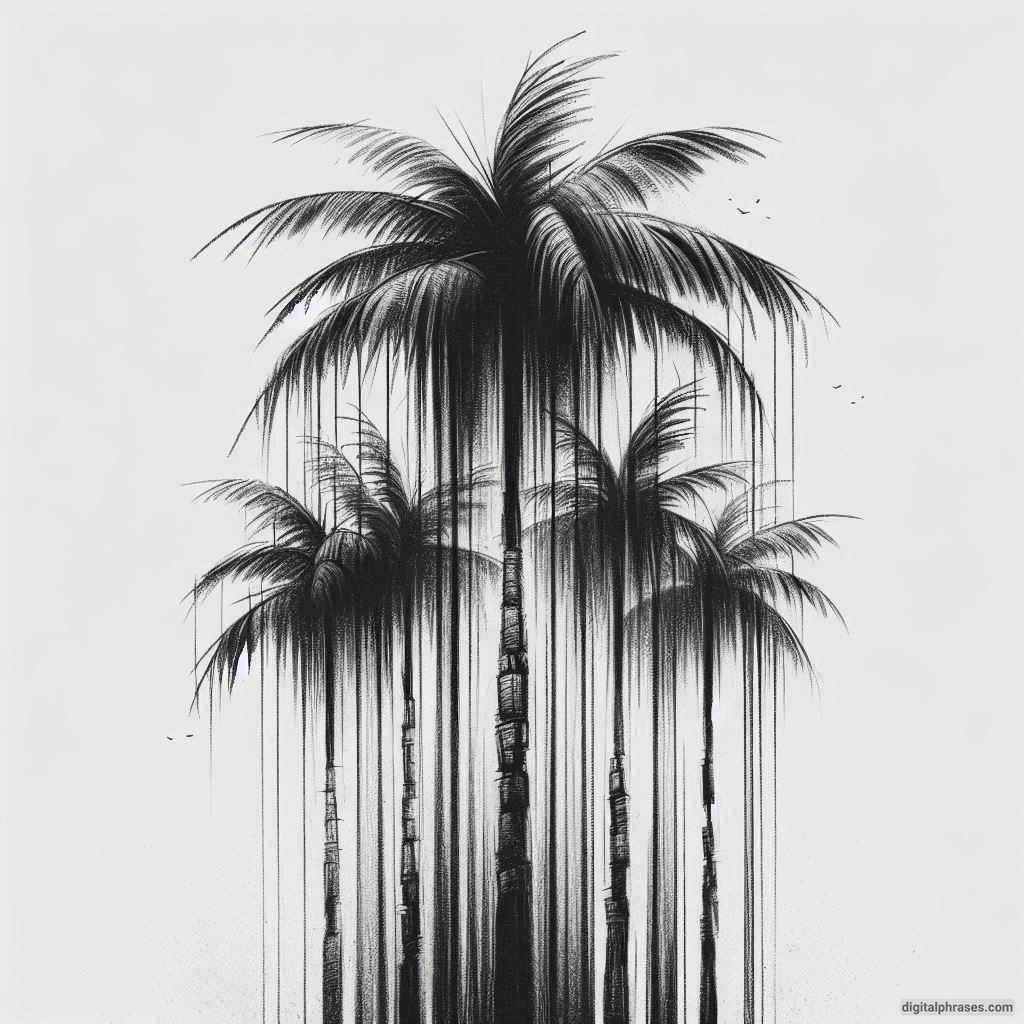
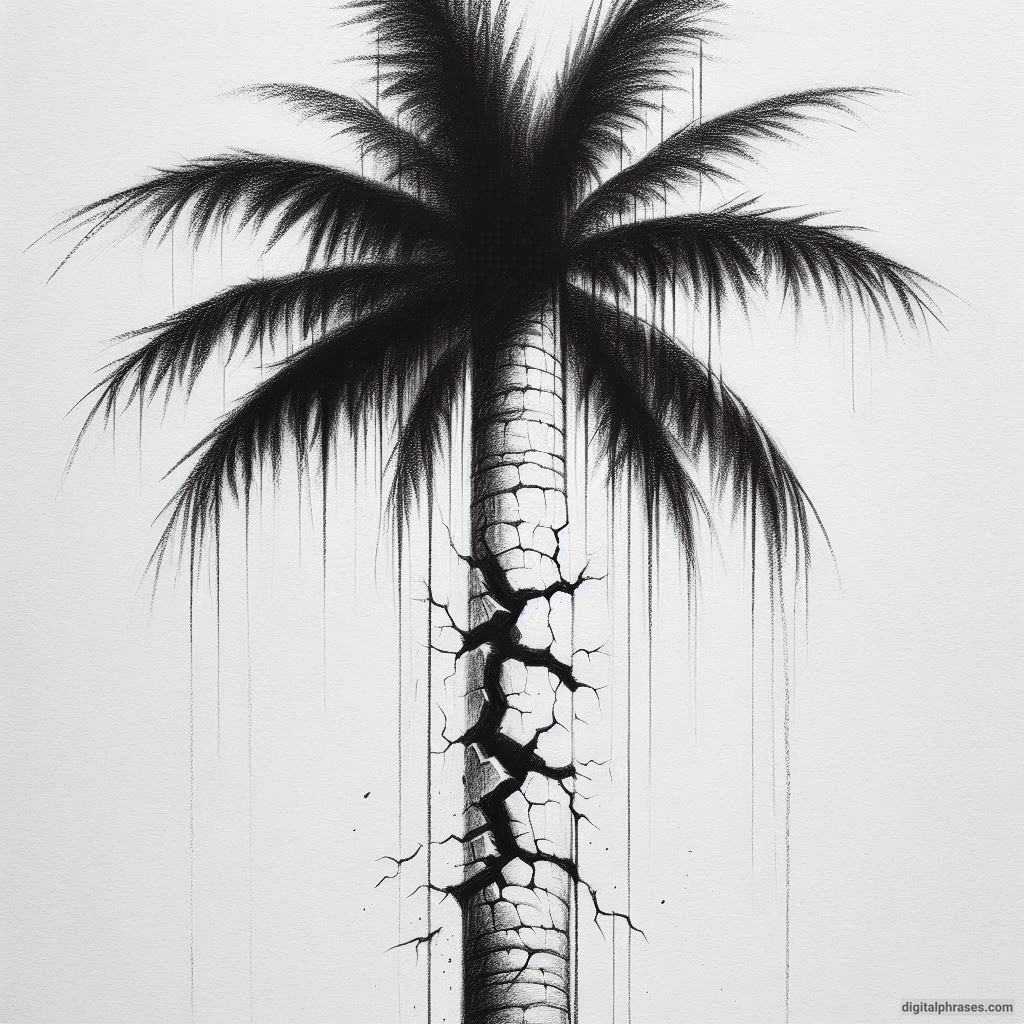
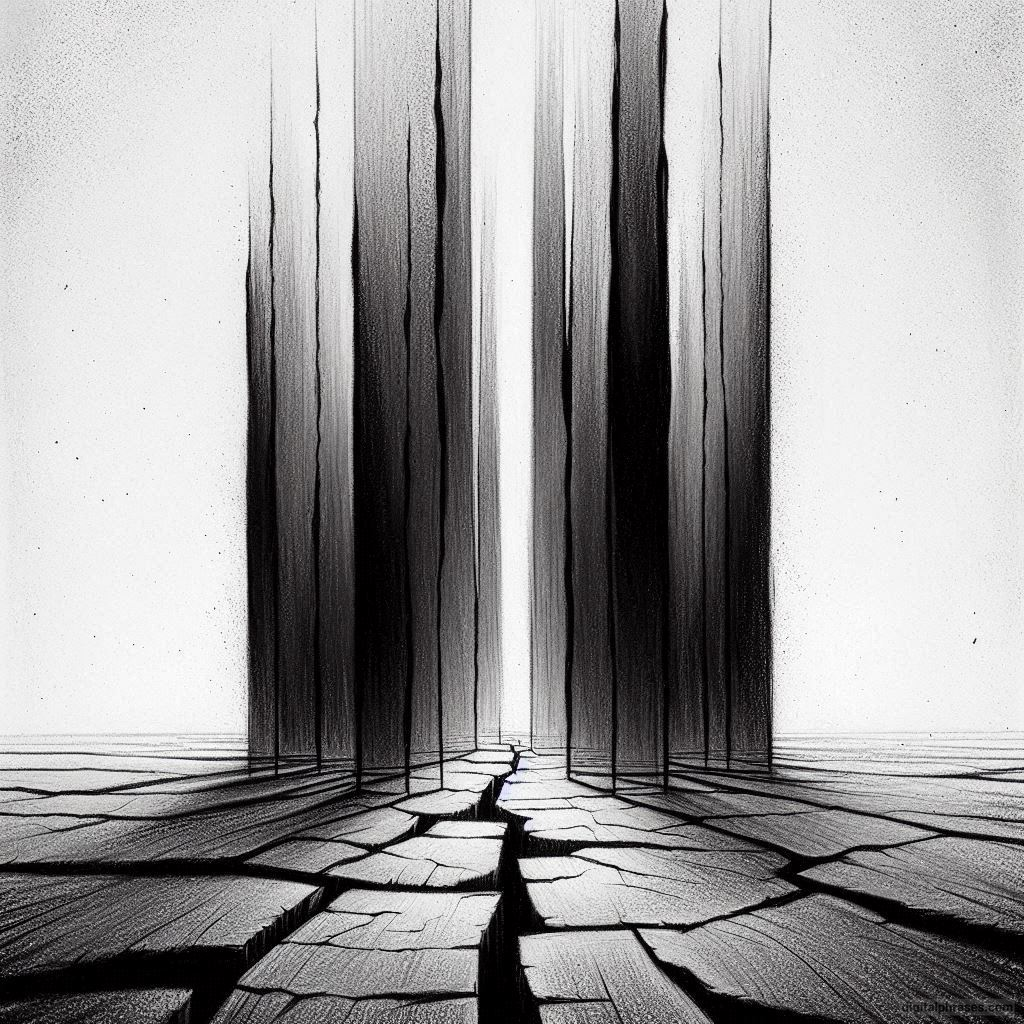
6. Vertical Cracks of Palm Trees
Palm trees have distinct vertical ridges and cracks that run along their trunks. Begin by drawing parallel lines to outline the grooves, then add texture within each section.
Vary the thickness of the lines and include small breaks to make it look natural.
Try This: Add shading to one side of the grooves to emphasize the cylindrical shape of the trunk.
1
2
3
4
5
6
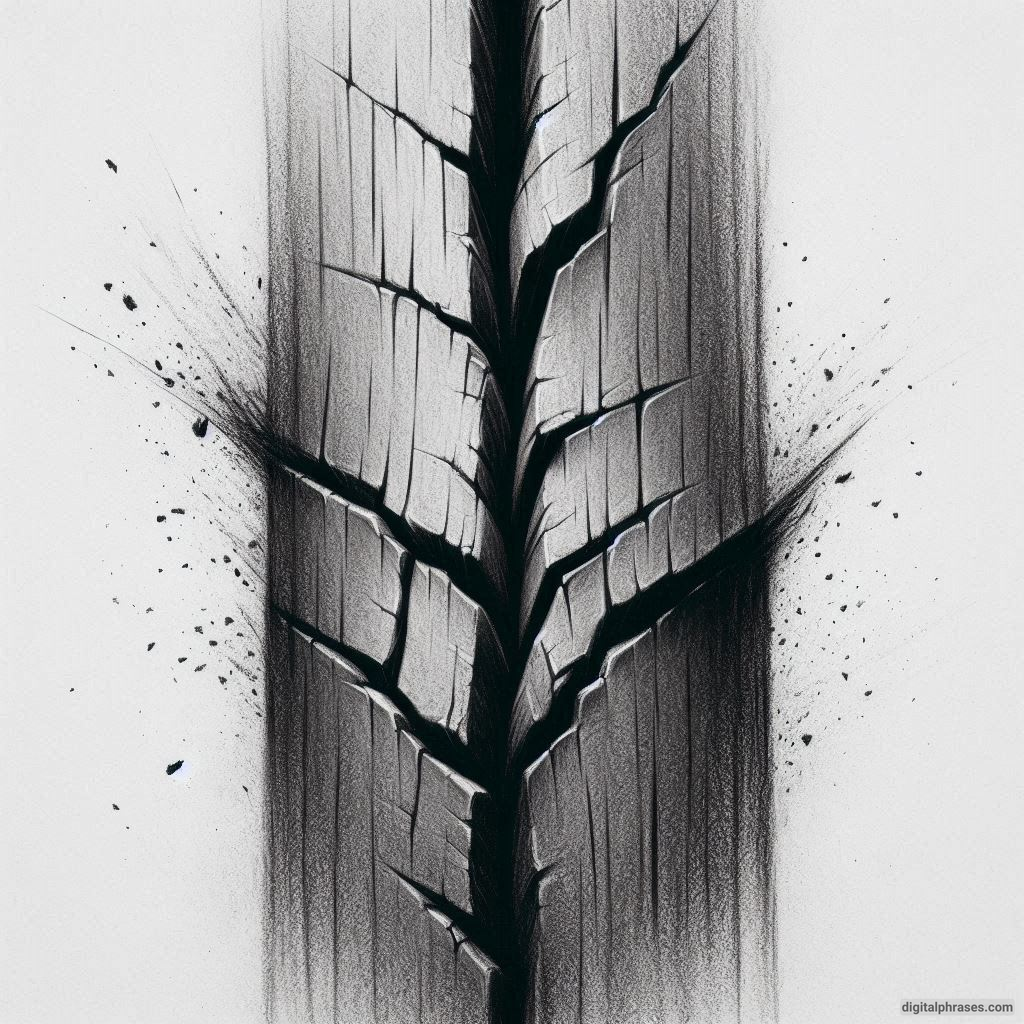
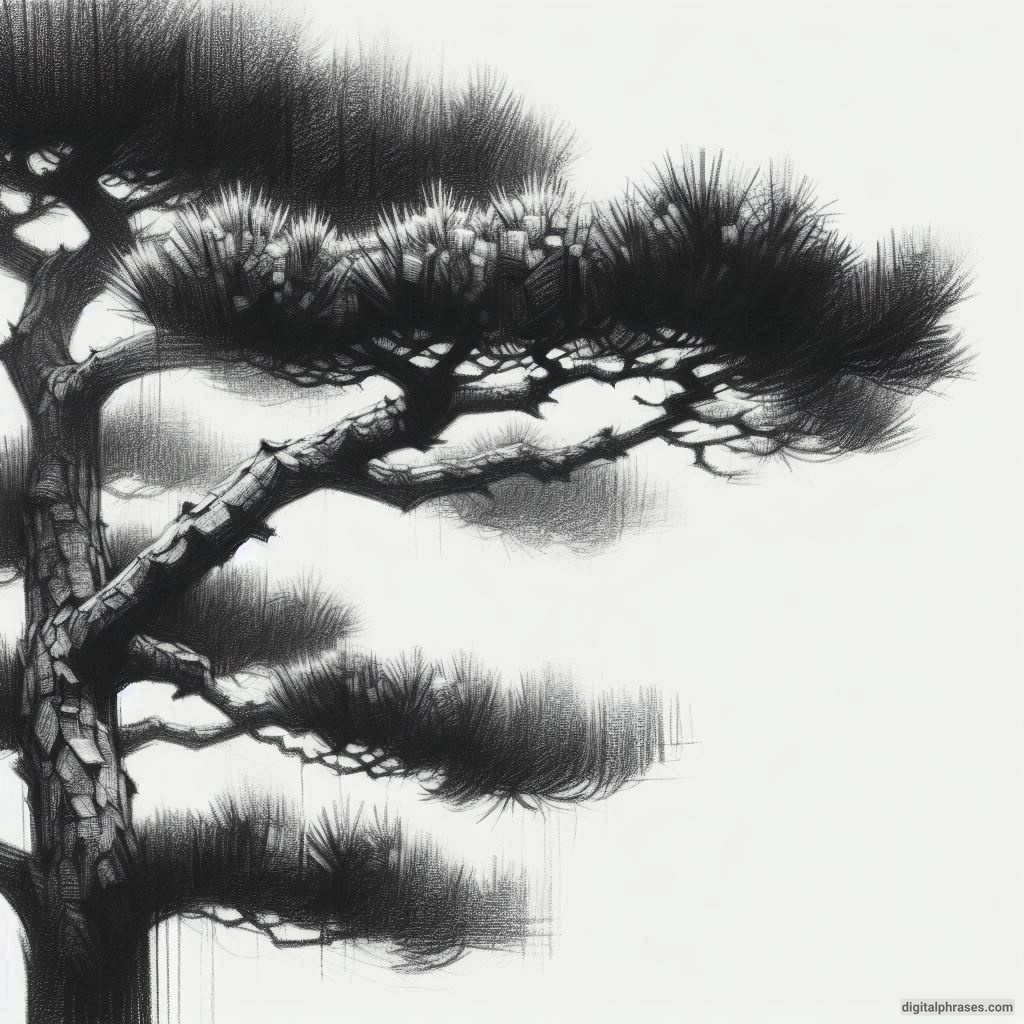
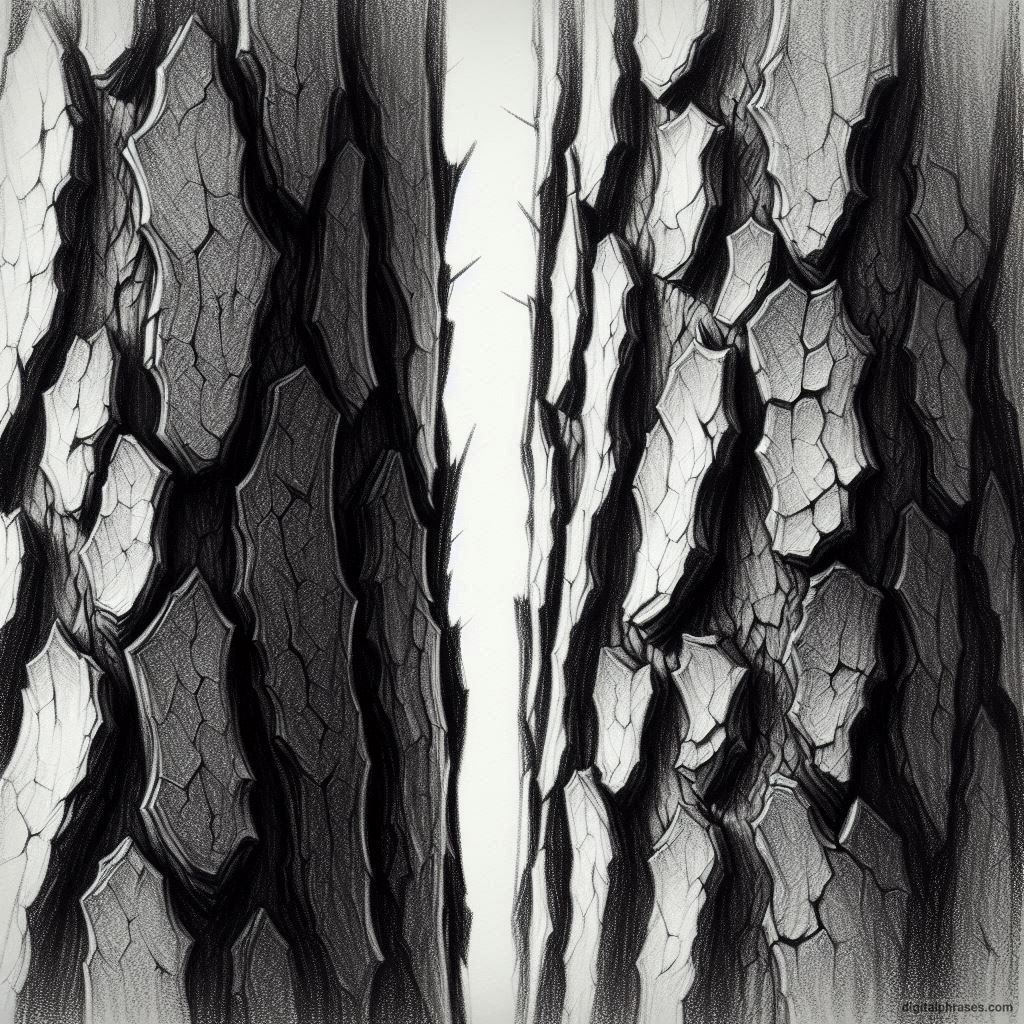
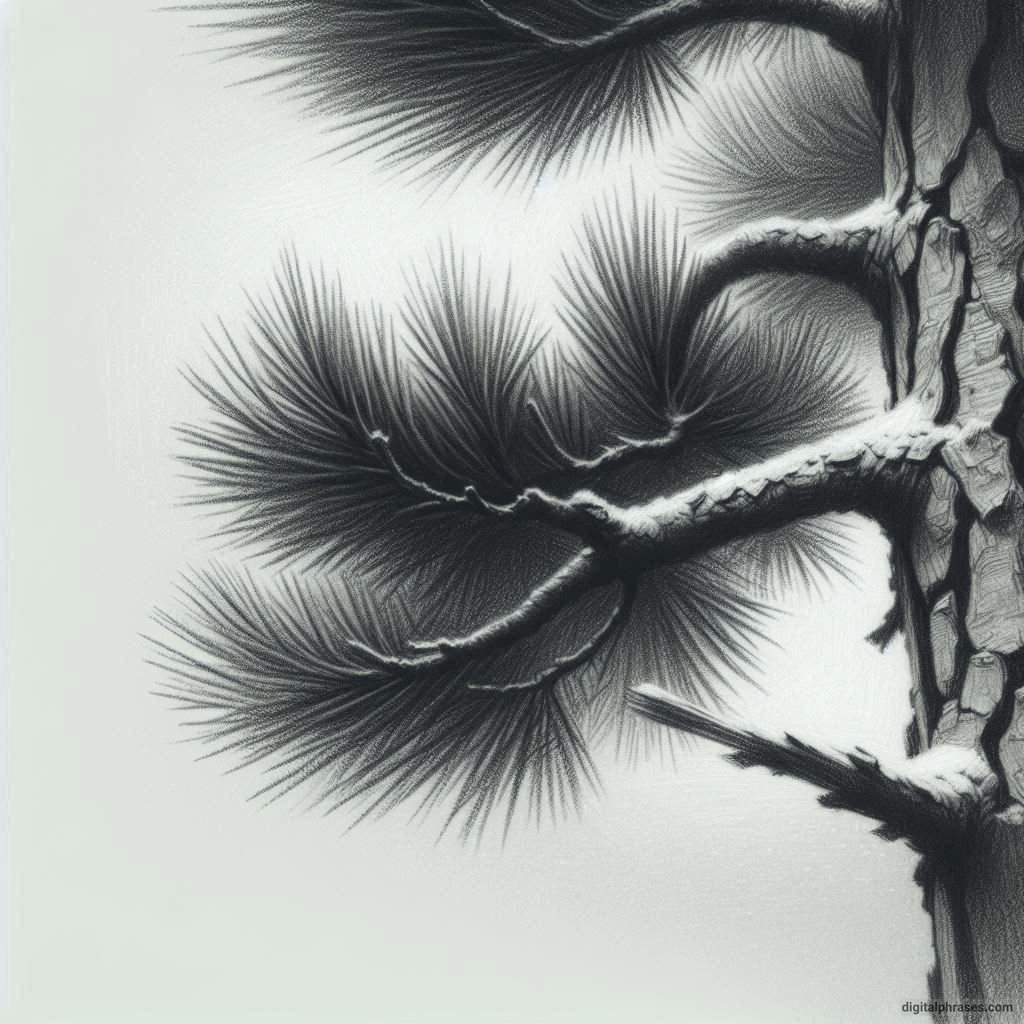
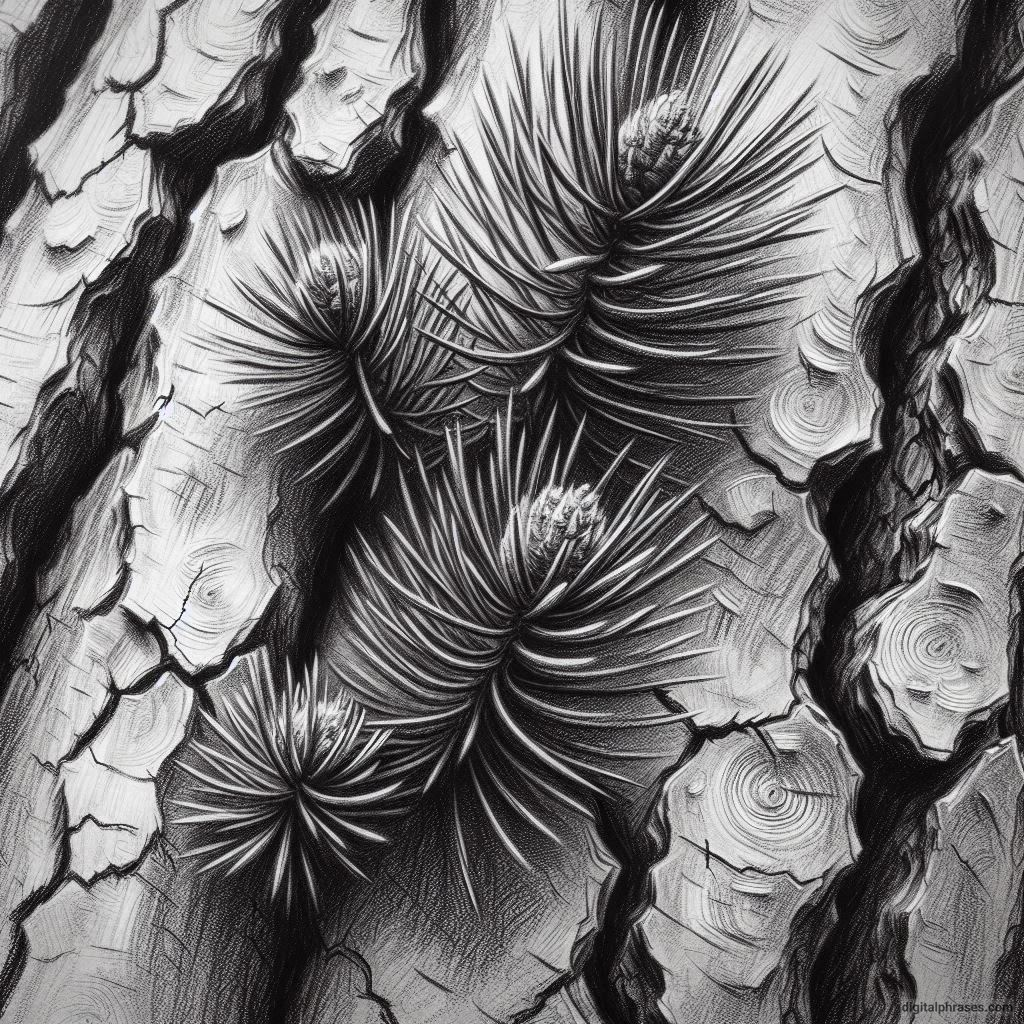
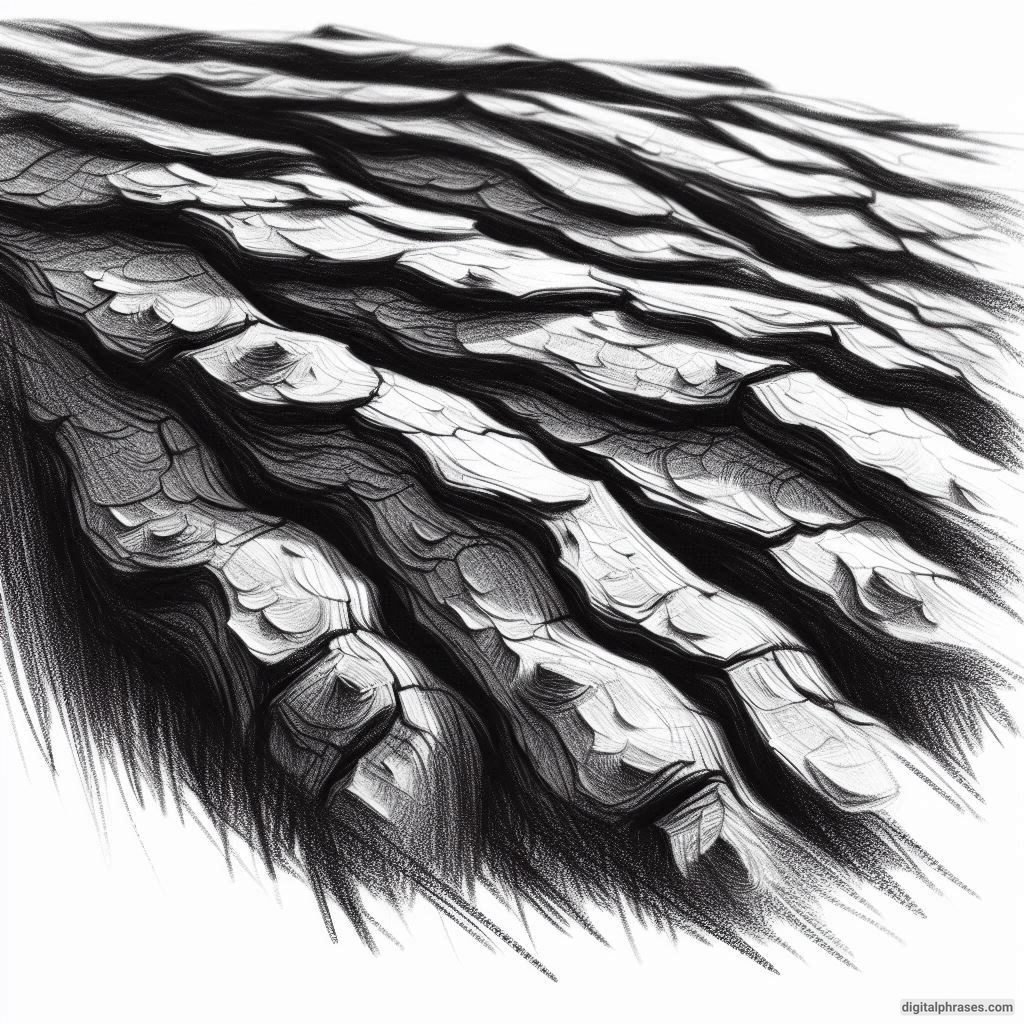
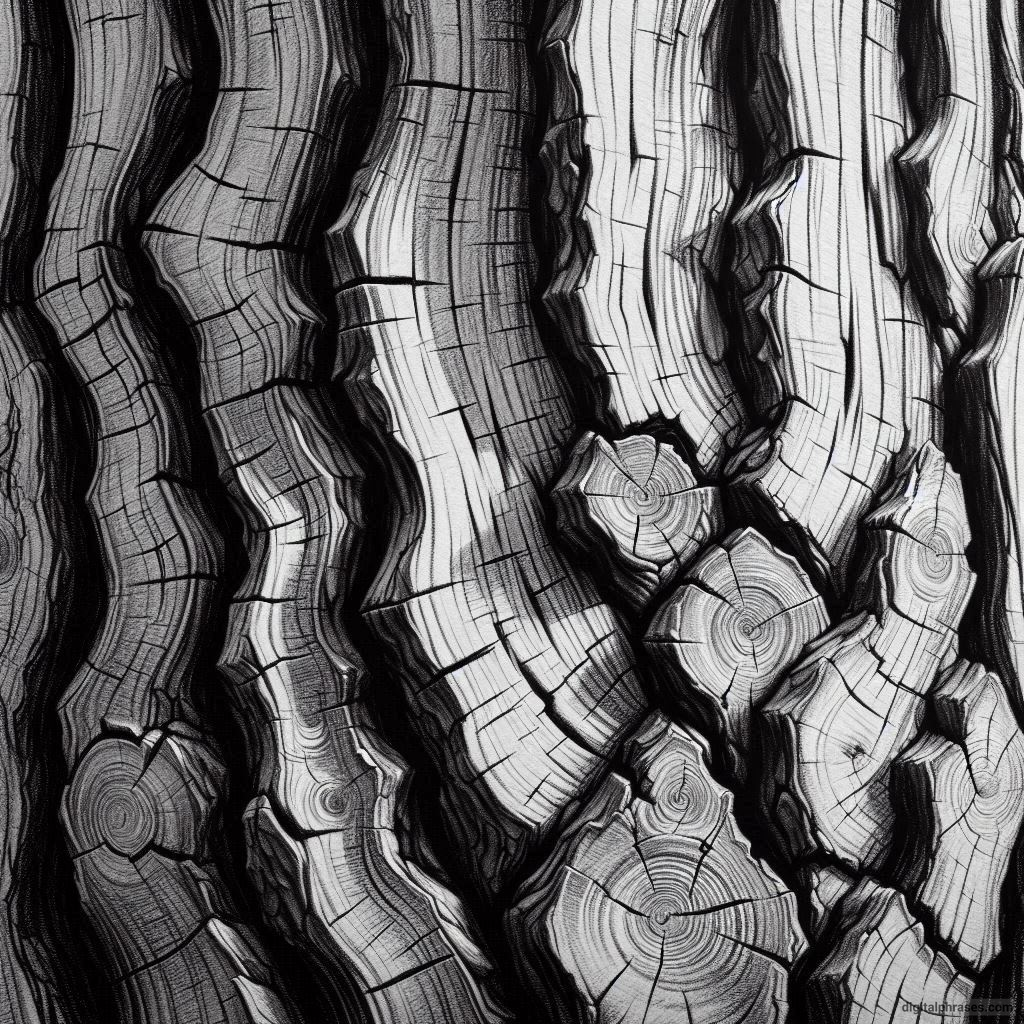
7. Furrowed Bark of Pine Trees
The bark of pine trees is deeply furrowed, creating intricate patterns. Use a dark pencil to outline the grooves, and then shade the spaces in between. You can also include small flakes of bark that appear to be peeling off.
Helpful Hint: Observe real pine trees or photos to understand how the furrows curve and connect.
1
2
3
4
5
6
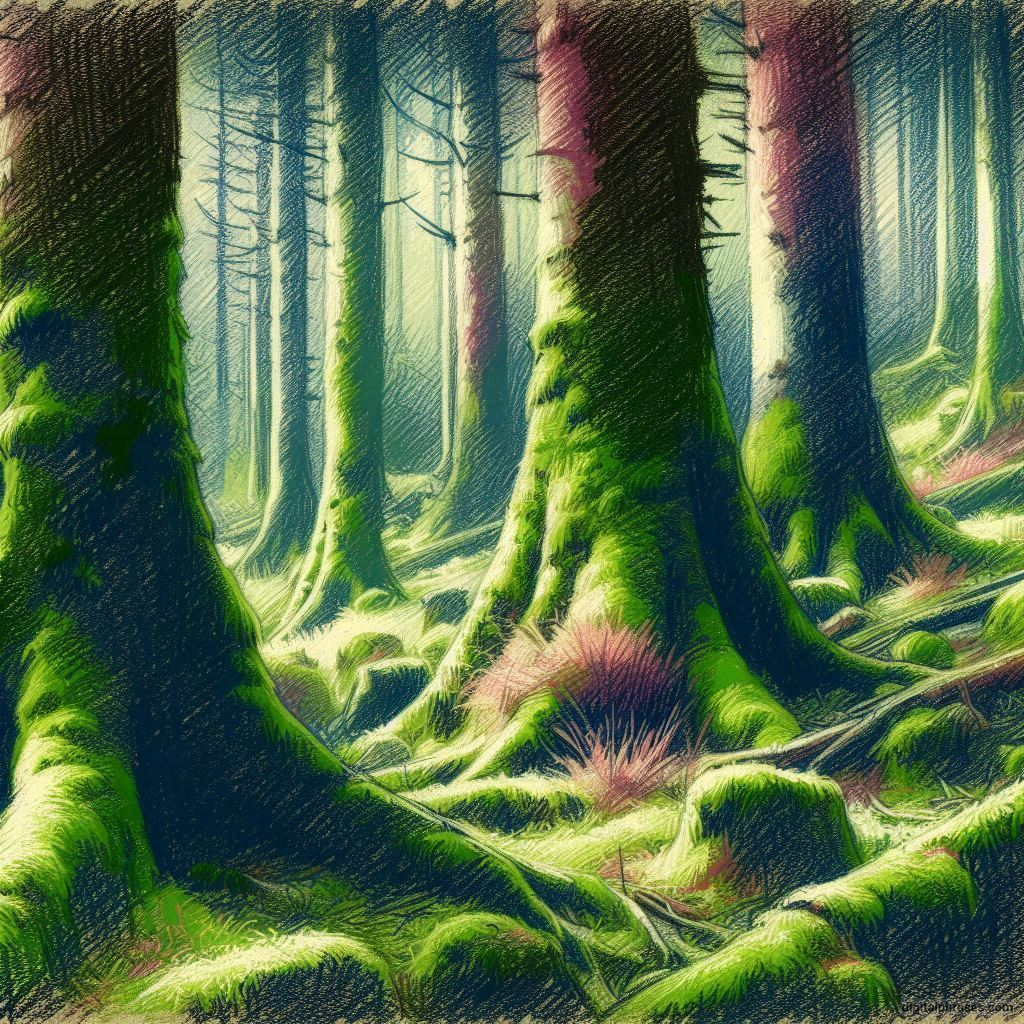
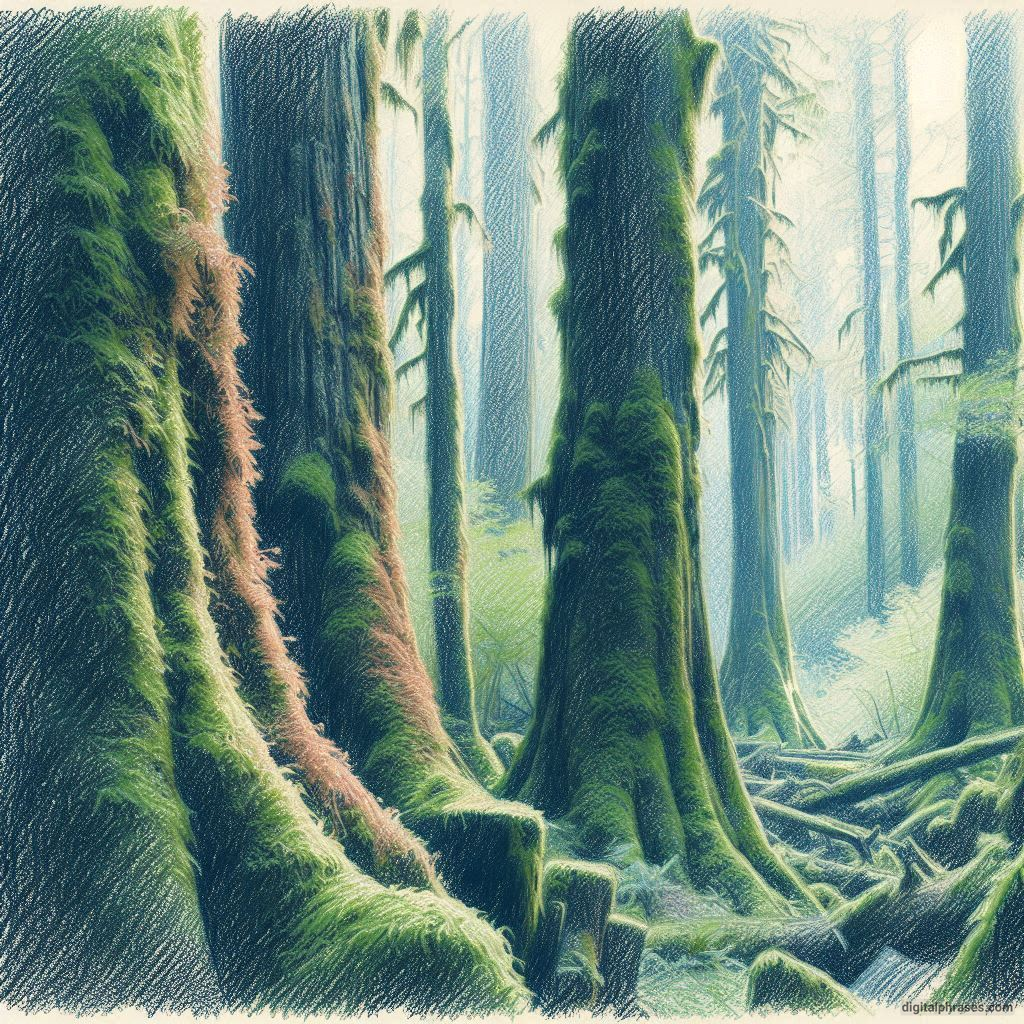
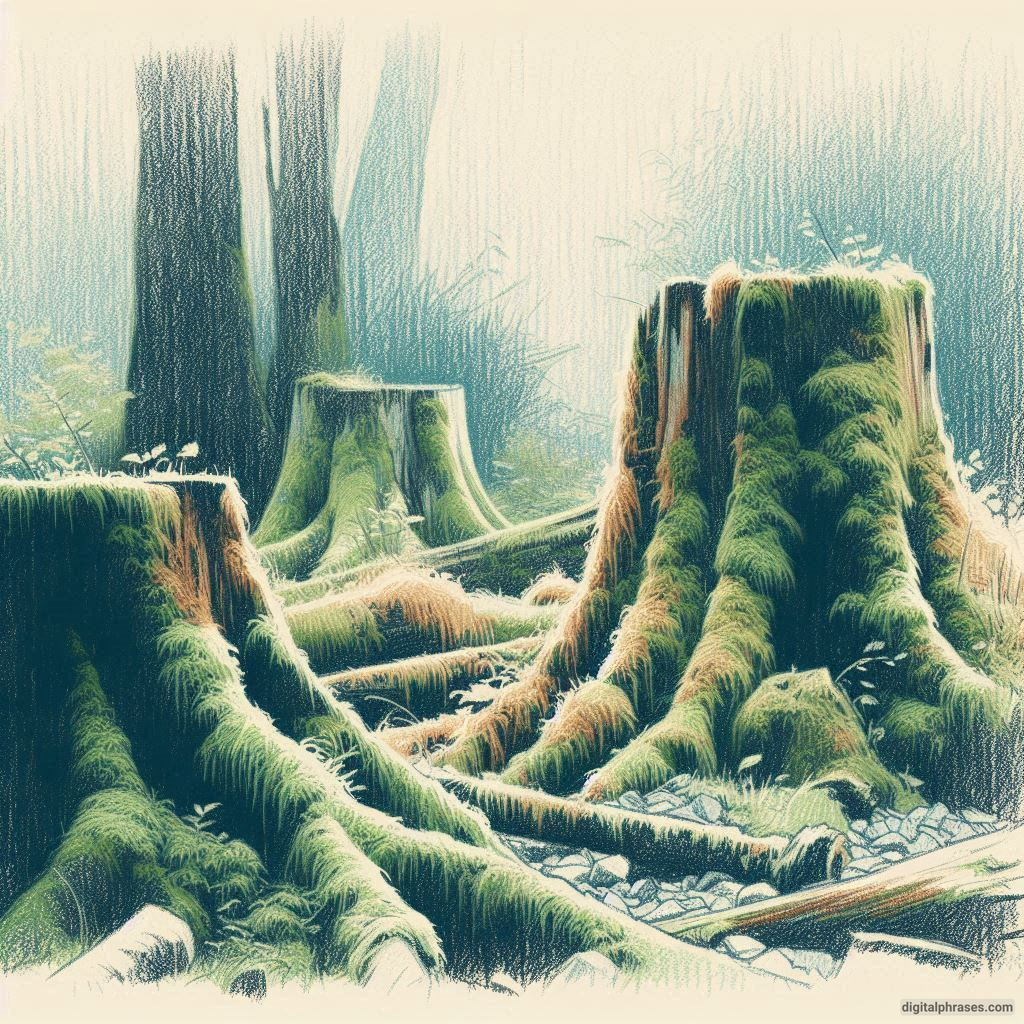
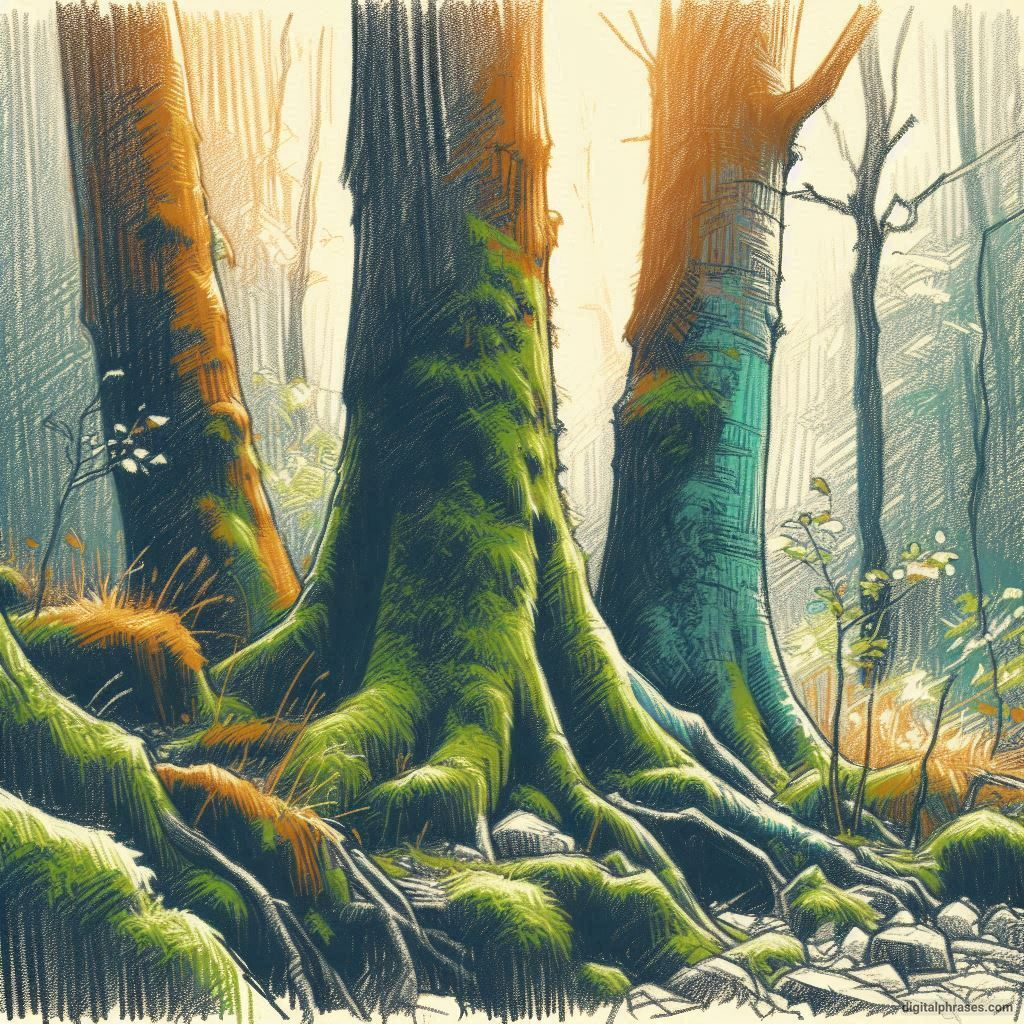
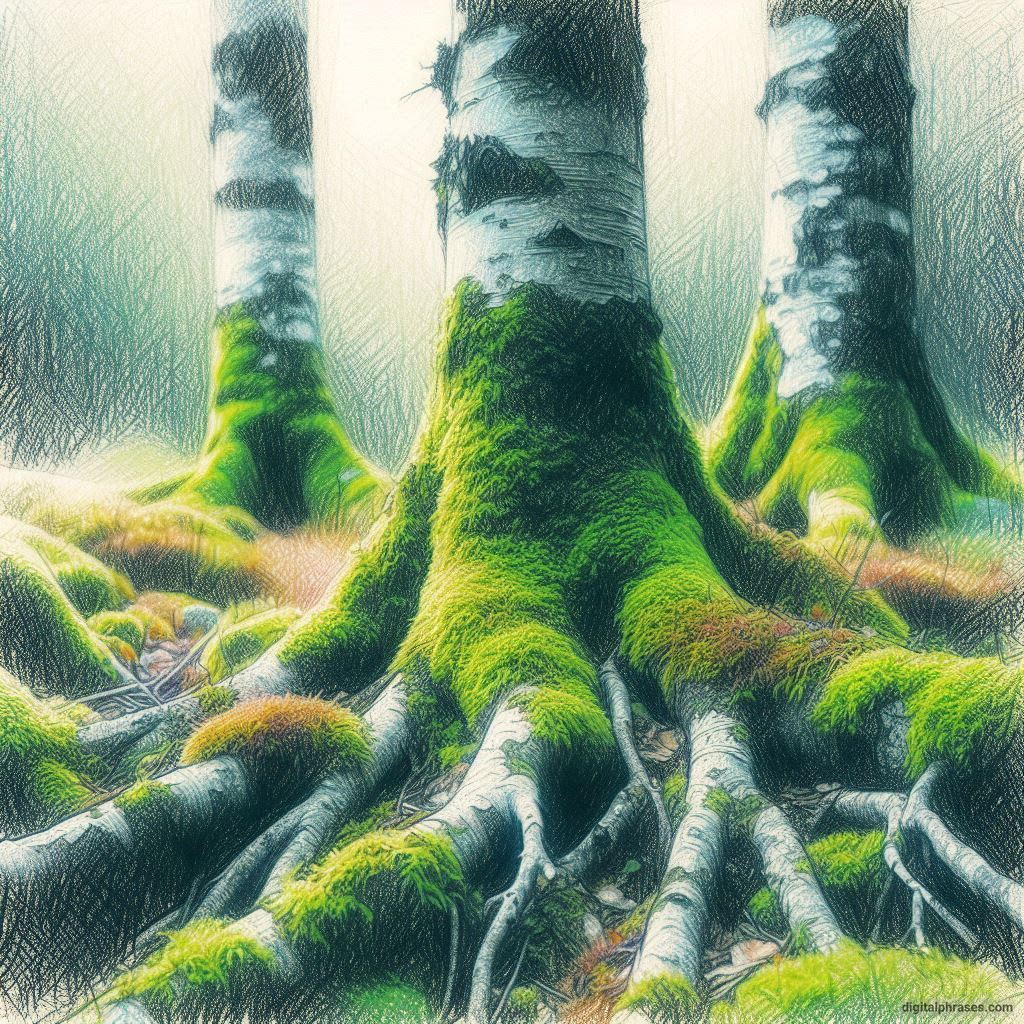
8. Moss-Covered Trunks
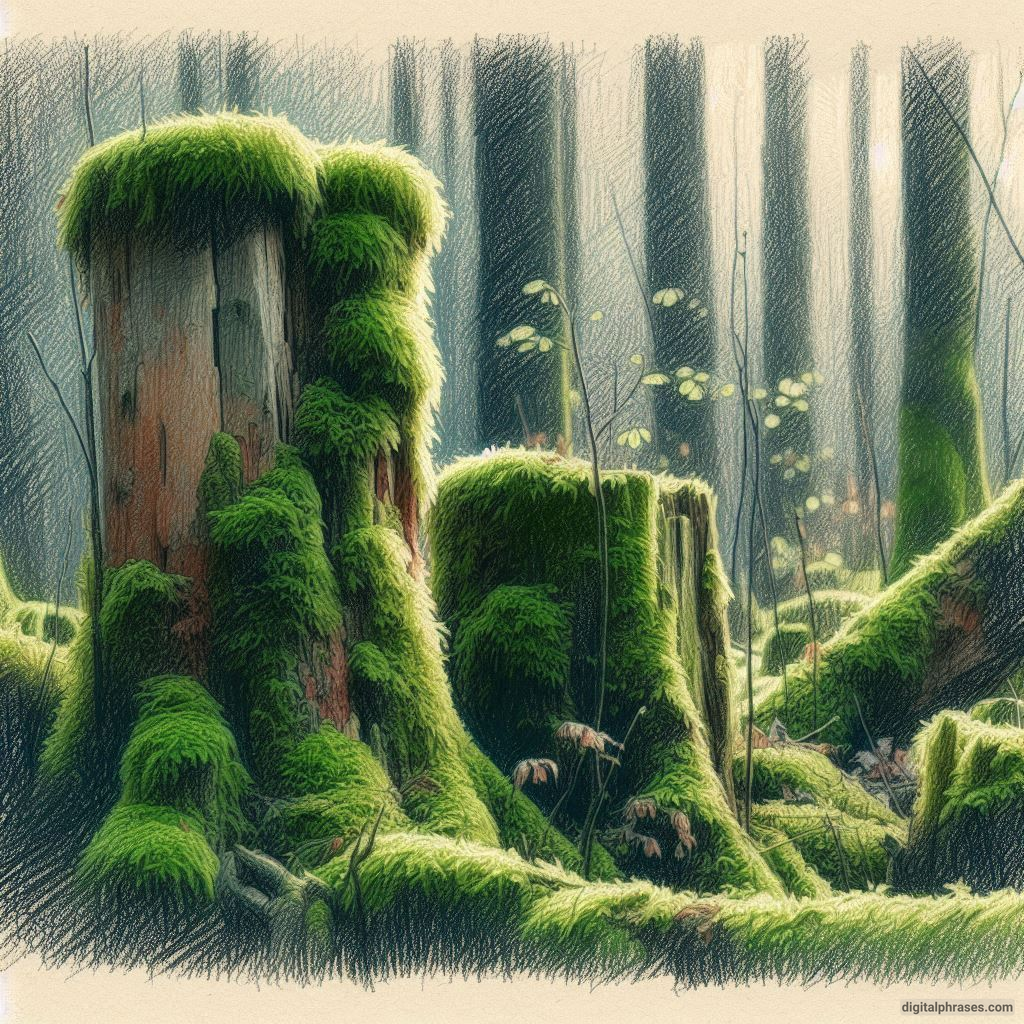
Moss-covered trees are rich in texture and detail. Use a mix of short, jagged lines and stippling to represent the soft, fuzzy surface of moss.
Add shading to show where the moss grows thickest and highlight areas where the bark peeks through.
Get Creative: Experiment with green tones and different textures to make the moss look lush and vibrant.
1
2
3
4
5
6
