How to Draw an Old Lady
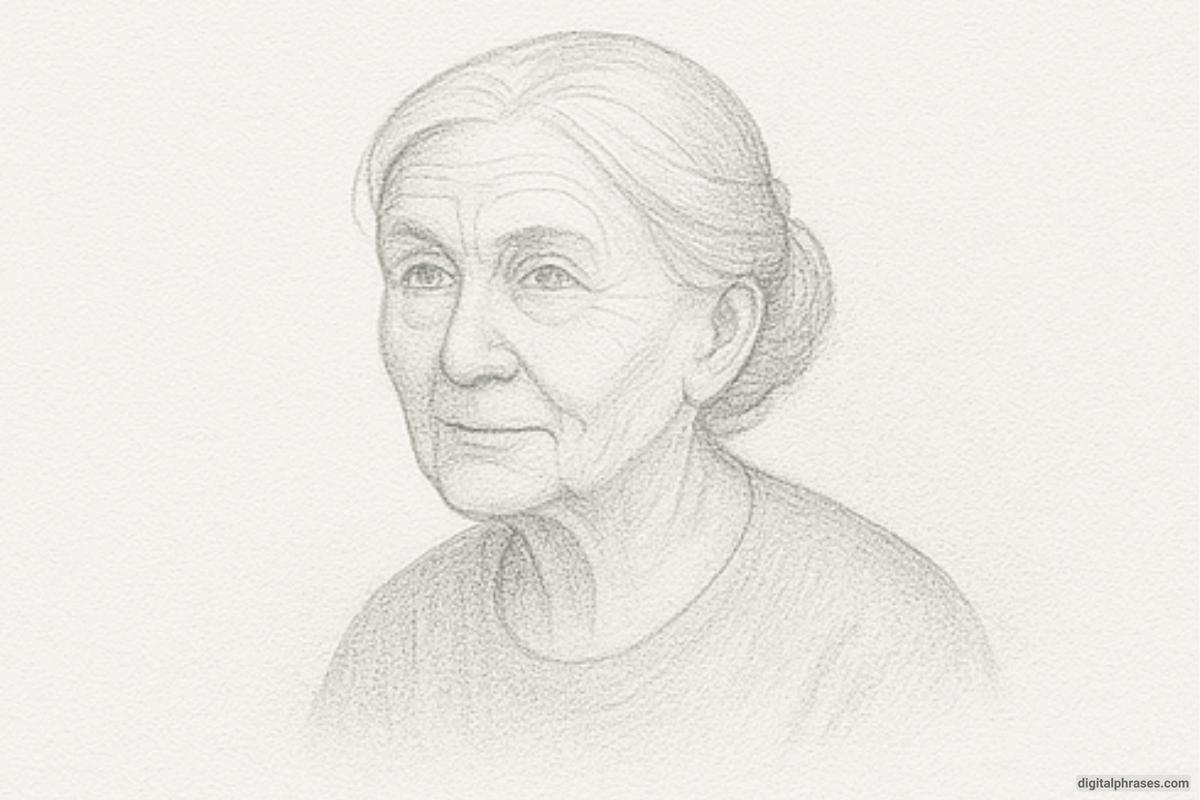
Here’s a simple guide on how to draw an old lady.
Step 1 – Basic Head and Guideline Structure
- Start by sketching a simple oval or egg-shaped outline for the head.
- Draw a vertical line down the center to maintain symmetry and a horizontal line across the middle of the face to help align the eyes.
- Lightly sketch in the neck and upper shoulders to provide a base for the body and clothing.
- These guidelines set up the proportions and make it easier to accurately place facial features later on.
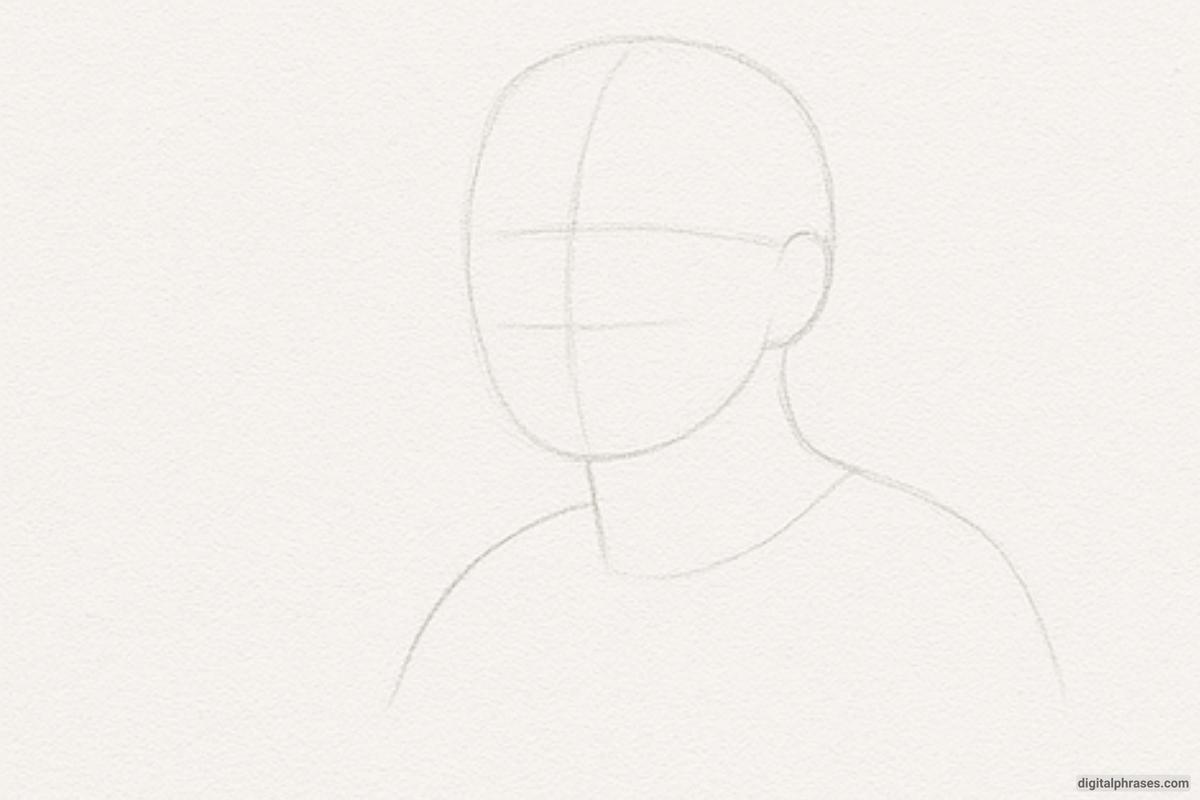
Step 2 – Outline the Hair and Basic Facial Shape
- Begin refining the head by shaping the jawline and defining the ear placement.
- Add the hairline and basic form of the hair tied back in a bun, which gives the figure an older appearance.
- Draw the neckline and upper chest more clearly to anchor the head to the body.
- Make sure the proportions of the face are realistic and age-appropriate—longer jaws and slightly sagging skin are often more representative of older faces.
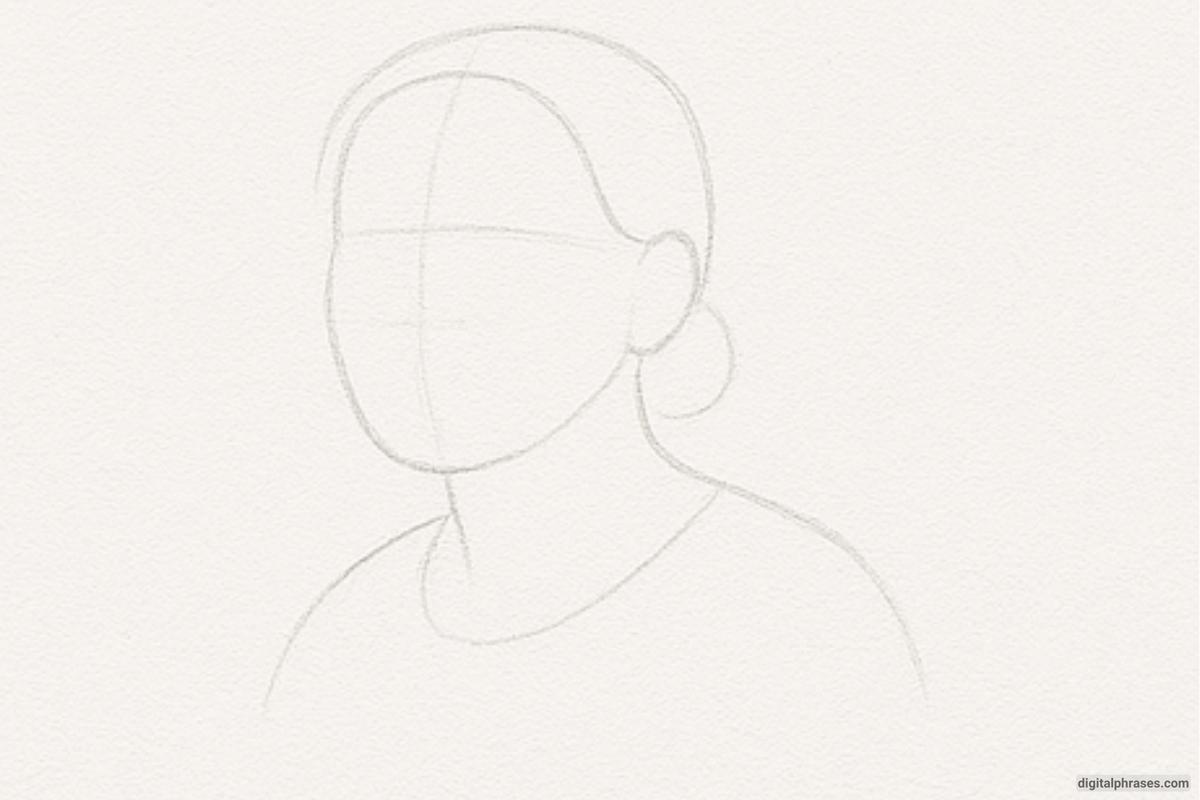
Step 3 – Sketch Facial Features and Hair Details
- Begin outlining the eyes, nose, and mouth, using the horizontal and vertical guidelines for placement.
- The eyes should have slightly drooping lids, and the mouth may be downturned gently, showing the effects of age.
- Lightly indicate the position of the eyebrows and add lines for the hair parting and bun shape.
- Keep the lines soft at this stage, as you’ll be refining and darkening them later.
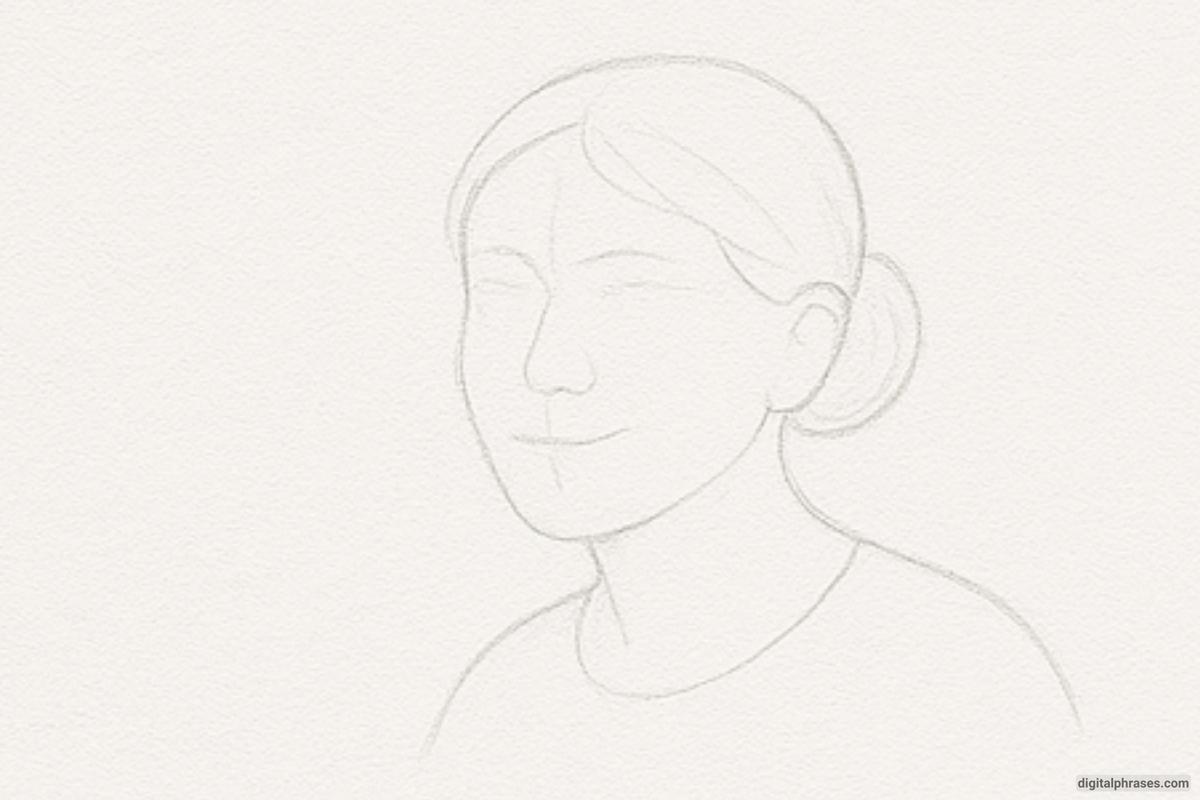
Step 4 – Add Facial Wrinkles and Texture
- Begin adding signs of aging: fine lines around the eyes, forehead, and mouth.
- Introduce more structure to the cheeks and jaw, such as sagging skin, nasolabial folds, and subtle wrinkles.
- Define the bun more clearly, indicating hair texture and volume.
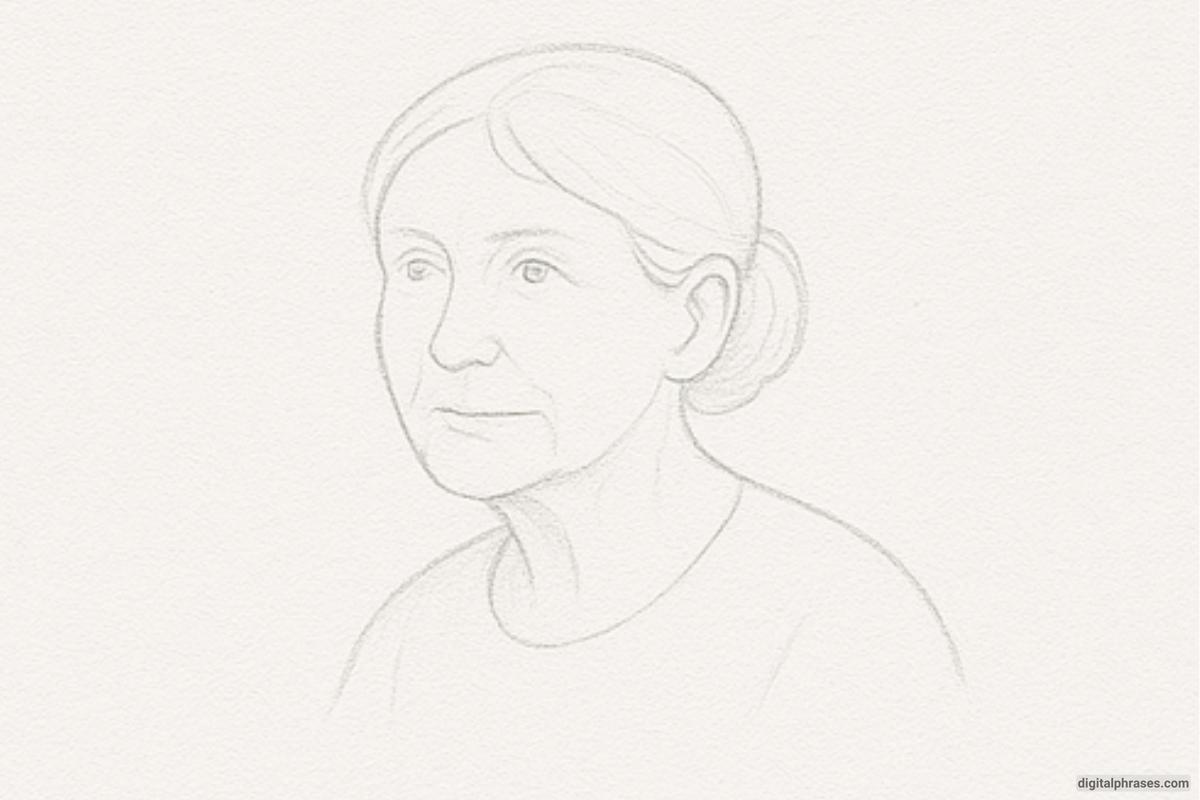
Step 5 – Refine Line Work and Add Expression
- Darken the essential outlines and erase unnecessary guidelines.
- Add more wrinkles and creases around the neck, chin, and collarbone for realism.
- Refine the eyes and give them a thoughtful or kind expression—expressions add character and emotion.
- Emphasize depth by adjusting line thickness, especially around the eyes and jaw.
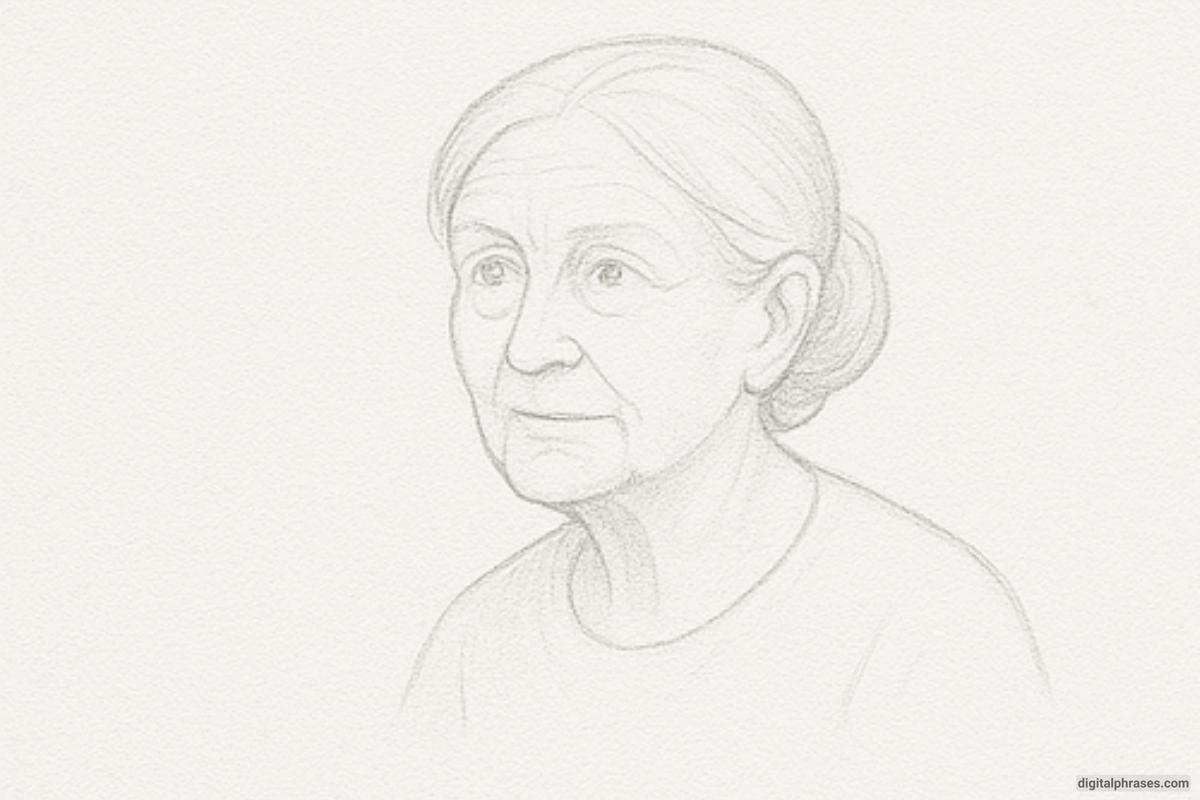
Step 6 – Final Shading and Finishing Touches
- Add detailed shading to areas like under the eyes, around the mouth, beneath the chin, and across the hair for texture and depth.
- Use cross-hatching or soft shading to create a realistic look, especially in the clothing and hair bun.
- Blend shadows smoothly and add highlights where necessary to give the drawing a three-dimensional feel.
- Finish with subtle background shading or texture to bring the portrait to life.
