How To Draw a Butterfly
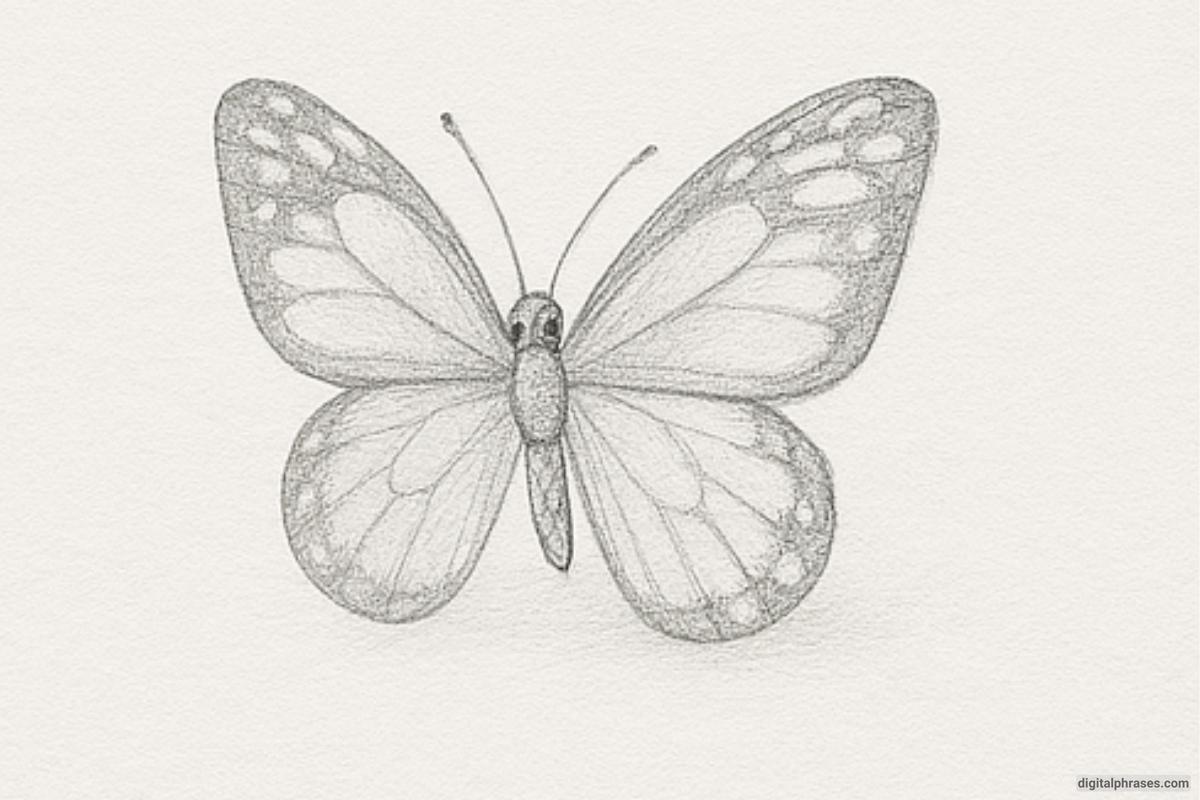
Here is a step-by-step process on how to draw a butterfly.
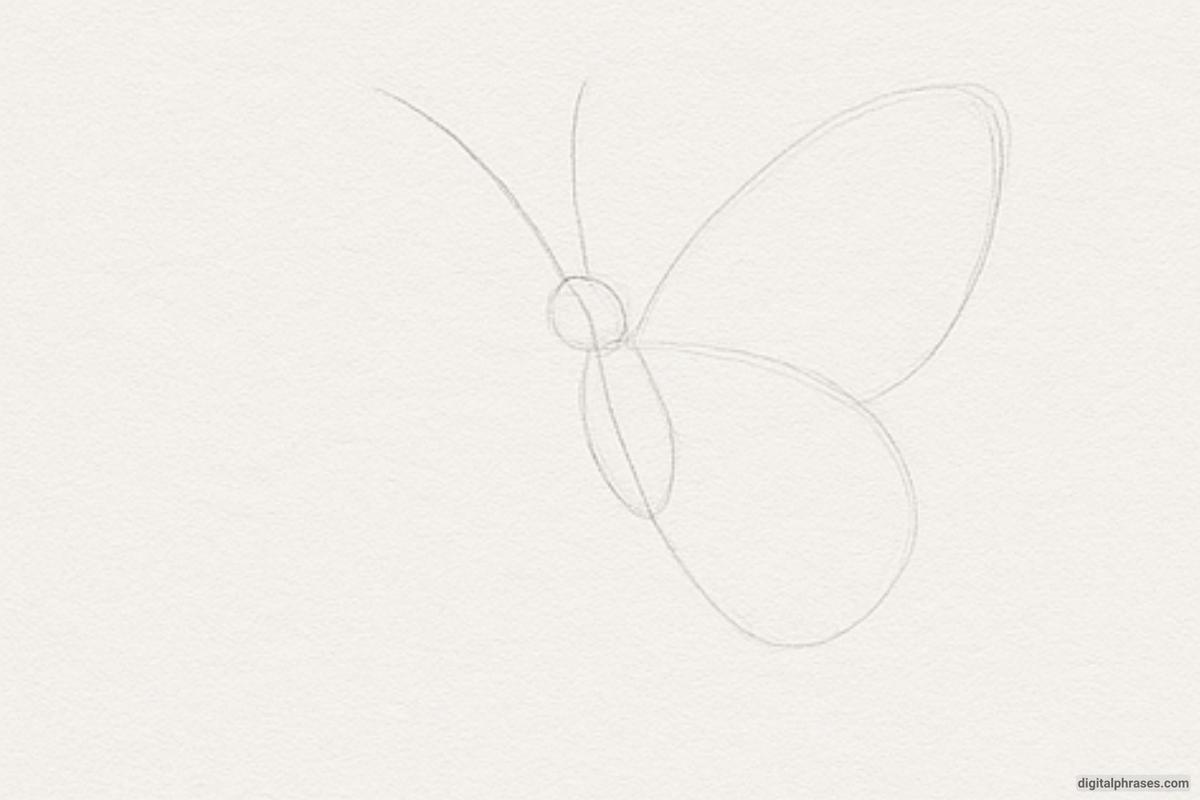
Step 1: Basic Body & Wing Structure
- Draw a vertical oval for the butterfly’s body (thorax and abdomen).
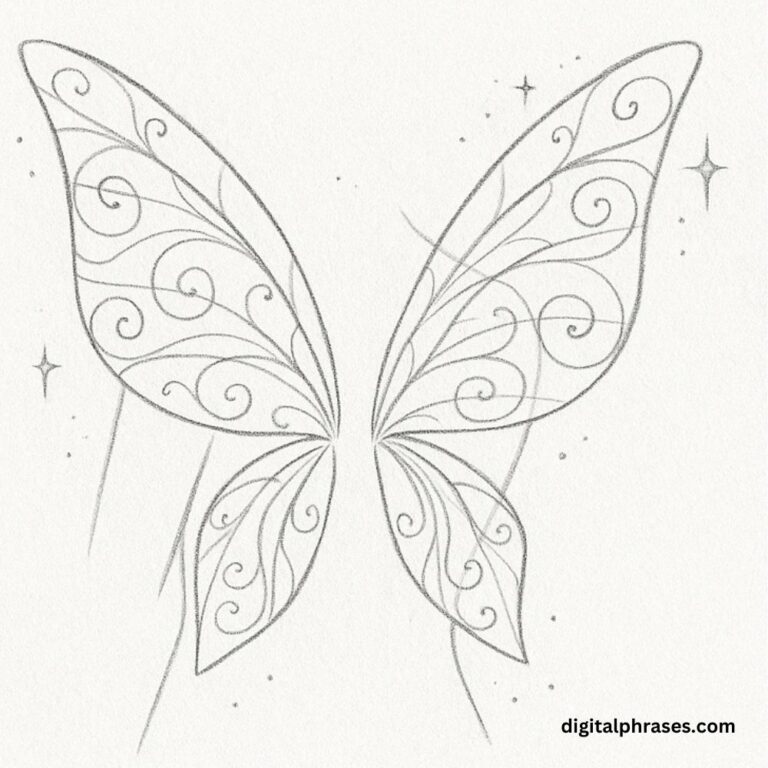
- Add two large symmetrical wing outlines—top wings as wide arches, bottom wings as smaller rounded curves.
Step 2: Refine Wing Shape
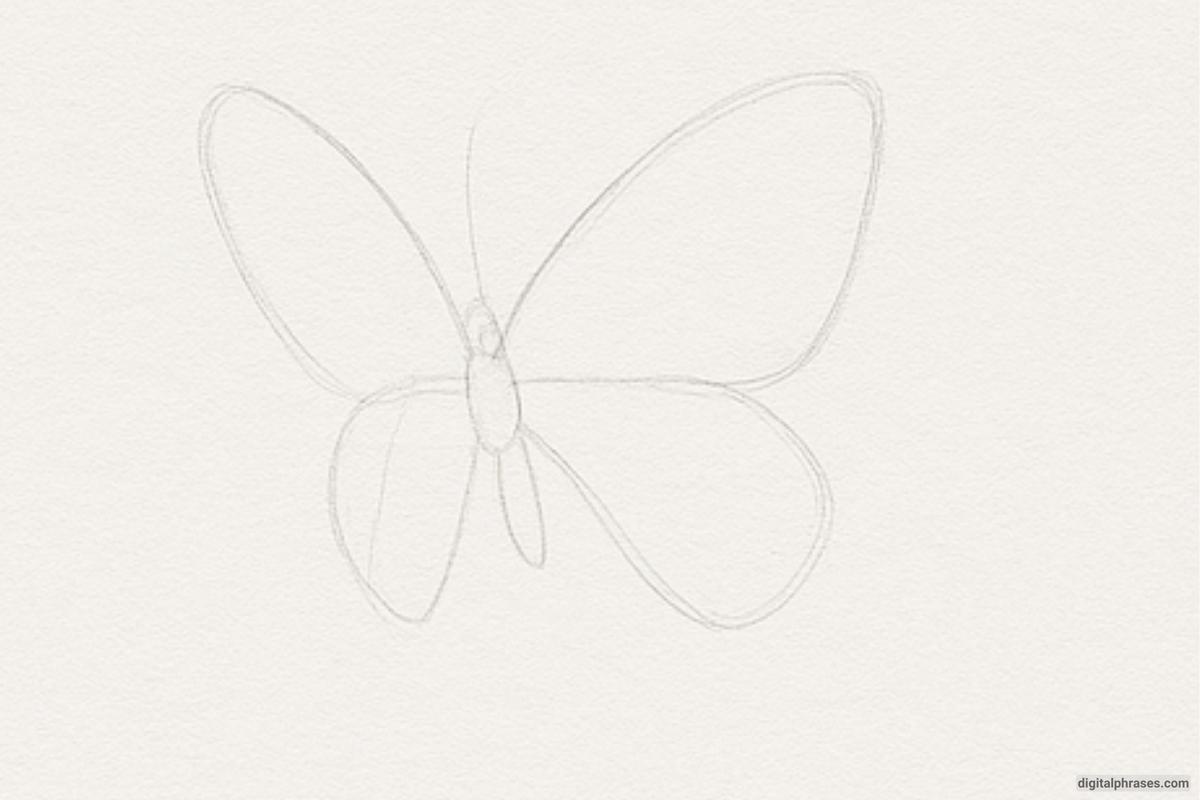
- Define the wing edges more clearly by adding natural curves and scallops.
- Begin shaping the wings to look more organic and proportional.
- Lightly sketch out veins and sections within the wings.
- These help guide where patterns and details will go.
Step 3: Pattern Detailing
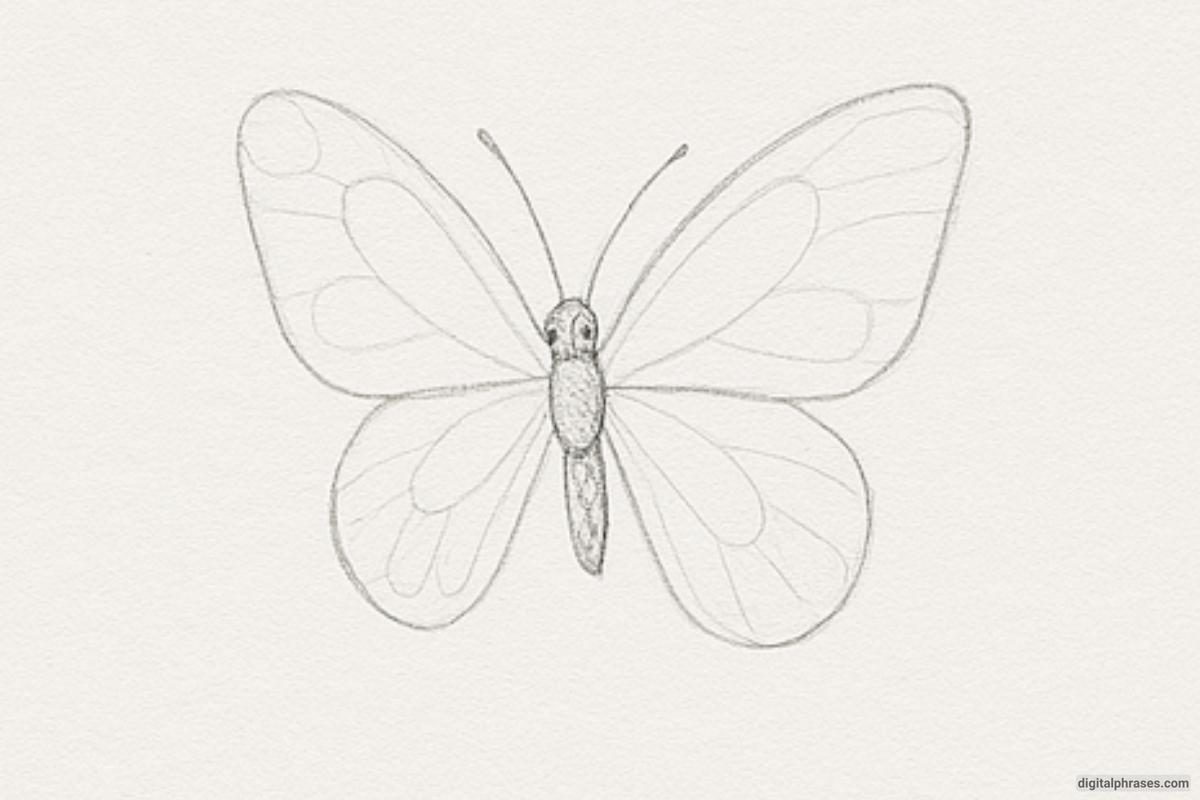
- Draw distinctive patterns on the wings—circles, spots, and bands.
- Ensure symmetry between the left and right sides.
Step 4: Add Antennae & Texture
- Draw antennae extending from the top of the head.
- Lightly texture the body with fine lines to suggest segments and fuzz.
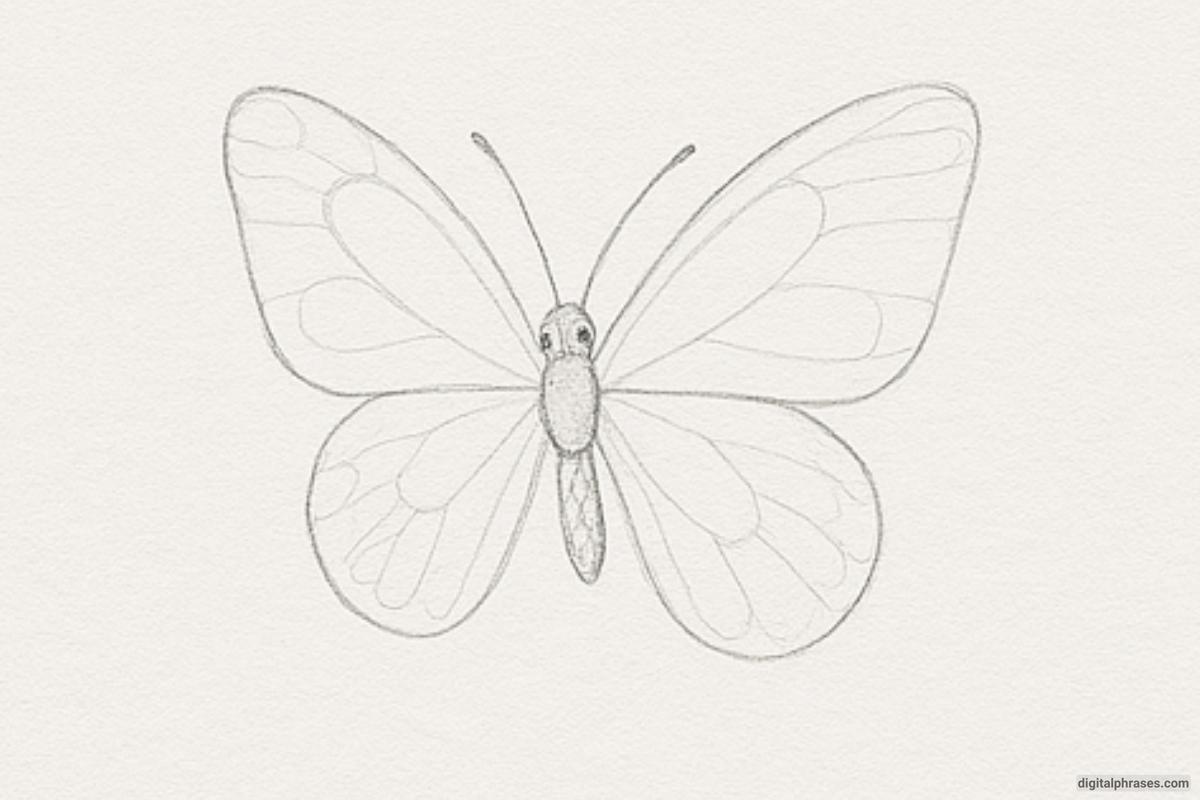
Step 5: Shading & Final Touches
- Use soft shading to create depth in the wings and body.
- Emphasize the contrast in patterns and define edges with darker pencil lines.
- Clean up guidelines to reveal the final, polished butterfly sketch.
