How To Draw an Eagle
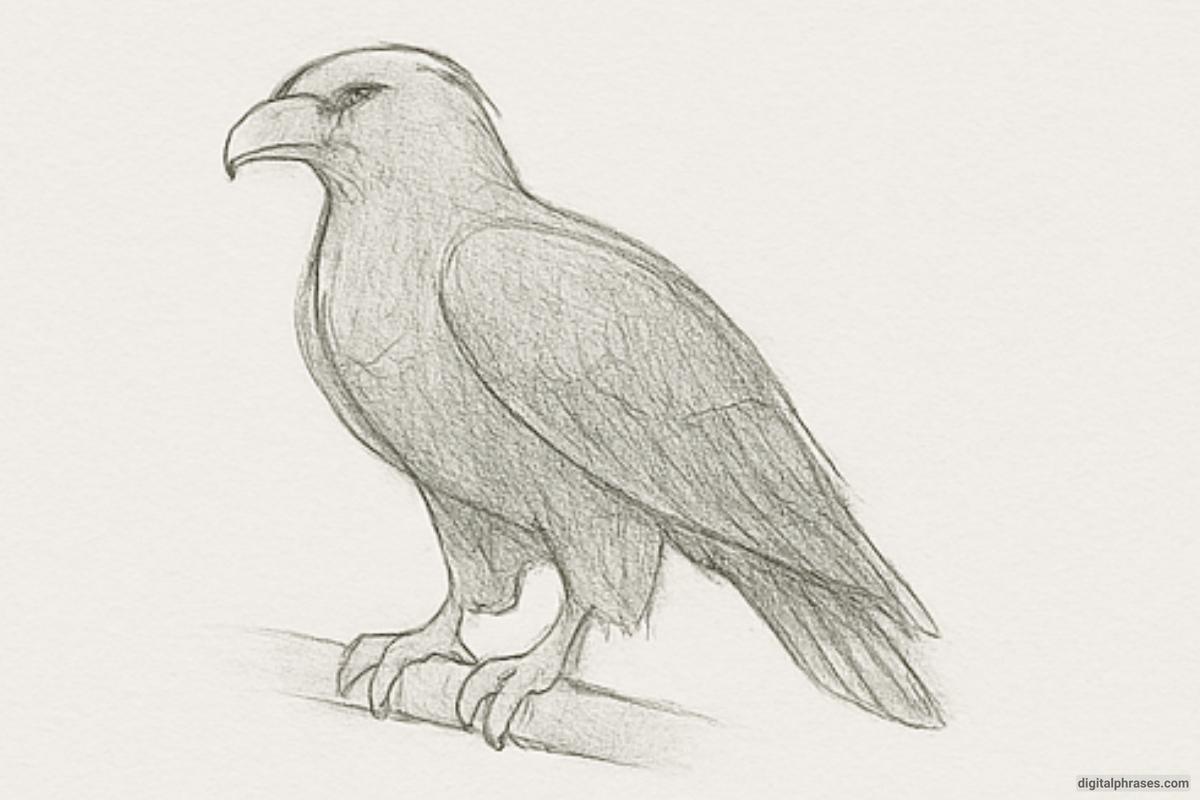
Here’s a step-by-step guide on how to draw an eagle.
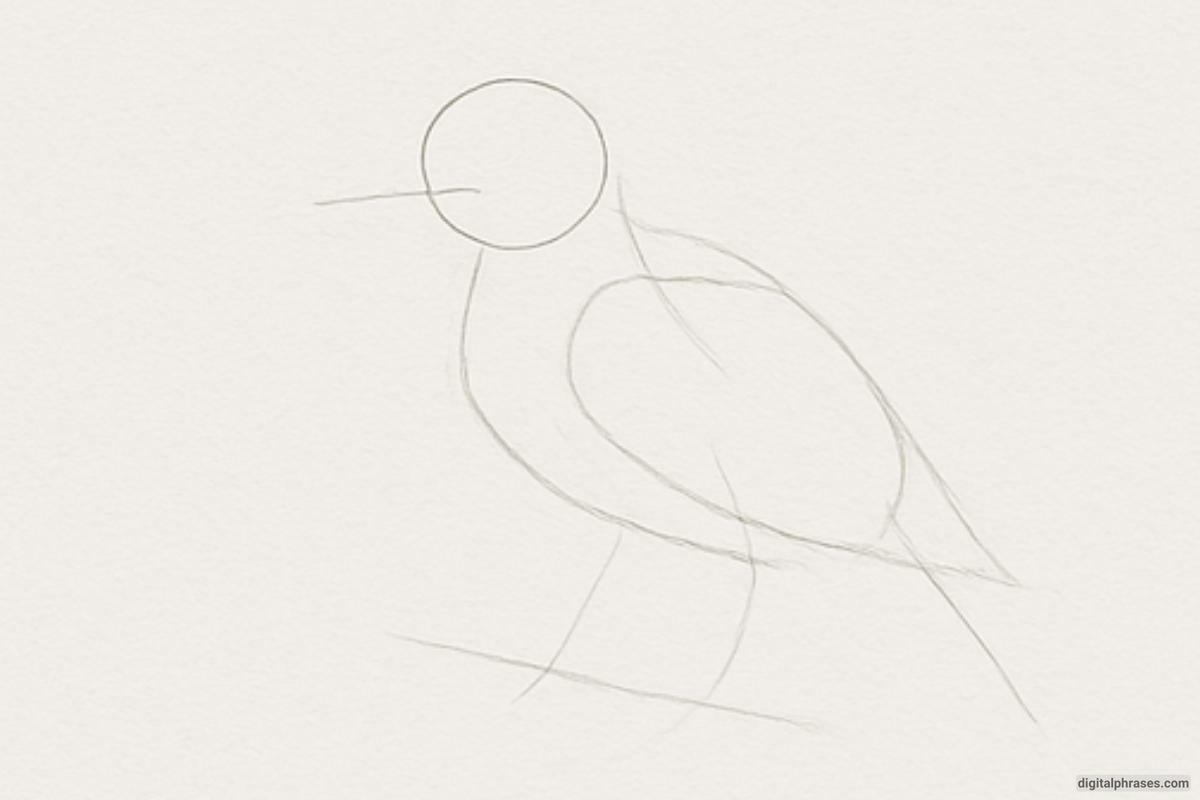
1. Basic Framework
- Start with simple shapes to define the eagle’s posture.
- Use a small circle for the head, a larger oval for the body, and light lines to indicate wing span and leg placement.
- Mark a line from head to beak to set the gaze direction.
2. Outline Major Features
- Begin shaping the head, beak, and torso.
- Sketch rough wing outlines and position the tail feathers.
- Add limbs and talons with minimal detail.
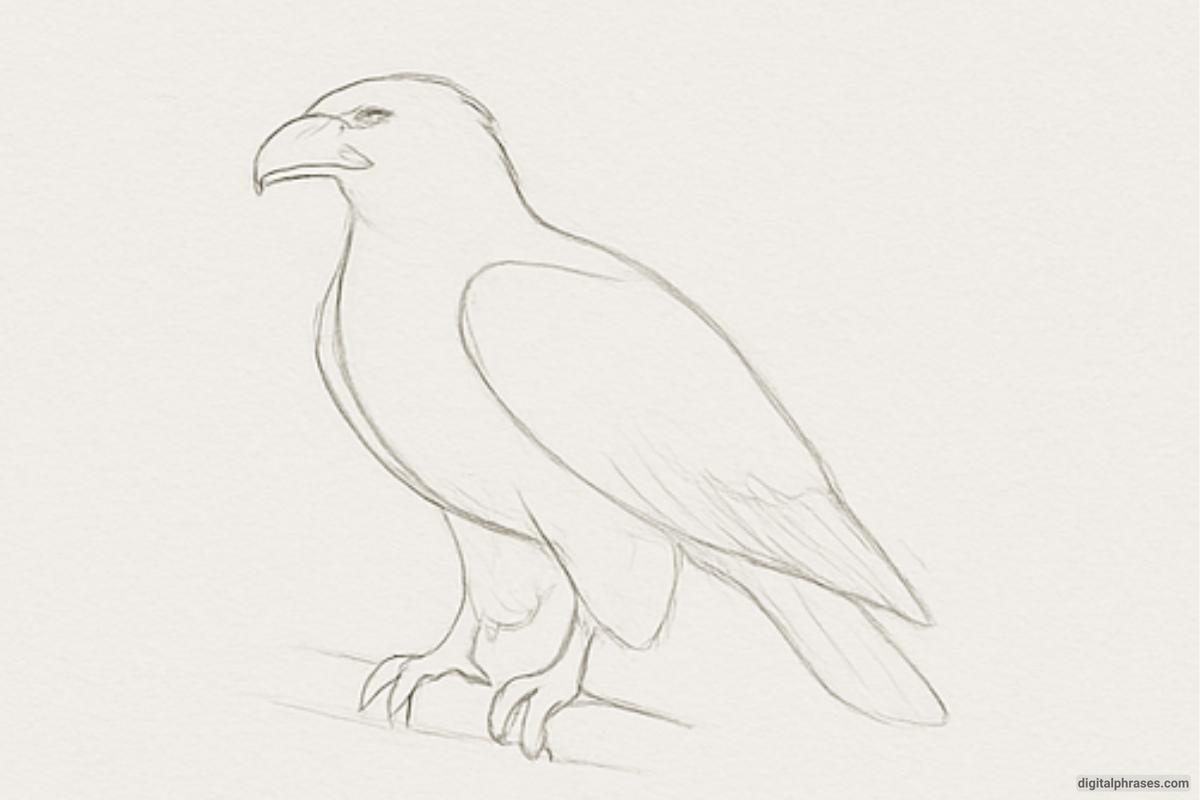
3. Define the Form and Add The Feather Structure
- Refine the beak’s curve and hooked tip.
- Sculpt the wing edges and begin separating the feather groups (primaries, secondaries).
- Shape the legs and talons, showing the characteristic strong grip.
- Start detailing feathers using layered strokes, particularly around:
- Head and neck (smaller feathers)
- Wings and tail (larger, longer feathers)
- Head and neck (smaller feathers)
- Add more volume and form to the wings with varied pencil pressure.
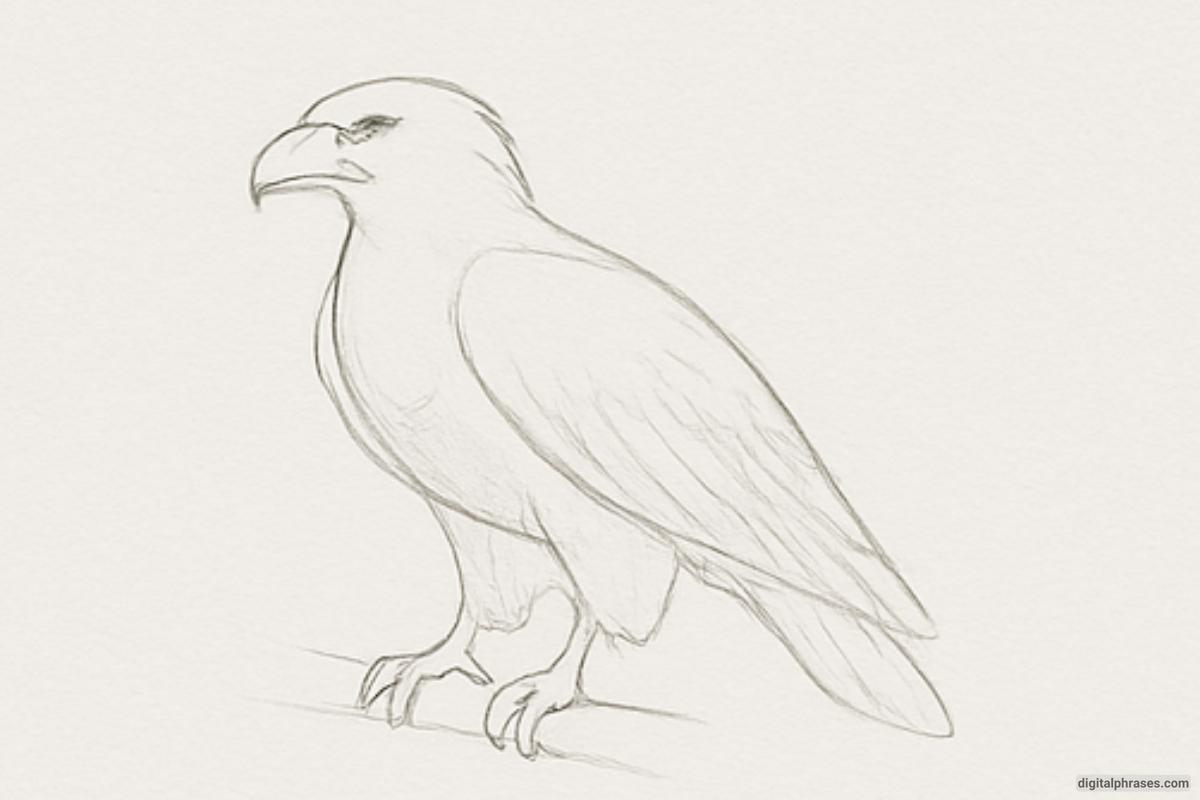
4. Detail the Face and Talons Along With The Final Shading and Texture
- Sharpen the eye, giving it intensity and focus.
- Add shadows around the eye socket and under the beak.
- Emphasize the talons—make them sharp, textured, and gripping.
- Add depth using hatching and shading on the wings, chest, and legs.
- Define light source by creating contrasts between light and shadow.
- Finalize the feather texture, especially in overlapping areas, and smooth the outline for a polished look.
