How To Draw a Bear
Here is a simple step-by-step guide on how to draw a bear.
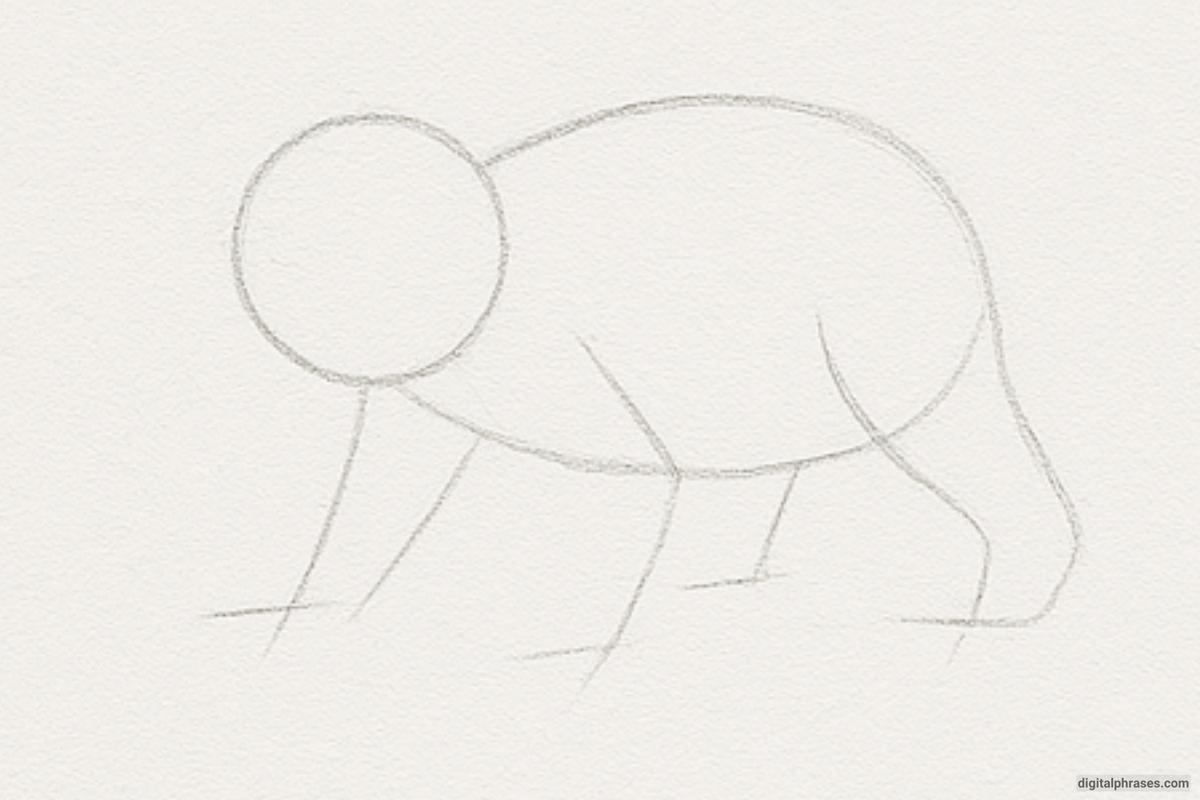
1. Basic Shapes & Guidelines
- Begin with simple circles and ovals to block out the head, body, and limbs.
- A large oval for the body, a smaller one for the head, and cylinders for arms/legs.
- Light guidelines help position facial features.
2. Connect the Shapes
- Use curved lines to join the shapes into a rough outline of the bear’s body.
- Begin shaping the limbs and add a basic outline of the ears and snout.
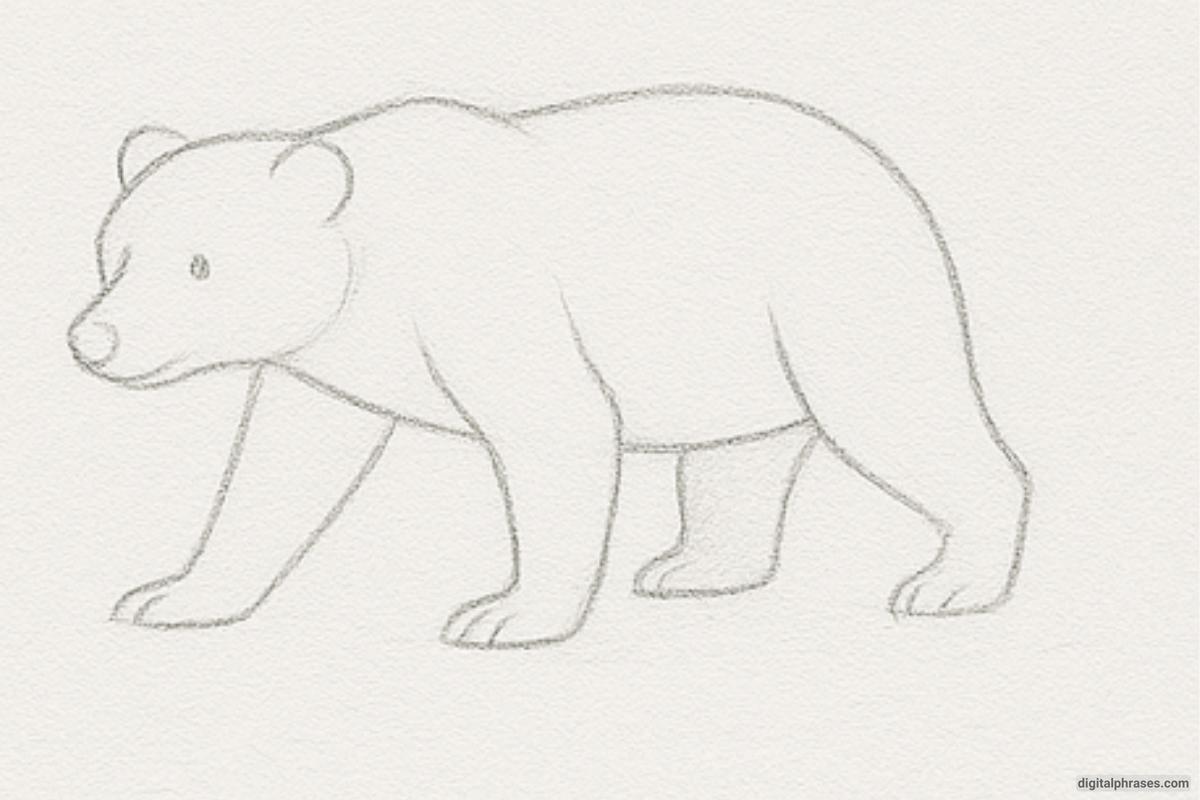
3. Refine the Outline and Shade the Paws
- Start smoothing out the body to give it a more realistic bear shape.
- Add joints in the legs, define the paws, and outline the ears more clearly.
- The face starts to get some structure.
- Add details to the eyes, snout, and mouth.
- Sketch the bear’s claws and shape the feet and hands more clearly.
- Outline the fur around the face and body lightly.
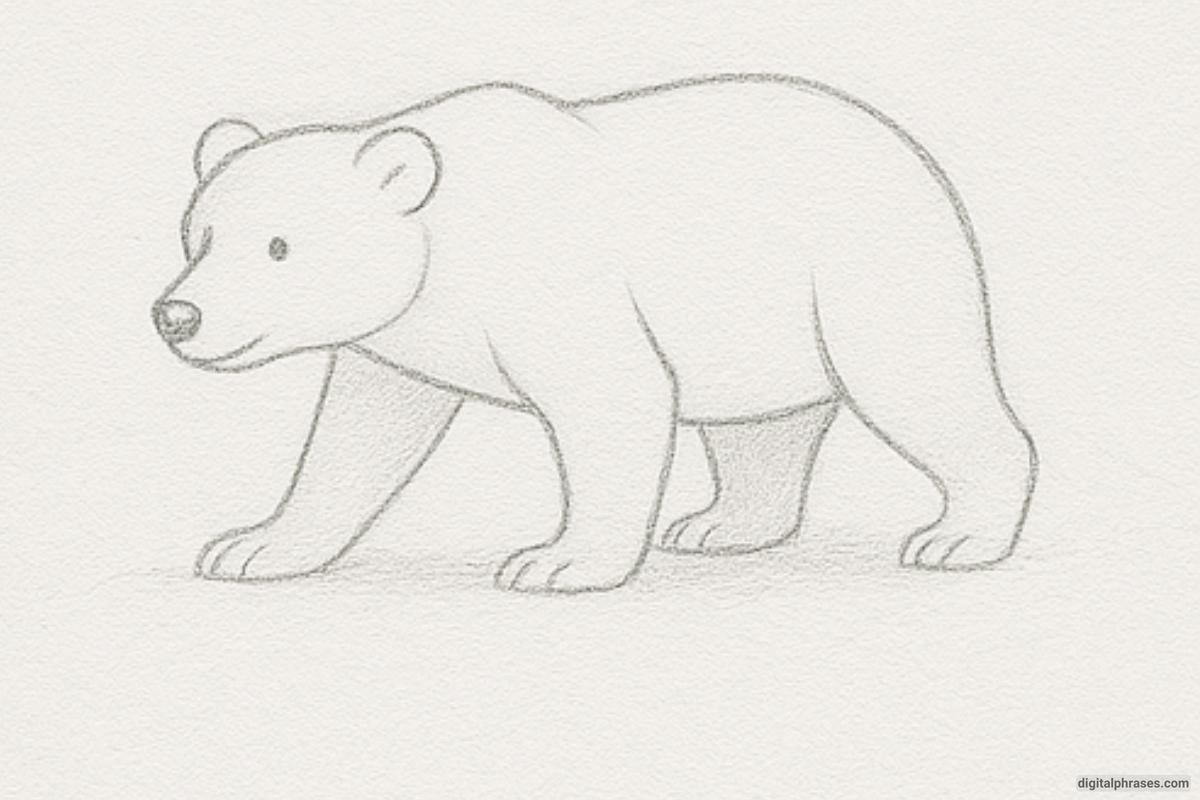
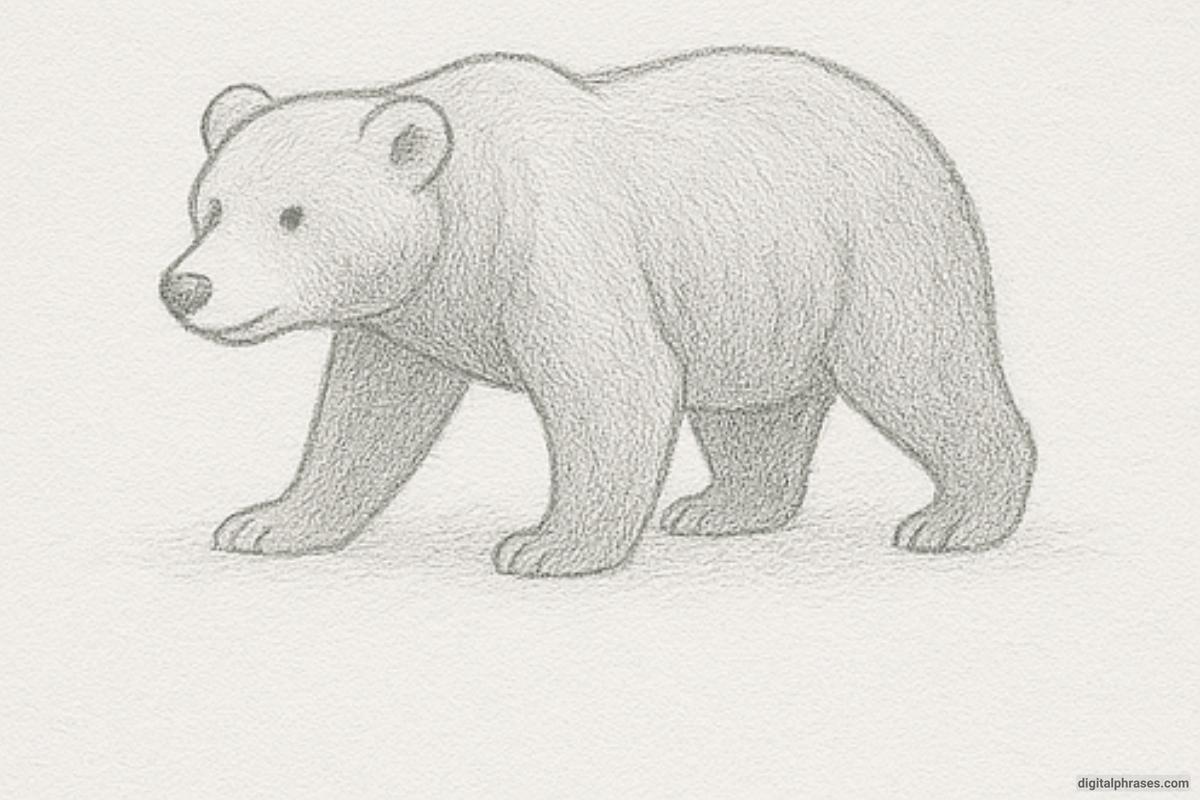
4. Add Texture & Fur Details Along With Final Shading & Touch-Ups
- Begin texturing with small, short pencil strokes to mimic fur.
- Add shading around the neck, limbs, and under the belly.
- Define the nose, mouth, and eyes further. Deepen shadows to create depth, especially around the face, legs, and under the body.
- Clean up guide lines, darken the final outline, and add any last details to finish your bear sketch.
- Emphasize fur texture with varied pencil pressure.
