How To Draw a Crown
Here’s a step-by-step guide on how to draw a crown.
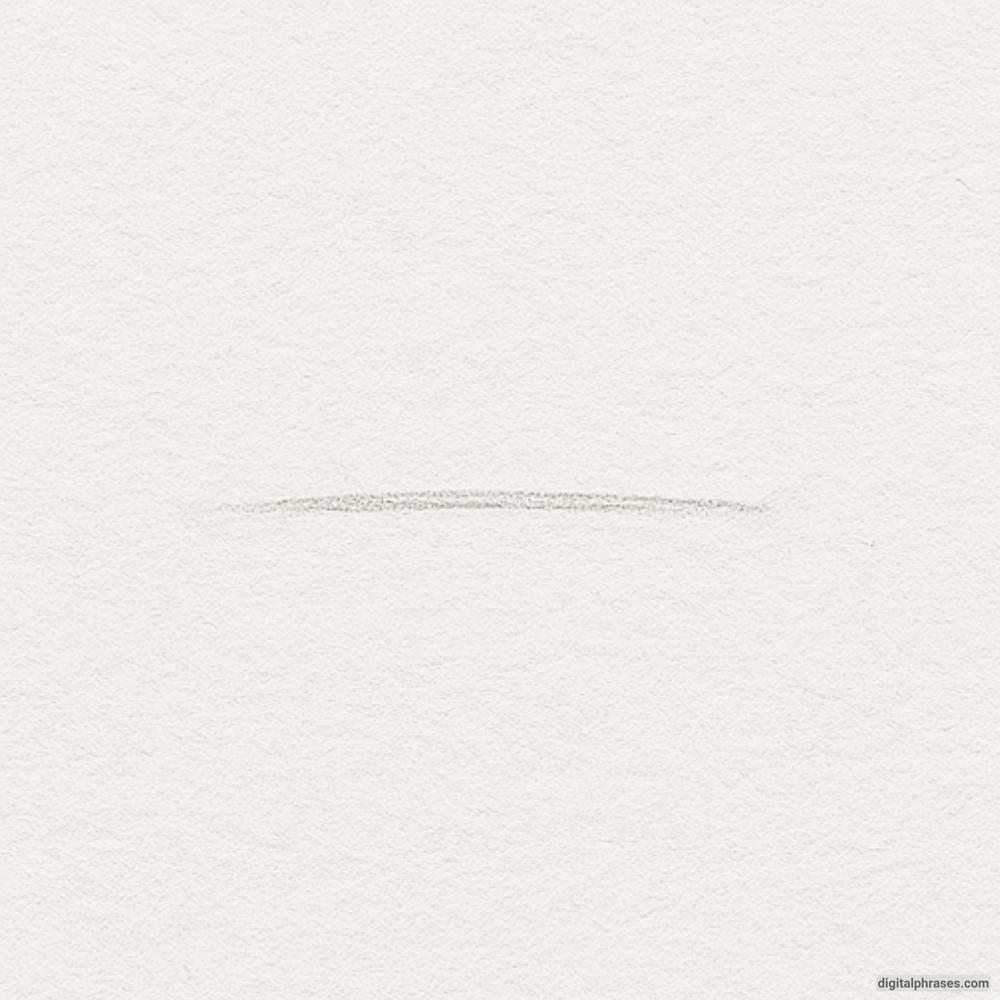
1. Draw the Base Line
Begin with a simple horizontal curve—this forms the bottom of the crown.
It’s not a straight line; instead, it’s slightly curved upward to give the crown a more dimensional and rounded base, suggesting it’s wrapping around a head or form.
This subtle curve sets the foundation for the crown’s structure and perspective, so keep your pencil lines light and adjustable.
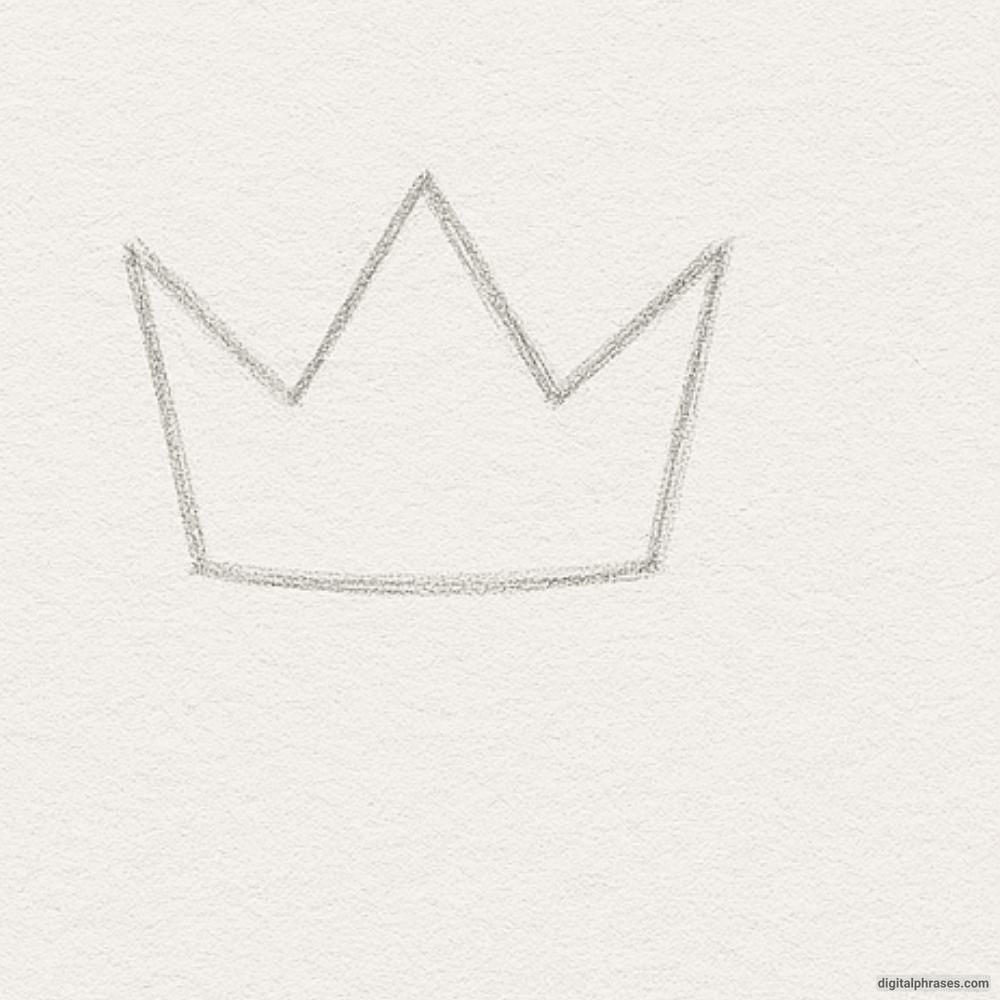
2. Sketch the Crown’s Peaks
Next, build the main outline of the crown’s top by drawing three triangular points rising from the base. Use straight lines to form a tall center triangle with two smaller triangles on each side.
These represent the traditional spiked silhouette of a crown. The triangles should be symmetrical and spaced out evenly from the base curve.
At this point, the drawing remains simple, with only the basic form taking shape—no extra details yet.
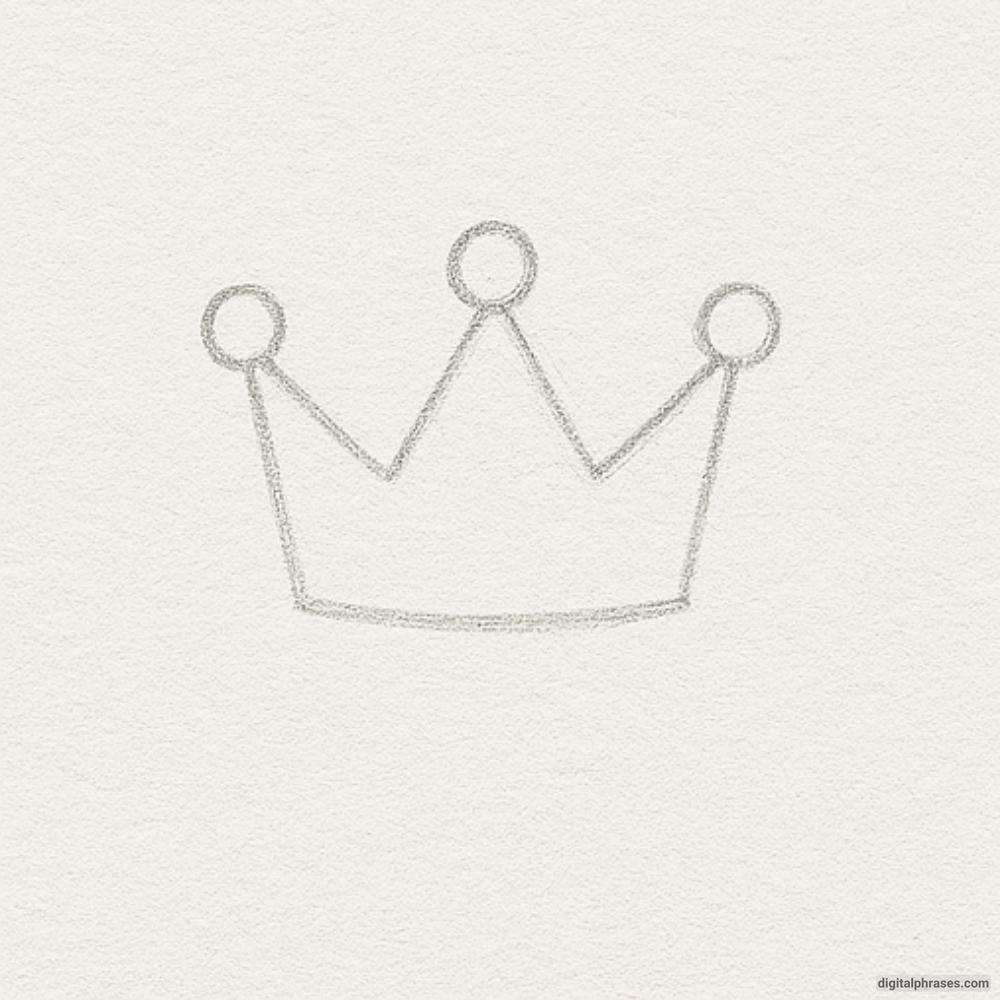
3. Add Circular Jewels
Now draw small circles at the tips of each peak.
These circles represent the decorative jewels or ornaments typically seen on crowns. Keep them roughly the same size and aligned neatly with the tips of each point.
At this stage, the sketch starts to look more recognizable and stylized. The mix of angular points and soft circles adds visual contrast and balance.
4. Detail and Shade the Crown
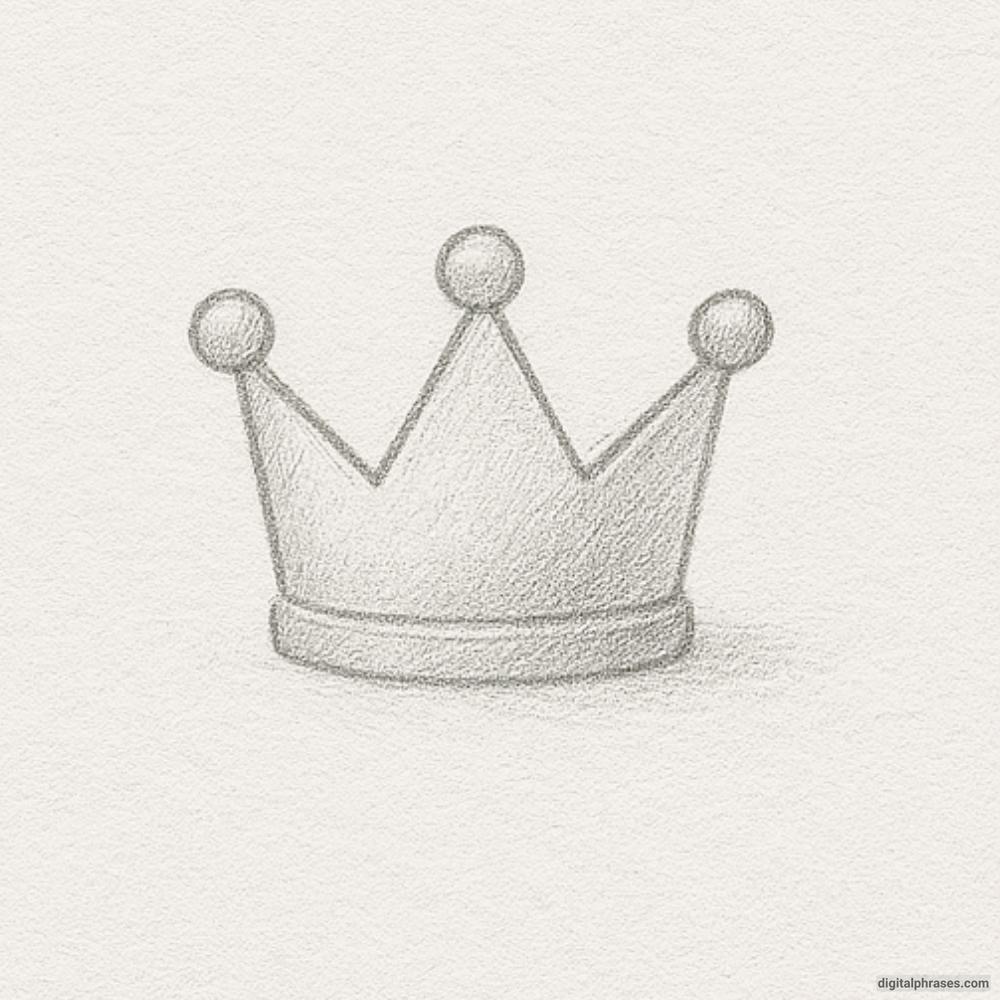
Finally, refine your lines and begin shading. Add thickness to the base by drawing a second curved line beneath the first, forming a bold rim.
Apply light pencil shading along the inner sides of the crown, beneath the rim, and around the jewels to create depth and dimension. Smooth gradients of pencil strokes make the crown appear metallic and rounded.
This step brings the drawing to life, transforming the flat sketch into a visually rich pencil illustration.
