How To Draw a Cloud
Here’s a step-by-step process on how to draw a cloud.
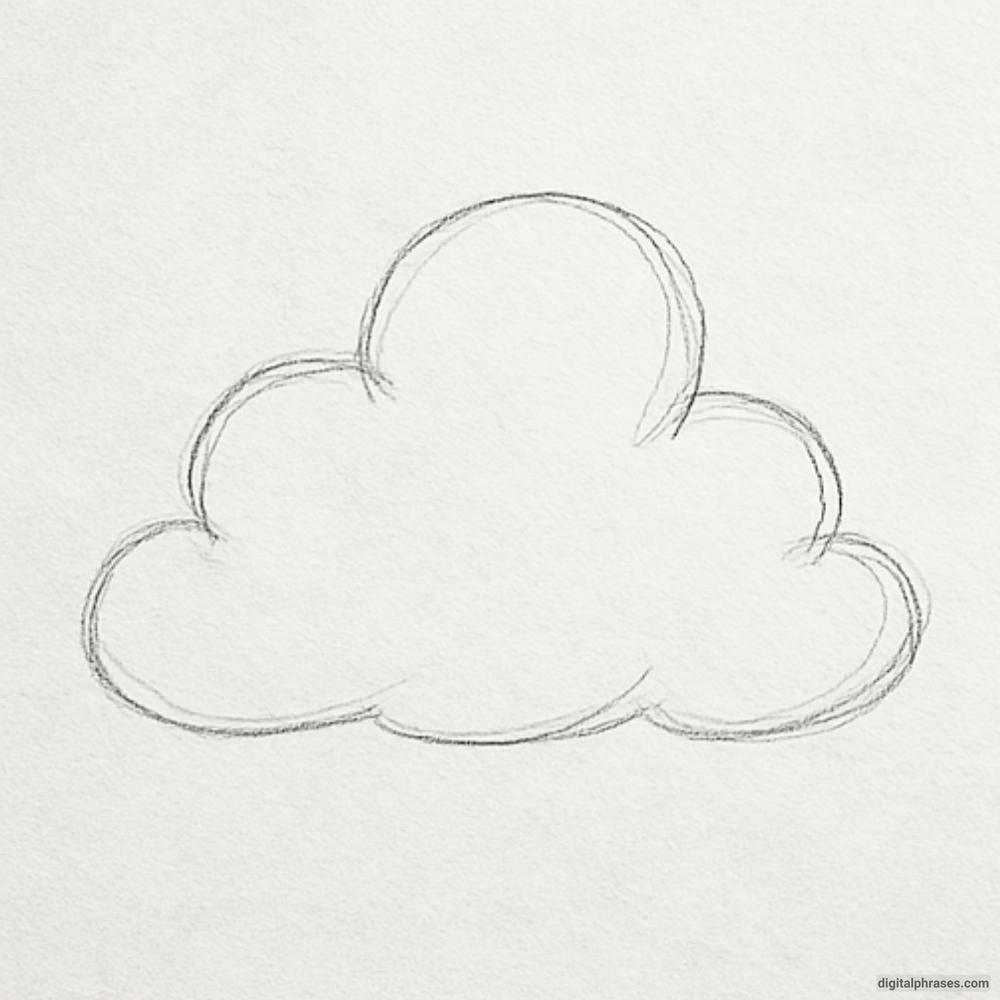
Step 1 – Sketch a Basic Cloud Shape
- Begin with a simple cloud outline. Focus on drawing a rounded shape with several curves that represent the puffy appearance of a cloud.
- Use soft, rounded strokes that don’t have sharp edges. Imagine the soft, smooth, and organic look of clouds in the sky.
- Keep the outline light and basic to allow room for further details and adjustments in the next steps.

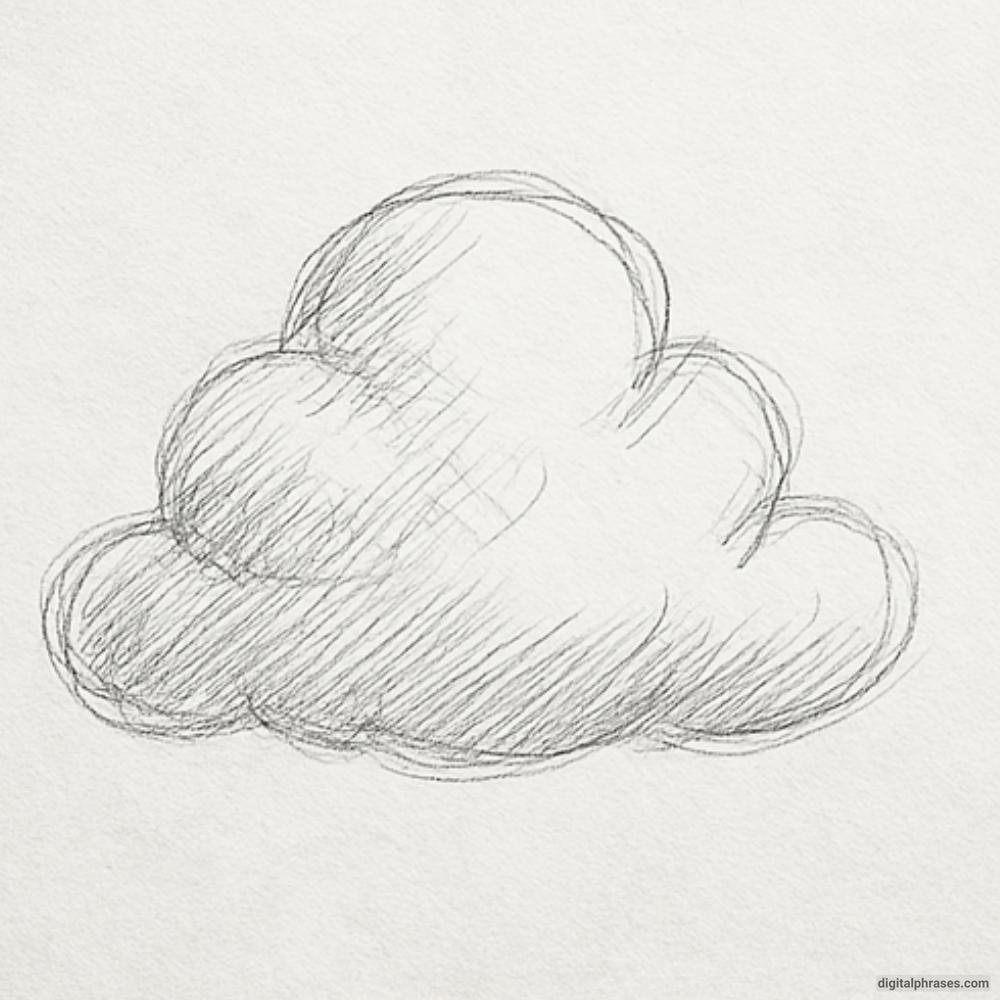
Step 2 – Add Texture and Depth
- Now, work on giving the cloud texture by adding light shading along the edges. This will help convey the volume and roundness of the cloud.
- Focus on creating soft lines that radiate from the base or center of the cloud. Gradually darken the areas where the cloud would naturally have more shadow due to its folds.
- Be sure to keep the shading light and subtle to maintain the fluffy, airy feel of the cloud. The goal is to suggest depth without making the cloud appear too solid.

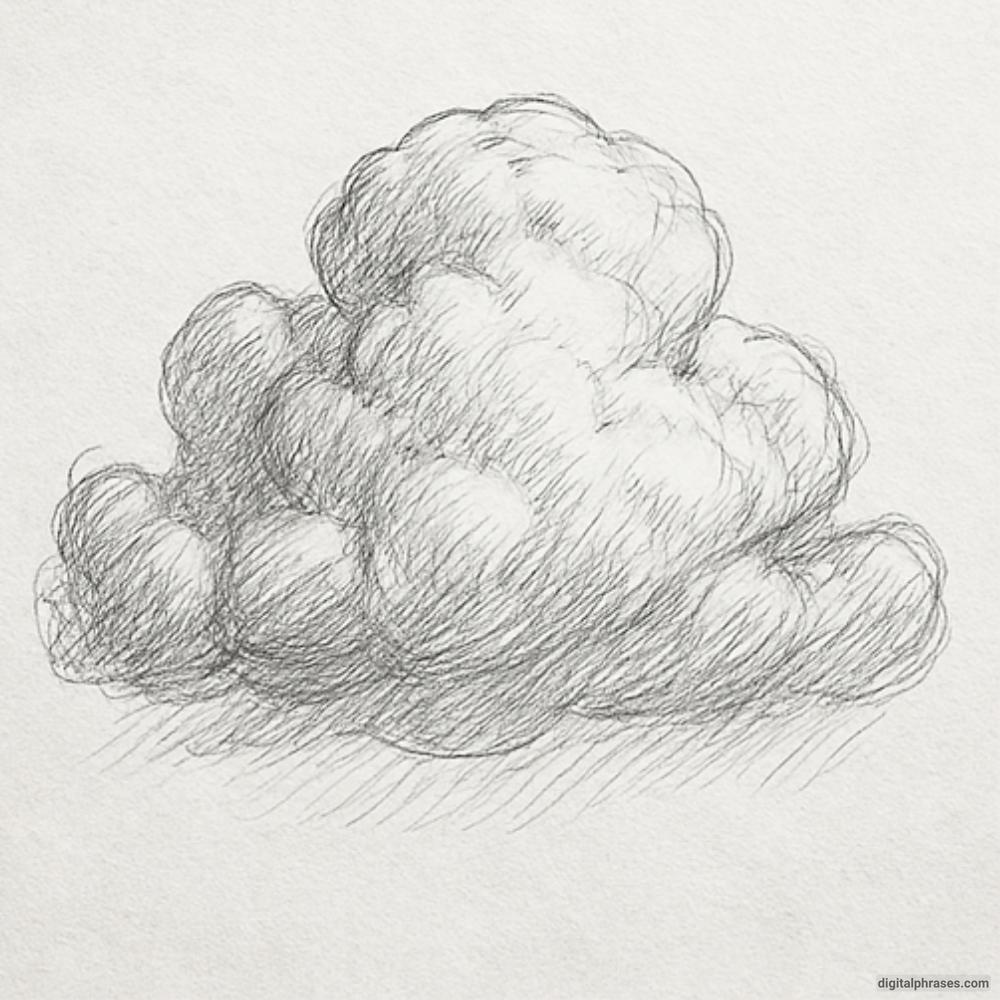
Step 3 – Refine Details and Shading
- For the final step, enhance the depth and contrast of the cloud by adding more detailed shading. Darken the areas of the cloud where shadows fall, and leave the highlights lighter to give the cloud a realistic, three-dimensional look.
- Pay close attention to the form of the cloud. The more you add subtle variations in shading, the more dimension it will gain.
- For added realism, focus on the top, bottom, and side areas of the cloud to define where the light source is coming from, creating a dynamic and natural flow to the cloud’s shape.


