How To Draw a Duck
Here’s a step-by-step process on how to draw a duck.
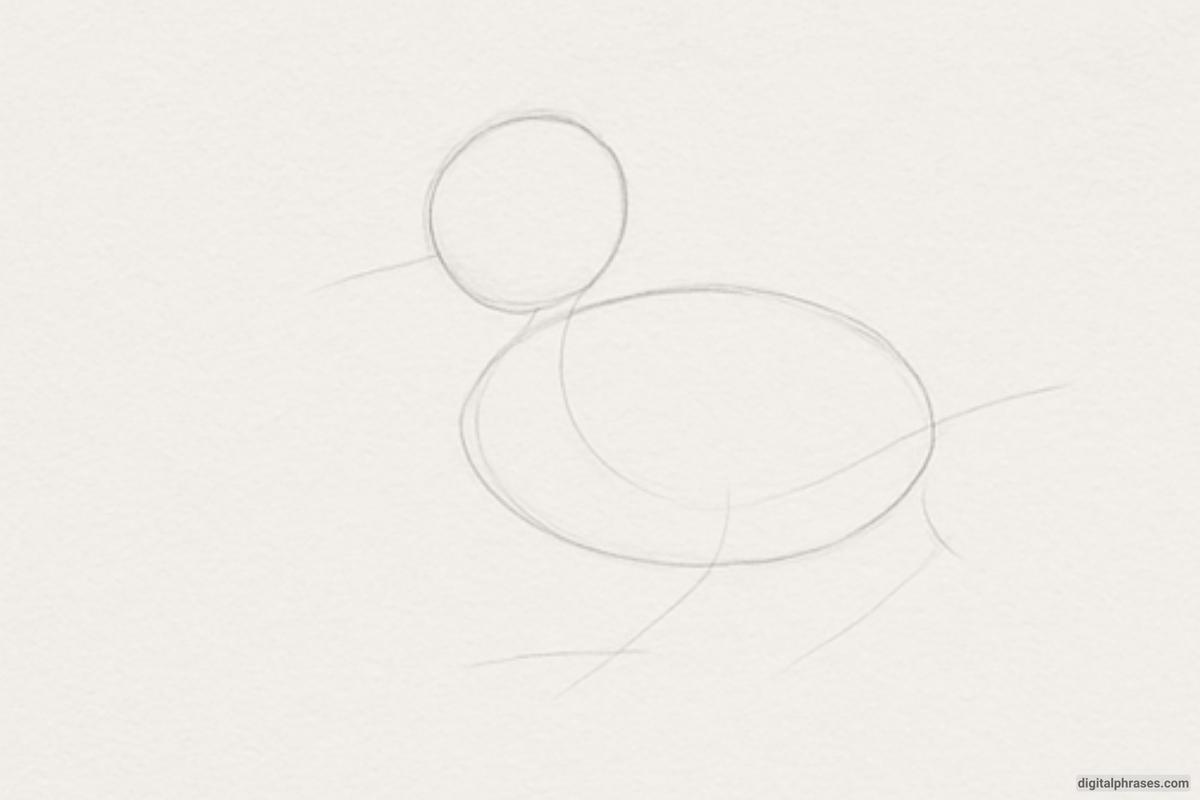
Step 1 – Sketch the Basic Shape
- Start by drawing the basic shapes for the duck. Draw a circle for the head and an oval for the body. This step helps you map out the proportions and overall pose of the duck.
- Add simple lines for the neck and legs, ensuring the body and head are placed appropriately to fit the duck’s natural stance.
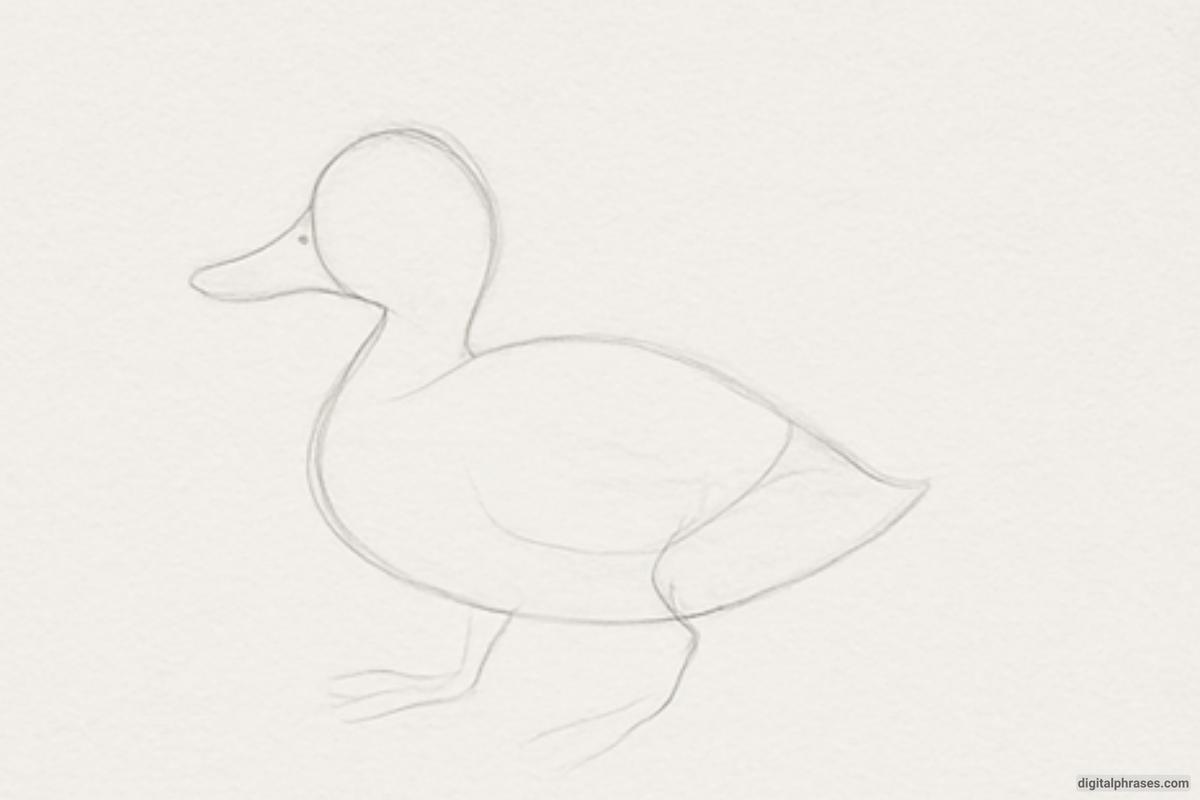
Step 2 – Define the Features and Body Shape
- Begin to define the features of the duck more clearly. Draw the bill, neck, and outline the body. Start shaping the head, making the bill longer and more defined.
- Add the legs and feet, ensuring they align with the body. You can also begin to sketch the wing shape on the body.
- This step gives the duck a more realistic silhouette.
Step 3 – Add Details and Facial Features
- Focus on adding finer details. Draw the eyes and add texture to the wings, marking the feathers lightly. Shape the body and neck to give them a more defined look.
- Add small details to the feet and bill, refining them to look more realistic. At this stage, the duck will start looking more lifelike, but still rough.
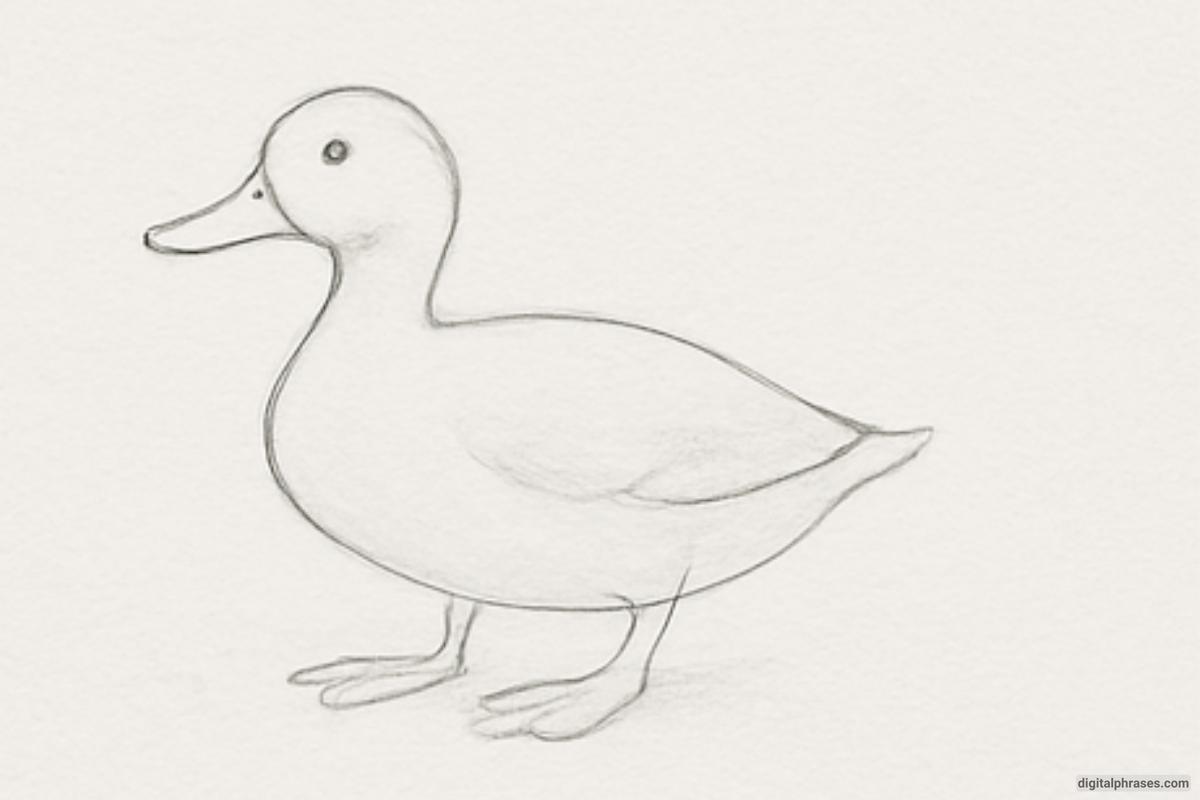
Step 4 – Apply Shading and Final Touches
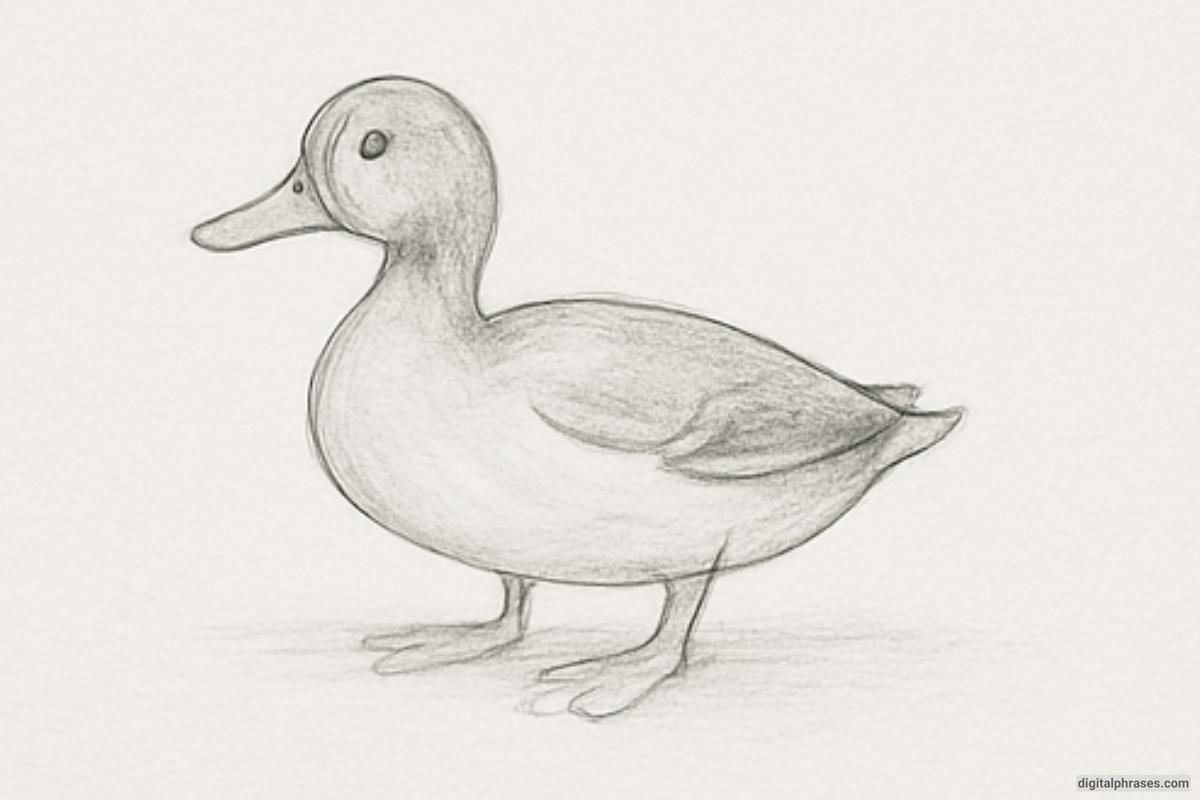
- Apply shading to the duck to give it depth and dimension. Darken areas where shadows naturally fall, such as the underside of the body, the wing, and around the neck.
- Add final details to the texture of the feathers and clean up the lines to make the duck appear more polished and three-dimensional.
- This final step makes the duck look more realistic and completed.
