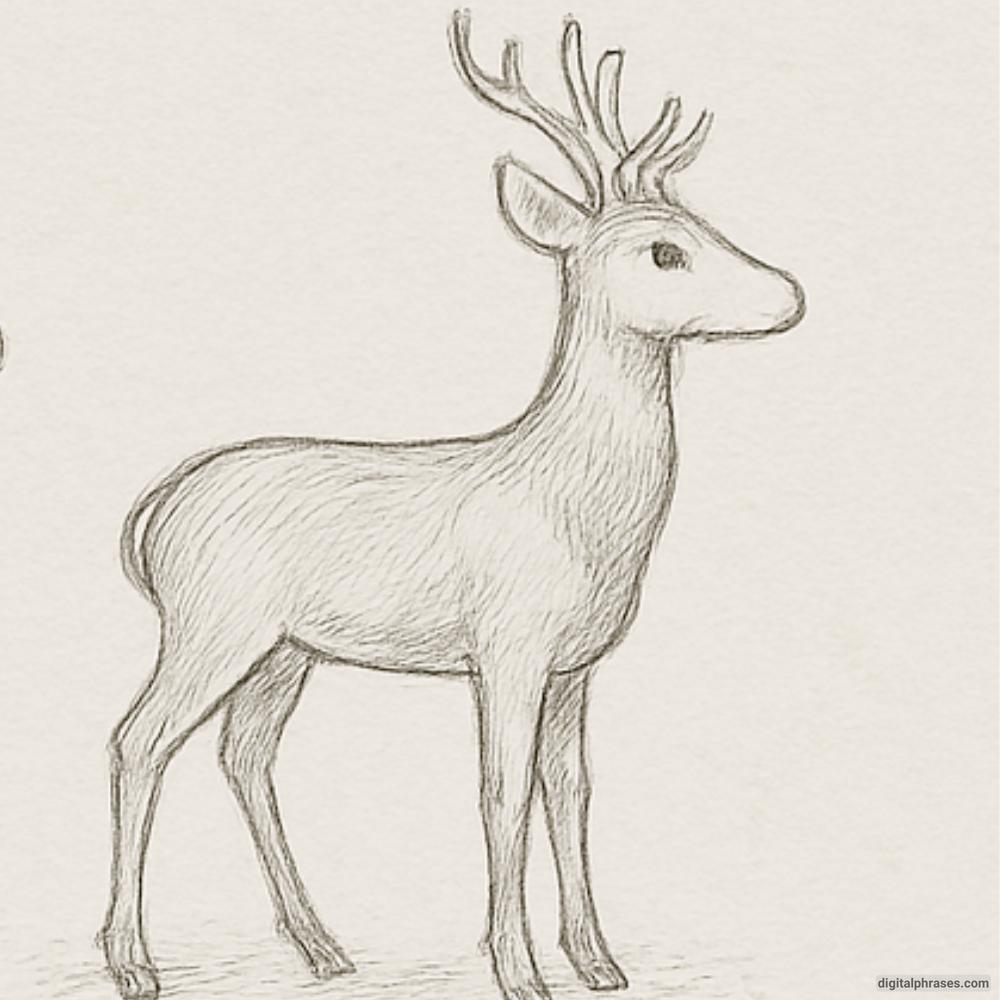
How To Draw a Deer
Here’s a step-by-step process on how to draw a deer.
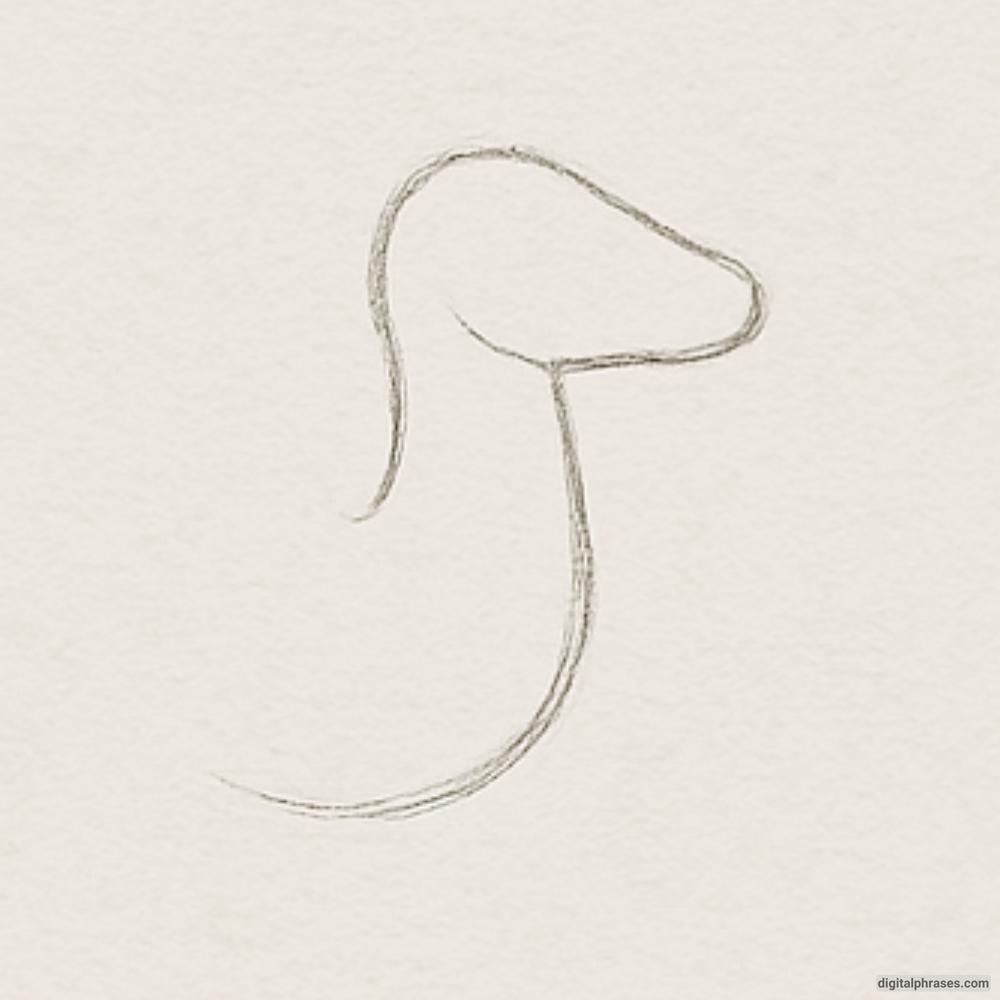
Step 1 – Sketch the Basic Head and Neck Shape
- Begin by drawing a simple curved line to represent the neck.
- Add an oval or elongated shape at the top for the head, connected smoothly to the neck.
- This will form the foundational structure of the deer’s head and upper body.
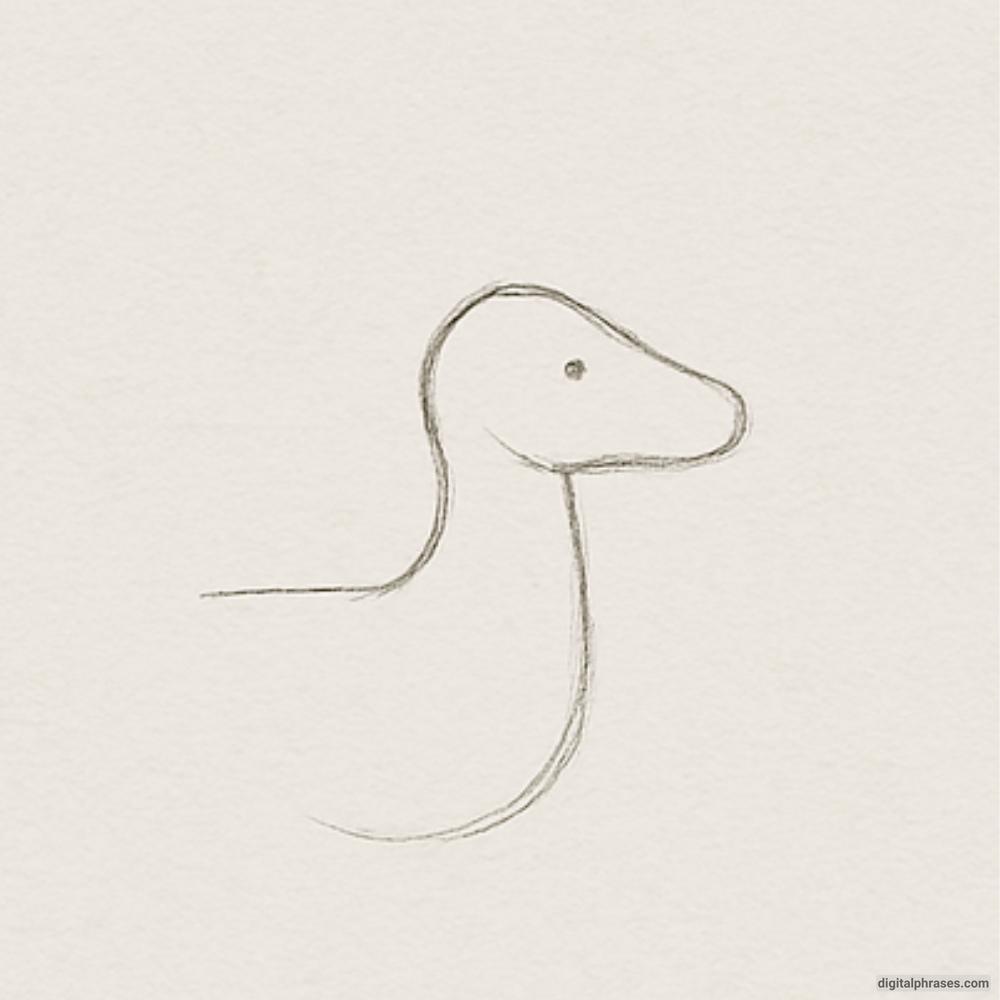
Step 2 – Refine the Head and Add Face Guidelines
- Adjust the head shape to make it more defined, resembling a deer’s profile (snout and head bump).
- Add a small circle for the eye placement and a short line to mark the nose.
- Sketch a line extending from the neck, hinting at the direction of the body.
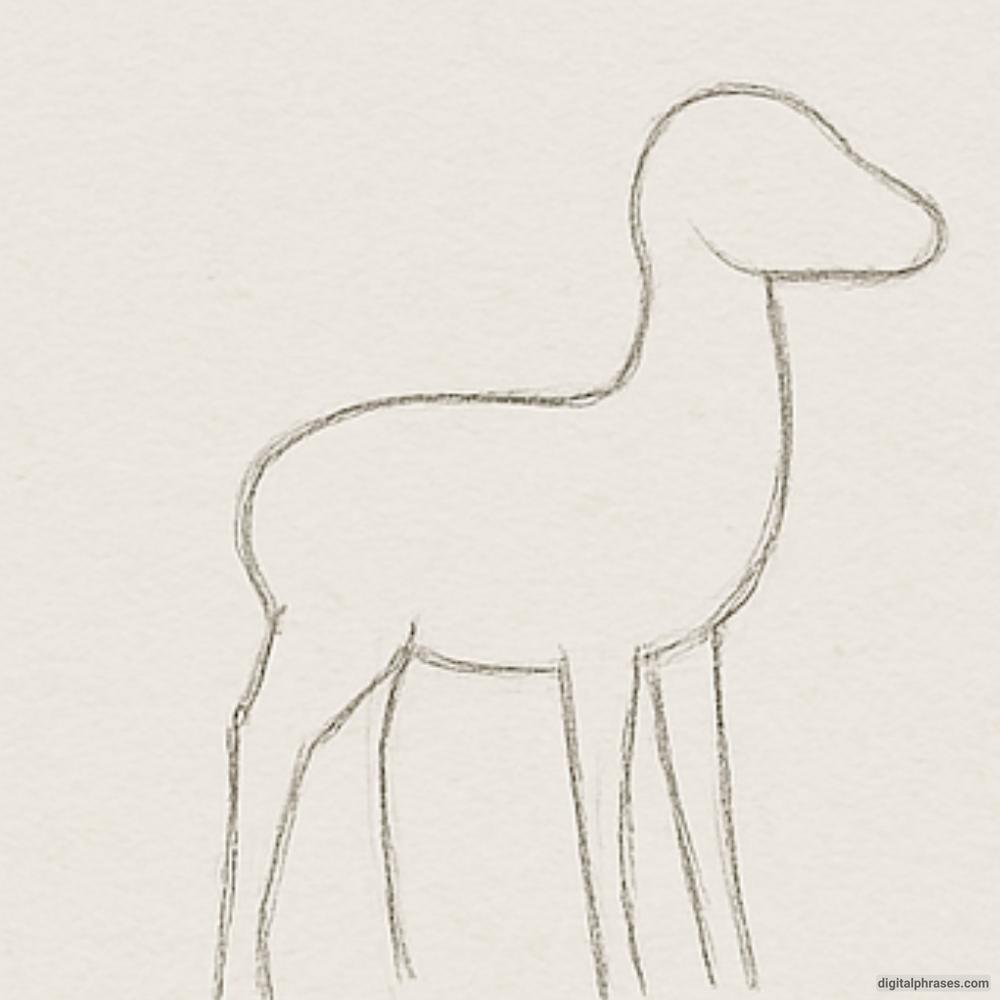
Step 3 – Outline the Body and Legs
- Draw the full outline of the body by extending from the neck to form the torso.
- Sketch four legs using simple straight or slightly curved lines for structure.
- Ensure the legs are proportionate to the body and positioned for a natural stance.
Step 4 – Add Ears, Tail, and Antlers
- Add two pointed ears on top of the head.
- Sketch antlers branching upward to give the deer its majestic look.
- Include a small curved shape for the tail.
- Refine the body shape by rounding the joints and adjusting the legs and back.
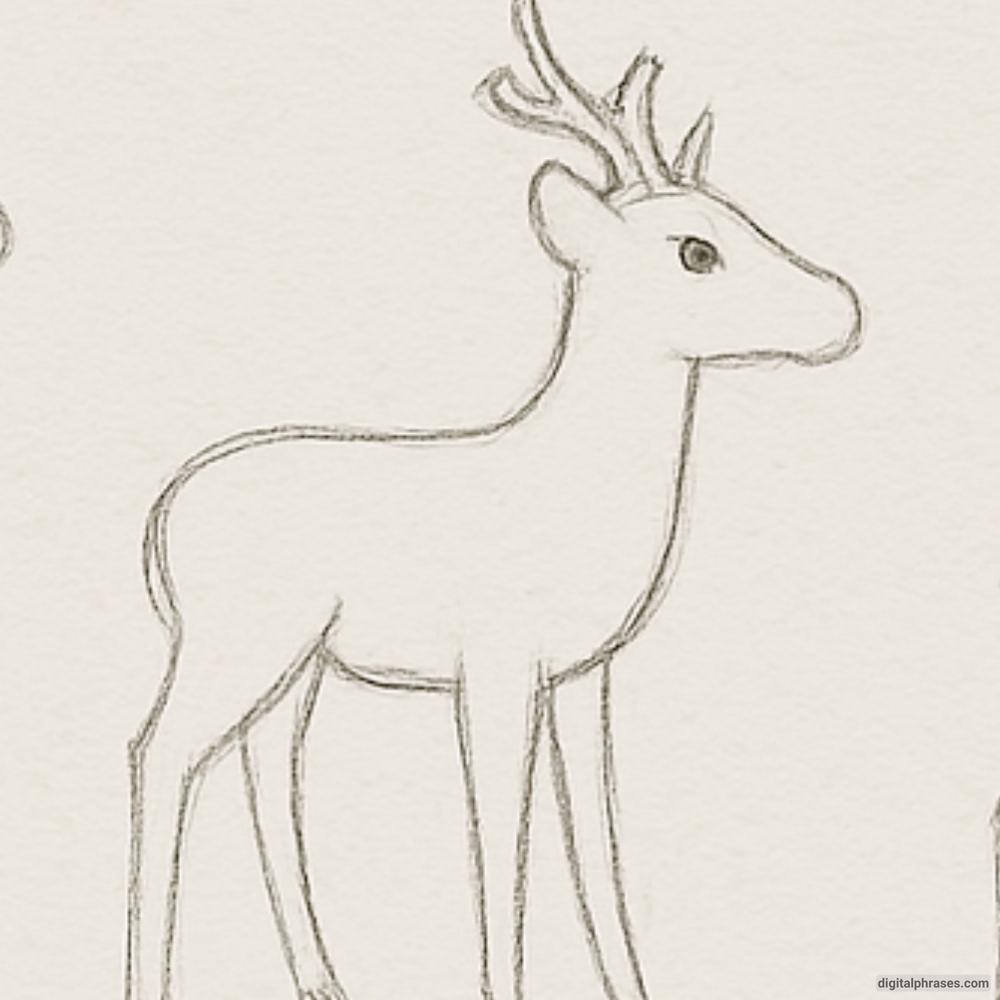
Step 5 – Finalize with Details and Shading
- Draw the eye, nostril, and further refine the shape of the ears and antlers.
- Add texture lines to indicate fur direction and muscle structure.
- Use light shading on the body to add depth and dimension.
- Complete the hooves and define the legs for a realistic finish.
