How To Draw a Toy Train
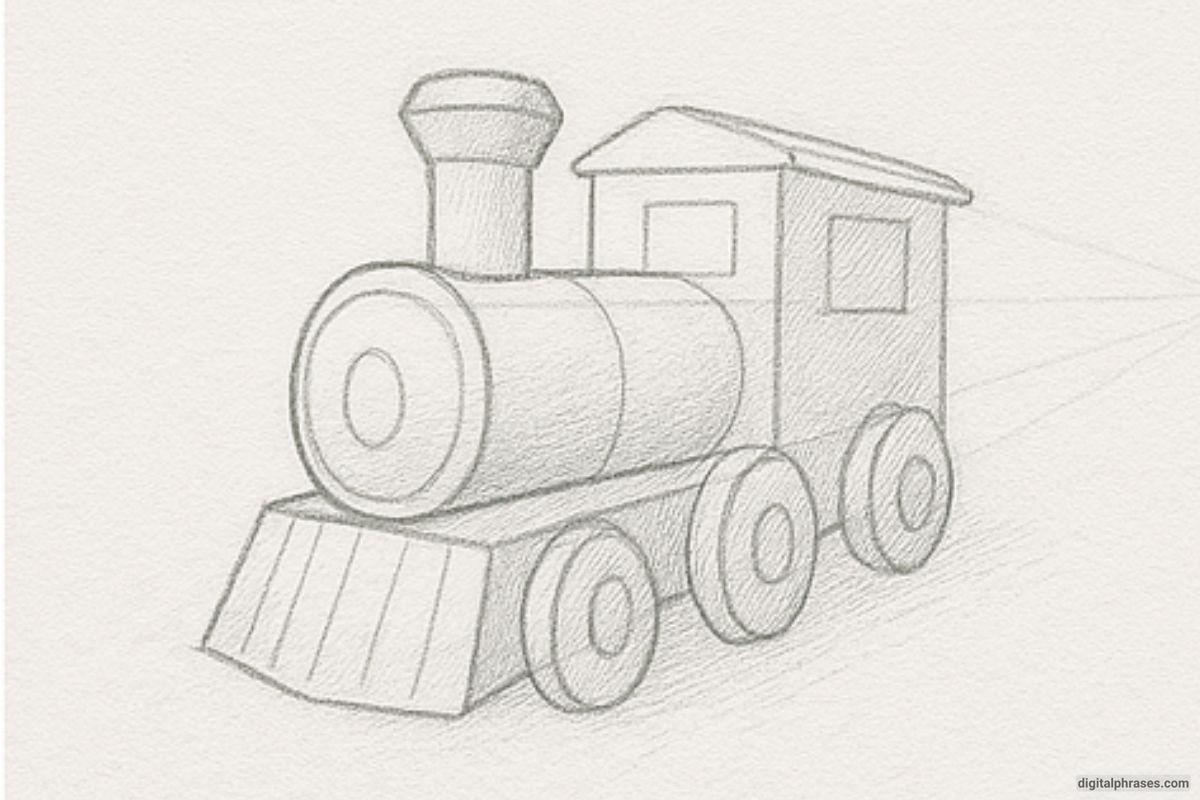
Here’s a step-by-step guide on how to draw a toy train.
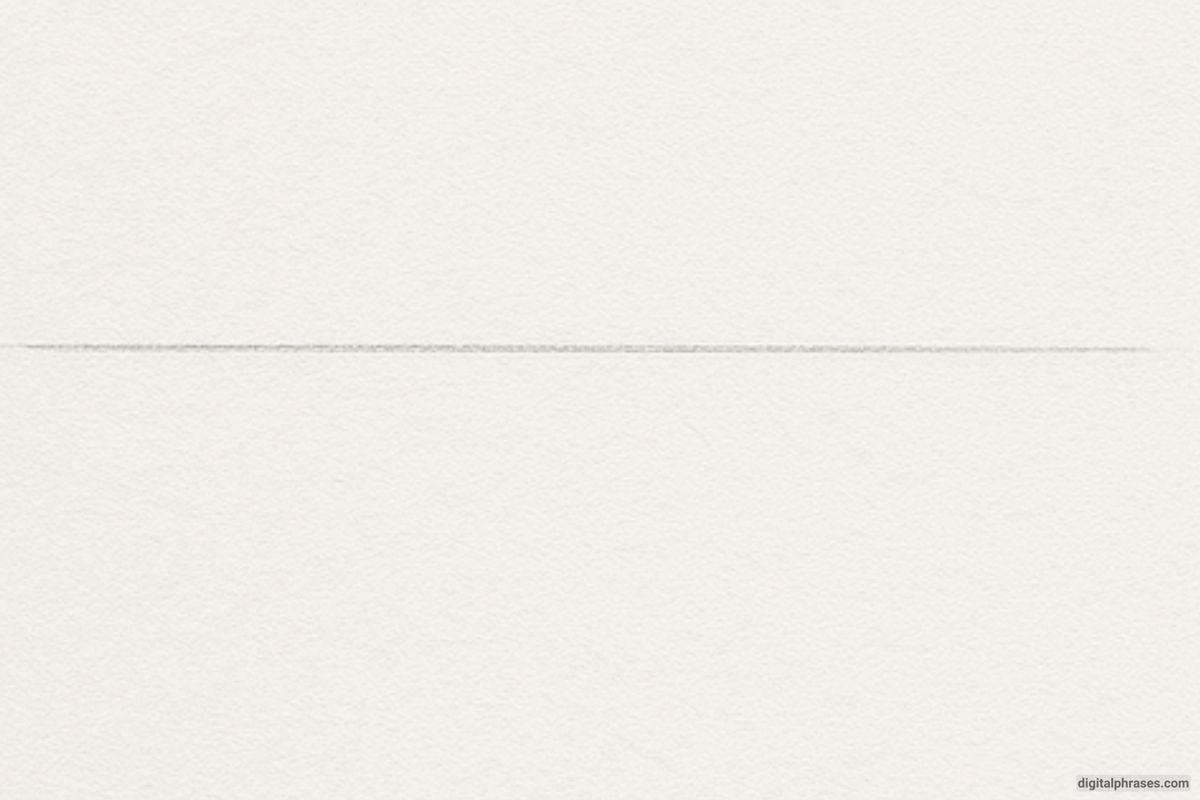
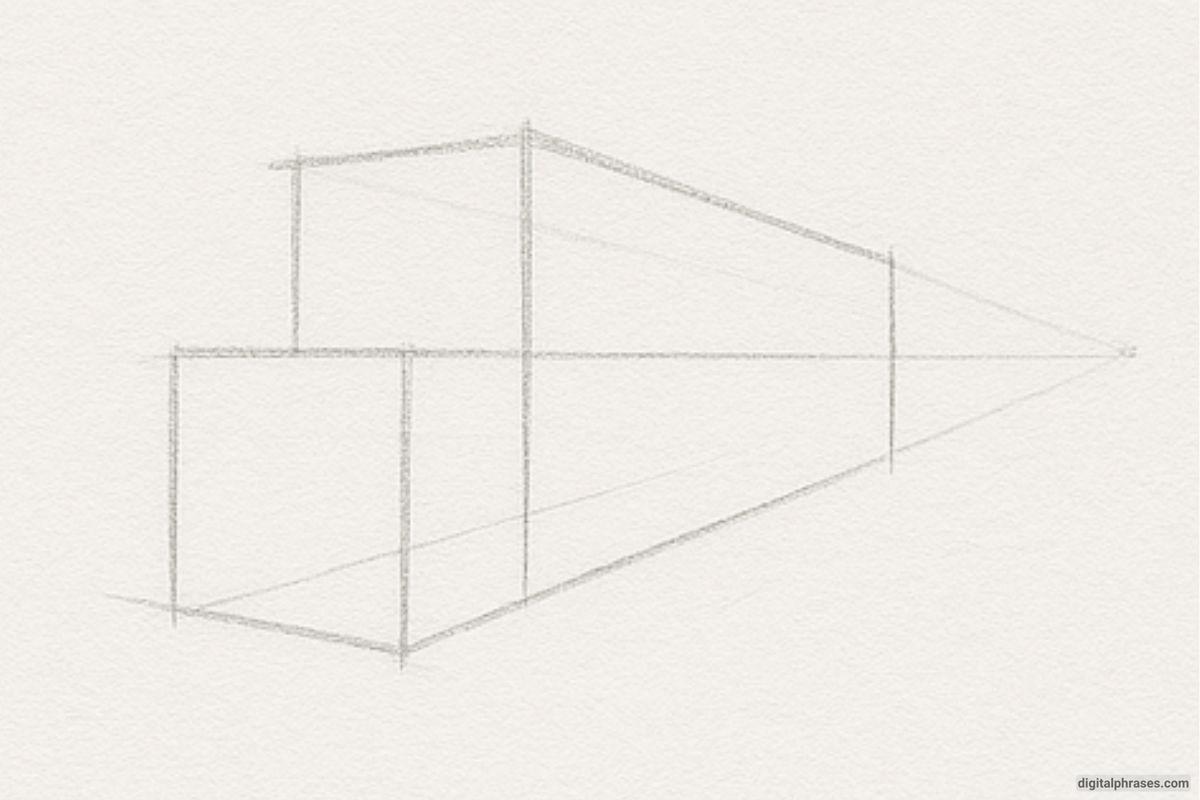
Step 1: Establish the Horizon Line & Vanishing Point
- Lightly draw a horizontal line across the page — this is your horizon line.
- Place a vanishing point anywhere on this line.
- All perspective lines will converge here.
Step 2: Sketch the Basic Train Body Using Perspective Lines
- Draw a rectangle (front of the train) and extend lines from its corners to the vanishing point.
- These lines create the 3D shape of the train body.
- Add a vertical line to define the back edge of the train body.
Step 3: Add the Main Train Components
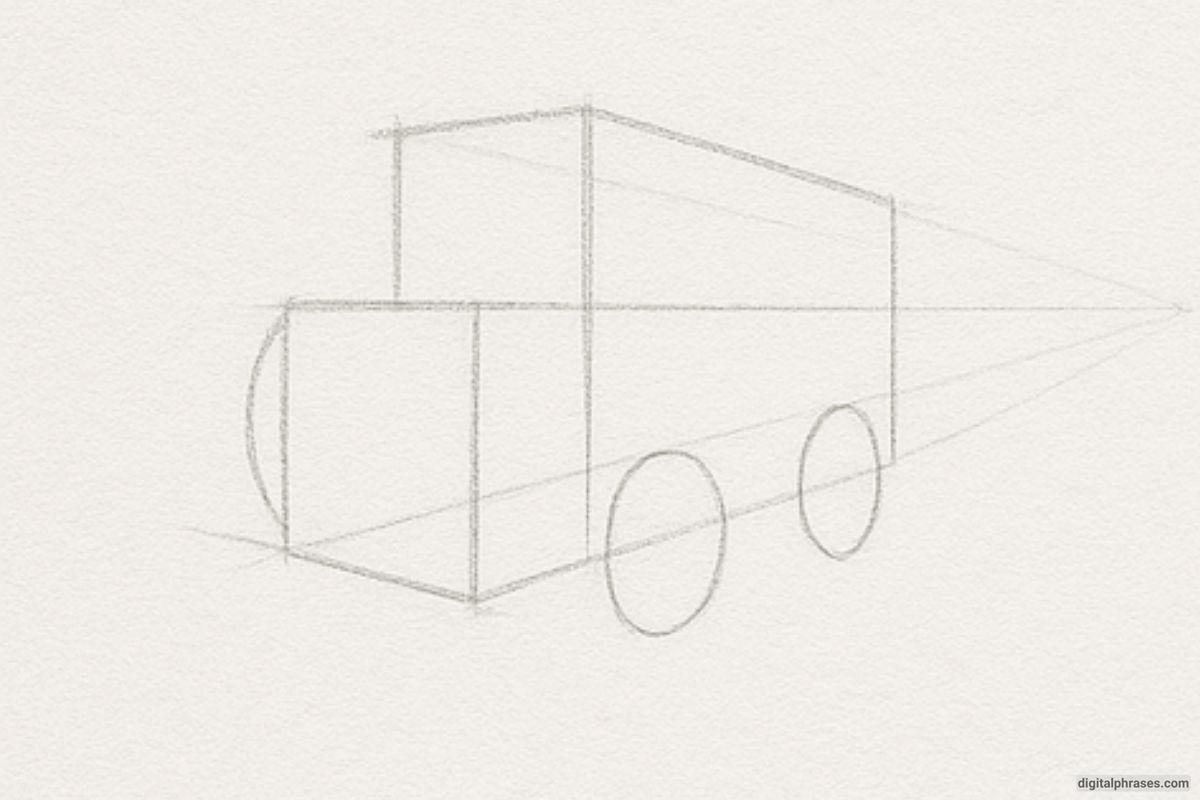
- Begin shaping the cabin and boiler on top of the main body using simple rectangular and cylindrical forms.
- Sketch circular wheels on the near side of the train.
- Use perspective to align them consistently along the body.
Step 4: Define the Front and Details
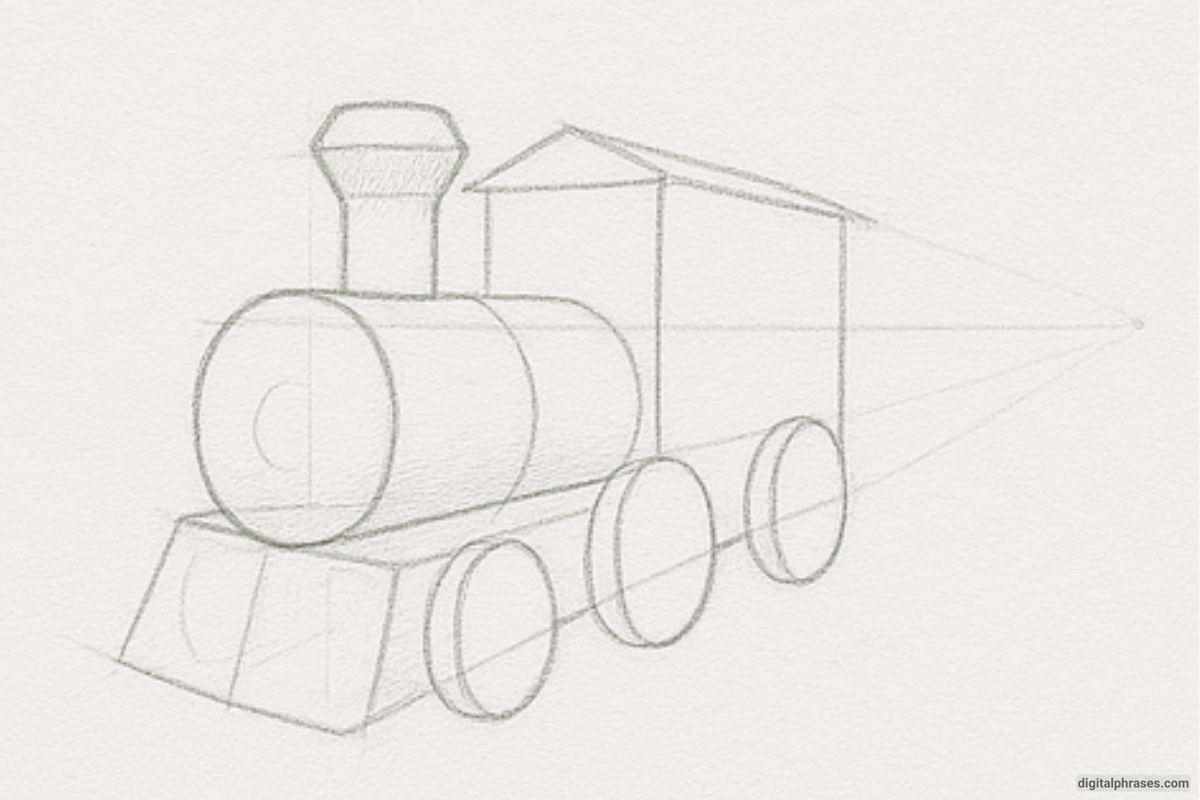
- Add the circular front face of the boiler.
- Sketch the cowcatcher (the triangular scoop at the front).
- Add the smokestack and begin refining the train’s silhouette.
Step 5: Refine Shapes and Structure
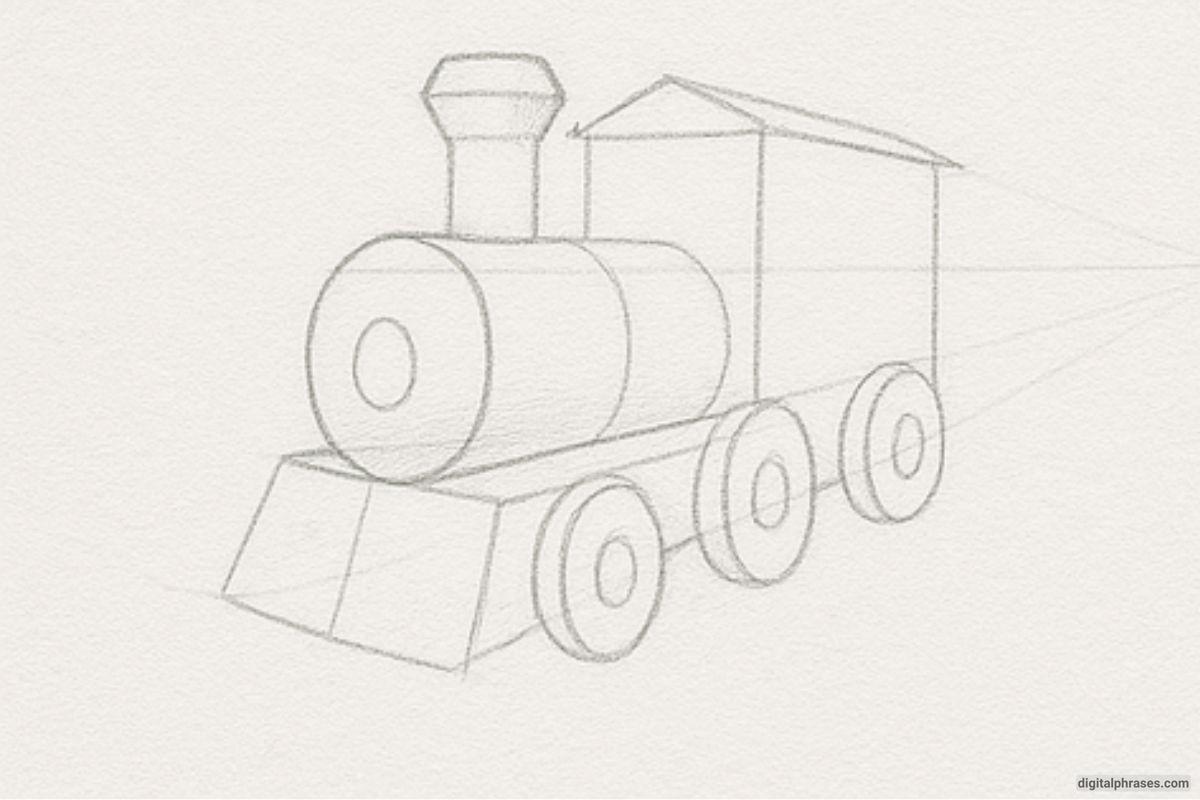
- Add details to the smokestack and body (like a roof on the cabin).
- Define each wheel more clearly and add dimensionality to the cowcatcher and boiler.
- Begin soft shading to create depth.
Step 6: Finalize and Shade
- Add windows, panel lines, and emphasize the cylinder shape of the boiler with shading.
- Refine the train’s outline and enhance contrast.
- Use pencil shading to create light and shadow, giving it a three-dimensional look.
