How To Draw An Eyebrow
Here is a step-by-step process on how to draw an eyebrow.
Step-by-Step Process of Drawing an Eyebrow
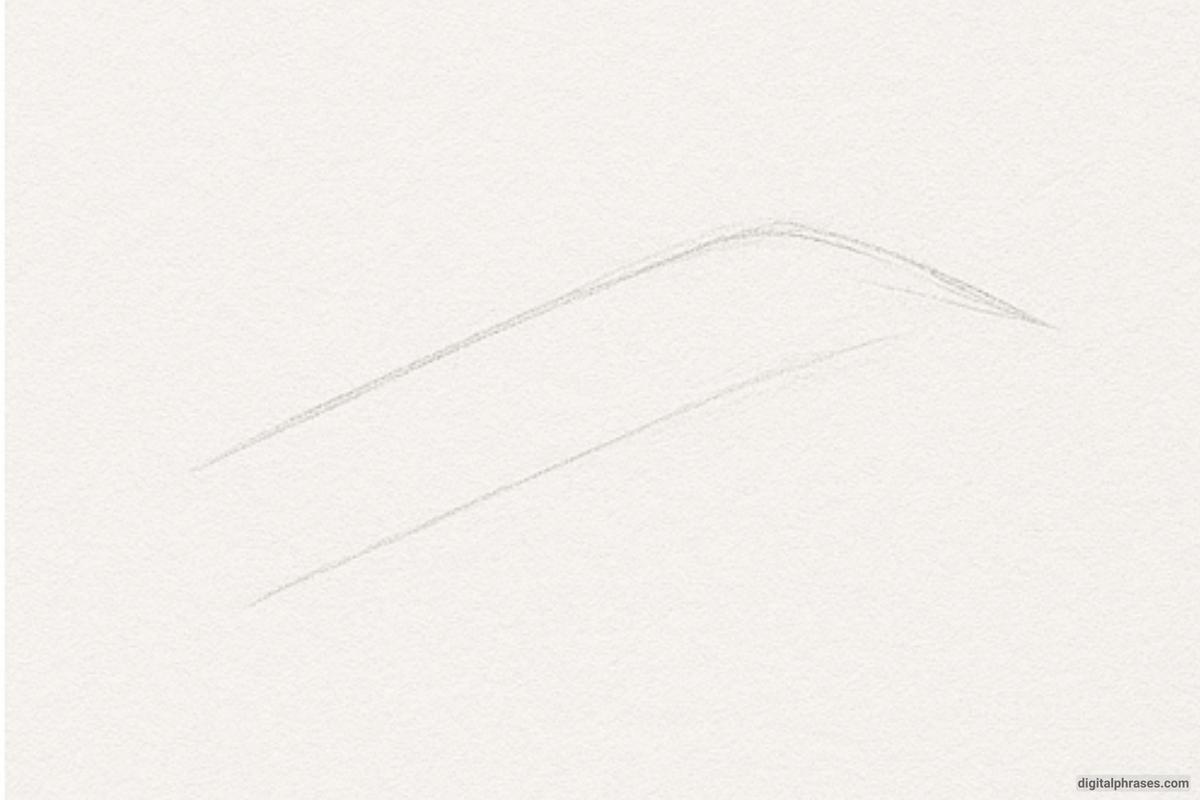
Step 1: Start with a Guiding Curve
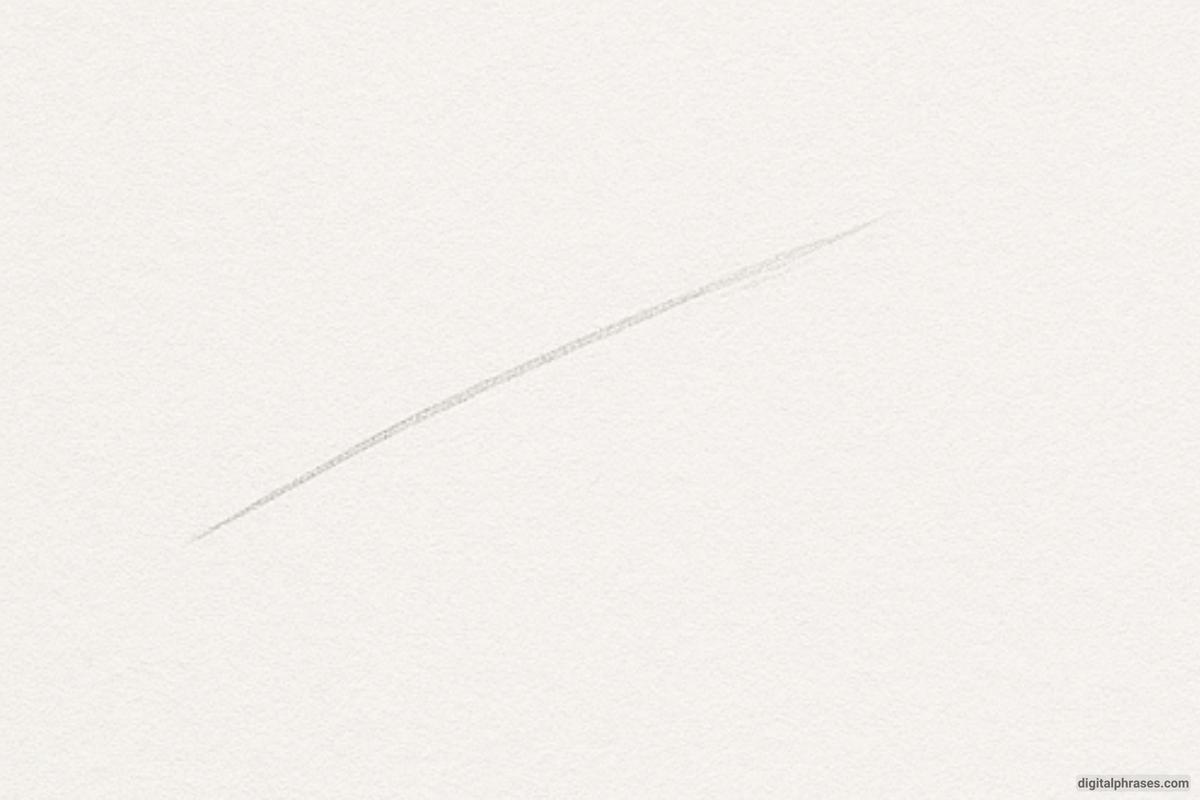
To begin, take your pencil and lightly draw a single, curved line. This will act as your guideline—the basic shape and flow of the eyebrow.
Don’t press too hard; you’ll want the freedom to adjust it if needed. Follow the natural arc you’d expect from an eyebrow, starting from the inner brow and curving toward where the tail will end.
This line is crucial—it sets the rhythm for everything you’ll do next.
Step 2: Define the Eyebrow Shape
Now, let’s add structure. Draw a second line below the one you just created, keeping it parallel and equally curved. This gives you the top and bottom borders of your eyebrow.
Think of it like forming a slim capsule shape.
This step gives your brow its thickness and allows you to visualize where the hair strands will go. You’re not adding hair yet—just outlining the space it will occupy.
Step 3: Begin Drawing Hair Strands
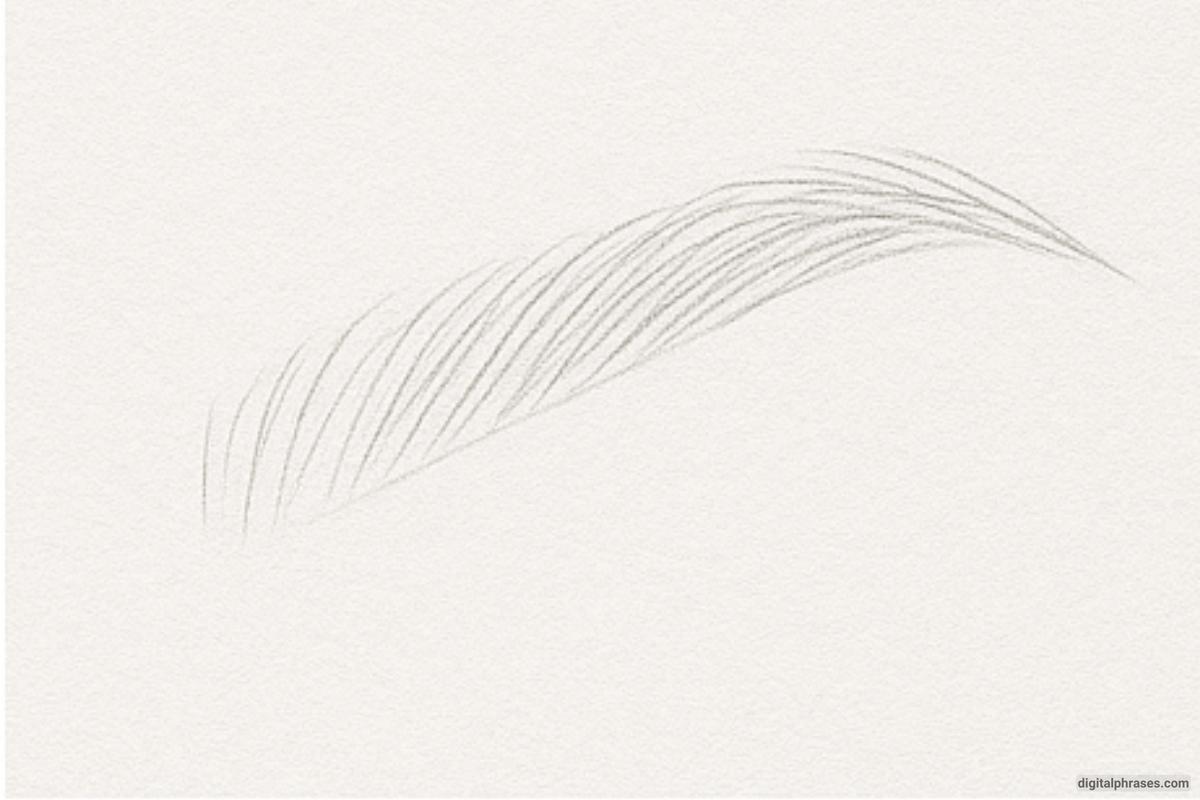
Here’s where it starts to come to life. Begin filling in the shape with short, flicking strokes that follow the direction of natural eyebrow hair growth.
Start at the base and work your way up and outward, letting your strokes curve slightly as they follow the arc. Vary your pressure a little—light strokes will look more realistic.
Don’t worry about making it too dense right now; we’re building the texture gradually.
Step 4: Build Density and Add Depth
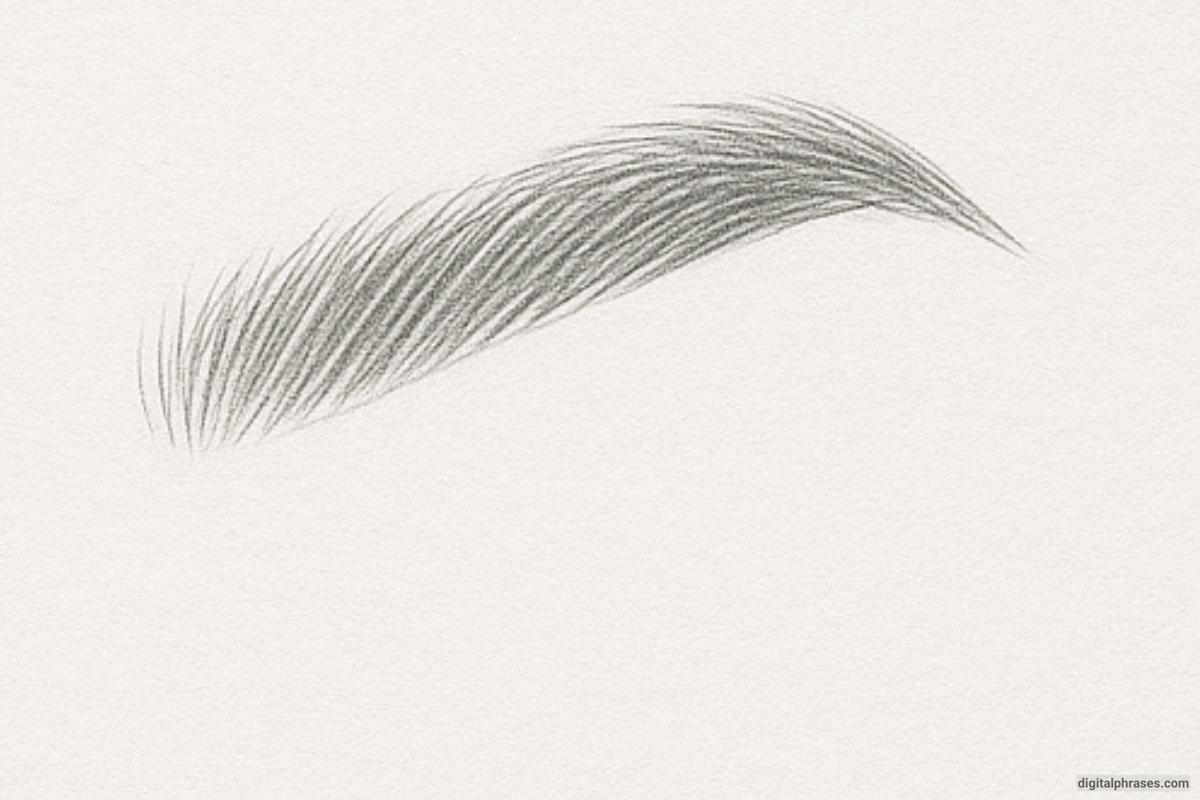
Now it’s time to refine and darken.
Go back in and add more hair strokes between the ones you’ve already drawn. Keep following the same natural flow, and overlap some hairs to add richness.
This layering is what gives the eyebrow a fuller, more realistic appearance. If you’d like, add a bit of extra shading to the bottom edge or tail to show depth and form.
Step back occasionally to check the balance and make sure it looks even and organic.
Equipment Needed to Draw the Eyebrow
- Drawing Paper or Sketchbook – A medium-textured paper that allows for fine pencil strokes and gentle erasing.
- Pencils (Range from HB to 4B) – HB or 2B for light guidelines and 2B to 4B for darker, refined hair strokes.
- Eraser (preferably kneaded) – For gently removing guidelines and cleaning up around the brow without damaging the paper.
- Pencil Sharpener – To maintain a fine, sharp point for drawing precise hair strands.
- Blending Tool (optional) – A blending stump or brush can be used subtly to soften parts of the brow for realism, though excessive blending can reduce the hair-like effect.
- Reference Image – To capture realistic eyebrow shapes, densities, and angles.


