How To Draw a Flower
Here are the step-by-step steps on how to draw a flower.
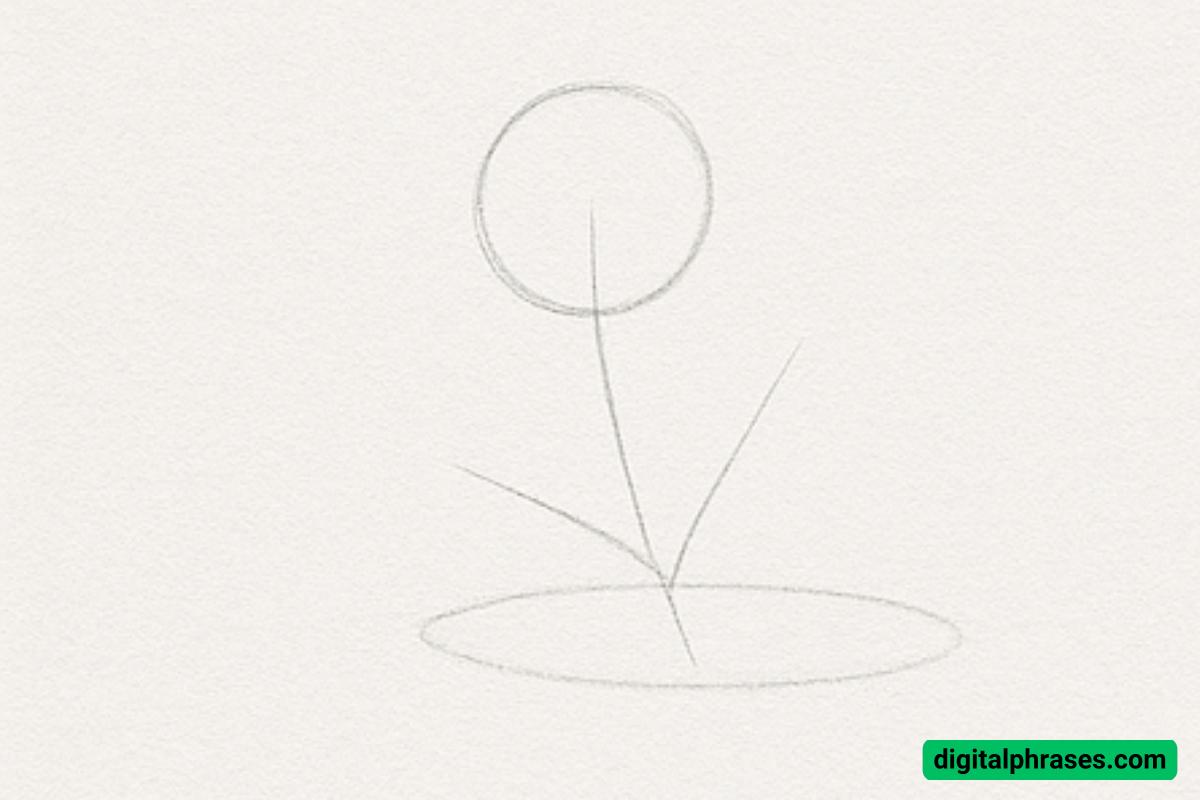
Step 1: Start with the Basic Shape of the Stem and the Pot (if necessary)
In the first step, you begin by drawing the very basic elements of the flower. Start with a small circle at the top of your paper. This will be the base of the flower’s bloom.
Next, draw a long vertical line extending downward from the circle. This will form the stem of your flower.
At the bottom of the stem, add an oval shape or a rounded shape, which represents the top of the flower pot. You don’t need to worry about details yet, just focus on getting these basic shapes in place.
Step 2: Draw the Flower’s Petals and Leaves
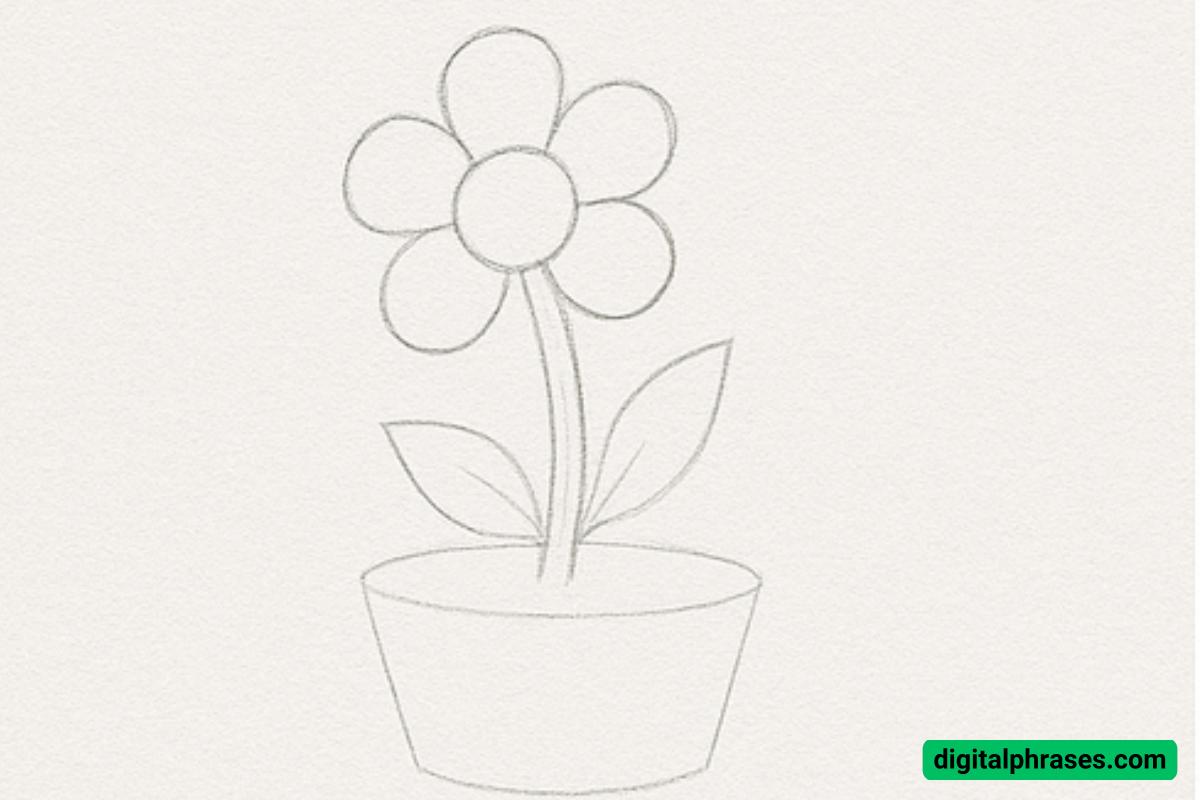
Now that you’ve established the flower’s structure, it’s time to add the petals and leaves.
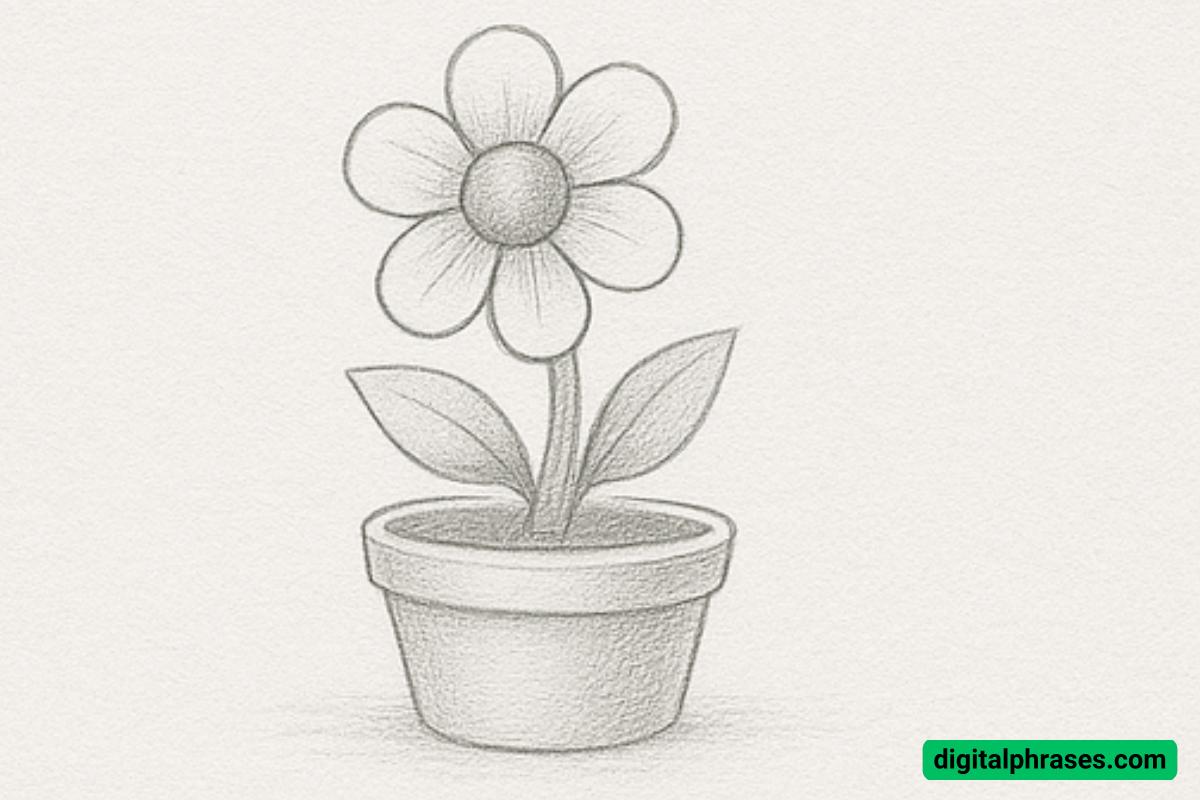
Around the circle (which represents the flower’s bloom), begin drawing the petals. You can draw five simple petal shapes, which are rounded ovals or teardrop-like shapes that connect at the center.
Make sure the petals are evenly spaced around the central circle, giving the flower a balanced appearance.
Next, add the leaves. At the base of the stem, draw two long, oval leaves on either side.
You can sketch the leaves pointing outward at a slight angle. Don’t forget to leave some space between the leaves and the flower to maintain clarity and balance in your drawing.
Step 3: Add the Pot and Extra Details
In this step, focus on adding more details to the flower pot and some additional refinement to the overall drawing. Begin by outlining the sides of the pot to give it a more realistic shape.
You can start by refining the oval shape from earlier and then draw the sides of the pot extending downwards, keeping in mind the shape of a typical flower pot (like a slight taper towards the bottom).
Next, refine the flower’s petals by adding some texture or detail to them. You can lightly shade the inside edges of the petals to create depth.
Don’t forget to also add small lines along the leaves for texture, giving them a more natural, organic look. The addition of small curved lines around the petal’s center will add some dimension to the bloom.
Step 4: Finalize the Drawing with Shading and Detailing
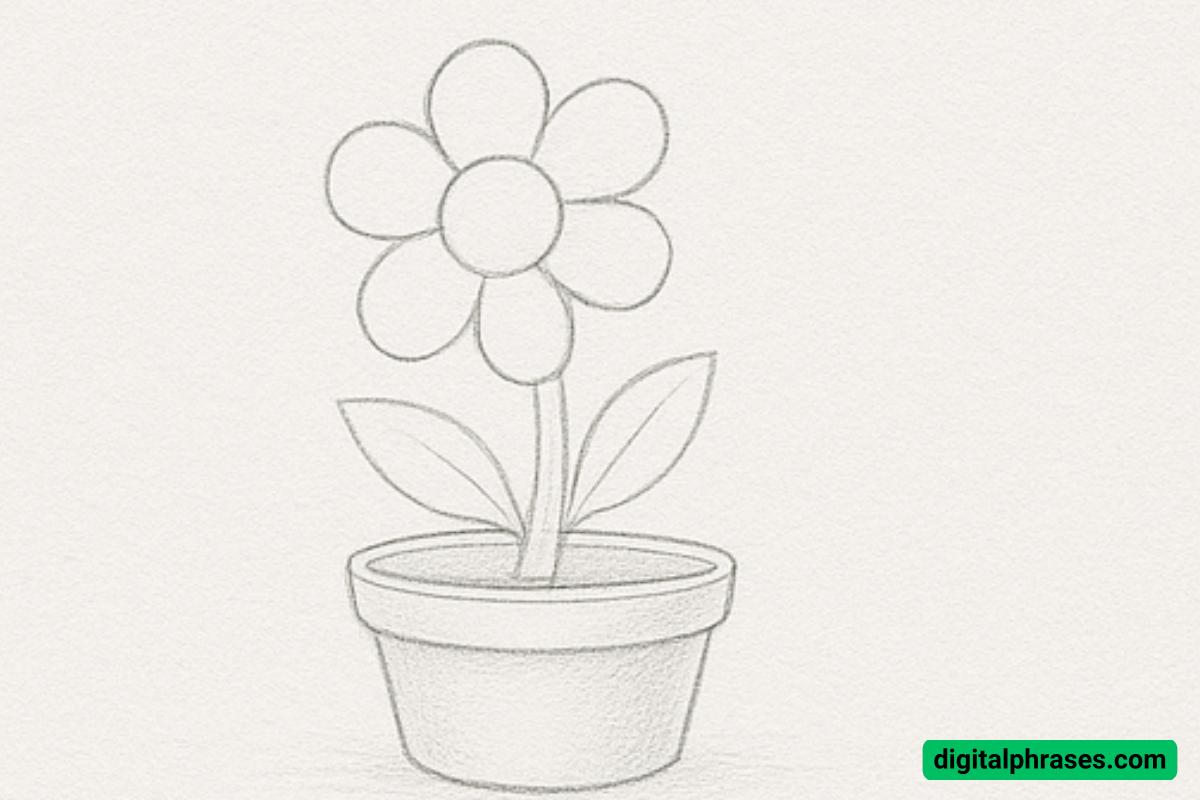
For the final step, you want to add shading and finalize the details to give your flower and pot more dimension and depth.
Start by shading the areas where shadows would naturally fall, such as beneath the flower petals, the base of the stem, and along the sides of the flower pot. Add some gentle shading around the bottom of the pot as well to create a sense of depth. Use light, smooth strokes for the shading to keep the drawing soft and natural.
Once you’ve completed the shading, go back and clean up any unnecessary lines from the earlier steps.
Finally, take a moment to review the overall balance of the drawing. Ensure that the flower is centered and that the pot is stable-looking, with the flower sitting comfortably atop it.
Equipment Needed
Here’s a list of the tools you’ll need to successfully create this flower drawing:
- Pencil – Use a regular pencil (preferably HB or 2B) for sketching and basic outlines.
- Eraser – A soft eraser is necessary to correct any mistakes or lighten certain lines.
- Paper – A smooth sheet of drawing or sketch paper is essential for clean lines and shading.
- Ruler (Optional) – If you’d like straight edges for the flower pot, you can use a ruler to guide your lines.
- Blending Stump (Optional) – This tool is great for blending shading and making your drawing smoother and more polished.
- Colored Pencils or Markers (Optional) – If you decide to add color to your drawing, use colored pencils or markers to bring the flower to life.

