How To Draw a Furry
Furry can refer to any kind of furry animal. In this case, we are choosing a furry wolf.
Step-by-Step Instructions to Draw a Furry Wolf
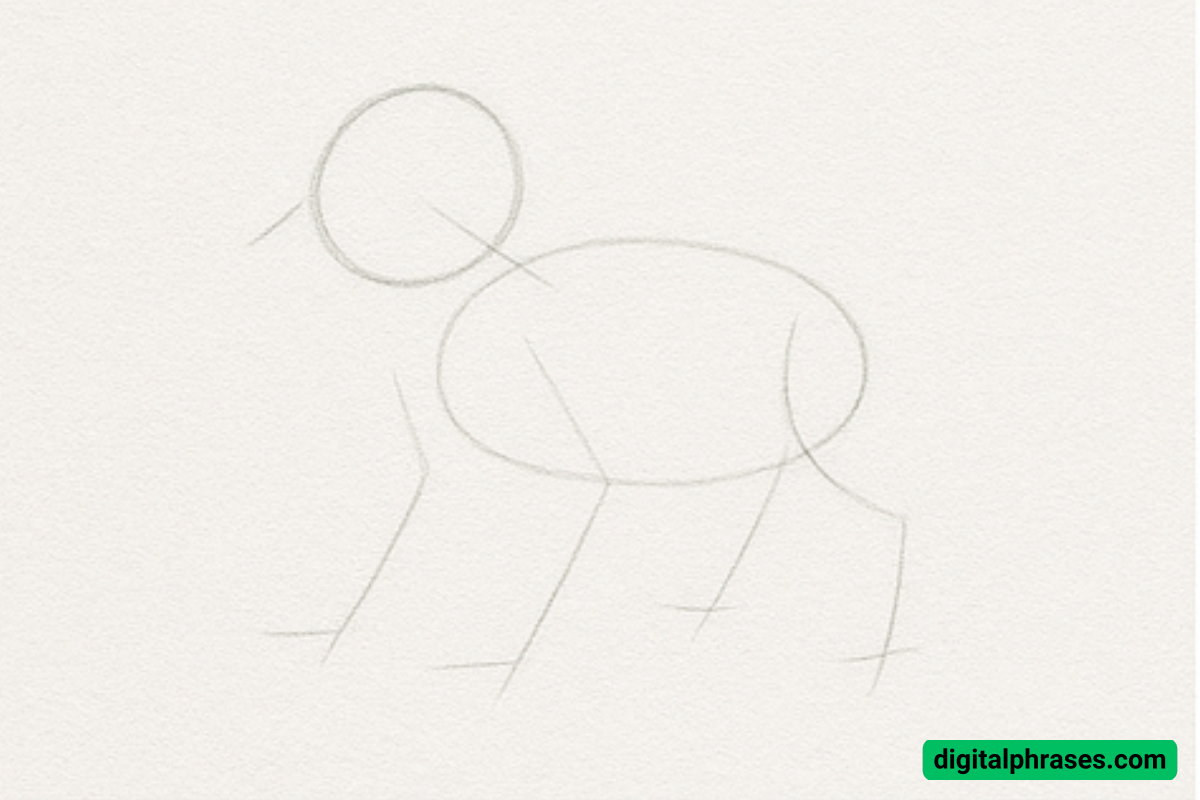
Step 1: Draw Basic Shapes for the Structure
Start by sketching the basic structure of the wolf using simple shapes.
Begin with a circle for the head at the top left of your paper. This will form the foundation of the wolf’s head. Next, draw an oval shape for the body. Place it slightly lower and to the right of the head circle, keeping the oval’s orientation horizontal.
The oval should be larger than the circle, as the body of the wolf will take up more space. For now, don’t worry about details—just focus on these basic shapes that will help with positioning the rest of the features.
Step 2: Add the Limbs and Tail
Now that you have the basic body and head shapes in place, it’s time to sketch the legs and tail. Draw four lines extending from the body’s oval to represent the wolf’s legs. At the end of these lines, draw small ovals or circles to mark the paws.
The legs should be positioned so that the wolf looks balanced and natural, as though it’s standing on all fours. For the tail, draw a curved line extending from the back end of the oval and add a fluffy shape to the tail.
Wolves typically have bushy tails, so make sure the tail is full and expressive.
Step 3: Define the Head, Neck, and Body
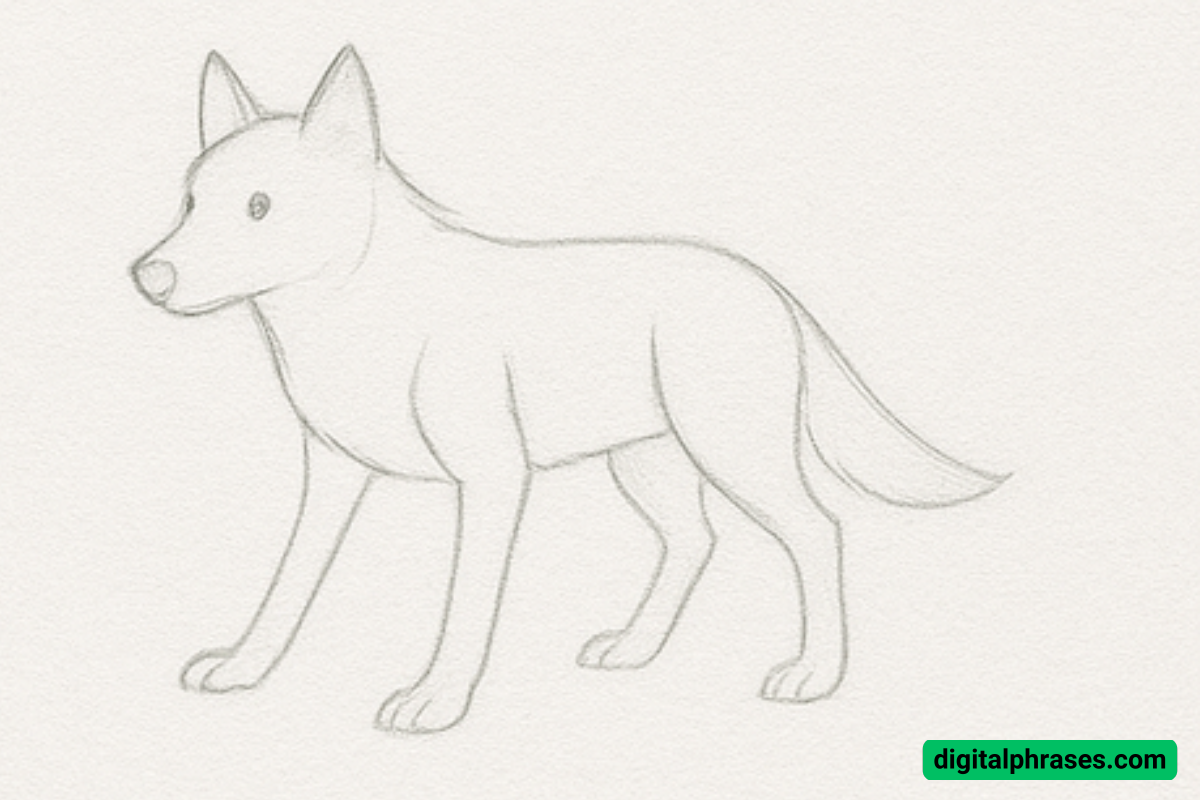
In this step, refine the shape of the wolf’s head and body. Start by shaping the head to make it more pointed towards the snout. You should now add a line that connects the head to the body to form the neck.
Define the body more by drawing gentle curves around the oval to show the wolf’s back and chest. You can adjust the proportions of the head and body, so the wolf doesn’t look too stretched or too compact.
The general pose should show the wolf in a relaxed stance, with legs placed naturally under its body.
Step 4: Add Details to the Face and Fur
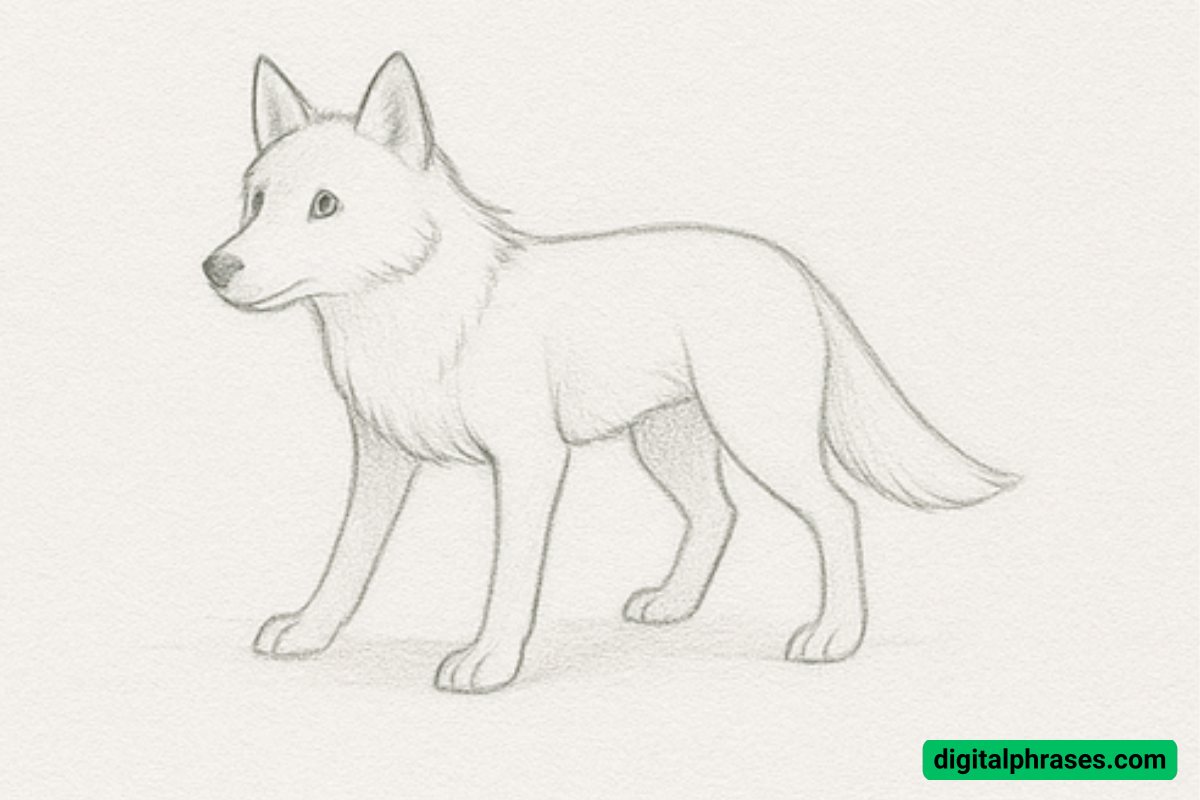
Now it’s time to add more detail to the face and start working on the fur. For the face, draw the eyes, nose, and ears. The eyes should be almond-shaped and placed on the upper half of the head.
Position the nose at the front of the snout and make it triangular in shape. For the ears, add triangular shapes at the top of the head, ensuring they look proportionate.
For the fur, start outlining the edges of the wolf’s head, neck, and body with rough, jagged lines to represent fur.
The fur should be longer and fluffier around the neck and chest. You can also add smaller, finer fur details along the rest of the body and tail, paying attention to the direction of the fur.
Wolves have a layered coat, so the fur should look like it’s following the natural flow of the body.
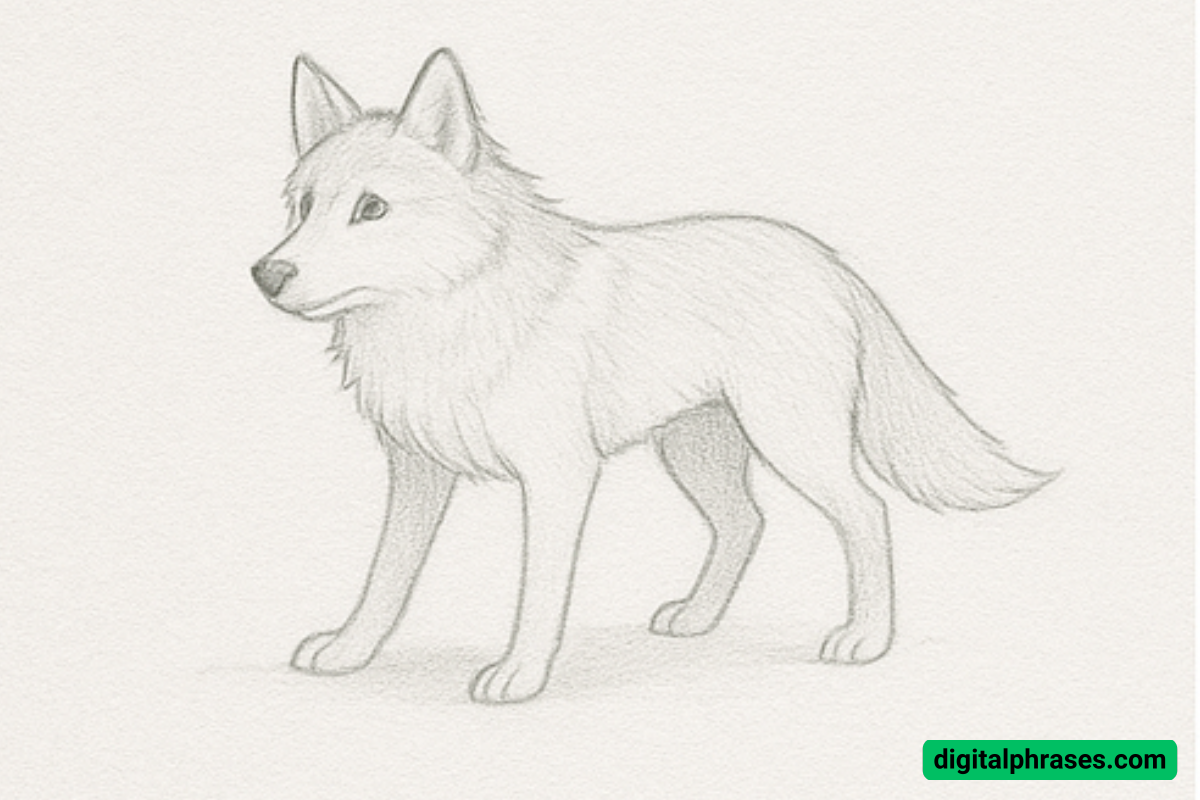
Step 5: Finalize the Drawing with Shading and Texture
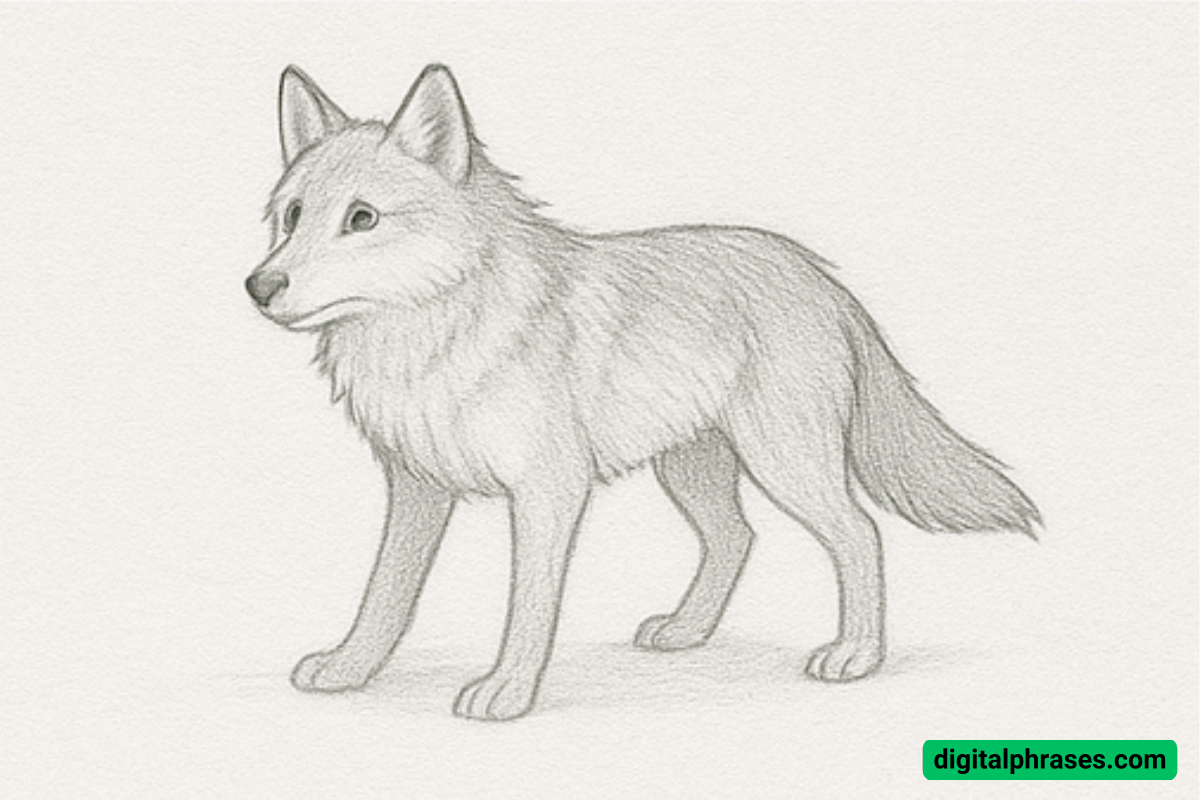
In the final step, add shading to bring depth to your wolf. Start by shading the areas under the belly, legs, and tail where shadows would naturally fall. The fur on the sides and under the wolf’s body should be darker.
Use short, light pencil strokes to create texture in the fur, especially around the neck, chest, and face.
Add some darker lines around the eyes to make them stand out. Finally, erase any unnecessary construction lines from earlier and refine the fur by adding small details and texture where needed.
Equipment Needed:
Here’s a list of essential tools you’ll need to create your furry wolf drawing:
- Pencil – Use a standard pencil (HB or 2B) for sketching and creating detailed lines.
- Eraser – A soft eraser will help you remove any unwanted lines and make corrections as you go.
- Paper – A smooth drawing paper is ideal for detailed sketches and shading.
- Blending Stump or Tissue – Use a blending stump for smoothing out shading or a tissue for creating soft gradients, especially around the fur.
- Colored Pencils (Optional) – If you wish to add color to your wolf, use colored pencils for realistic fur tones (shades of brown, grey, or white).
- Sharpener – Keeping your pencil sharp ensures fine detail work, especially for adding fur texture.

