How To Draw a Young Girl
Let’s walk through the steps of drawing a young girl.
I’ll guide you step-by-step like an art instructor, so follow along closely and take your time with each stage.
Step-by-Step Instructions to Draw a Young Girl
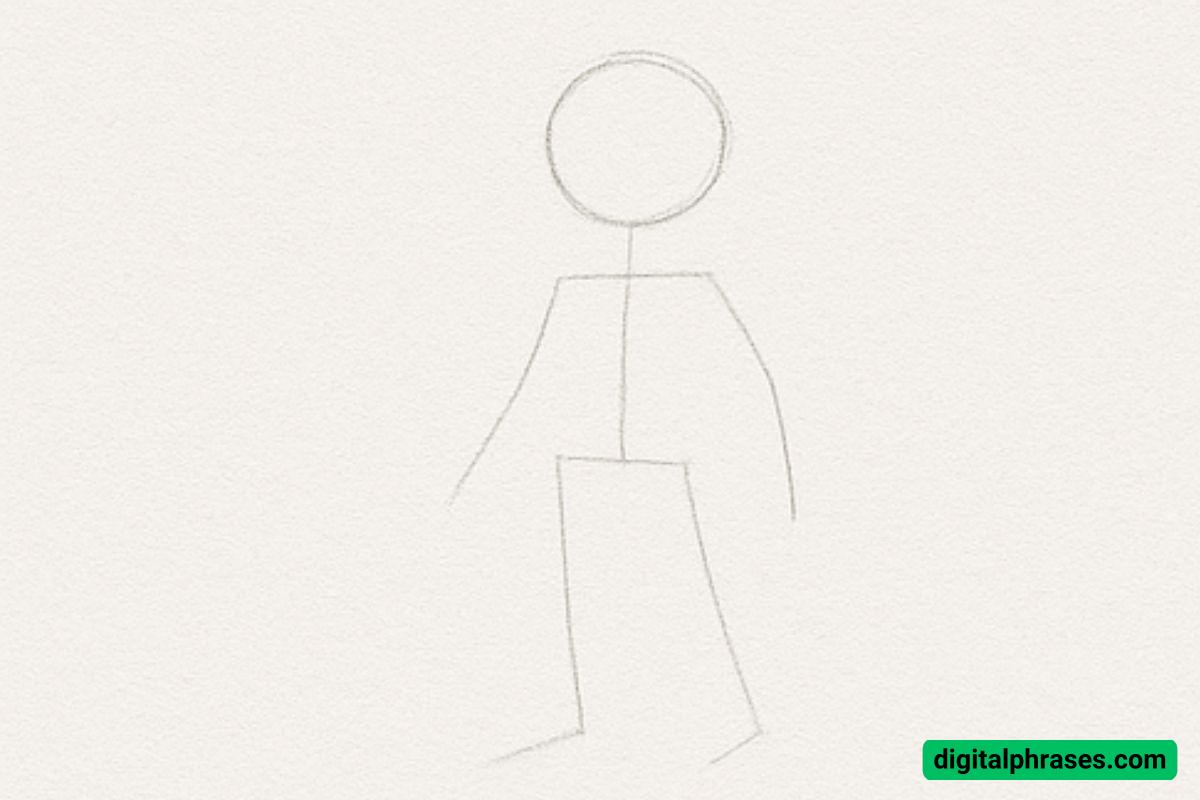
Step 1: Construct the Basic Framework
Begin by lightly sketching the base structure using simple shapes and lines. Draw a circle for the head. Below that, sketch a rectangular shape for the torso. Extend lines downward for the legs, and out from the shoulders for the arms.
This basic stick-figure form helps establish the posture and proportion of the character. Think of this as the skeleton of your drawing—it doesn’t have to be perfect, just a helpful guide.
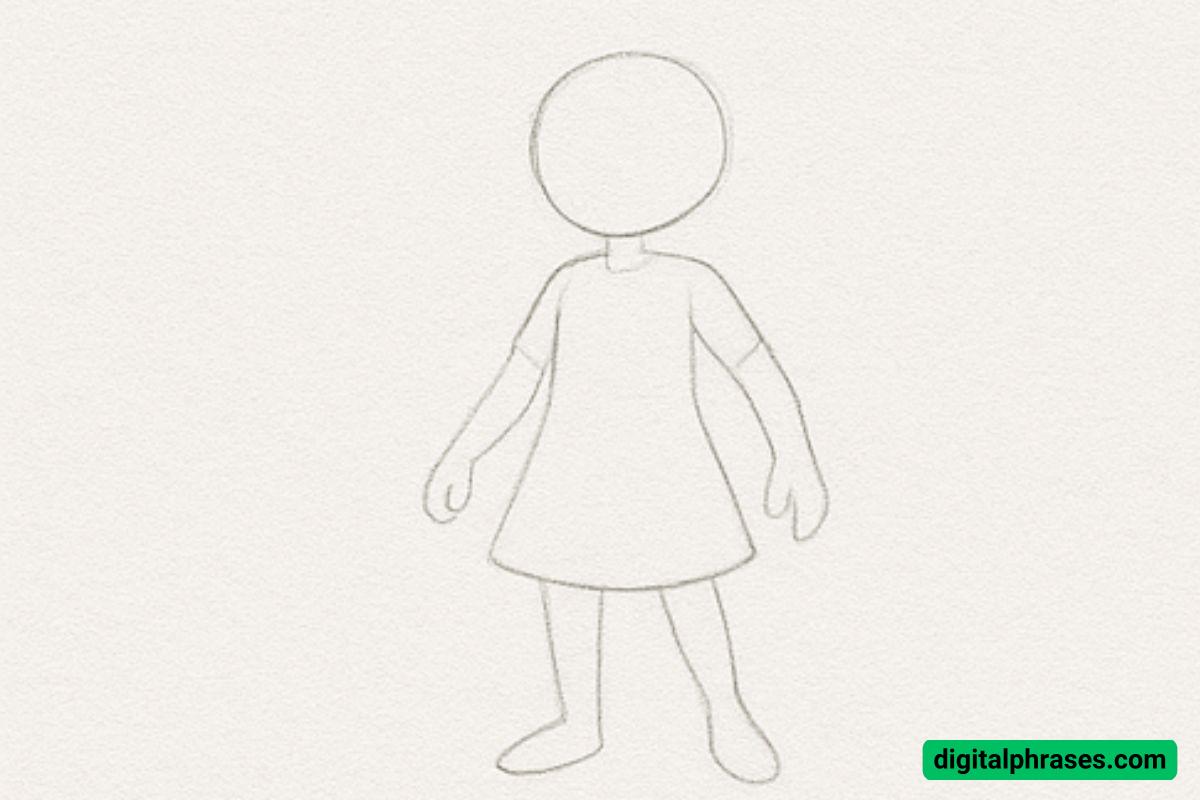
Step 2: Outline the Body Shape
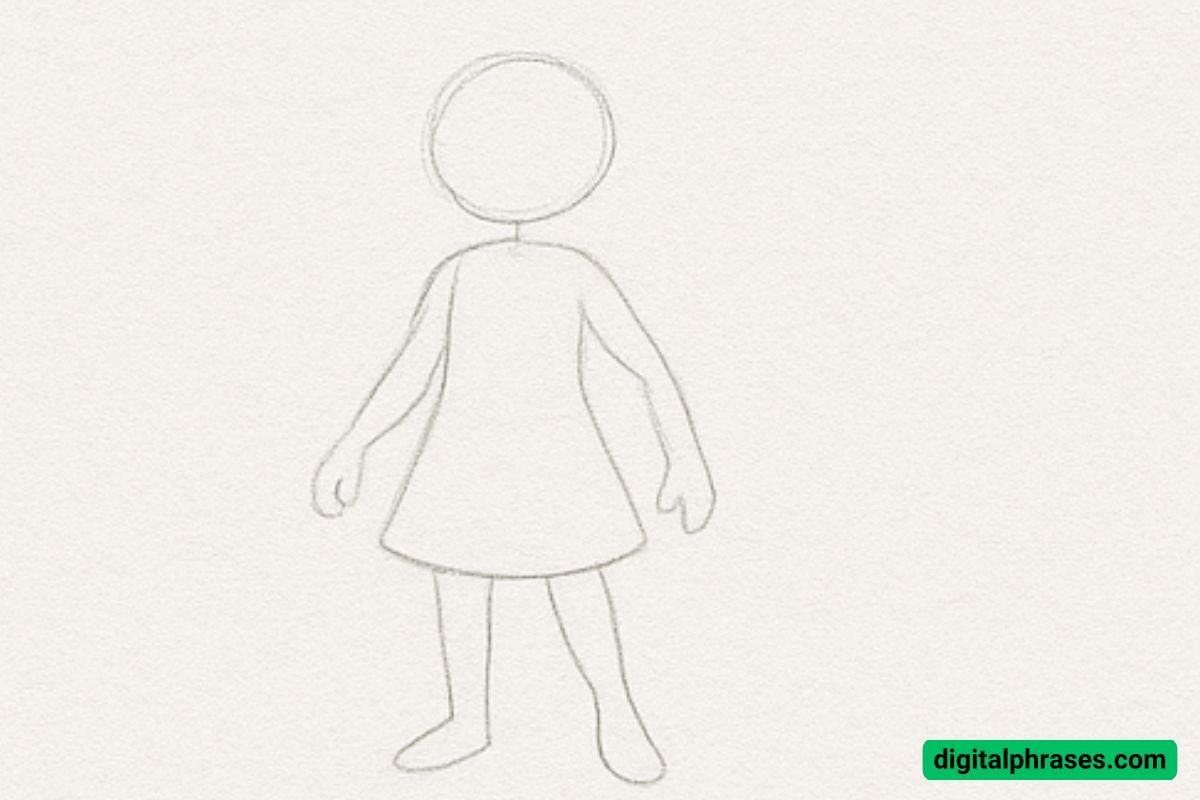
Now, using the stick figure as a base, start fleshing out the body. Draw the contour of the arms, torso, and legs. Notice how the dress flares slightly outward—it’s a simple A-line shape.
Add rounded shapes for the hands and feet. This step transforms the basic sketch into a more recognizable human figure. Keep your pencil strokes light, as you’ll refine these lines later.
Step 3: Refine the Shape and Add Details
Next, go over the sketch and start refining the body’s shape. Round out the hands and feet, and begin forming the basic curves of the arms and legs to make them more lifelike.
Define the dress outline more cleanly and ensure the proportions look natural. You should also start sketching where facial features will go—lightly marking where the eyes, nose, and mouth might sit.
Step 4: Add Facial Features and Hair
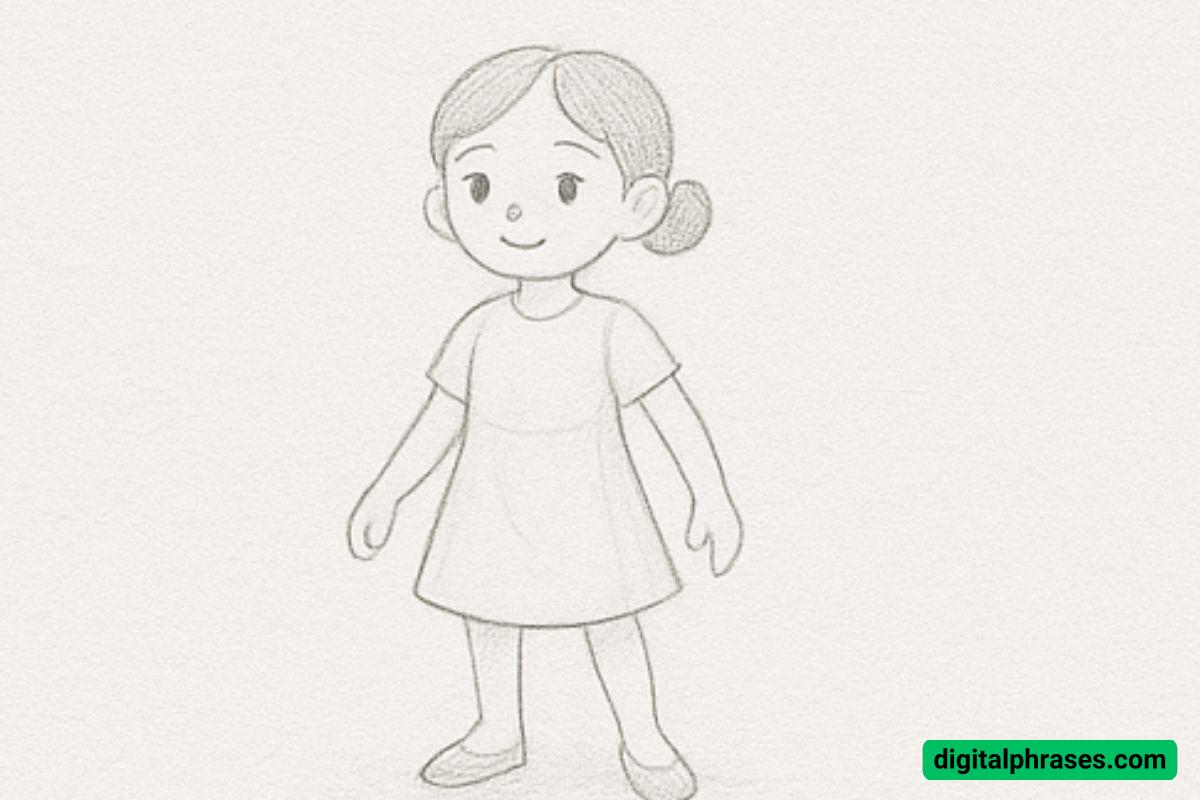
Now for the fun part—adding personality! Sketch in the eyes, eyebrows, nose, and mouth. Position them proportionally on the face.
Then, begin drawing the hairstyle. In this image, the girl has a side-parted hairstyle with a bun at the back.
Don’t rush—take time to add details like the ears and neck. This step brings your character to life!
Step 5: Finalize the Drawing with Shading and Details
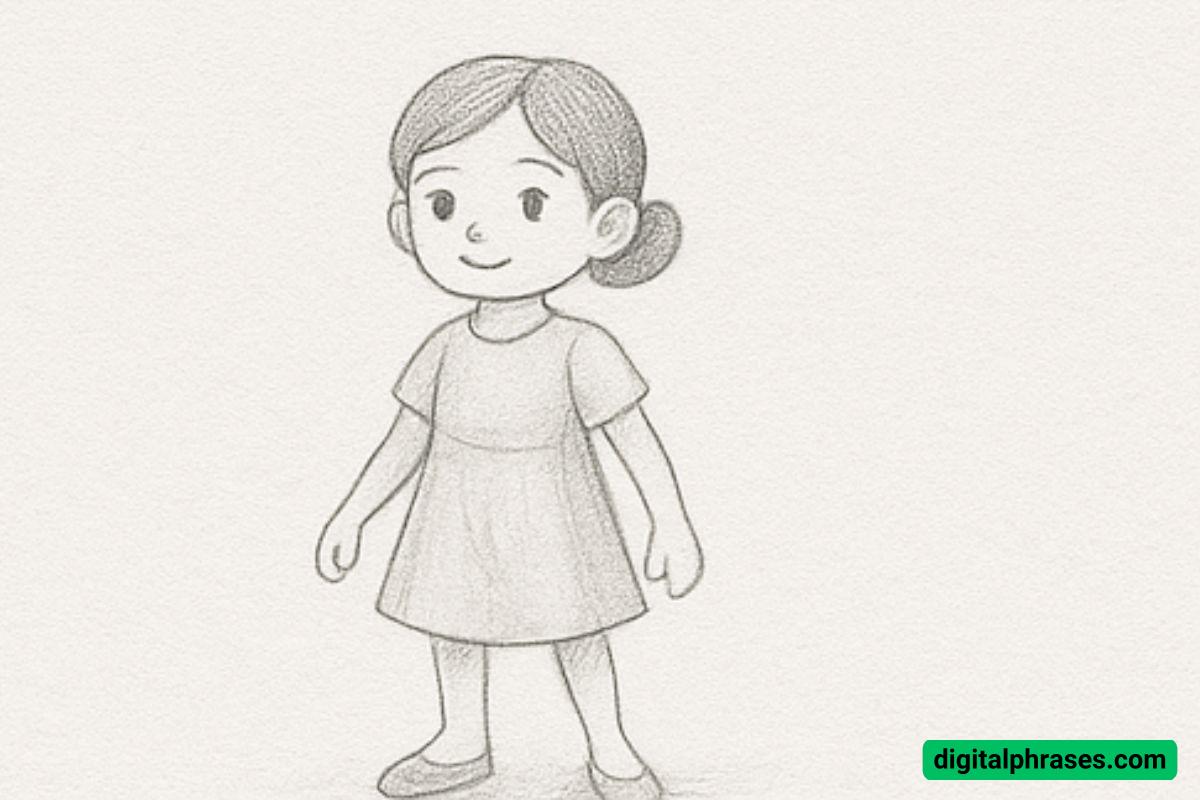
Finally, go over your entire drawing to add definition and shading. Use slightly darker lines to outline the character.
Add shading to the hair, dress, and shoes to give the drawing depth and texture. This step enhances the 3D effect and adds polish to your final artwork.
Erase any unnecessary guidelines or rough sketches left from earlier steps.
List of Equipment Needed
After analyzing the image and the stages of the drawing process, here’s a list of recommended materials:
- Pencil (HB or 2B) – For sketching the basic framework and final outlines.
- Eraser – For correcting mistakes and removing guide lines.
- Sketchbook or Drawing Paper – A clean sheet of paper suitable for pencil drawing.
- Blending Tool or Cotton Swab (optional) – For smooth shading and blending shadows.
- Pencil Sharpener – To keep your pencil point fine and precise.
- Ruler (optional) – Can help with proportion and symmetry in the early stages.

