How To Draw a Giraffe
Here’s a simple guide on how to draw a giraffe.
Step-by-Step Instructions to Draw a Giraffe
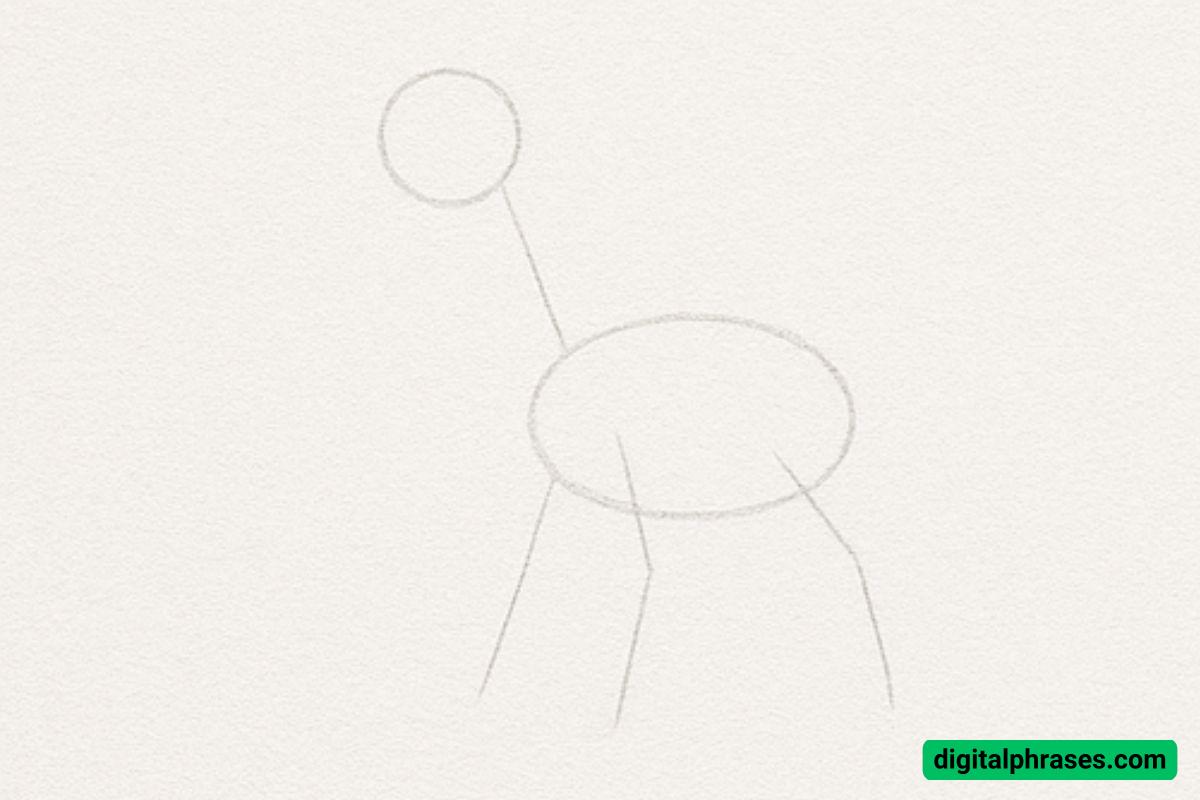
Step 1: Build the Basic Framework
Start by sketching the foundational shapes lightly. Draw a medium-sized oval for the giraffe’s torso—this forms the main body.
Above it, add a small circle for the head. Connect the two with a long, slightly curved line to represent the neck, which is characteristic of a giraffe. Add simple, straight lines for the legs.
These don’t have to be detailed yet—they’re just guiding lines to establish posture and proportion.
Tip: Make sure the neck is long and graceful, tilting slightly for a natural look.
Step 2: Outline the Body and Head
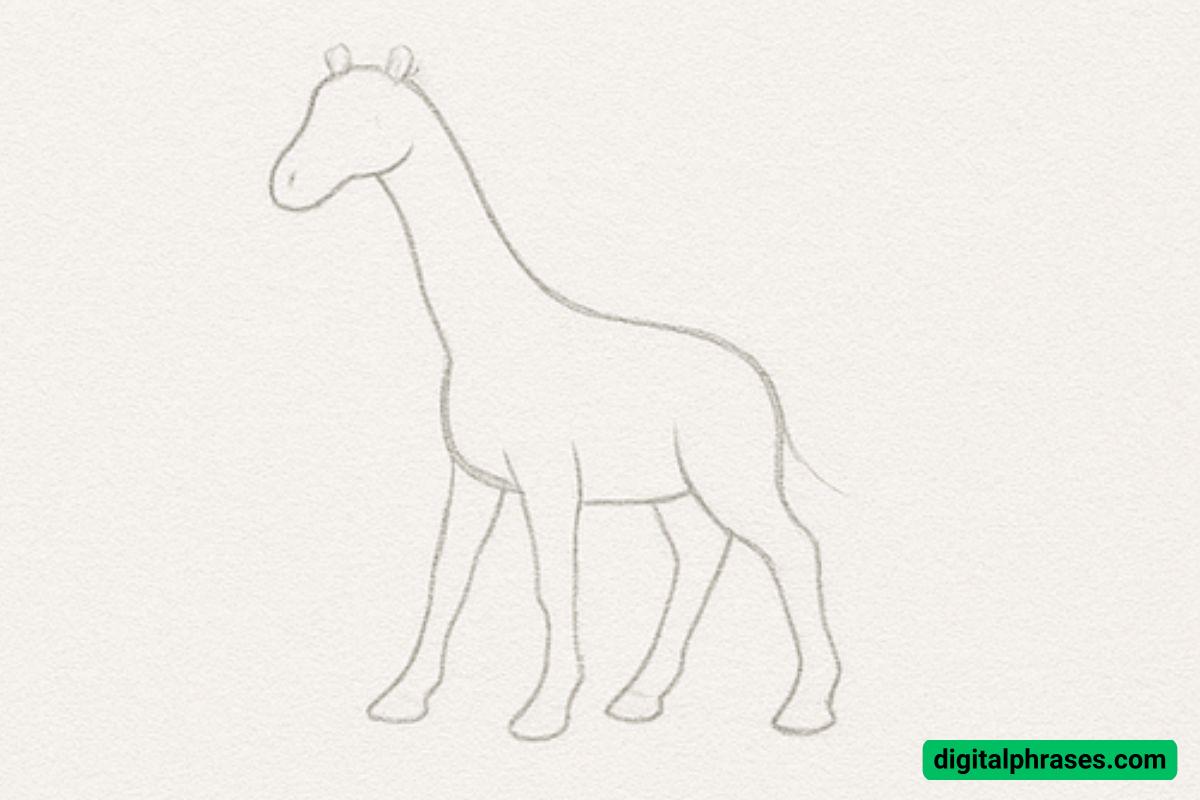
Using your basic framework, start fleshing out the outline of the giraffe.
Shape the neck, making it smooth and slightly tapered from the body to the head. Sketch out the head, adding a rounded snout and gentle curve for the top of the head.
Form the legs, giving them gentle curves and slight bends to indicate a relaxed, standing posture.
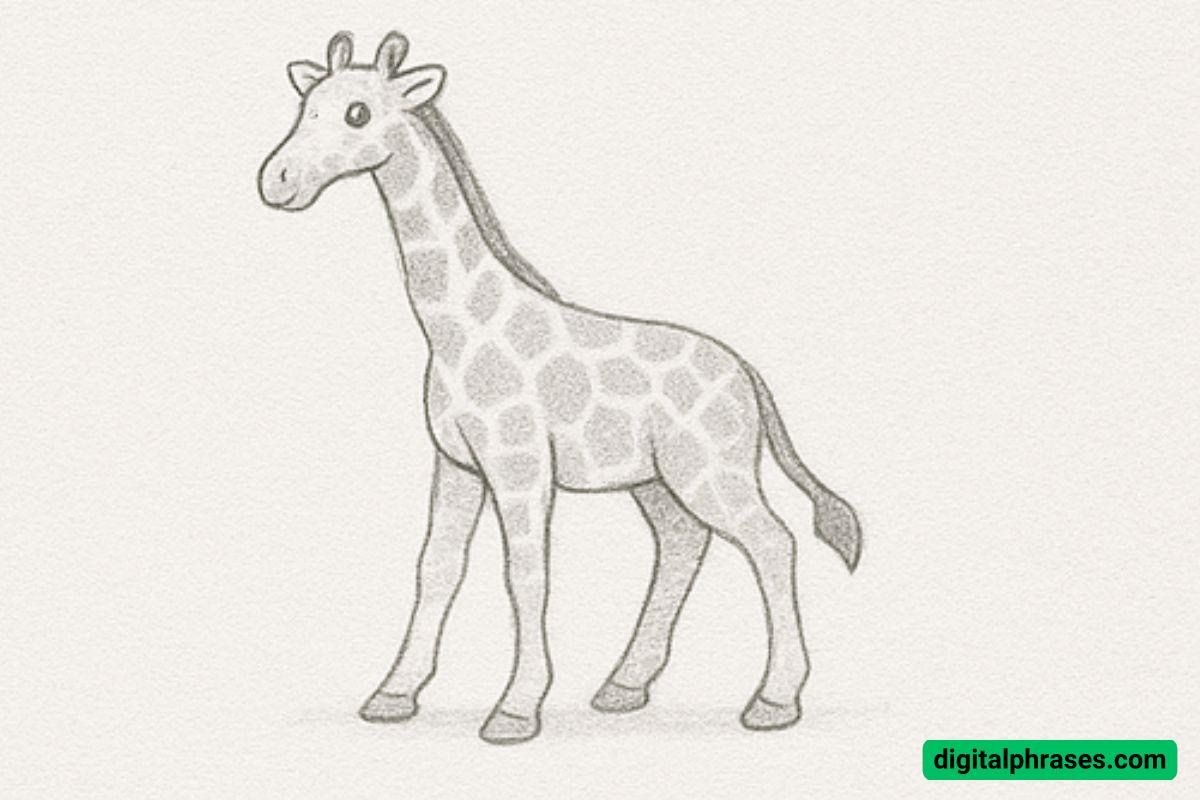
Draw the hooves and ears, and add two small horn-like ossicones on top of the head.
Take your time here—this step forms the actual silhouette of your giraffe.
Step 3: Refine the Shape and Add Tail
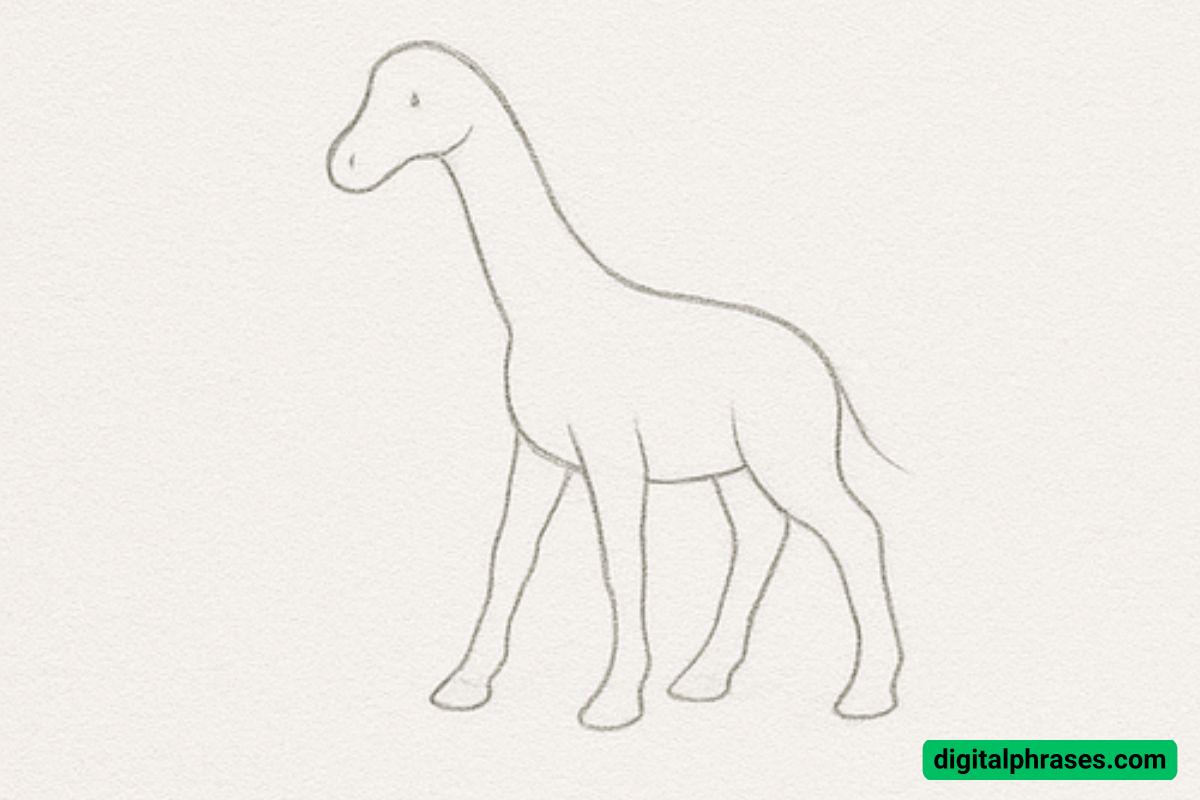
Now it’s time to clean up your lines and add definition. Go over your sketch with more confident, refined strokes.
Adjust the legs and hooves to ensure they look proportionate. Add the tail, gently curving outward, and finish it with a little tuft at the end.
This is where your giraffe really begins to take shape.
Step 4: Draw the Face and Details
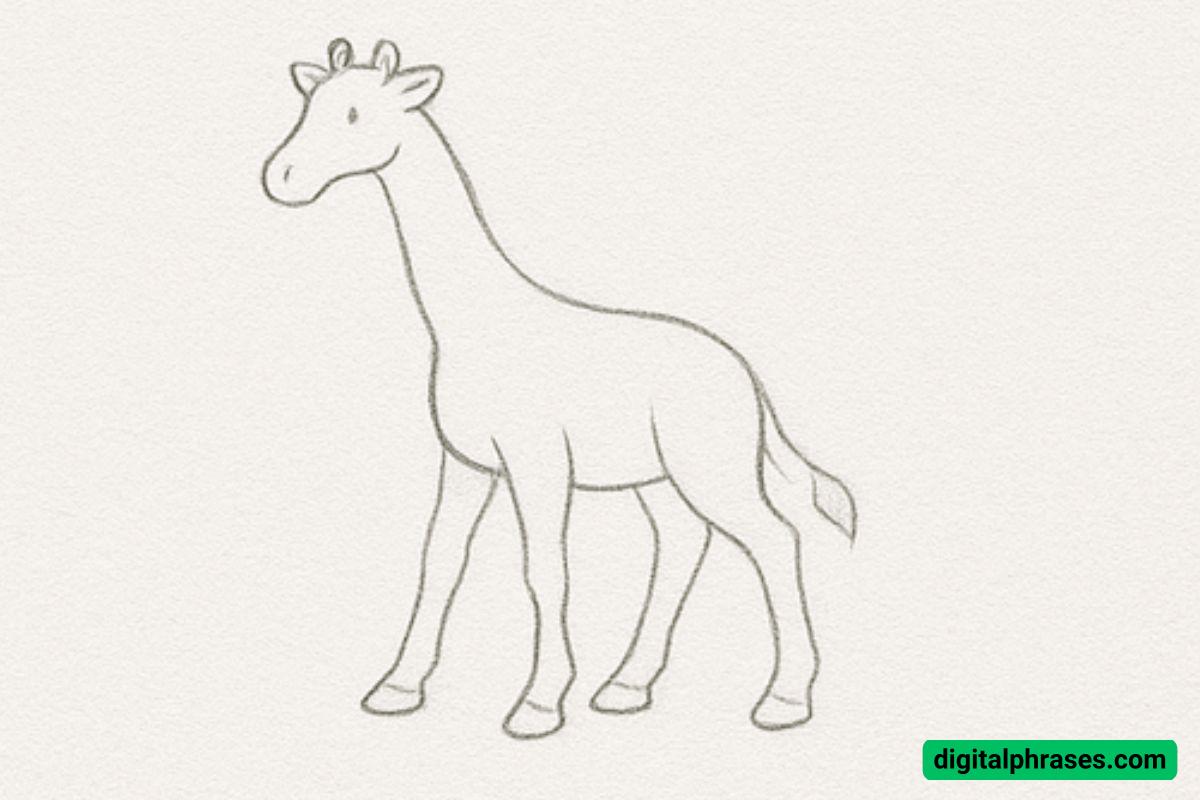
Focus on the face—draw two small circles for the eyes, and a small curve or oval for the nostrils.
Define the mouth with a slight curve. Adjust the ears and ossicones, making them symmetrical and expressive.
Also, add a line along the back of the neck to represent the mane—a subtle detail that gives personality to your giraffe.
Step 5: Add Patterns and Final Shading
Finally, bring your giraffe to life by adding its distinctive spots! Lightly sketch irregular patches all over the body, neck, and parts of the legs—these should vary in size and shape.
Then, add shading to enhance volume—darken the mane, add light shadows under the belly and legs, and outline key features to give the drawing a polished, three-dimensional look.
Once complete, gently erase any remaining construction lines and admire your finished giraffe!
List of Equipment Needed
Based on the drawing process, here’s what you’ll need:
- Pencil (HB or 2B) – Ideal for sketching and shading.
- Eraser – To remove guide lines and make corrections.
- Drawing Paper or Sketchbook – A clean, smooth surface for your artwork.
- Sharpener – Keep your pencil sharp for clean outlines and detailed spots.
- Blending Tool or Tissue (Optional) – To smooth out shading and create depth.

