How To Draw a Guitar
Here’s a simple tutorial on how to draw a guitar.
How to Draw a Guitar – Step-by-Step Instructions
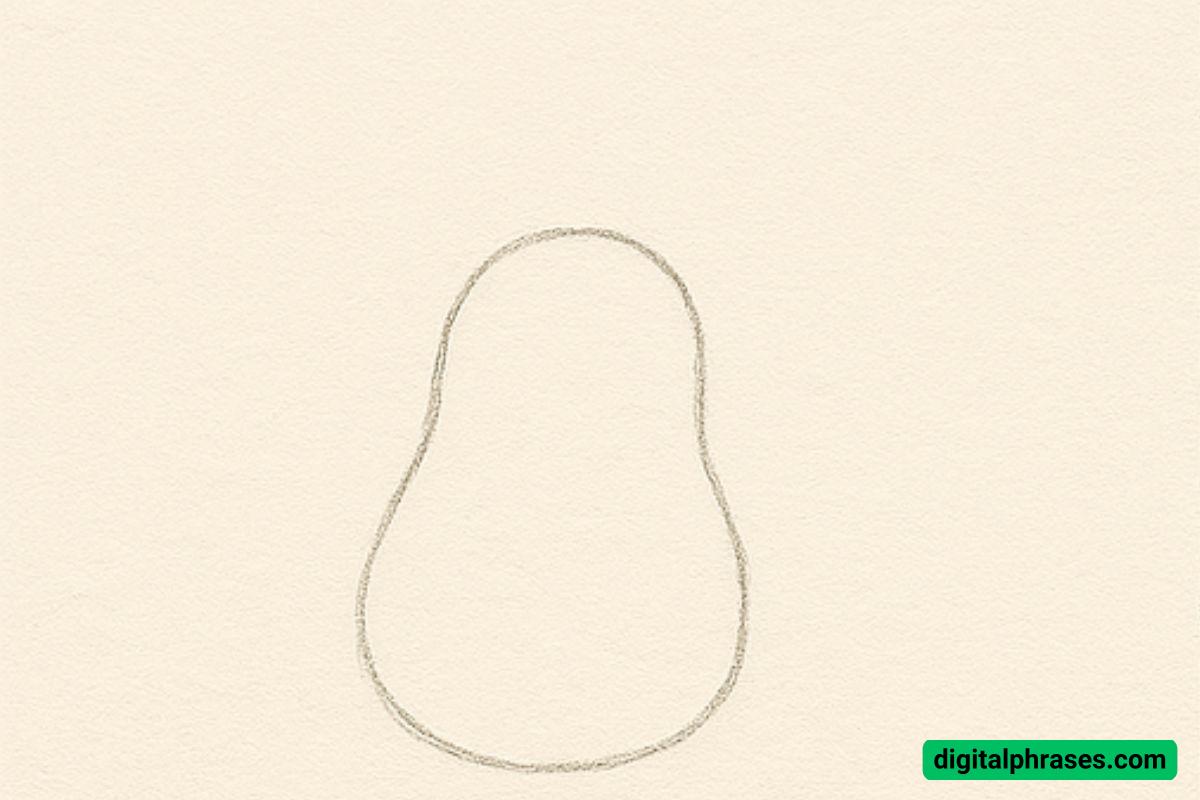
Step 1: Sketch the Body Shape
Alright, let’s begin by drawing the basic outline of the guitar’s body.
This is a symmetrical shape somewhat resembling a peanut or a curvy hourglass. Start by lightly sketching a vertical line as your central axis to help maintain symmetry.
Then, draw the outer contour, making sure the bottom is wider than the top. This will form the main body of your guitar.
Keep your hand loose—this is just the foundational shape, so perfection isn’t required here.
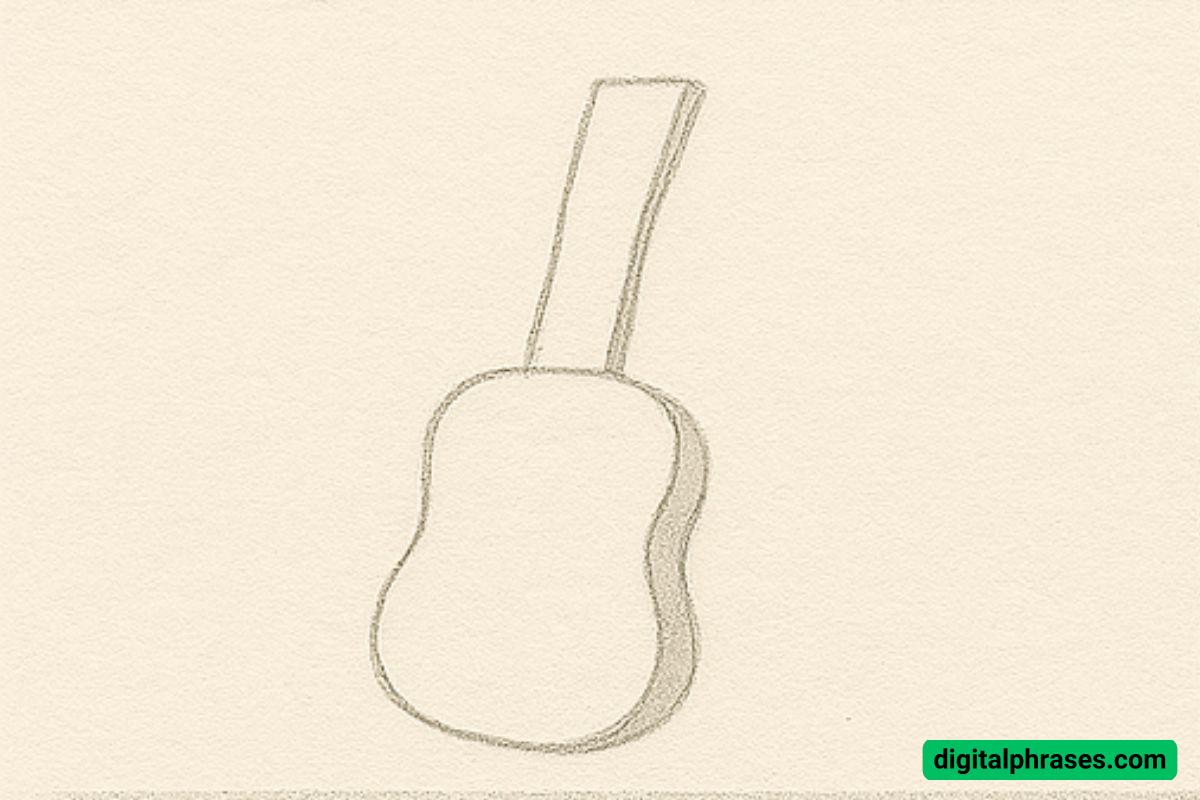
Step 2: Add the Neck and Depth
Now that the body is in place, let’s move on to the neck. From the top center of the body, draw a long rectangular shape extending upward. This will be the neck of the guitar.
Then, add a little depth by giving the body and the neck a slightly three-dimensional look.
Draw an edge to the right side of both the body and the neck to show the guitar’s thickness. This gives your sketch a sense of form and volume.
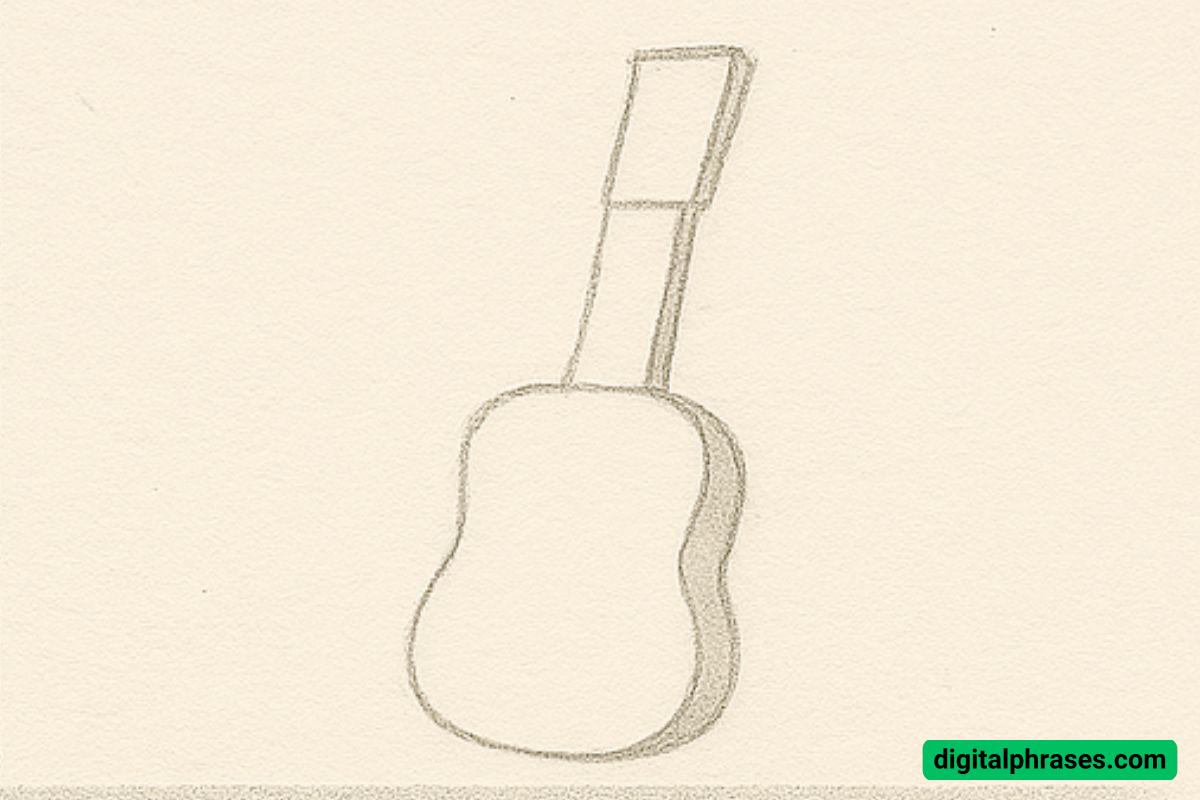
Step 3: Refine the Shape
Next, let’s define the form further. Clean up your lines and make the body more proportionate if needed. Round off the edges where the neck meets the body.
You can begin to subtly indicate the headstock at the top of the neck by slightly flaring the top of the rectangle.
These details make the structure more guitar-like, even though we’re still in the early stages.
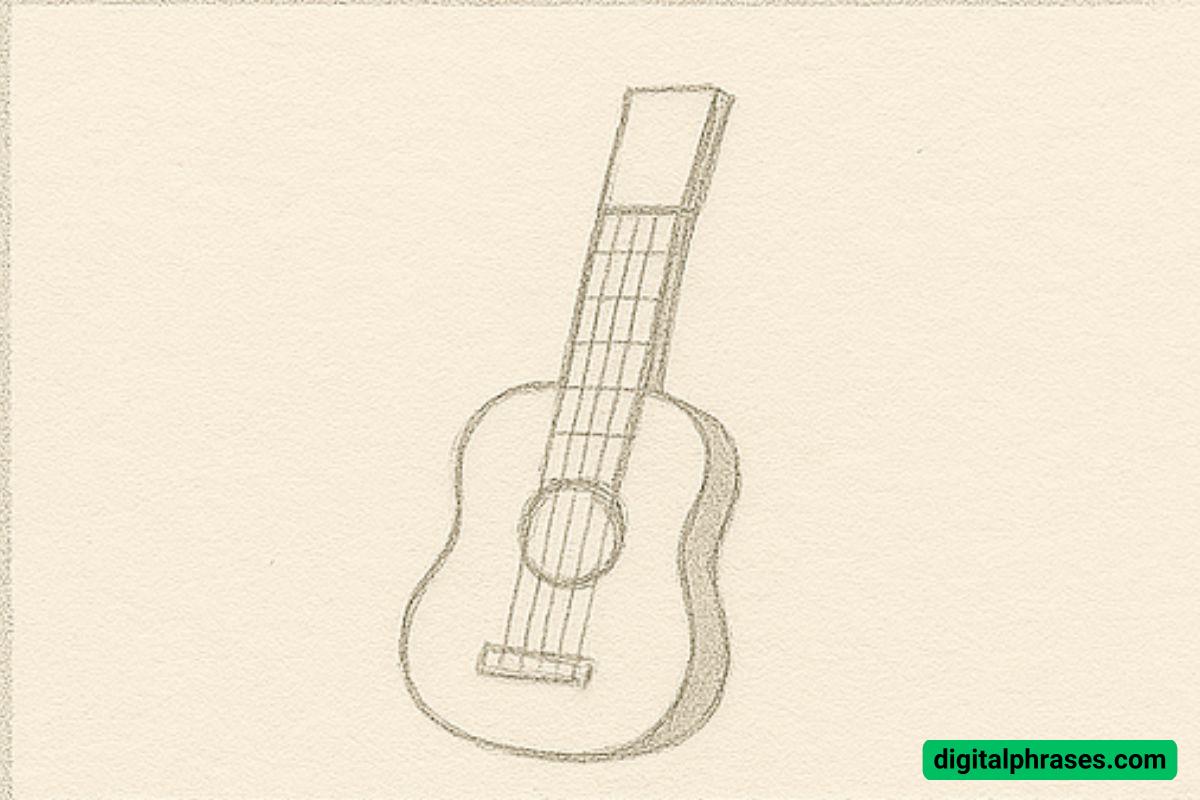
Step 4: Draw the Sound Hole and Frets
Now let’s get into the features that make this clearly recognizable as a guitar. Start by drawing a circular sound hole in the middle of the body.
Then, draw horizontal lines across the neck to represent the frets.
Add the bridge just below the sound hole and begin sketching in the strings extending from the bridge, over the sound hole, and all the way up the neck to the top.
Step 5: Final Details and Shading
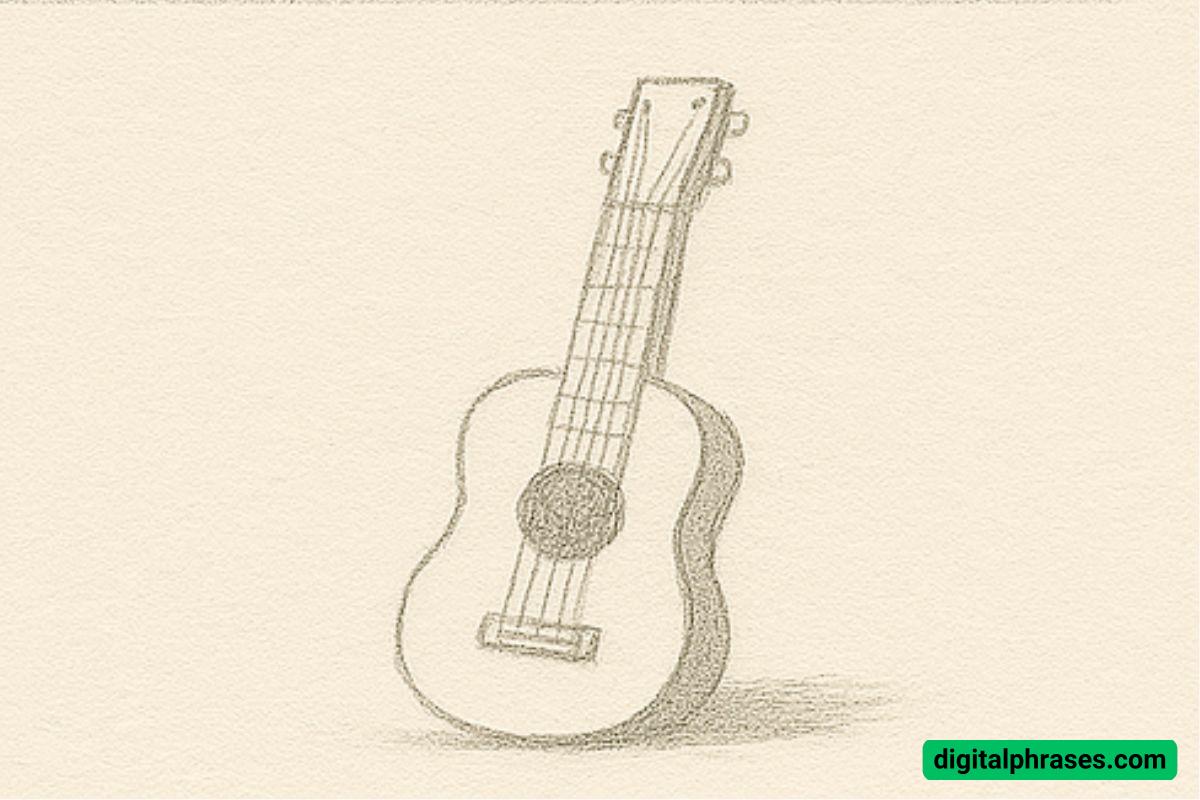
In this final step, it’s all about refining and adding detail. Draw the tuning pegs at the top of the neck to complete the headstock.
Refine the string lines to be straight and evenly spaced.
Then, enhance the 3D effect with shading along the right side of the guitar and beneath it to show where the light falls. Add slight shadows where necessary to give it depth and realism.
Your guitar drawing is now complete!
List of Equipment Needed:
- Pencil (HB or 2B) – For initial light sketching and later shading.
- Eraser – For correcting lines and cleaning up the sketch as you refine it.
- Ruler – To help draw straight fret lines and strings.
- Blending stump or cotton swab – Optional, for smooth shading.
- Sketchbook or Drawing Paper – A medium with slight texture is ideal for pencil work.
- Sharpener – Keep your pencil tip fine for detailing like strings and frets.

