80 One Point Perspective Room/Bedroom Drawings
Ready to turn your sketchbook into a realistic world?
We’re talking one-point perspective room drawings – a fantastic way to practice your skills and create super cool, immersive spaces.
Whether you’re dreaming of cozy lofts, grand halls, or quirky bedrooms, this post is packed with some amazing ideas to spark your imagination.
Let’s dive in and get drawing!
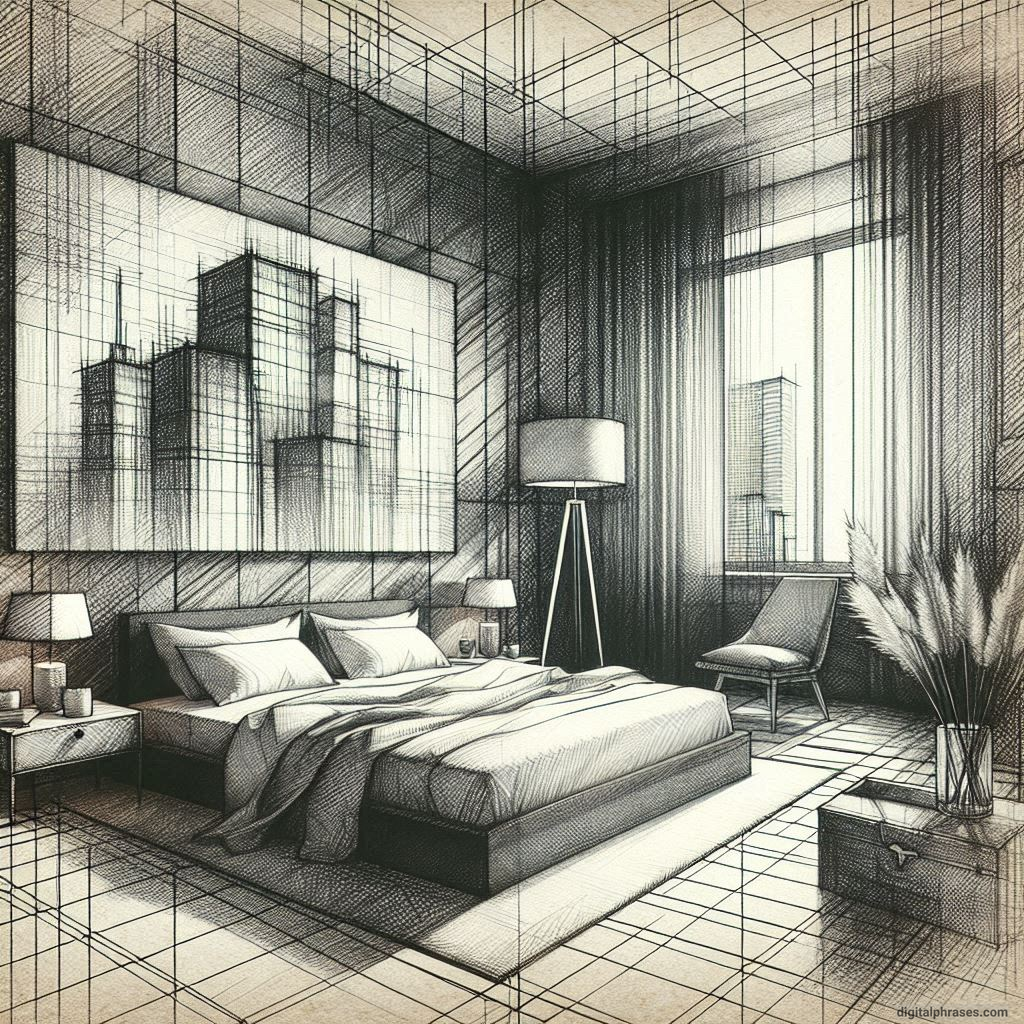
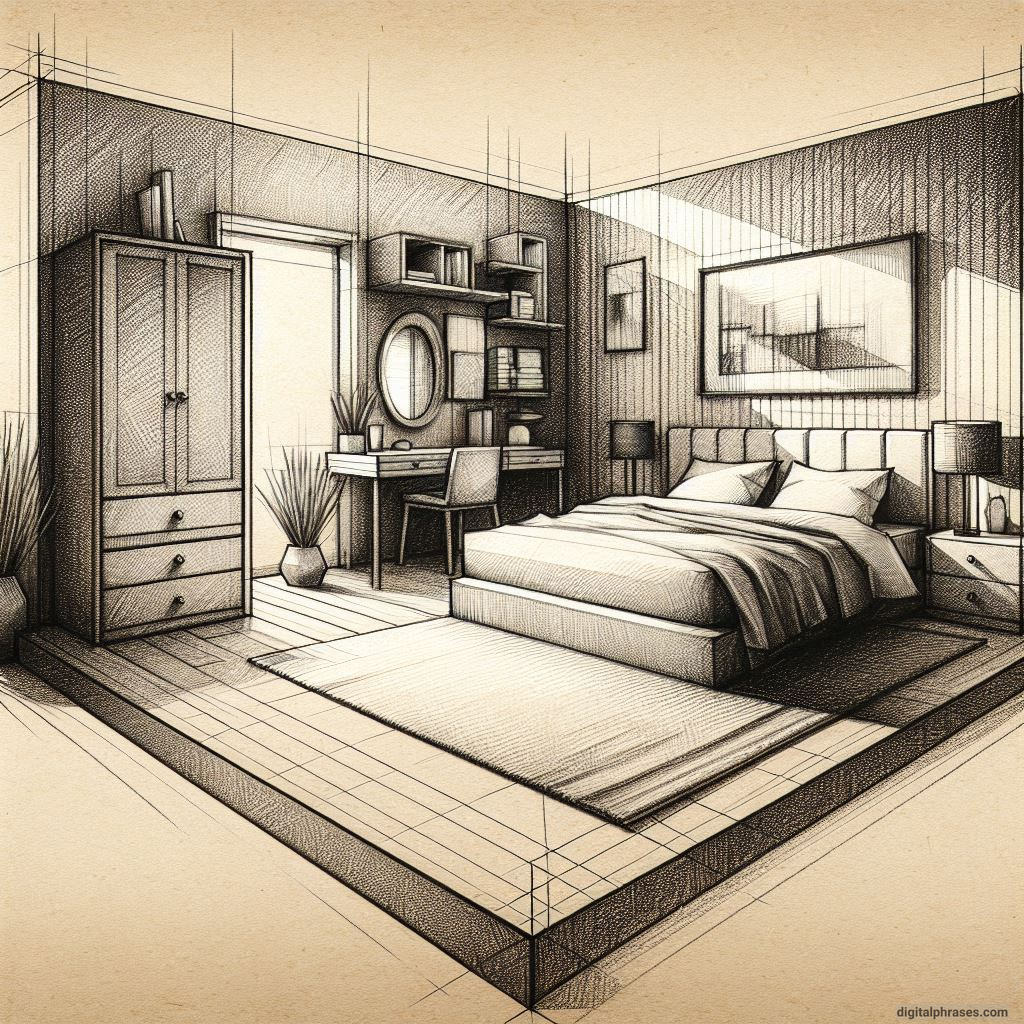
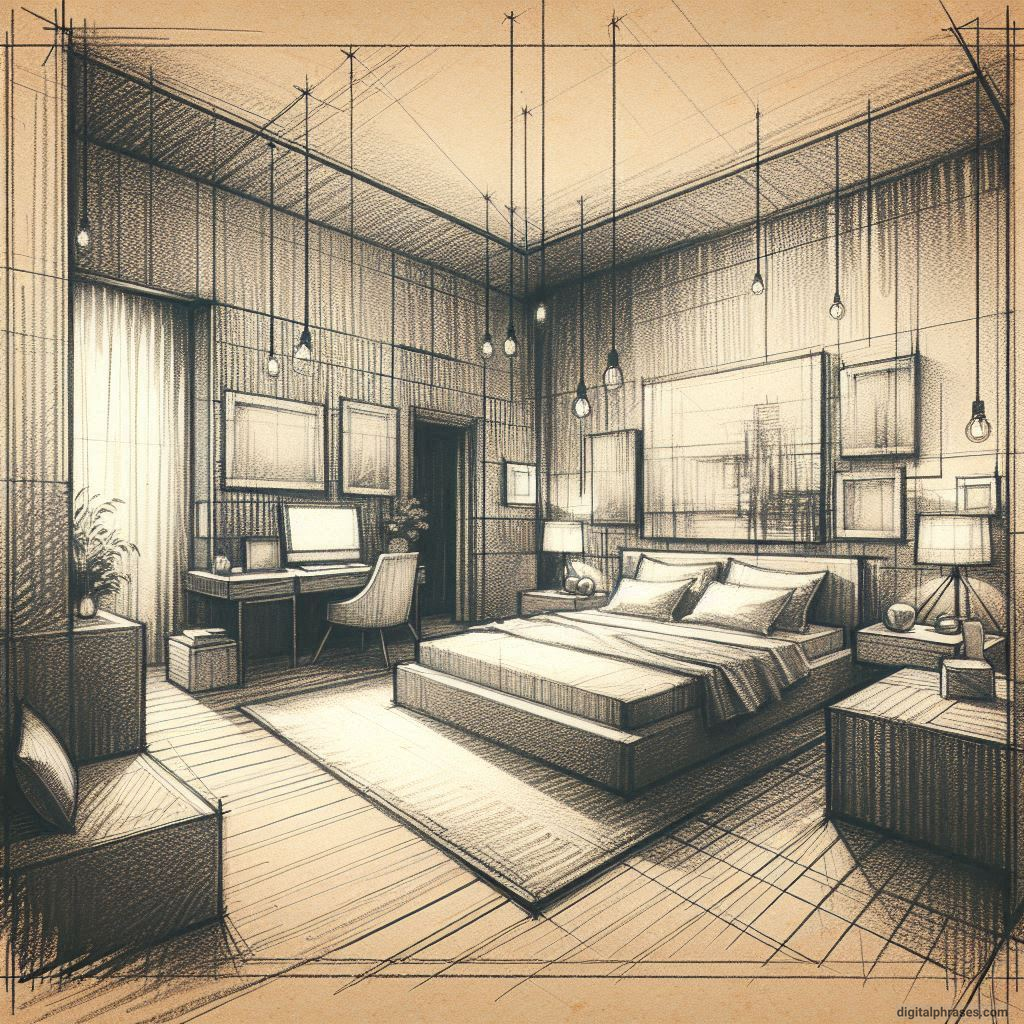
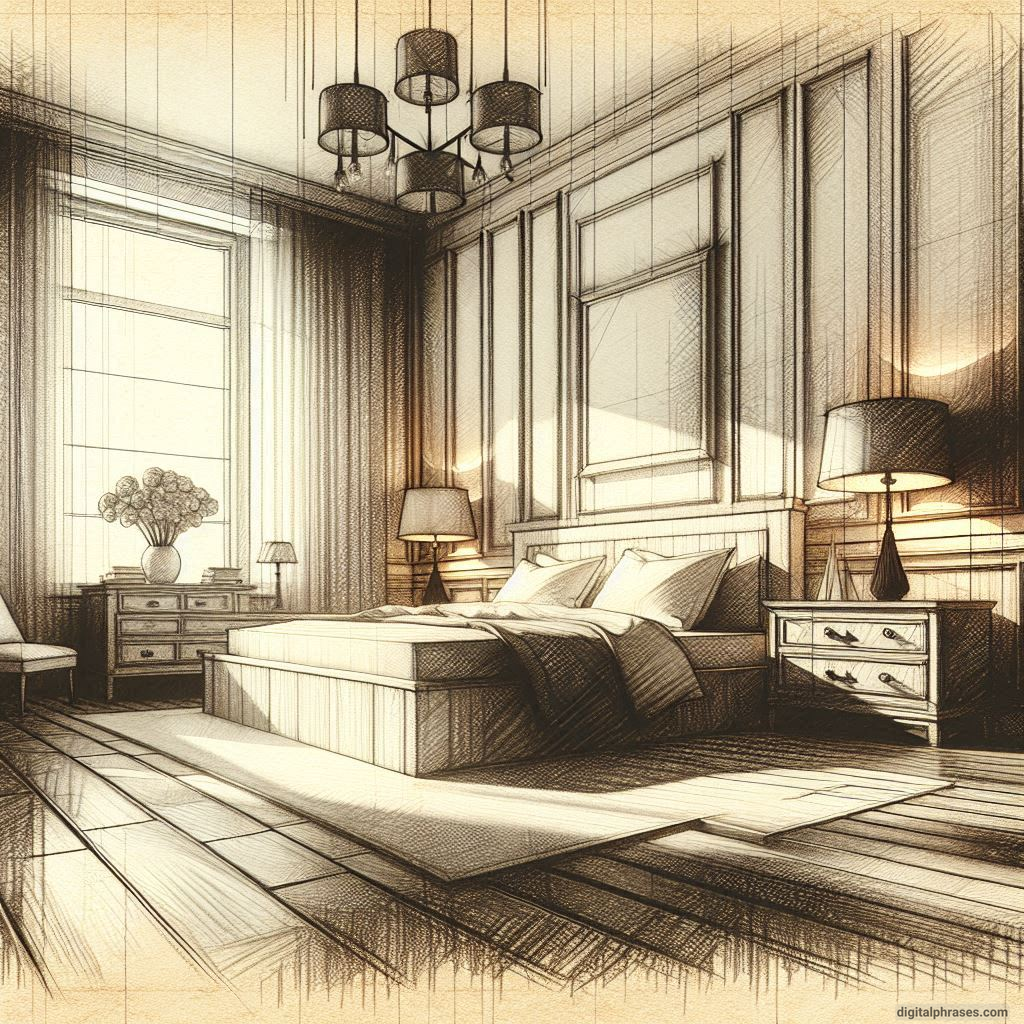
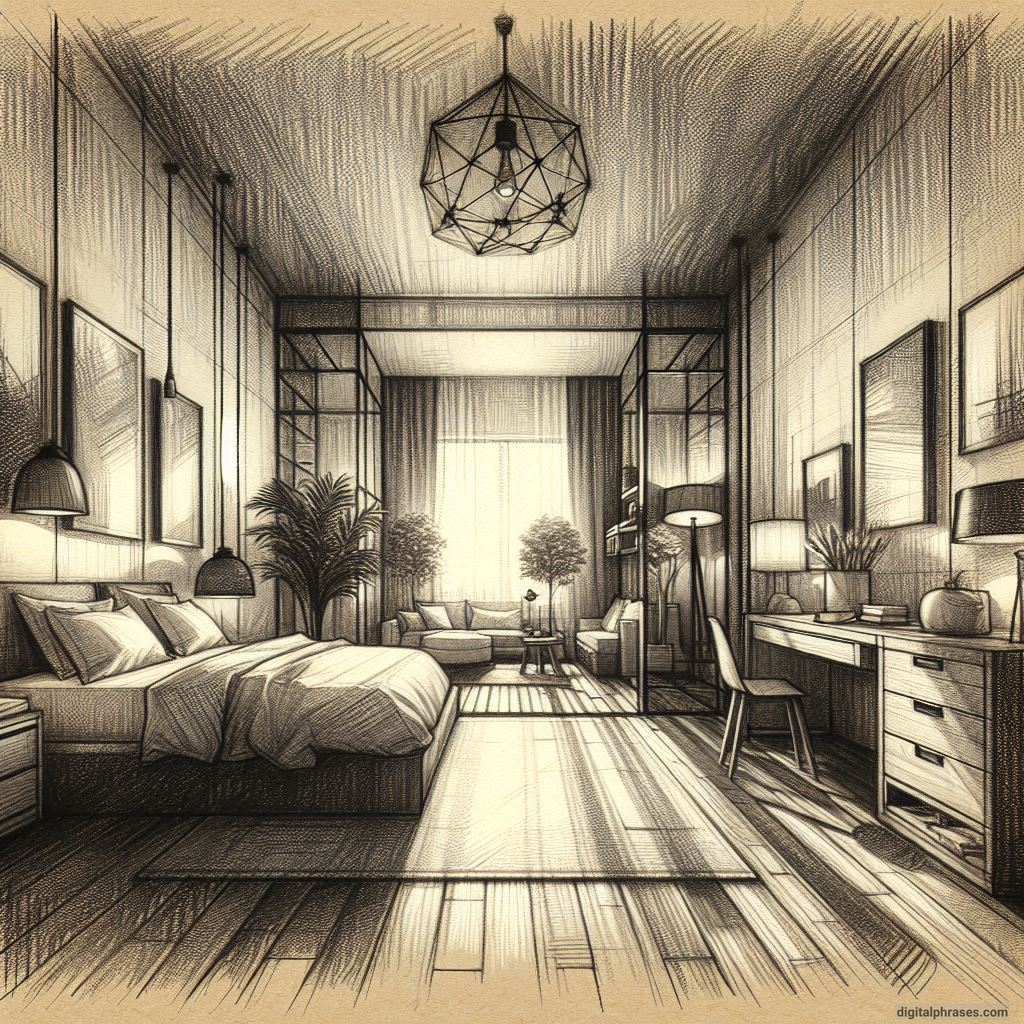
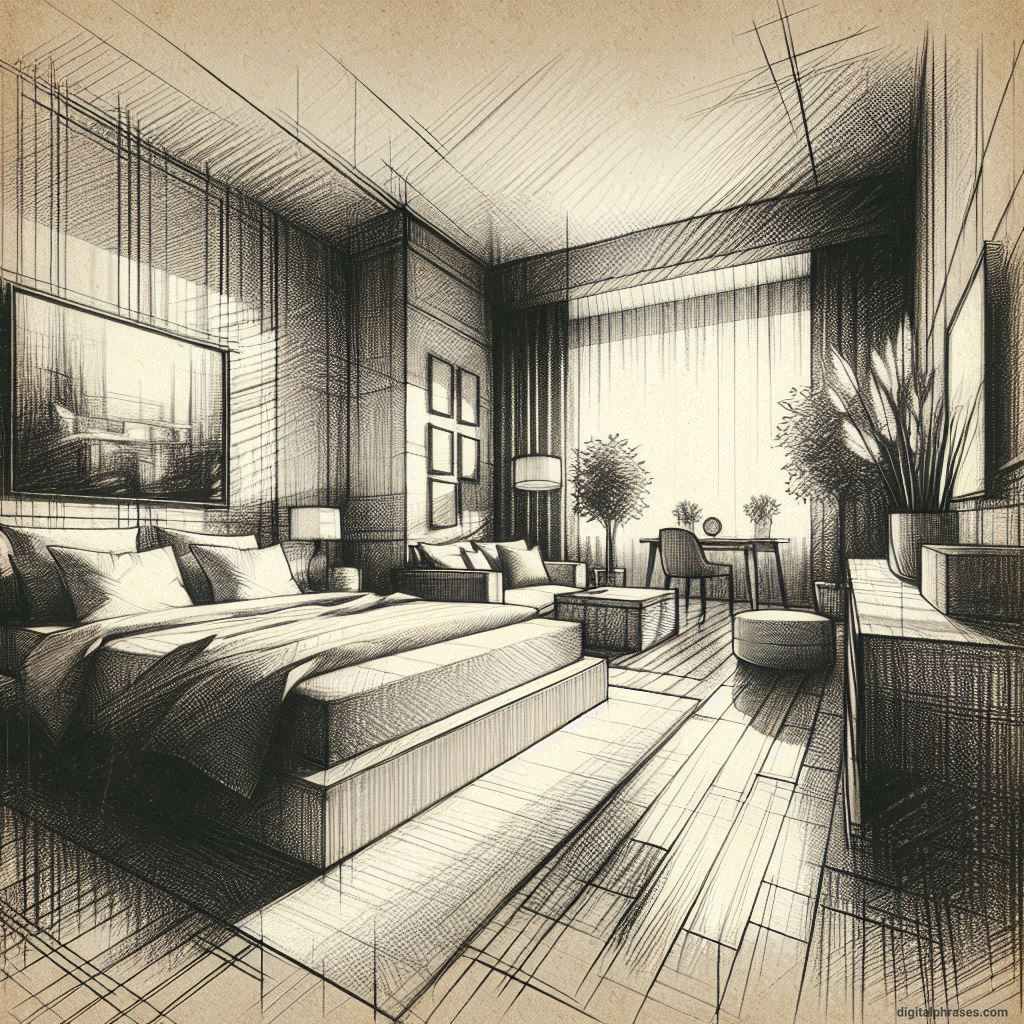
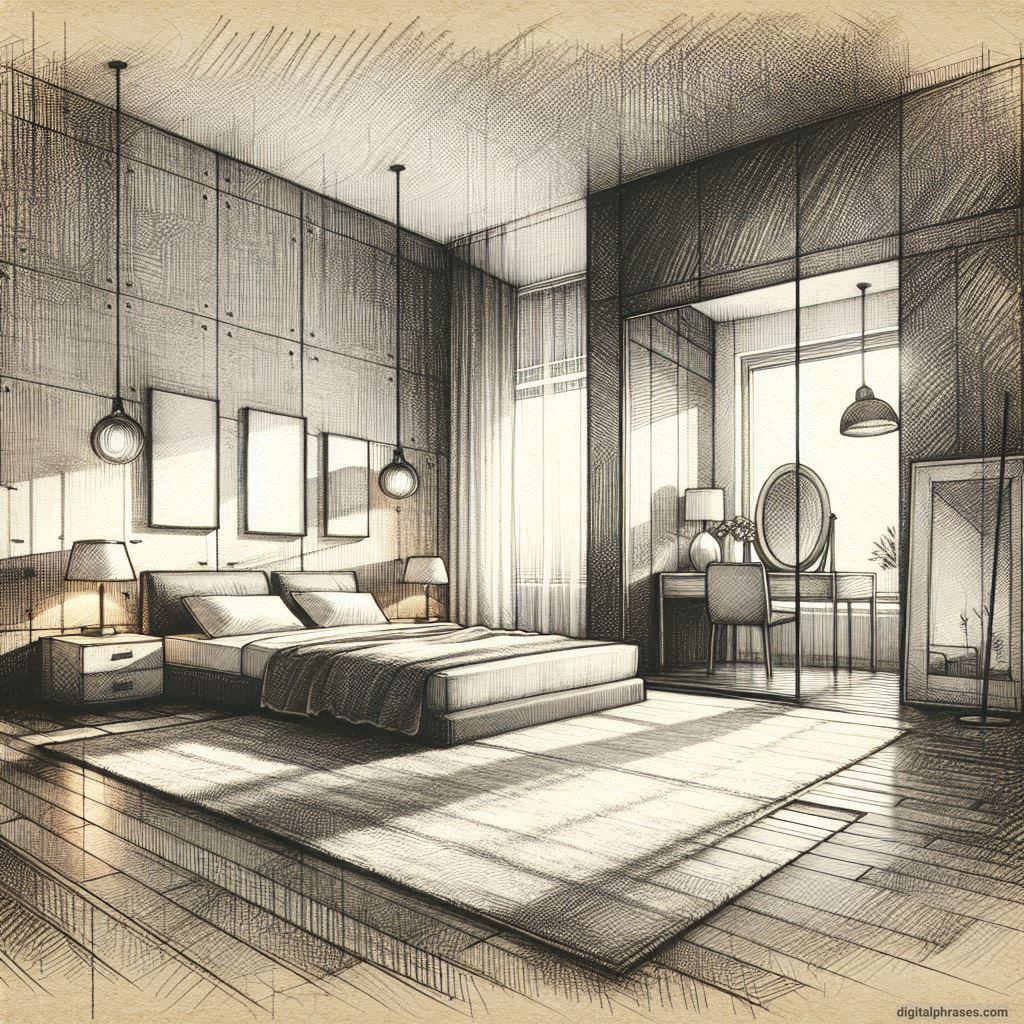
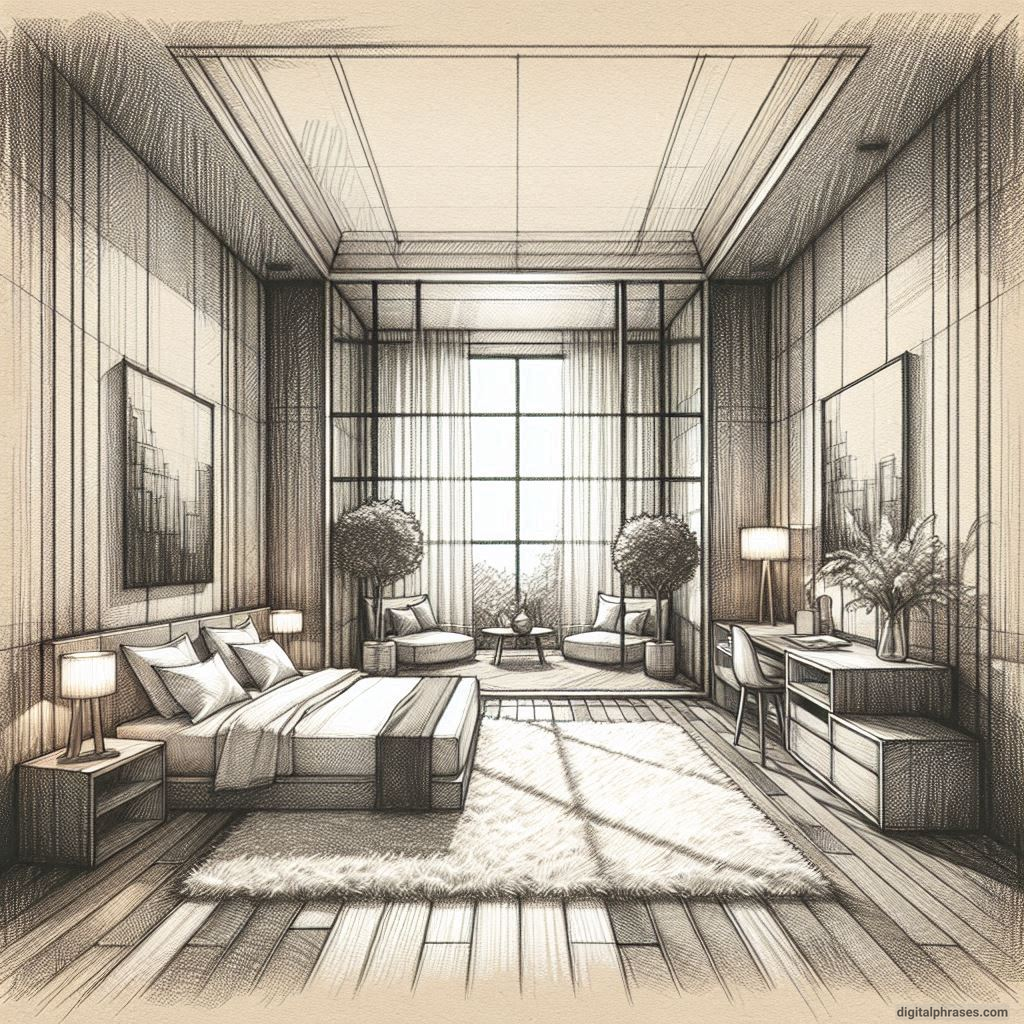
One Point Perspective Bedroom Drawings
1
2
3
4
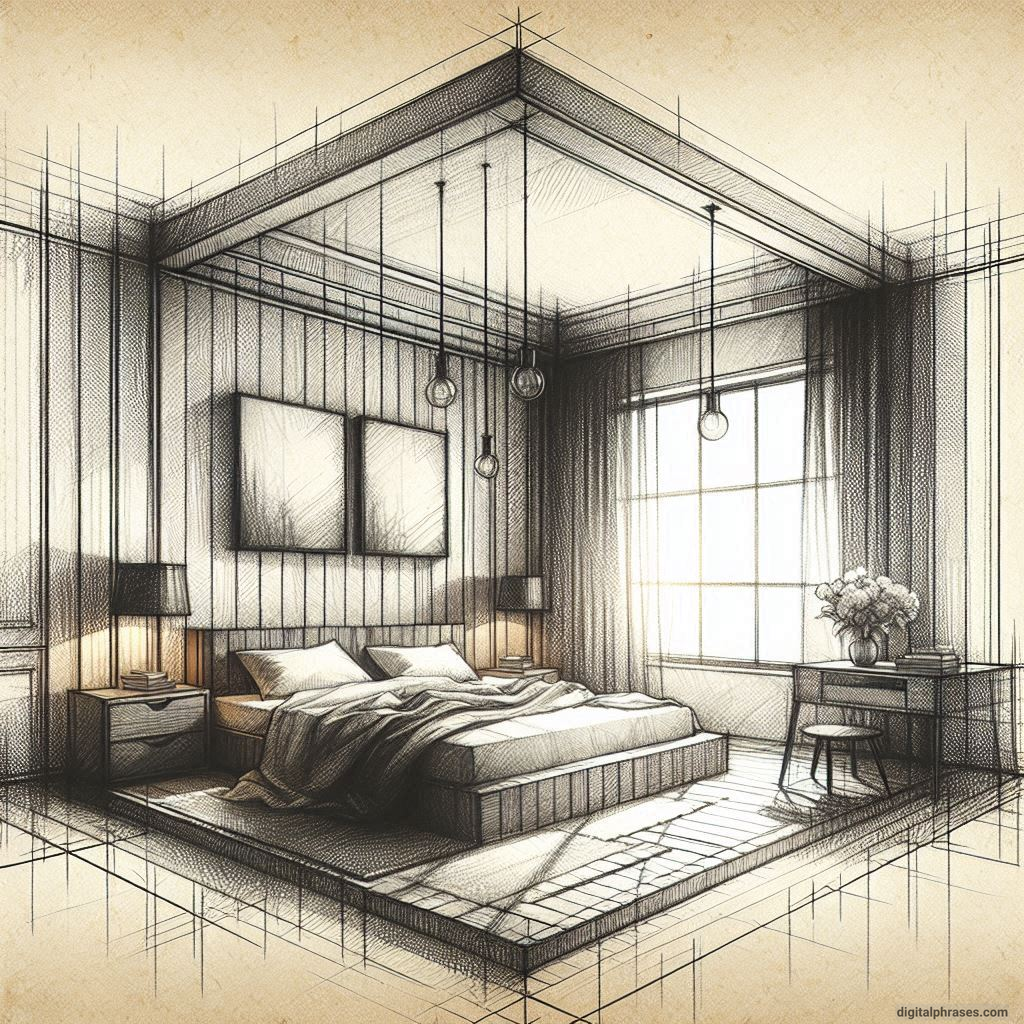
5
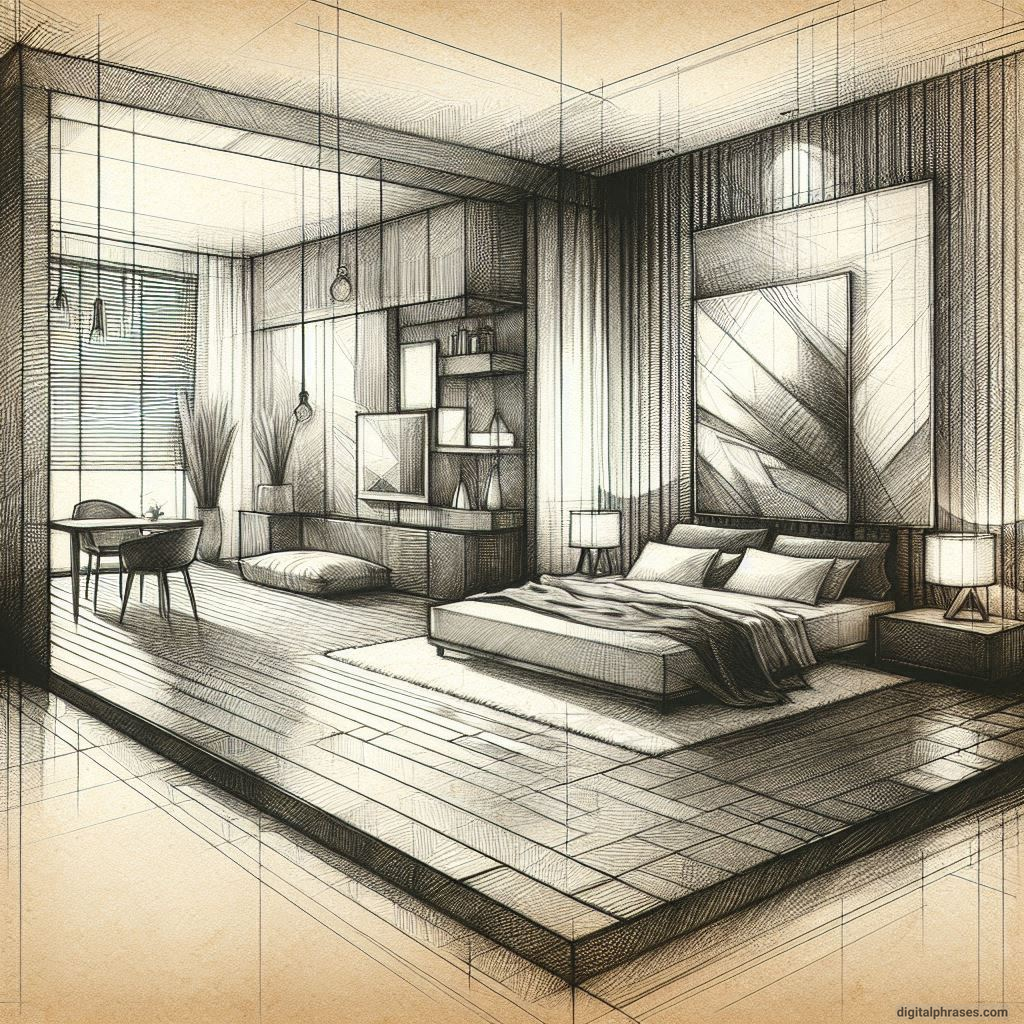
6
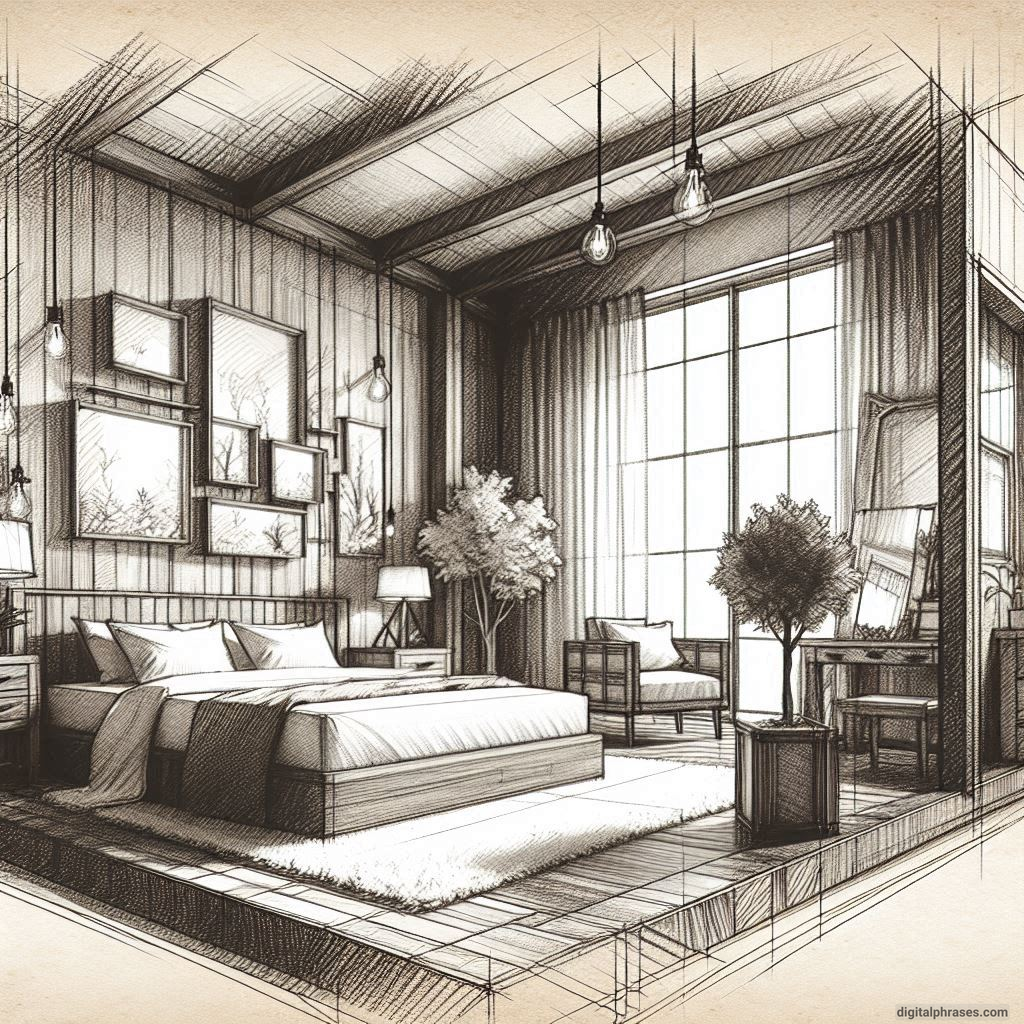
7
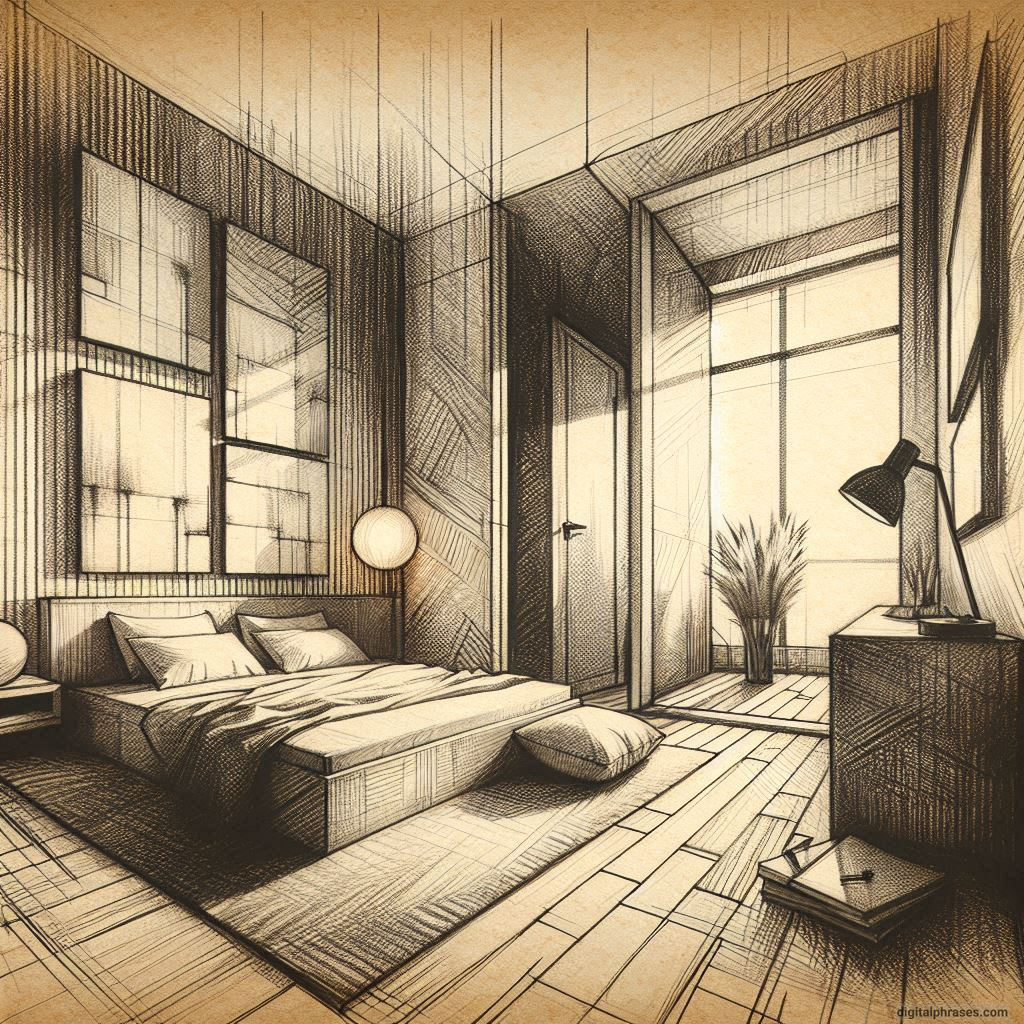
8
9
10
11
12
13
14
15
16
17
18
19
20
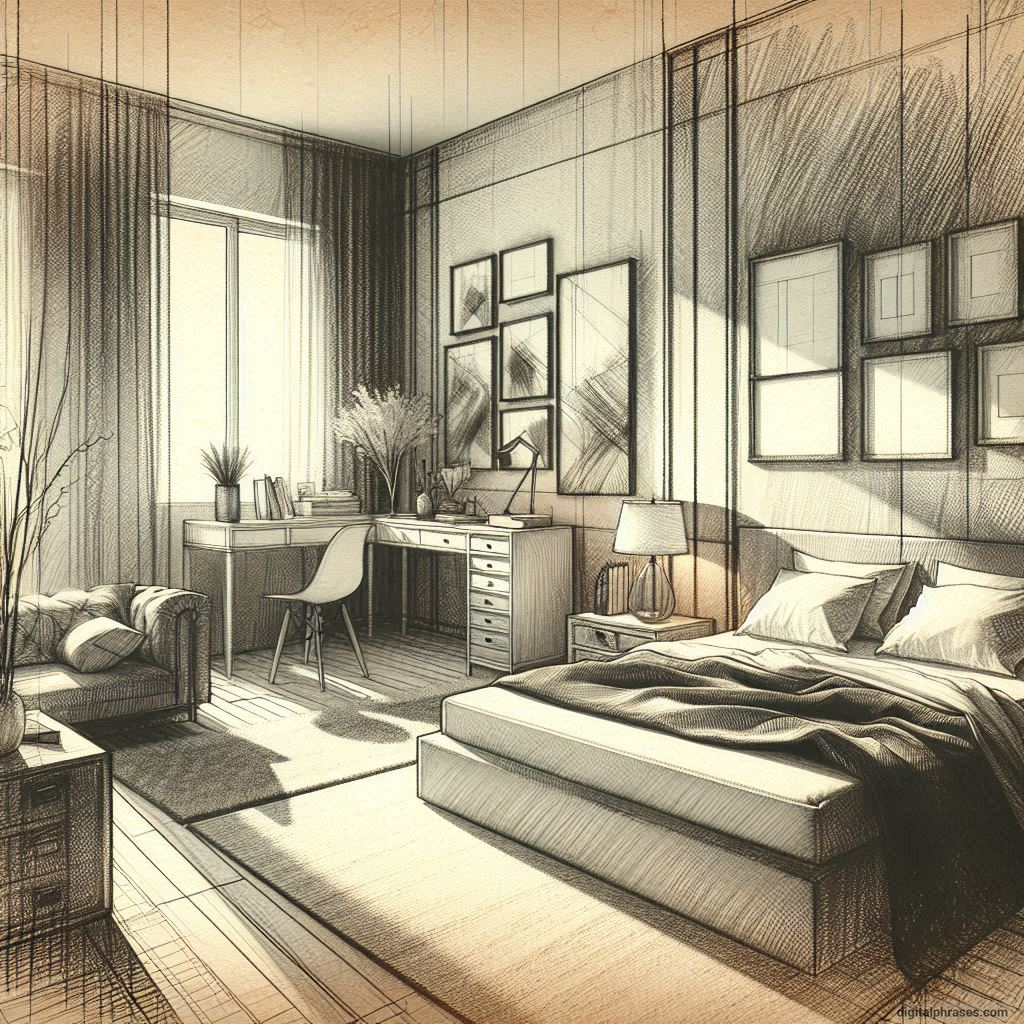
21
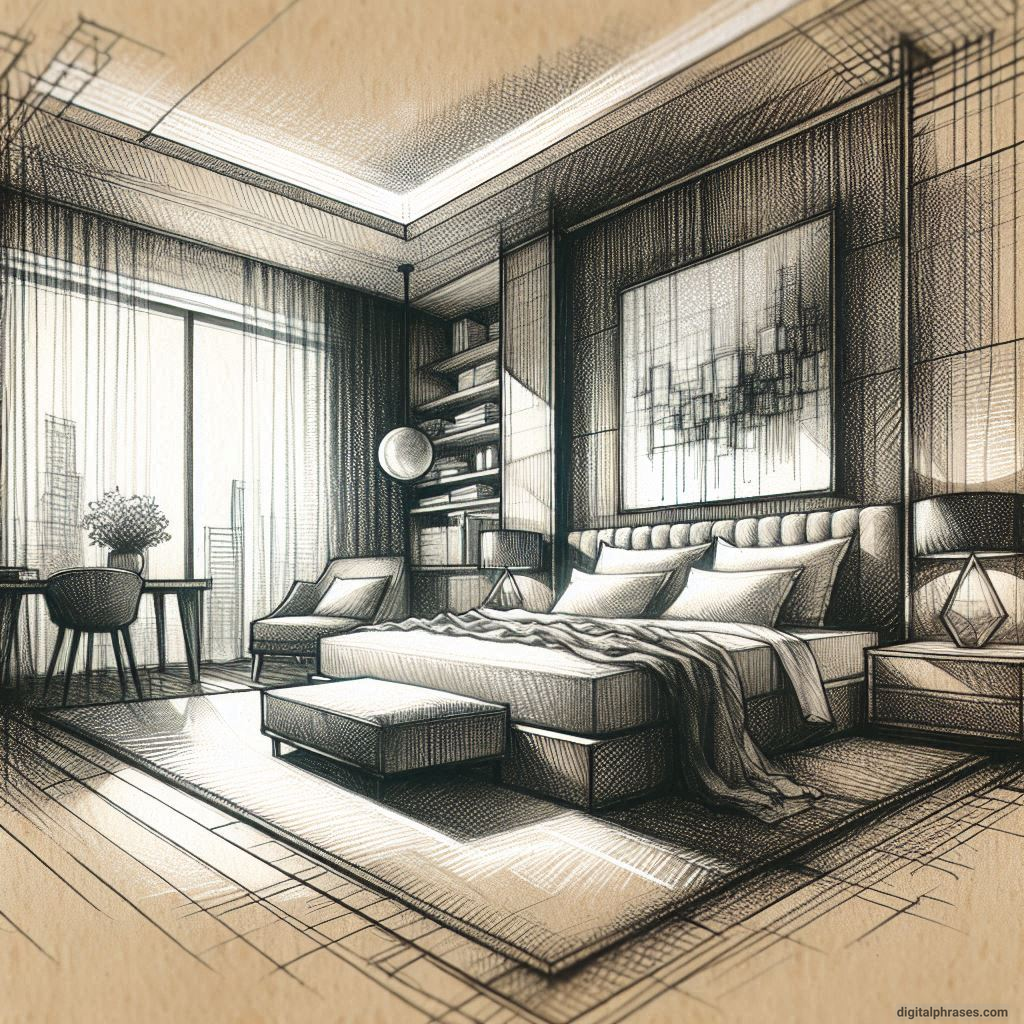
22
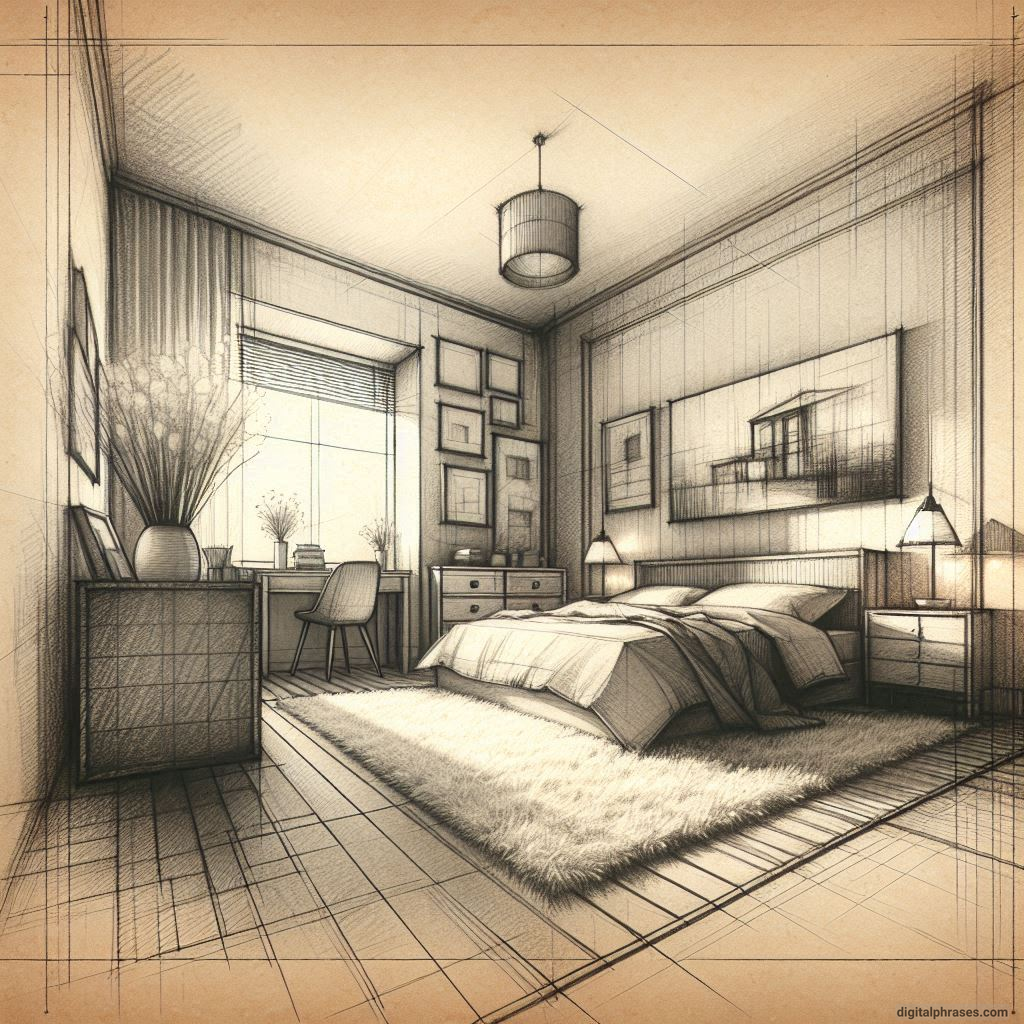
23
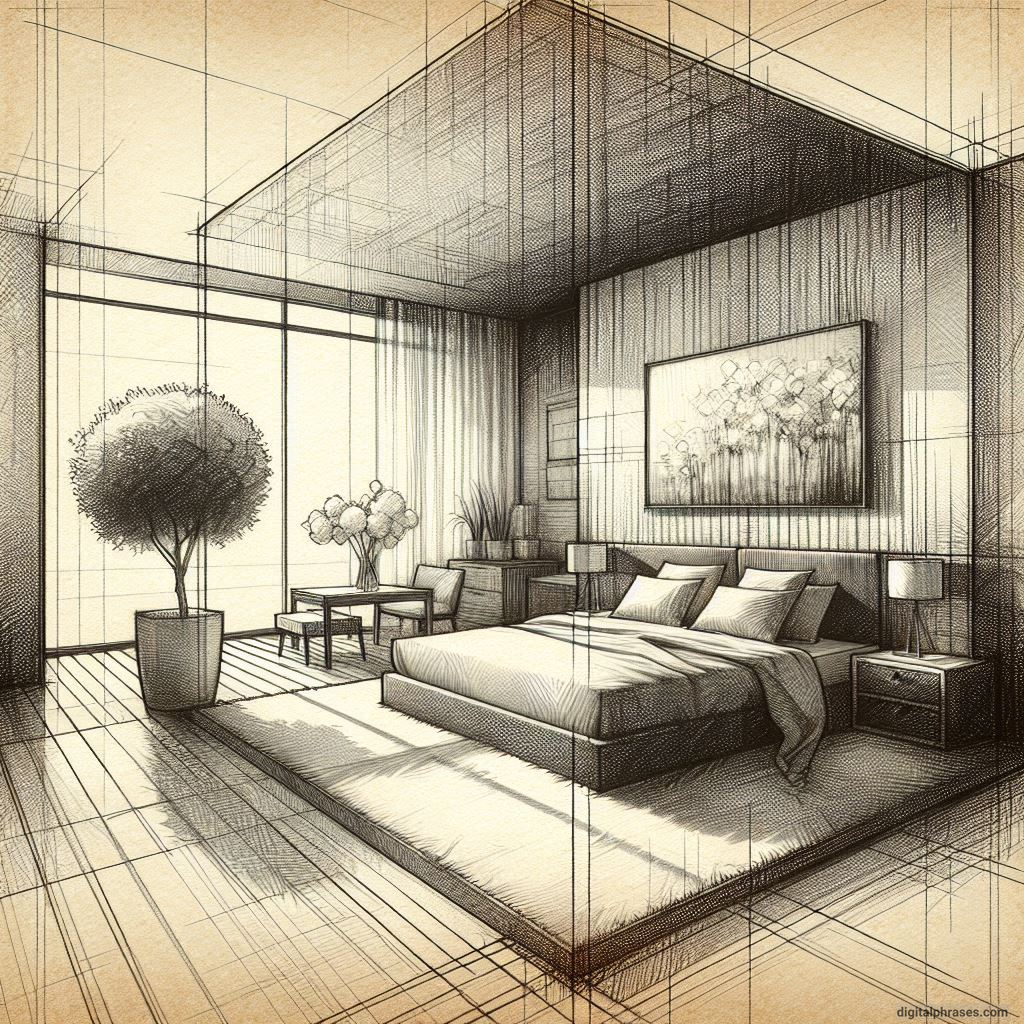
24
25
26
27
28
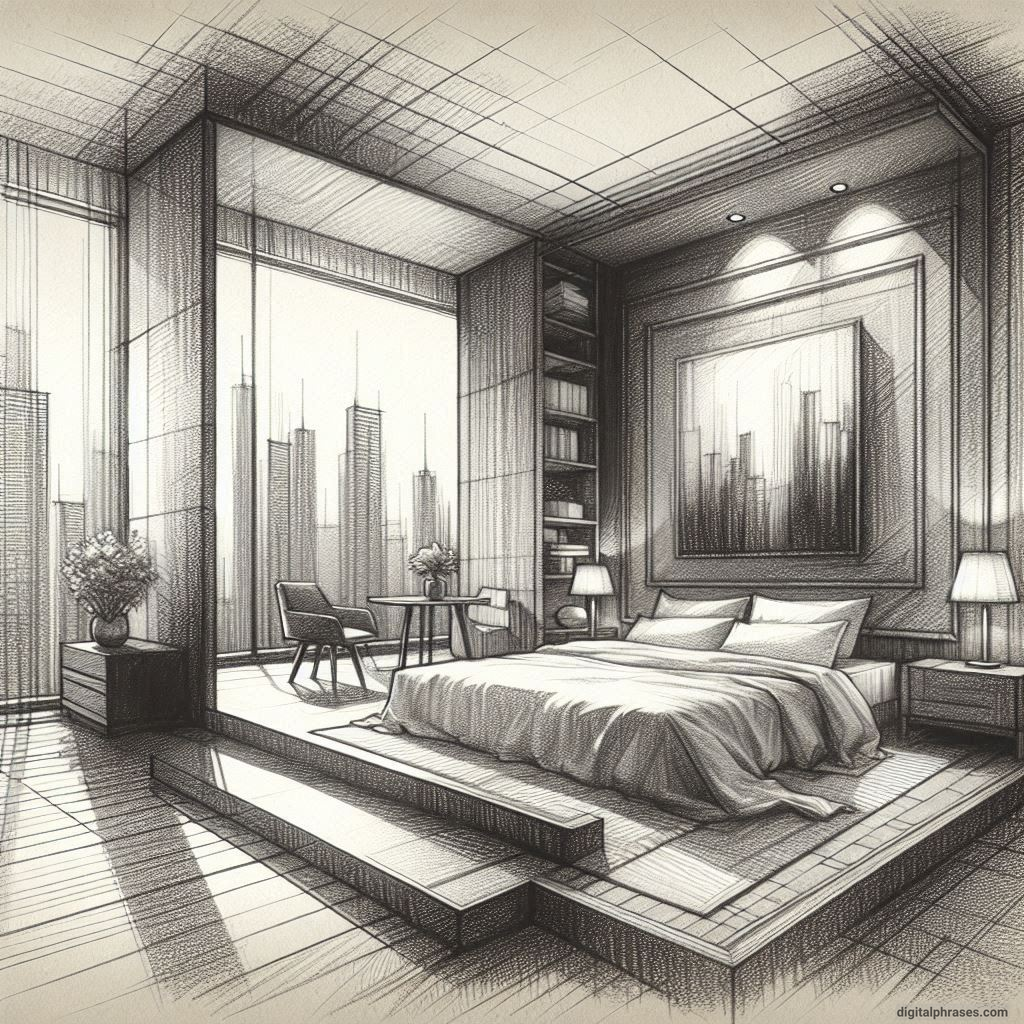
29
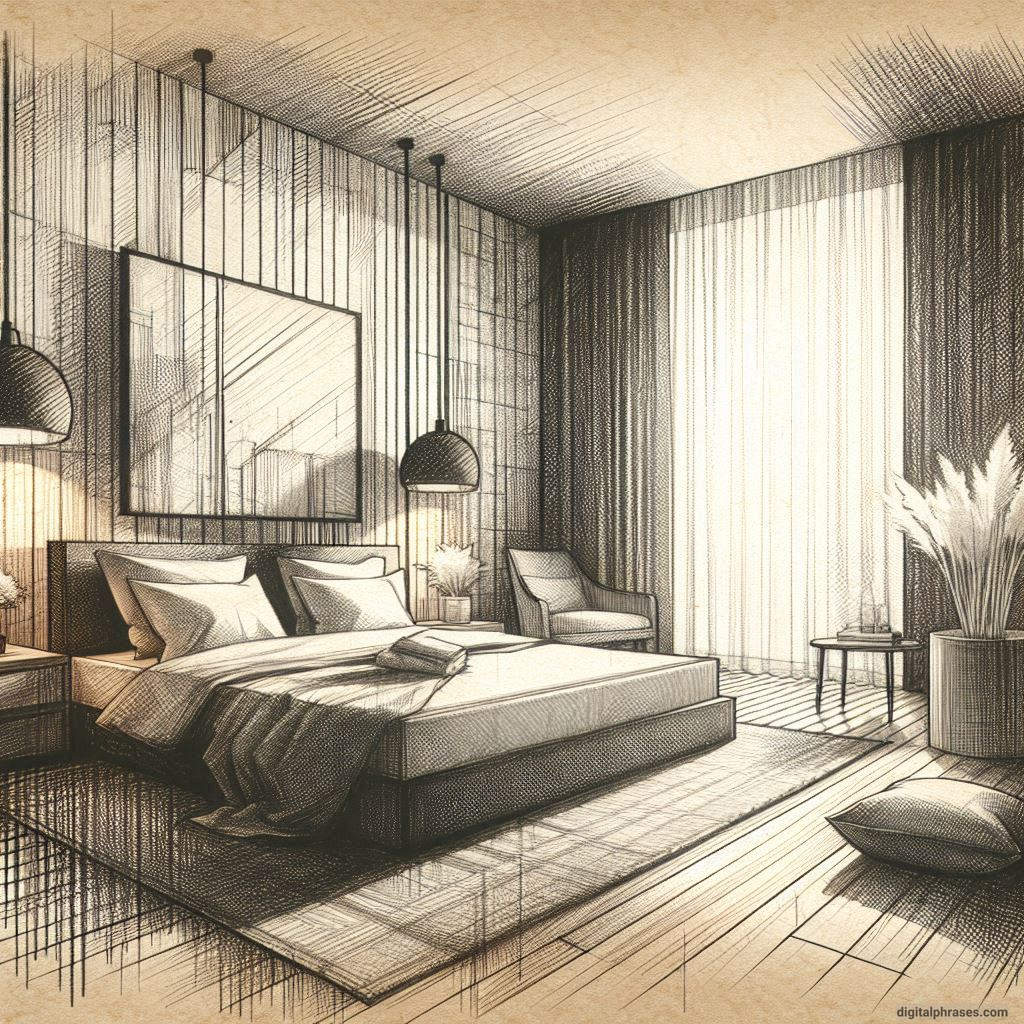
30
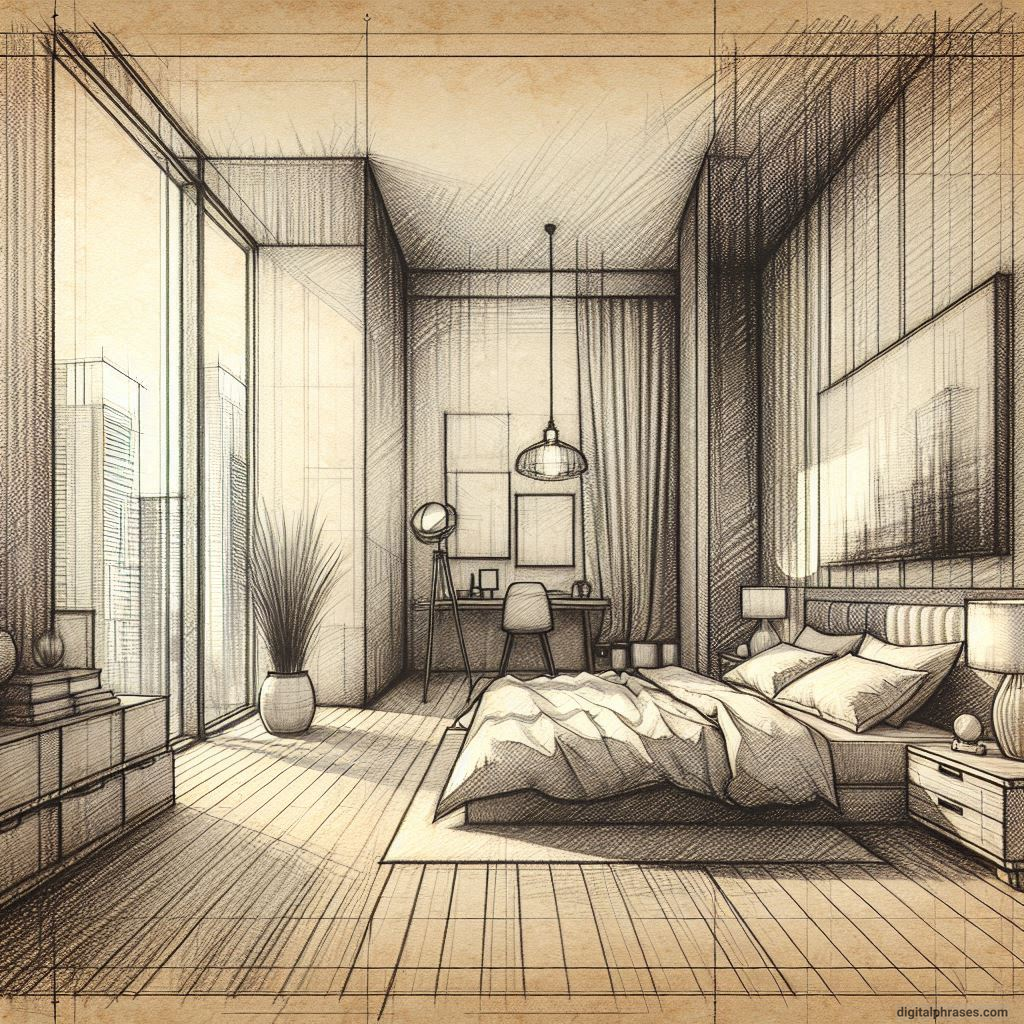
31
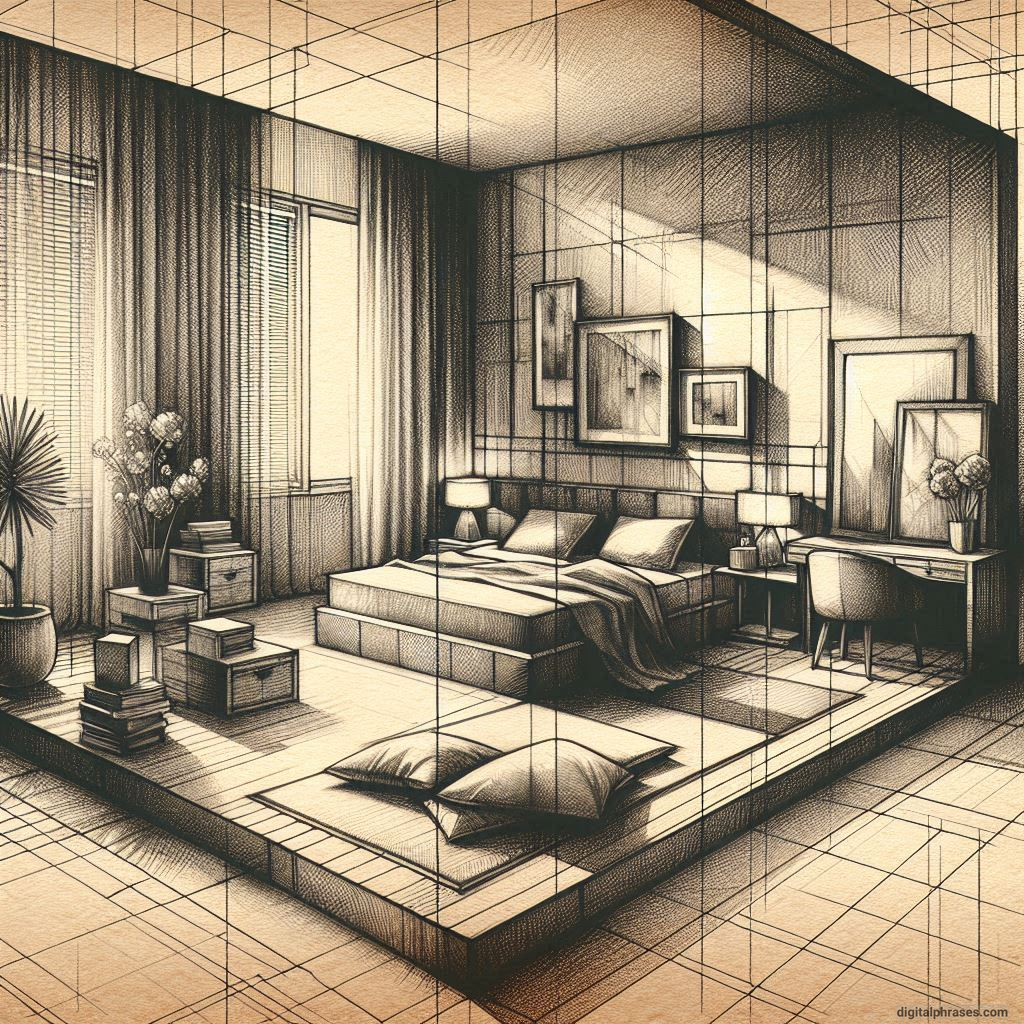
32
33
34
35
36
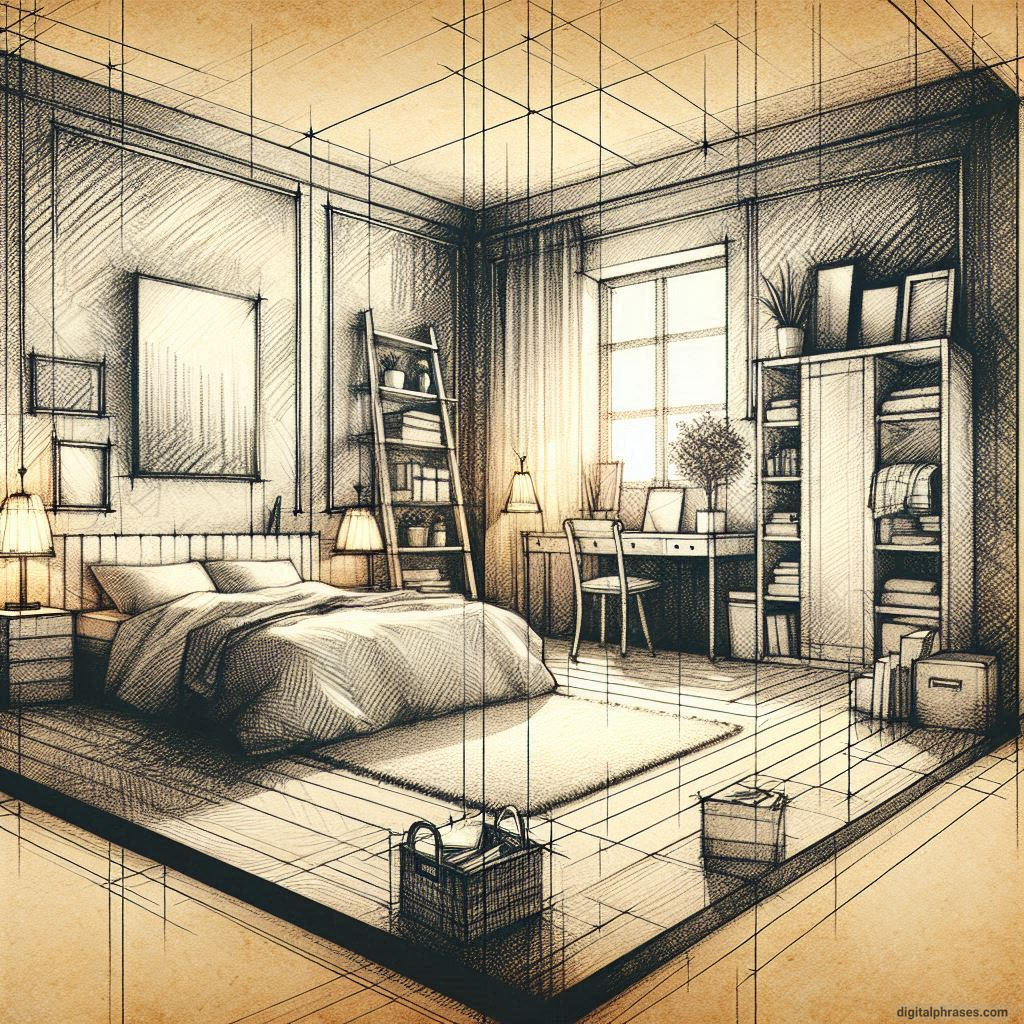
37
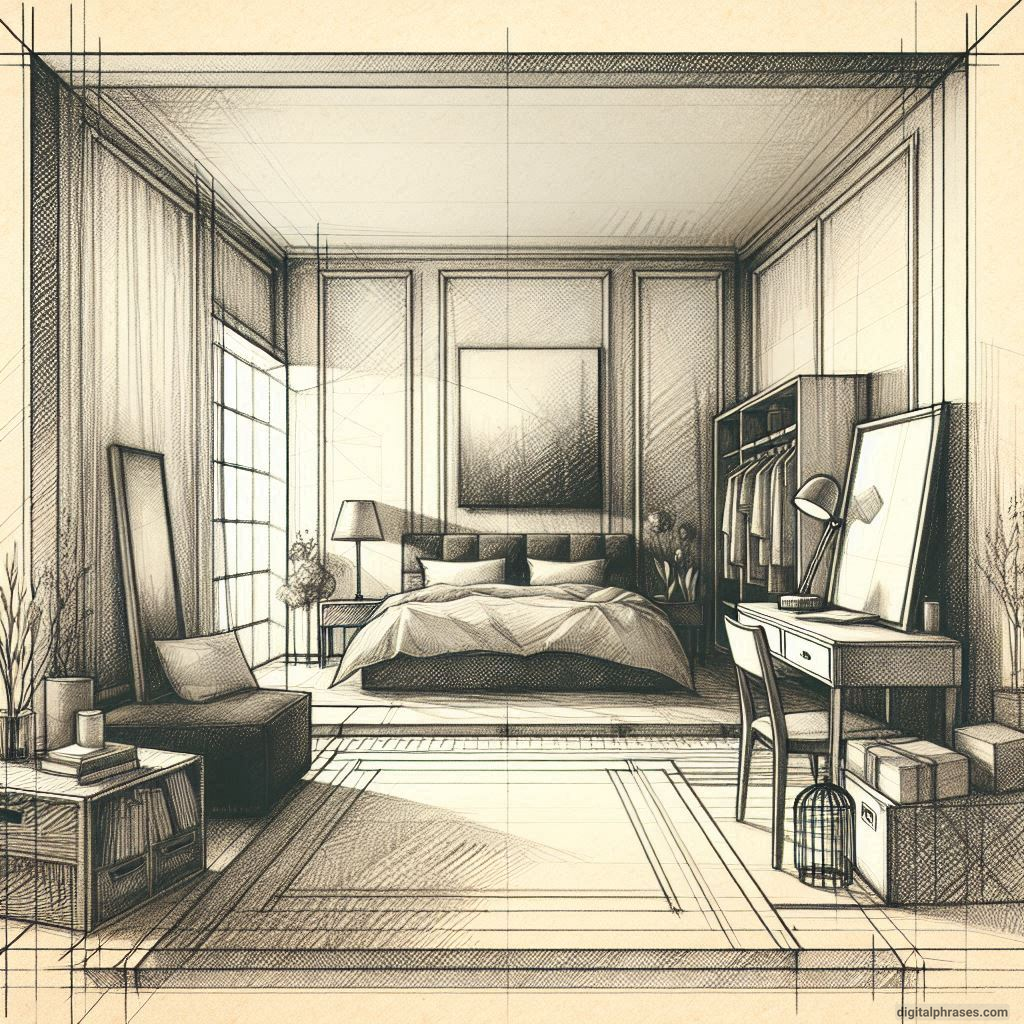
38
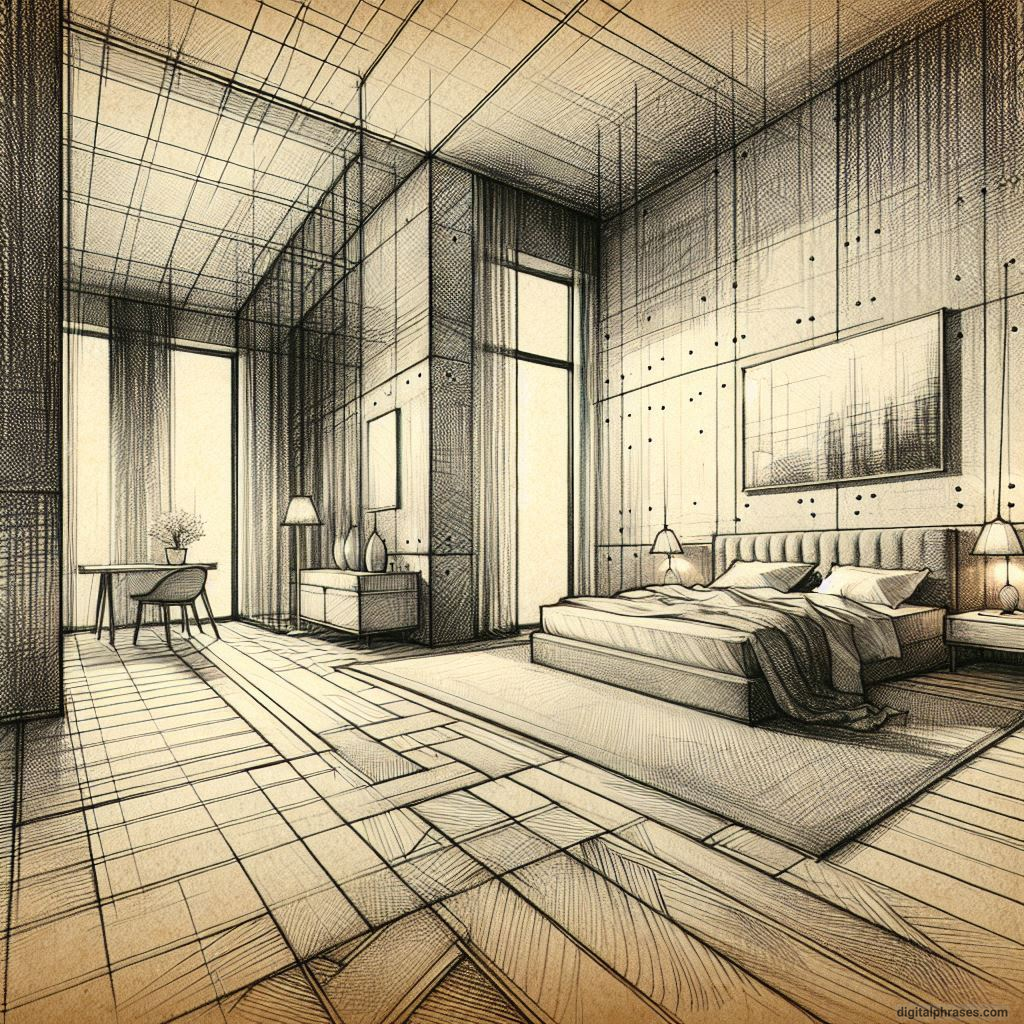
39
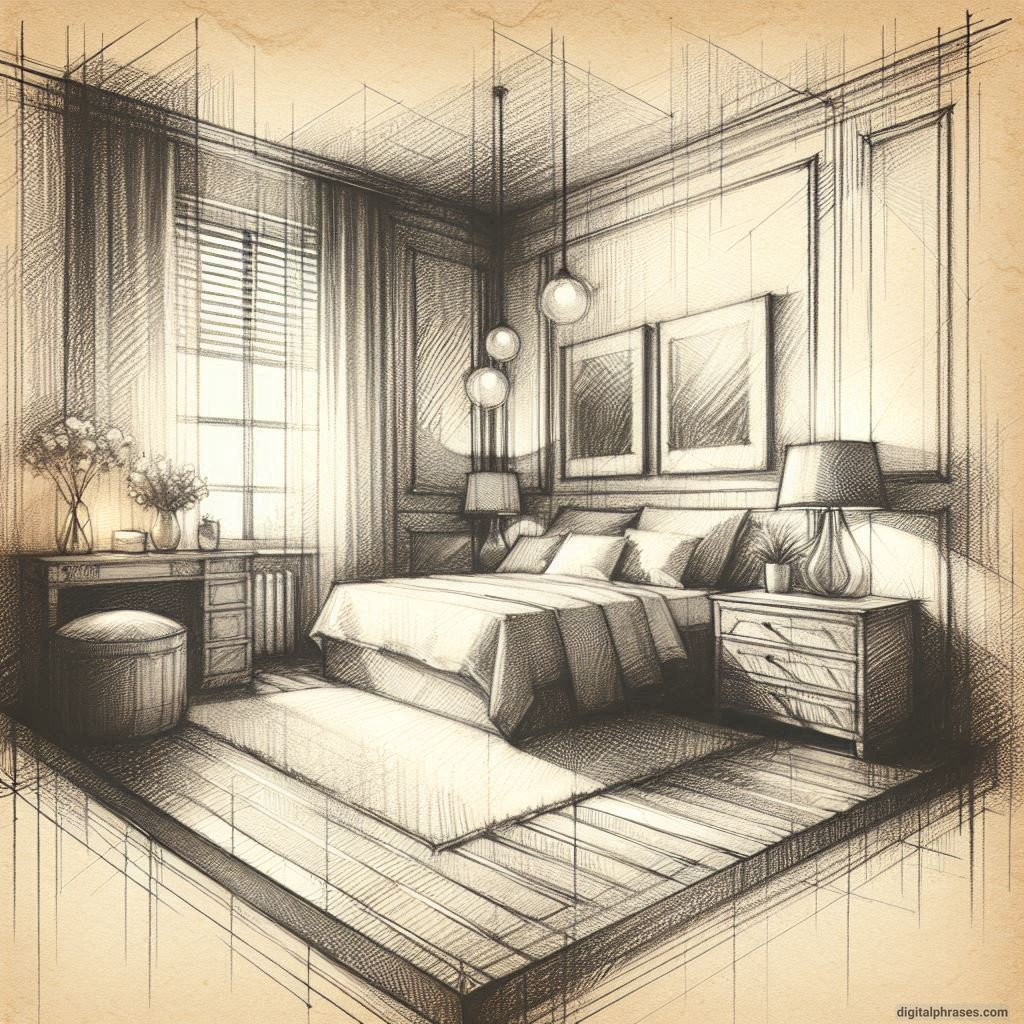
40
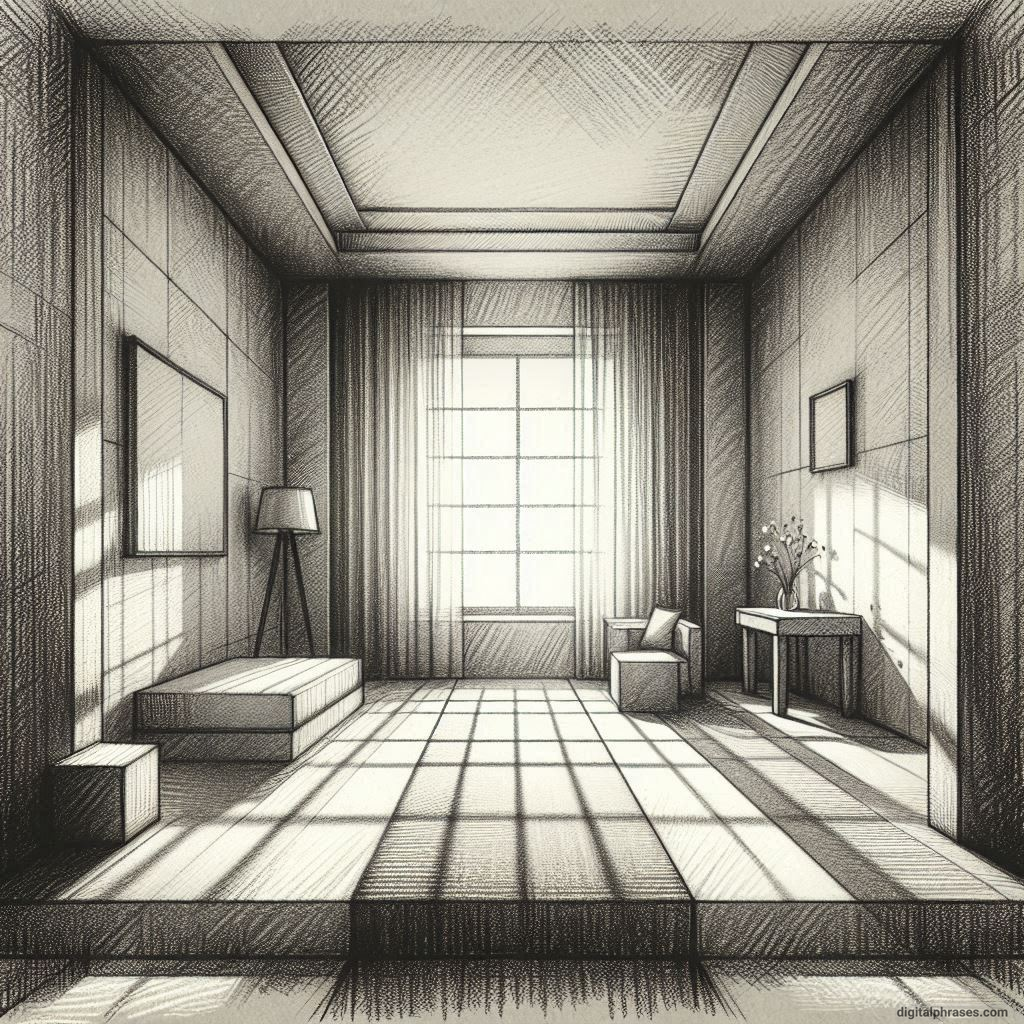
One Point Perspective Room Drawings
1
2
3
4
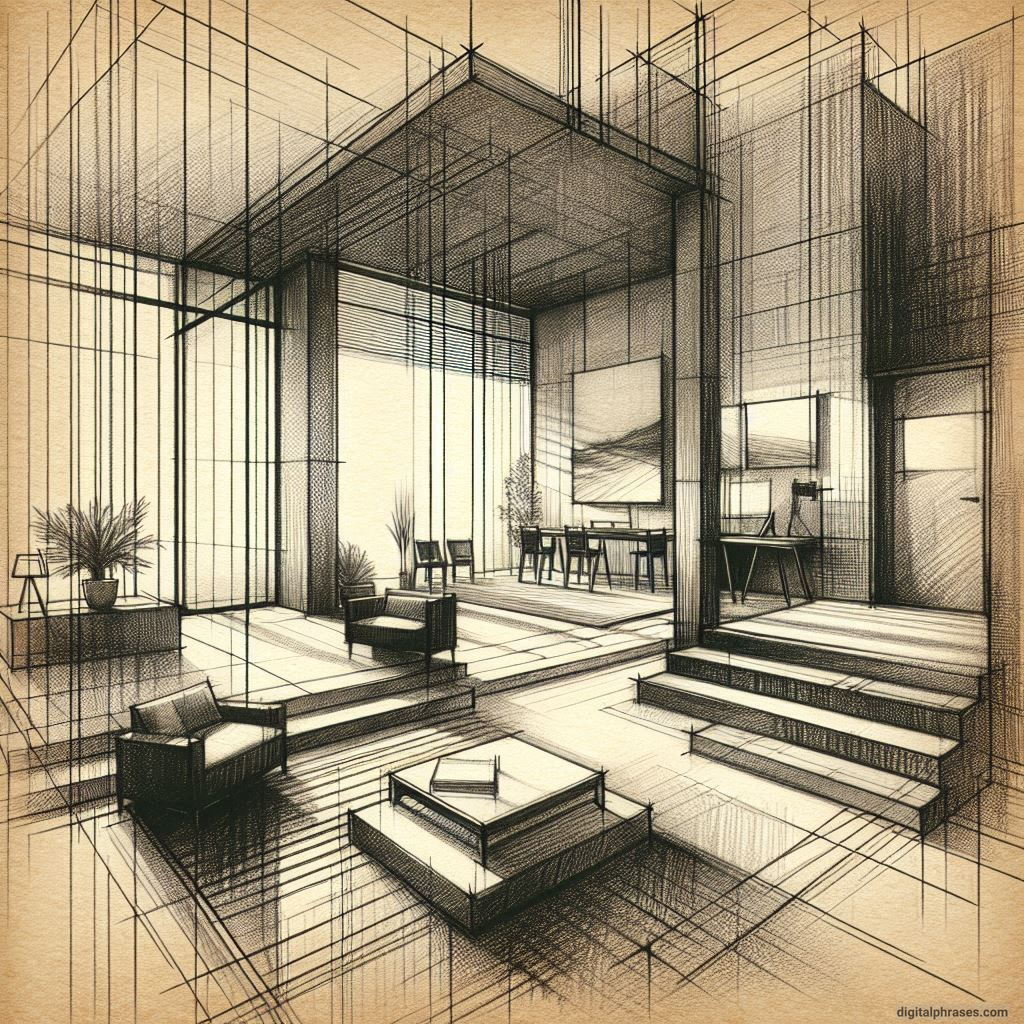
5
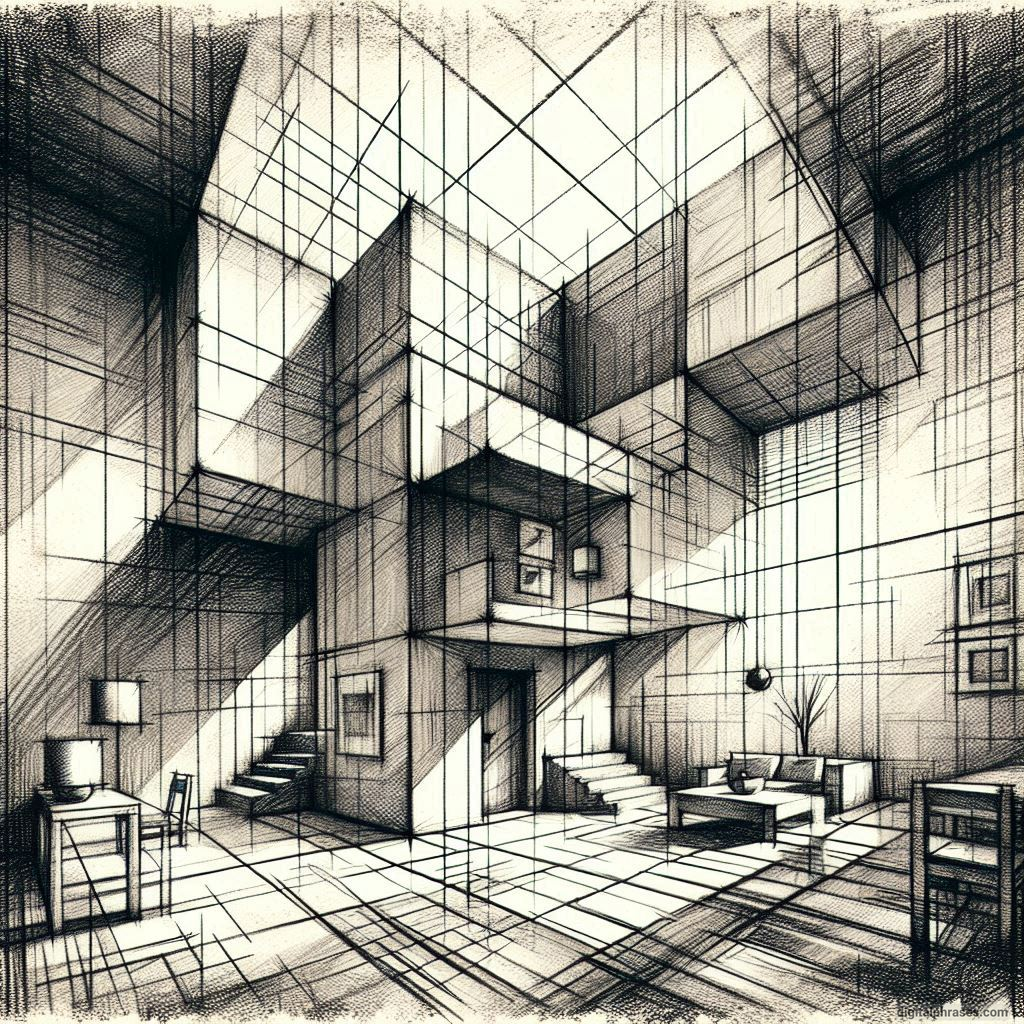
6
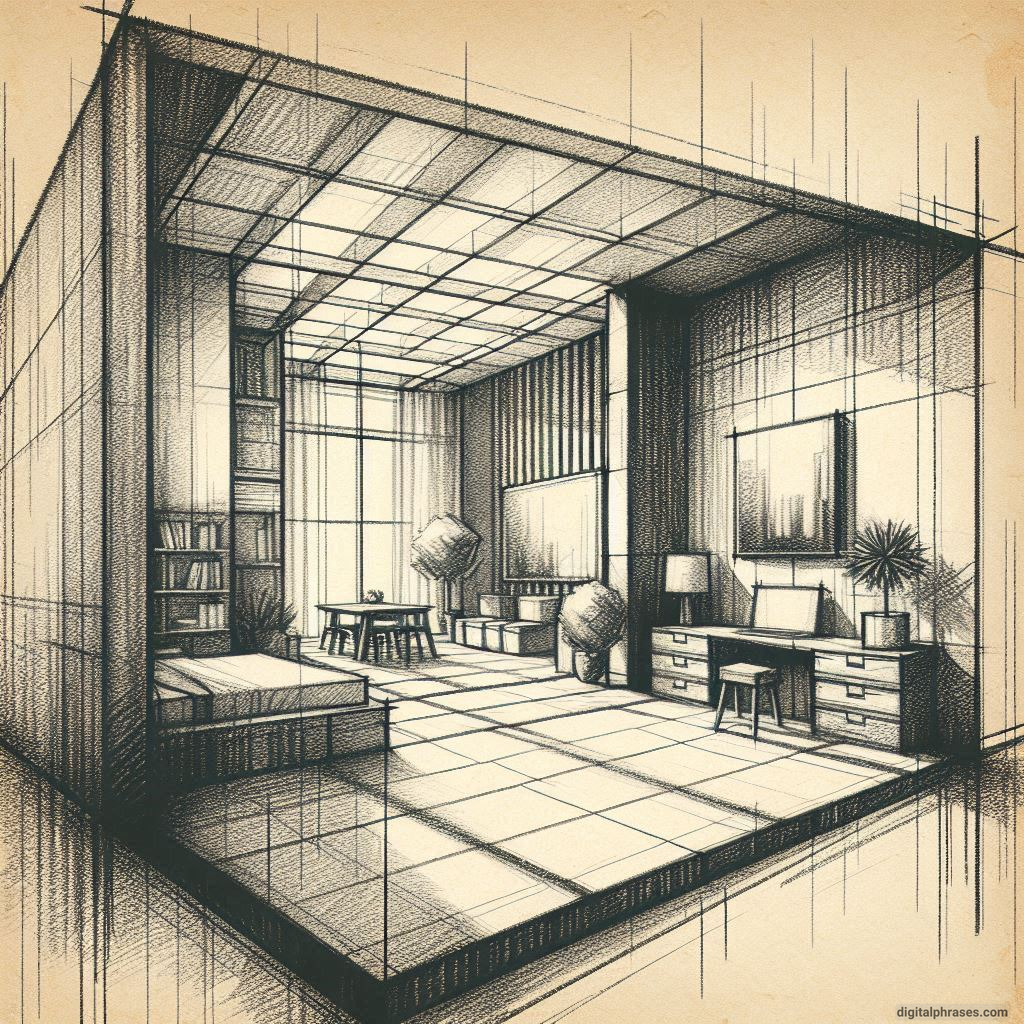
7
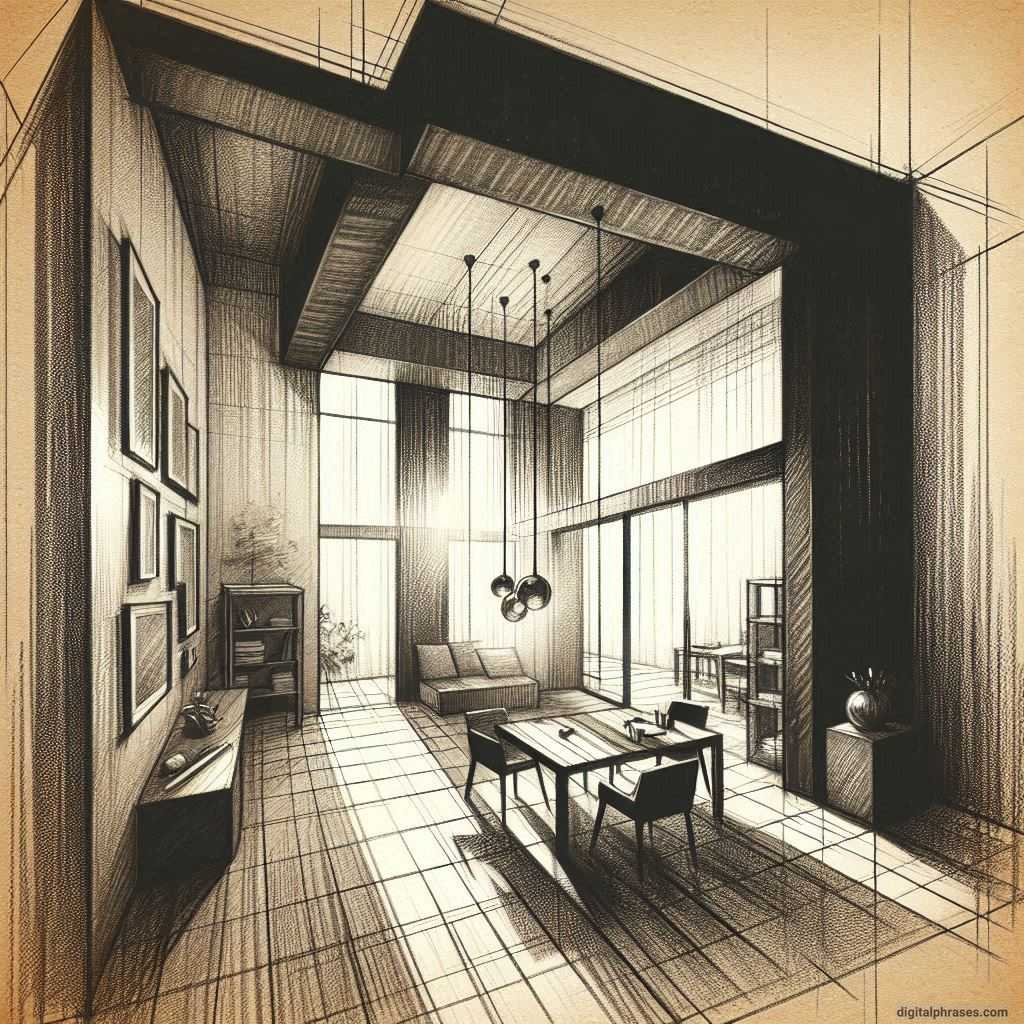
8
9
10
11
12
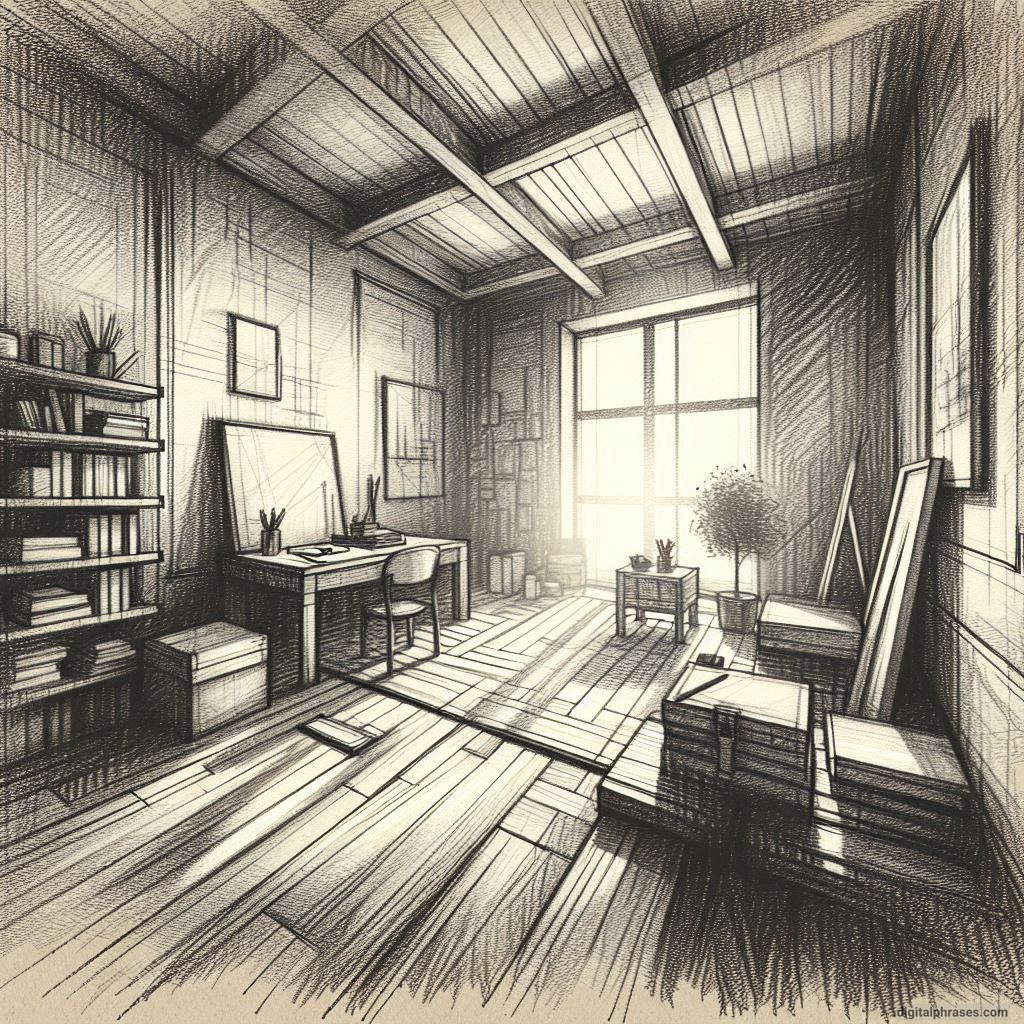
13
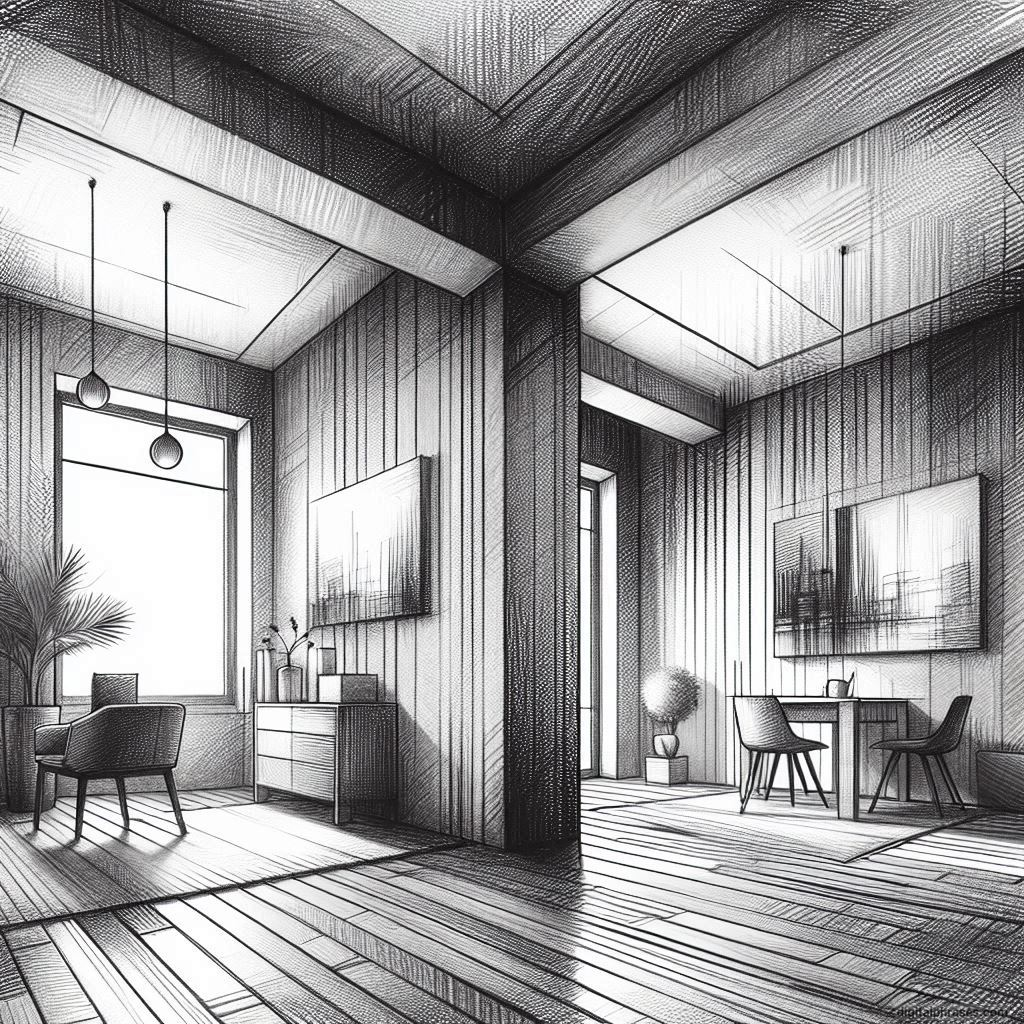
14
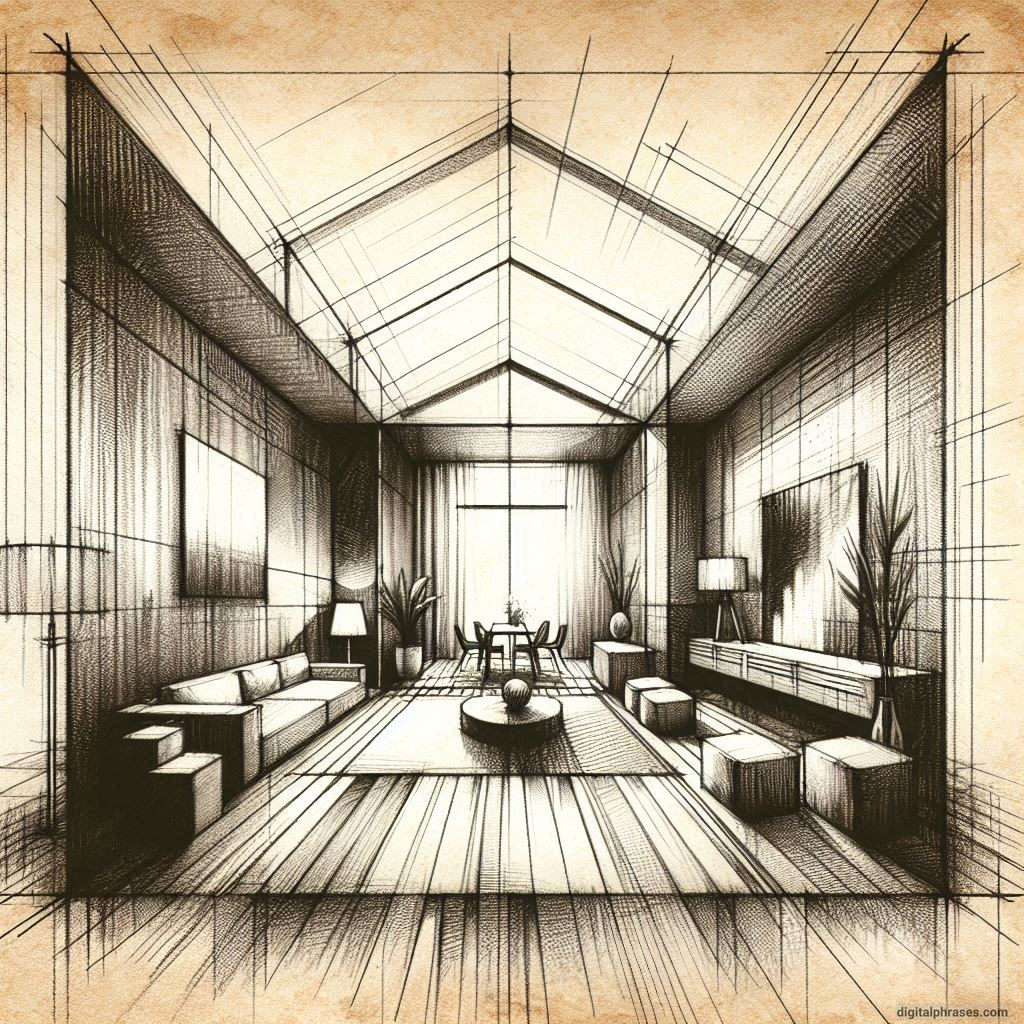
15
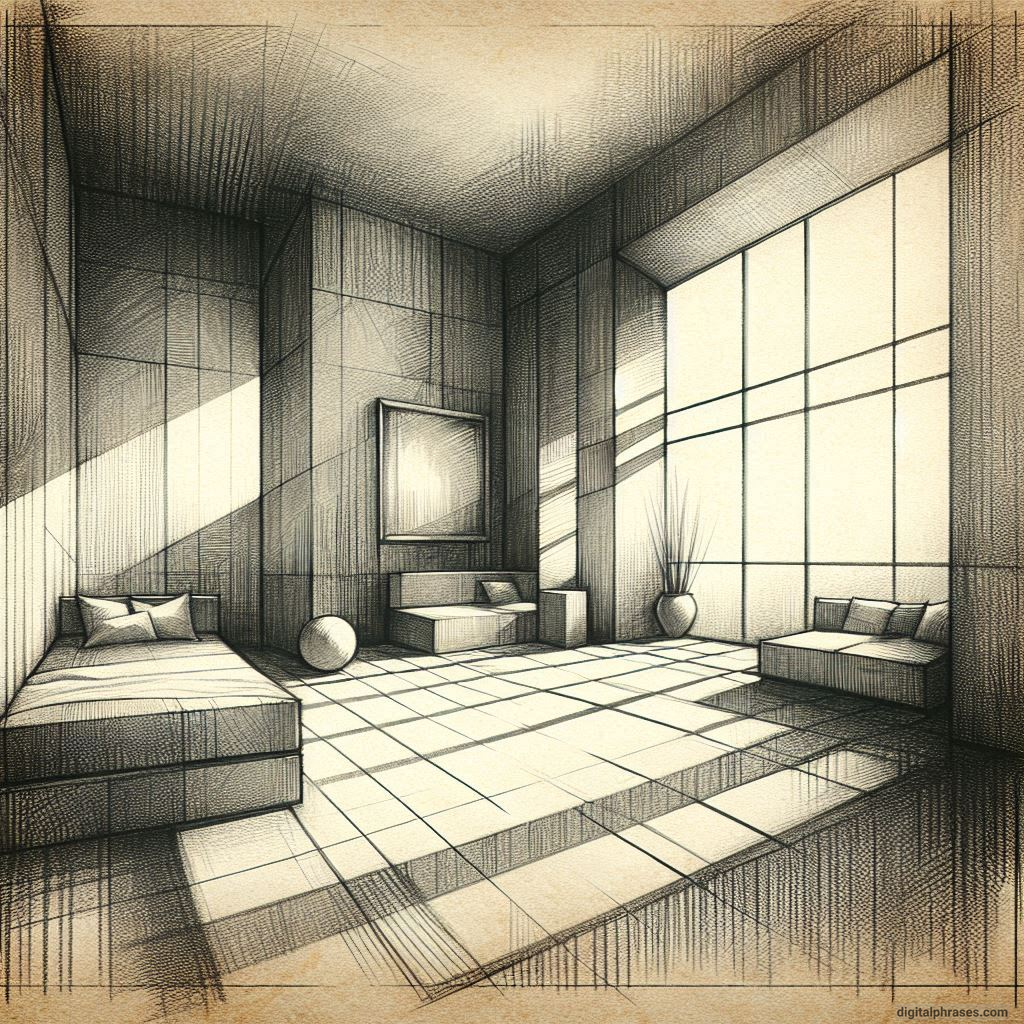
16
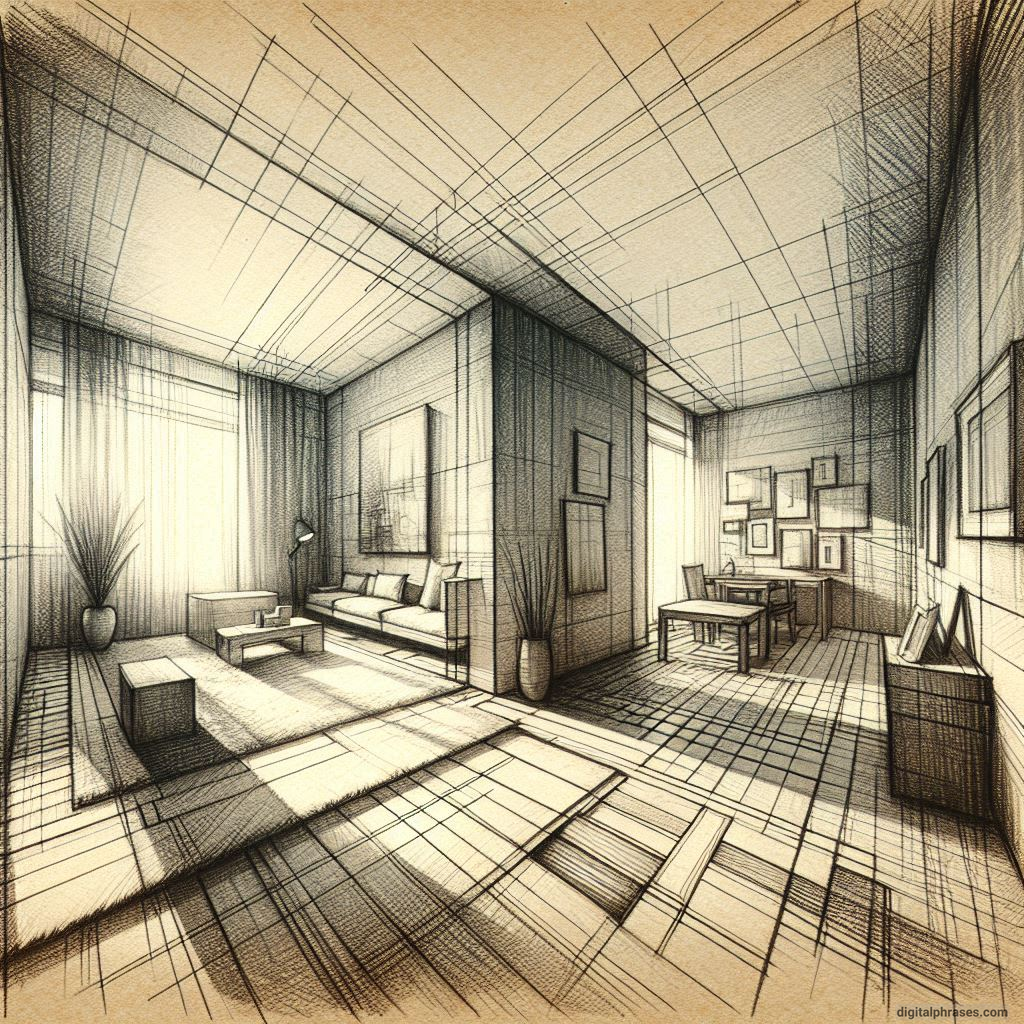
17
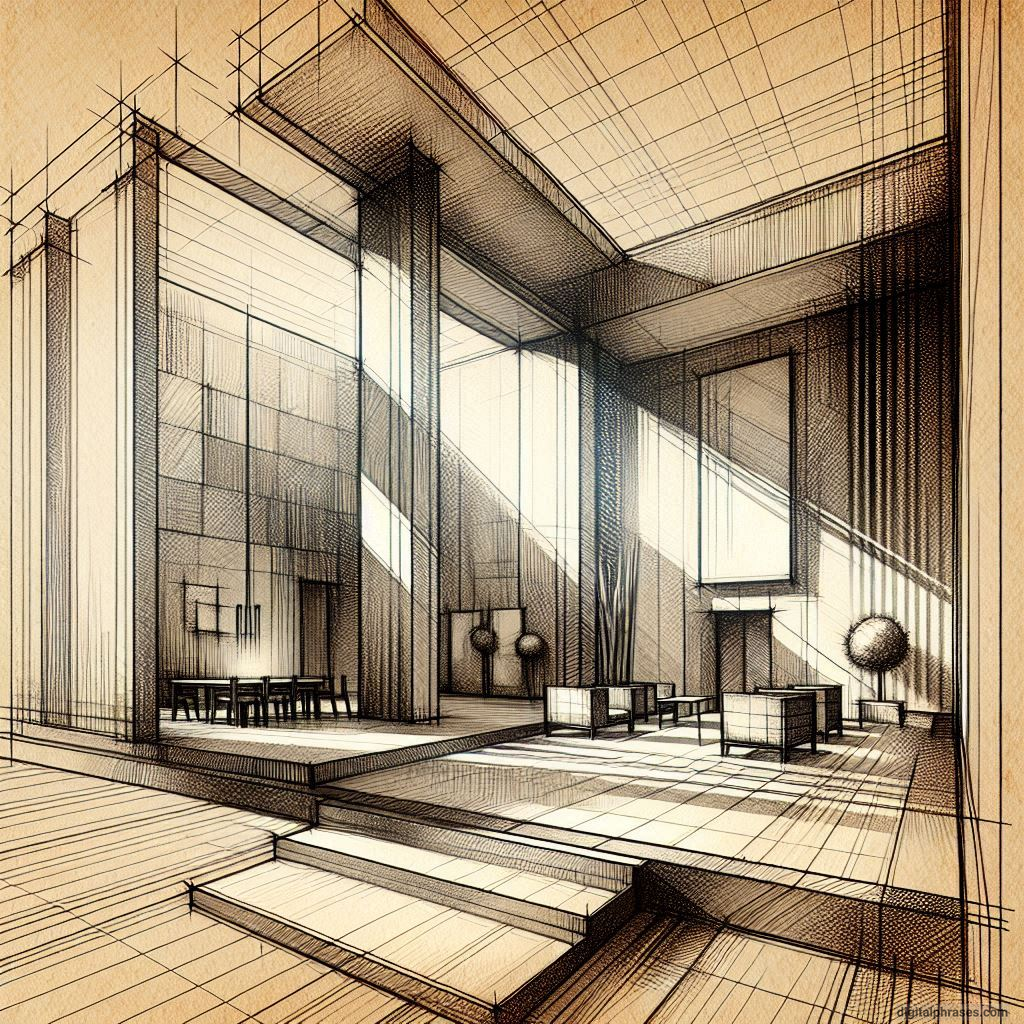
18
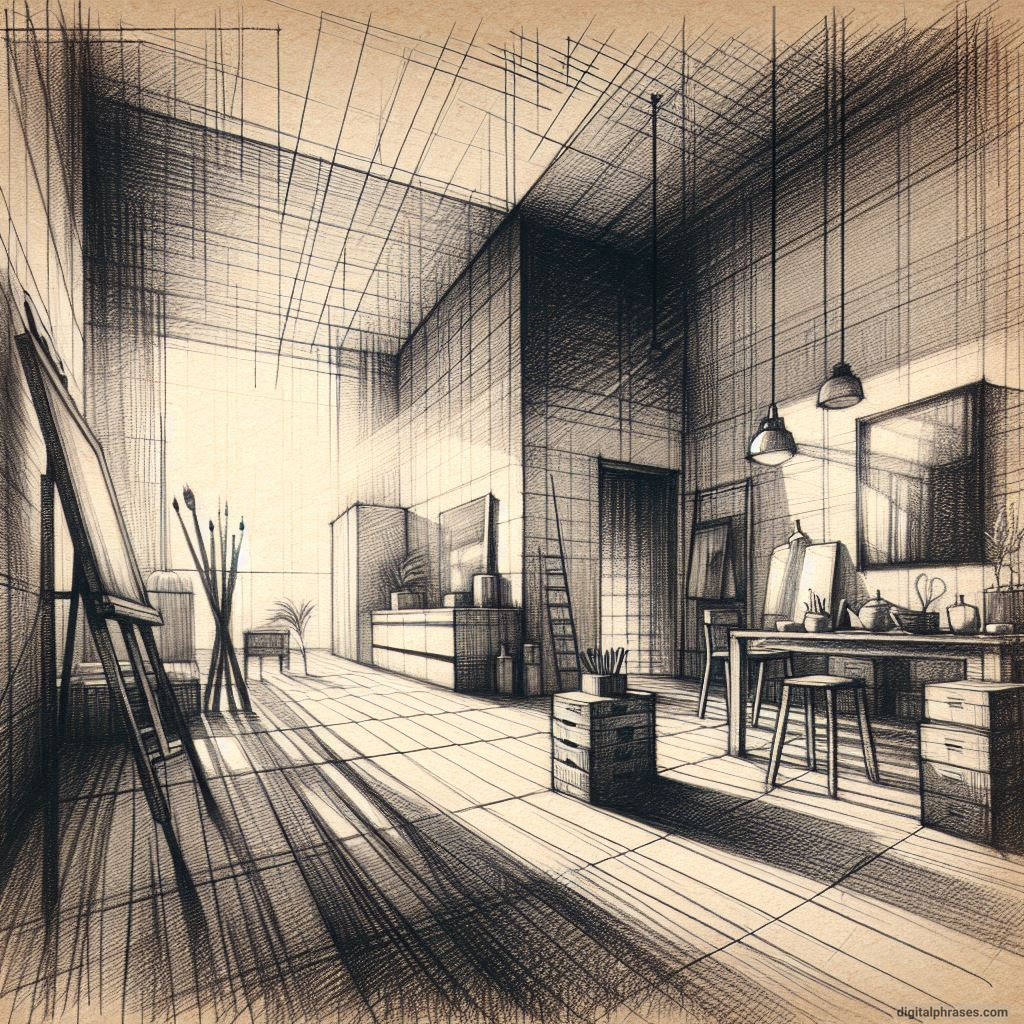
19
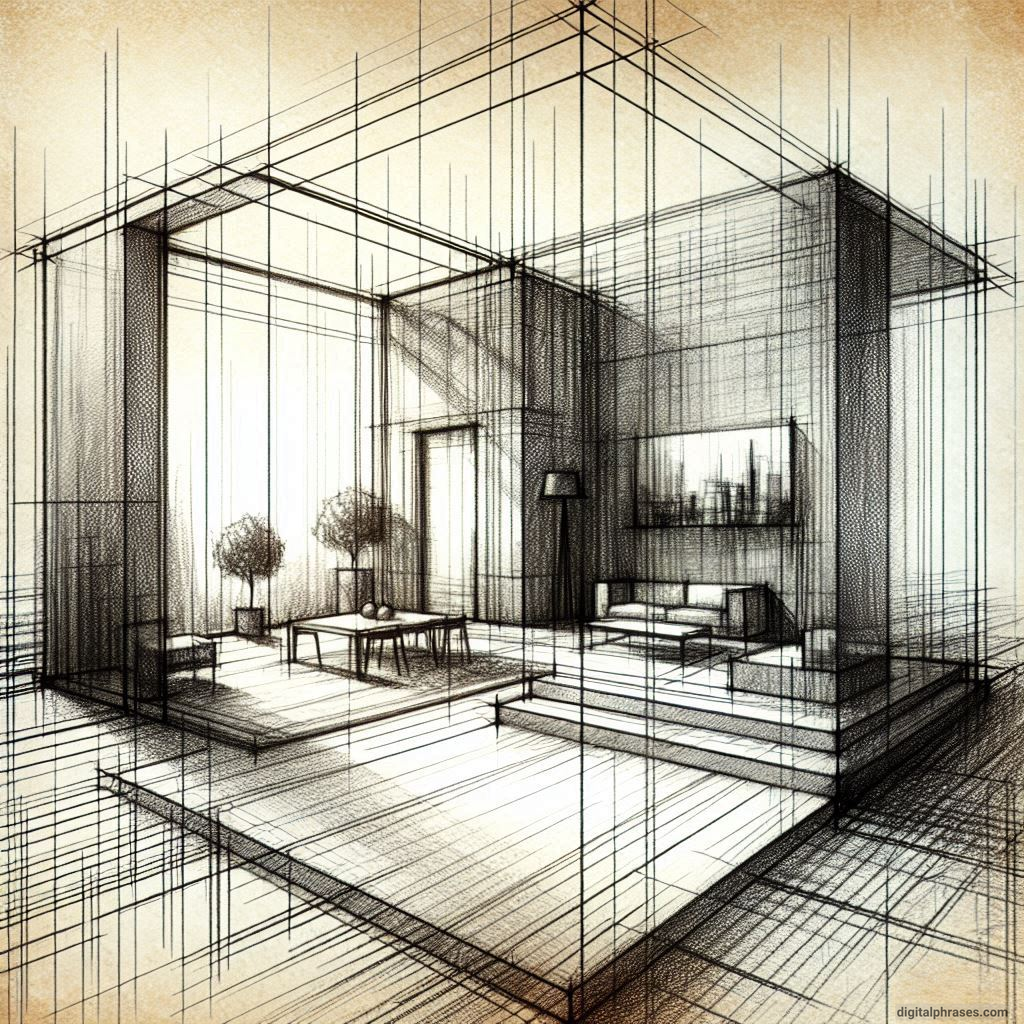
20
21
22
23
24
25
26
27
28
29
30
31
32
33
34
35
36
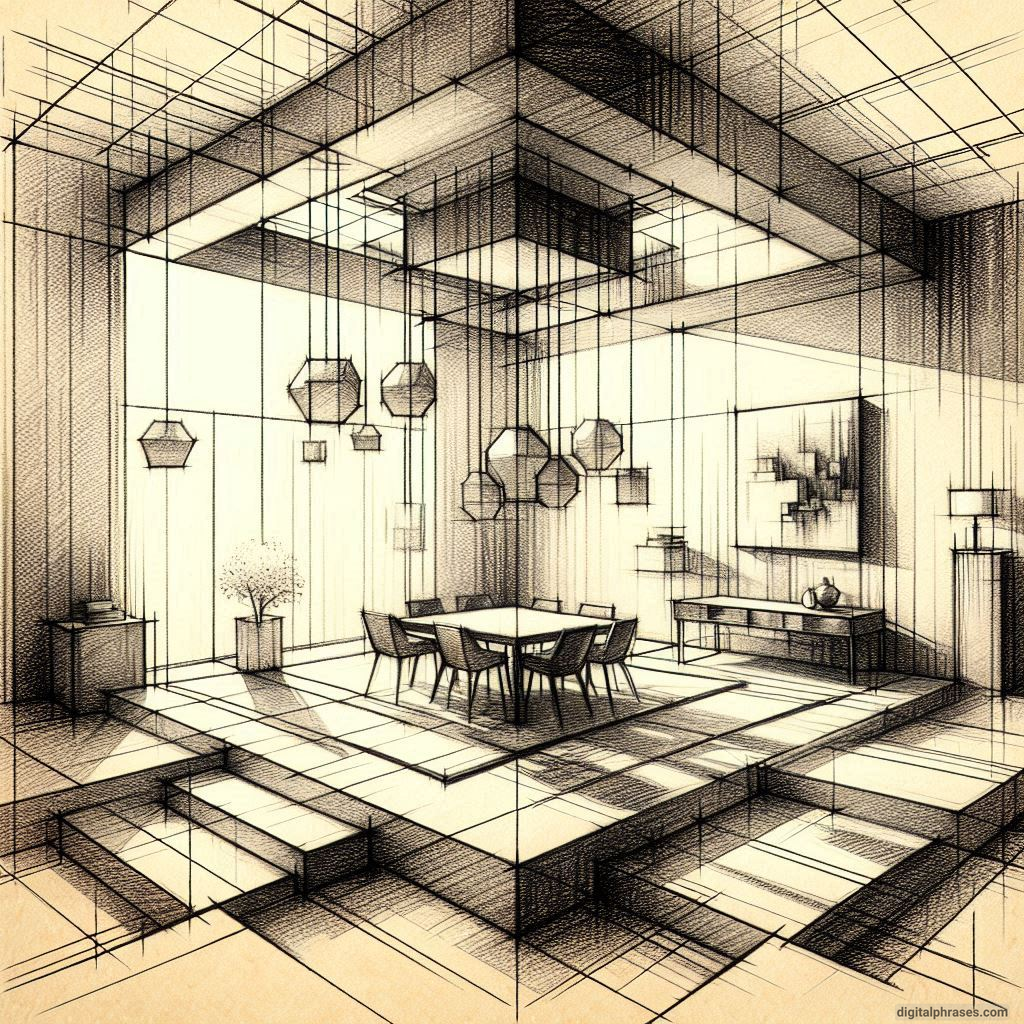
37
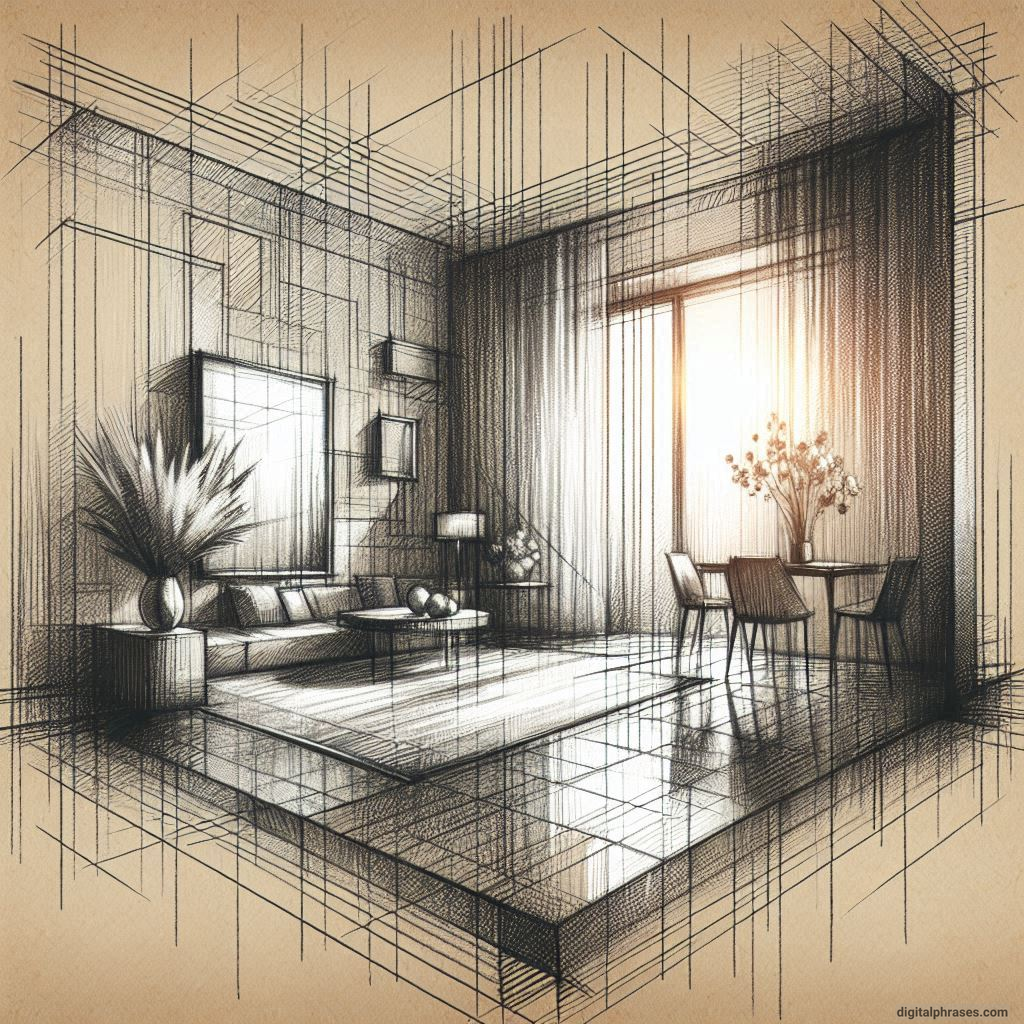
38
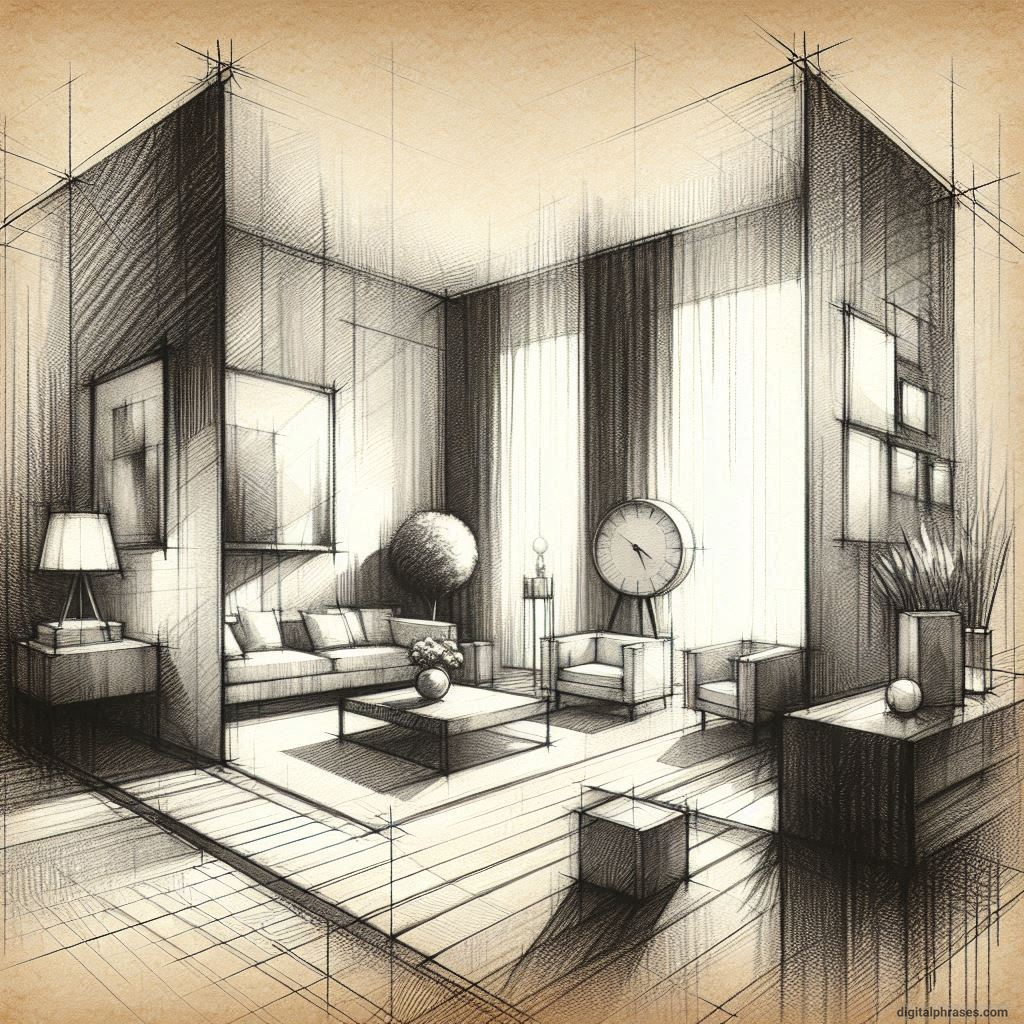
39
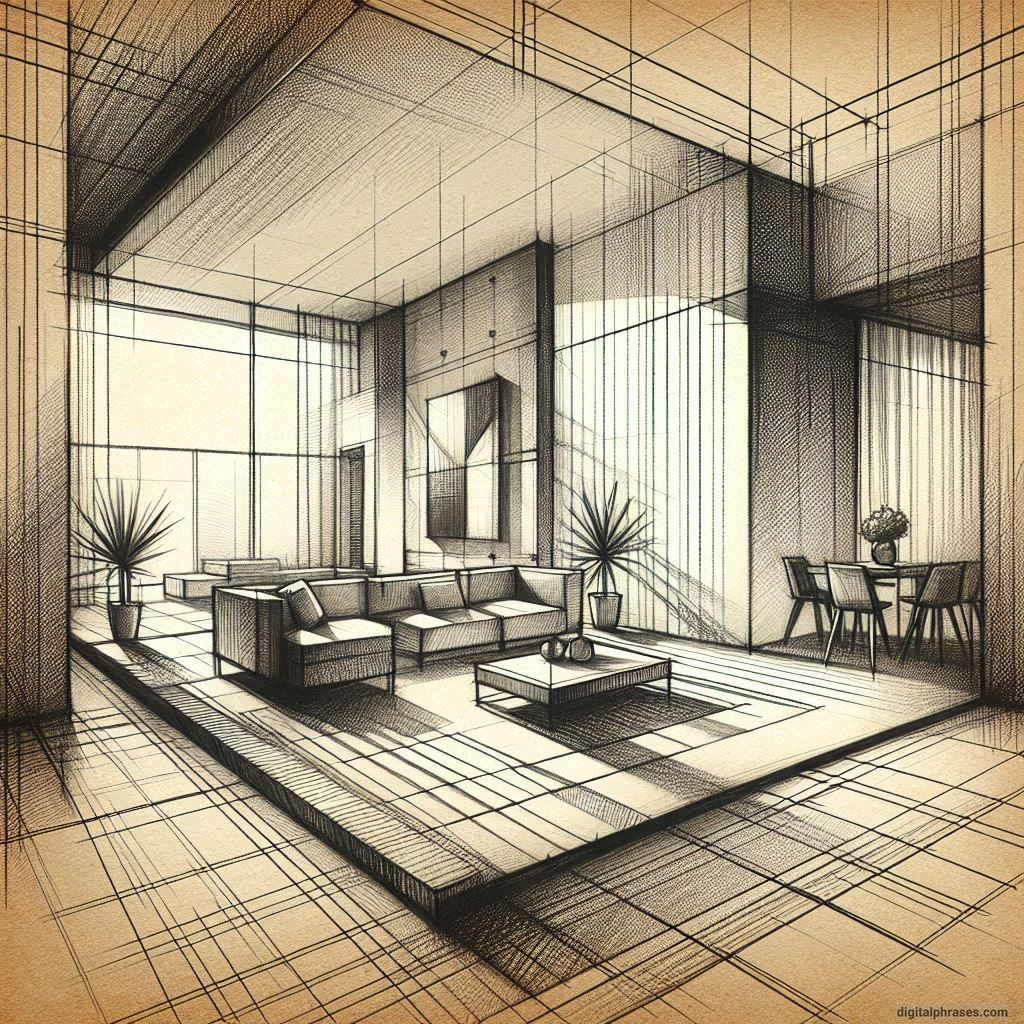
40
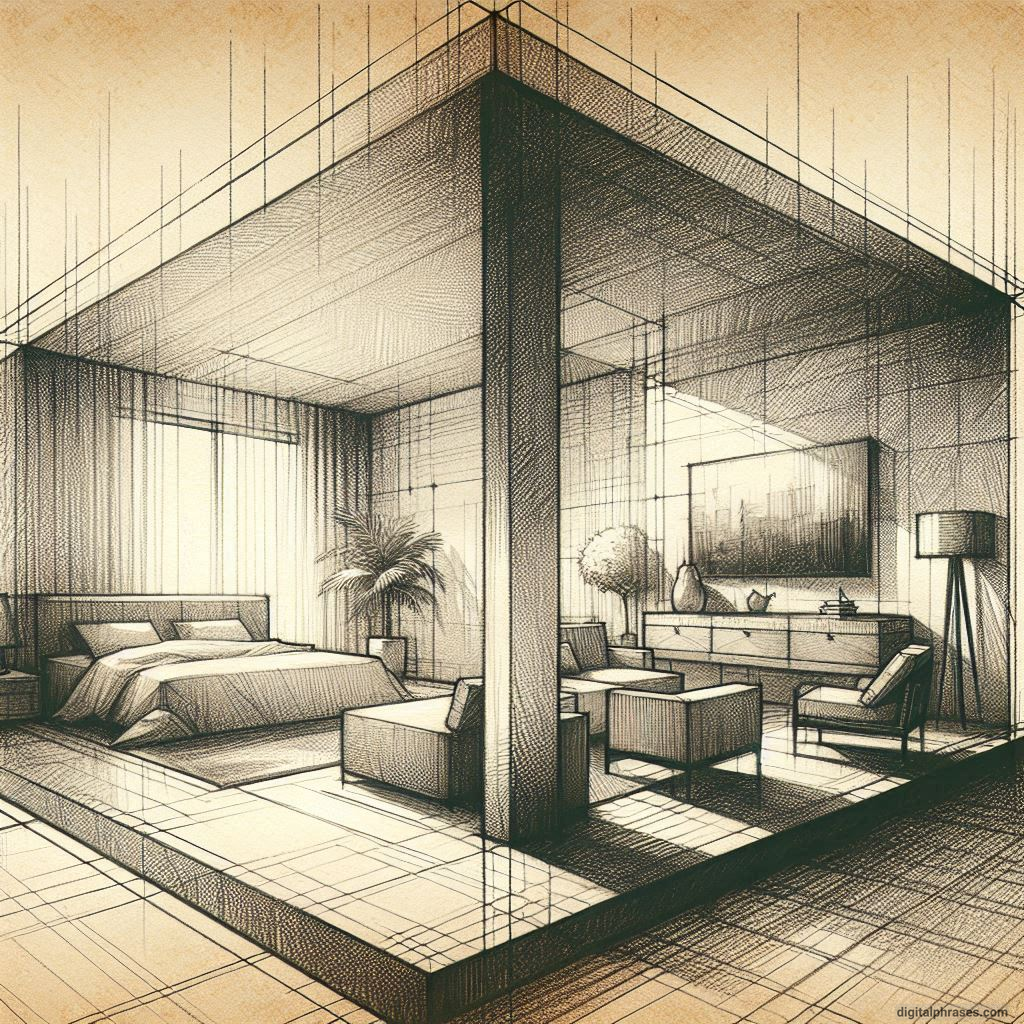
What is One Point Perspective Drawing?
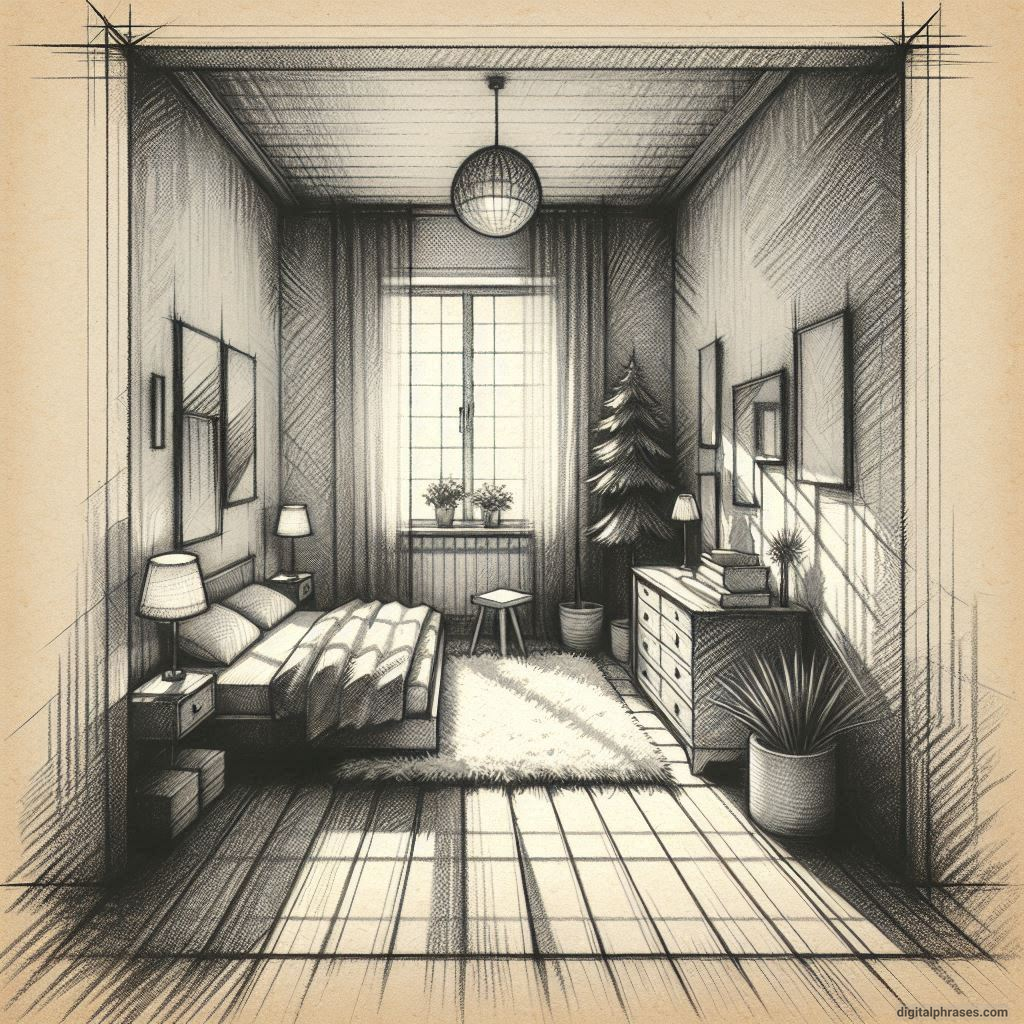
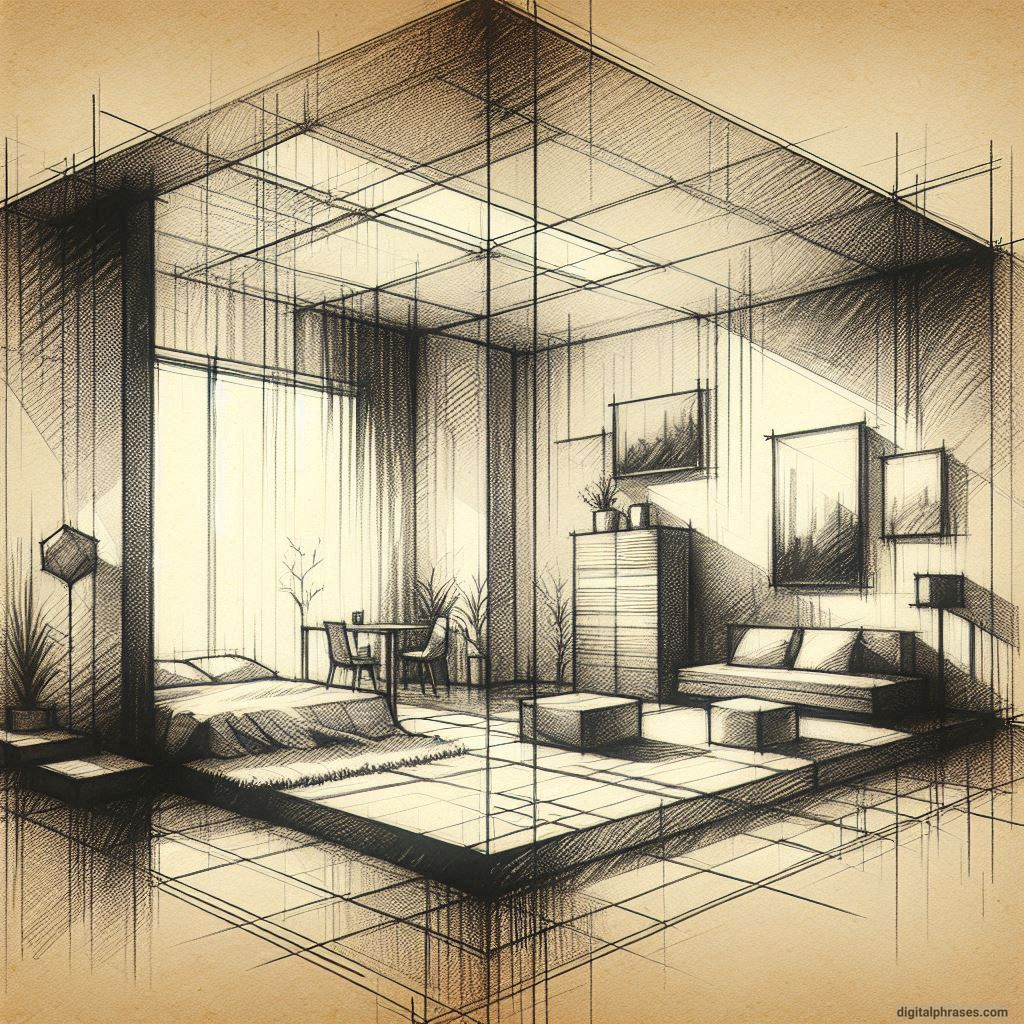
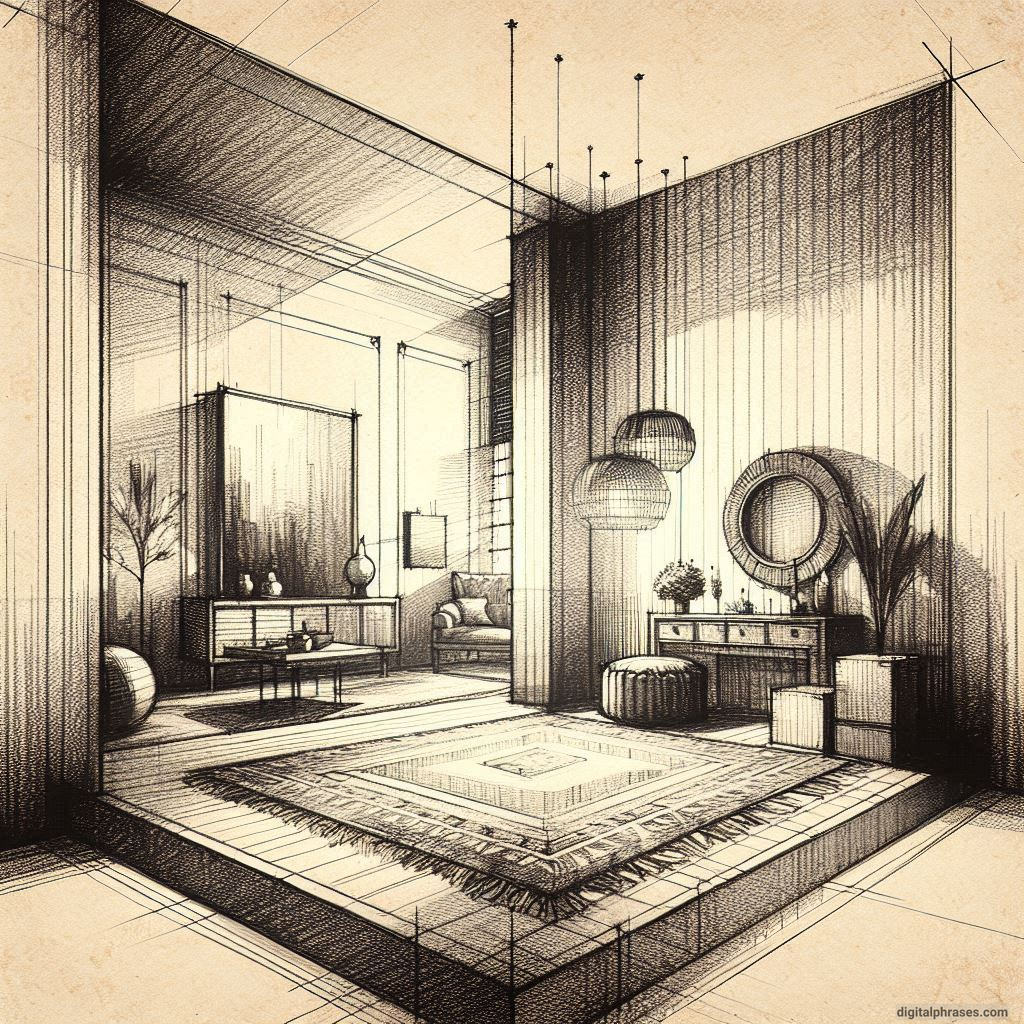
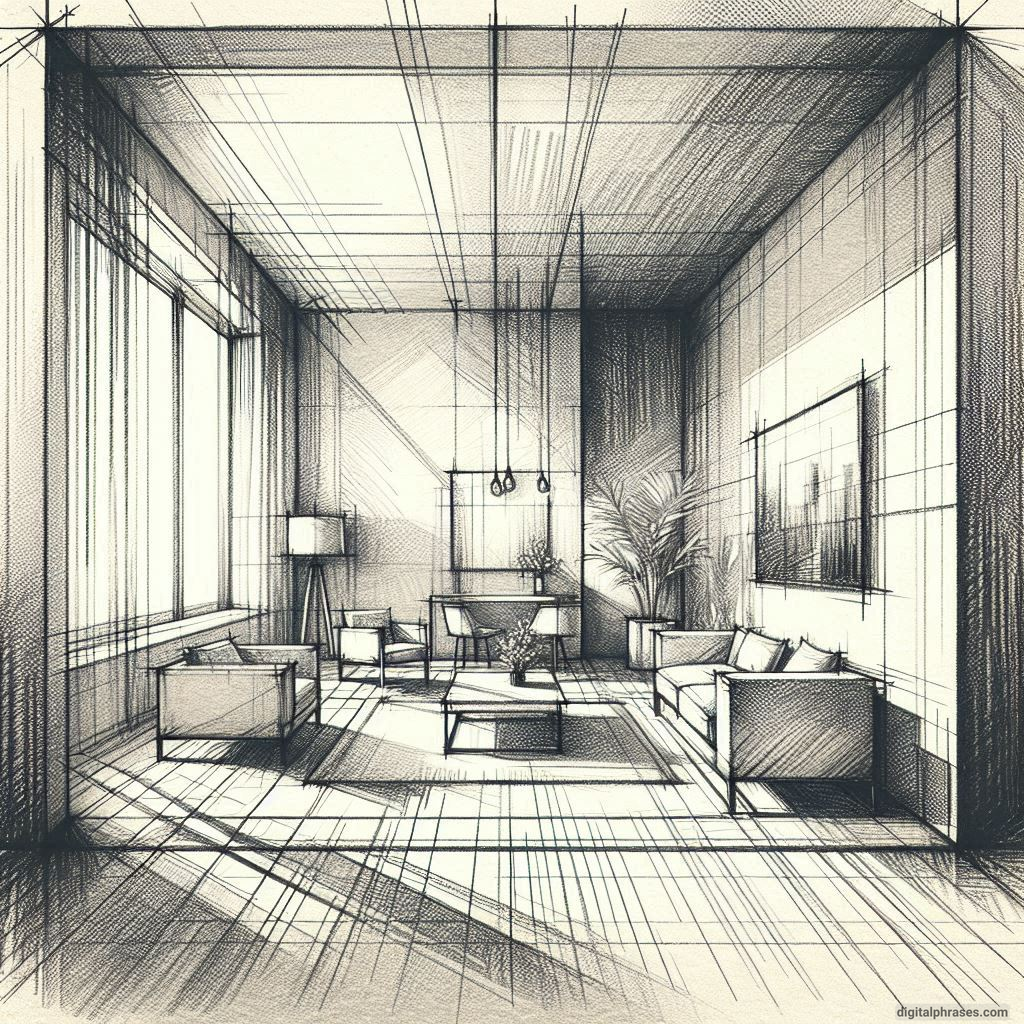
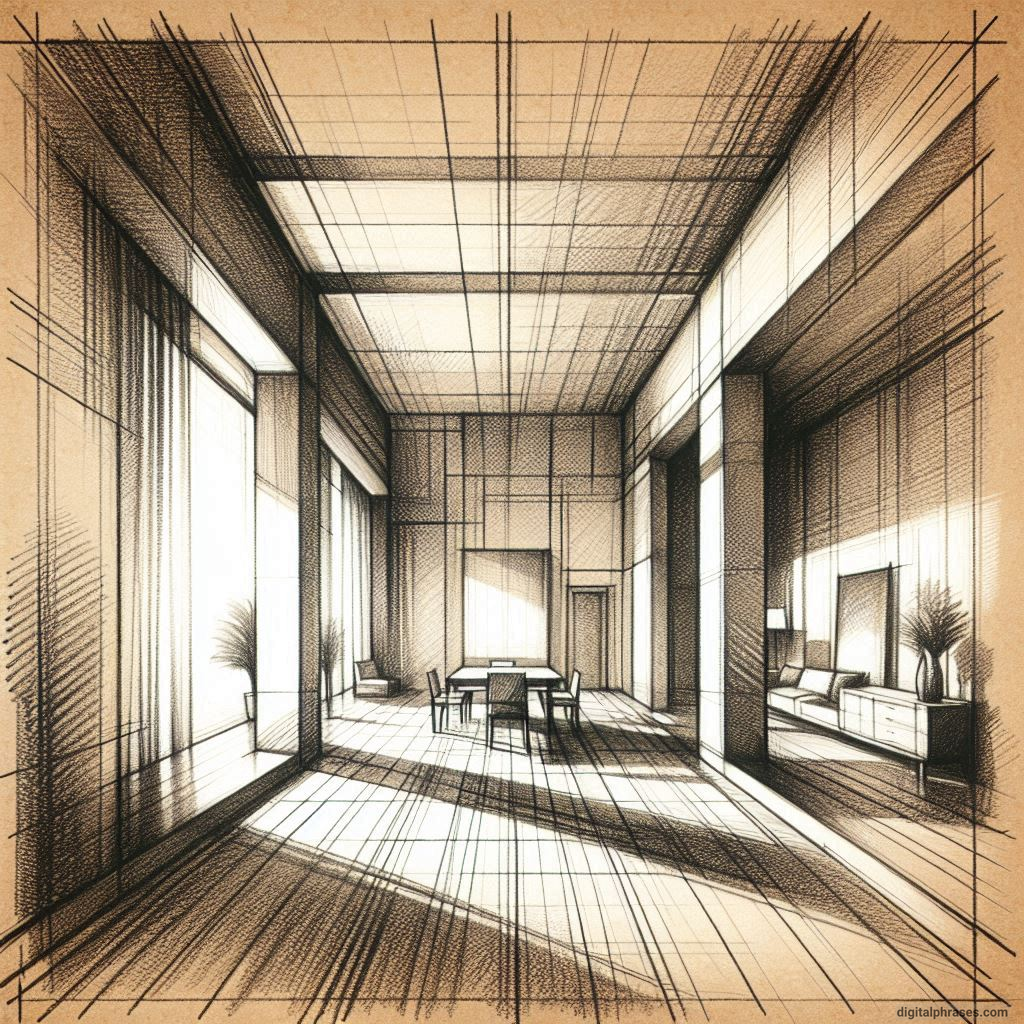
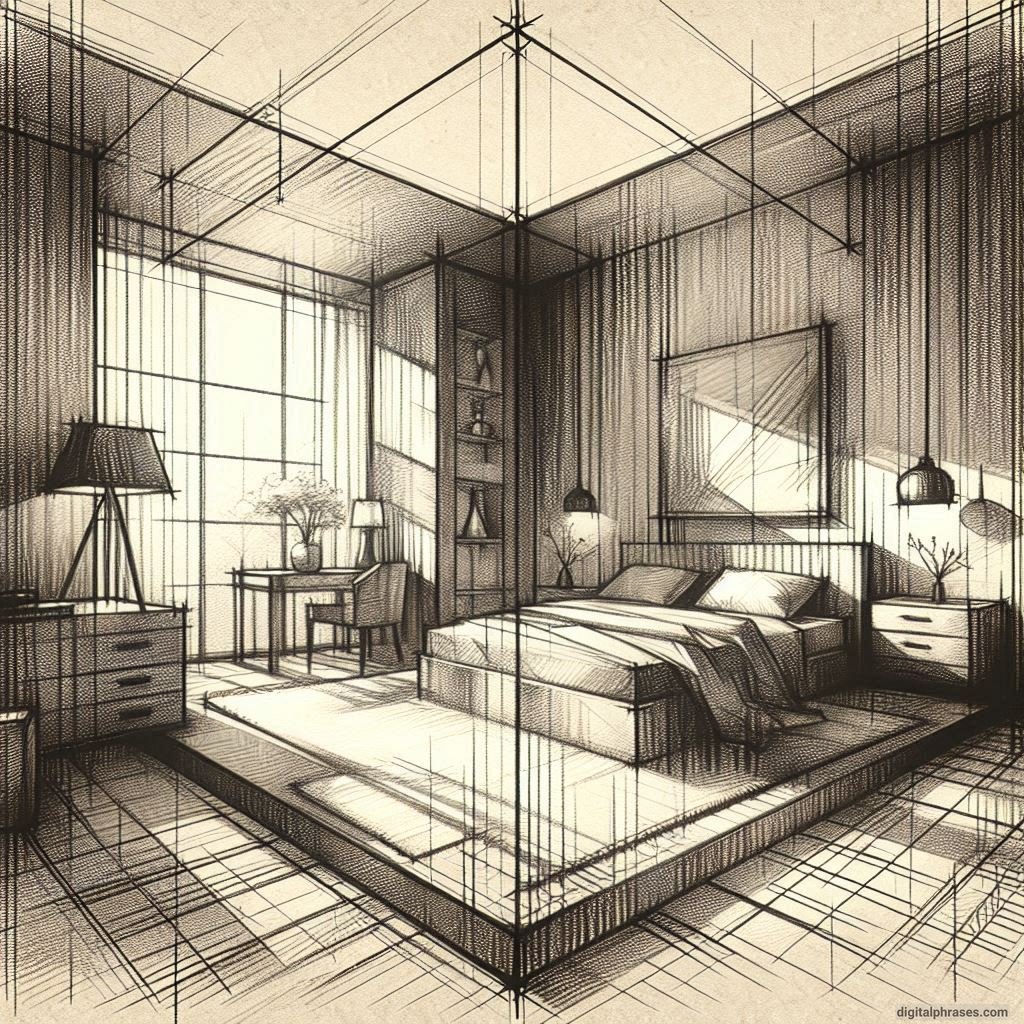
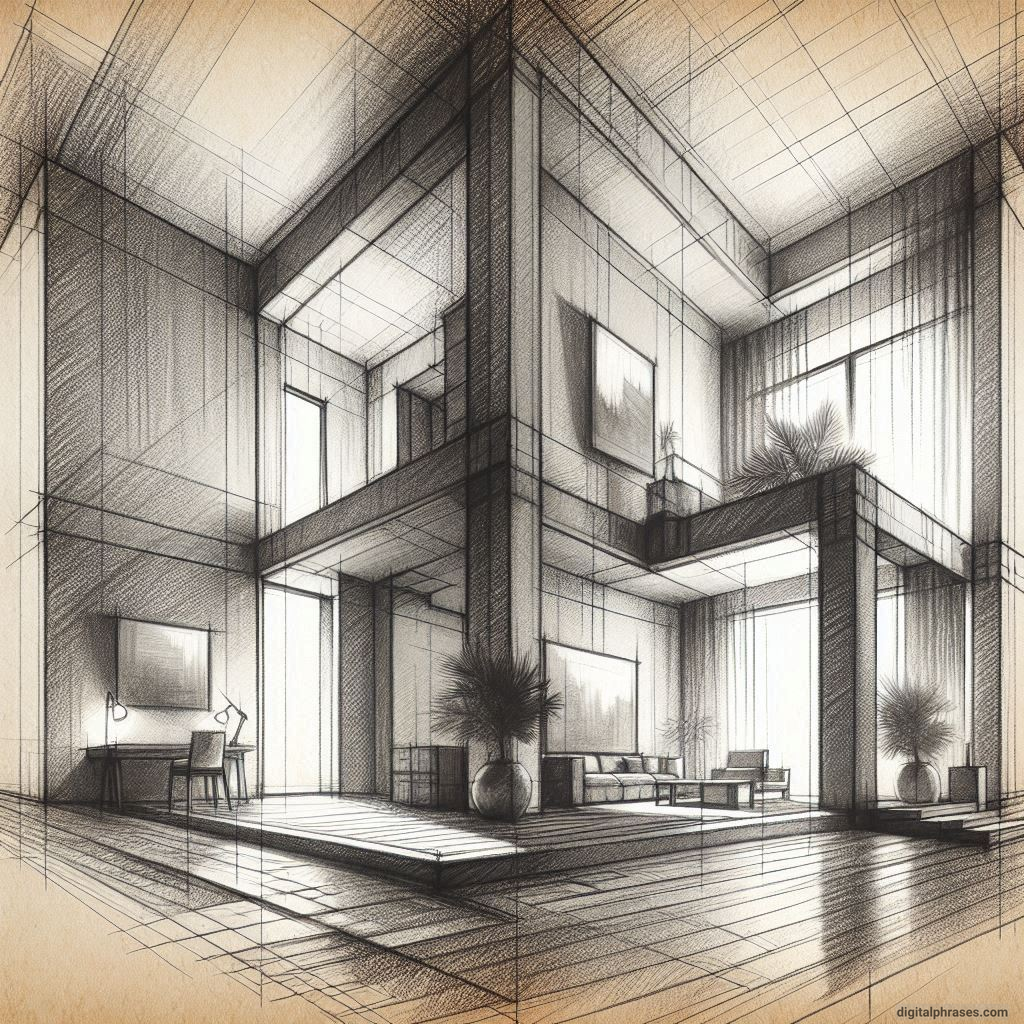
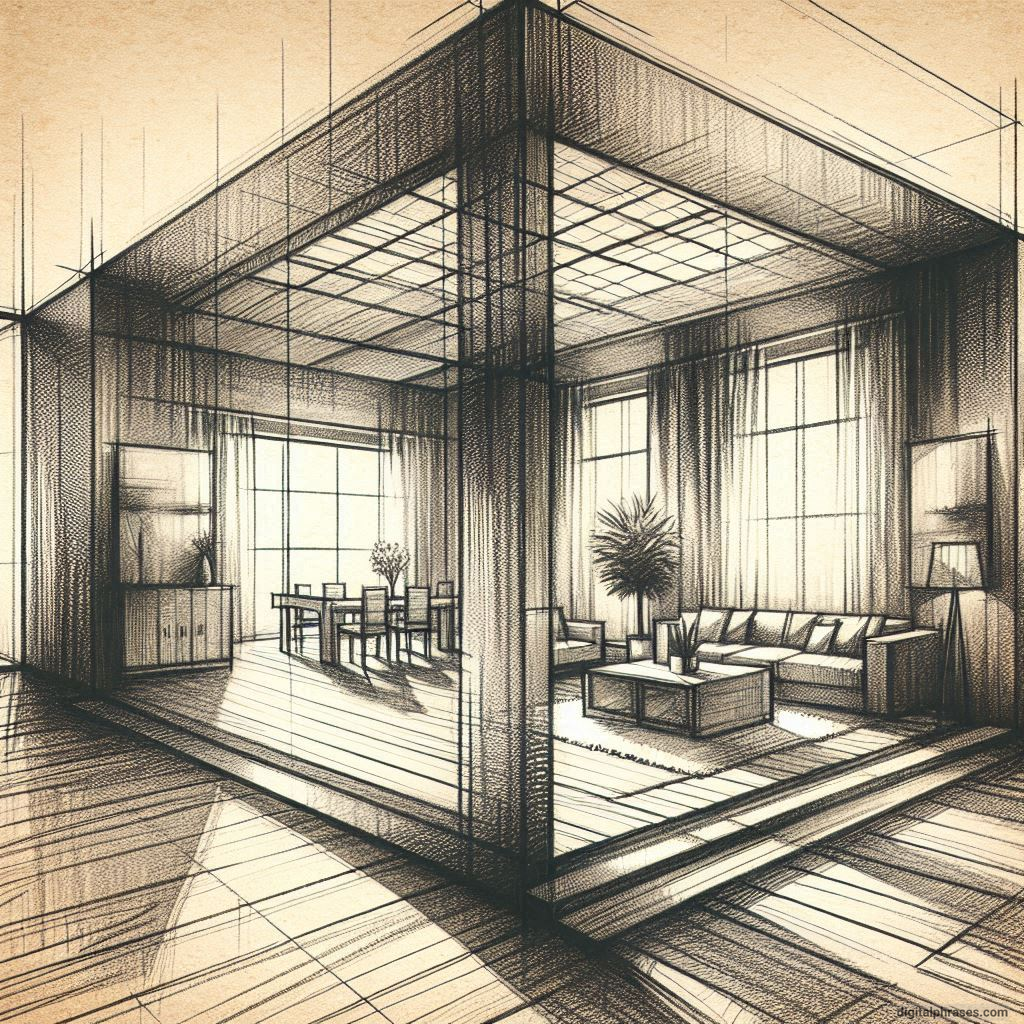
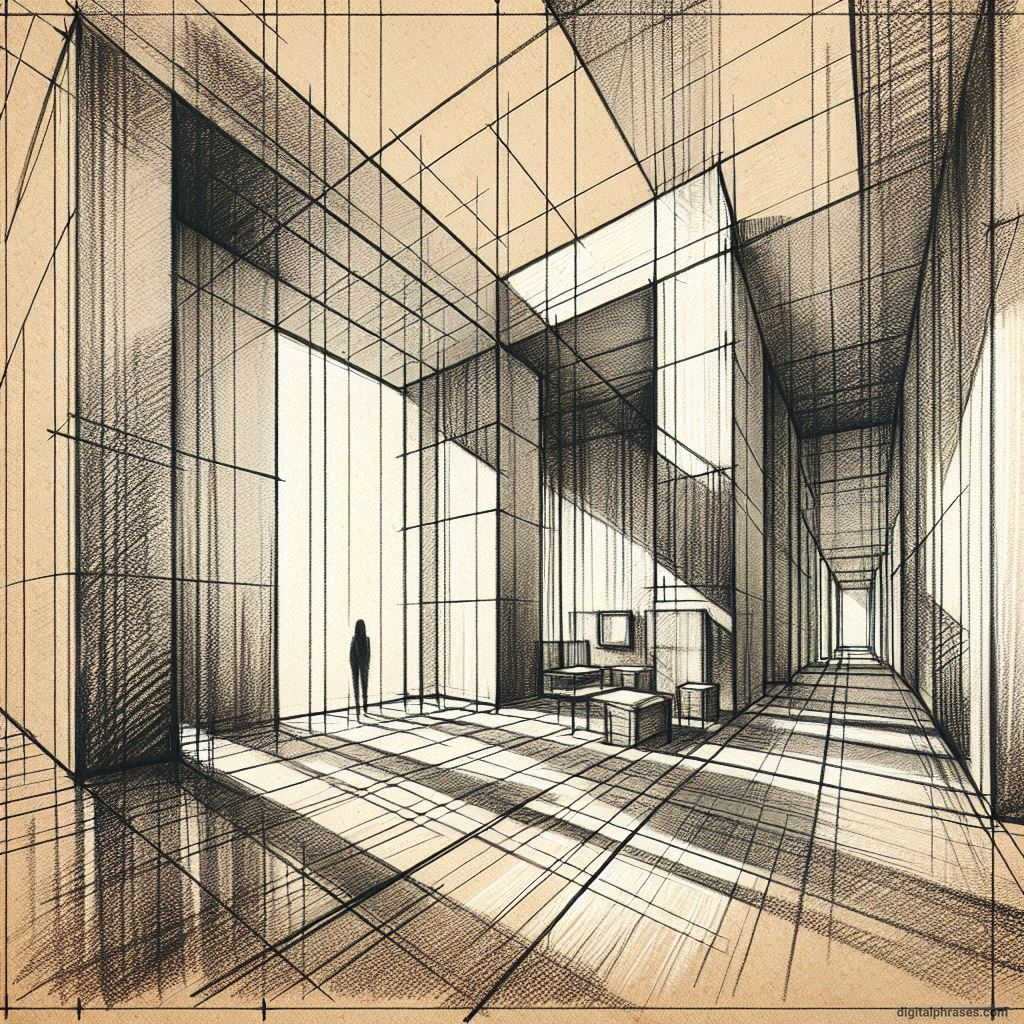
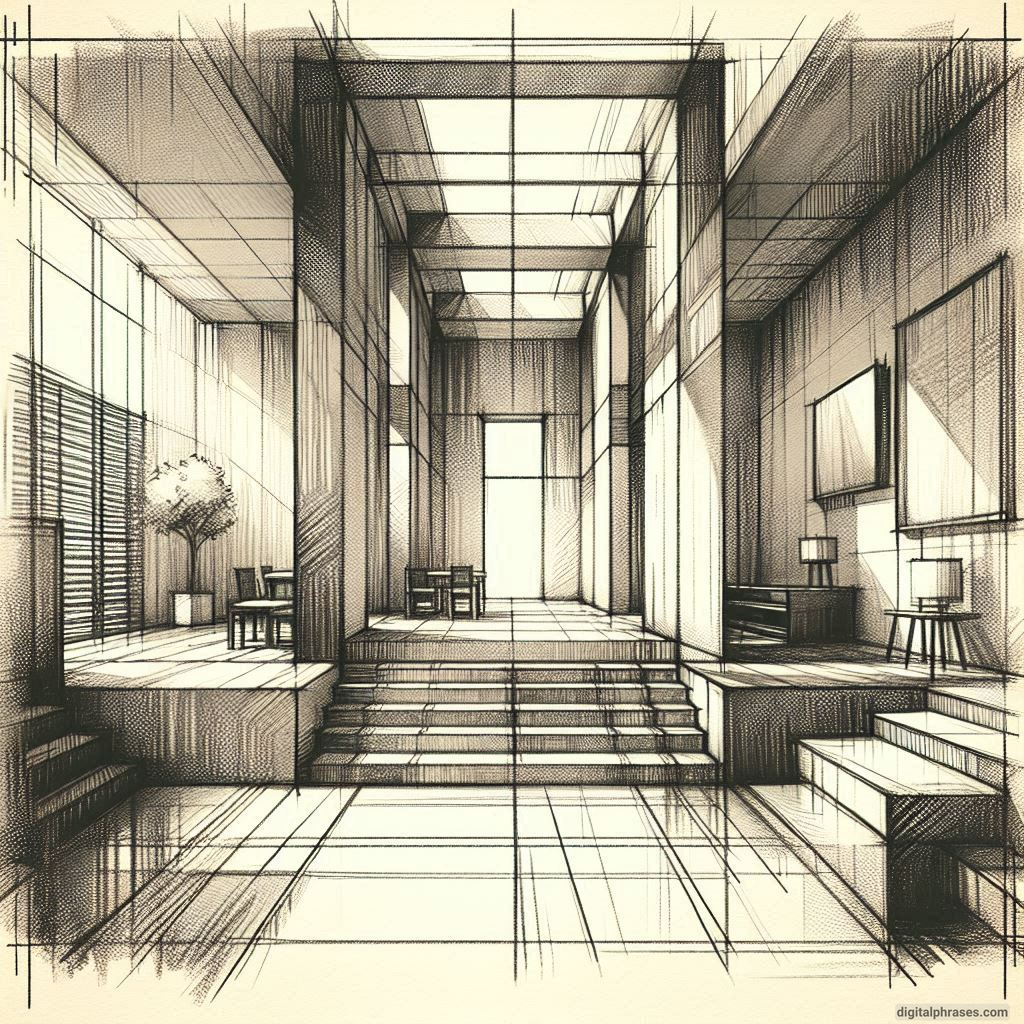
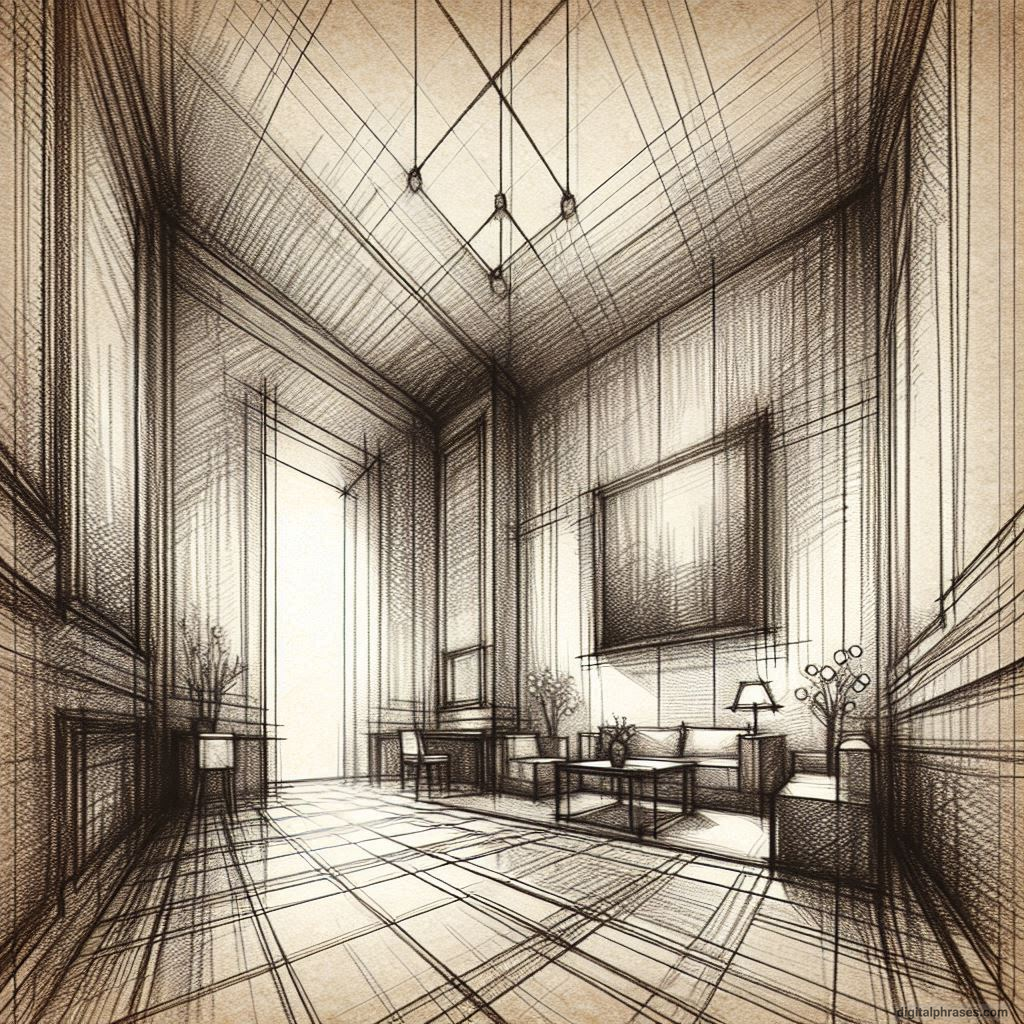
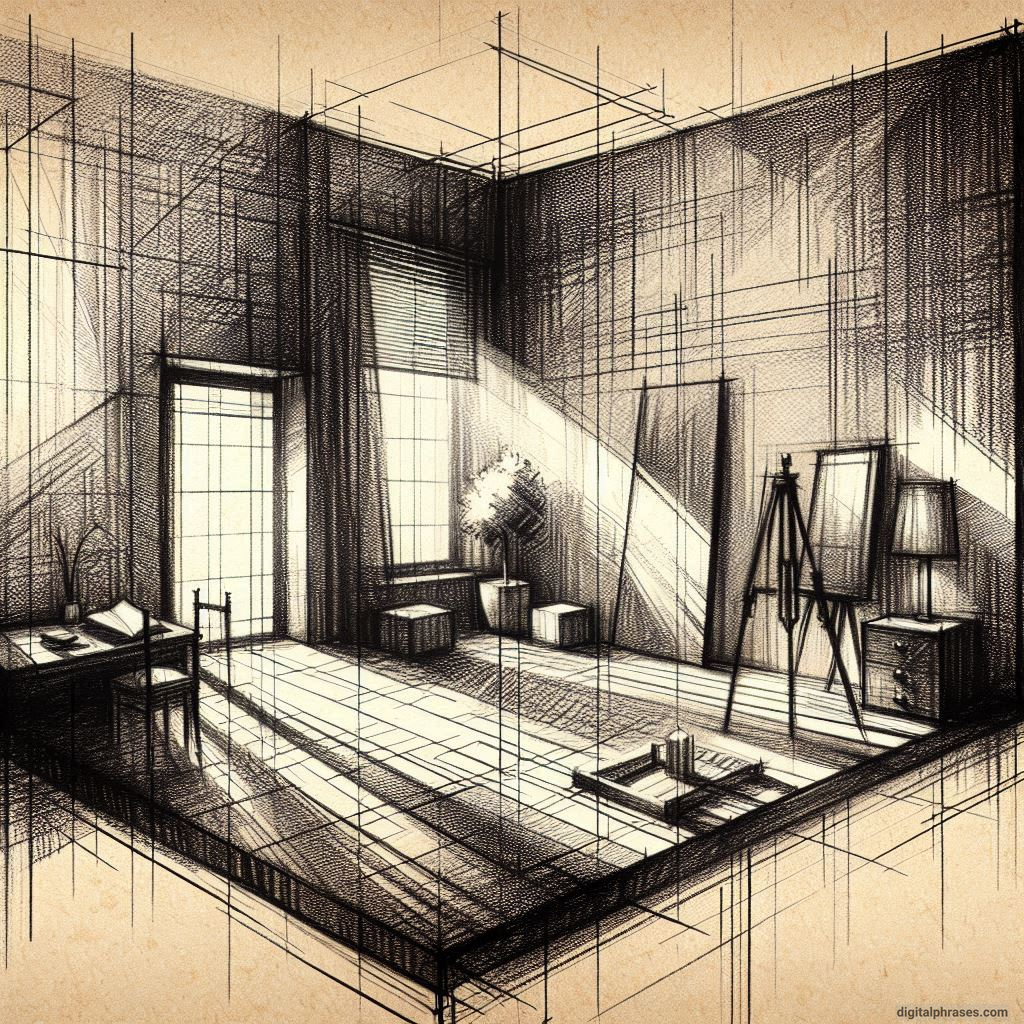
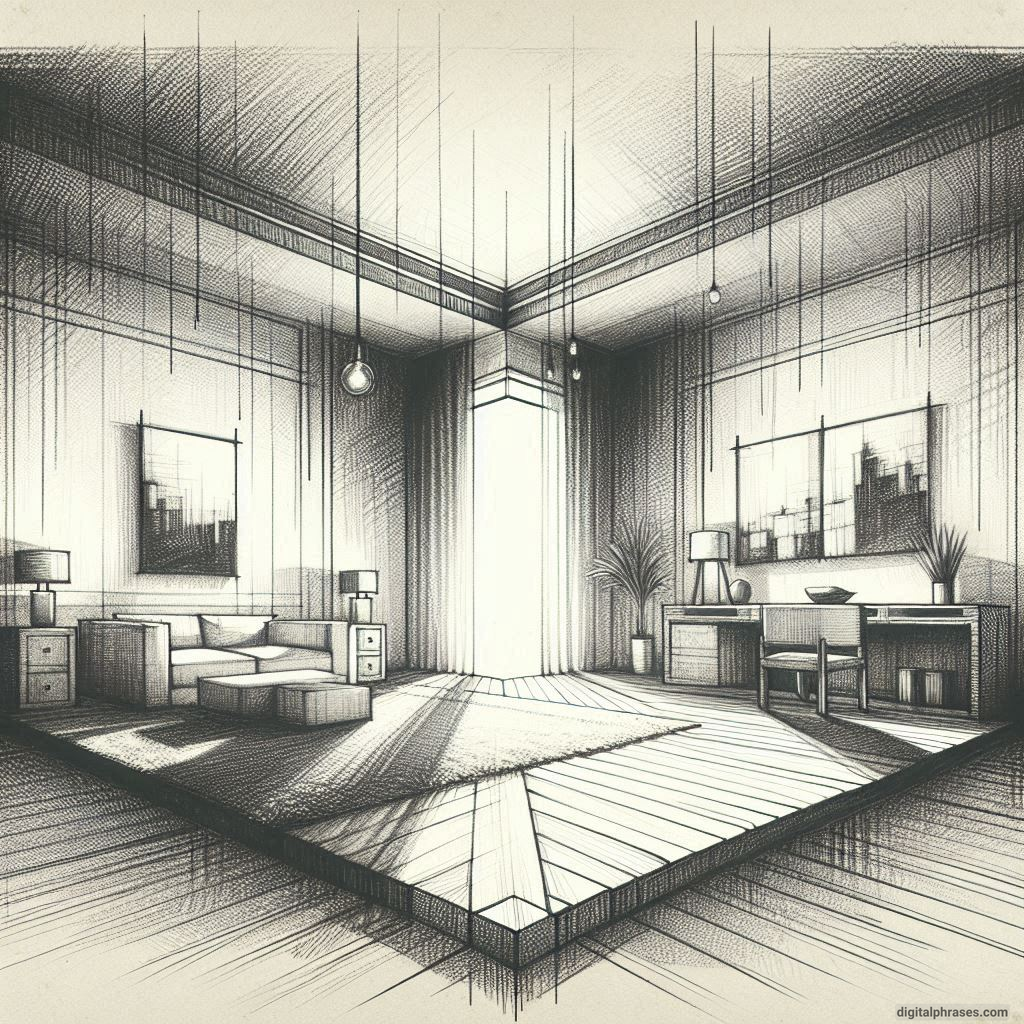
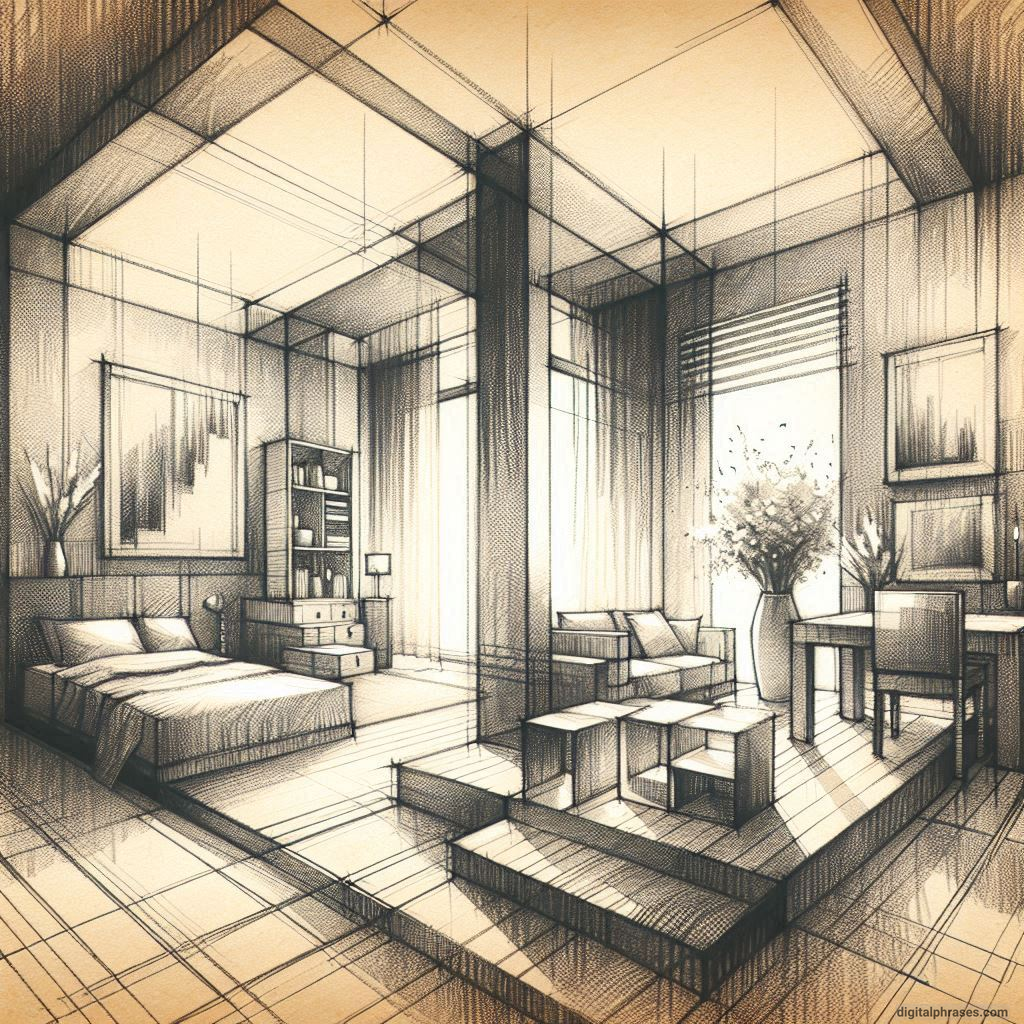
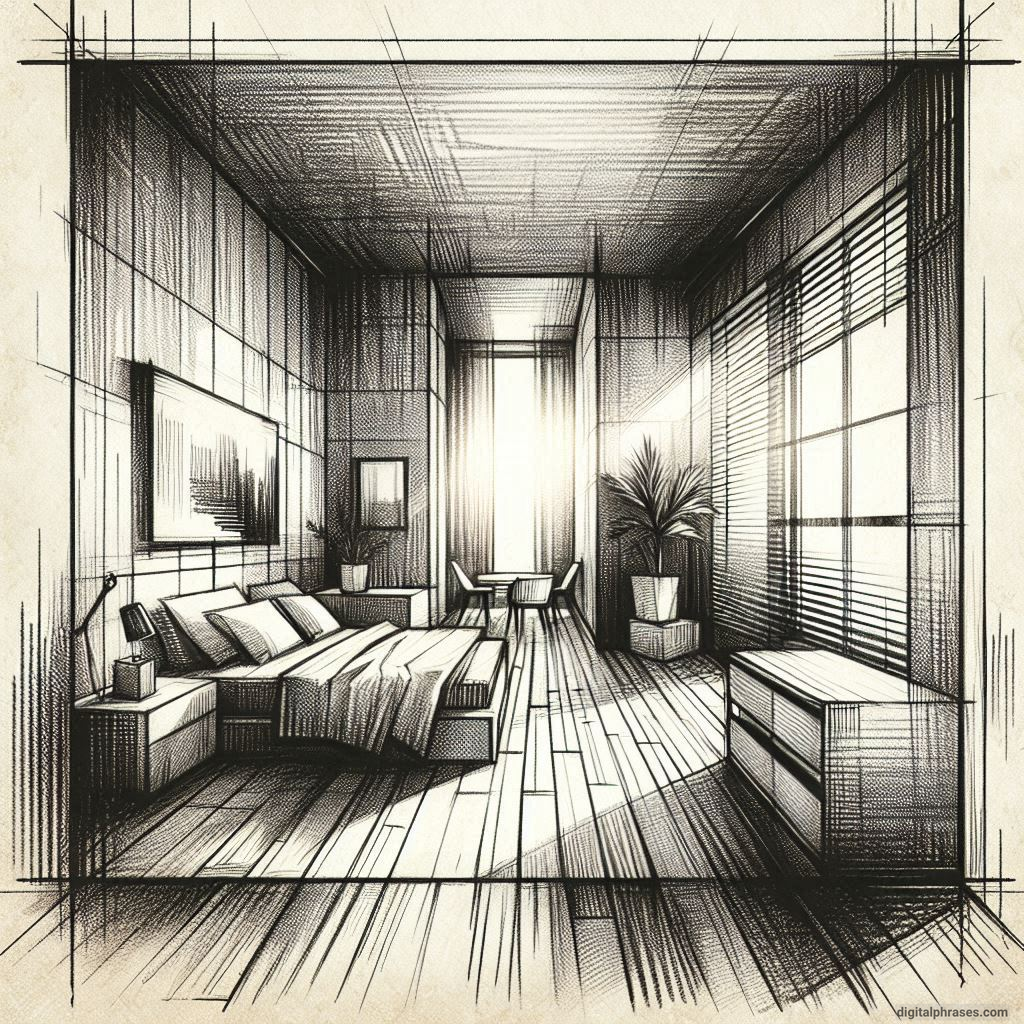
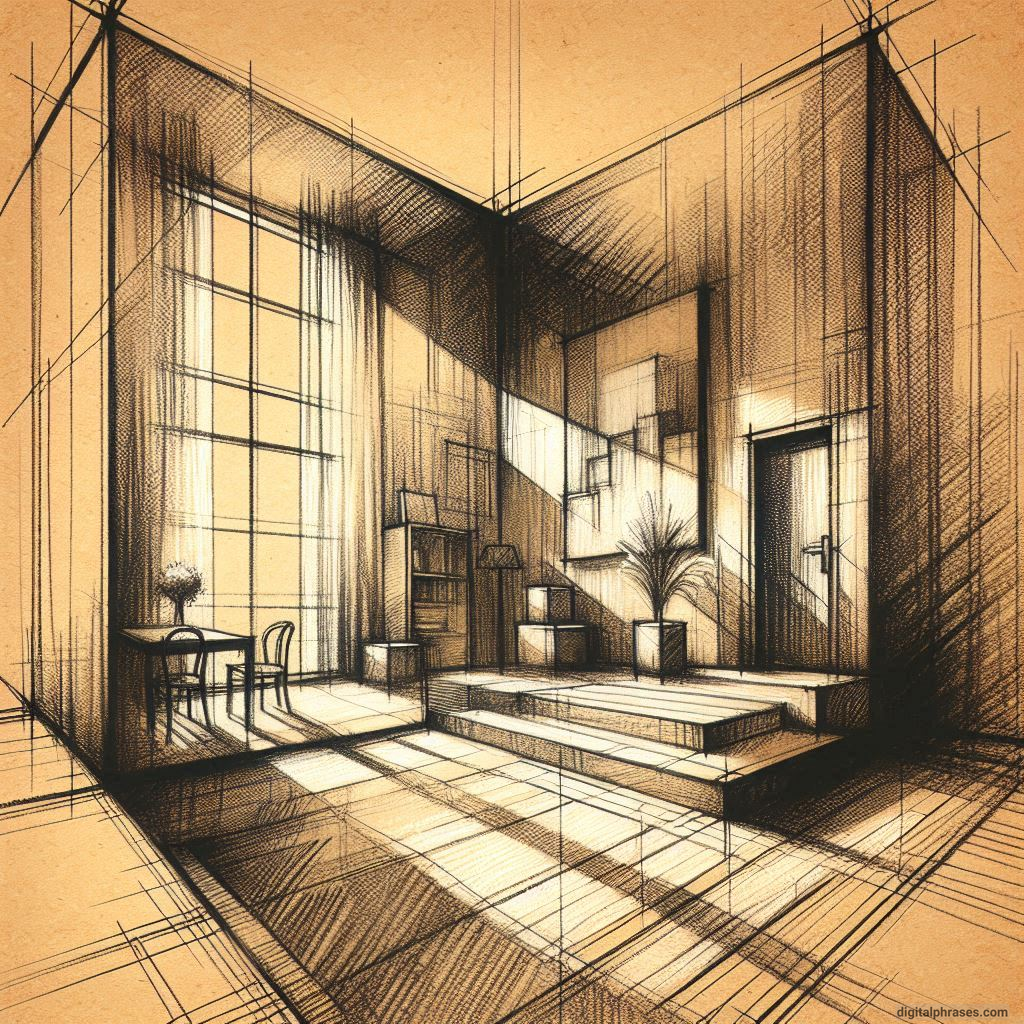
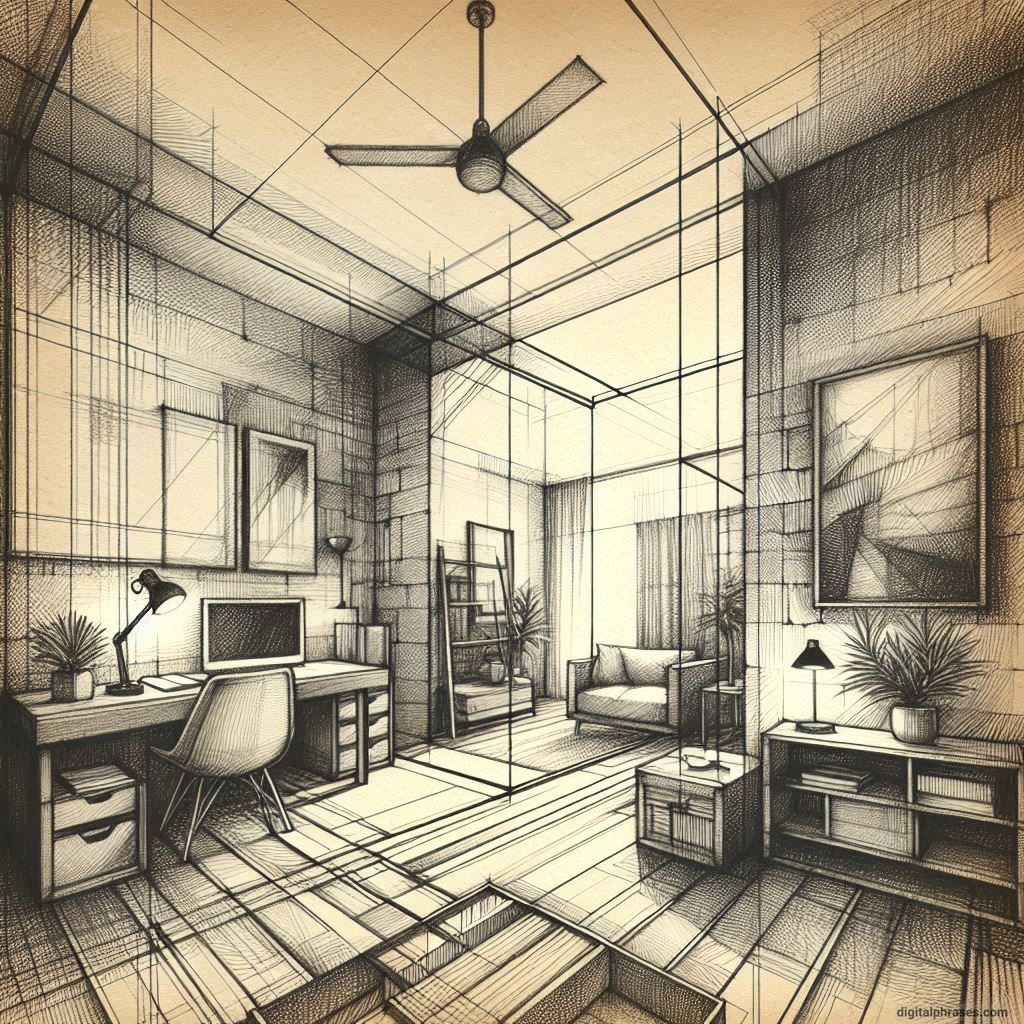
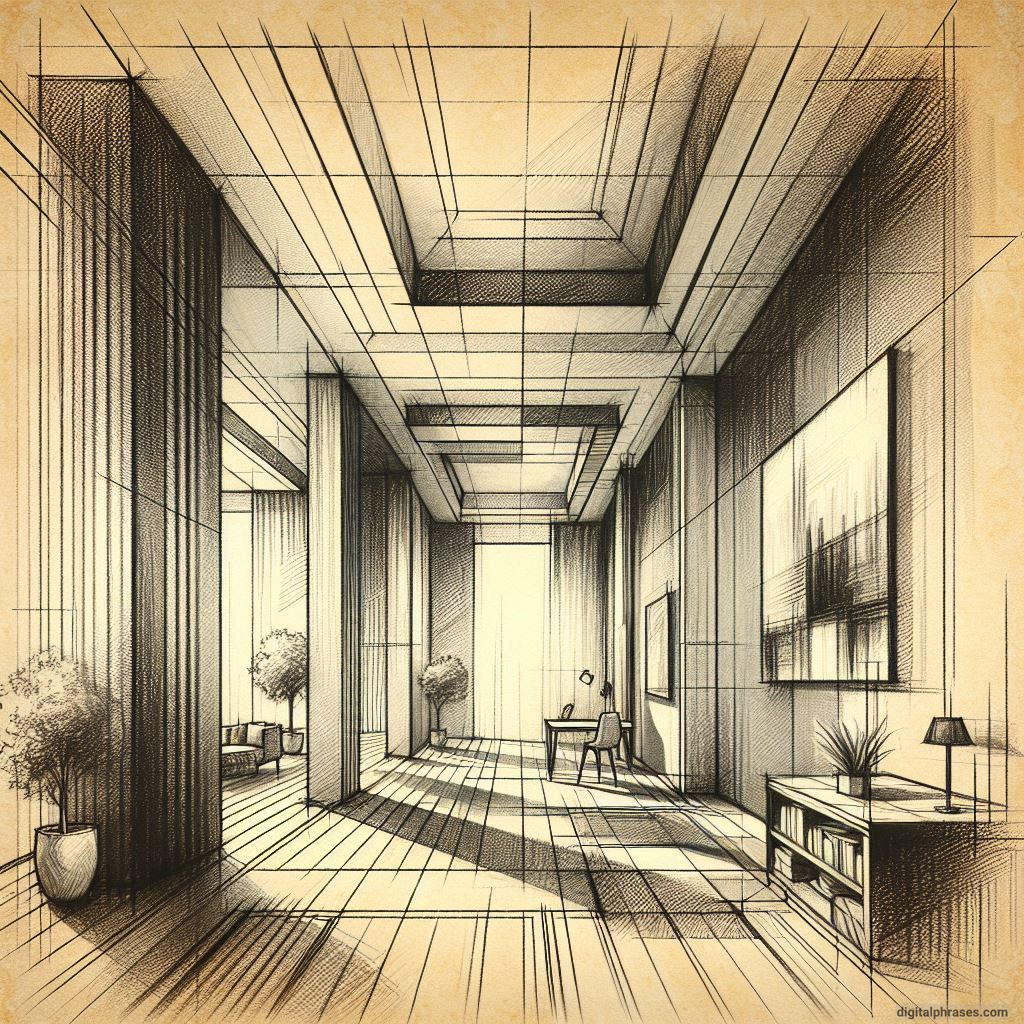
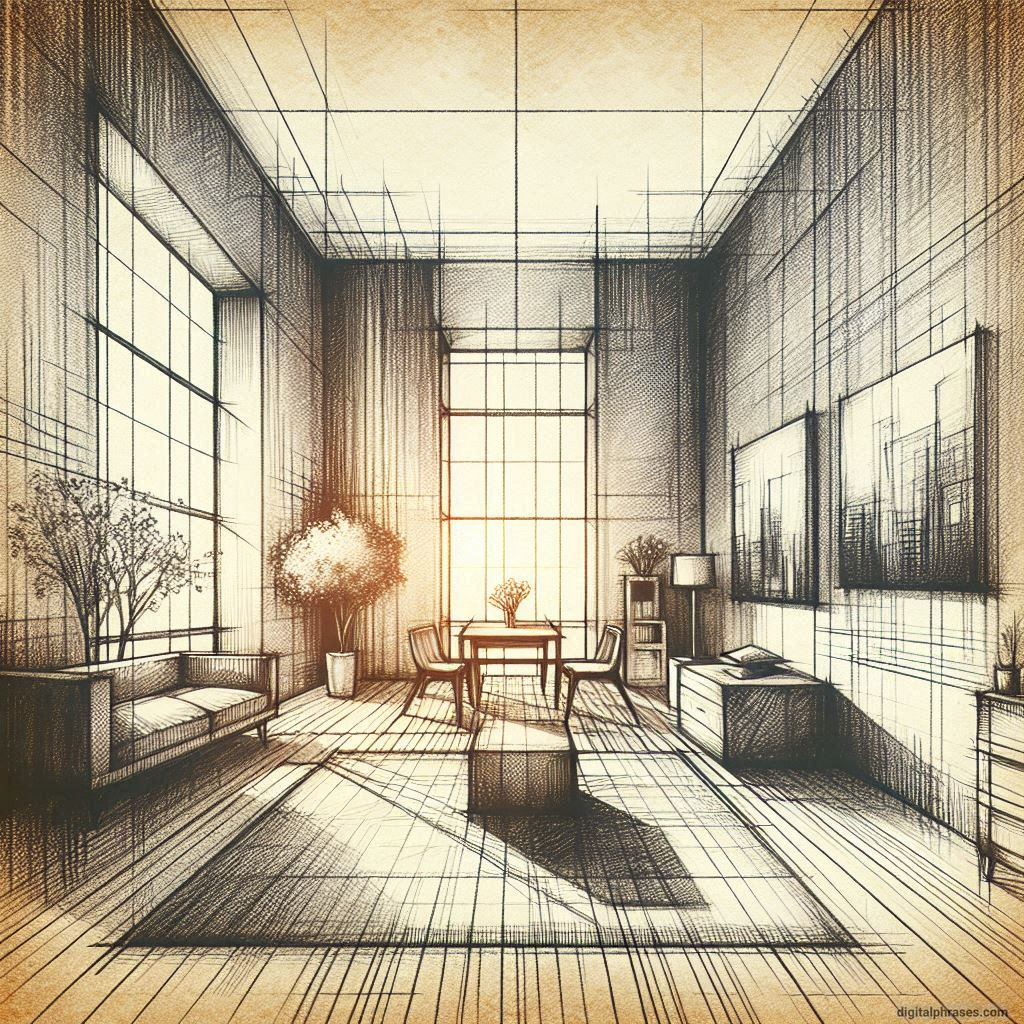
One point perspective drawing is a technique used in art to create the illusion of depth and space on a flat surface.
This method relies on a single vanishing point on the horizon line, where all parallel lines appear to converge, giving the viewer a sense of looking into a three-dimensional space.
Here are some key aspects of one point perspective drawing:
Key Concepts
- Vanishing Point:
- The vanishing point is the point on the horizon line where all parallel lines seem to converge. In one point perspective, there is only one vanishing point, which is typically positioned at the viewer’s eye level.
- Horizon Line:
- The horizon line represents the viewer’s eye level and is the anchor for the vanishing point. It separates the sky from the ground in a drawing.
- Orthogonal Lines:
- These are the diagonal lines that lead towards the vanishing point. They are essential in creating the illusion of depth, as they guide the viewer’s eye into the scene.
- Parallel Lines:
- Lines that are parallel to the viewer (such as those on the front face of a cube) remain parallel in the drawing and do not converge towards the vanishing point.
Applications
- Architectural Drawings: Used extensively in architectural designs to depict buildings and interiors, creating realistic spatial effects.
- Interior Design: Helps in visualizing rooms and furniture in a three-dimensional space.
- Landscape Art: Assists in depicting roads, railways, and paths that appear to recede into the distance.
Drawing Process
- Start with the Horizon Line: Draw a straight line across your paper to establish the horizon.
- Place the Vanishing Point: Decide where you want your vanishing point to be on the horizon line.
- Draw the Subject: Begin by sketching the front face of the object you are drawing, which is parallel to the viewer.
- Add Orthogonal Lines: Connect the edges of your subject to the vanishing point with diagonal lines.
- Complete the Drawing: Use these orthogonal lines to guide the rest of your drawing, ensuring all parts of the subject are in perspective.
Examples
- Roads or Railways: The sides of a road or railway track will converge at the vanishing point, creating a sense of distance.
- Boxes or Buildings: The front face is drawn flat, while the sides recede towards the vanishing point, giving depth to the structure.
One point perspective is a foundational technique in art education, helping artists understand spatial relationships and proportions.
It is particularly useful for beginners to grasp the basic principles of perspective before advancing to more complex perspectives like two-point or three-point perspectives.
Things To Keep in Mind While Drawing a One-Point Perspective Sketch of Rooms or more specifically Bedrooms
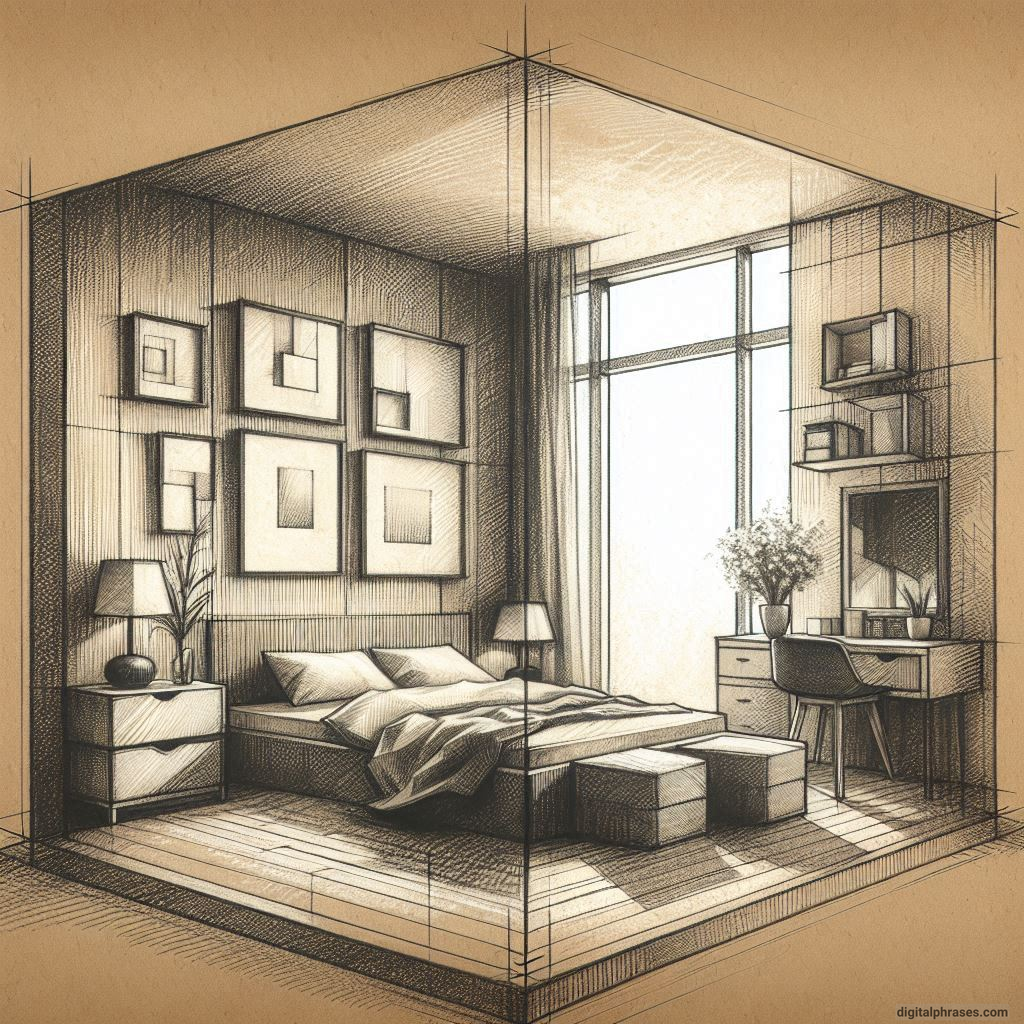
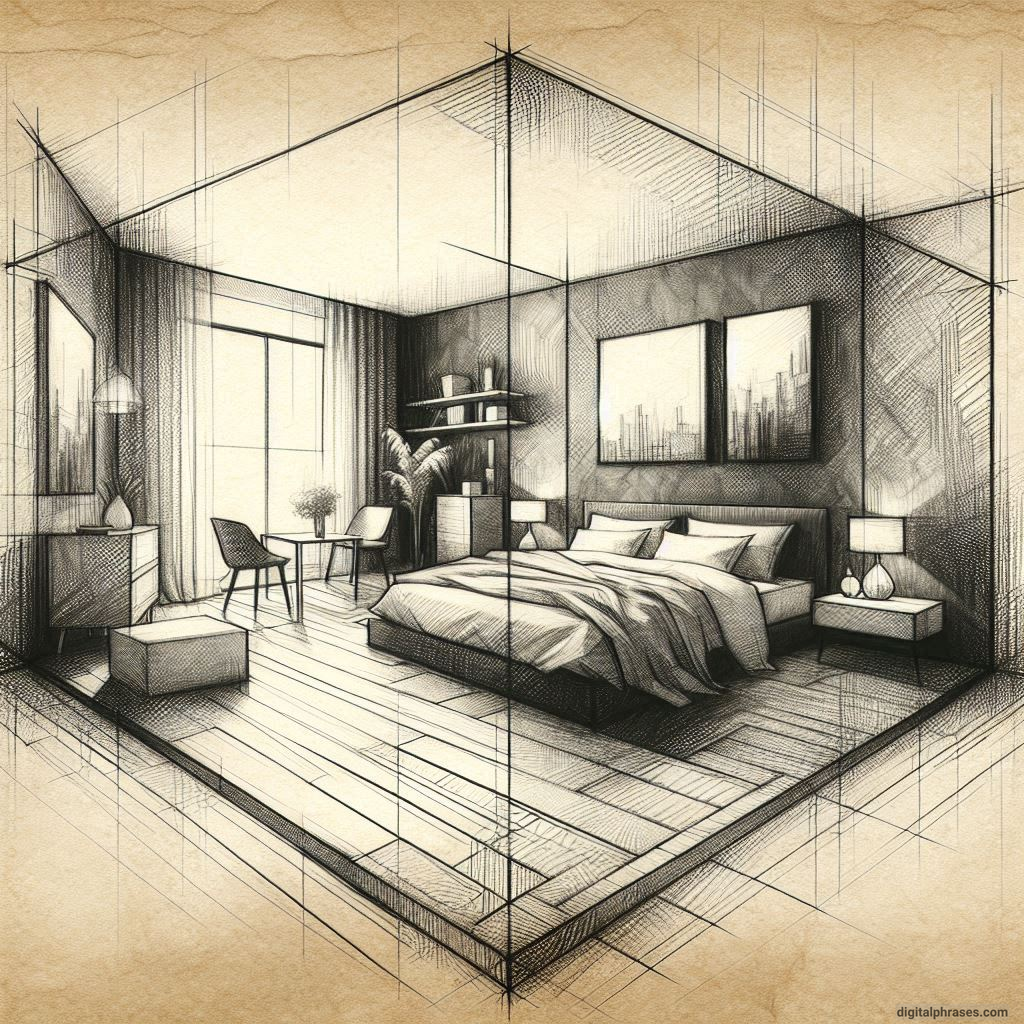
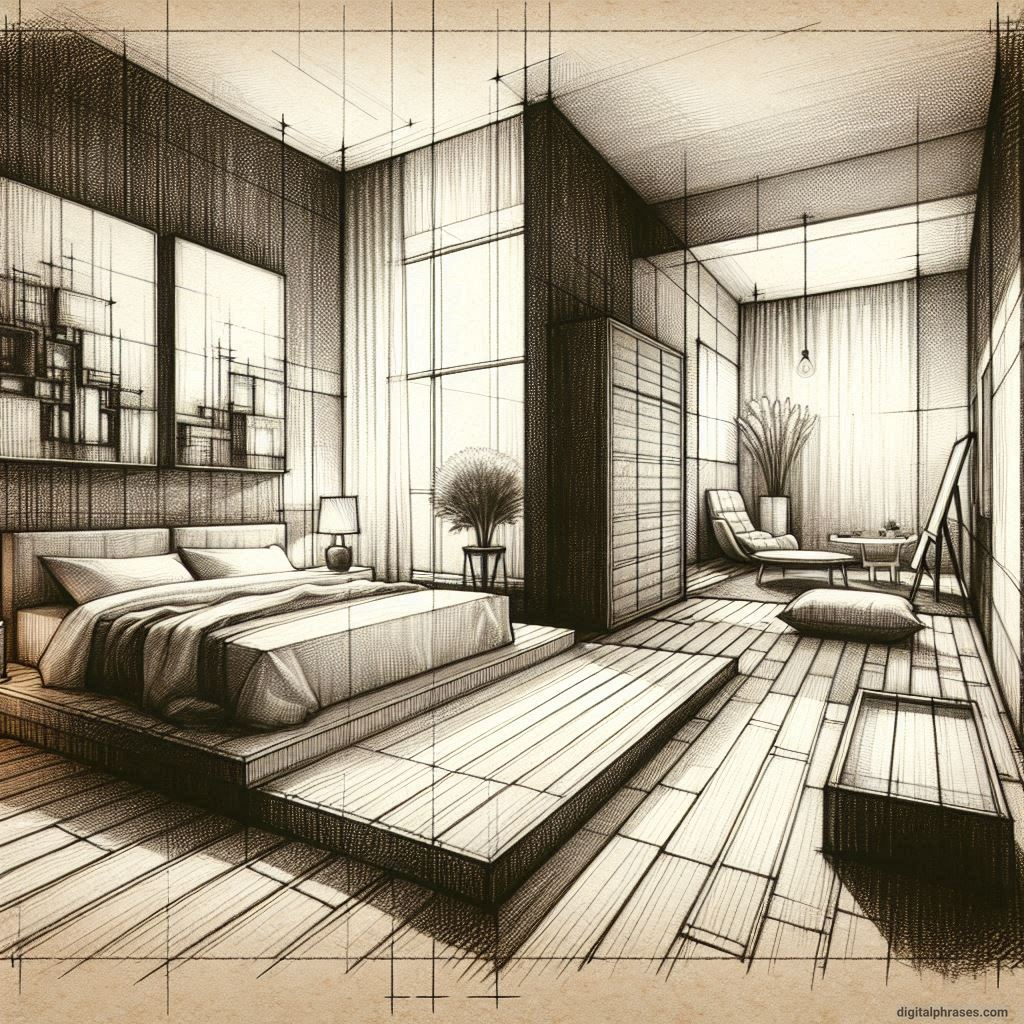
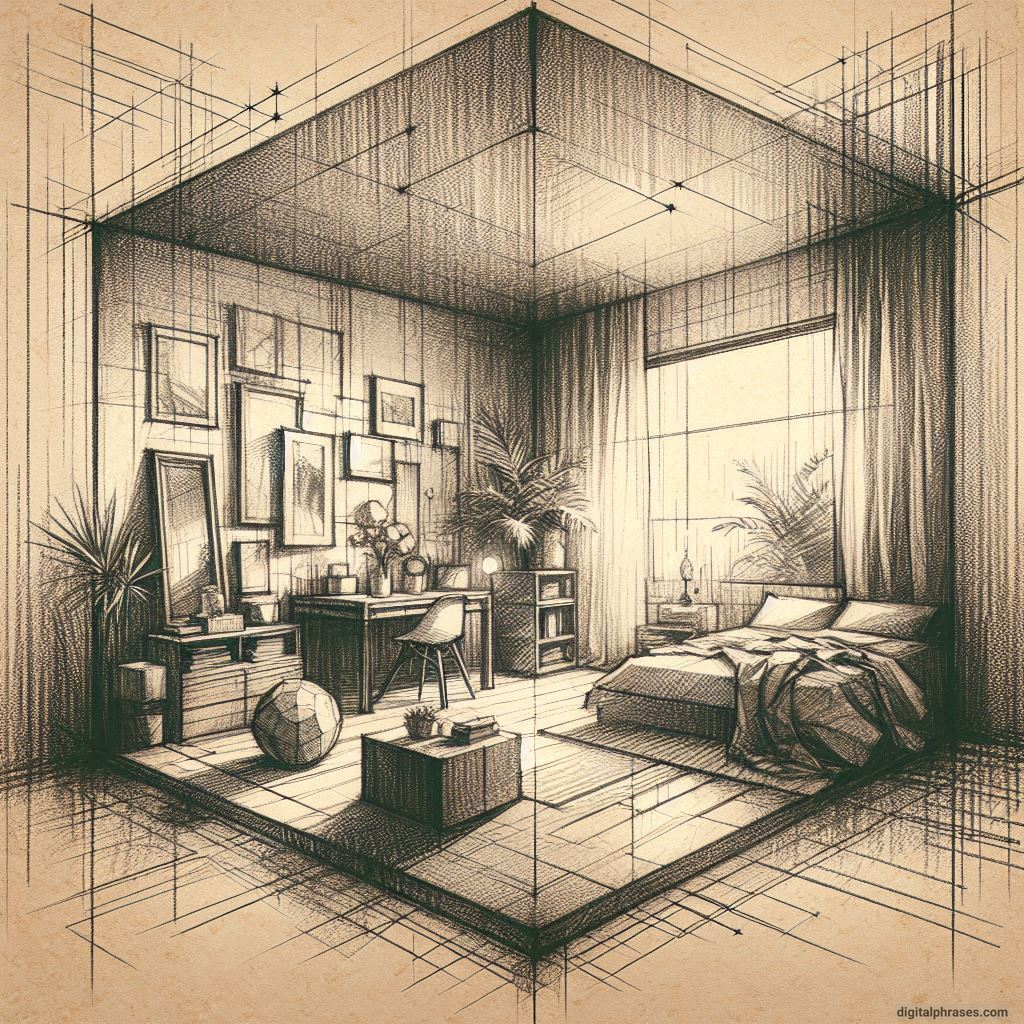
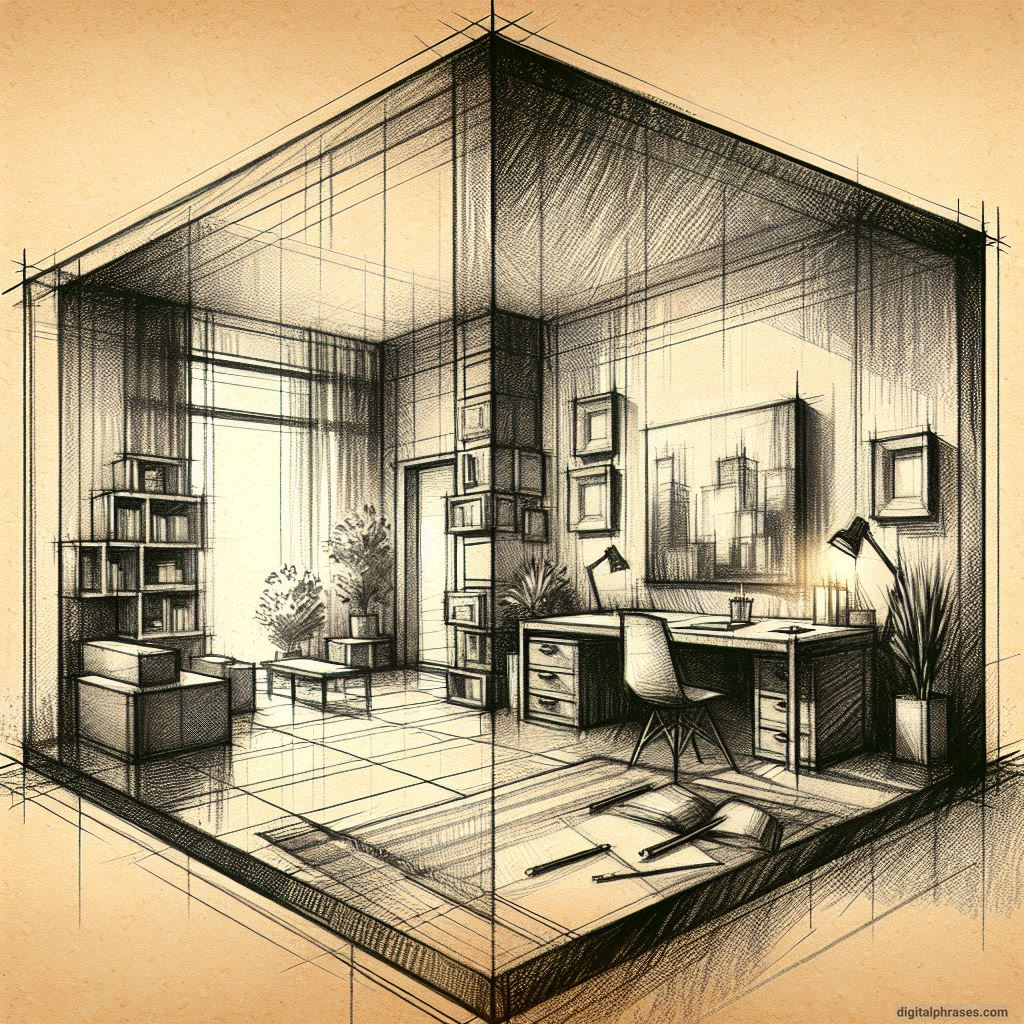
Here’s a comprehensive guide covering six essential aspects to consider when drawing a one-point perspective sketch of rooms or bedrooms.
1. Understanding the Basics of One-Point Perspective
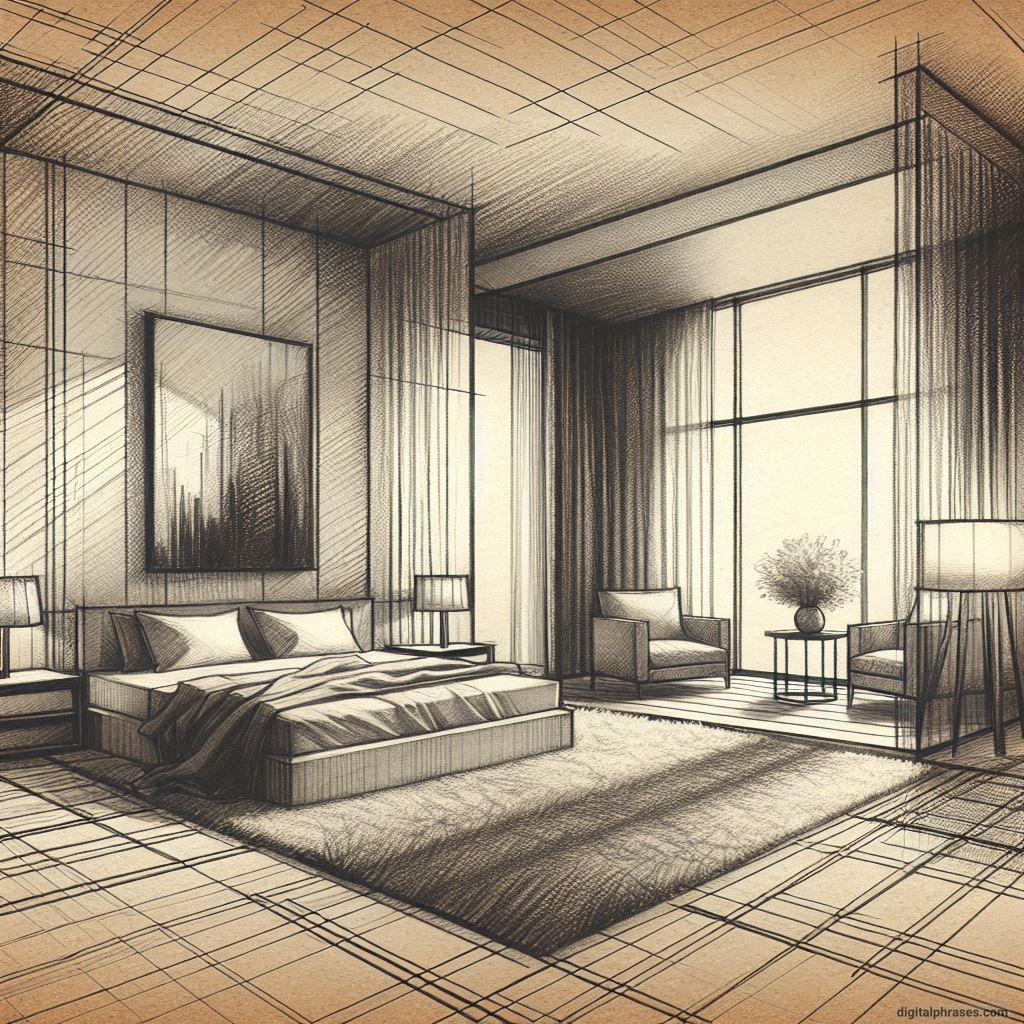
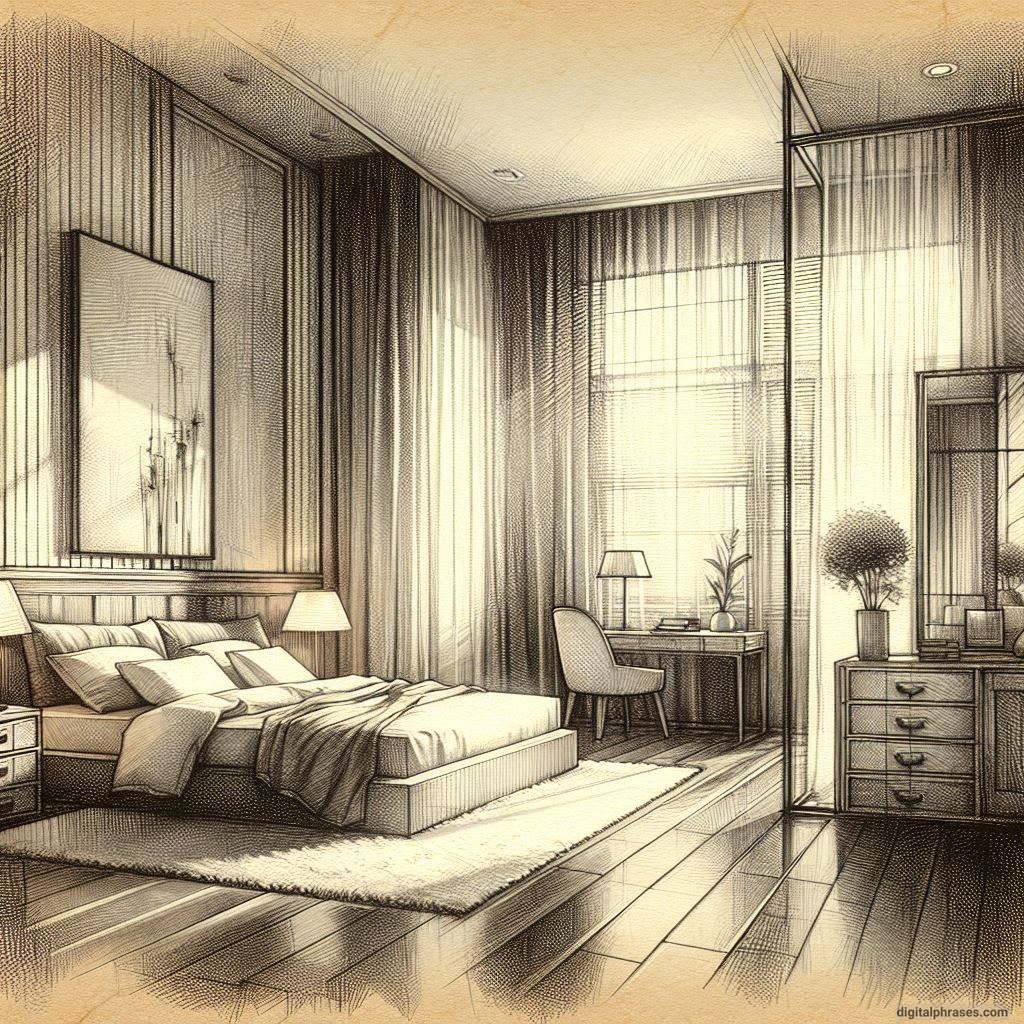
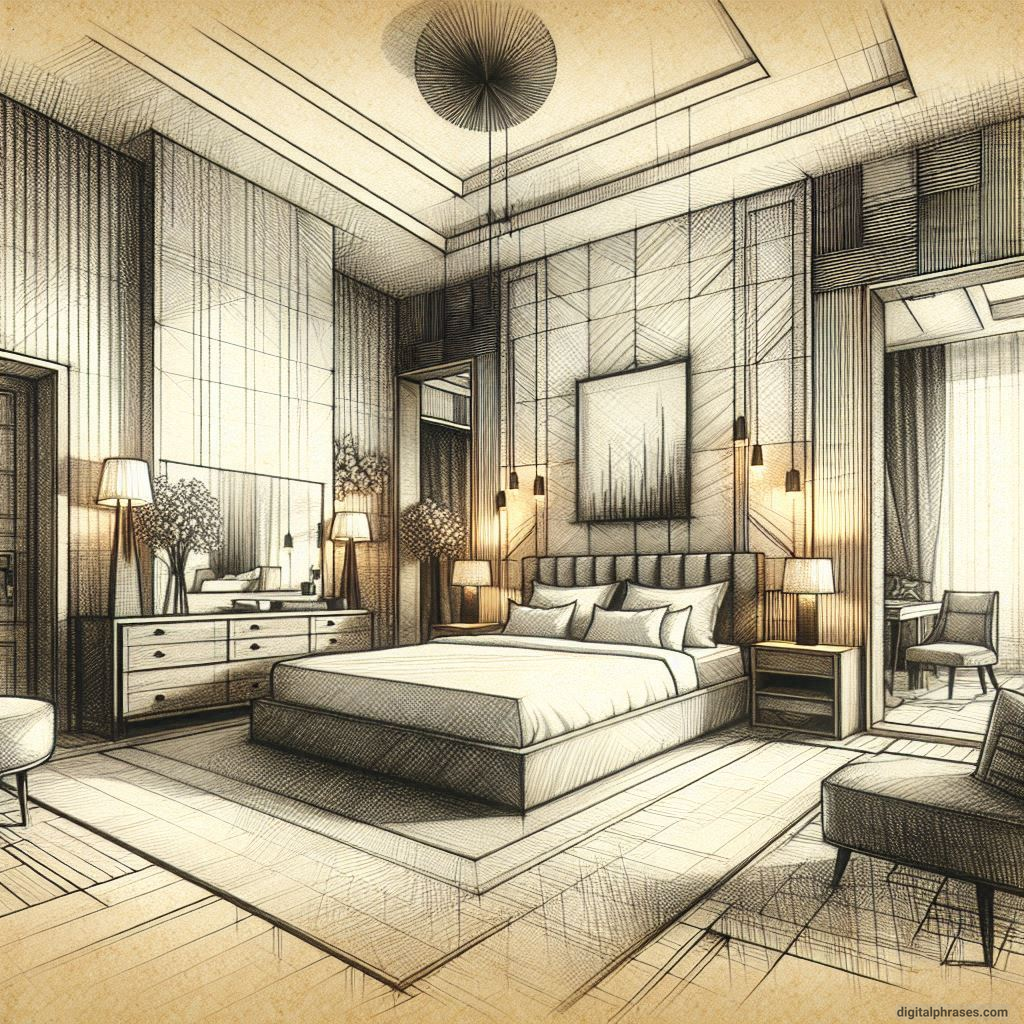
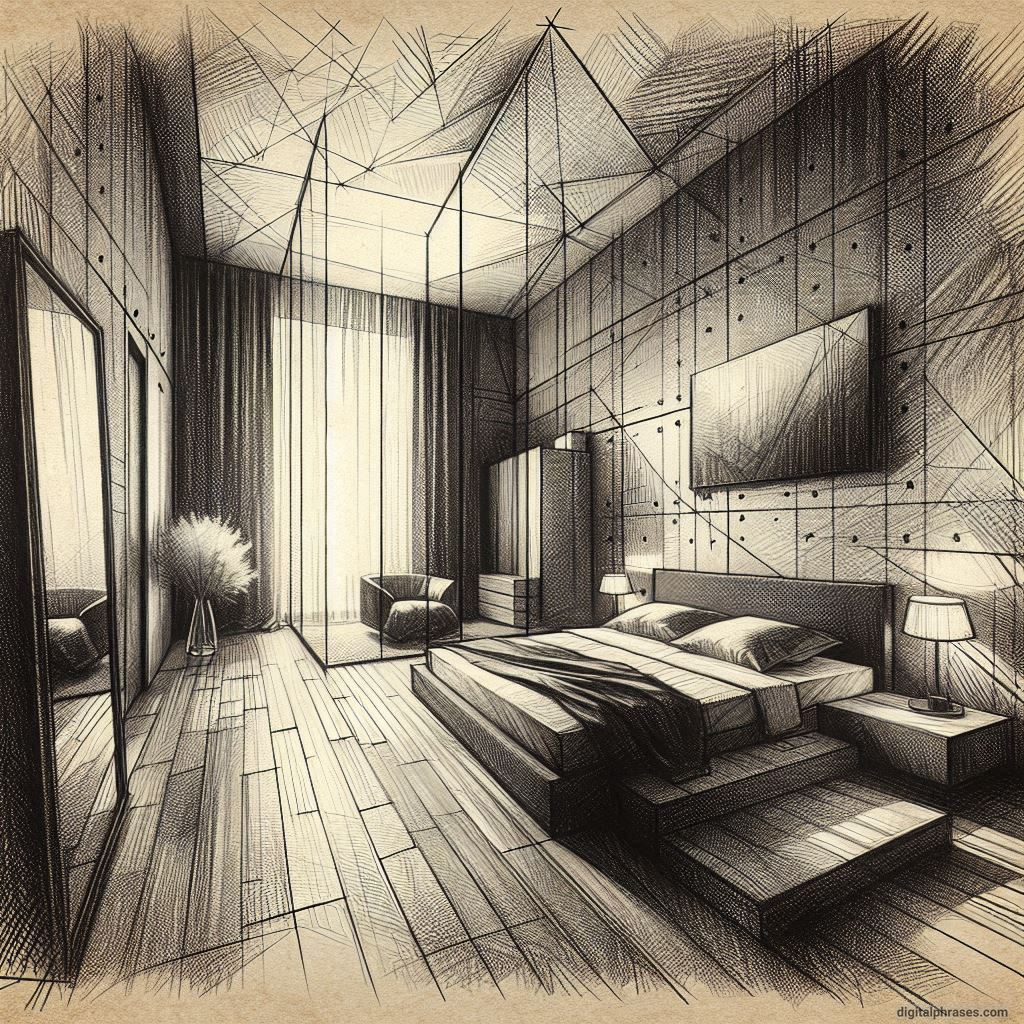
Before diving into the drawing process, it’s crucial to grasp the foundational principles of one-point perspective. This perspective technique is used when one face of an object is directly facing the viewer. It employs a single vanishing point on the horizon line, where all parallel lines seem to converge.
Key Components
- Vanishing Point: The spot on the horizon where parallel lines appear to meet. This is the focal point of your drawing and is essential for creating depth.
- Horizon Line: Represents the viewer’s eye level. It is the line that divides the sky from the ground and is where the vanishing point resides.
- Orthogonal Lines: Diagonal lines that lead to the vanishing point. They guide the viewer’s eye into the scene, helping to create the illusion of depth.
- Parallel Lines: Lines that run parallel to the viewer, such as the tops and bottoms of walls and windows.
Understanding these components helps set the stage for a well-structured sketch. Start with a simple cube or box to practice before moving on to more complex structures like rooms or bedrooms.
2. Planning the Composition
Composition is vital in creating a compelling and realistic room sketch. It involves deciding what elements to include and how to arrange them within the frame.
Determine the Viewpoint
- Eye Level: Decide whether you want the viewpoint to be at standing or sitting eye level. This will affect the height of the horizon line and the overall perspective.
- Room Orientation: Choose which wall will be directly facing the viewer. This wall will remain flat, with no perspective distortion, while the side walls will recede towards the vanishing point.
Sketch the Room Outline
- Draw the Horizon Line: Place it at the appropriate height on your paper.
- Position the Vanishing Point: Ideally, in the center for a symmetrical view, but you can experiment with off-center points for dynamic compositions.
- Outline the Room’s Walls, Floor, and Ceiling: Use orthogonal lines to show how the floor and ceiling recede towards the vanishing point. The walls perpendicular to the viewer should converge accordingly.
Consider Focal Points
Decide which elements will be the focus of your drawing. It could be a bed, window, or piece of art. Ensure these elements are strategically placed within the composition to guide the viewer’s eye naturally through the space.
3. Detailing Furniture and Fixtures
Once the basic structure of the room is established, the next step is to add furniture and other elements, ensuring they adhere to the perspective rules.
Drawing Furniture
- Front Faces: Start by drawing the front face of the furniture parallel to the picture plane. This face will not be affected by perspective distortion.
- Use Orthogonal Lines: Extend lines from the vanishing point to define the top, bottom, and sides of the furniture. This helps maintain accurate proportions as the object recedes into space.
Adding Fixtures
- Windows and Doors: Draw these elements using the same principles, ensuring their tops and bottoms recede towards the vanishing point.
- Lighting and Decor: Light fixtures, artwork, and decorative elements should also follow the perspective guidelines. Consider how these items interact with light and shadow to enhance realism.
Maintain Consistency
Consistency in size and proportion is crucial. Items that are further from the viewer should appear smaller, reinforcing the sense of depth and space in the room.
4. Applying Lighting and Shadows
Lighting plays a crucial role in enhancing the three-dimensional feel of your sketch. It adds depth and dimension, making the room appear more realistic.
Identify the Light Source
- Natural Light: Consider the placement of windows and the direction of sunlight. This will affect how light spreads throughout the room.
- Artificial Light: If using lamps or overhead lighting, think about how these sources will cast light and shadow.
Drawing Shadows
- Cast Shadows: Determine where shadows will fall based on your light source. Use diagonal lines to project these shadows accurately, maintaining consistency with the perspective.
- Soft vs. Hard Shadows: Decide on the intensity of the shadows. Soft shadows suggest diffused lighting, while hard shadows indicate a strong, direct light source.
Enhancing Depth
Shadows not only add realism but also contribute to the overall mood and atmosphere of the room. Use varying shades of pencil or color to create a gradient effect, emphasizing the depth of the space.
5. Incorporating Textures and Details
Adding textures and intricate details can elevate your sketch, making it more engaging and lifelike.
Texturing Techniques
- Walls and Floors: Use hatching, cross-hatching, or stippling to depict different materials, such as wood, carpet, or tile.
- Furniture: Add textures that represent fabric, wood grain, or metal. This attention to detail can significantly enhance the realism of your drawing.
Enhancing Realism
- Details: Include small elements like handles, knobs, and fixtures to add authenticity.
- Natural Elements: Incorporate plants, flowers, or other natural items to bring life into the room.
Balancing Detail
While details are important, avoid overcrowding your sketch. Focus on key elements that contribute to the overall composition, maintaining a balance between detailed areas and open space.
6. Reviewing and Refining the Sketch
Once the sketch is complete, take the time to review and refine your work. This step is essential for ensuring accuracy and enhancing the overall quality of the drawing.
Self-Assessment
- Perspective Accuracy: Check that all lines lead correctly to the vanishing point and that proportions are consistent.
- Lighting and Shadows: Ensure shadows align with the light source and enhance depth effectively.
Making Adjustments
- Reworking Areas: Don’t hesitate to make adjustments where needed. Refining lines, correcting proportions, and enhancing details can significantly improve the final result.
- Adding Final Touches: Consider adding subtle highlights or additional shading to emphasize certain areas and increase visual interest.
Seeking Feedback
If possible, seek feedback from peers or mentors. A fresh perspective can provide valuable insights and suggestions for improvement.
Creating a one-point perspective sketch of a room or bedroom involves a combination of technical skill and artistic vision.
By understanding the basics of perspective, planning a well-composed layout, and incorporating details like lighting and textures, you can produce a realistic and engaging representation of an interior space.
Remember to review and refine your work, ensuring accuracy and quality in every aspect.
With practice and attention to detail, you can master the art of one-point perspective drawing, bringing your creative visions to life with depth and realism.


