60 Drawing Ideas of Butterflies
Have you ever stopped and wondered how amazing butterflies are?
I mean, those gorgeous creatures are like flying works of art, each one adorned with colors and patterns that never fail to capture our imagination.
From their delicate wings to their graceful movements, they provide endless possibilities for artistic exploration.
In this blog post, we will dive into some captivating drawing ideas that will not only celebrate the beauty of butterflies but also help you hone your artistic skills.
Let’s get this creative journey started.
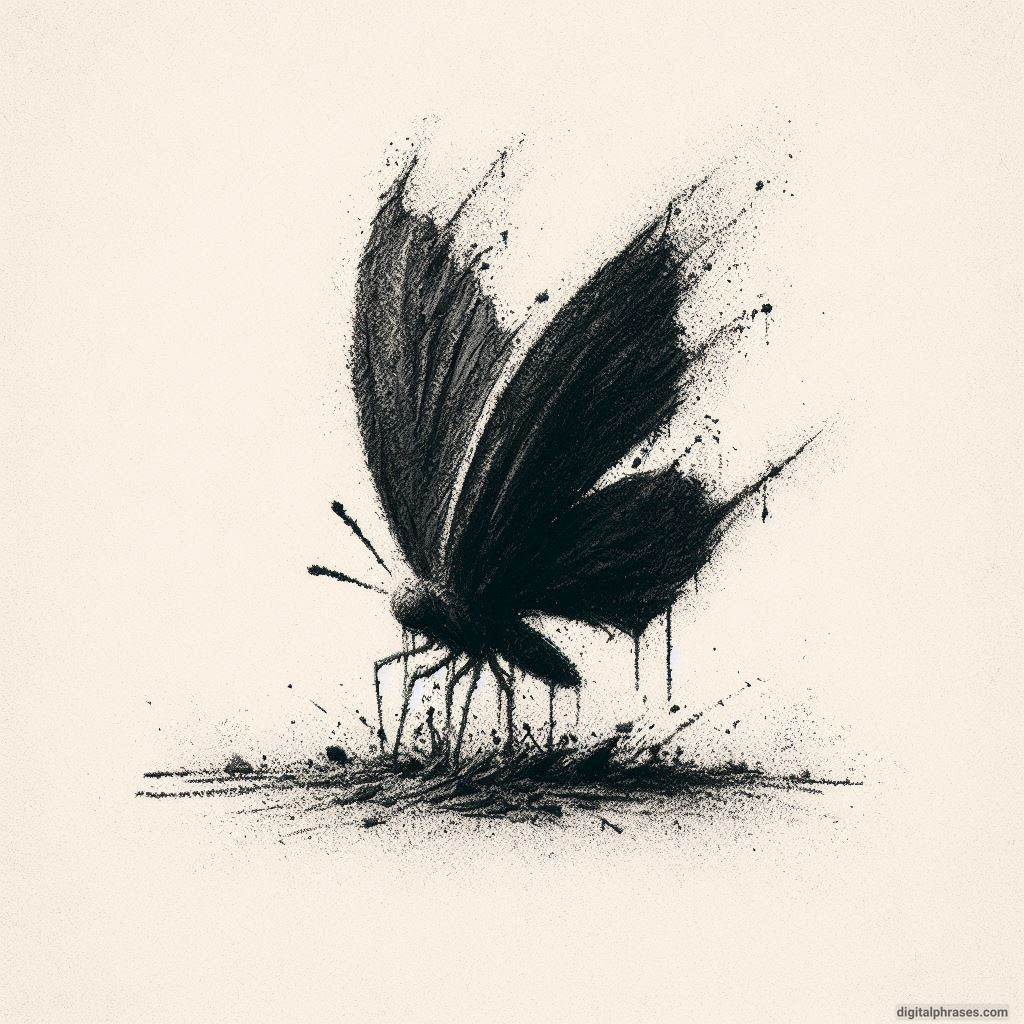
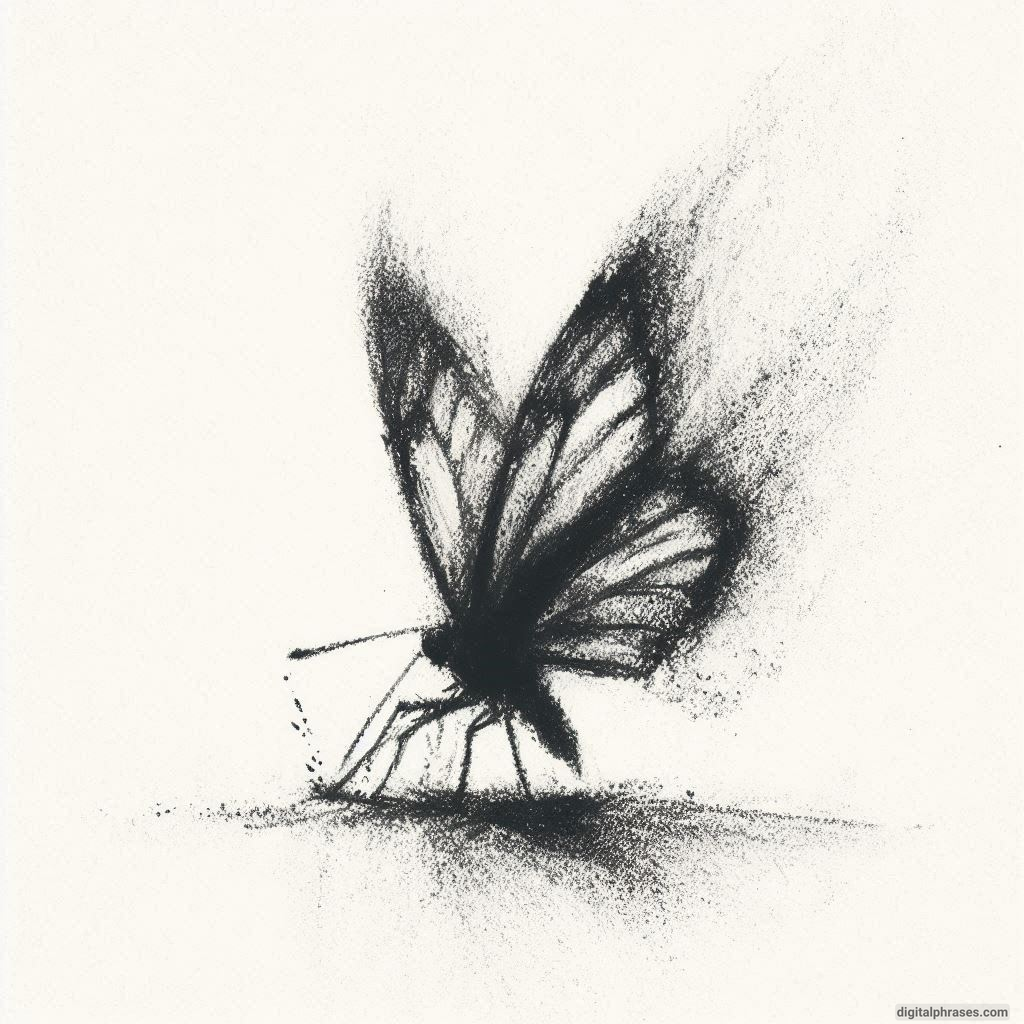
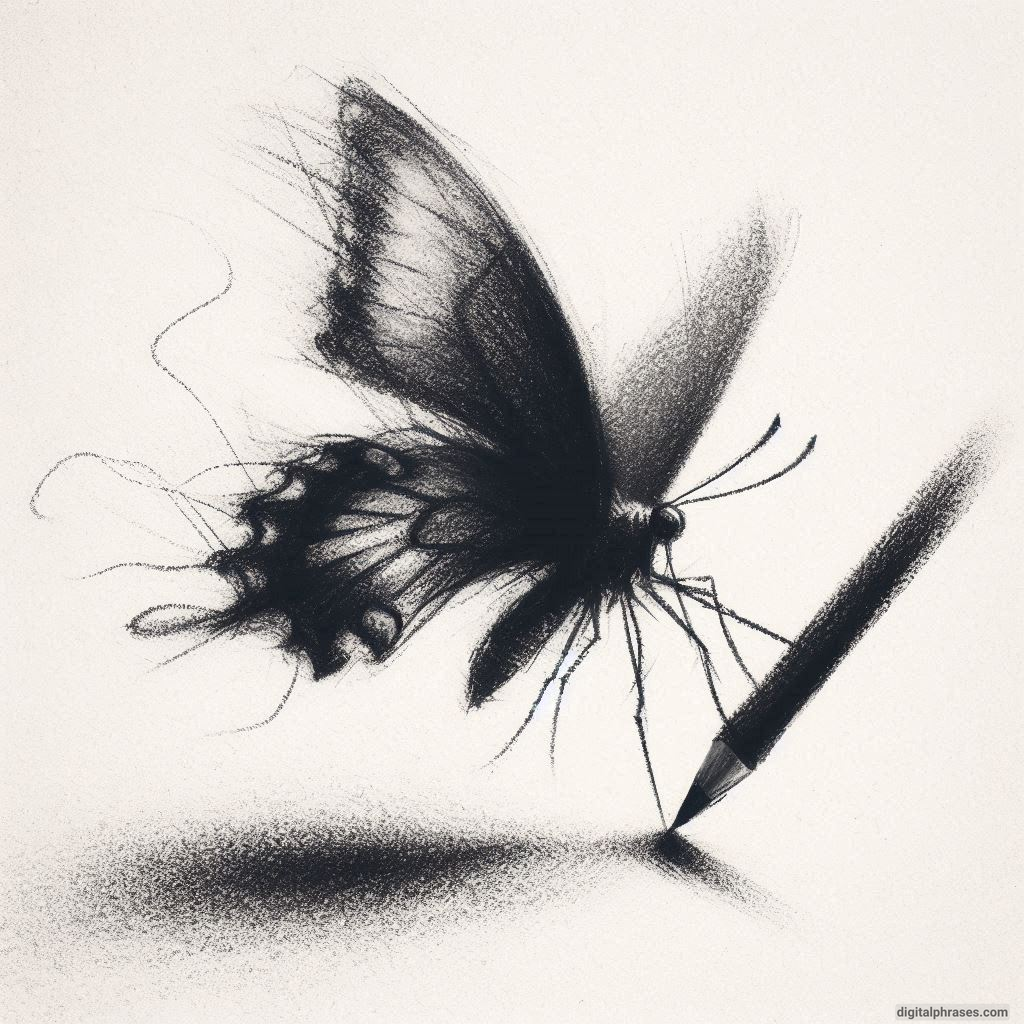
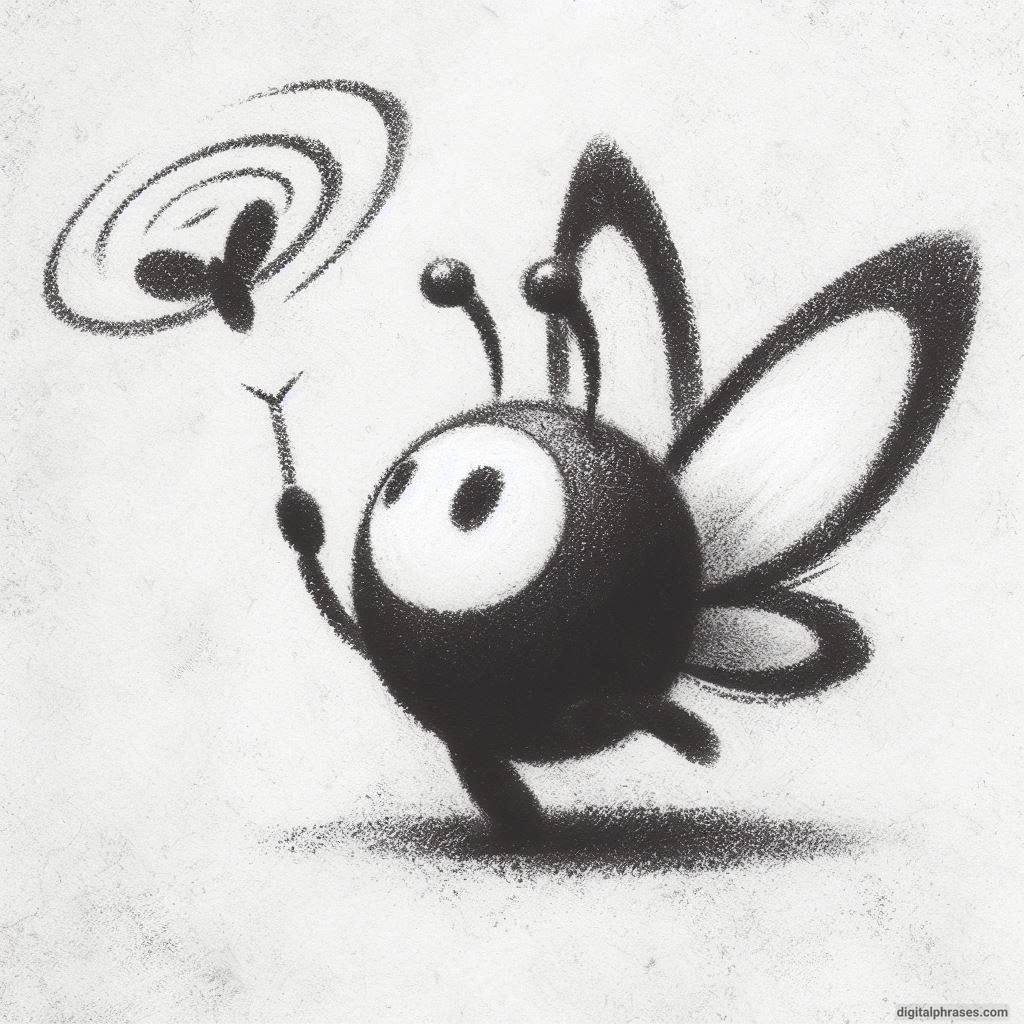
Pencil Sketches
1
2
3
4
5
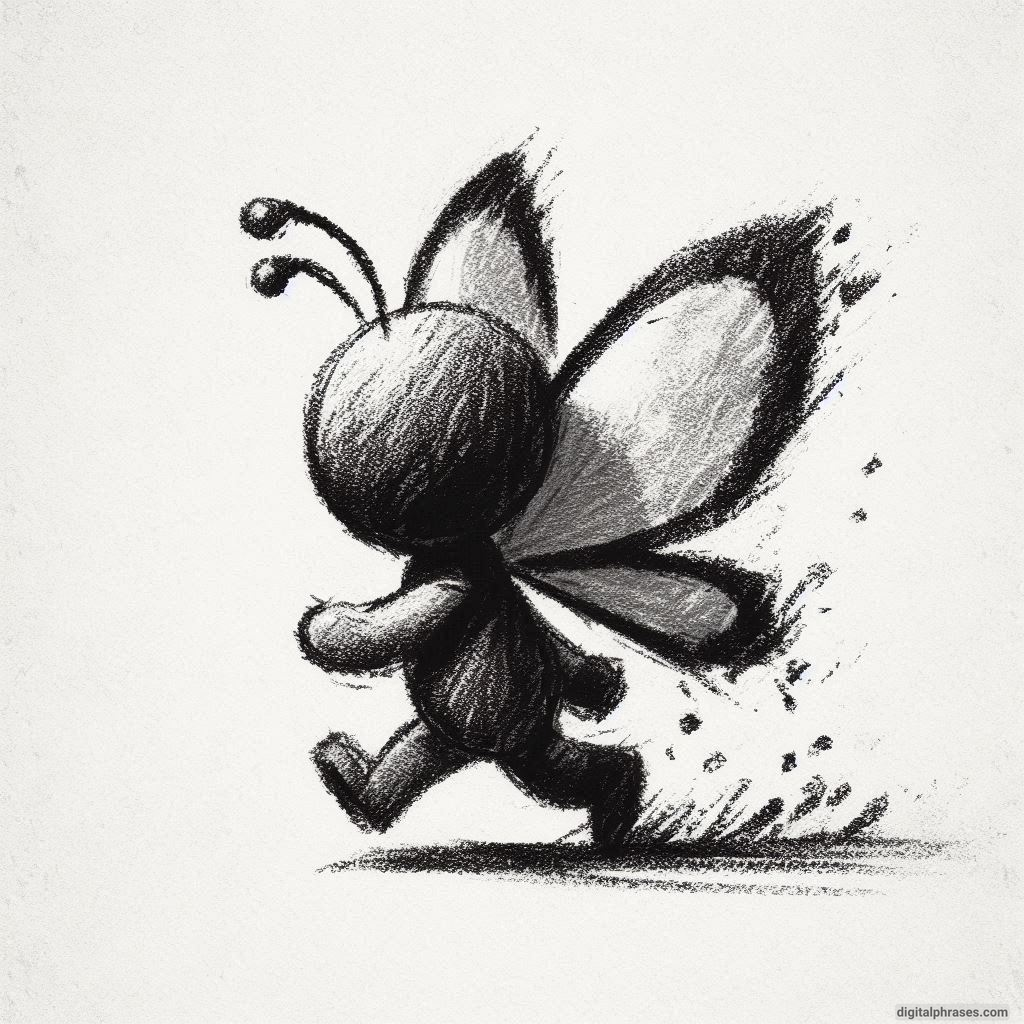
6
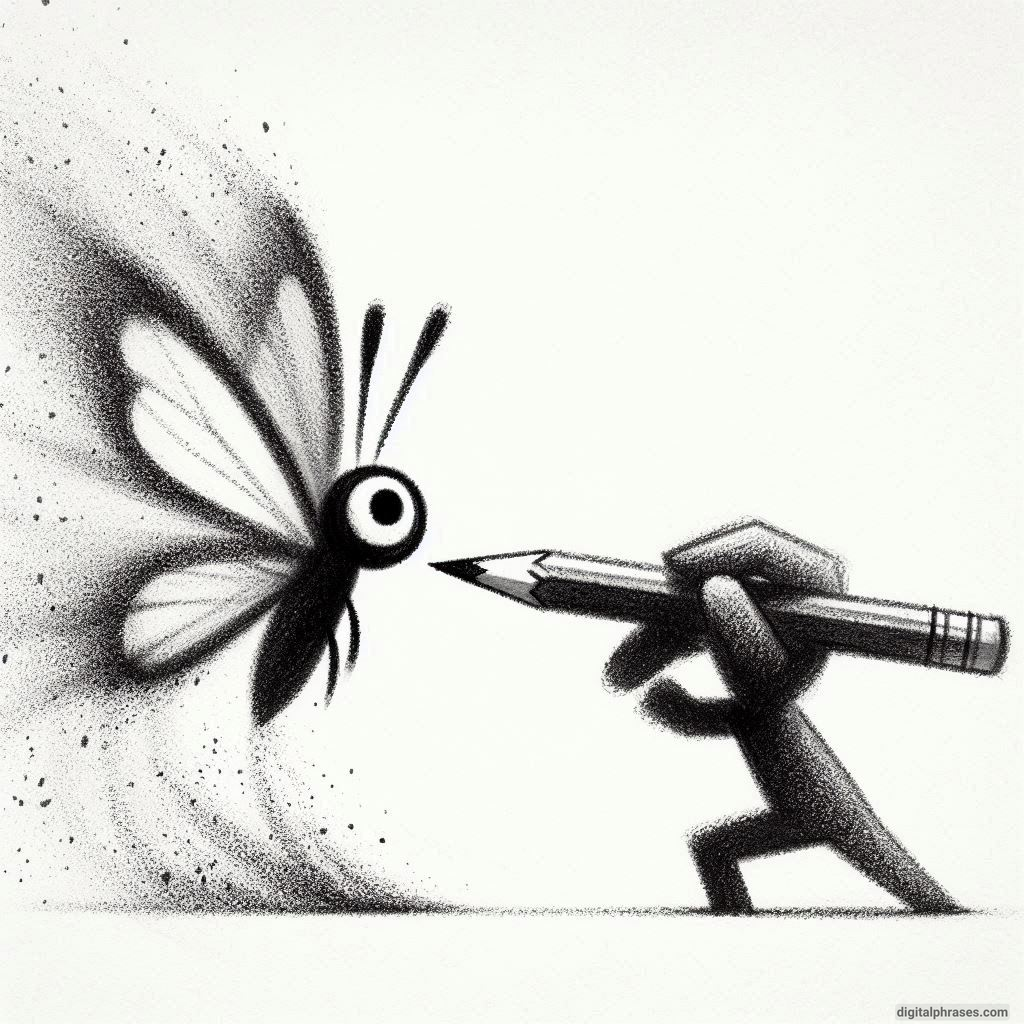
7
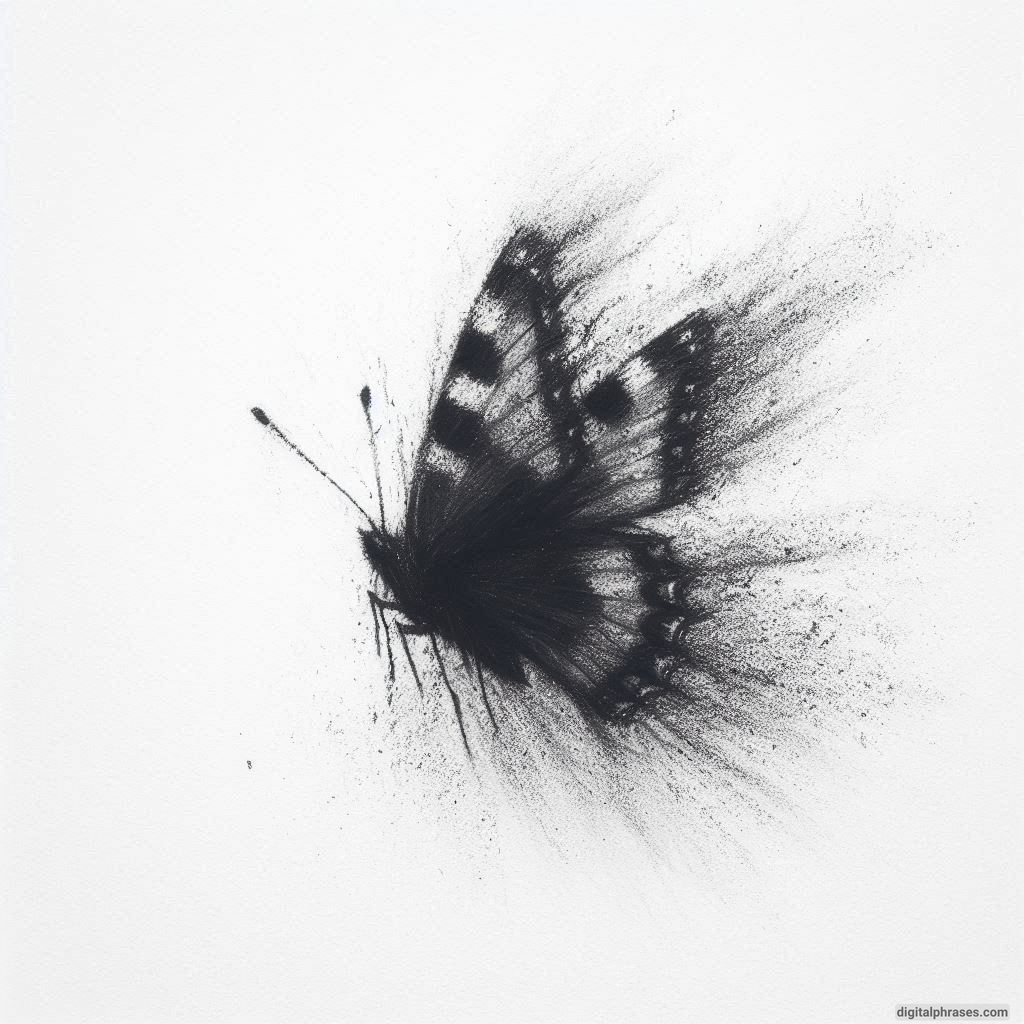
8
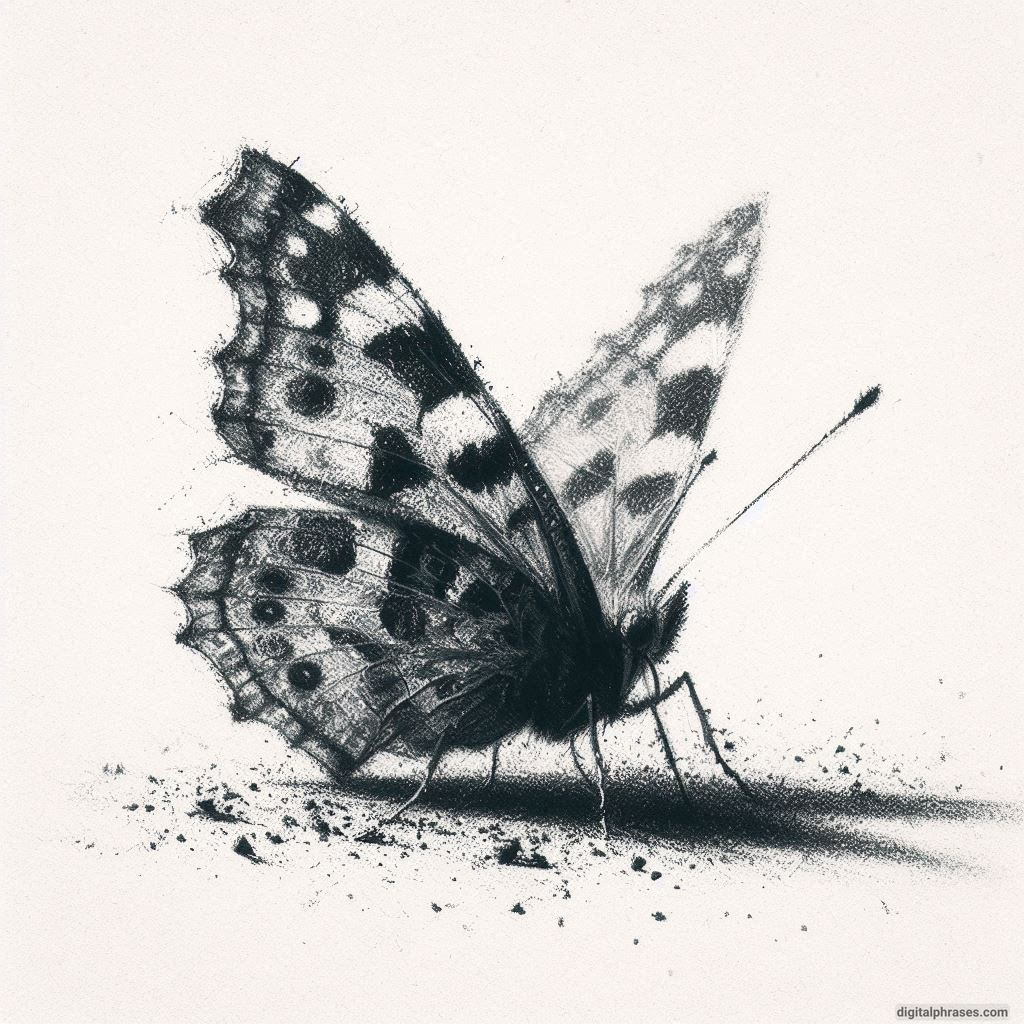
9
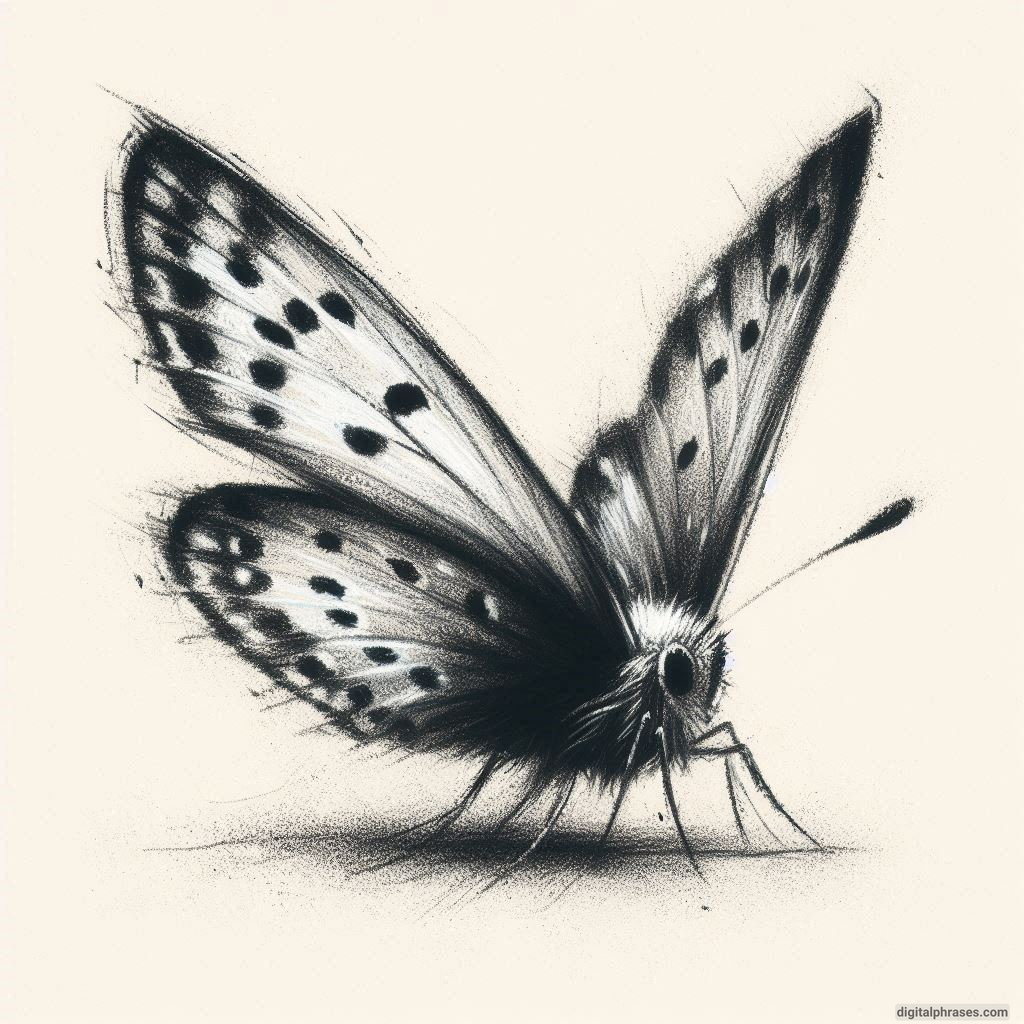
10
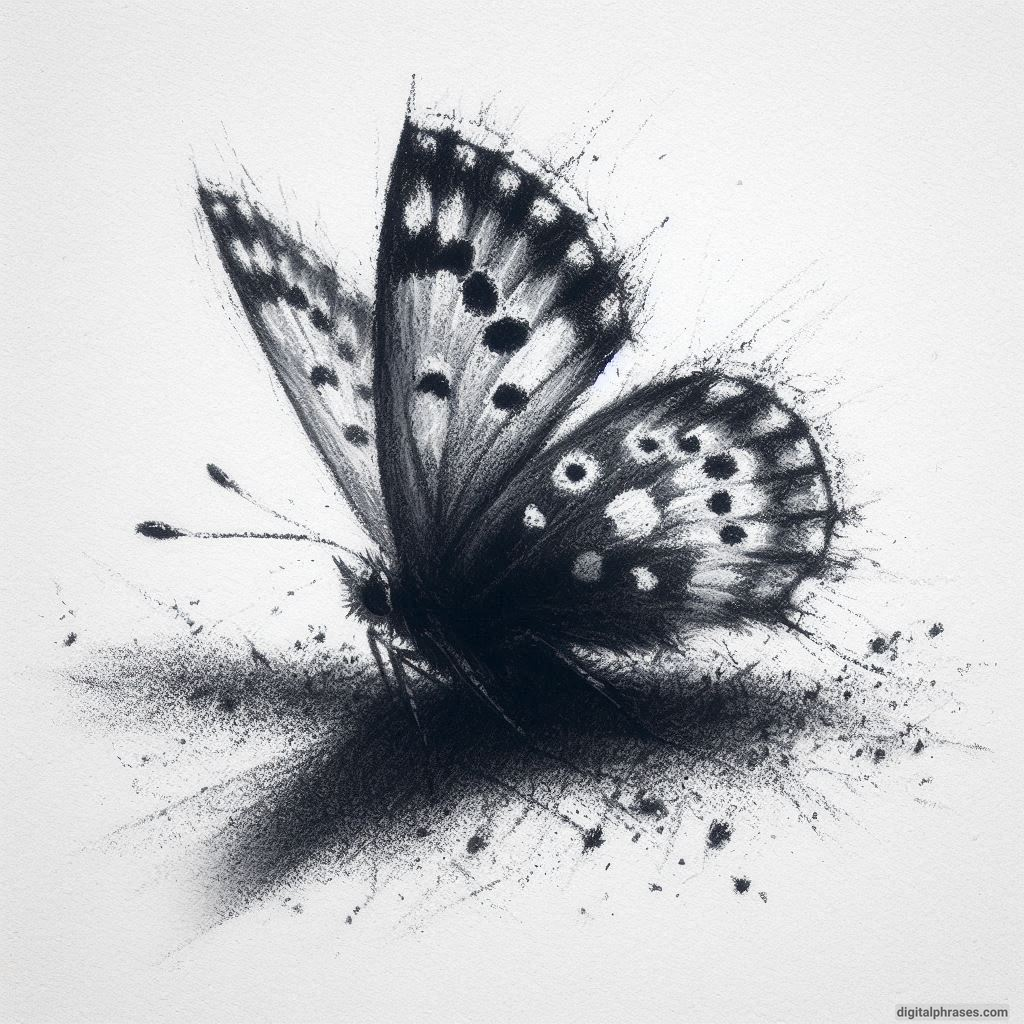
11
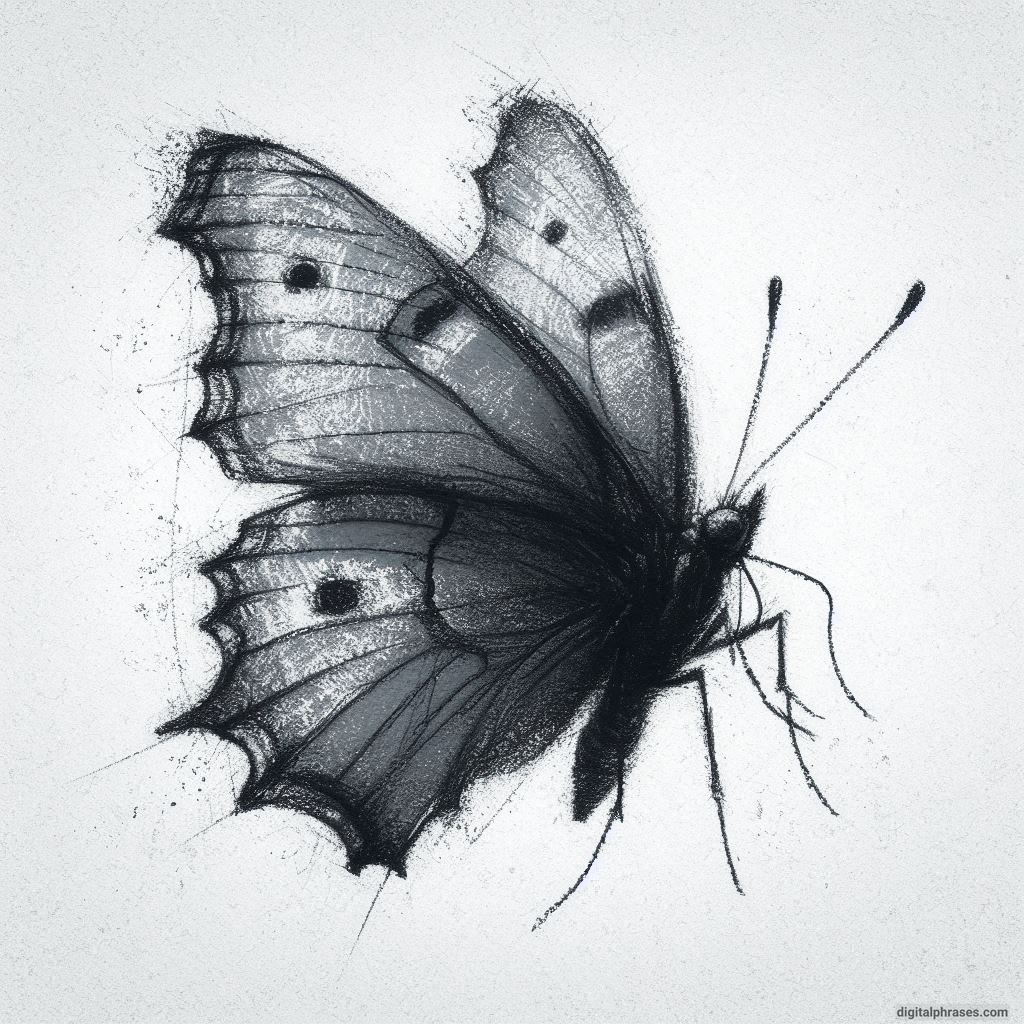
12
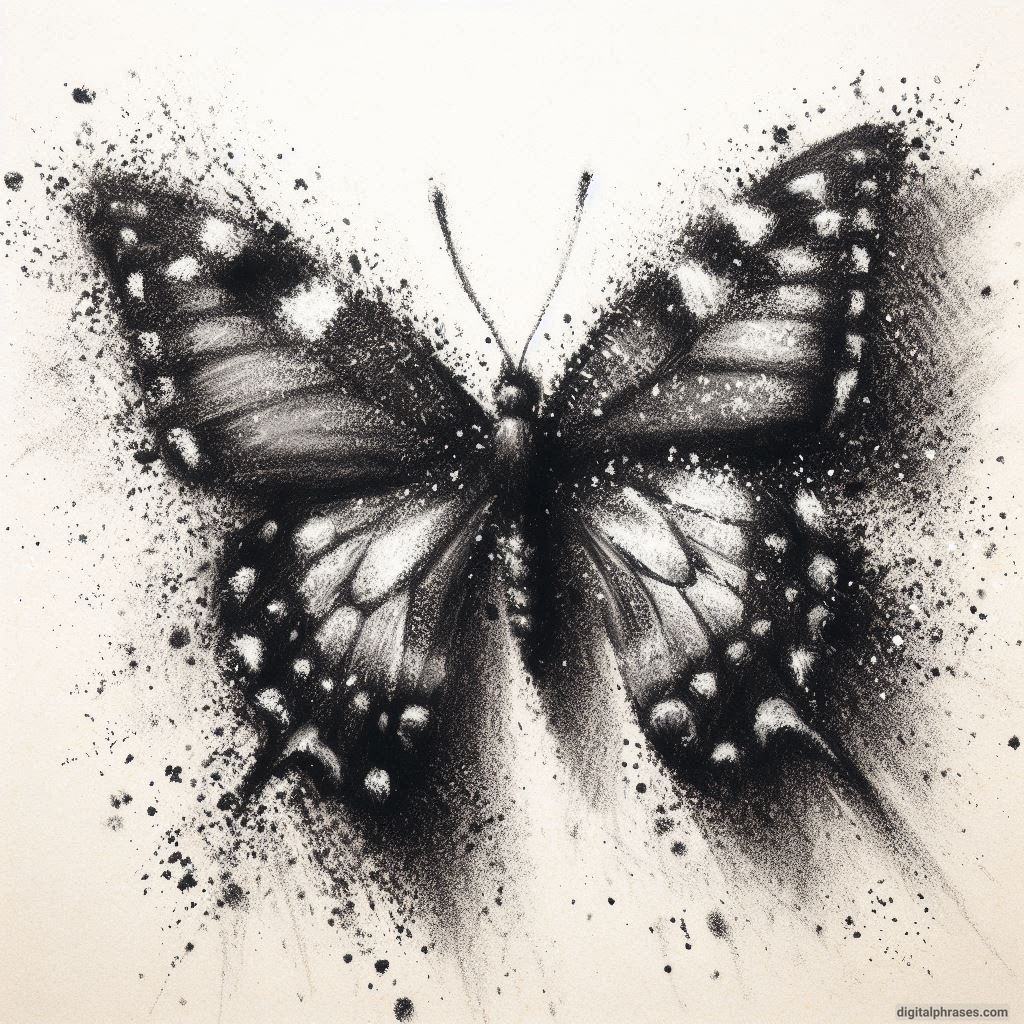
13
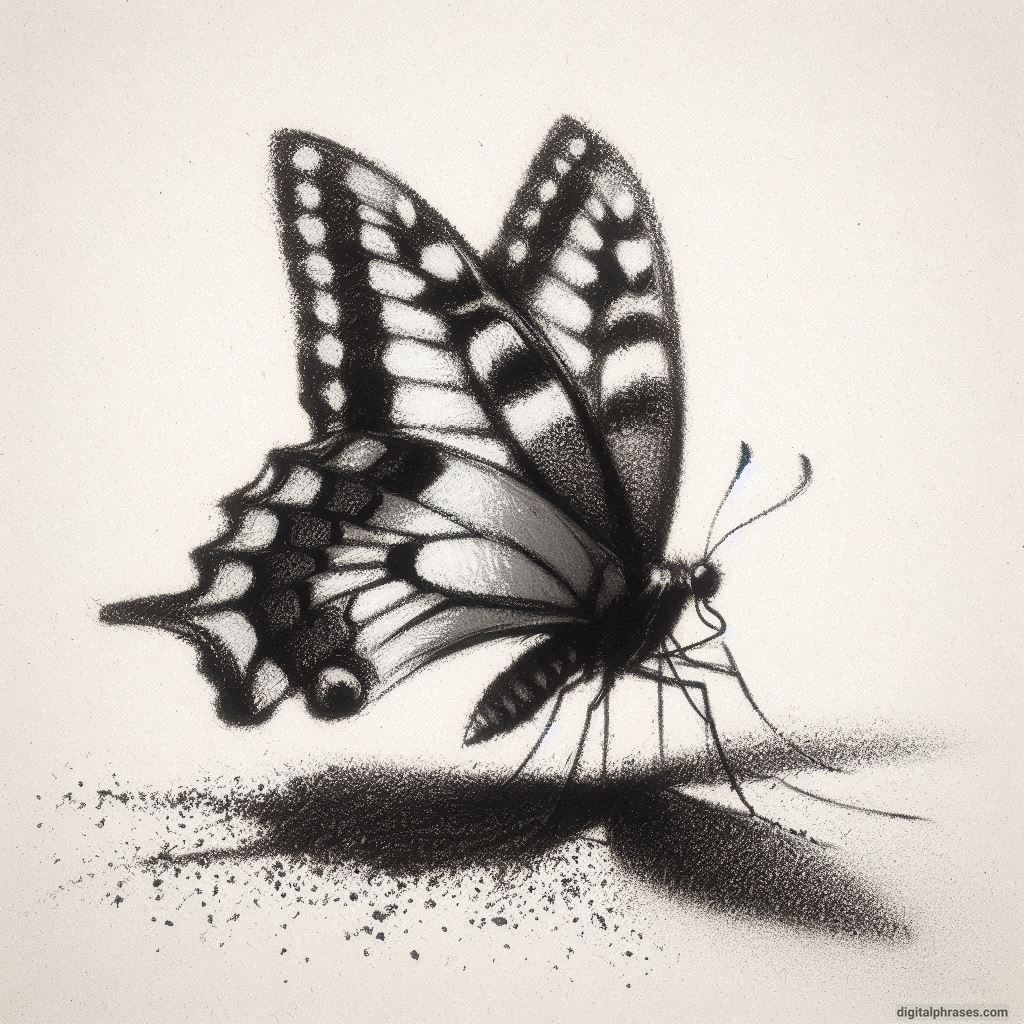
14
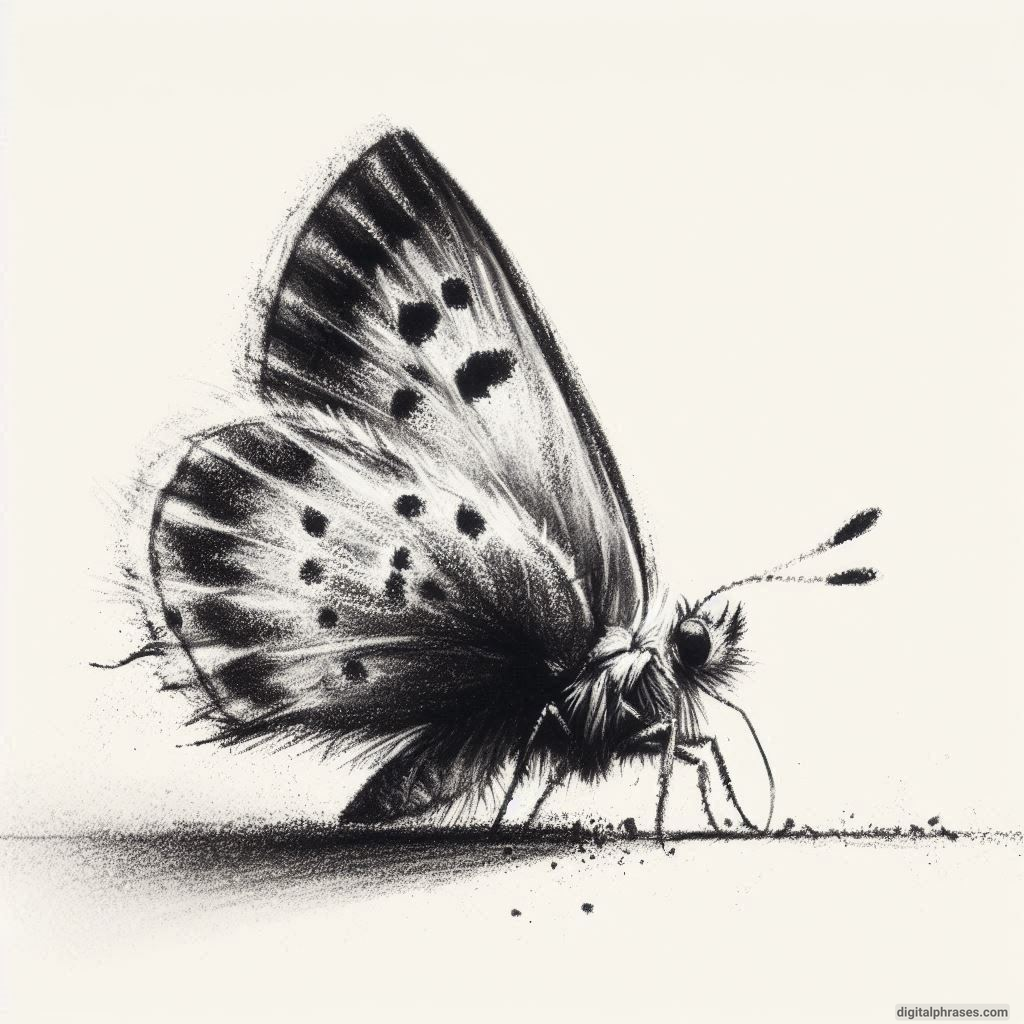
15
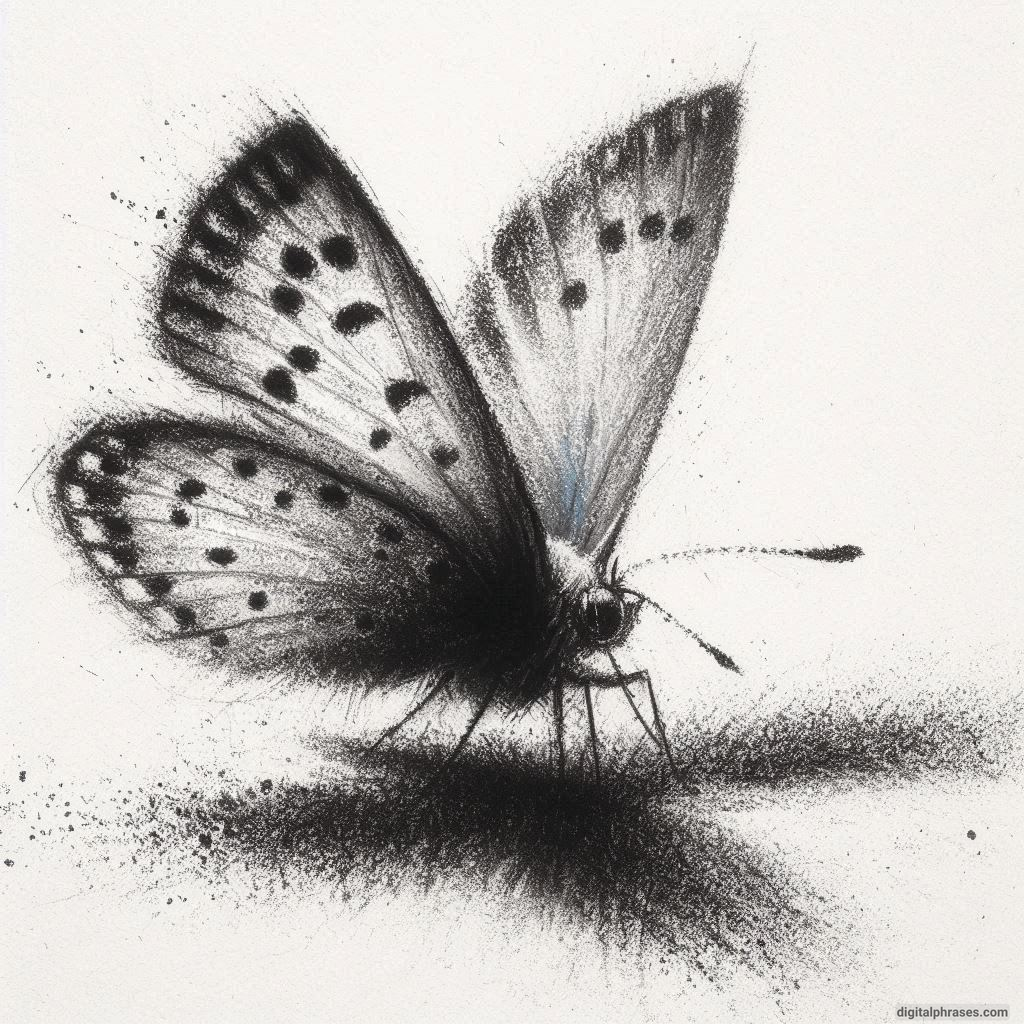
16
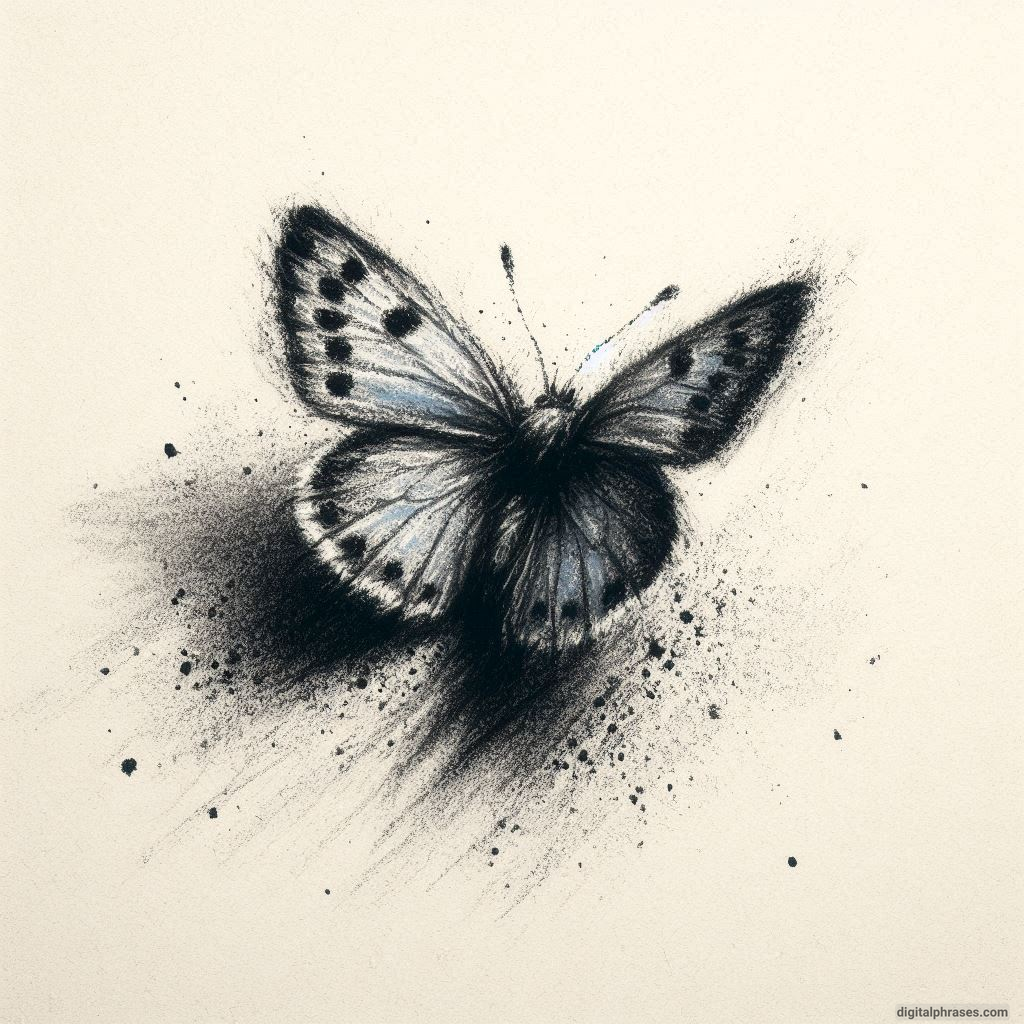
17
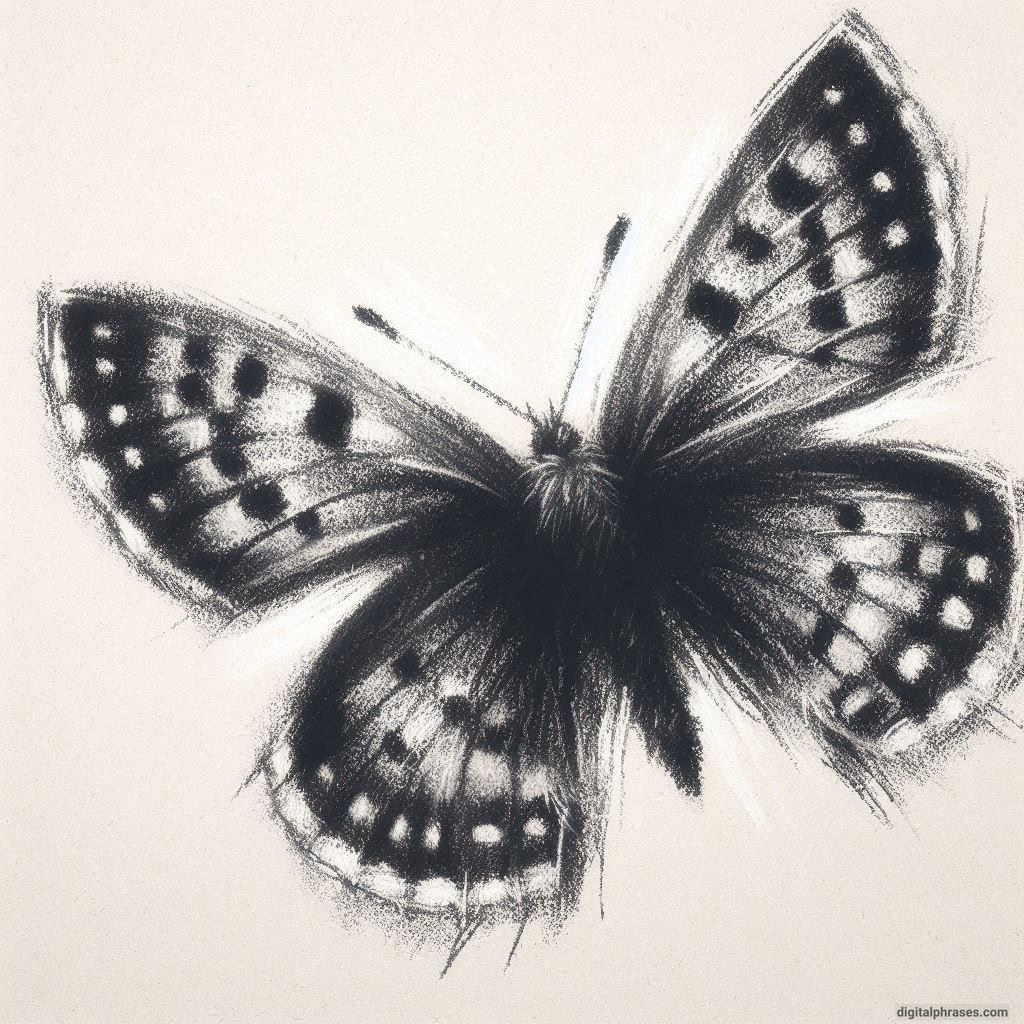
18
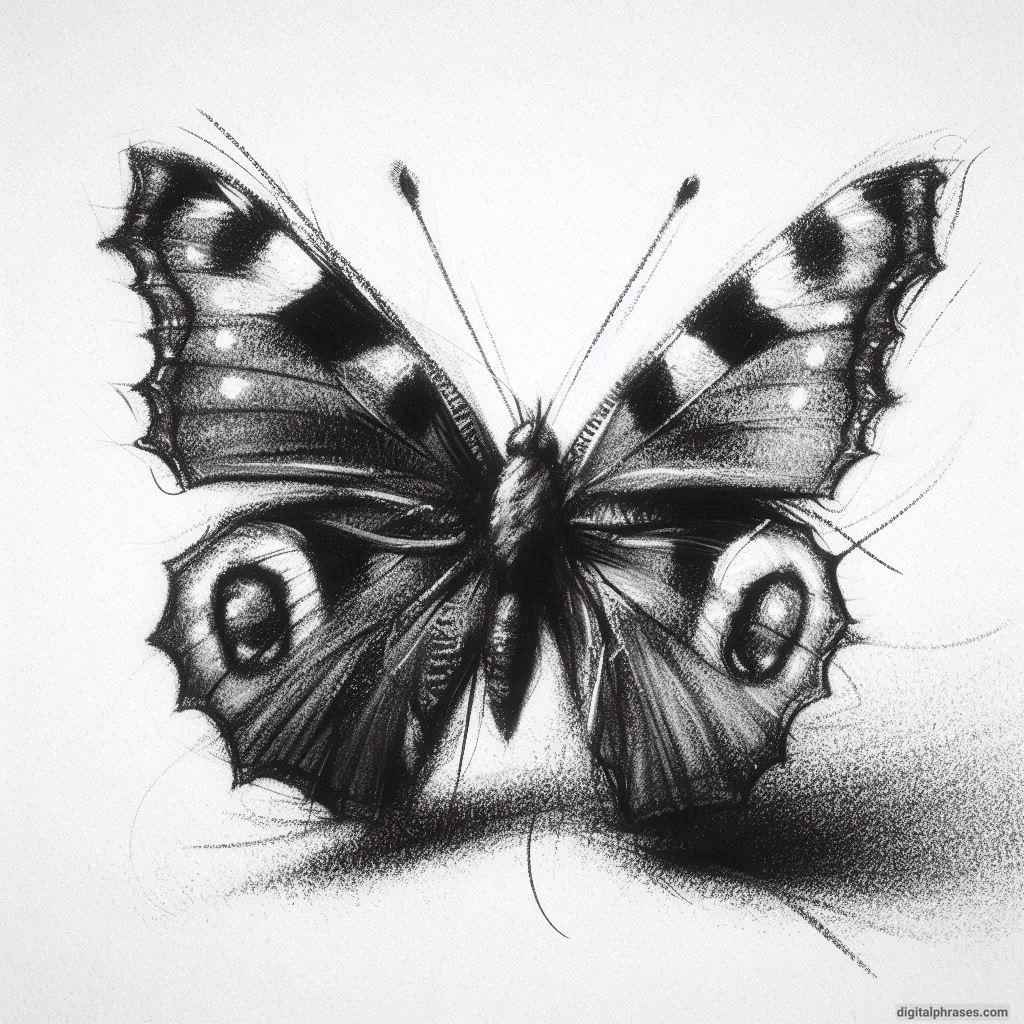
19
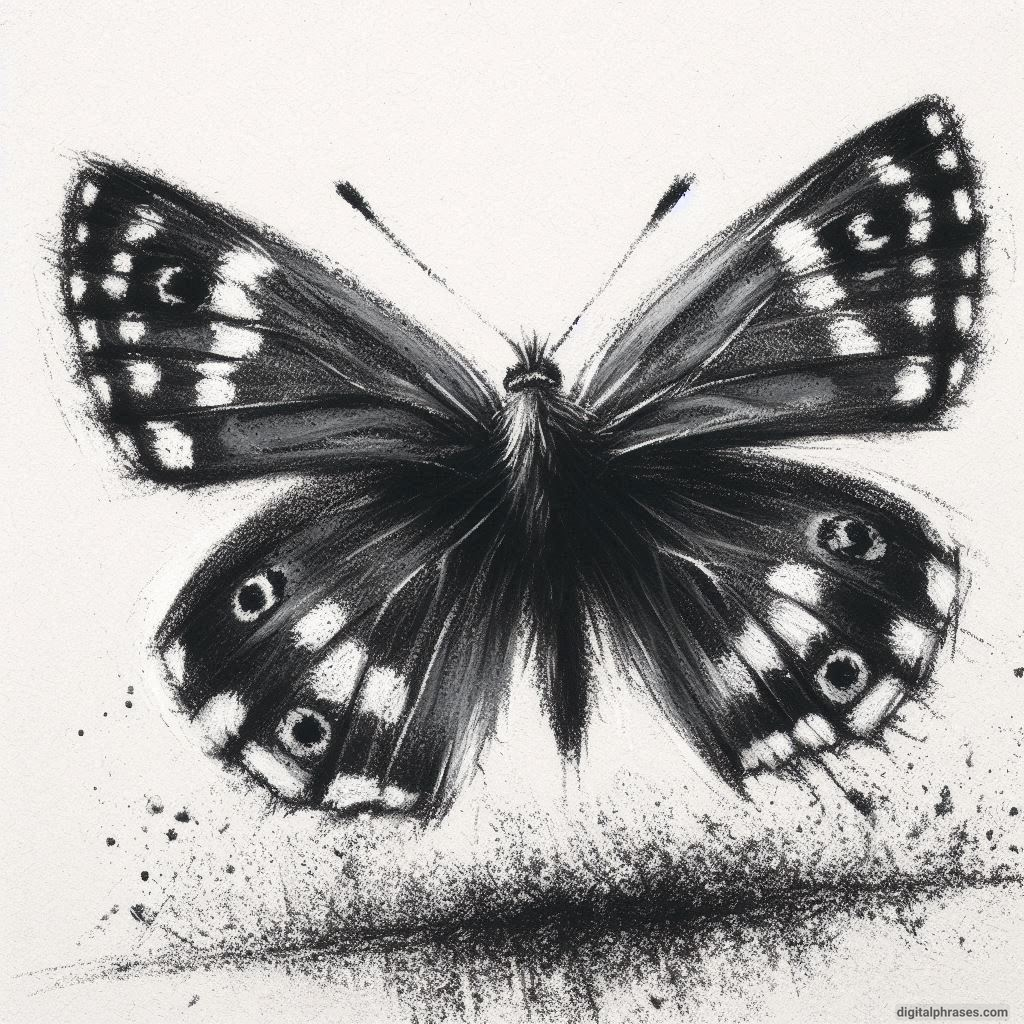
20
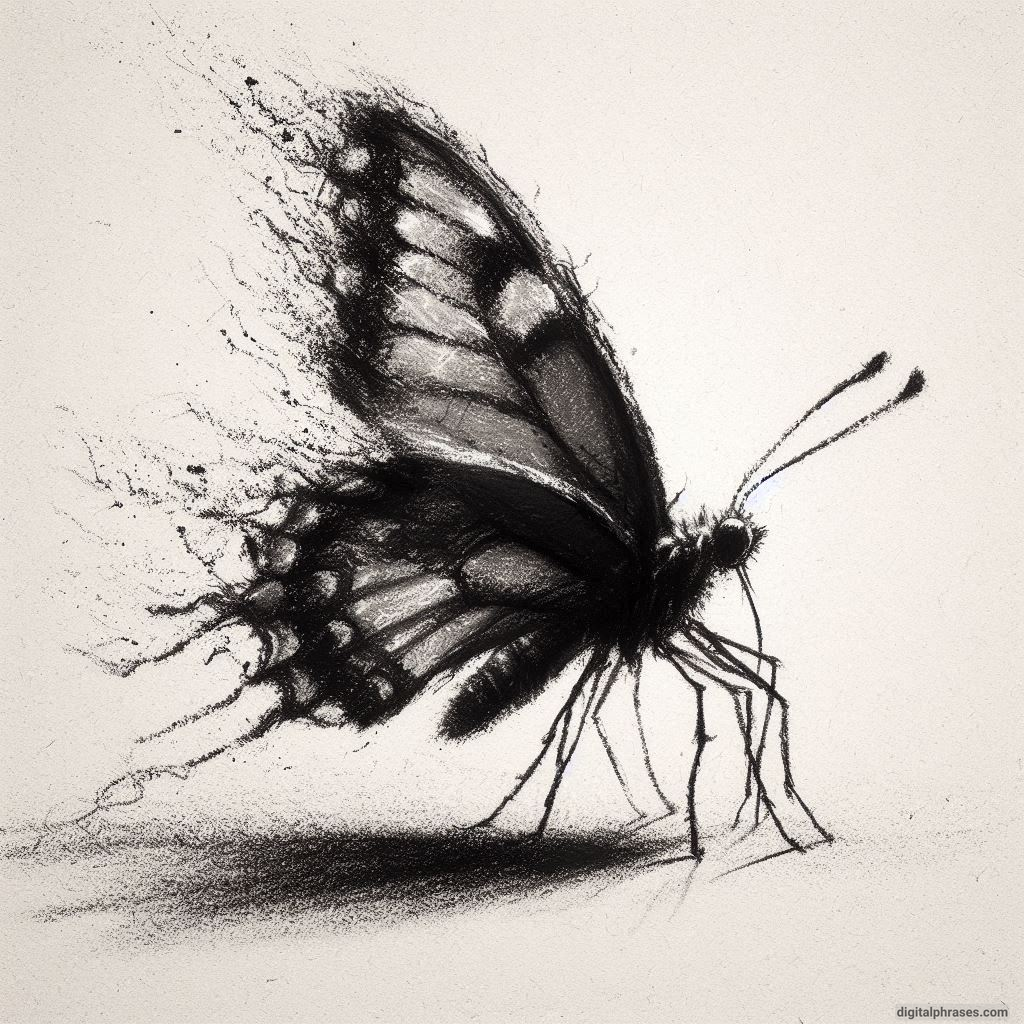
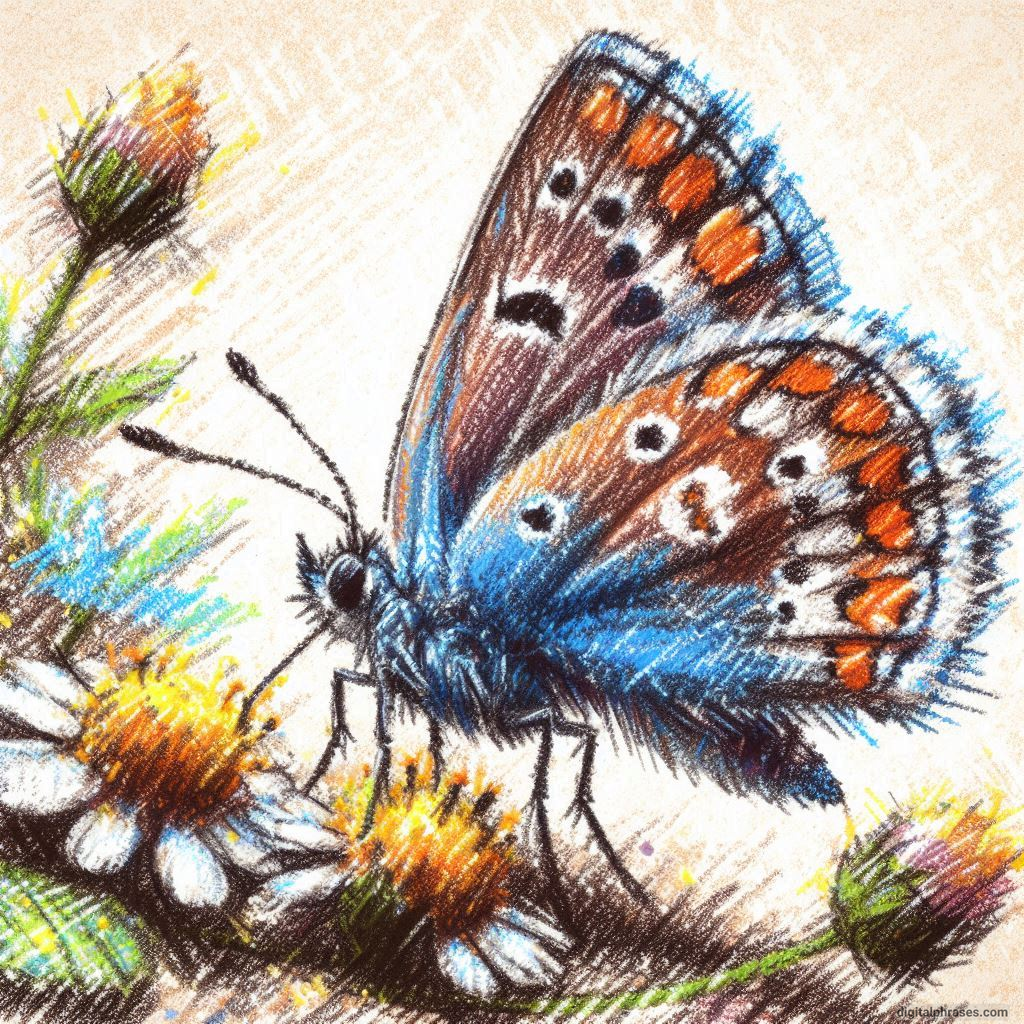
Crayon Sketches
1
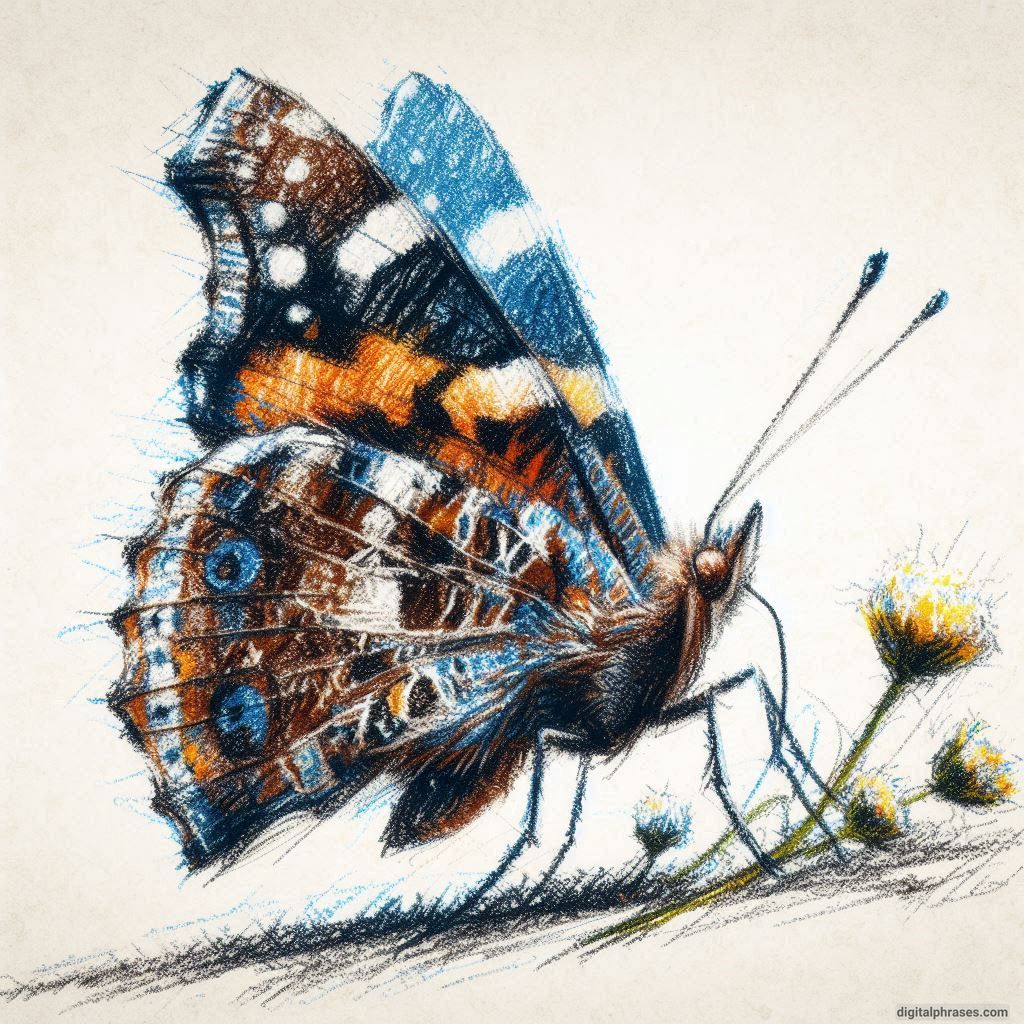
2
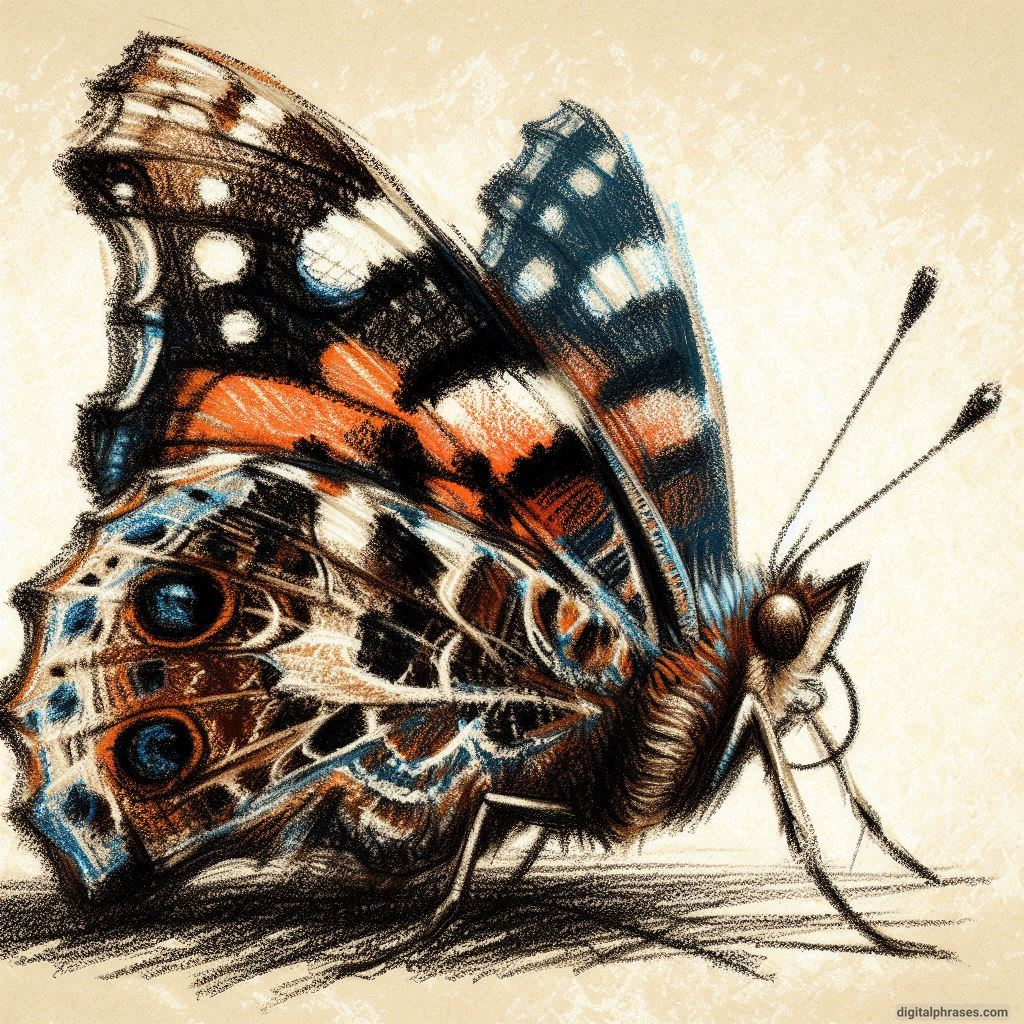
3
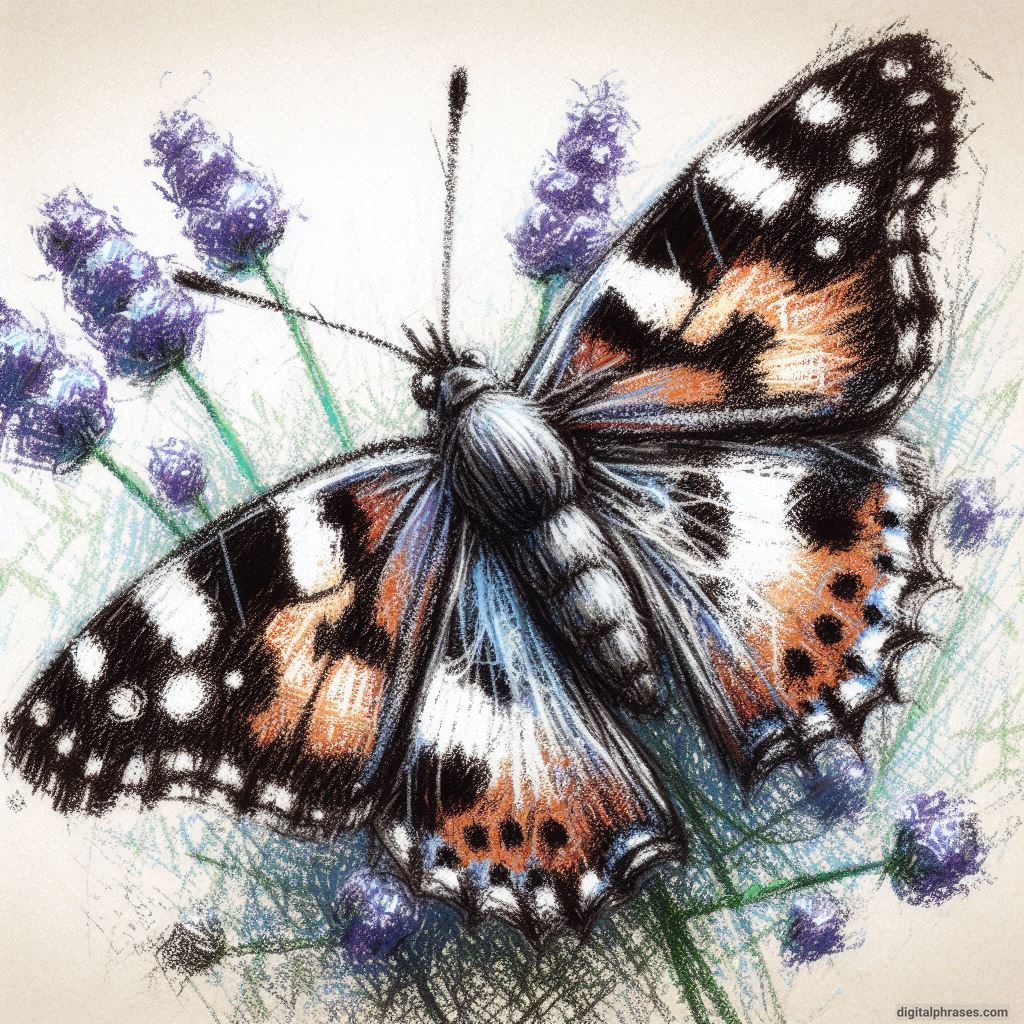
4
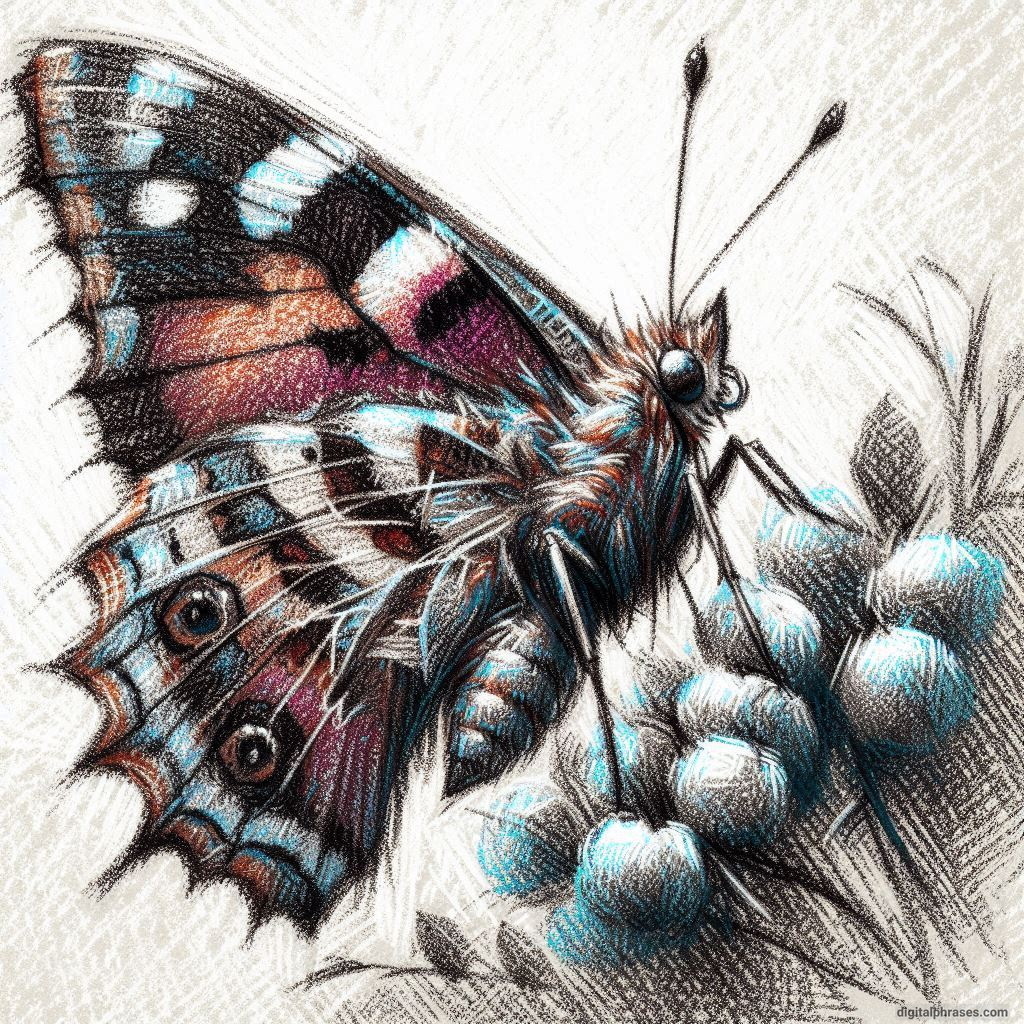
5
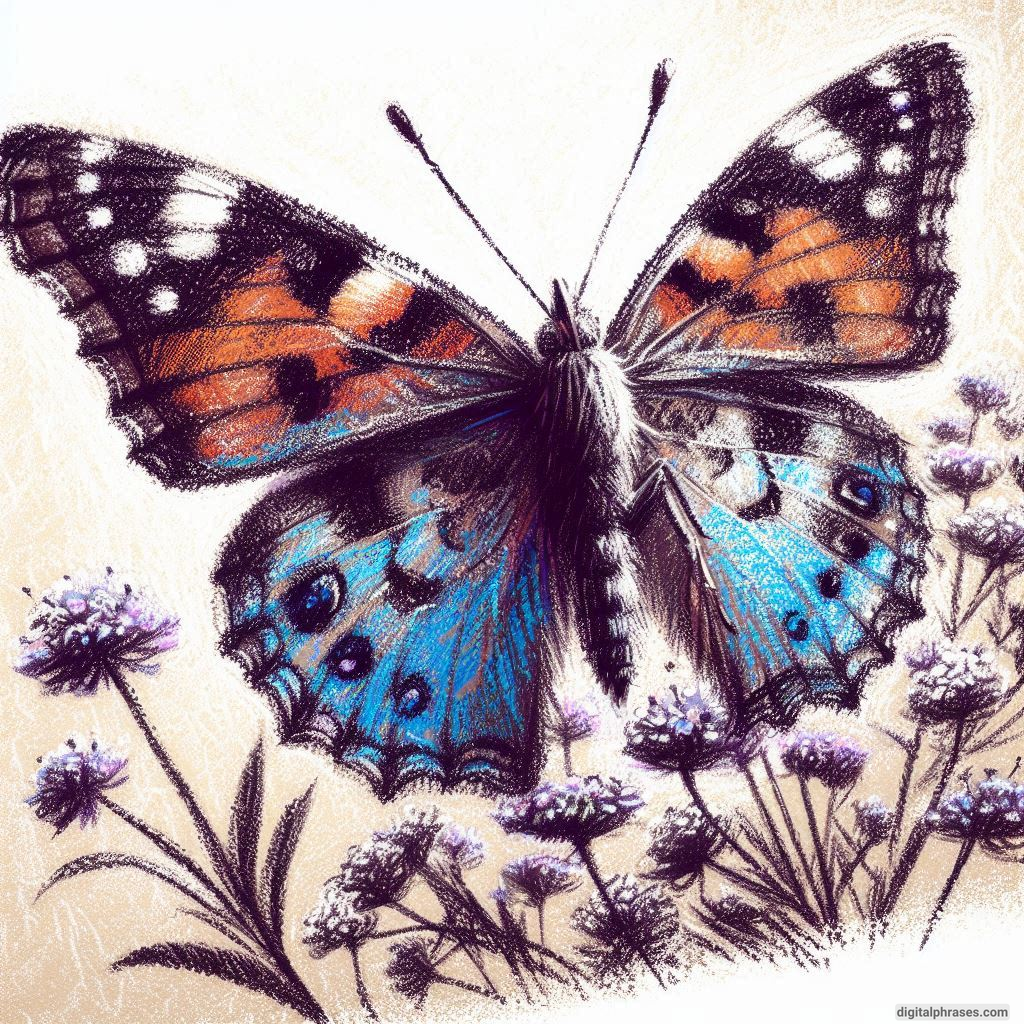
6
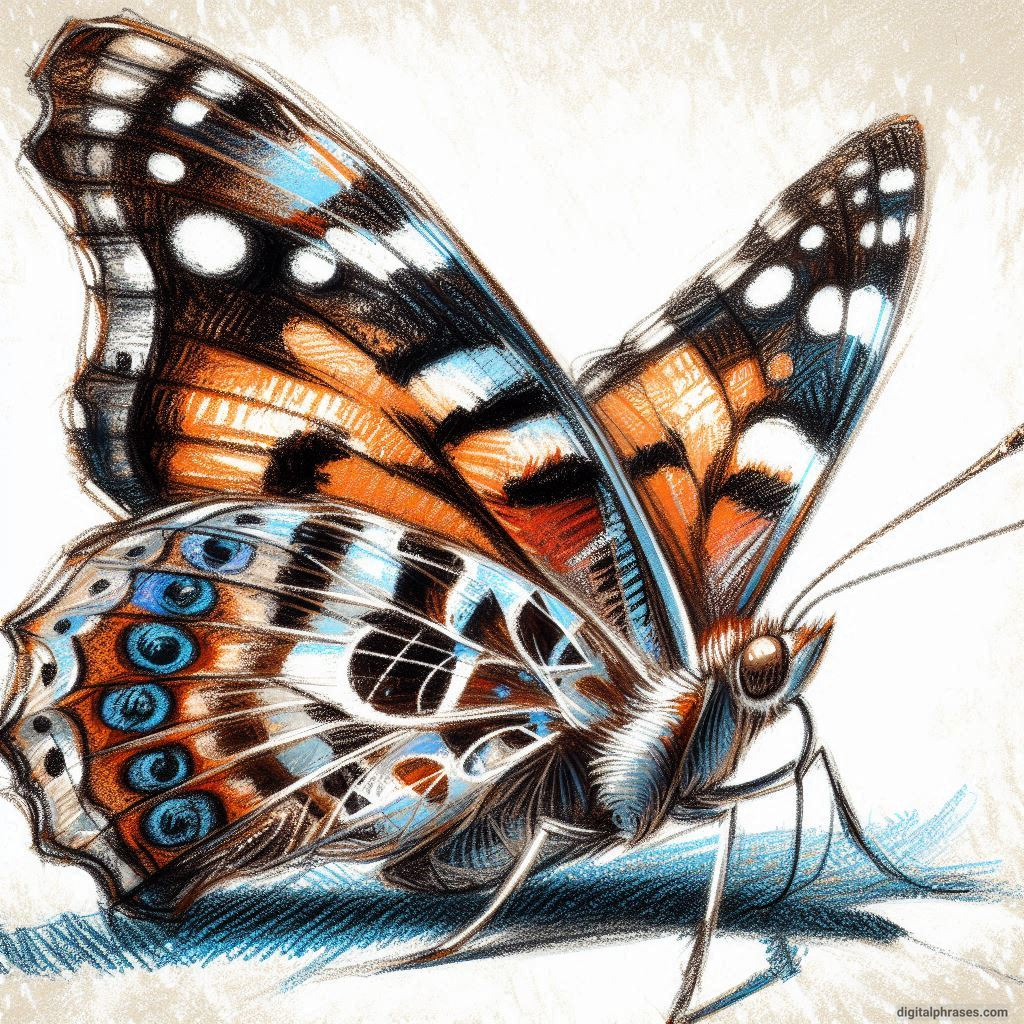
7
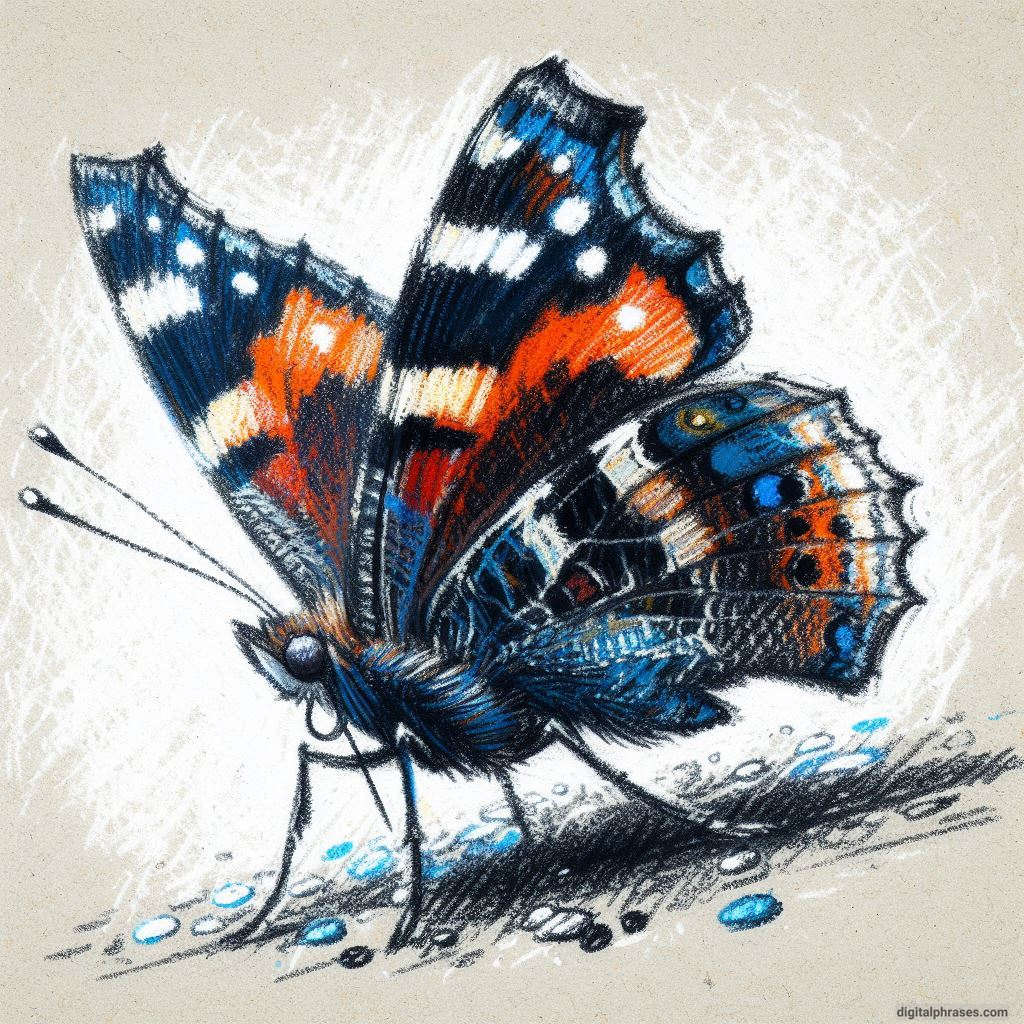
8
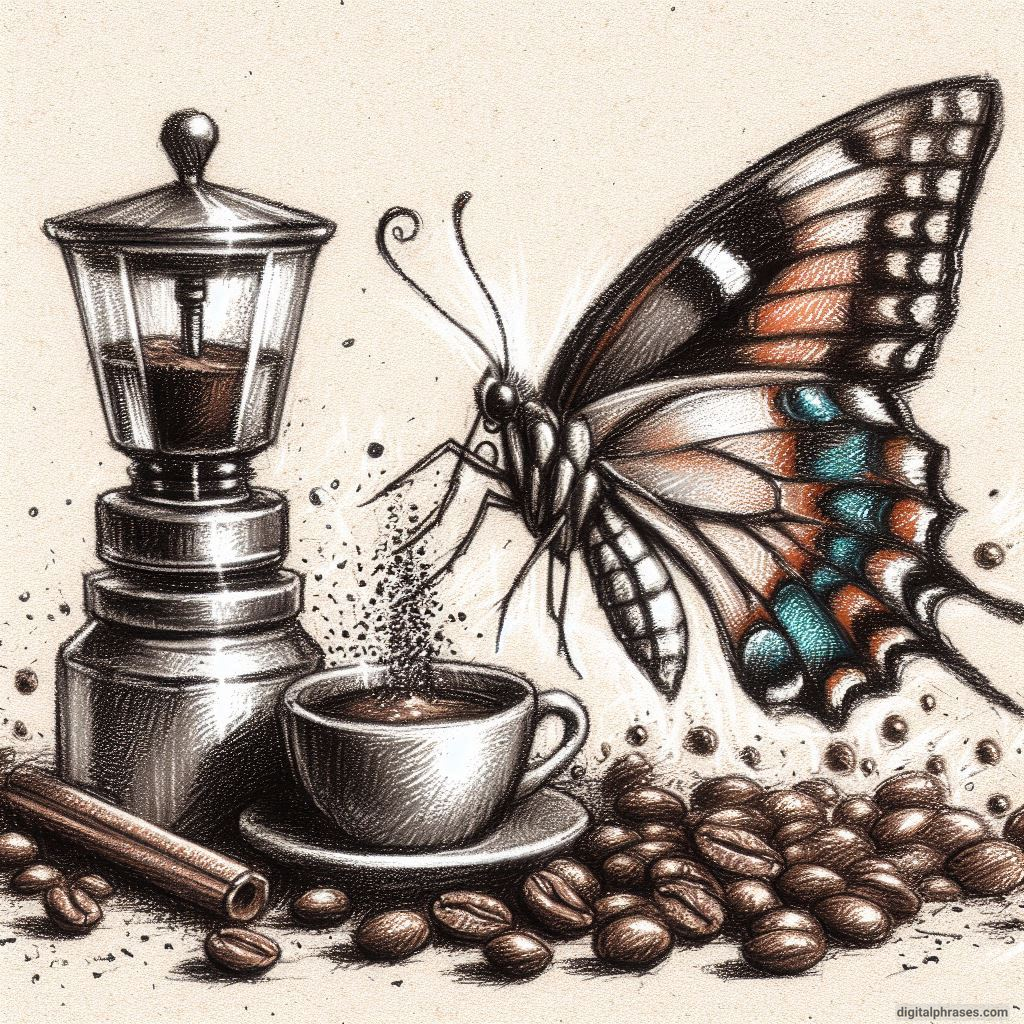
9
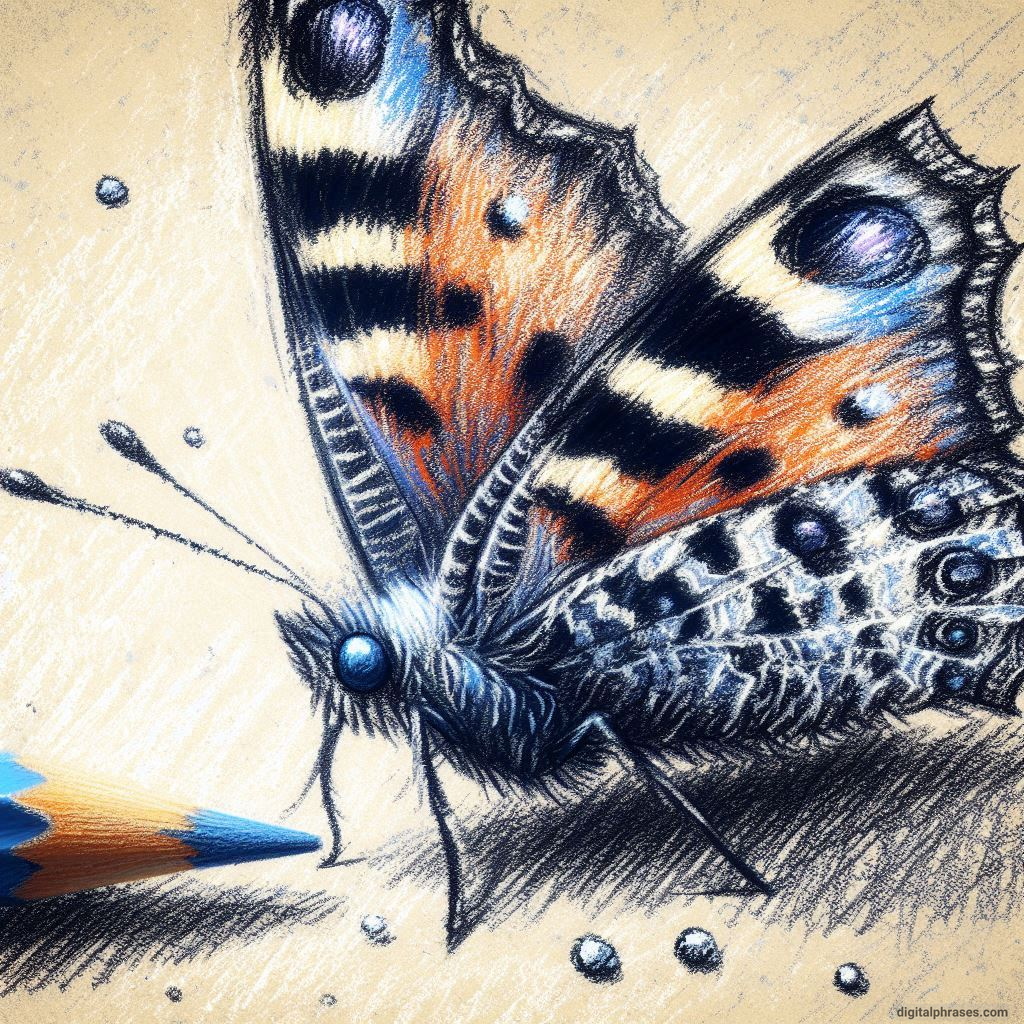
10
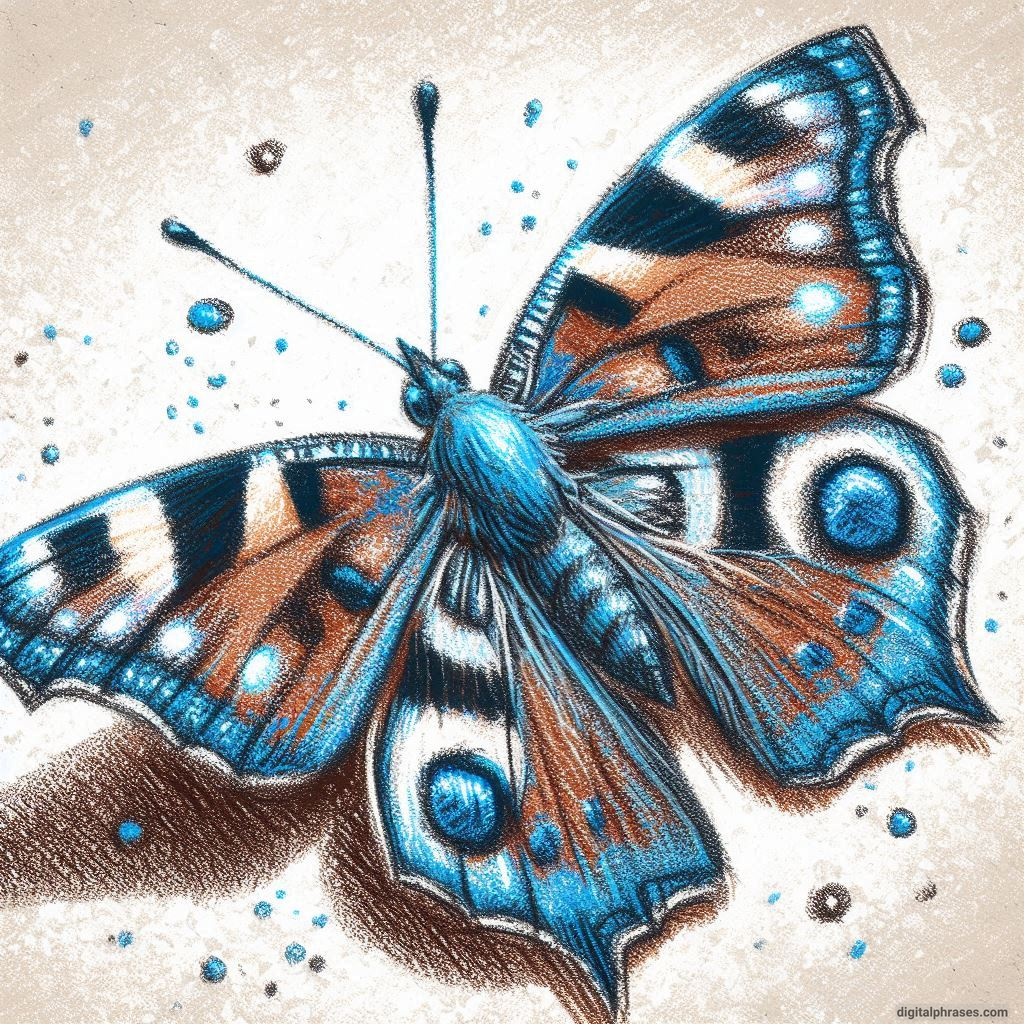
11
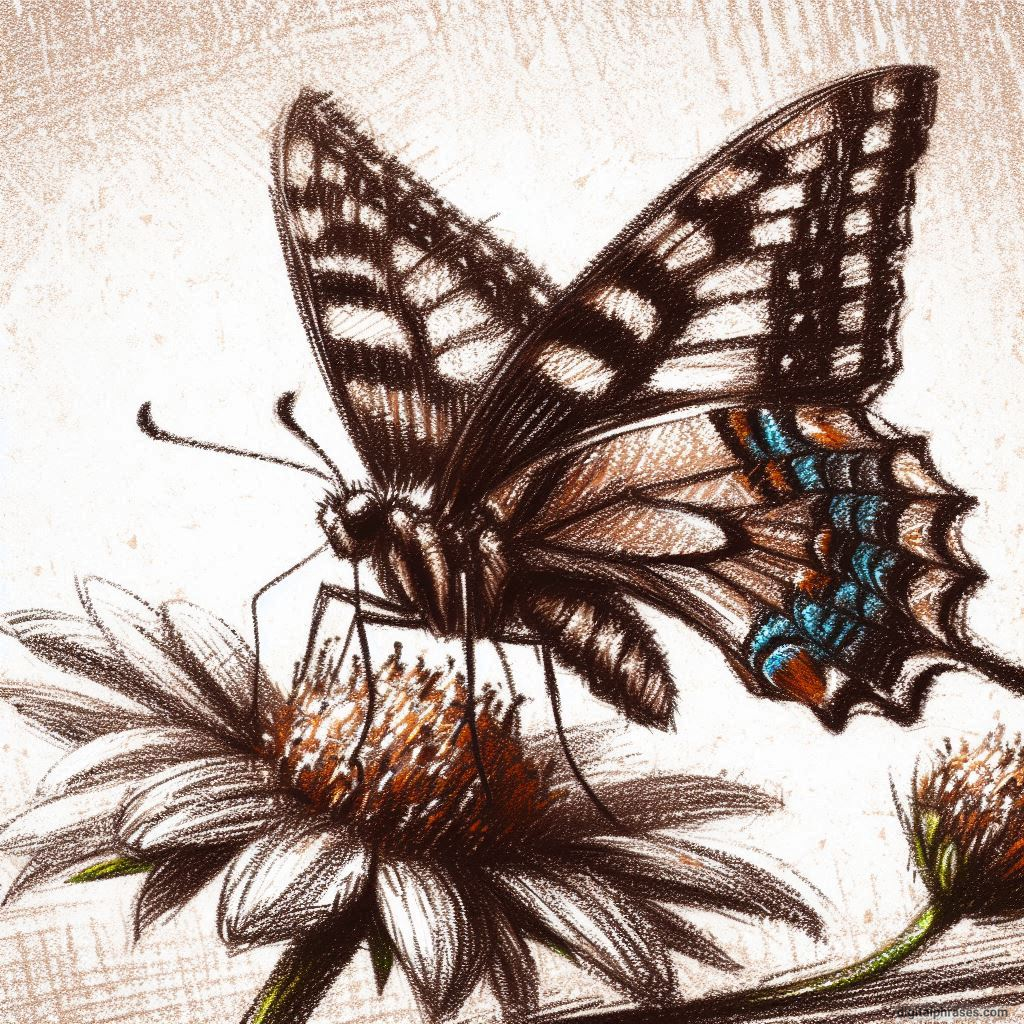
12
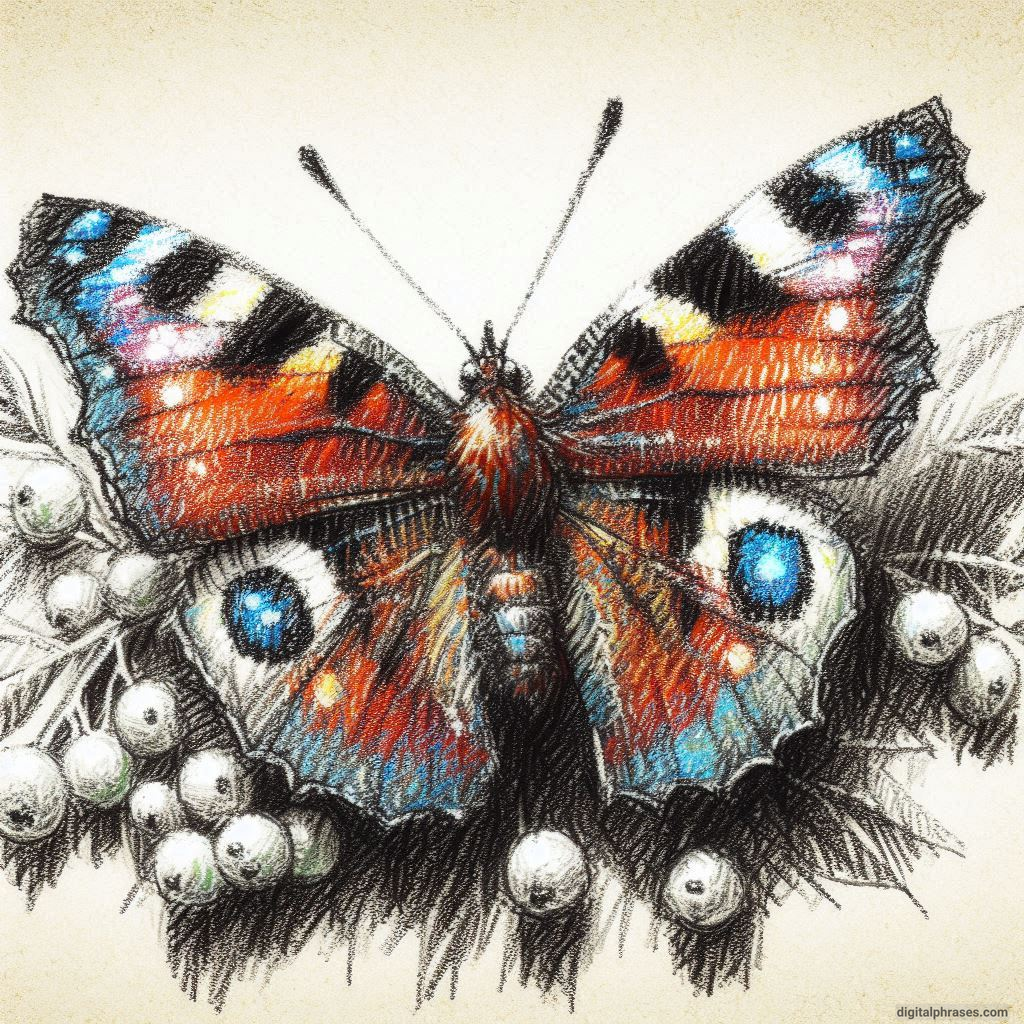
13
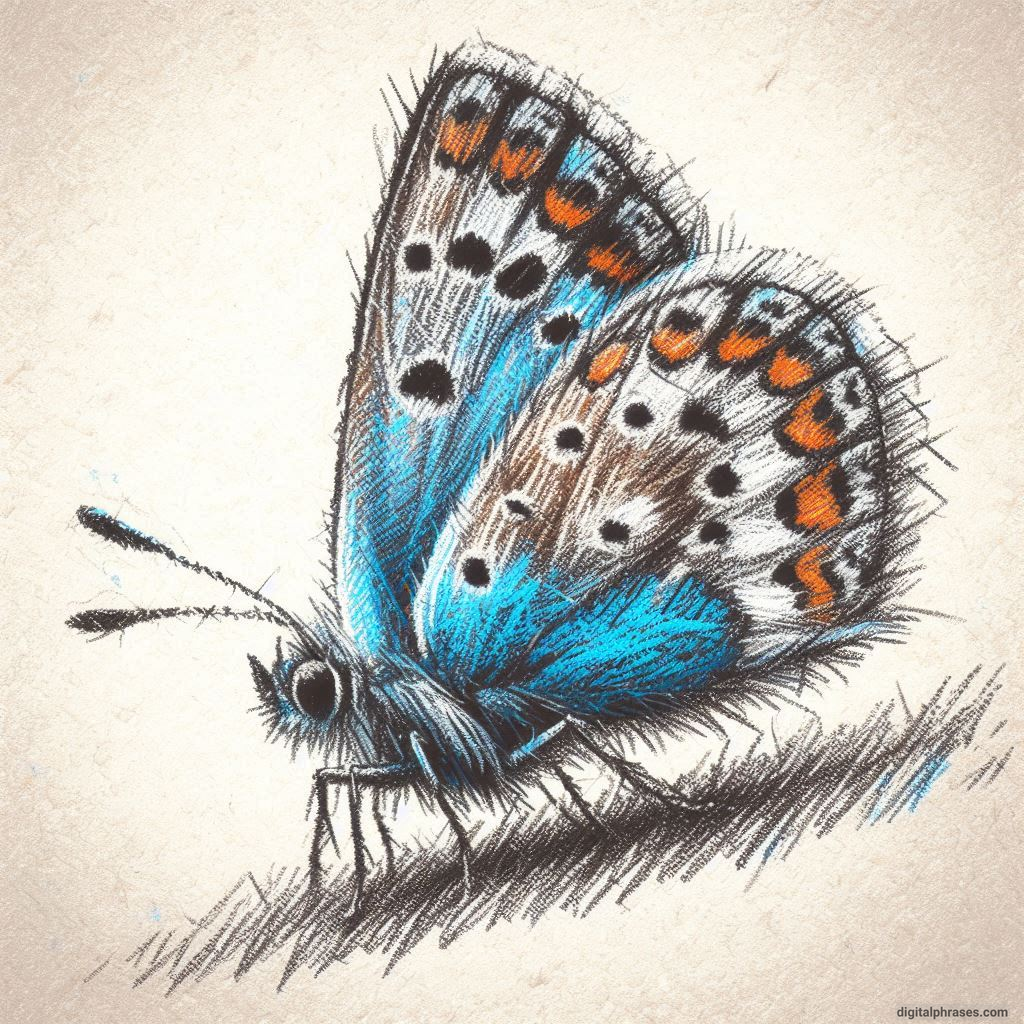
14
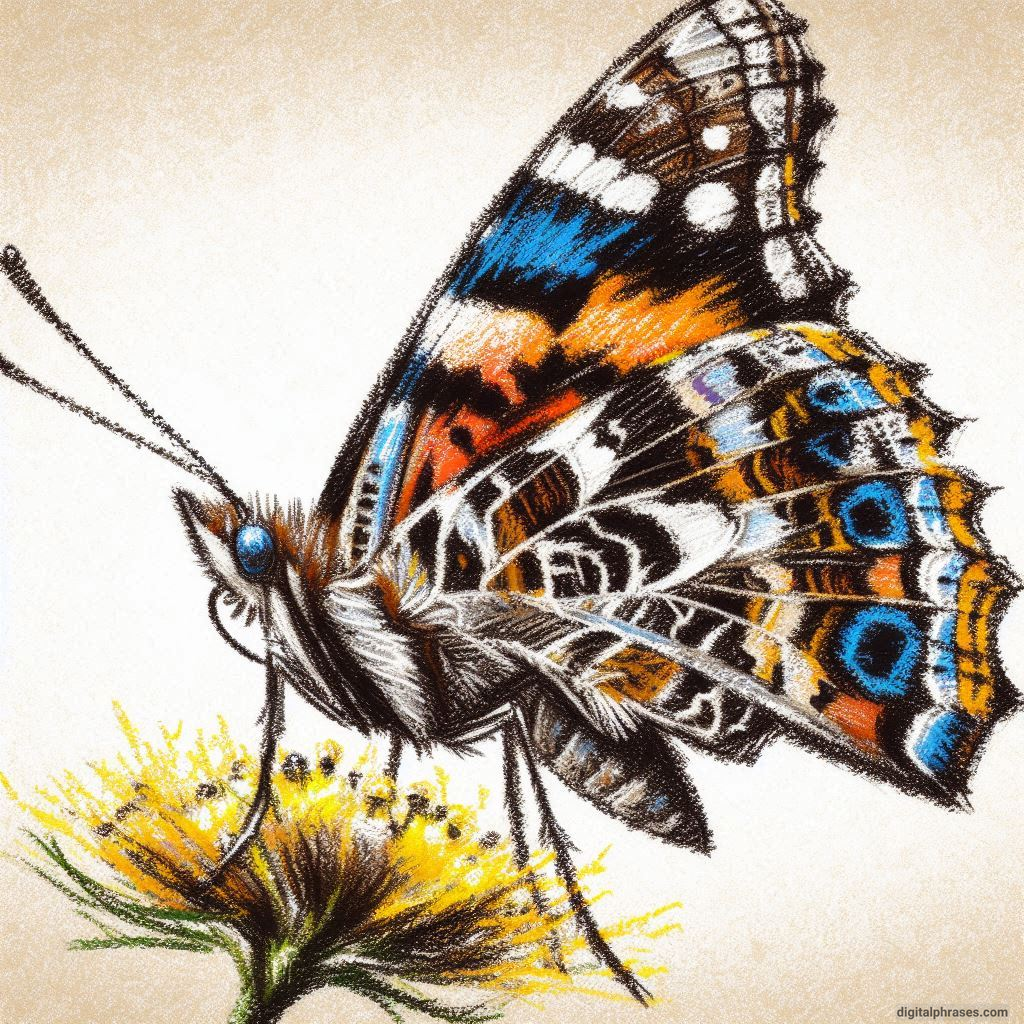
15
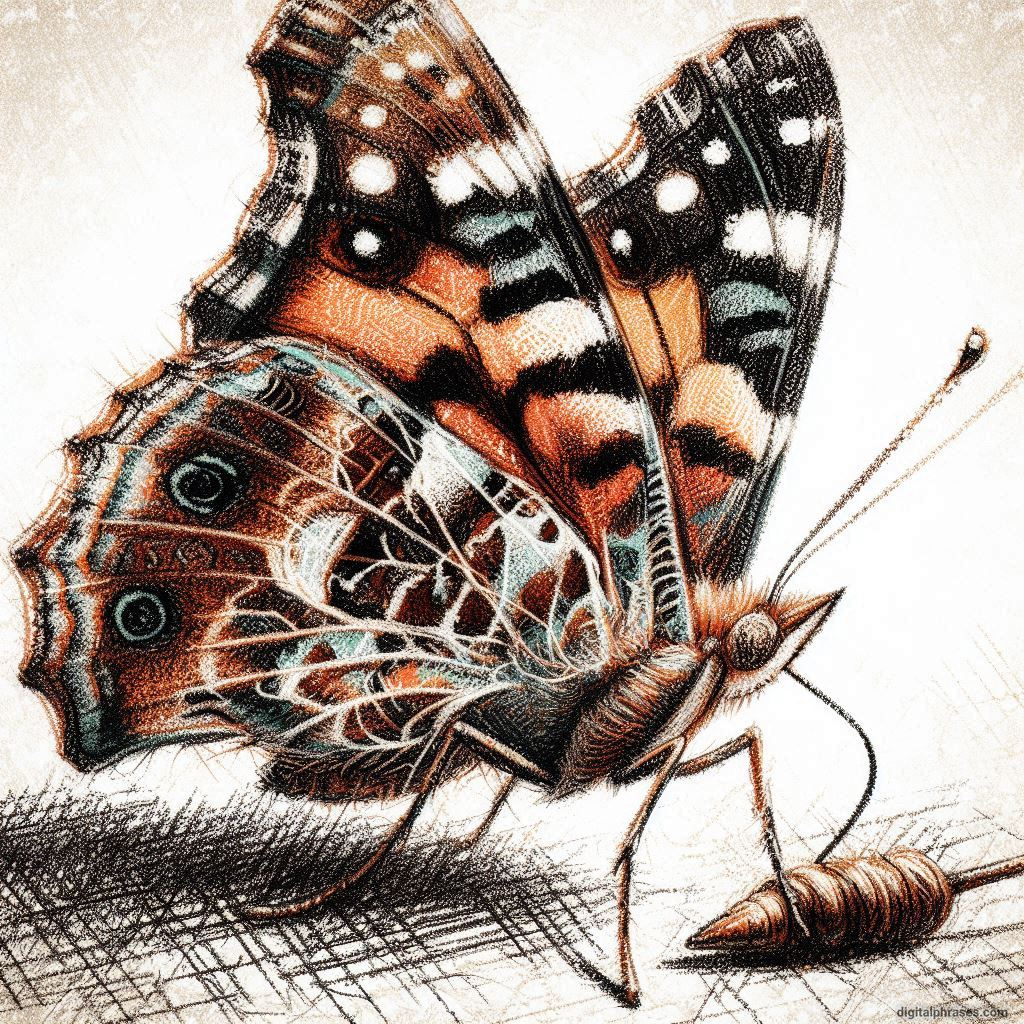
16
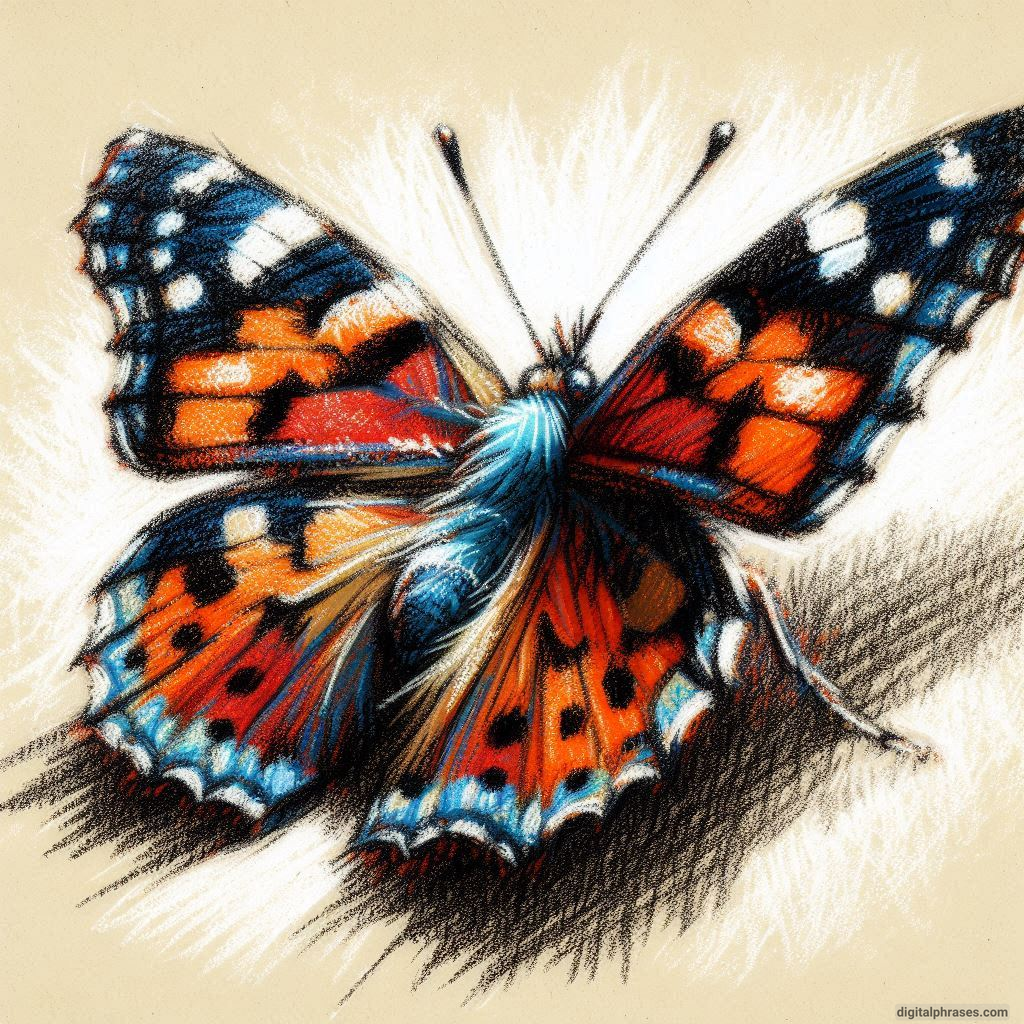
17
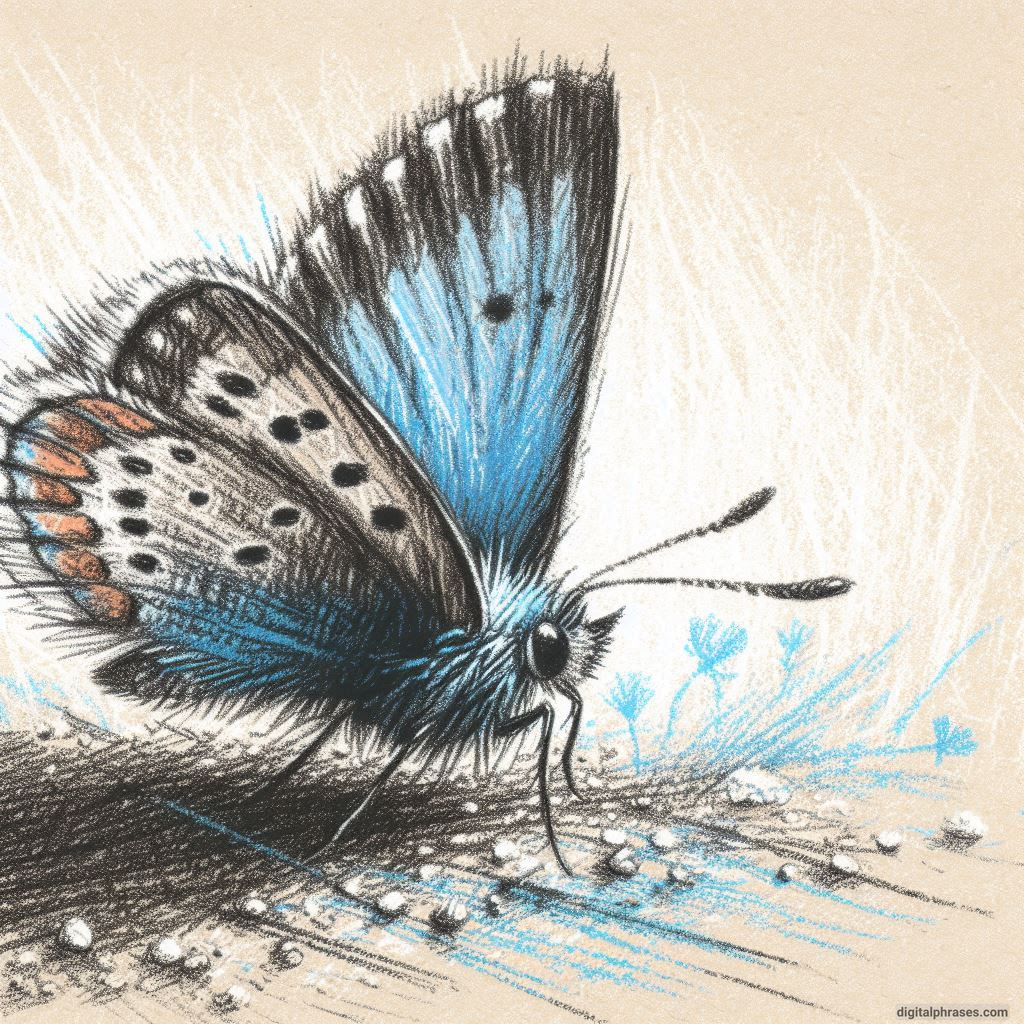
18
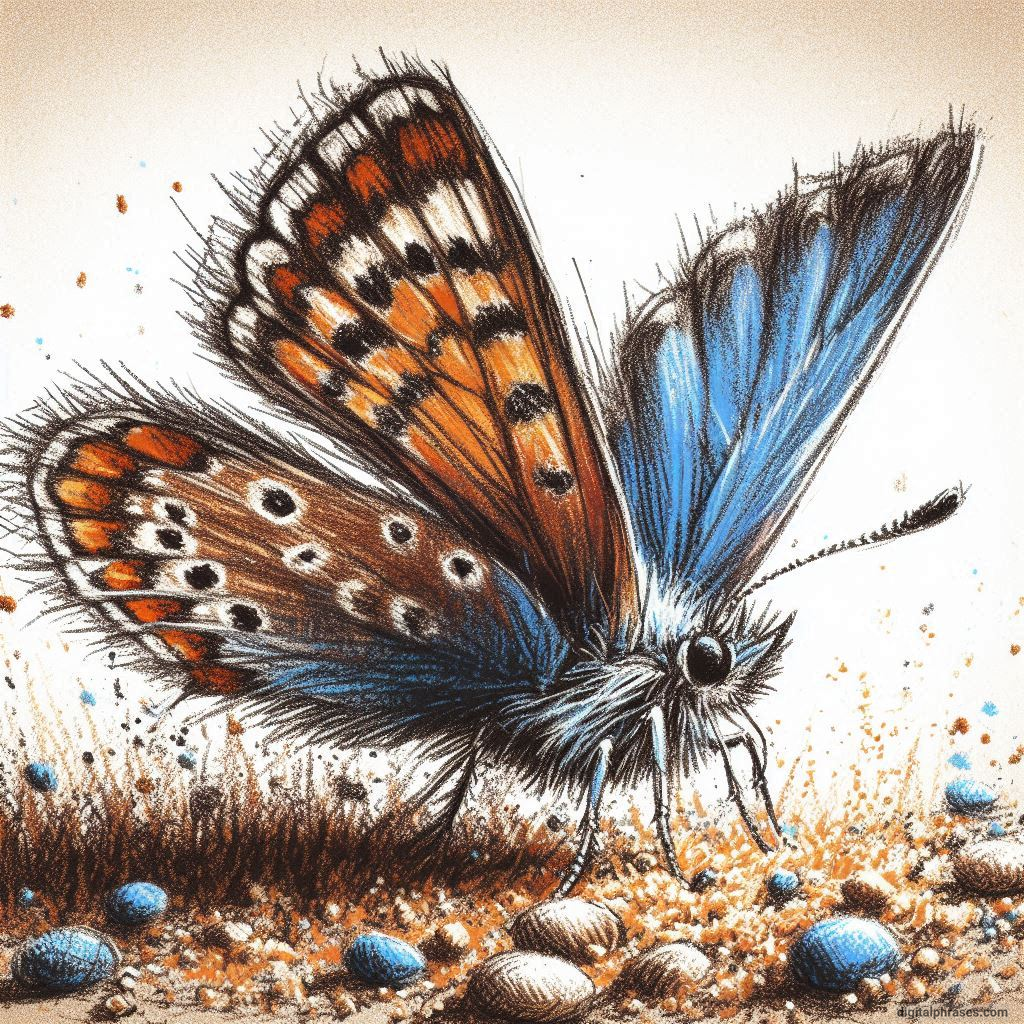
19
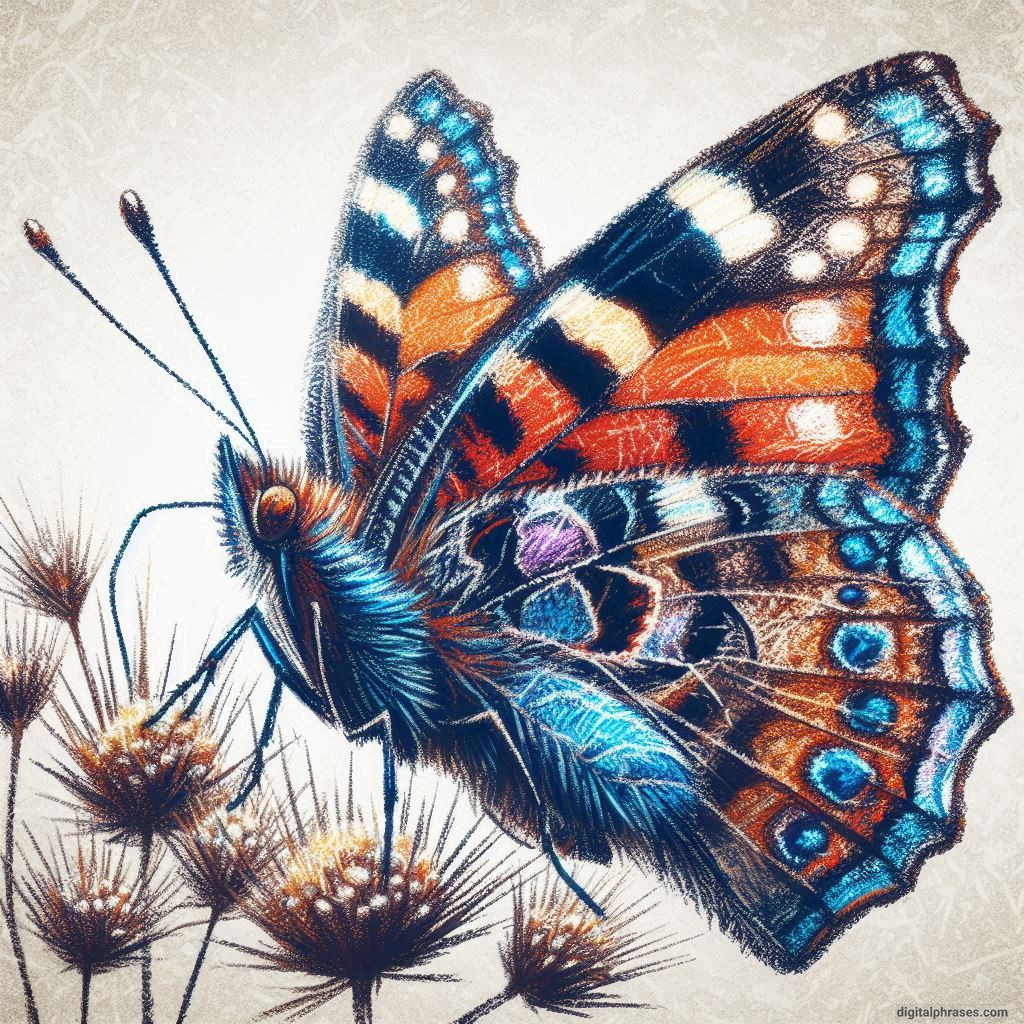
20
Watercolor Paintings
1
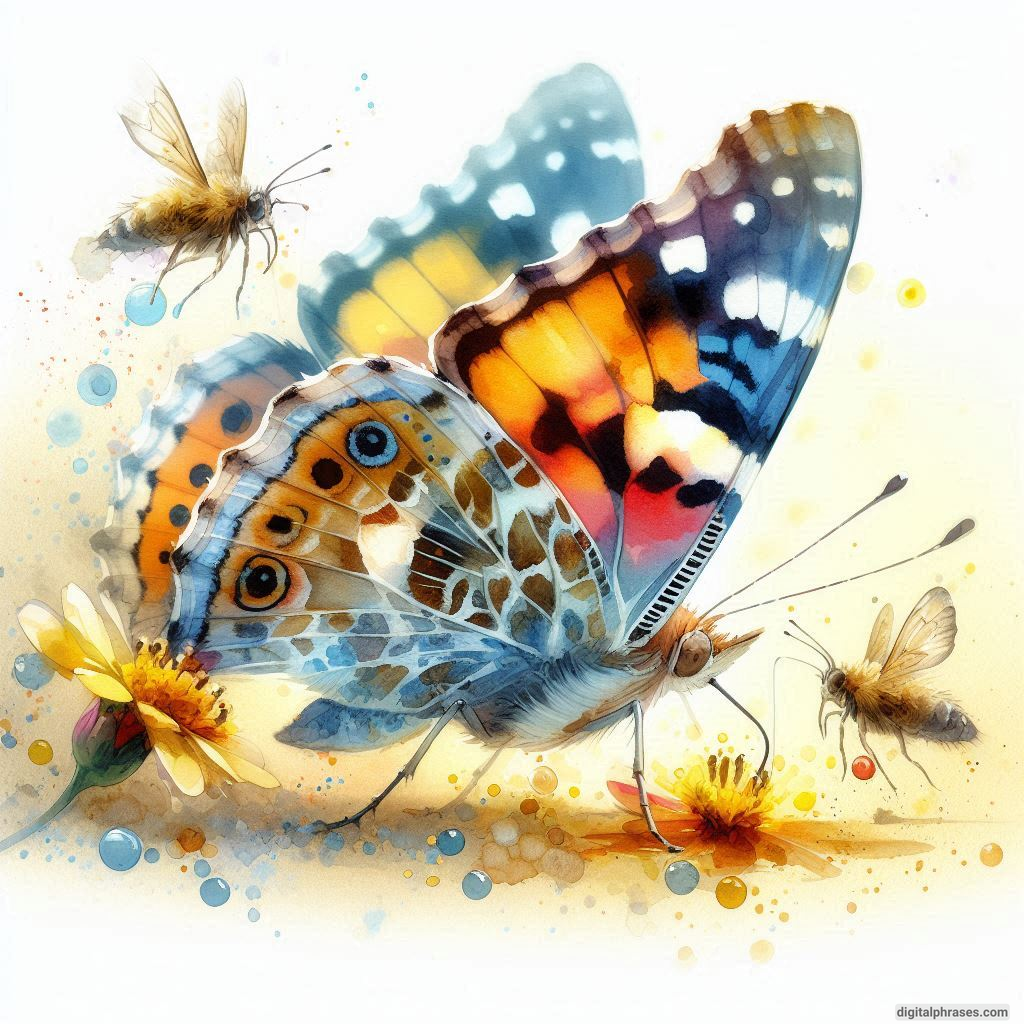
2
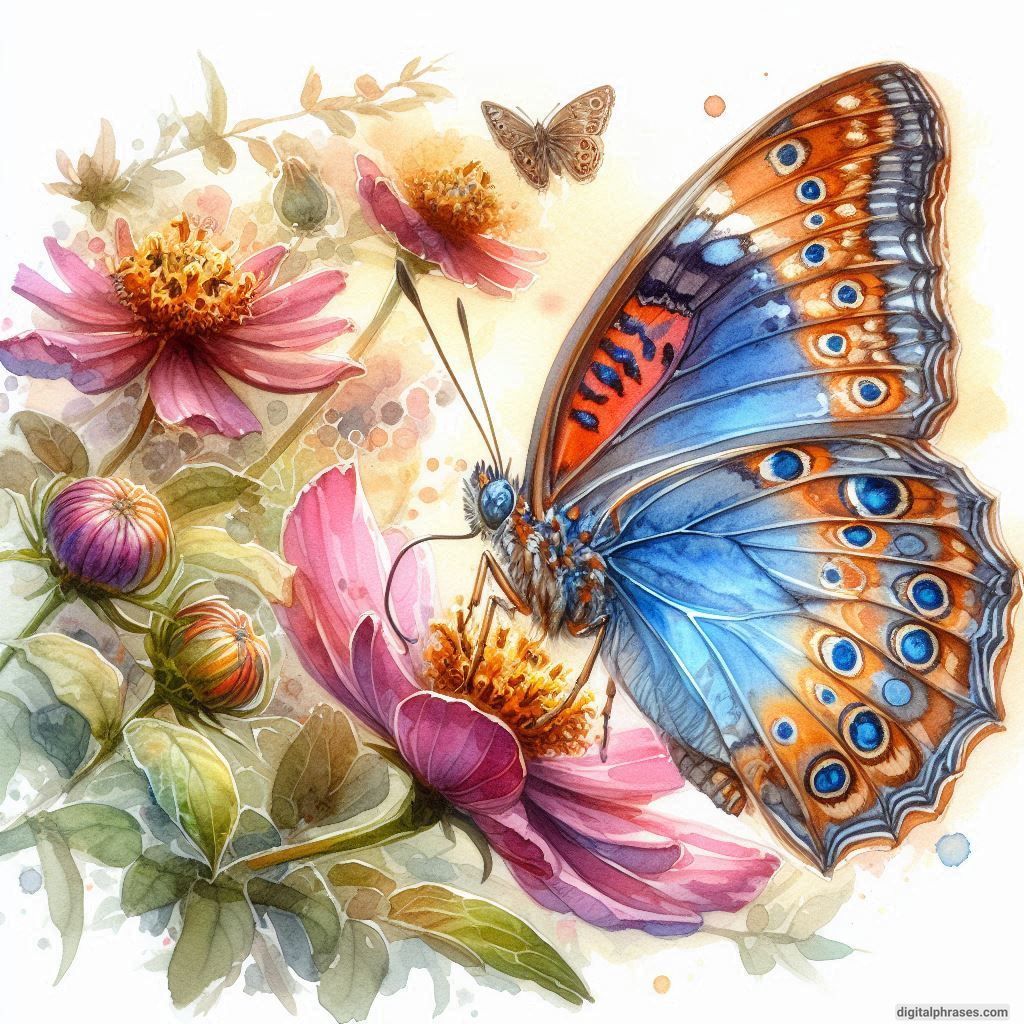
3
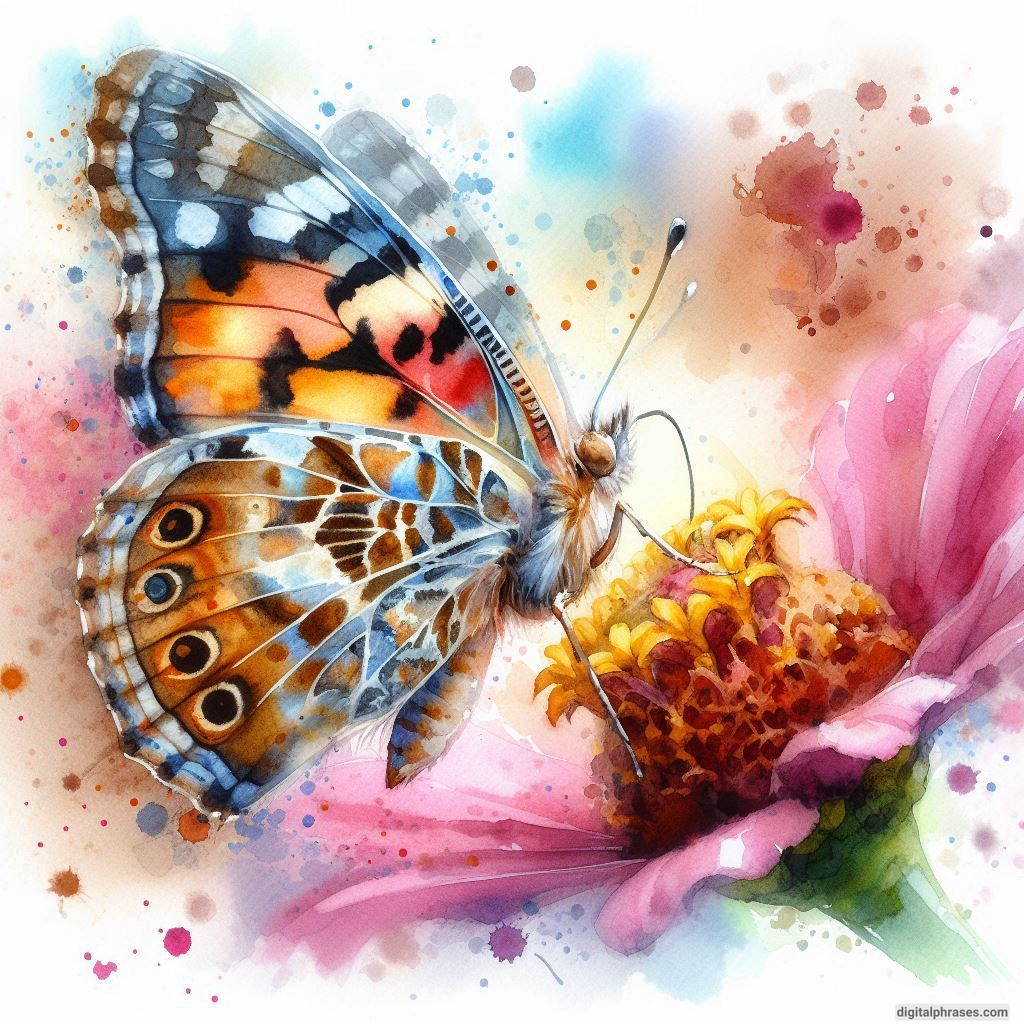
4
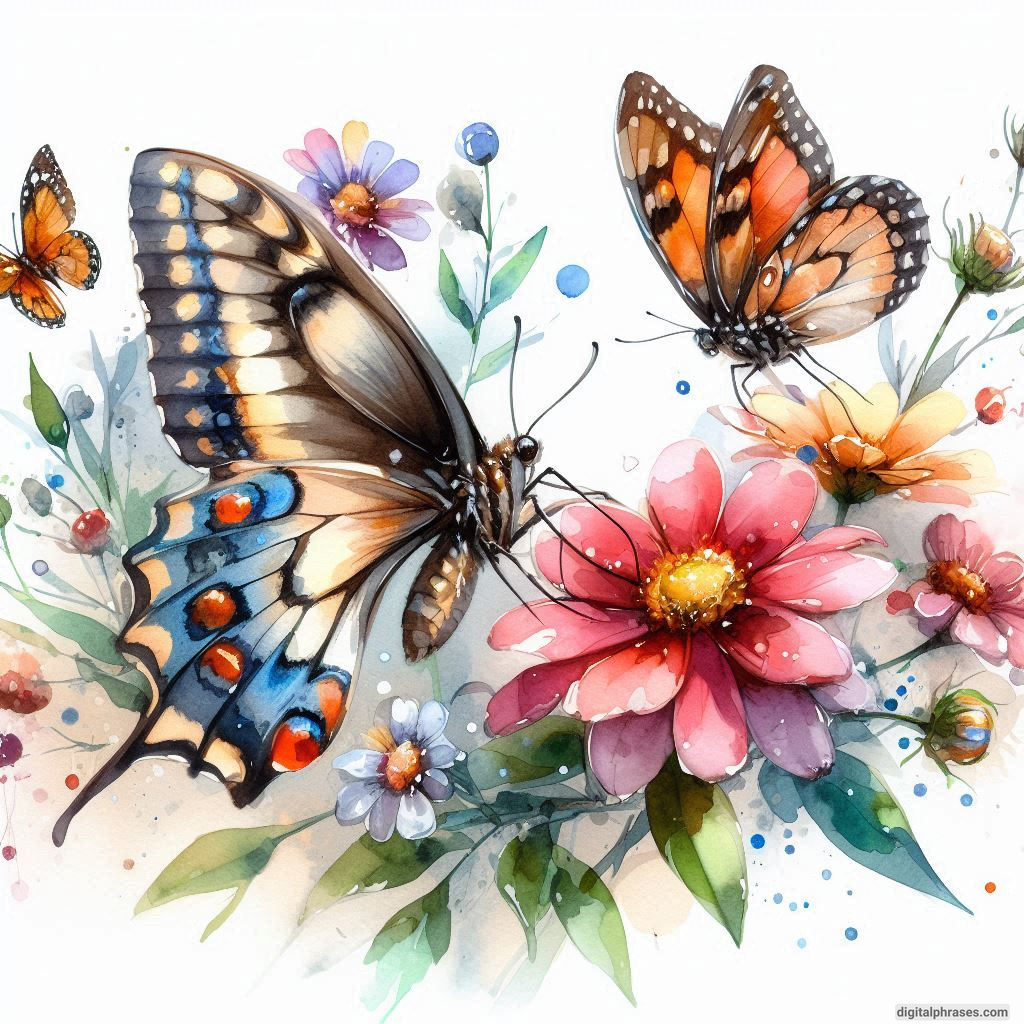
5
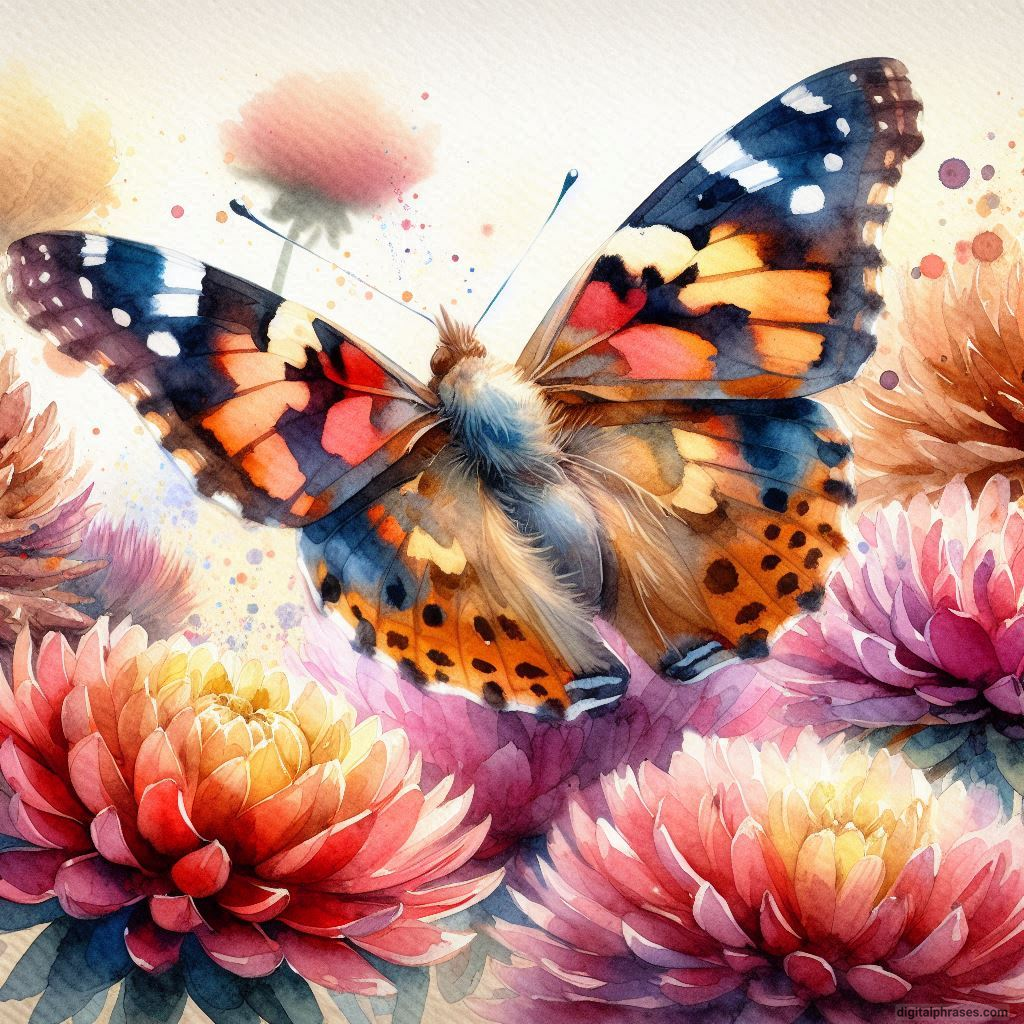
6
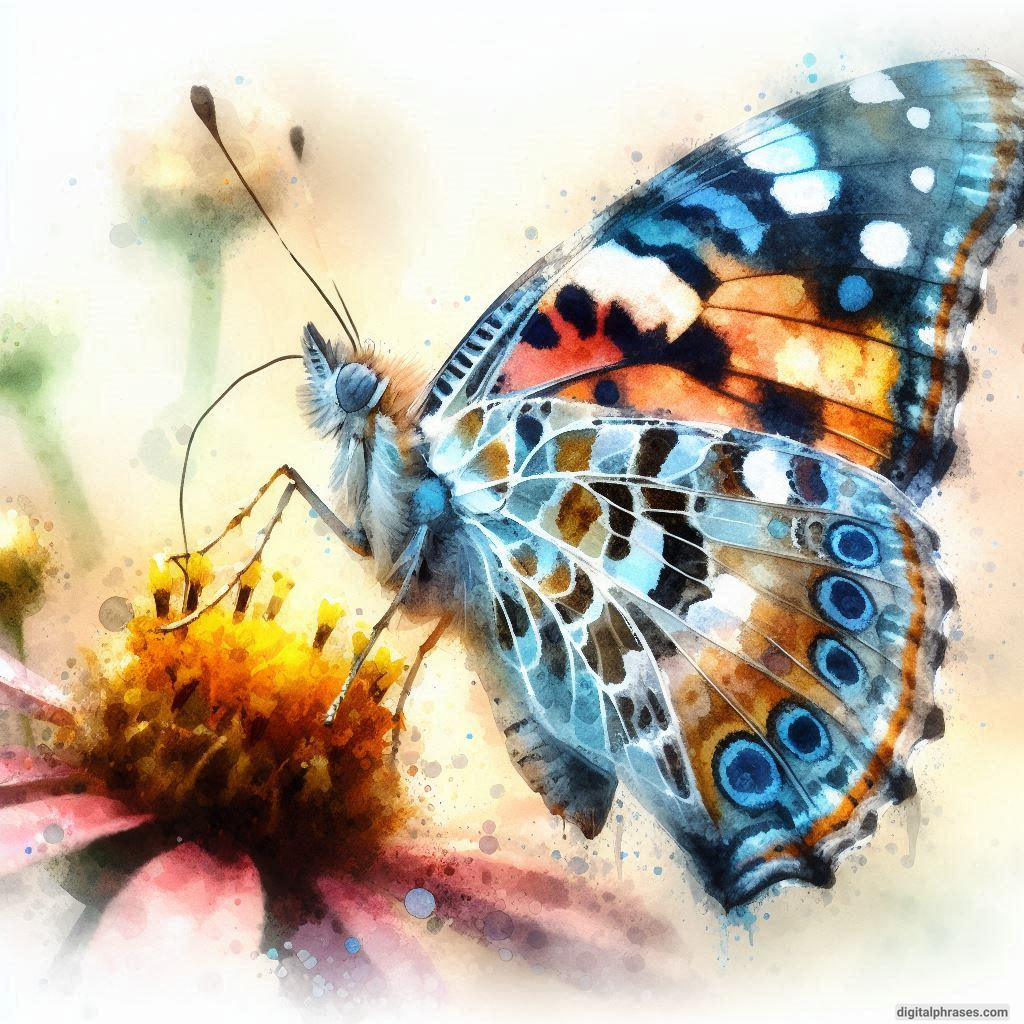
7
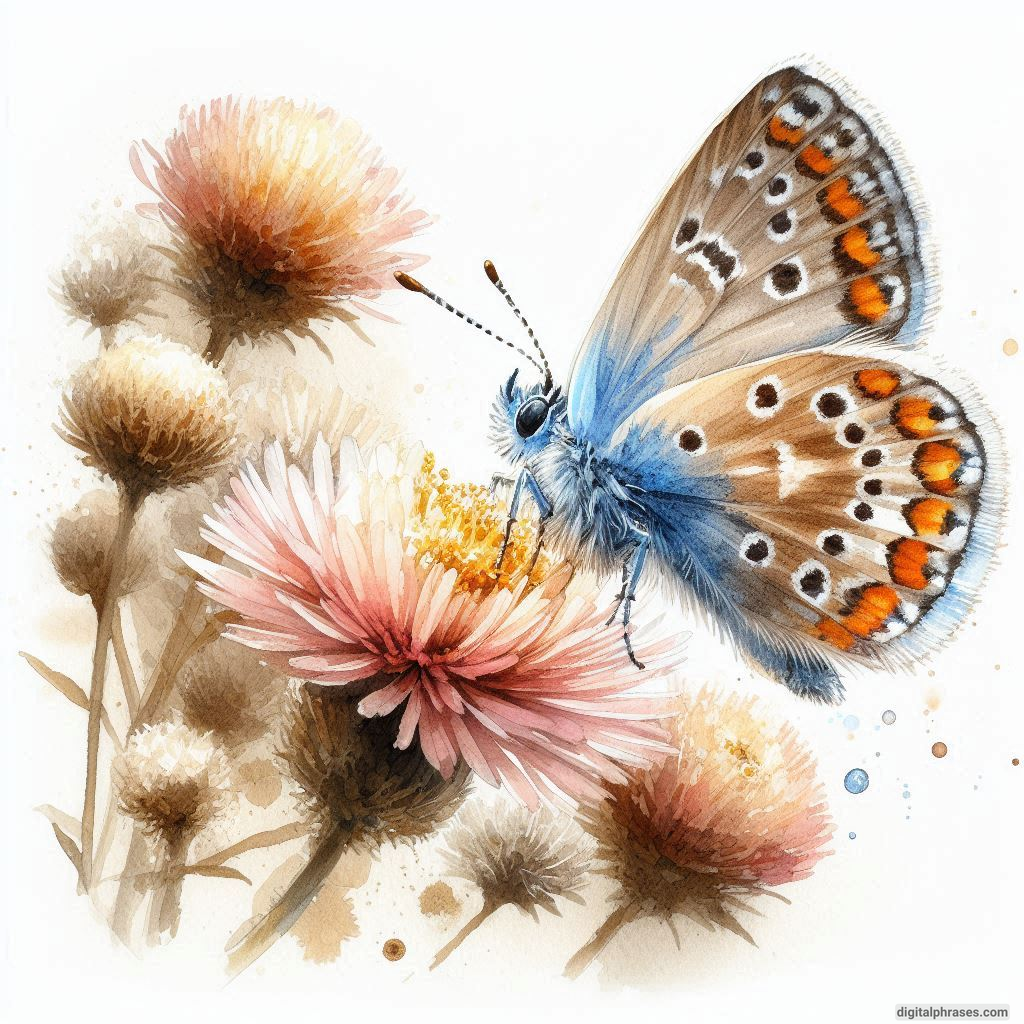
8
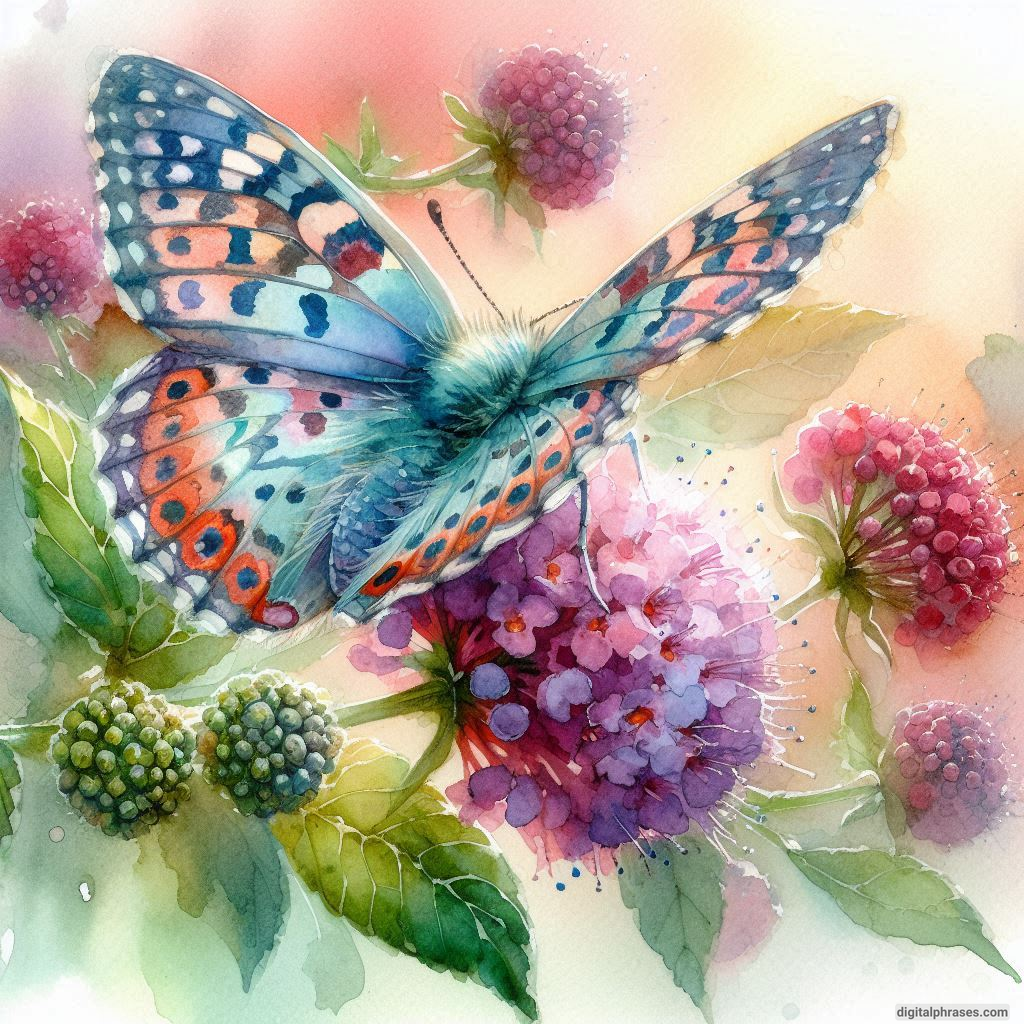
9
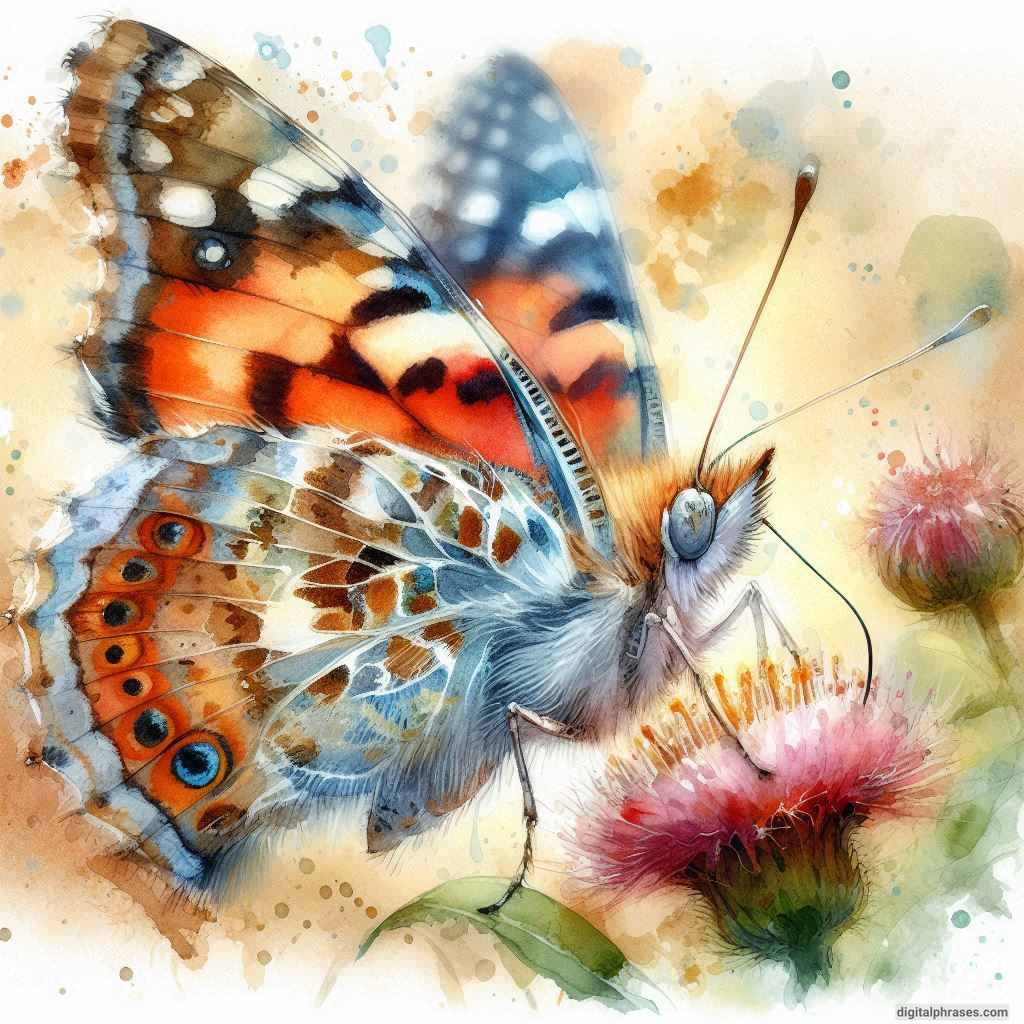
10
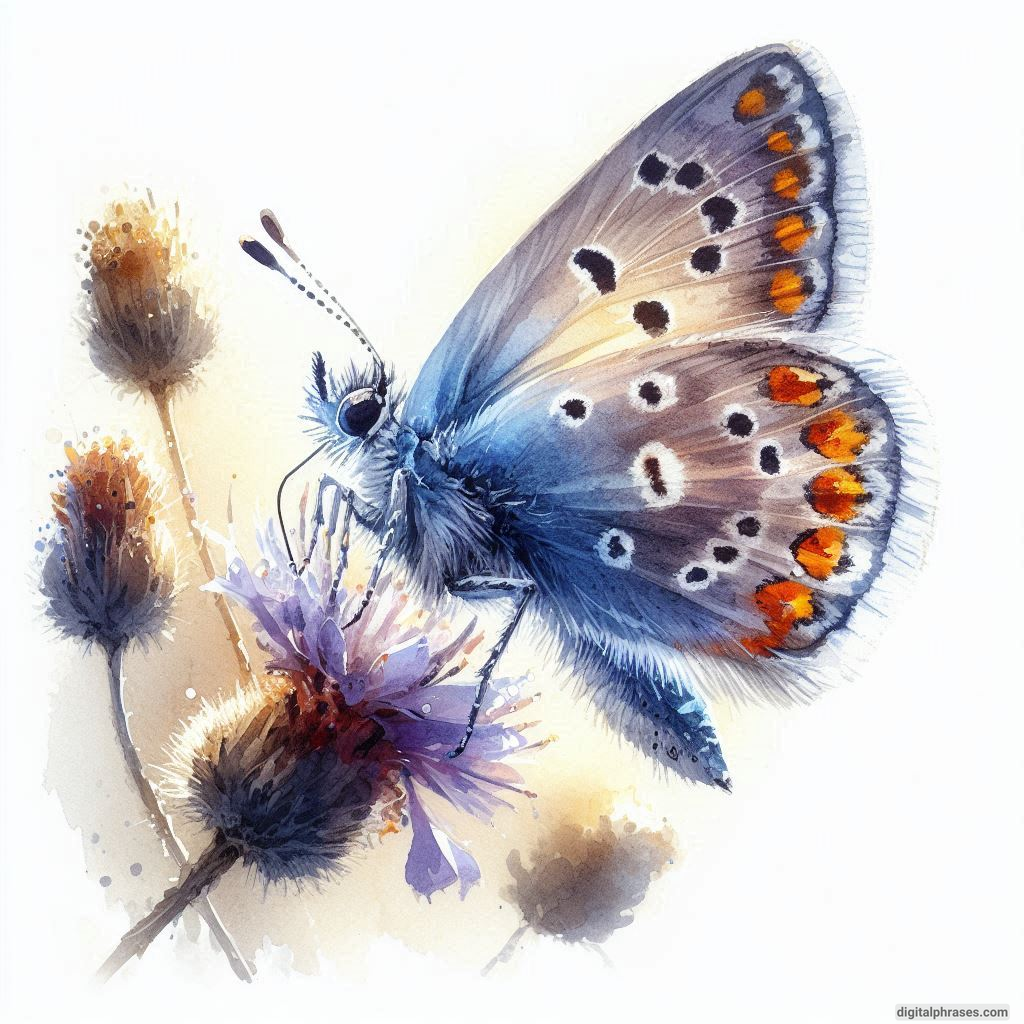
11
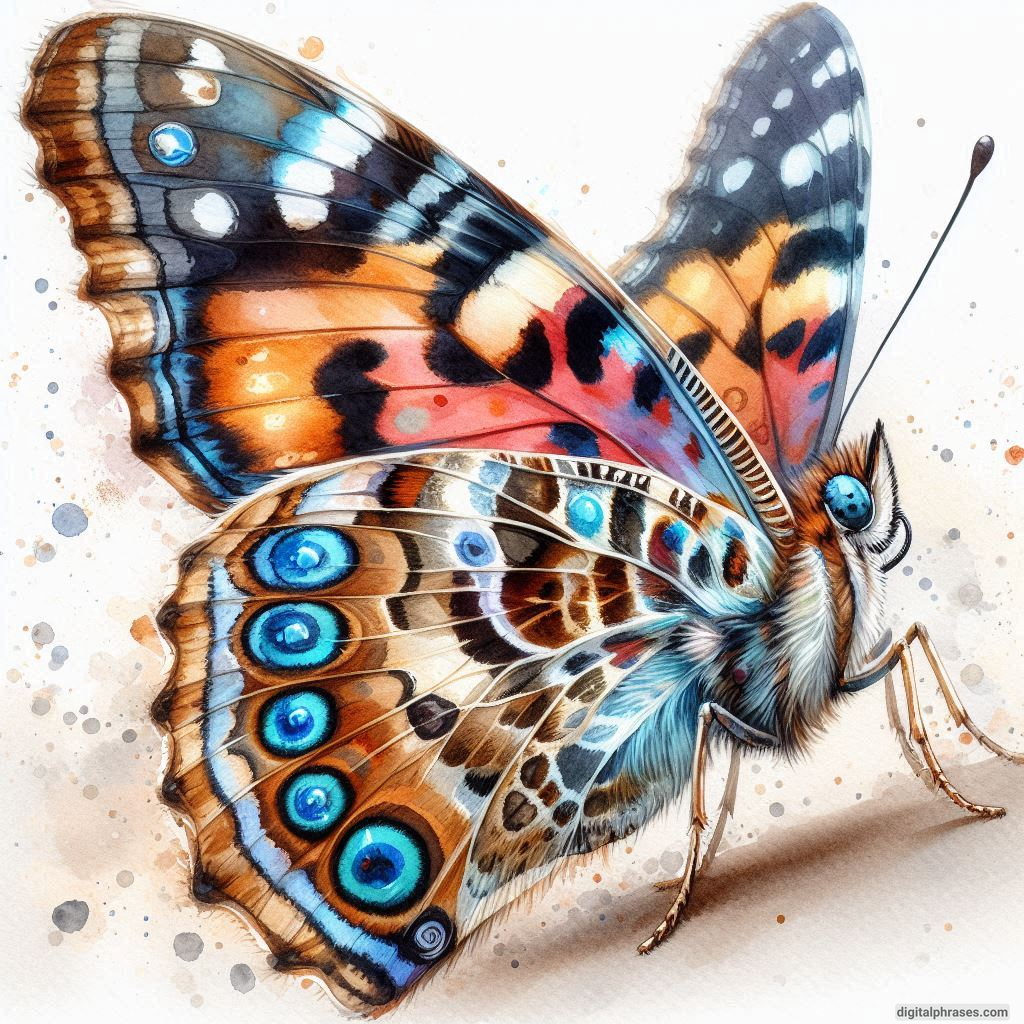
12
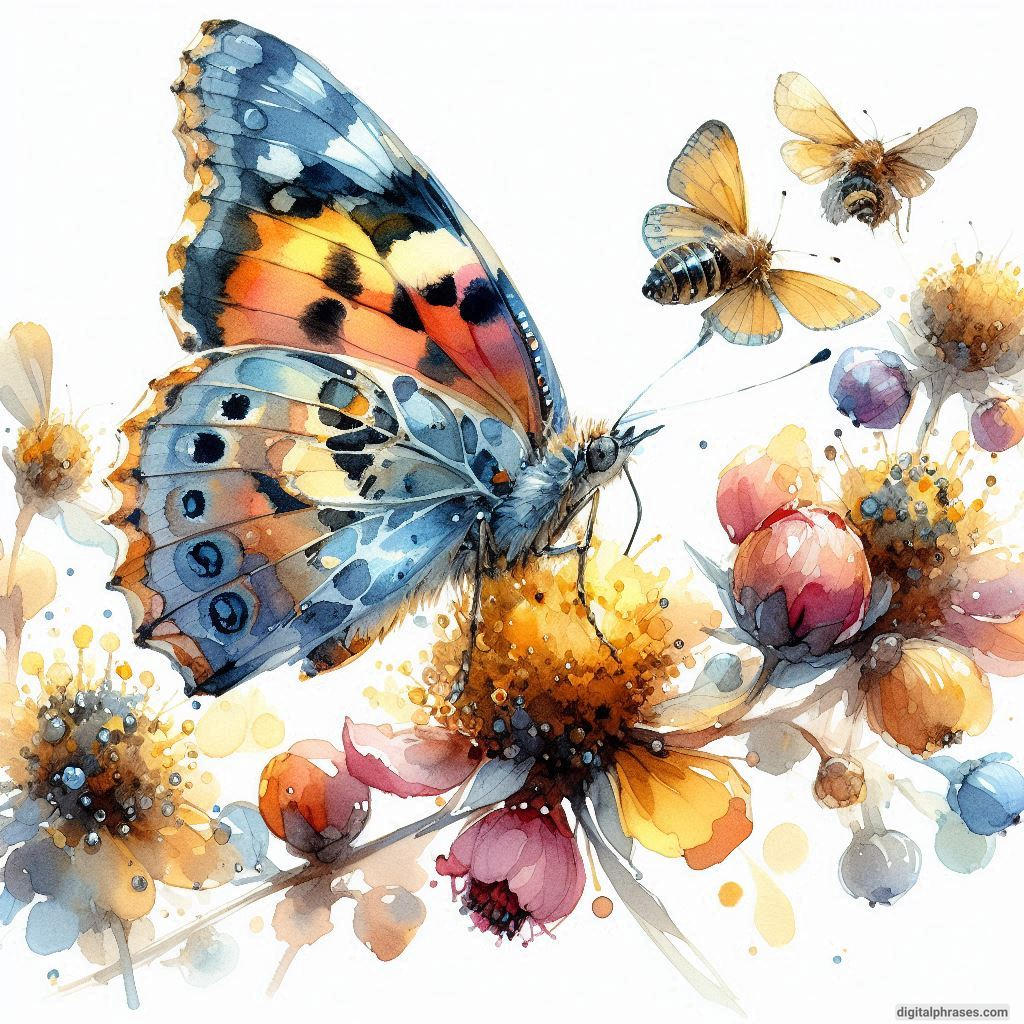
13
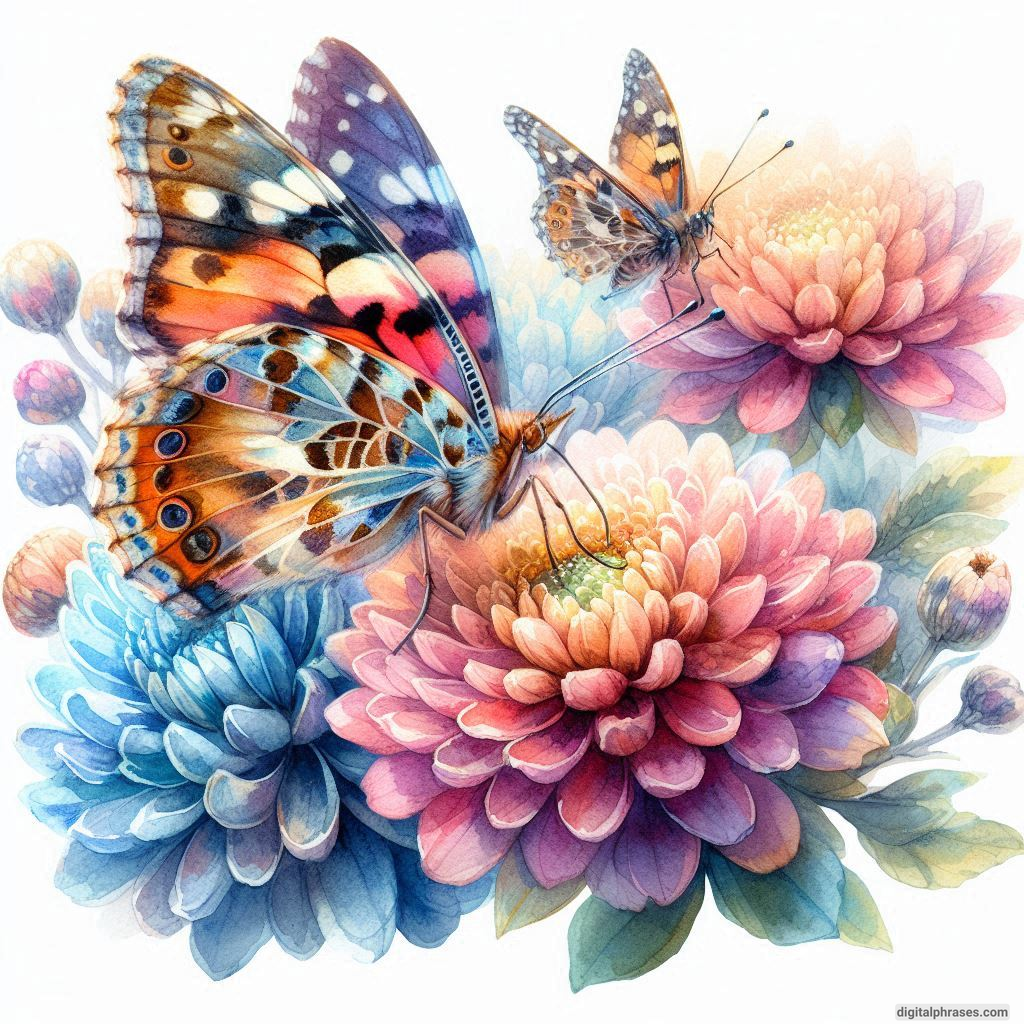
14
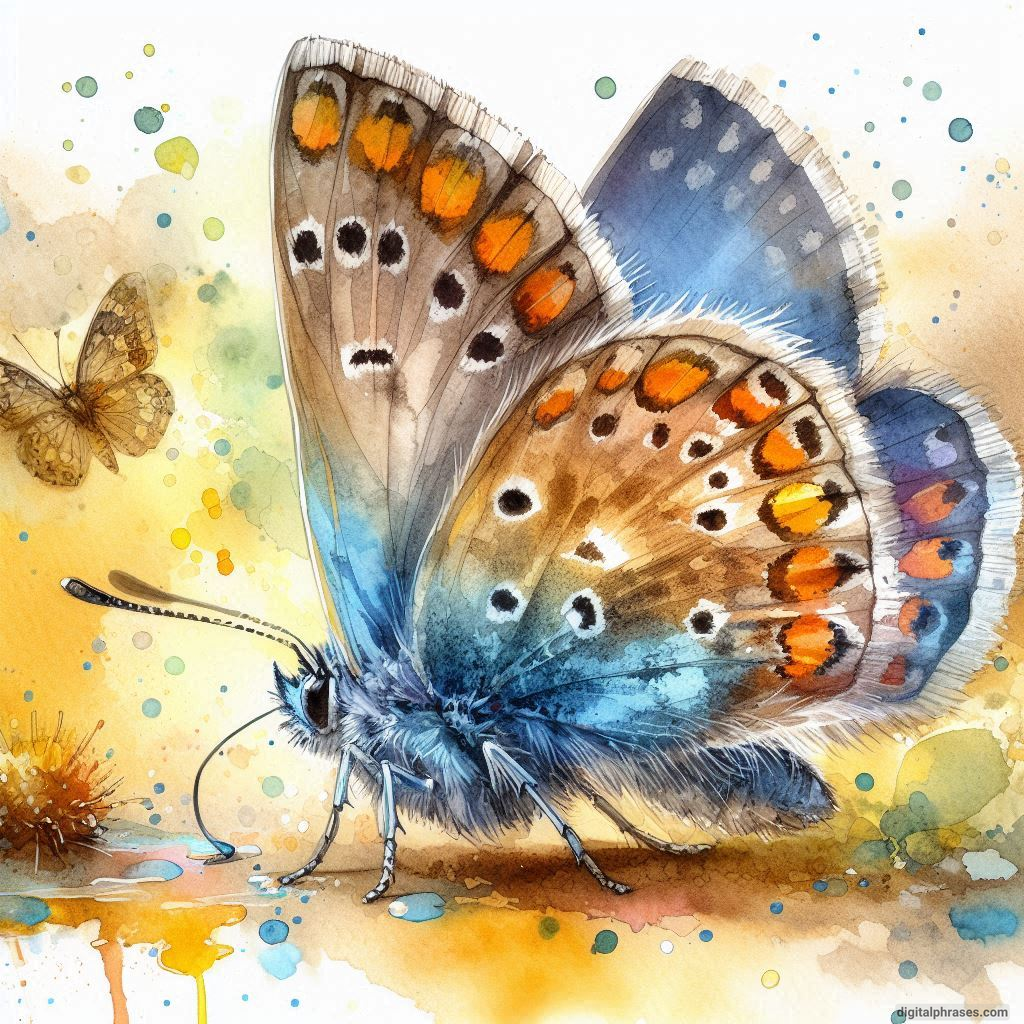
15
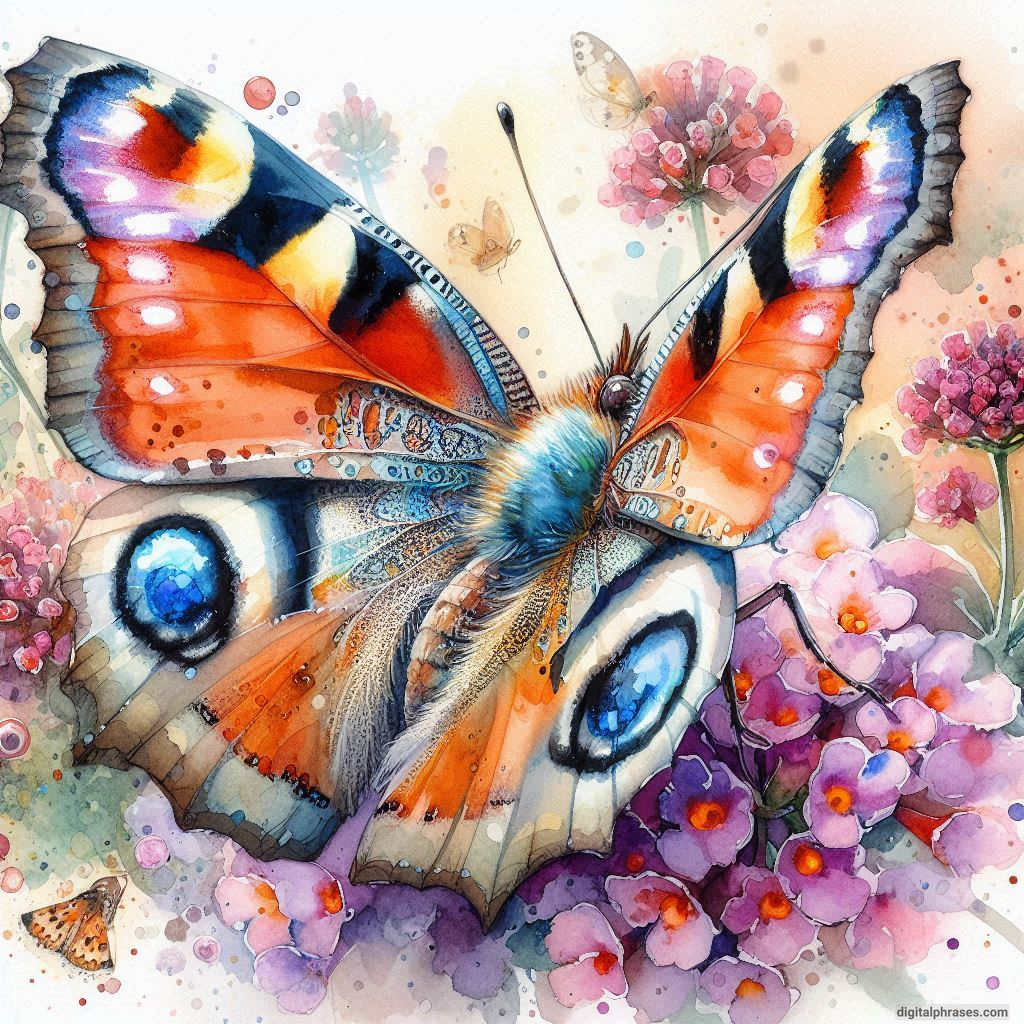
16
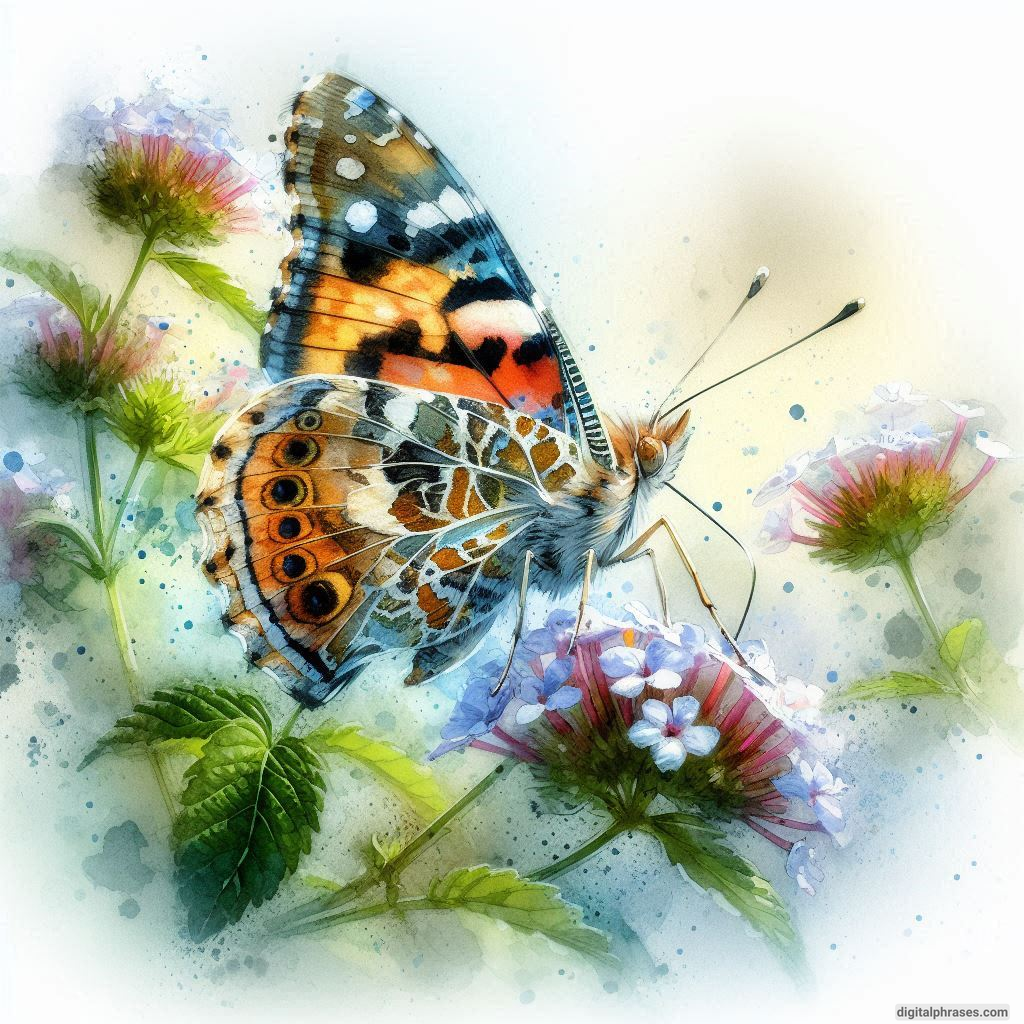
17
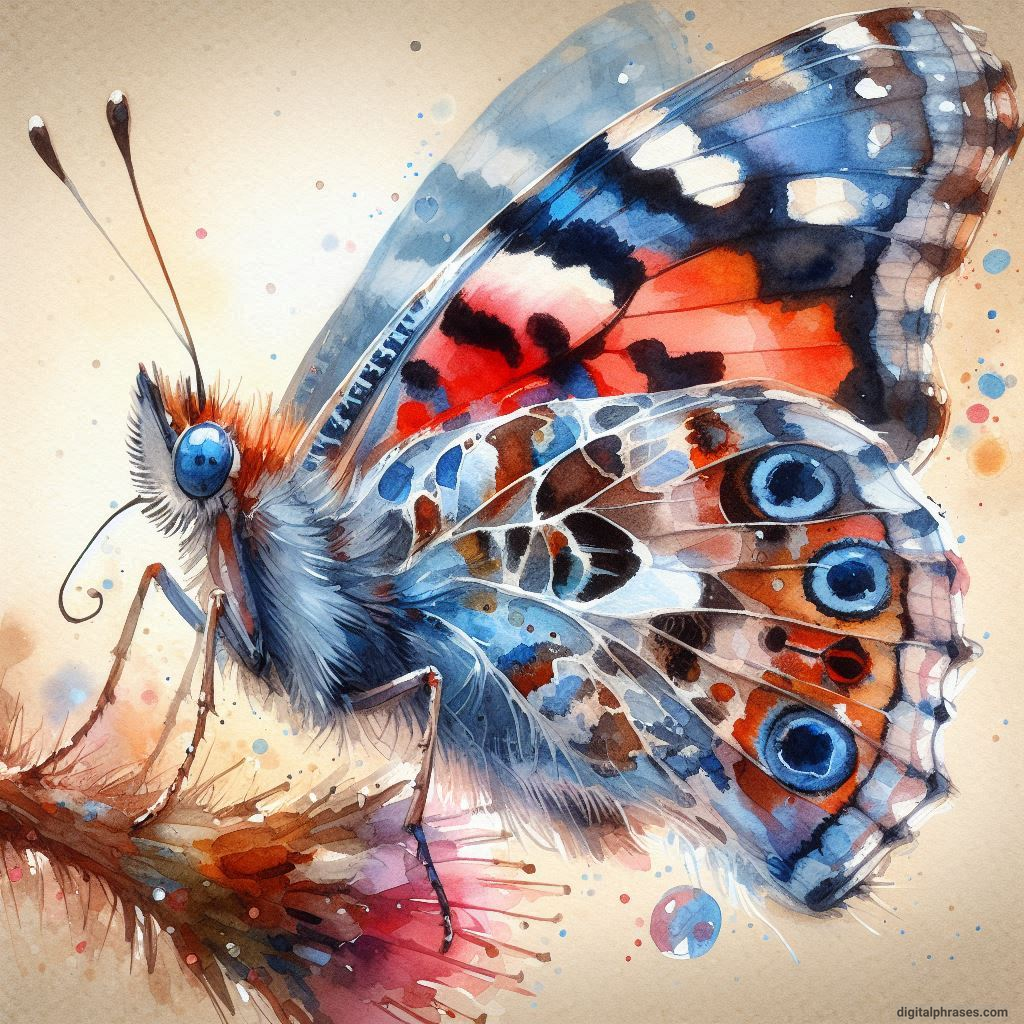
18
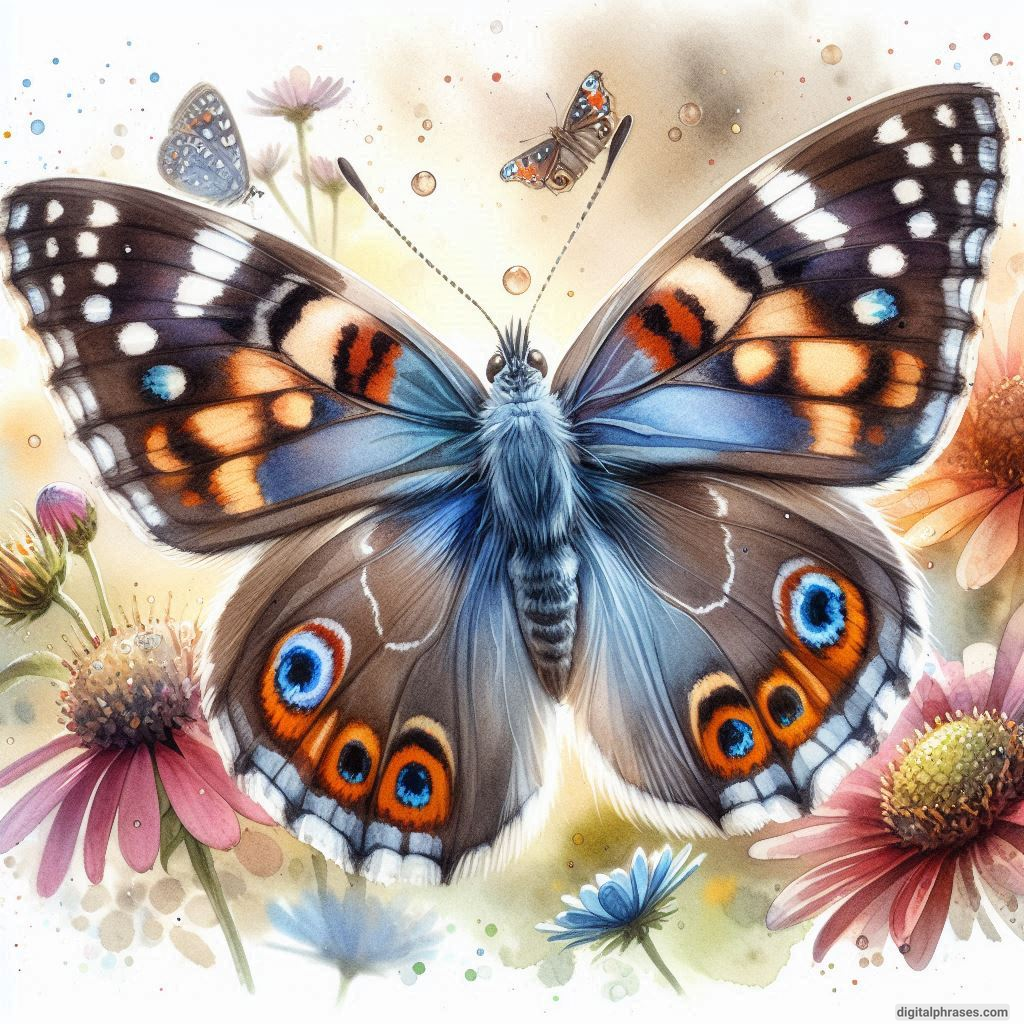
19
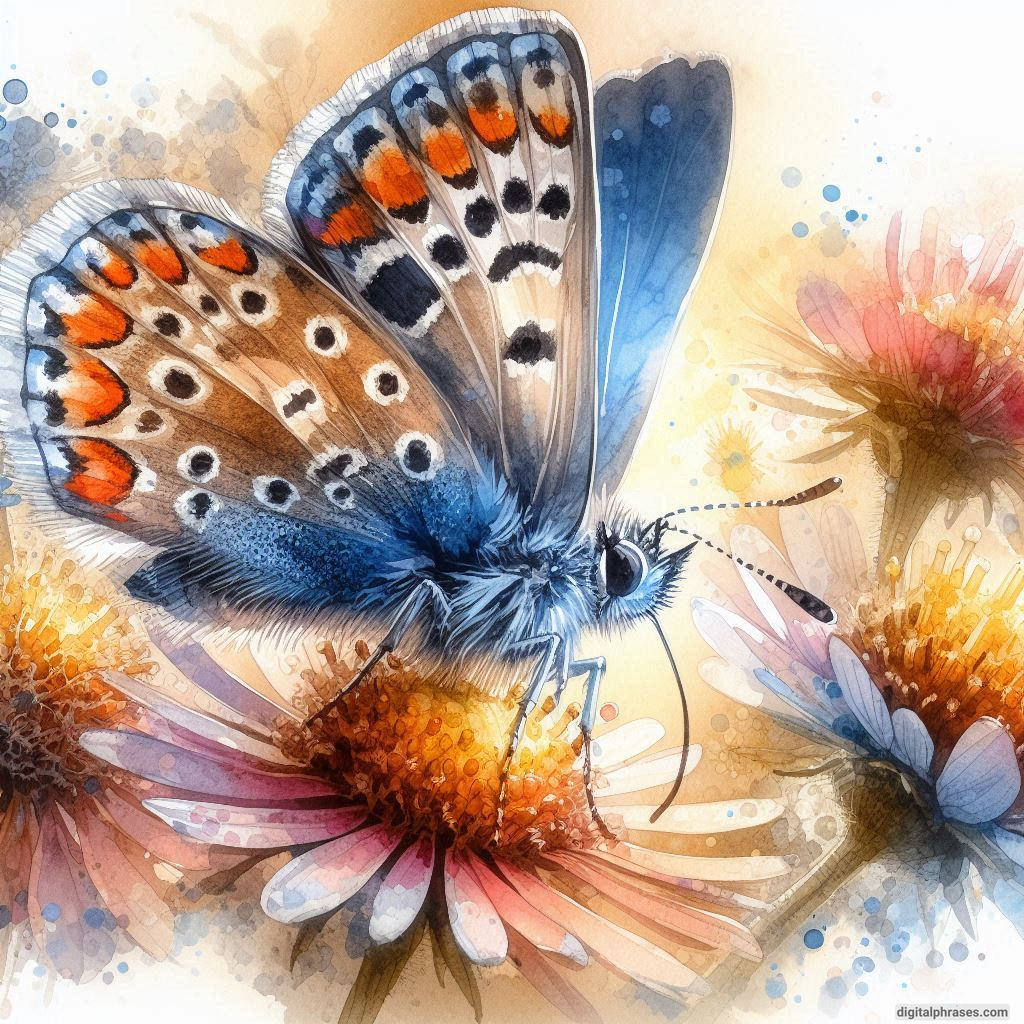
20
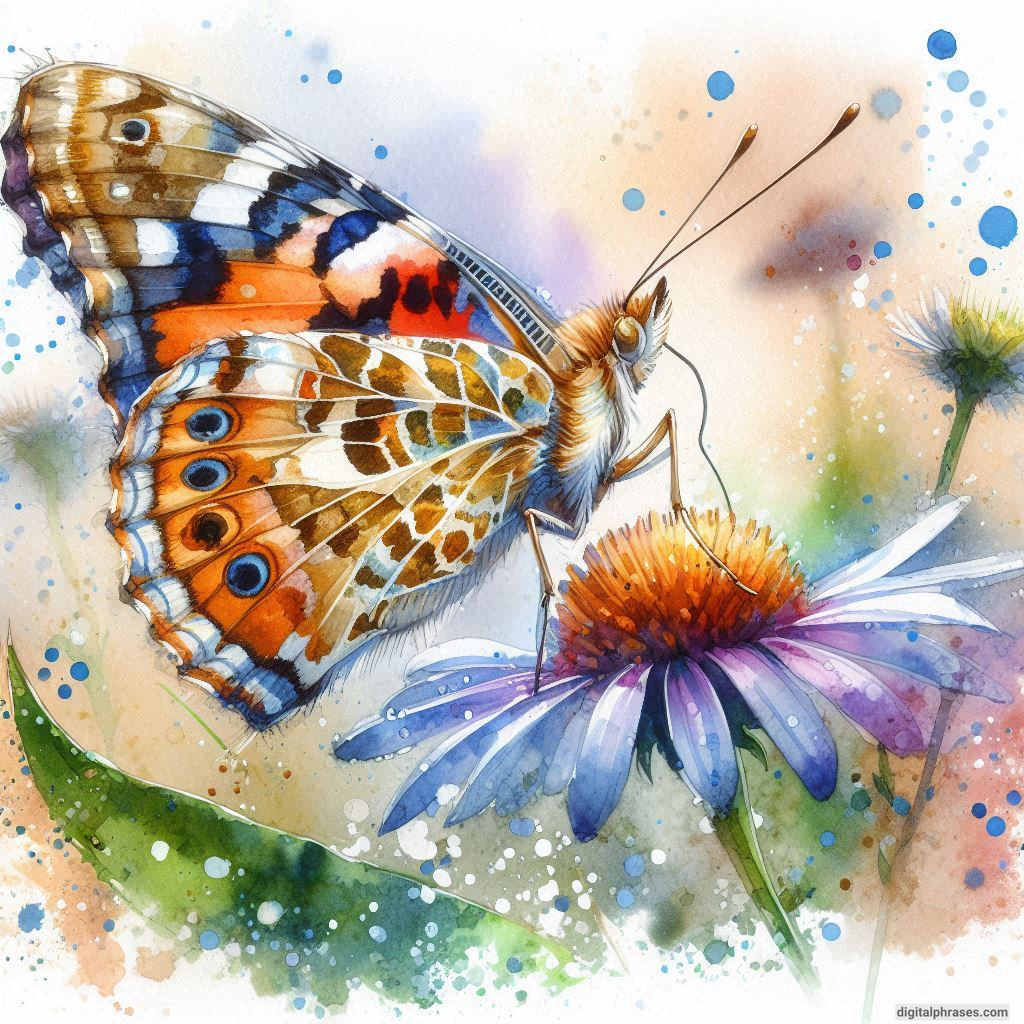
Things To Keep in Mind While Drawing a Butterfly
1. Understanding Butterfly Anatomy
Before you put pencil to paper, it is essential to familiarize yourself with the basic anatomy of a butterfly. Understanding its structure will enable you to create a more realistic drawing. Butterflies have six main anatomical parts: the head, thorax, abdomen, wings, antennae, and legs. Here’s a closer look at these components:
- Head: The head houses the butterfly’s sensory organs, including the eyes and antennae. It’s relatively small compared to the rest of the body.
- Thorax: This is the central part of the butterfly’s body and the point from which the wings and legs extend. The thorax is crucial as it supports both flight and movement.
- Abdomen: The elongated, segmented part of the body behind the thorax contains vital organs and is typically less adorned than the wings.
- Wings: The wings are the most distinctive and colorful part of a butterfly. They consist of forewings and hindwings, each with unique patterns and colors. The veins in the wings provide structure and are essential for flight.
- Antennae: These are long, thin structures on the butterfly’s head, used primarily for sensing their environment. They can vary in shape and length.
- Legs: Butterflies have six legs that are often less prominent in drawings, but they are important for perching and gathering food.
By studying these components, you can create an accurate outline and ensure the proportions are correct, providing a solid foundation for adding details later.
2. Choosing the Right Medium
Selecting the right medium for your butterfly drawing can significantly impact the final result. Different media offer varying levels of detail, texture, and vibrancy, so choose one that aligns with your artistic vision. Here are some common options:
- Pencils: Graphite pencils are excellent for creating detailed sketches and capturing subtle shades. They allow for precise control and are ideal for beginners who want to focus on form and texture.
- Colored Pencils: These provide the opportunity to add vibrant colors and intricate details to your drawing. Colored pencils are versatile and blend well, making them suitable for capturing the complex patterns of butterfly wings.
- Watercolors: If you prefer a softer, more fluid look, watercolors can produce beautiful, ethereal effects. This medium works well for creating delicate gradients and capturing the lightness of a butterfly’s wings.
- Markers: Markers can produce bold, vibrant colors that stand out. They are perfect for creating striking, graphic designs, though blending colors can be more challenging compared to other media.
- Digital Tools: Digital drawing tablets and software provide endless possibilities for creating and editing butterfly drawings. They offer a wide range of tools and effects, enabling artists to experiment with various styles and techniques.
Consider experimenting with different media to see which one best suits your style and the effect you want to achieve.
3. Mastering Symmetry
Symmetry is a defining characteristic of butterfly wings, and achieving it in your drawing is crucial for realism. Here’s how you can master symmetry:
- Axis of Symmetry: Begin by drawing a central line to represent the butterfly’s body. This line will act as your axis of symmetry. Ensure that each side of the butterfly mirrors the other as closely as possible.
- Wing Shapes: Use light pencil strokes to outline the basic shape of each wing, focusing on symmetry. It can be helpful to draw one wing first and then replicate its shape on the other side using your axis of symmetry as a guide.
- Details and Patterns: As you add details, like the patterns and veins on the wings, frequently check both sides to ensure they are balanced. You can use a ruler or digital tools to measure distances and angles for greater precision.
- Flaws and Imperfections: While symmetry is important, remember that natural butterflies may have minor asymmetries or imperfections. These can add character and authenticity to your drawing, so don’t stress over achieving perfect symmetry.
By focusing on symmetry, you’ll enhance the overall realism and visual appeal of your butterfly drawing.
4. Incorporating Color and Pattern
Butterflies are renowned for their vibrant colors and intricate patterns, which are critical to capturing their beauty. Here’s how to effectively incorporate color and pattern into your drawing:
- Color Choice: Study the species of butterfly you’re drawing to understand its color palette. Consider how colors transition and blend on the wings, and choose hues that reflect the natural beauty of the butterfly.
- Layering Techniques: Use layering to build up colors gradually. Start with a base color and add layers to create depth and richness. This technique works well with colored pencils and watercolors, allowing you to blend colors smoothly.
- Patterns: Focus on the unique patterns that adorn the butterfly’s wings. Pay attention to the shapes, sizes, and placements of spots, lines, and other markings. These patterns are often symmetrical, so ensure they match on both wings.
- Lighting and Shadows: Consider how lighting affects the colors and patterns. Adding highlights and shadows can create a sense of dimension and realism, making your butterfly appear more lifelike.
- Experimentation: Don’t be afraid to experiment with different color combinations and techniques. While accuracy is important, your artistic interpretation can also bring a unique perspective to your drawing.
By thoughtfully incorporating color and pattern, you’ll capture the essence of a butterfly and bring your drawing to life.
5. Creating a Natural Environment
A butterfly drawing can be enhanced by placing the butterfly in a natural environment. This adds context and depth to your artwork. Here are some tips for creating a realistic setting:
- Floral Elements: Butterflies are often found among flowers, so consider adding some floral elements to your drawing. Choose flowers that complement the butterfly’s colors and create a harmonious composition.
- Background: Decide whether you want a detailed or simple background. A detailed background might include leaves, grass, or branches, while a simpler background could be a gradient of colors that suggests sky or foliage.
- Perspective: Consider the perspective from which you’re viewing the butterfly and its environment. This can affect the composition and how elements are arranged in your drawing.
- Atmosphere: Use light and shadow to create an atmosphere. Soft, diffused light can suggest a serene, peaceful setting, while more dramatic lighting can add a sense of mystery or energy.
- Balance and Composition: Ensure that the butterfly remains the focal point of your drawing. Arrange other elements to support and enhance the butterfly without overpowering it.
By placing your butterfly in a thoughtfully crafted environment, you add layers of interest and storytelling to your artwork.
Drawing a butterfly is an opportunity to explore the interplay of form, color, and detail.
By understanding butterfly anatomy, choosing the right medium, mastering symmetry, incorporating color and pattern, and creating a natural environment, you can create a stunning representation of these beautiful creatures.
Remember, while technical accuracy is important, your artistic expression and creativity are equally valuable. Enjoy the process and allow your unique style to shine through your work.
With practice and patience, nothing but the sky itself is the opportunity.



![40 Drawing Ideas For Teens [Includes Easy, Cute and Creative Ones] 40 Drawing Ideas For Teens [Includes Easy, Cute and Creative Ones]](https://digitalphrases.com/wp-content/uploads/2024/10/drawing-ideas-for-teens-768x512.jpg)

