60 Candy Drawing Ideas (Easy, Realistic and Creative)
Ever caught yourself staring at your candy stash, thinking, “I could totally draw that”?
Well, guess what?
You can!
This post is packed with candy drawing ideas to satisfy your sweet tooth and artistic cravings. Whether you’re looking for something simple to doodle or a challenging masterpiece, we’ve got you covered.
So grab your favorite drawing tools, find a comfy spot, and let’s get started on this sugary adventure!
Easy Candy Drawing Ideas
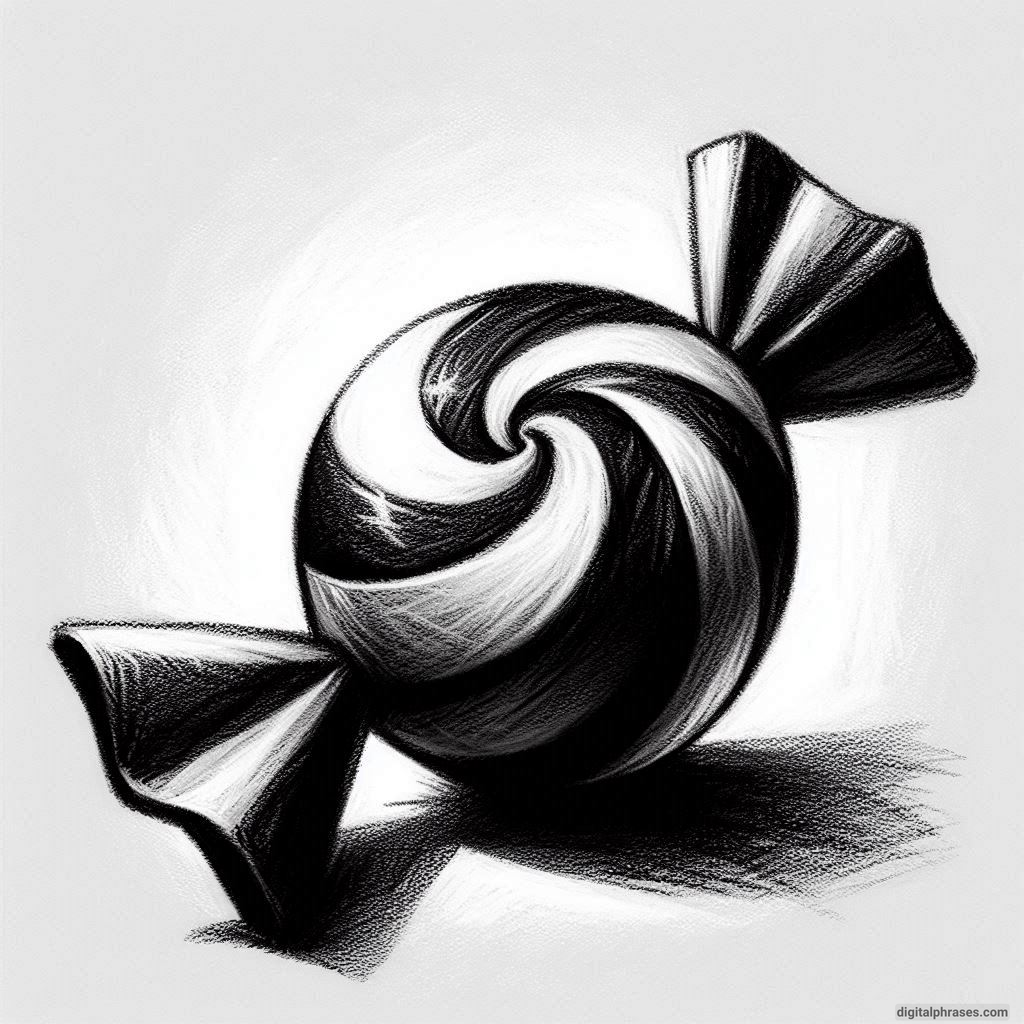
1
2
3
4
5
6
7
8
9
10
11
12
13
14
15
16
17
18
19
20
Realistic Candy Drawing
1
2
3
4
5
6
7
8
9
10
11

12
13
14
15
16
17
18
19
20
Creative Candy Drawings
1
2
3
4
5
6
7
8
9
10
11
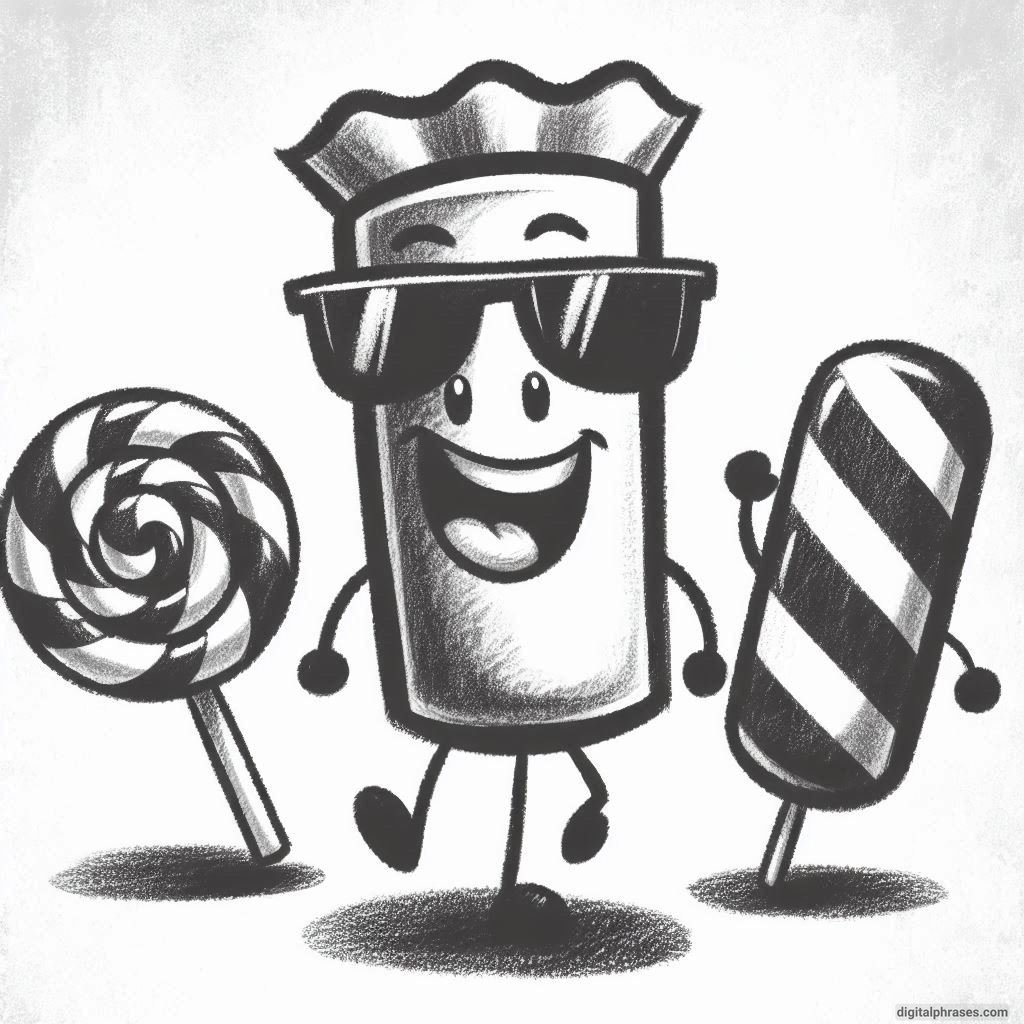
12
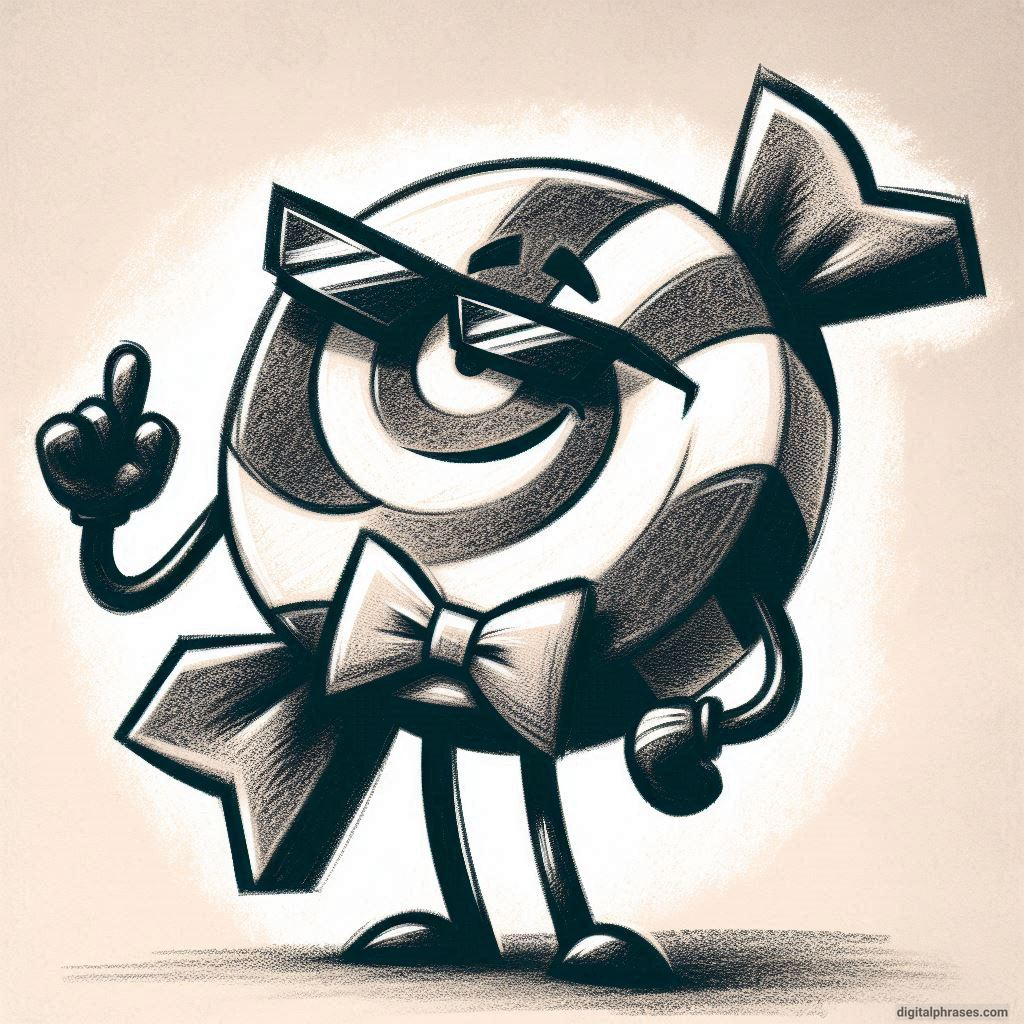
13
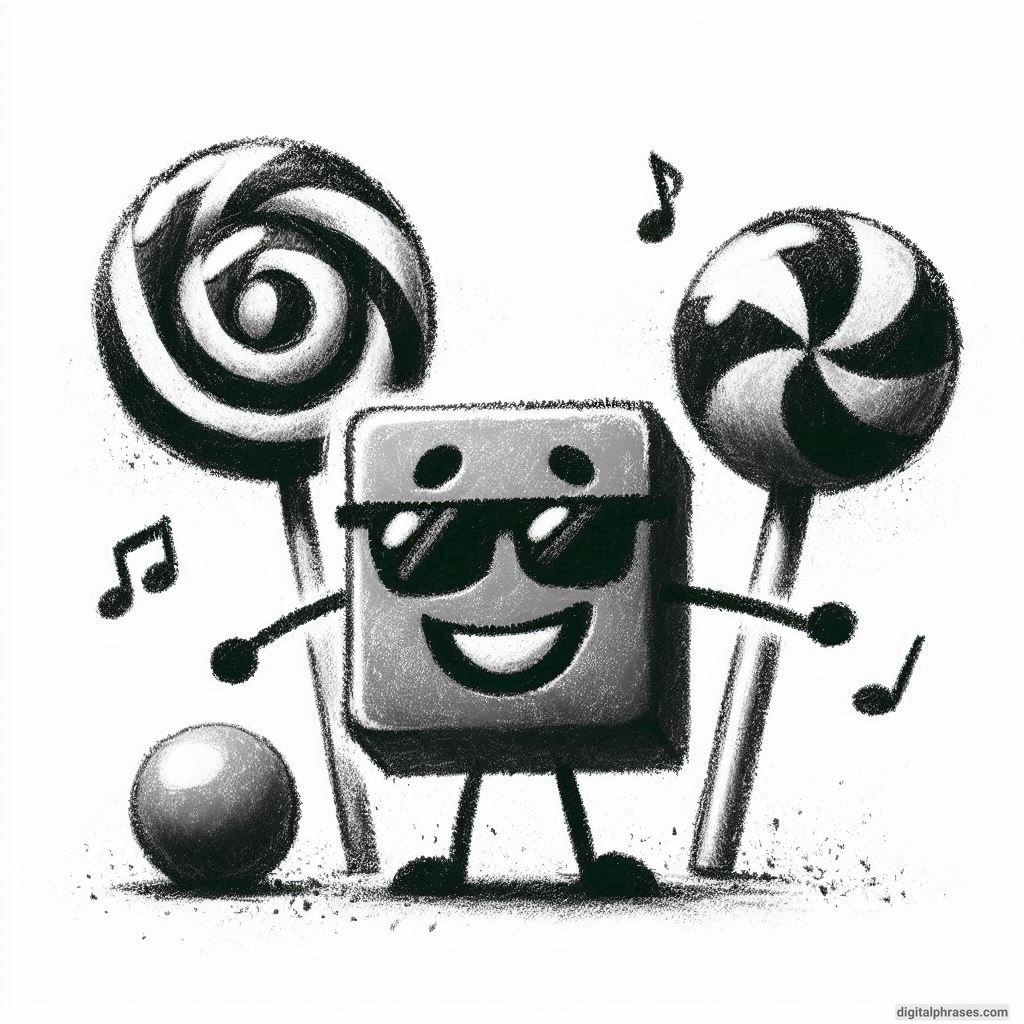
14
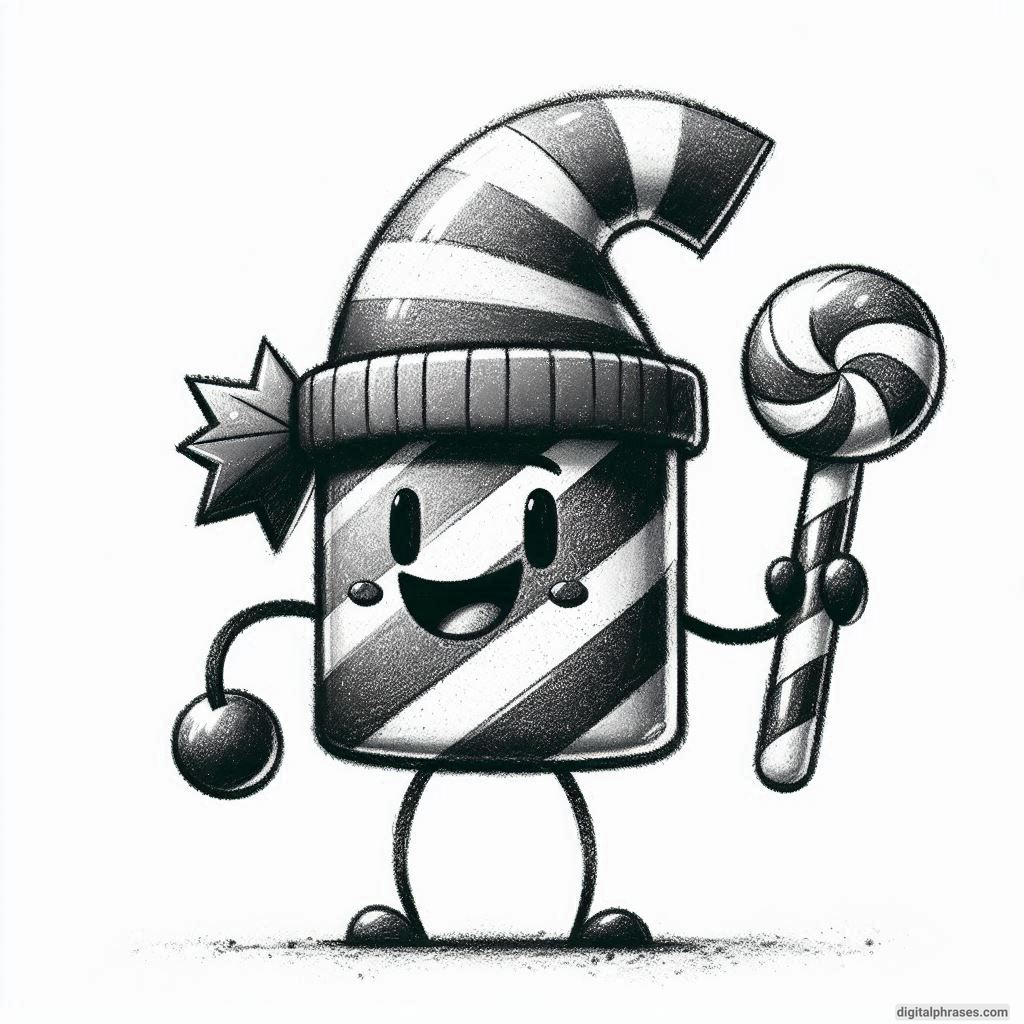
15
16

17
18
19
20

Things To Keep in Mind While Drawing a Candy
1. Understanding the Form and Shape
When drawing candy, the first aspect to consider is its form and shape. Candy comes in a multitude of shapes, sizes, and designs, from simple round lollipops to intricate pieces like ribbon candy. Understanding these shapes is crucial to creating a realistic depiction.
Observe Real Candy
Before you start drawing, it’s helpful to observe real candy or reference images. Pay attention to the dimensions, curves, and how light interacts with the surface. For instance, a gumdrop has a domed, almost teardrop shape, while a candy cane has a cylindrical form with a curved top.
Simplify Complex Shapes
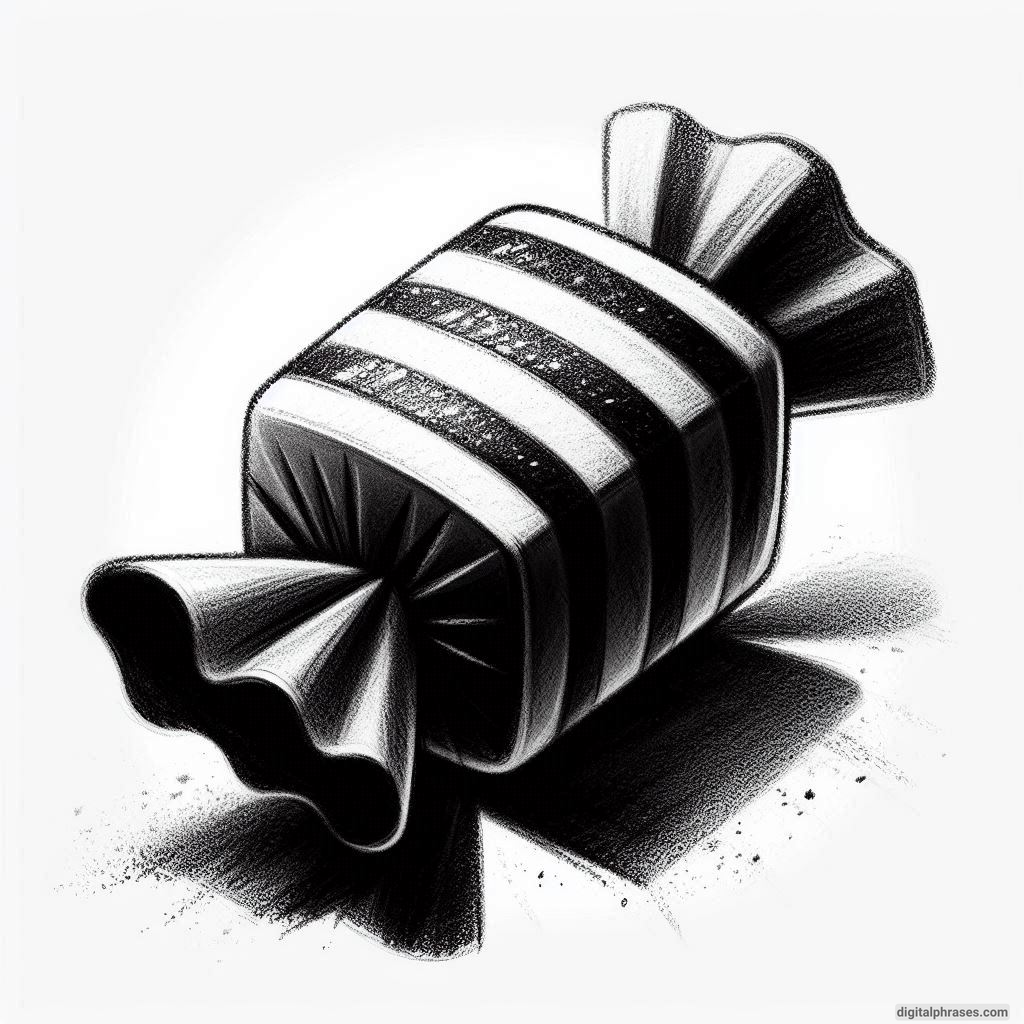
Candy often has complex forms, but it can be helpful to break these down into simpler shapes. For example, a wrapped candy can be simplified into a cylinder with cones on either side for the twisted wrapper. This simplification makes it easier to sketch and refine your drawing.
Experiment with Perspective
Changing the perspective from which you draw candy can add interest to your artwork. Try sketching from various angles to see which best captures the candy’s essence. A bird’s-eye view might show the intricate patterns on a candy disc, while a side view might emphasize its thickness and texture.
2. Mastering Color and Texture
Color is one of the most significant aspects of drawing candy, as it is often bright, vivid, and inviting. Texture plays a crucial role as well, contributing to the realism and appeal of your drawing.
Choose the Right Color Palette
Select a color palette that reflects the vibrancy of candy. Candies are usually brightly colored, so choose hues that pop. Use bold reds, blues, yellows, and greens, but be mindful of the harmony between colors. Avoid overwhelming the viewer with too many clashing colors.
Consider Surface Texture
Different candies have different textures that affect their appearance. A shiny hard candy will reflect light differently from a matte gummy bear. Use shading and highlights to convey these textures effectively. For instance, sharp highlights can indicate a glossy surface, while softer shading might suggest a powdery coating.
Blend Colors Appropriately
Blending colors can enhance the realism of your candy illustration. For translucent candies like gummy bears, layer colors to create a sense of depth. For opaque candies, focus on smooth, even coloring to mimic their solid appearance. Experiment with blending techniques to achieve the desired look.
3. Capturing Light and Reflection
Light plays a vital role in defining the appearance of candy. Understanding how light interacts with the surface will help you create a more realistic and visually appealing drawing.
Identify the Light Source
Determine the direction of your light source before you start shading. This decision will guide where you place highlights and shadows. A consistent light source will make your drawing more cohesive and realistic.
Use Highlights to Add Dimension
Highlights are essential for creating the illusion of gloss and shine, especially on hard candies. Place highlights where the light directly hits the candy, and adjust the intensity based on the material. For example, a lollipop might have bright, concentrated highlights, while a soft caramel might have more diffuse highlights.
Employ Shadows for Depth
Shadows help ground your drawing and add depth. Observe where shadows naturally occur on and around the candy. Use darker shades to create shadows and enhance the three-dimensionality of your illustration. Be mindful of the candy’s form and how shadows wrap around curves and edges.
4. Detailing and Patterns
Candy often features intricate details and patterns that contribute to its charm. Whether it’s the swirls in a candy cane or the sprinkles on a cupcake, capturing these details can elevate your drawing.
Focus on Key Details
Identify the most distinctive details of the candy you’re drawing. These could be the lines on a candy cane, the sugar coating on a gumdrop, or the branding on a chocolate wrapper. Emphasizing these details will make your drawing more recognizable and engaging.
Use Repetition and Symmetry
Many candies, like mints or striped hard candies, have symmetrical designs. Pay attention to the repetition of patterns and ensure they are consistent. Use tools like rulers or guides to maintain symmetry, especially for geometric designs.
Incorporate Textures and Patterns
Textures and patterns add interest and realism to your drawing. For example, cross-hatching can suggest the rough texture of sugar, while stippling can represent small bubbles in a gelatin candy. Experiment with different techniques to find what best represents the candy’s texture.
5. Emphasizing Creativity and Style
Finally, while realism is essential, adding your unique touch and creativity to your candy drawing will make it stand out. Don’t be afraid to experiment with styles and interpretations.
Explore Different Art Styles
Experiment with different art styles to find what resonates with you. You might prefer a cartoonish, exaggerated approach or a more realistic depiction. Try out styles like pop art for bold colors and outlines, or realism for intricate details and textures.
Use Artistic License
Feel free to take artistic liberties with your candy drawings. While reference images are helpful, adding your twist can make your artwork unique. Change colors, exaggerate features, or combine different candies into a single piece to create something original.
Convey Emotion and Story
Candy often evokes joy and nostalgia. Use your drawing to convey these emotions or tell a story. Consider the setting or background of your drawing and how it complements the candy. For instance, placing candy in a whimsical landscape can enhance its playful nature.
How To Draw a Candy?
Step 1: Choose Your Candy and Reference Image
Selecting the right candy is crucial to your drawing. Consider the shape, color, and complexity of the candy. Simple shapes like lollipops or gumdrops are great for beginners, while more intricate candies like swirled lollipops or wrapped chocolates might challenge more experienced artists.
Once you’ve chosen your candy, find a reference image or use a real piece of candy. This will help you capture the candy’s details, colors, and proportions accurately.
Step 2: Start with Basic Shapes
Begin your drawing by sketching the basic shapes of the candy. This step is crucial for establishing the structure and proportions of your drawing.
- Outline the Shape: Use light pencil strokes to outline the basic shape of the candy. For example, if you’re drawing a lollipop, start with a circle for the candy part and a rectangle for the stick.
- Add Details: Once you’re satisfied with the basic shape, add details like curves, swirls, or patterns that define the candy. For example, a candy cane would have diagonal stripes, while a wrapped candy might have folds in the wrapper.
Step 3: Define the Contours and Add Depth
To give your candy drawing a three-dimensional appearance, focus on defining the contours and adding depth. This step involves refining the shapes and beginning to consider light and shadow.
- Refine the Outline: Go over your initial sketch, refining the outline and ensuring the proportions are accurate. Use smoother, darker lines for areas that define the candy’s edges.
- Add Contours: Consider the candy’s shape and how light would naturally fall on it. Use curved lines to indicate the candy’s form, following its natural curves and bulges.
- Indicate Shadows: Lightly shade areas where shadows would naturally occur, such as the underside of the candy or where the candy overlaps itself. This shading will help create a sense of depth.
Step 4: Focus on Light and Shadows
Understanding how light interacts with the candy’s surface is crucial for creating realism. This step involves adding highlights and shadows to give your drawing dimension and texture.
- Determine the Light Source: Decide where the light source is coming from and how it affects the candy. This will guide your placement of highlights and shadows.
- Add Highlights: Use an eraser or a white colored pencil to add highlights to areas where the light hits the candy directly. Highlights are typically sharp and bright on glossy candies, while softer and more diffuse on matte candies.
- Deepen Shadows: Use a darker pencil or marker to enhance the shadows. Pay attention to areas like the base of the candy, under any overlapping parts, and on the opposite side of the light source. Gradually build up layers to create a smooth transition between light and shadow.
Step 5: Introduce Color and Texture
Color is one of the most exciting aspects of drawing candy. Use your reference image to accurately match the colors and textures present in the candy.
- Base Colors: Start by applying a base color to each section of the candy. Use light, even strokes to create a smooth layer of color.
- Layering and Blending: Gradually build up the color intensity by layering and blending different shades. For example, add lighter or darker tones to the base color to create depth and variation. Experiment with blending techniques, such as using a colorless blender pencil or gently rubbing with a soft tissue.
- Texture: Consider the candy’s texture and incorporate it into your drawing. For instance, use cross-hatching to indicate a grainy sugar coating or stippling for small bubbles in a gummy candy.
Step 6: Add Final Details
The final step in drawing candy is to add any additional details that enhance the realism and appeal of your artwork.
- Refine Edges: Go over the edges of the candy with a fine-tip pen or a sharp pencil to make them crisp and defined.
- Enhance Highlights and Shadows: Reassess the highlights and shadows and make adjustments as needed. Ensure that they align with the light source and add realism to the drawing.
- Additional Elements: Consider adding a background or other elements to your drawing, such as a tabletop or other candies, to create a more complete composition.
Drawing candy is a fun and rewarding process that allows artists to explore vibrant colors, textures, and forms.
By following these steps and practicing regularly, you can create candy illustrations that are as delightful as the treats themselves.
Whether you’re drawing for fun or aiming to develop your skills, remember to enjoy the process and let your creativity shine through in every piece.

