77 Glow In The Dark Drawing Ideas
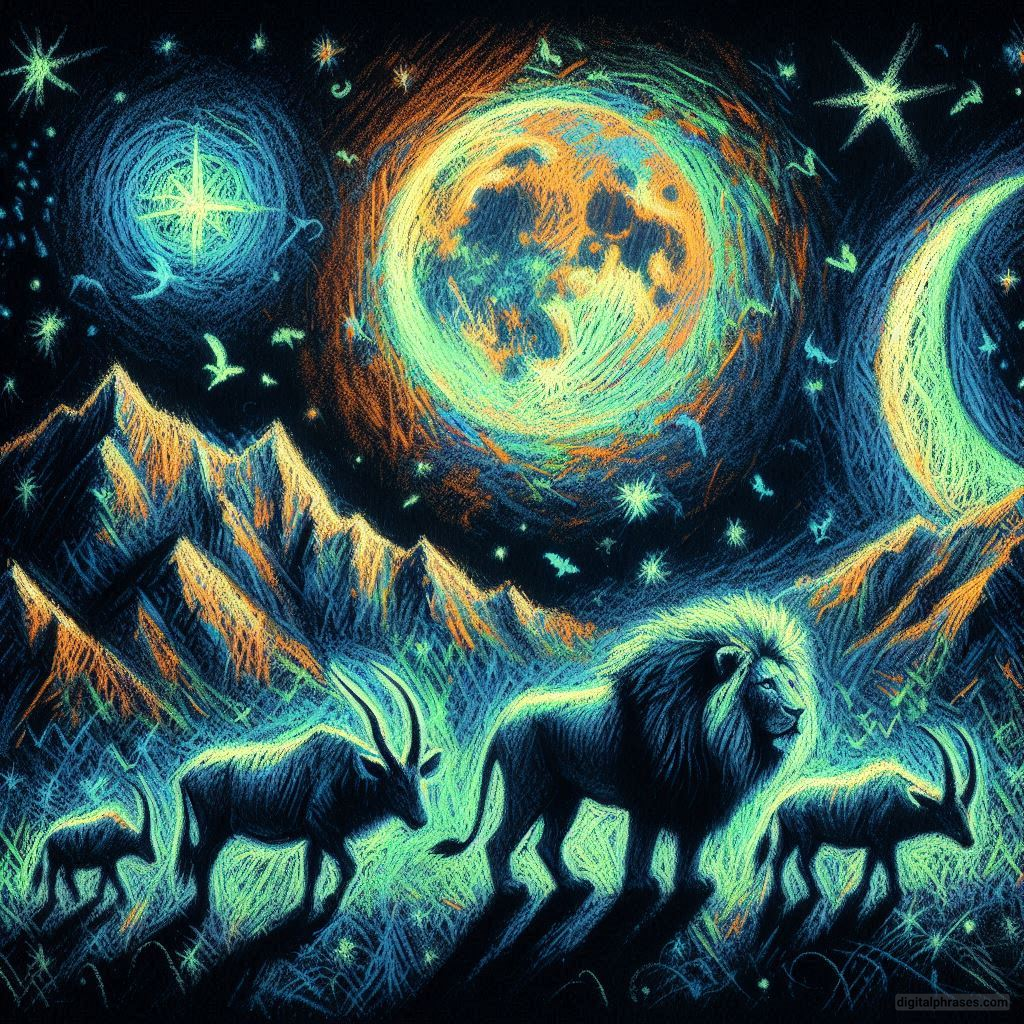
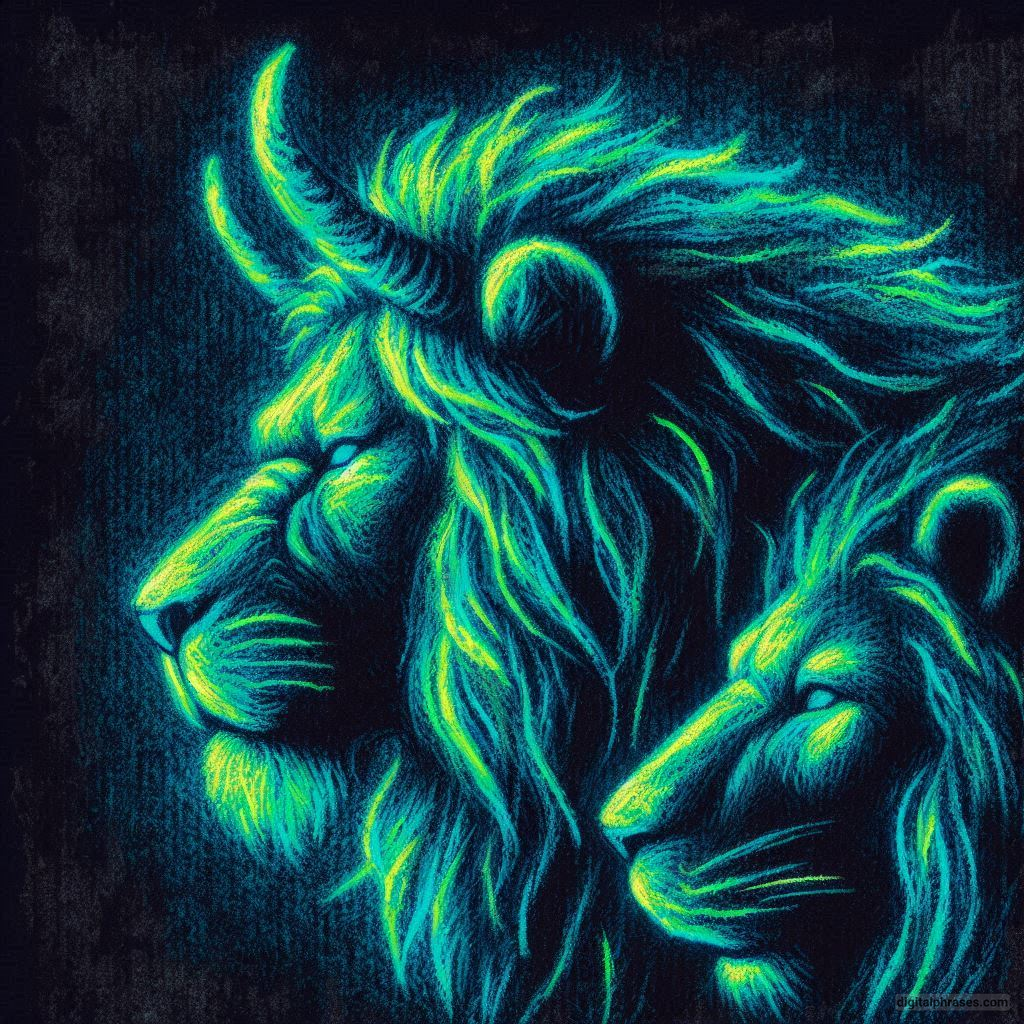
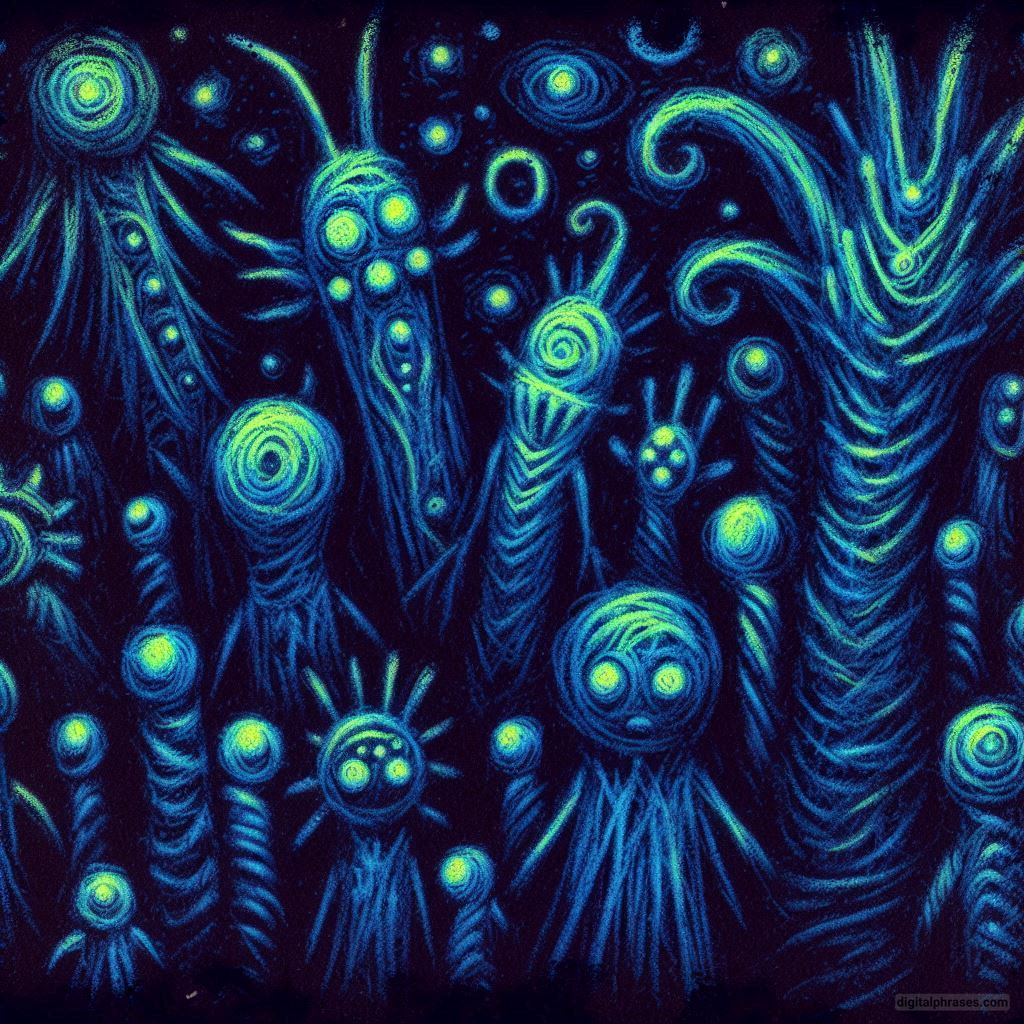
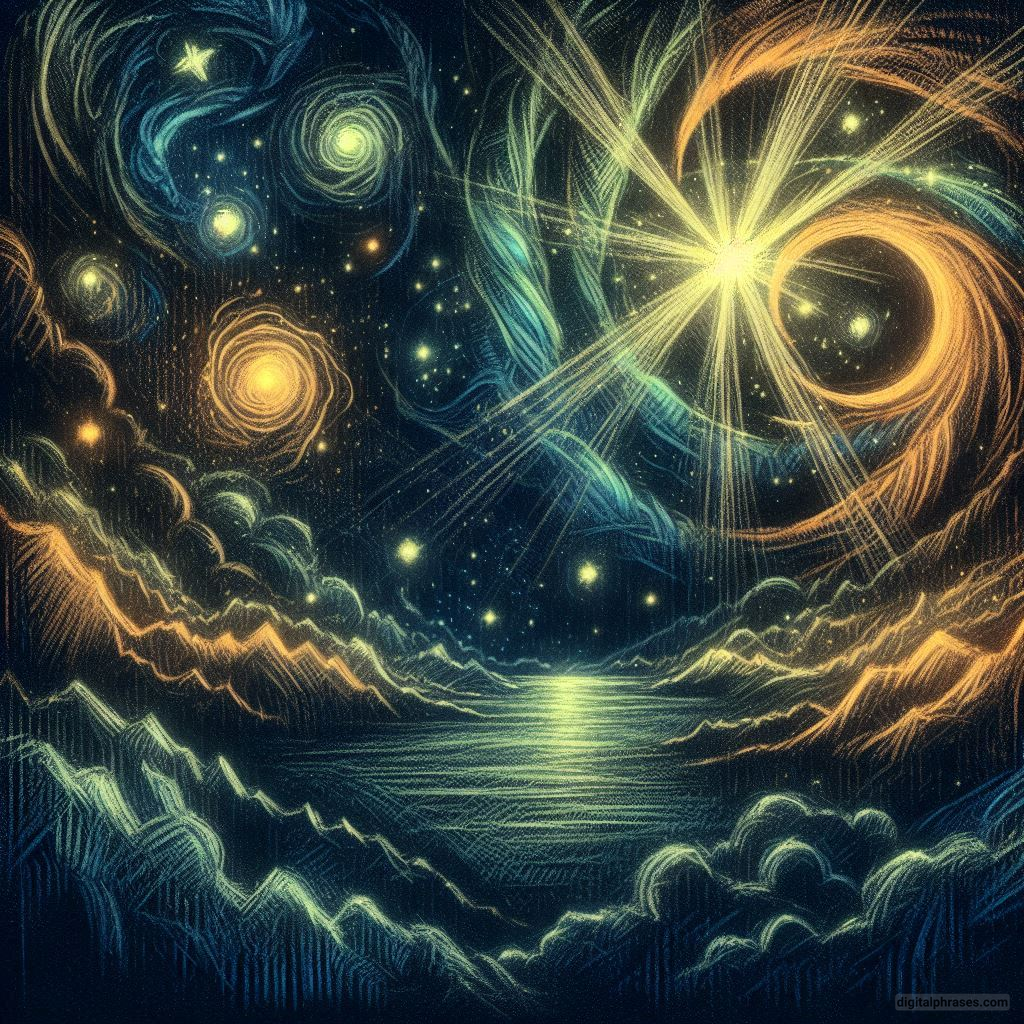
Glow in the Dark Drawing is a unique art form that combines the creativity of traditional drawing with the magic of phosphorescent materials.
However, executing a successful drawing in this genre requires careful attention to certain techniques and considerations.
So, to end this dilemma, we have brought forward for you some amazing Glow In The Dark drawing ideas that will help you create art that’s nothing short of a masterpiece.
Glow In The Dark Drawing Ideas
1
2

3

4

5

6

7
8

9

10

11

12

13
14

15

16

17

18

19

20

21

22

23

24

25

26

27

28

29

30

31
32

33

34

35

36

37
38

39

40

41

42

43

44

45

46

47
48

49

50

51

52

53

54

55

56

57

58
59

60

61

62

63

64

65

66

67

68

69

70

71
72

73

74

75
76

77

What Is “Glow In The Dark” Drawing?
Glow in the Dark Drawing is a form of art that involves creating images or designs that become visible or luminescent in low-light or dark environments.
This effect is achieved using materials that can absorb and store light energy, then emit it when the surroundings are dark. Here’s a detailed breakdown of what glow-in-the-dark drawing involves:
1. Materials Used in Glow In The Dark Drawing
- Glow-in-the-Dark Paints and Inks: The primary materials used are paints or inks containing phosphorescent pigments. These pigments absorb light (natural sunlight, artificial light, etc.) and then release it slowly over time, creating a glowing effect in the dark.
- Phosphorescent Pigments: These are typically made from compounds like strontium aluminate, which is activated by a dopant (usually europium) to enhance the glowing effect. These pigments are non-toxic and safe for use in art.
- Glow Sticks and Neon Lights: For temporary effects, some artists might use glow sticks, which emit light due to a chemical reaction, or neon lights for drawing in the air or on specific surfaces.
- UV/Blacklight Reactive Materials: Some glow-in-the-dark drawings are created using UV-reactive materials that glow brightly under ultraviolet (blacklight) conditions.
2. Techniques and Applications
- Canvas and Paper Drawing: Artists can apply glow-in-the-dark paints to traditional canvases or paper, layering the phosphorescent pigments on top of or mixed with regular paints. The drawing appears normal in the light but reveals a glowing effect when the lights are turned off.
- Body Art and Makeup: Glow-in-the-dark body paint is popular in performances, parties, and festivals, where artists create glowing designs on skin. The art can be appreciated under regular light and will glow vividly in the dark or under blacklight.
- Street Art: Some street artists use glow-in-the-dark spray paints to create murals or graffiti that come alive at night, adding a magical element to urban spaces.
- Decorative Art: Glow-in-the-dark elements are often used in home decor, such as wall paintings, ceiling art (like stars and galaxies), and children’s room decorations. These can transform a space from day to night, providing a dual aesthetic.
3. Science Behind the Glow
- Phosphorescence: This is the process that allows glow-in-the-dark materials to emit light. When these materials are exposed to light, they absorb photons, exciting the electrons within the material. When the lights are turned off, the electrons slowly return to their ground state, releasing the stored energy in the form of visible light, which we see as a glow.
- Duration of Glow: The length of time a glow-in-the-dark drawing remains visible in the dark depends on the quality and type of phosphorescent pigment used, the amount of light it was exposed to, and the darkness of the environment. High-quality phosphorescent materials can glow for several hours, but the intensity typically diminishes over time.
4. Artistic Expression and Creativity
- Dual-Aesthetic Art: One of the unique aspects of glow-in-the-dark drawing is that it offers a dual experience. The artwork can have one appearance in daylight and a completely different one in the dark, allowing artists to play with contrasts, hidden images, or messages that only become visible in the dark.
- Interactive Art: Some installations or artworks are designed to be interacted with, where the audience participates in creating glow-in-the-dark drawings using special pens or light sources. This interactive element adds a layer of engagement and fun to the art.
- Innovative Uses: Artists continue to explore innovative uses of glow-in-the-dark materials, such as creating animated sequences that change over time as the glow fades, or integrating them with technology to create responsive or dynamic art that reacts to environmental changes.
5. Cultural and Social Impact
Glow-in-the-dark drawing has a cultural and social impact, often being used in festivals, concerts, and public art projects to create mesmerizing effects that captivate audiences.
It has also found a place in fashion, with glow-in-the-dark clothing and accessories gaining popularity for their futuristic appeal.
Key Tips and Techniques for Stunning “Glow In The Dark” Creations
1. Choosing the Right Materials
The foundation of a successful glow in the dark drawing lies in selecting the appropriate materials. Unlike traditional drawing, where you might only need paper and a pencil, glow in the dark art requires specialized tools:
- Glow in the Dark Paints and Markers: These are the primary materials that will give your artwork its glowing effect. Look for high-quality phosphorescent paints or markers that charge quickly under light and retain their glow for extended periods.
- Blacklight or UV Light: While some glow in the dark materials charge under normal light, using a blacklight or UV light can enhance the glowing effect, making your artwork more vivid and vibrant.
- Suitable Canvas: Not all surfaces are ideal for glow in the dark materials. A dark background, such as black or navy blue paper or canvas, can amplify the glowing effect. However, glow in the dark paints can also work well on other surfaces, such as wood, fabric, or even walls.
2. Understanding How Glow in the Dark Works
Before diving into the drawing process, it’s crucial to understand the science behind glow in the dark materials. Phosphorescent materials absorb light energy and store it, gradually releasing it as a visible glow in the dark. This process, known as phosphorescence, differs from fluorescence, where materials glow only under a UV light source.
- Charge Time: The intensity and duration of the glow depend on the amount of light absorbed. Ensure your materials are exposed to sufficient light before expecting them to glow. A longer charge time under a strong light source will result in a brighter and longer-lasting glow.
- Glow Duration: Different materials have varying glow durations. Some might glow for a few minutes, while others can last for hours. It’s important to be aware of the glow duration of your chosen materials to manage expectations and plan your artwork accordingly.
3. Planning Your Artwork
As with any artistic endeavor, planning is key. Glow in the dark drawing presents unique challenges that make planning even more crucial:
- Sketching in Regular Light: Begin by sketching your design in regular light. This will help you create a solid foundation for your artwork. Consider using a pencil or light-colored chalk that can be easily covered by glow in the dark materials.
- Layering and Detailing: Glow in the dark materials can sometimes be less opaque than traditional paints or markers. Plan to layer your materials to achieve the desired intensity. Additionally, fine details might not be as prominent in the dark, so it’s often best to focus on bold lines and larger shapes.
- Color Considerations: Not all glow in the dark materials are the same color when they glow. Some may glow green, blue, or even pink. Understanding how these colors interact and planning your color palette in advance can prevent unintended color combinations that may not work well in the dark.
4. Executing the Drawing
With your materials ready and your artwork planned, it’s time to start drawing. However, there are a few important factors to keep in mind during execution:
- Lighting Conditions: While it might be tempting to work in the dark to see how your drawing glows, it’s more practical to work in a well-lit environment. This allows you to see your materials clearly and apply them more accurately. Periodically switch off the lights or use a blacklight to check your progress.
- Brush Strokes and Marker Pressure: When using glow in the dark paints, the thickness of your brush strokes can affect the glow. Thicker applications will generally glow more brightly. Similarly, when using markers, applying more pressure can result in a more intense glow. However, be mindful of the medium you’re working on, as too much pressure or paint can cause unwanted texture or bleeding.
- Drying Time: Glow in the dark paints may take longer to dry than regular paints, especially if applied thickly. Be patient and allow each layer to dry fully before adding additional layers or details to avoid smudging or mixing colors unintentionally.
5. Incorporating Blacklight for Enhanced Effects
While glow in the dark materials can create stunning effects on their own, incorporating blacklight or UV light can take your artwork to the next level:
- Accentuating Details: Use blacklight to highlight specific details in your drawing that you want to stand out. This can create a dynamic contrast between glowing and non-glowing areas.
- Layering with Fluorescent Paints: Combine glow in the dark paints with fluorescent paints. Under normal light, fluorescent paints can add vibrant colors, and under blacklight, they can create a stunning, luminescent effect that complements the glow in the dark elements.
- Experimenting with Light Angles: Changing the angle of the blacklight can create interesting shadows and highlights, adding depth to your artwork. Experiment with different lighting angles to see how it affects the overall look of your drawing.
6. Considering the Viewing Environment
The environment in which your glow in the dark drawing will be displayed plays a significant role in its impact:
- Ambient Light: The amount of ambient light in the viewing environment can affect the visibility of the glow. A completely dark room will showcase your artwork in its full glowing glory, while a room with some light may reduce the intensity of the glow.
- Distance and Perspective: Consider how viewers will perceive your artwork from different distances. Some glow in the dark details might only be visible up close, while others might create a more striking effect when viewed from afar.
- Interactive Elements: If your artwork is intended for a specific space, such as a child’s room or a gallery, consider incorporating interactive elements. For example, viewers could use a small UV flashlight to “charge” certain areas of the artwork, creating an interactive experience.
7. Creative Techniques and Effects
Glow in the dark drawing offers a wide range of creative possibilities. Here are some techniques and effects to consider:
- Stippling and Dot Art: Create texture and gradients by using stippling, or dotting techniques. This can be especially effective with glow in the dark materials, as the individual dots will glow and create an interesting visual effect.
- Negative Space: Utilize negative space to create contrast. Leaving certain areas of your drawing unpainted can allow the natural darkness to enhance the glowing areas, adding depth and dimension to your work.
- Glow in the Dark Stencils: Use stencils to create precise shapes and patterns in your drawing. This can be particularly useful if you’re incorporating geometric designs or lettering, as it ensures clean lines and consistent shapes.
- Blending Techniques: While blending can be challenging with glow in the dark materials, experimenting with different tools, such as sponges or soft brushes, can help you achieve subtle transitions between colors.
8. Practicing Patience and Perseverance
Glow in the dark drawing can be a time-consuming process, especially when working with materials that require multiple layers or long drying times. Patience is key to achieving the best results:
- Trial and Error: Don’t be afraid to experiment and make mistakes. Glow in the dark materials can behave differently than traditional paints or markers, so it’s essential to practice and learn how to work with them effectively.
- Building Layers: Achieving the desired glow intensity often requires building up layers of paint or marker. This can be a slow process, but the end result is worth the effort.
- Revisiting Your Work: After completing your drawing, consider revisiting it after it has fully dried and the glow has diminished. This can give you a fresh perspective and reveal areas that might benefit from additional layers or touch-ups.
9. Displaying and Preserving Your Artwork
Once your glow in the dark drawing is complete, consider how you will display and preserve it:
- Framing: If your artwork is on paper or canvas, framing it under glass can protect it from dust and damage. However, be mindful that glass can reflect light, potentially reducing the visibility of the glow. Consider using non-reflective glass if possible.
- Lighting Considerations: If your artwork is meant to be displayed in a specific location, think about the lighting in that area. Positioning your artwork near a light source that can periodically charge it, such as a window or a lamp, can help maintain its glow.
- Preservation: Over time, glow in the dark materials can lose their ability to absorb and emit light. To extend the life of your artwork, avoid prolonged exposure to direct sunlight and store it in a cool, dry place when not on display.
10. Exploring Further Possibilities
The world of glow in the dark drawing is vast, with many opportunities to expand and explore:
- Glow in the Dark Installations: Consider creating larger-scale glow in the dark installations, such as murals or interactive pieces that encourage viewers to engage with the art in unique ways.
- Mixed Media: Combine glow in the dark drawing with other mediums, such as digital art, photography, or sculpture, to create multidimensional works that challenge the boundaries of traditional art forms.
- Collaborative Projects: Collaborating with other artists can bring new perspectives and techniques to your glow in the dark drawing. Working together can inspire innovative ideas and result in artwork that is greater than the sum of its parts.
Conclusion
By focusing on the right materials, understanding the science behind the glow, and executing your drawing with precision and creativity, you can create stunning pieces that captivate and inspire.
Whether you’re creating artwork for personal enjoyment, for a special event, or as a unique gift, this medium offers endless possibilities for artistic expression.
Embrace the magic of glowing art, and let your creativity shine brightly in the dark!

