60 Hand Drawing Ideas and References
Drawing hands is a fundamental skill for artists of all levels.
Whether you’re a beginner looking to grasp the basics or a seasoned artist aiming to refine your craft, hands present a unique challenge due to their complexity and expressiveness.
This blog post will explore various ideas and techniques for drawing hands, organized into multiple sections for you to understand.
1. Simple Hand Drawings
Simple hand drawings are a fantastic starting point for anyone diving into the art of sketching hands. These exercises help you focus on basic forms, proportions, and structure.
Start with Basic Shapes
Begin by breaking the hand into simple geometric shapes:
- Palm: Represent it as a rectangle or oval.
- Fingers: Draw cylinders or tapered lines for the digits.
- Thumb: Sketch this separately as a smaller, shorter cylinder.
This simplification not only makes drawing less intimidating but also trains your eye to recognize the underlying forms of the hand.
Practice Silhouettes
Silhouettes are a great way to focus on the overall shape without getting bogged down by details. Sketch hands in various positions—open, closed, and pointing. Try to capture the hand’s essence through its outer contour.
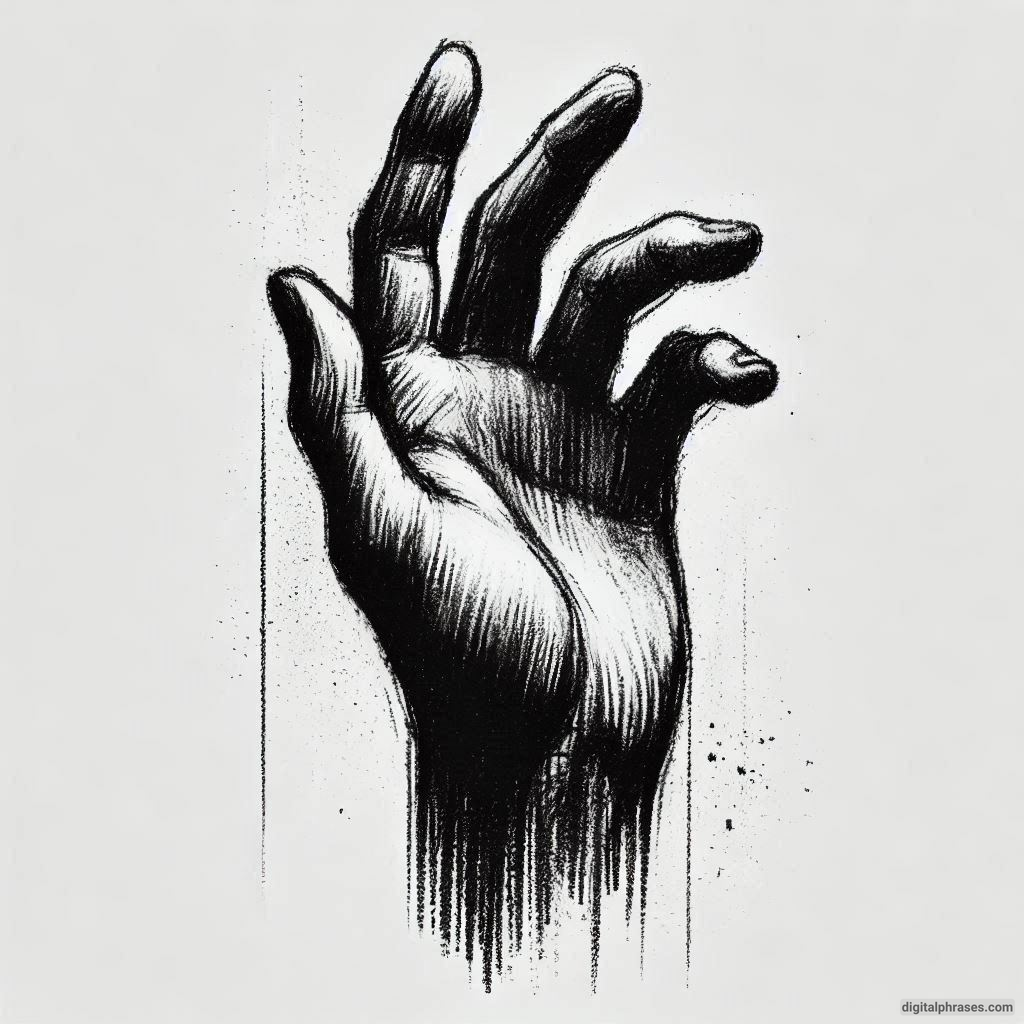
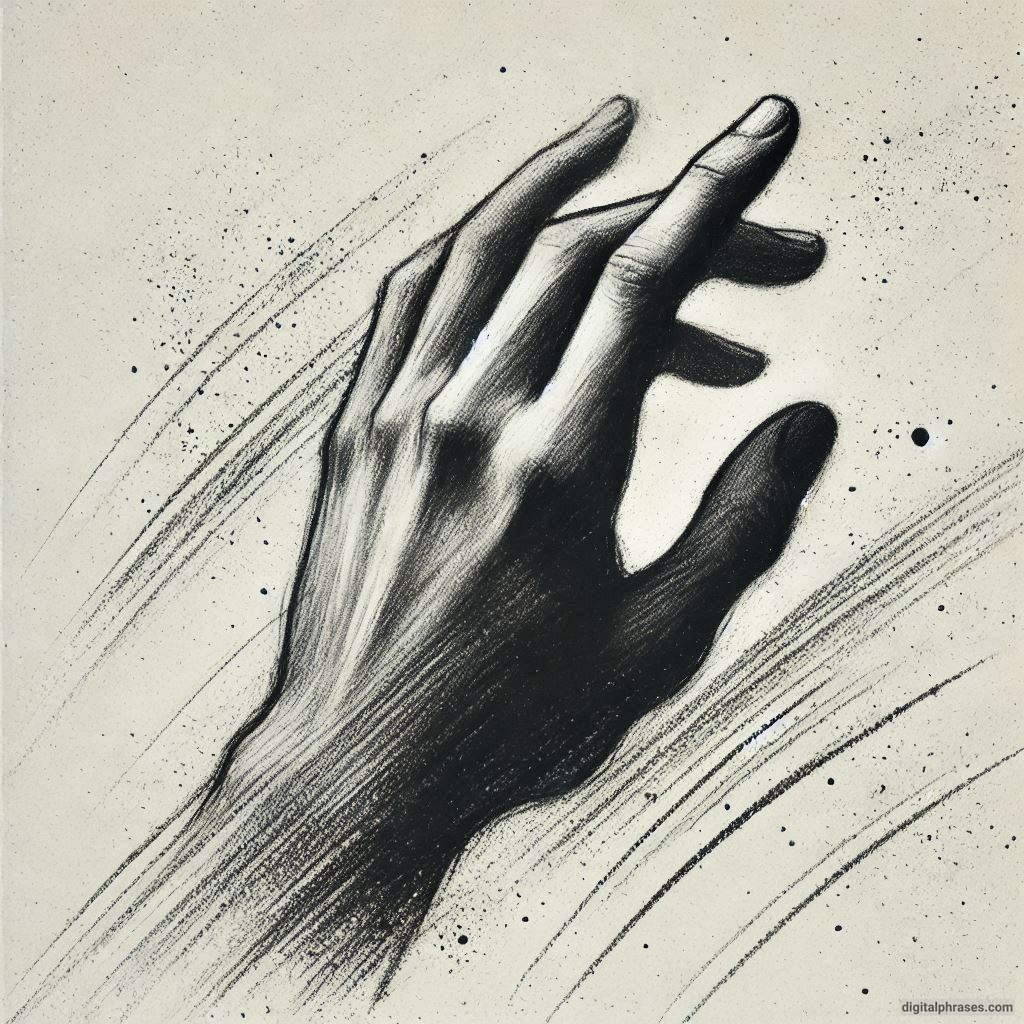
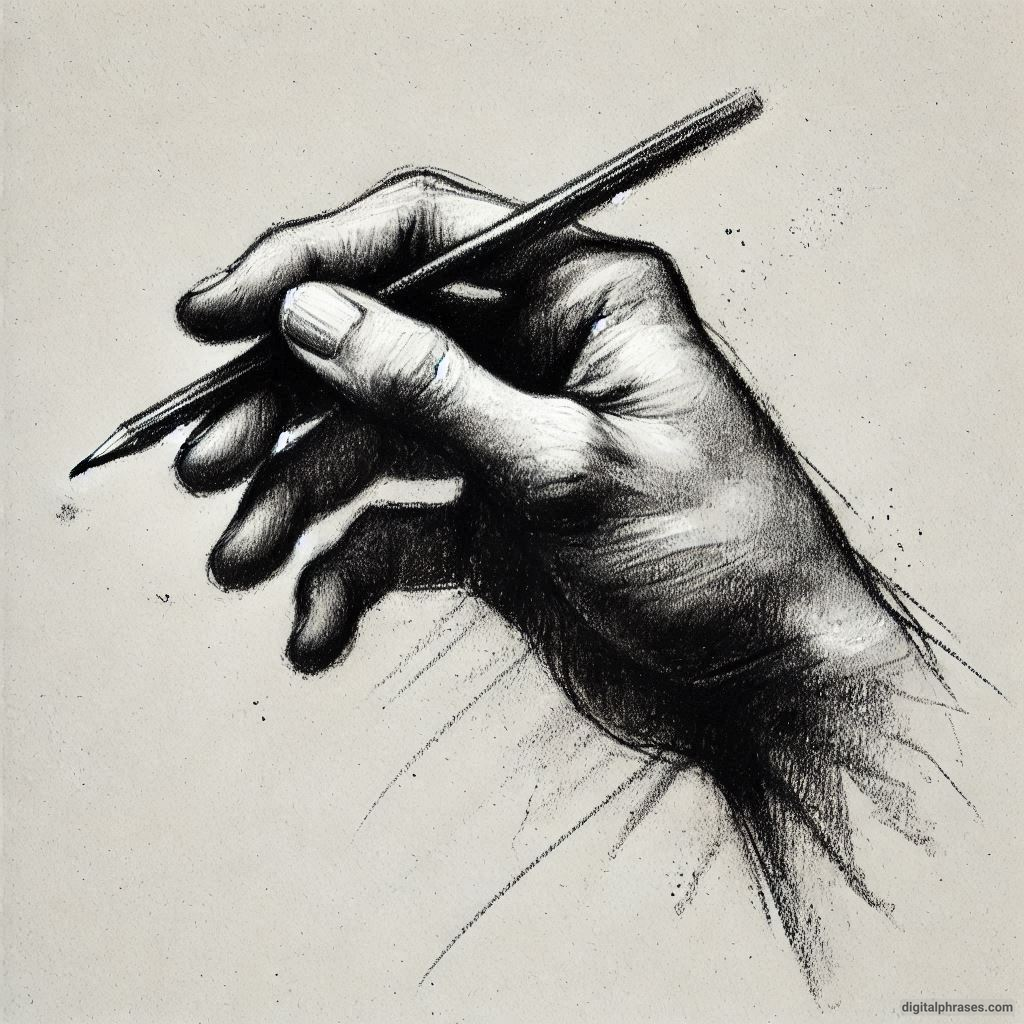
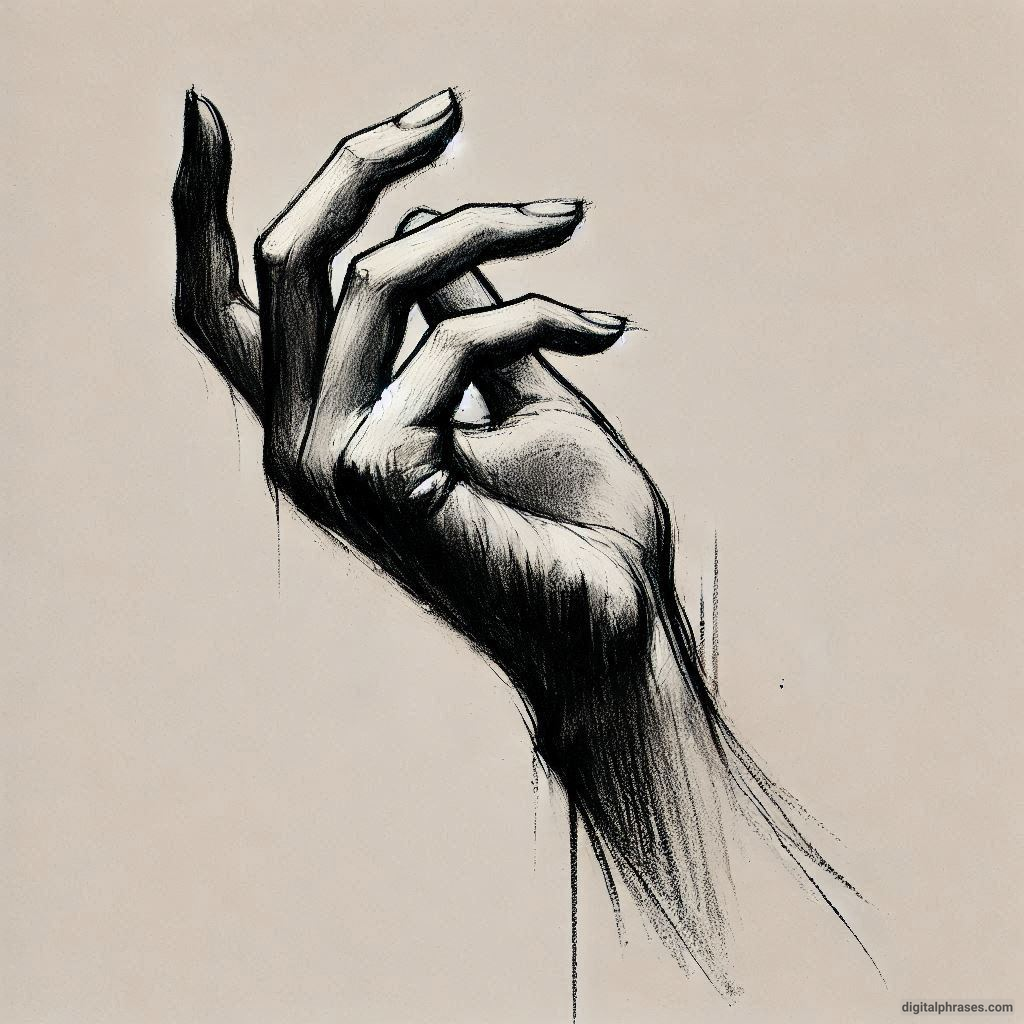
Try Gesture Drawing
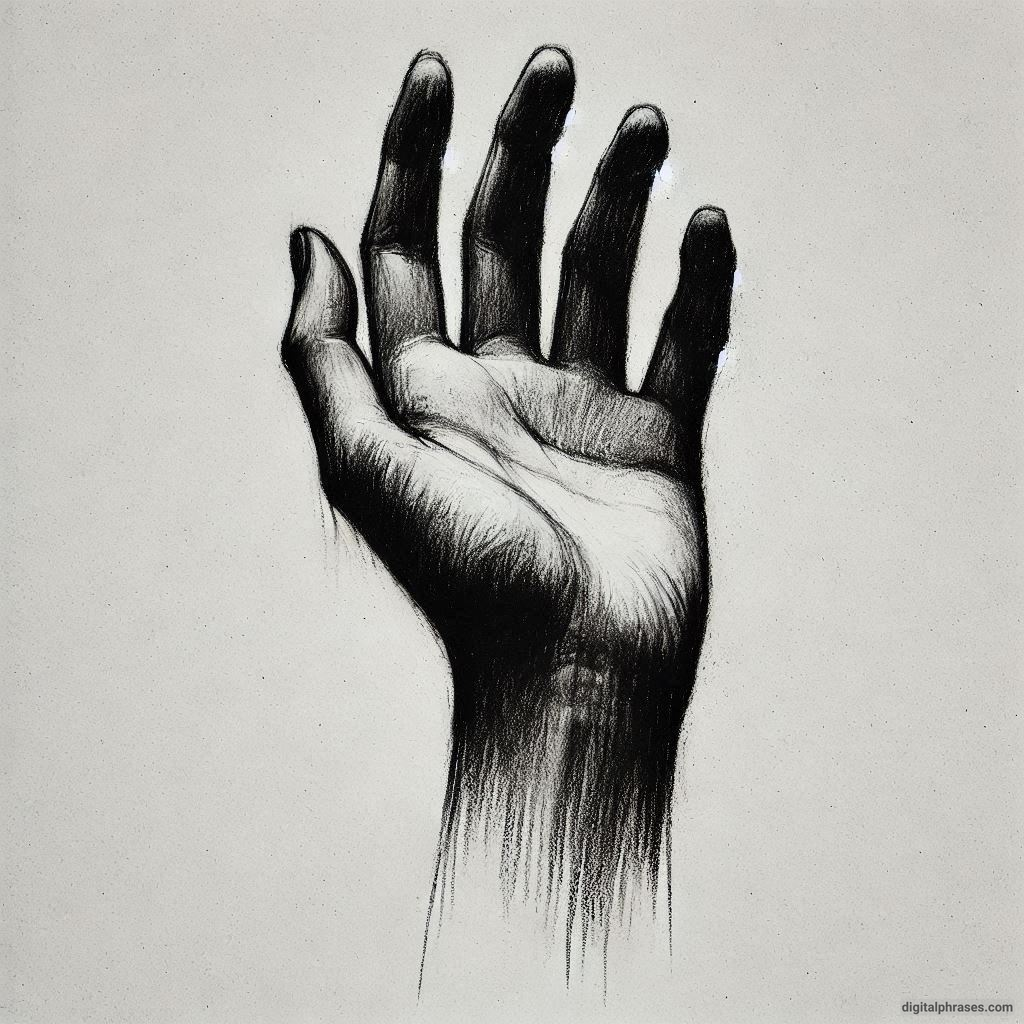
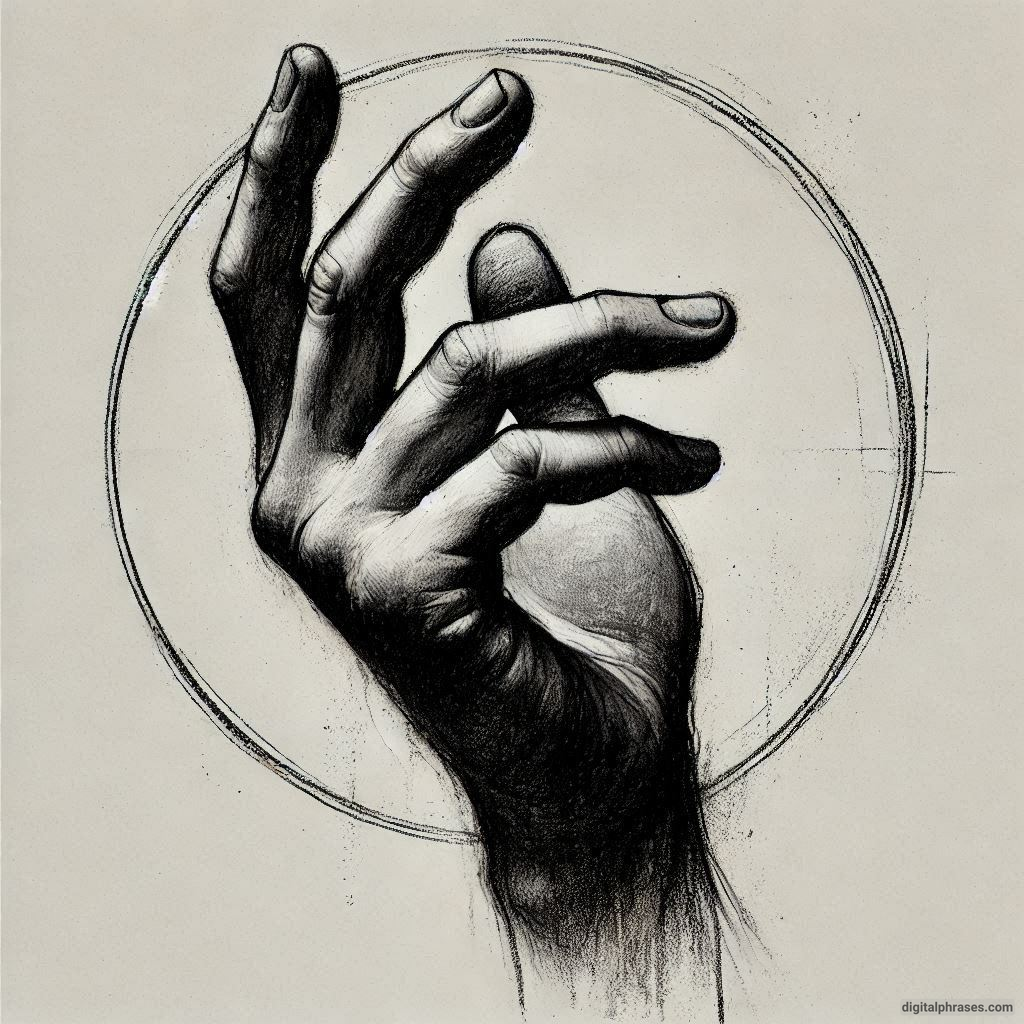
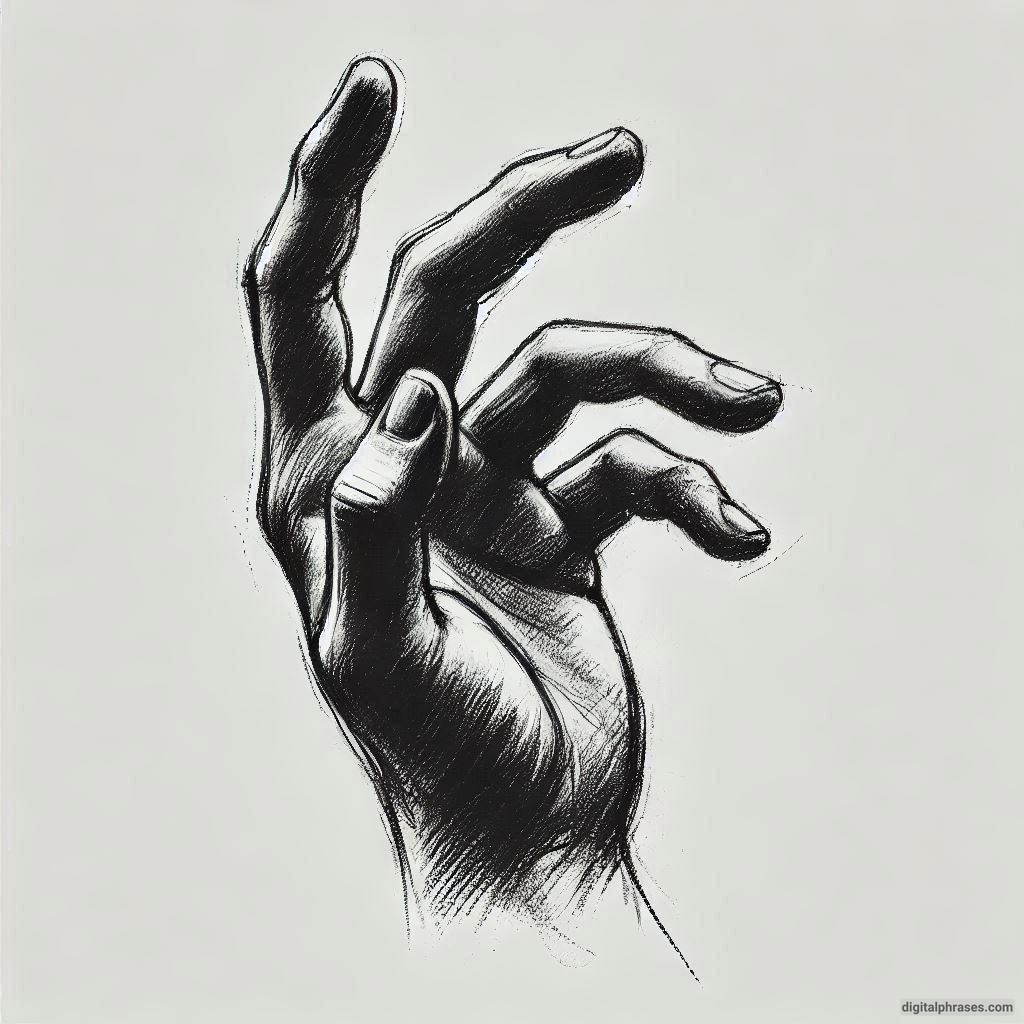
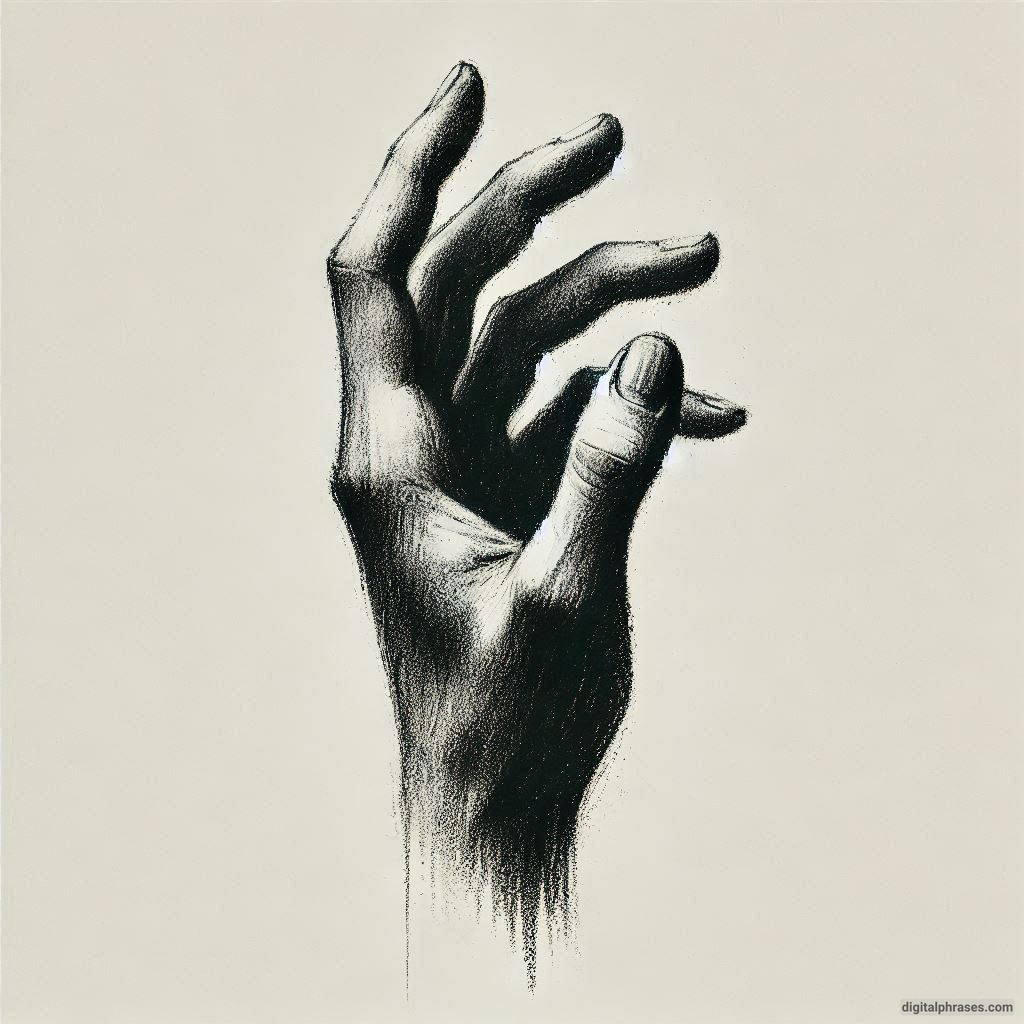
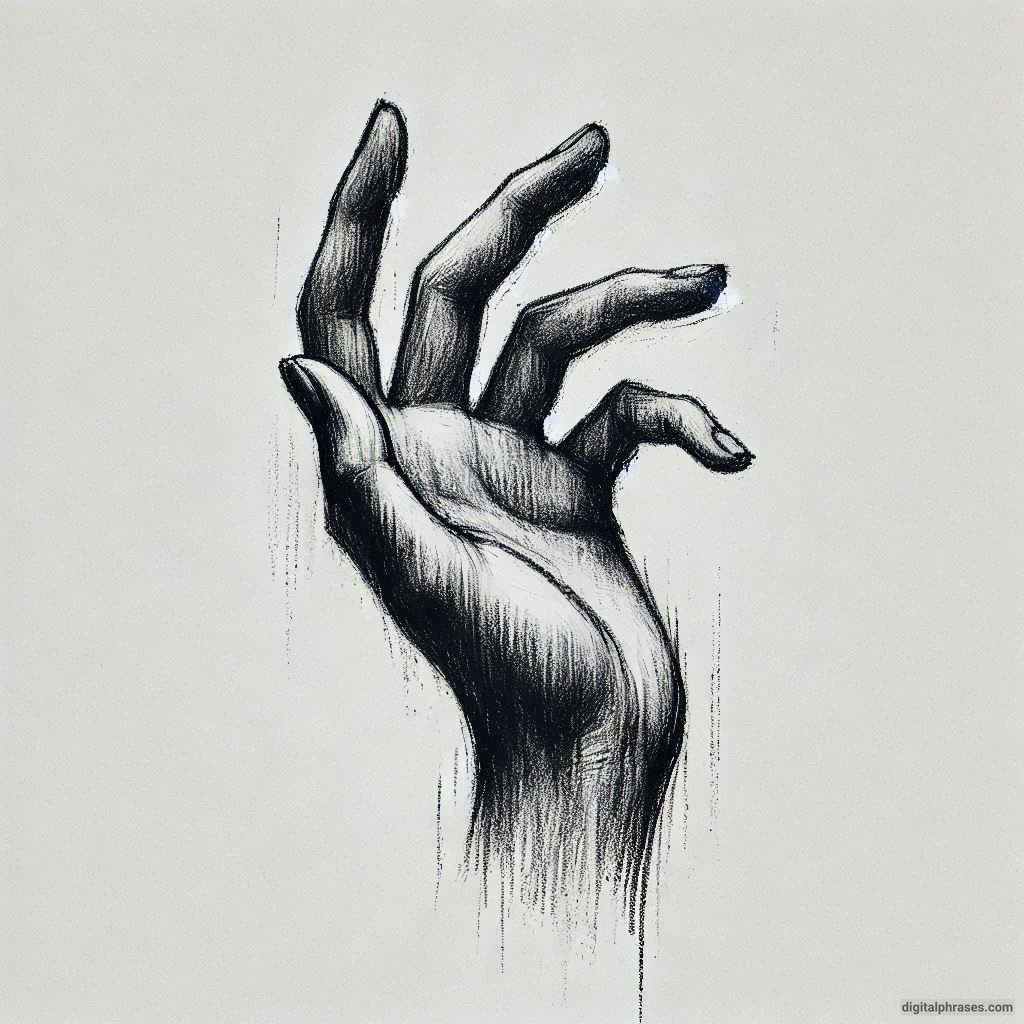
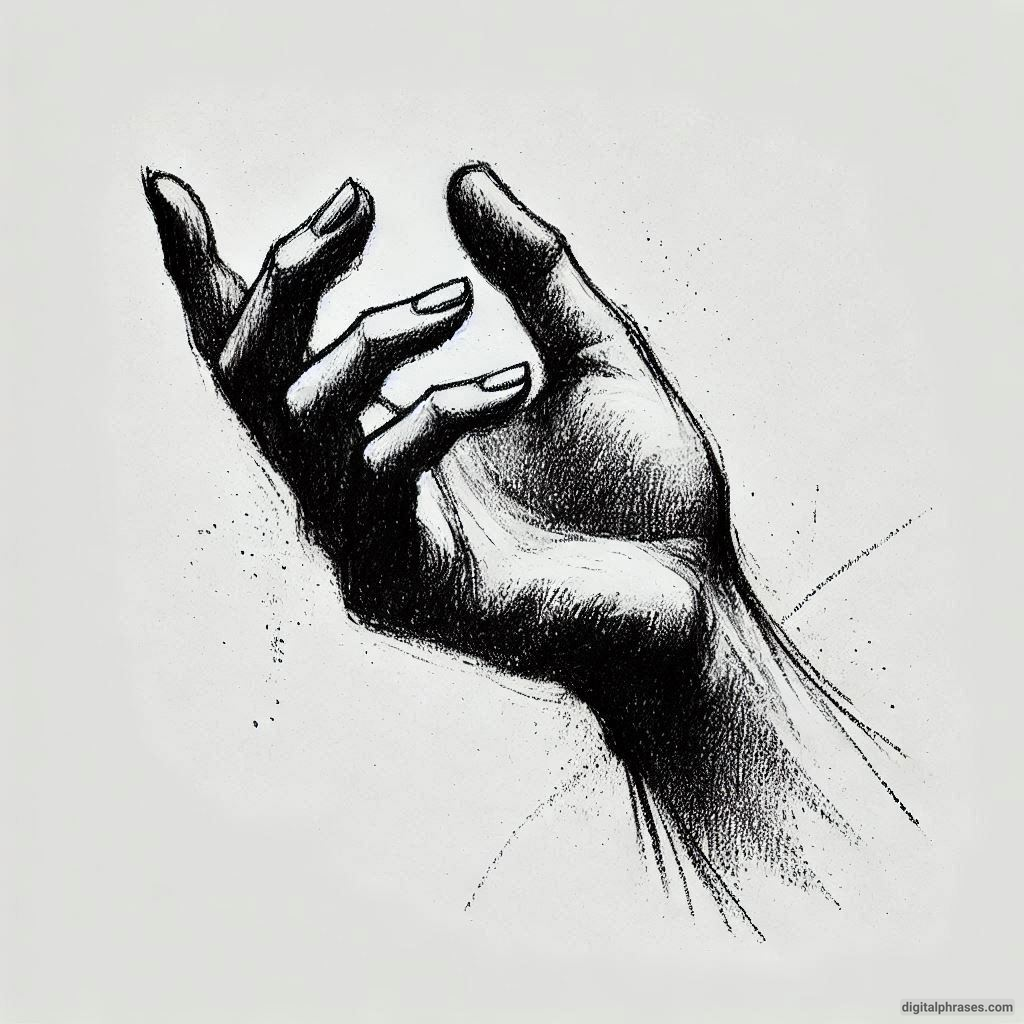
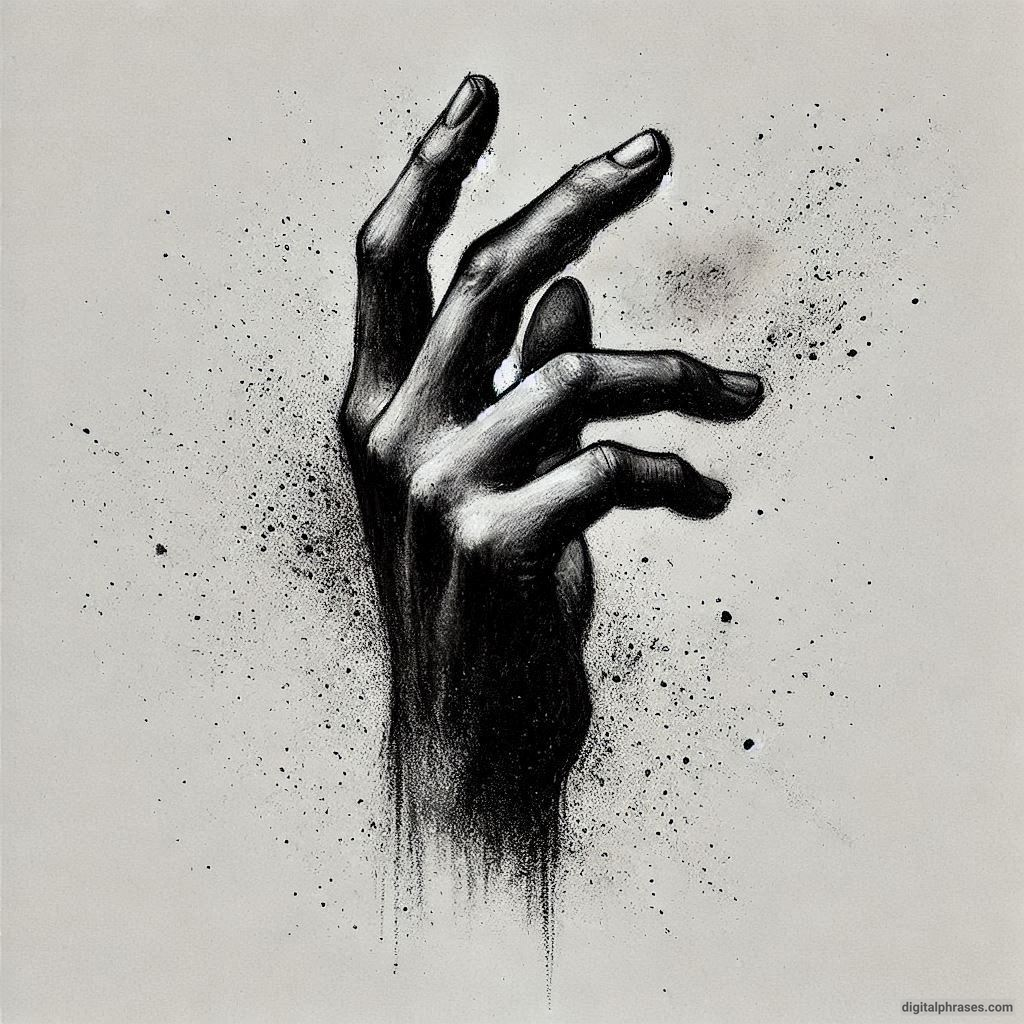
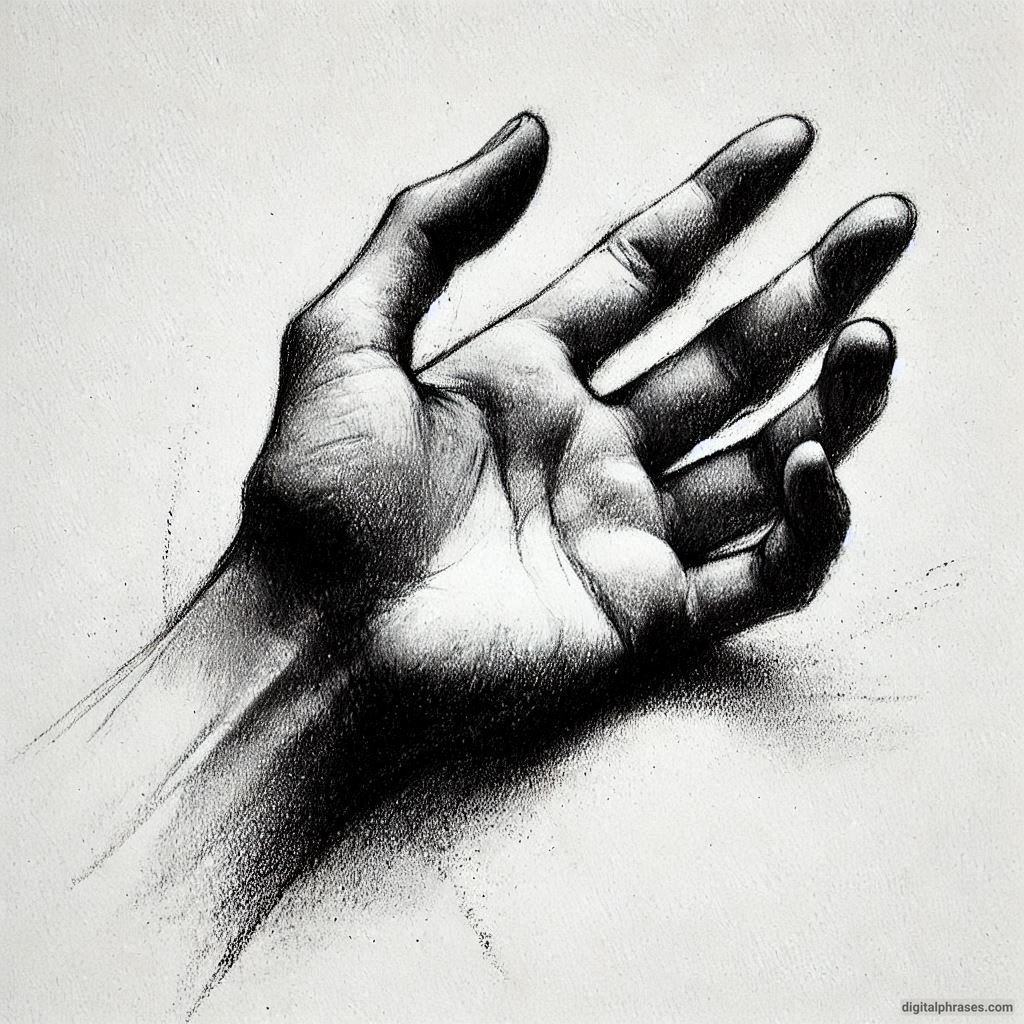
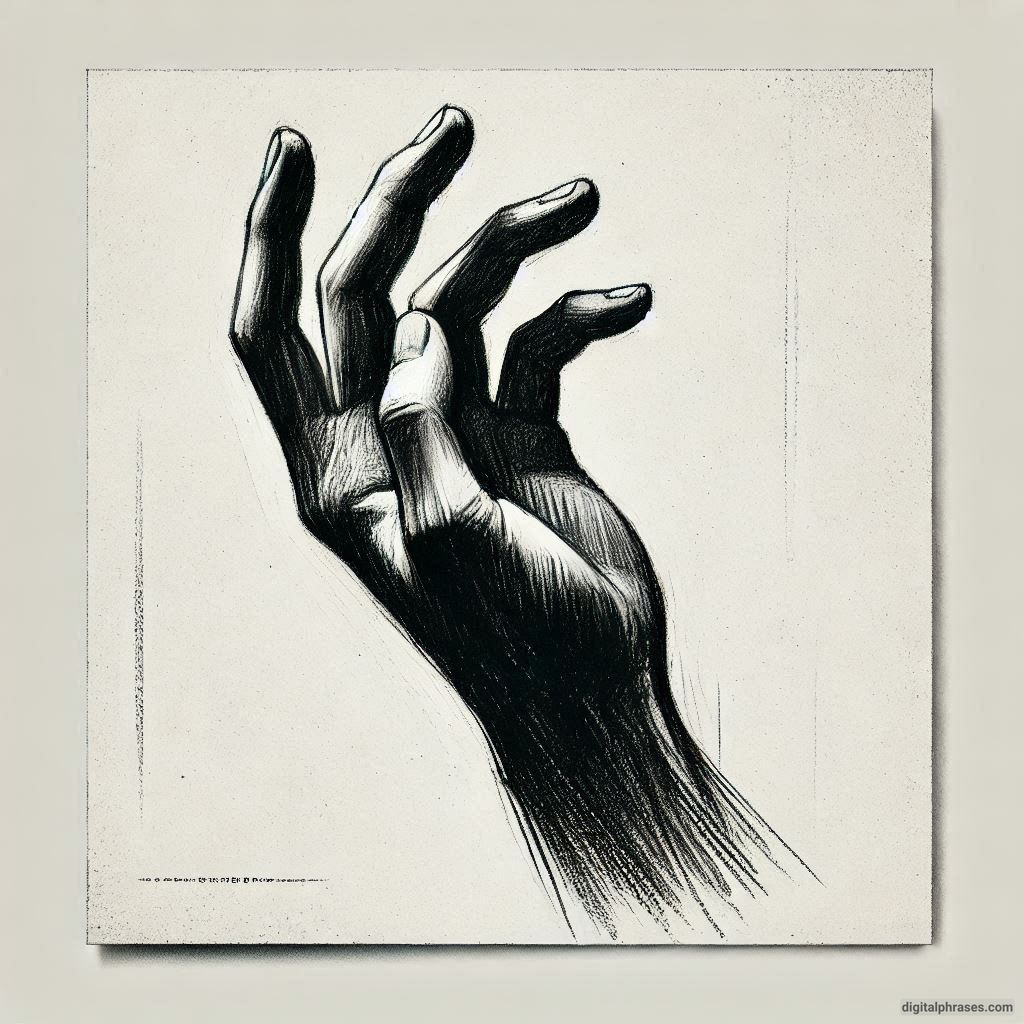
Gesture drawing emphasizes the movement and energy of the hand rather than the fine details. Use loose, flowing lines to capture the dynamic posture of a hand in action.
Here are some examples to get you started –
1
2
3
4
5
6
7
8
9

10
11
12
13
14
15
2. Human Hand Drawing References
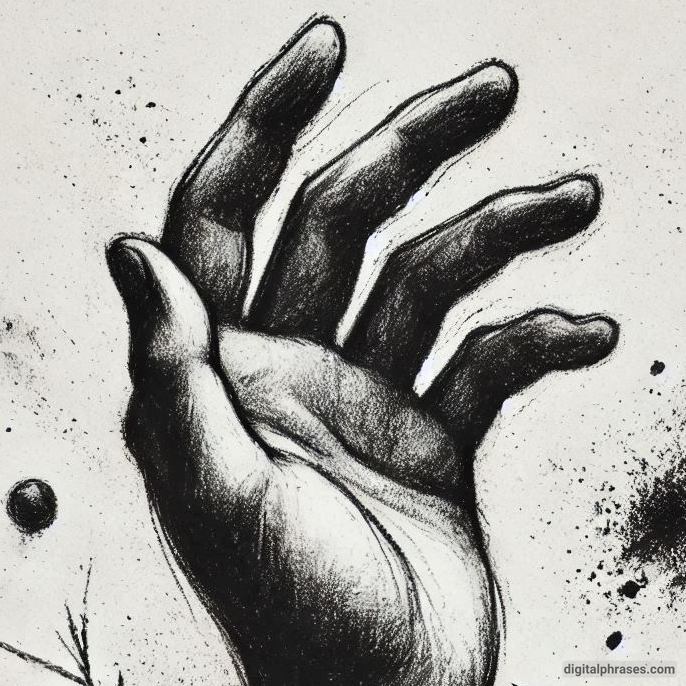
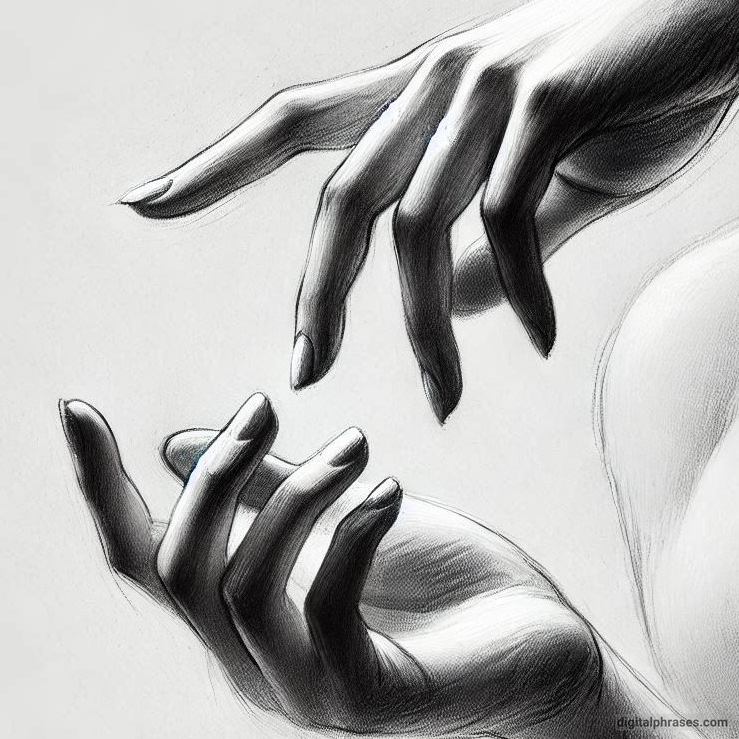
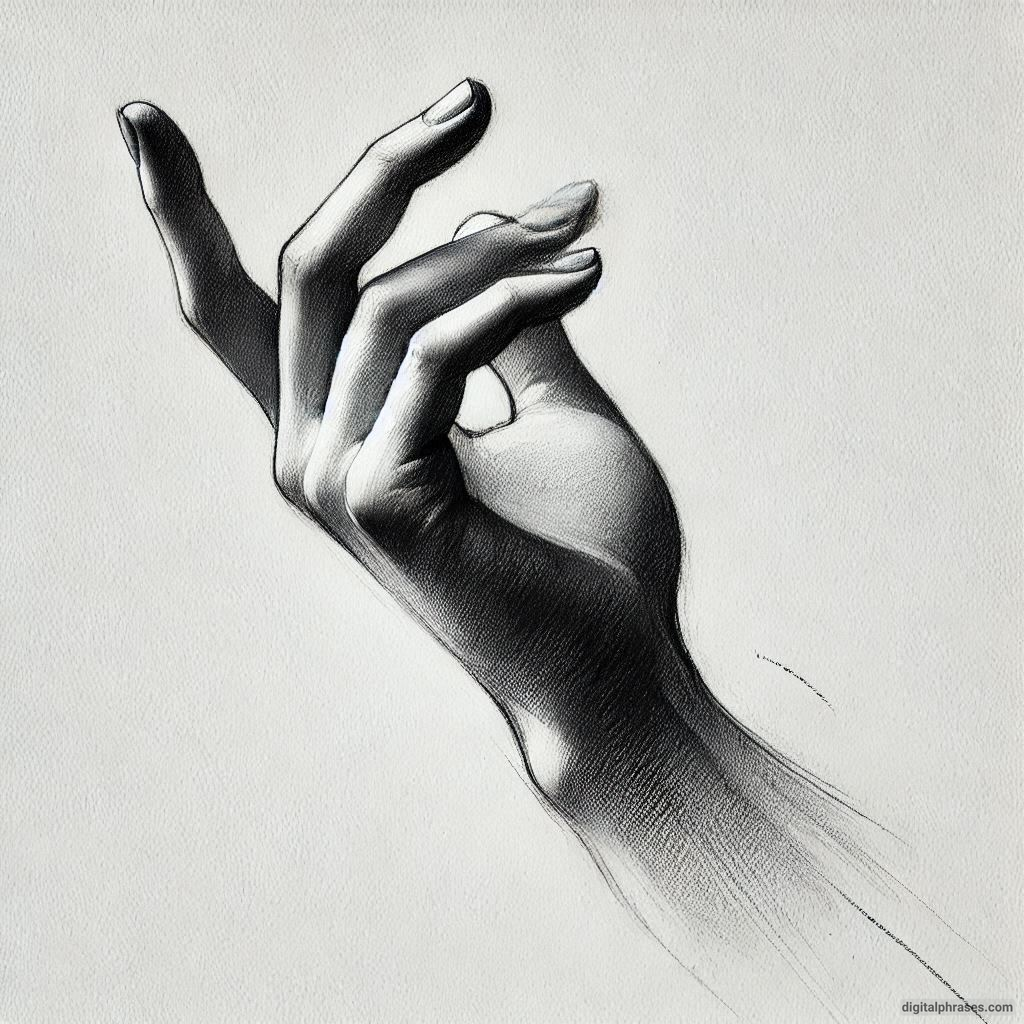
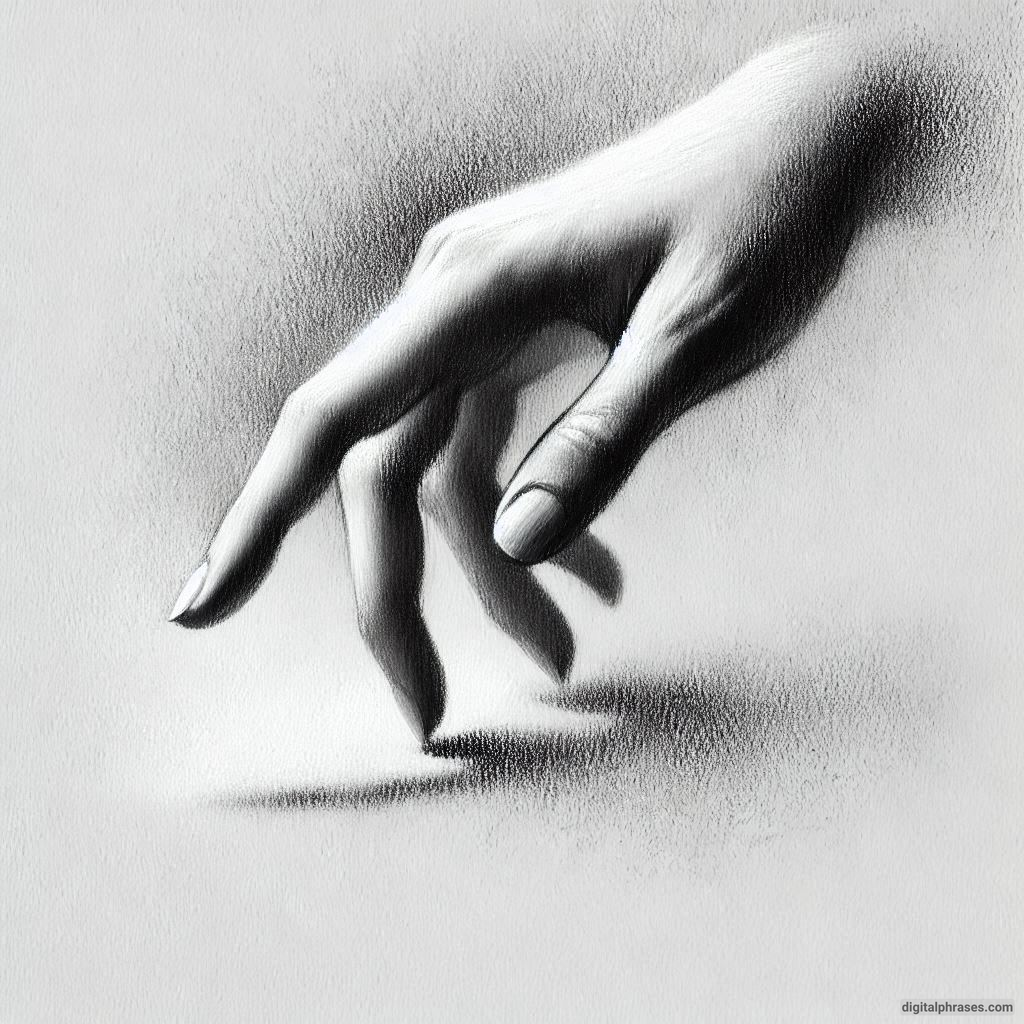
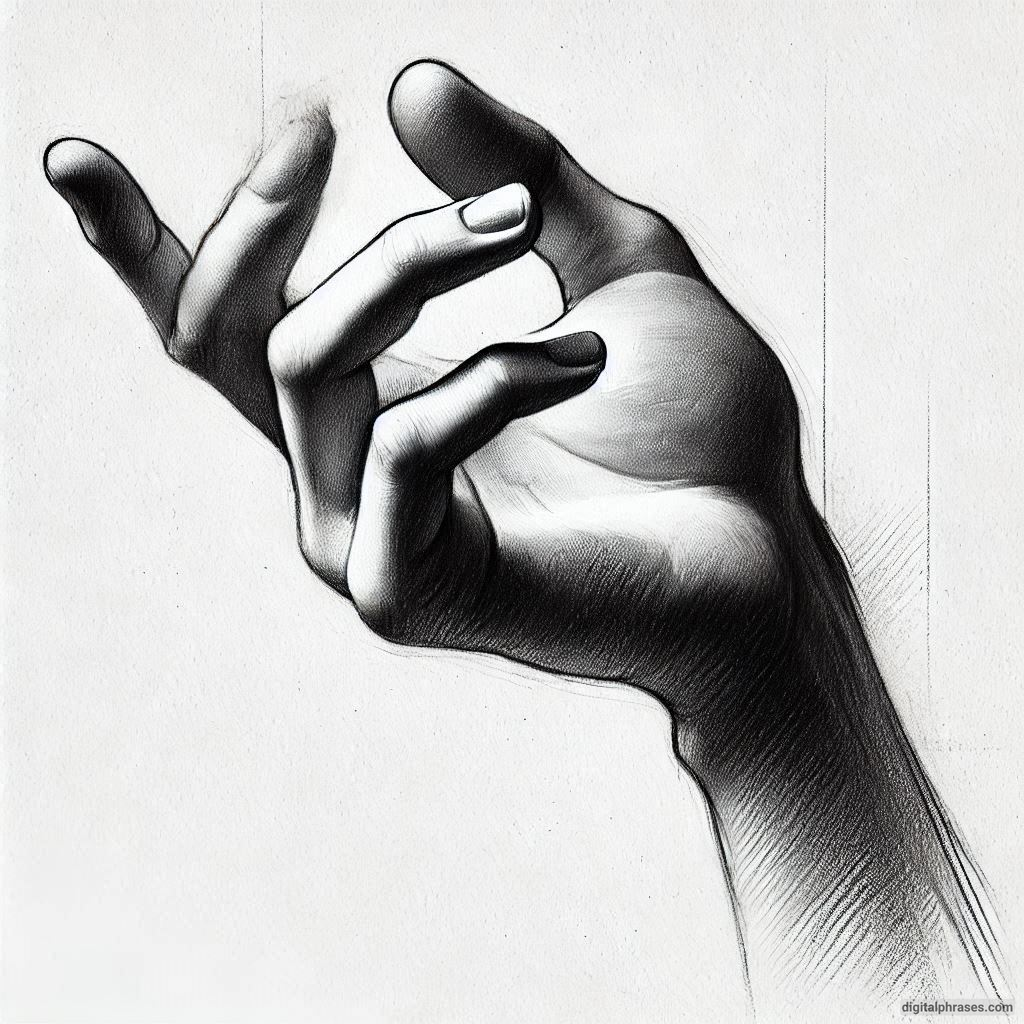
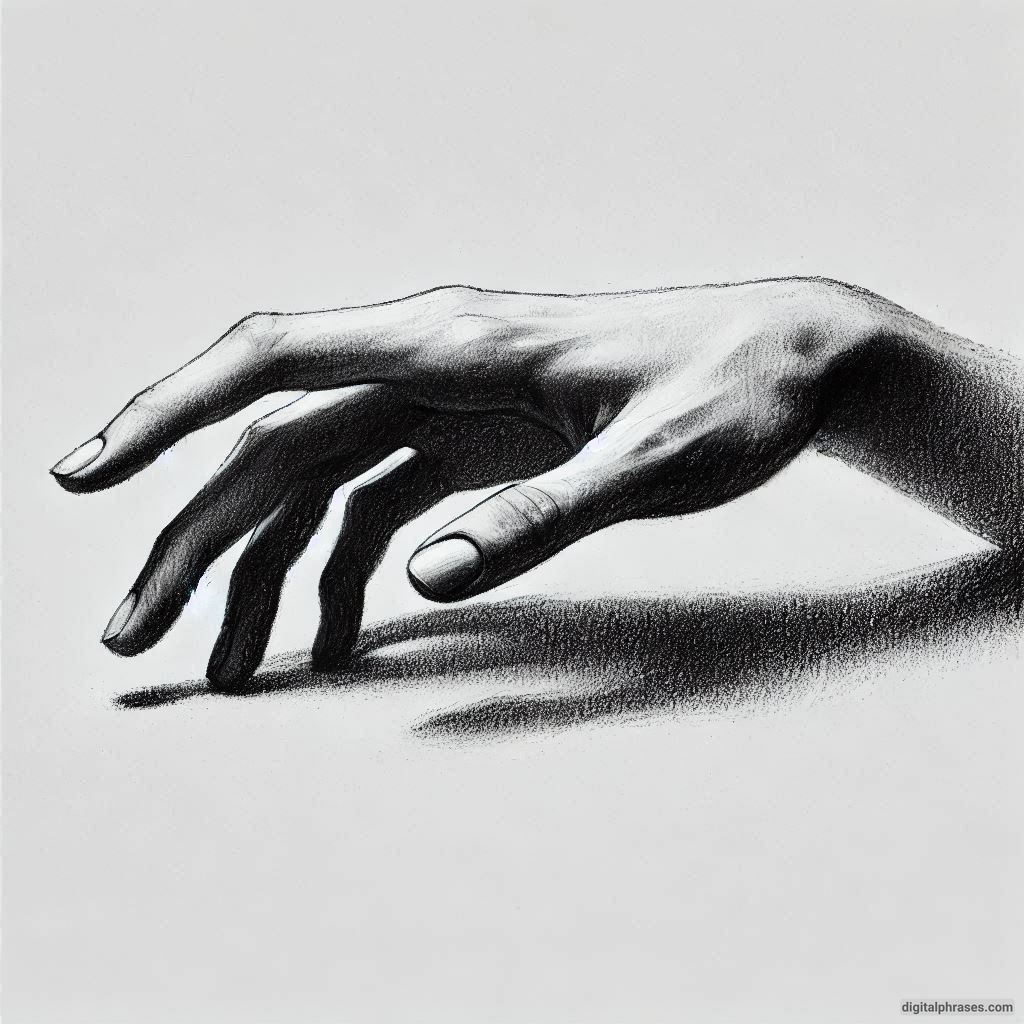
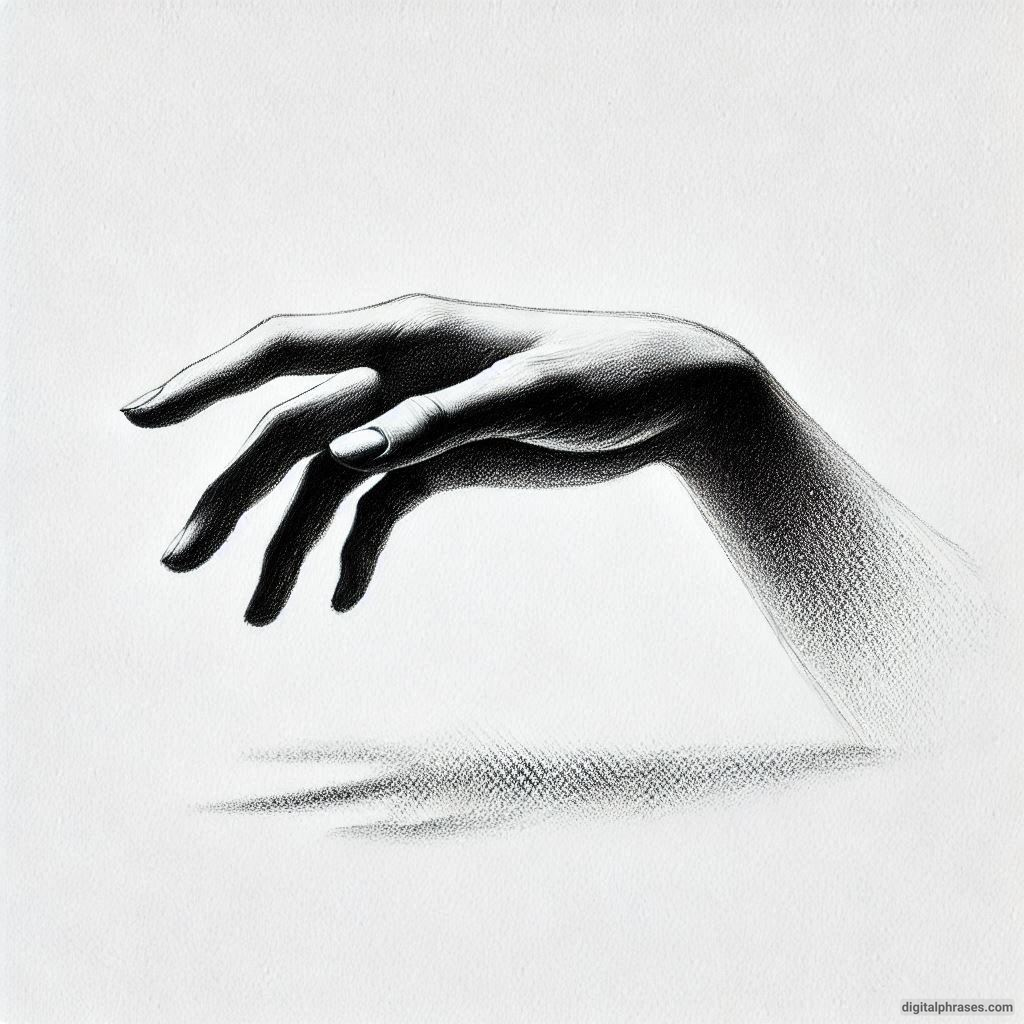
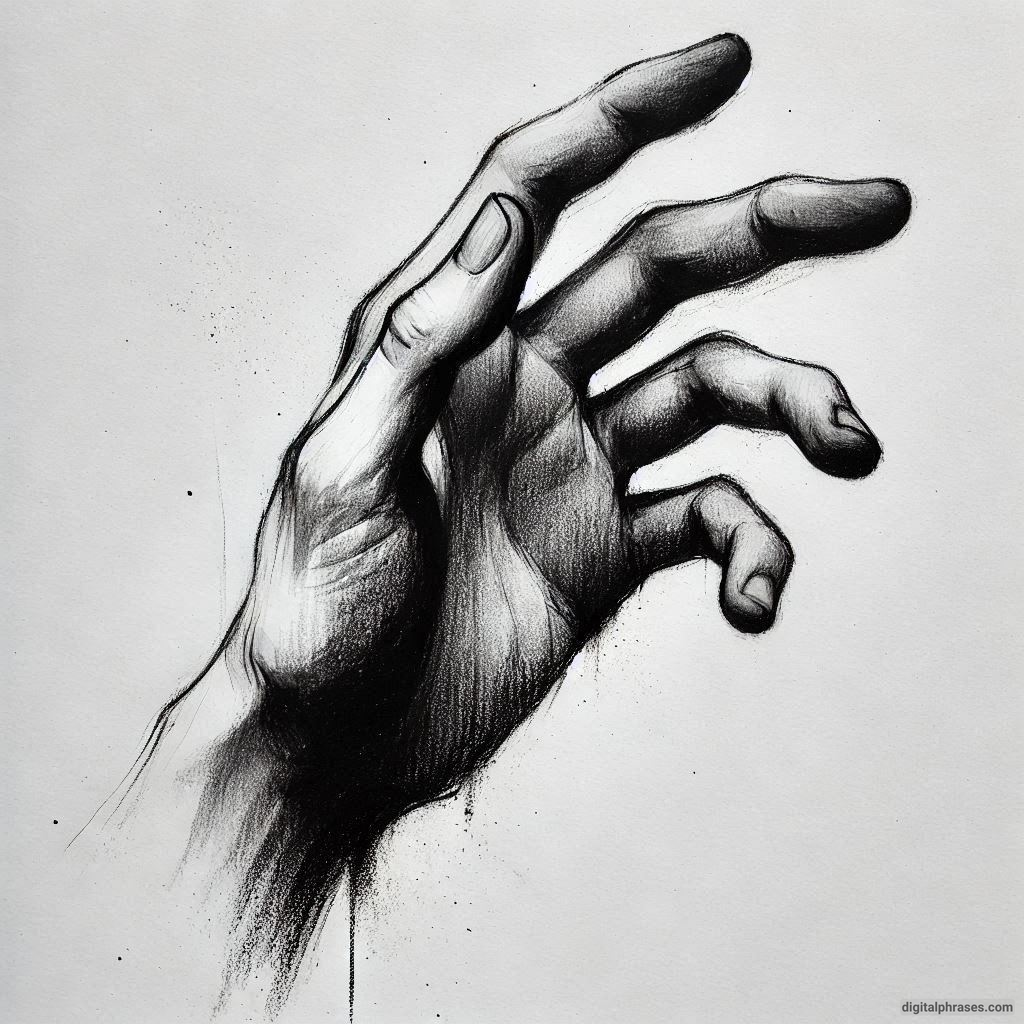
Using references is essential for mastering the complexity of hand anatomy and achieving realistic results. Let’s explore where and how to find references for your practice.
Using Your Own Hands
One of the best references is right in front of you—your own hands! Use a mirror or your phone camera to capture various poses. Experiment with:
- Fists
- Open palms
- Fingers spread wide
- Hands forming gestures like a thumbs-up or peace sign
Photo References
If you prefer working from photos, countless resources are available:
- Stock Photo Websites: Sites like Unsplash, Pexels, and Pixabay offer high-quality images of hands in diverse positions.
- Drawing Reference Apps: Apps like “Handy” allow you to manipulate 3D models of hands to capture various angles and lighting conditions.
- Photography Tips: Take your own reference photos with good lighting to understand shadows and highlights.
Study Anatomical Diagrams
To draw hands accurately, you need to understand their structure. Study anatomical diagrams to learn about:
- The arrangement of bones (metacarpals and phalanges)
- Muscle groups
- Tendons visible on the surface
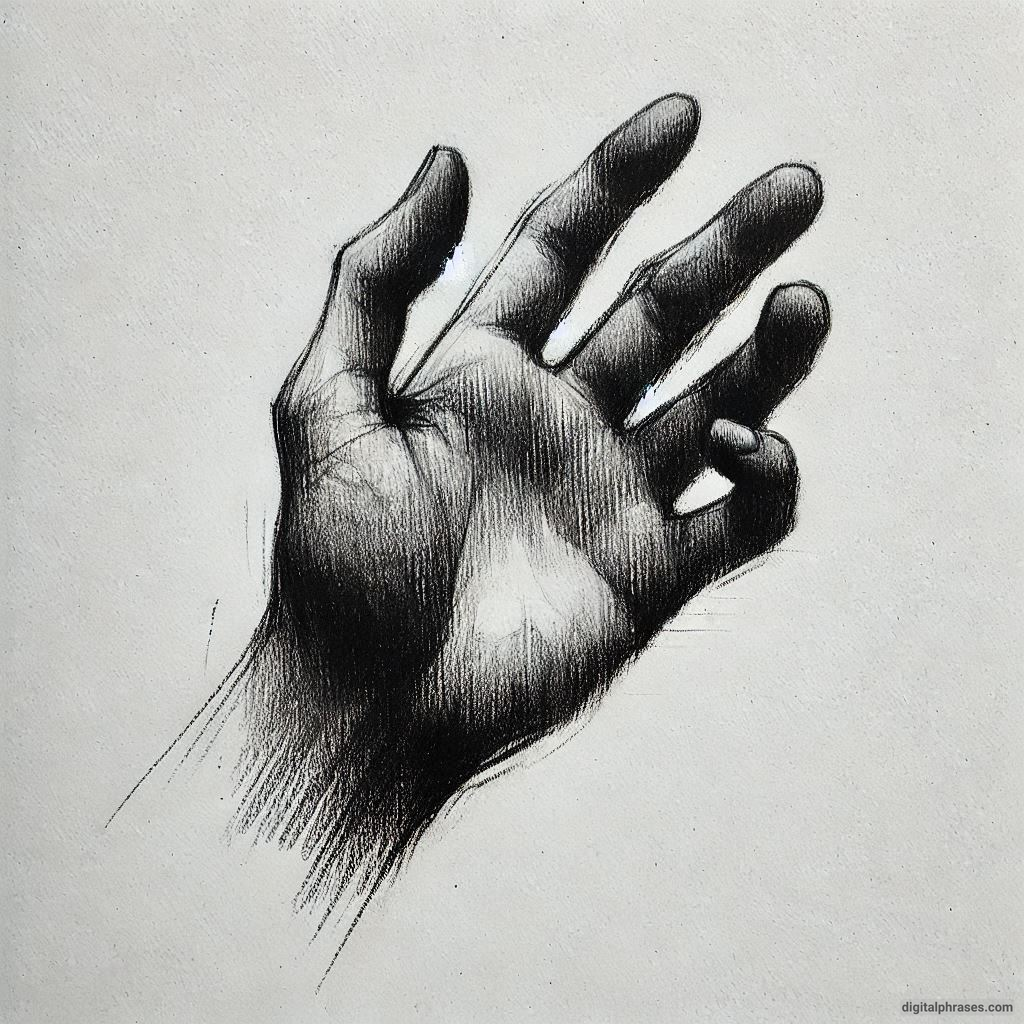
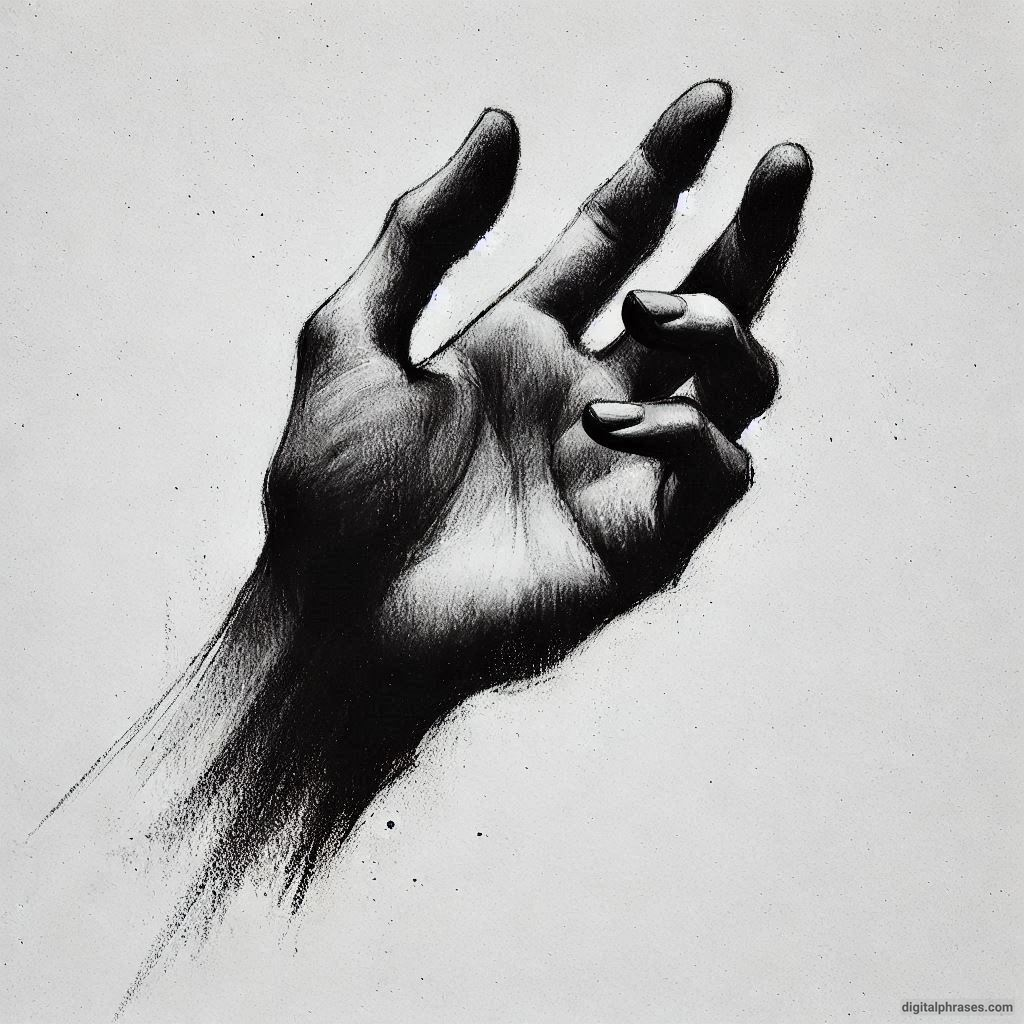
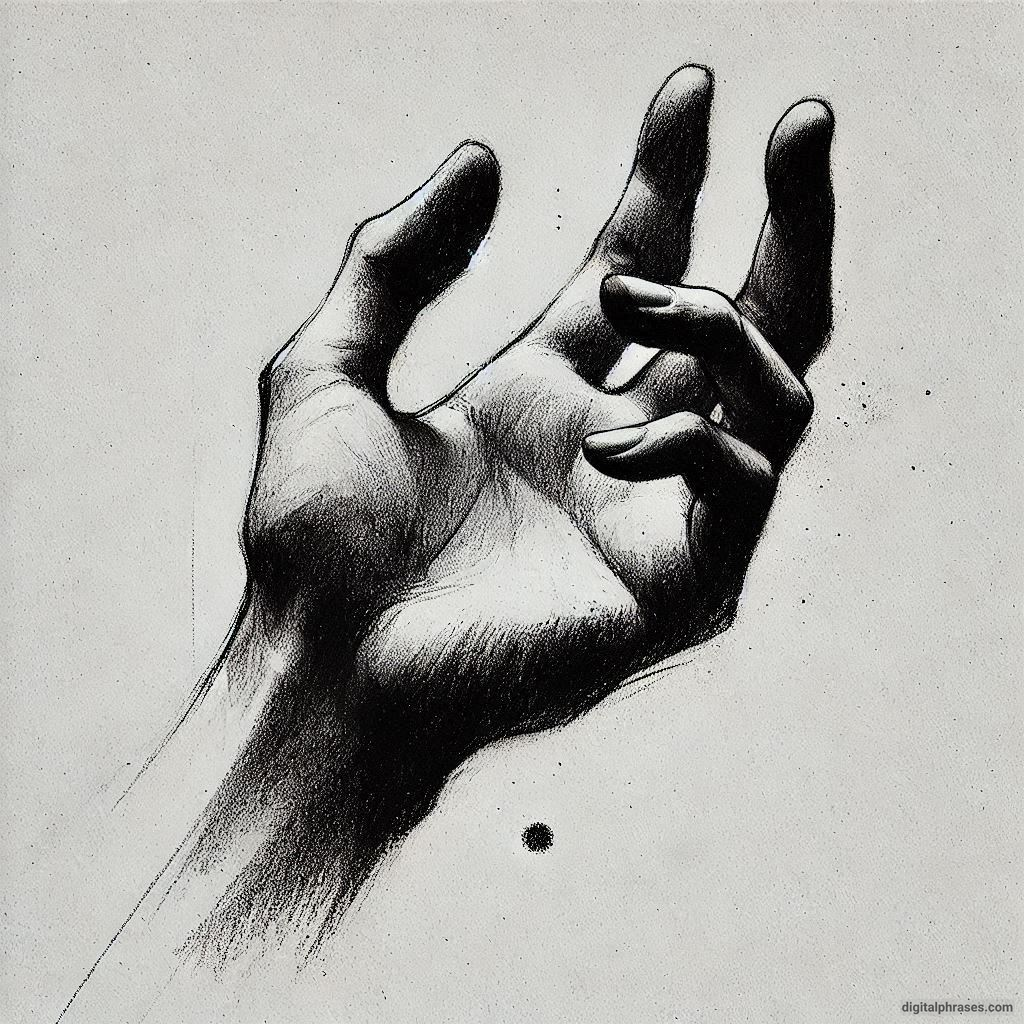
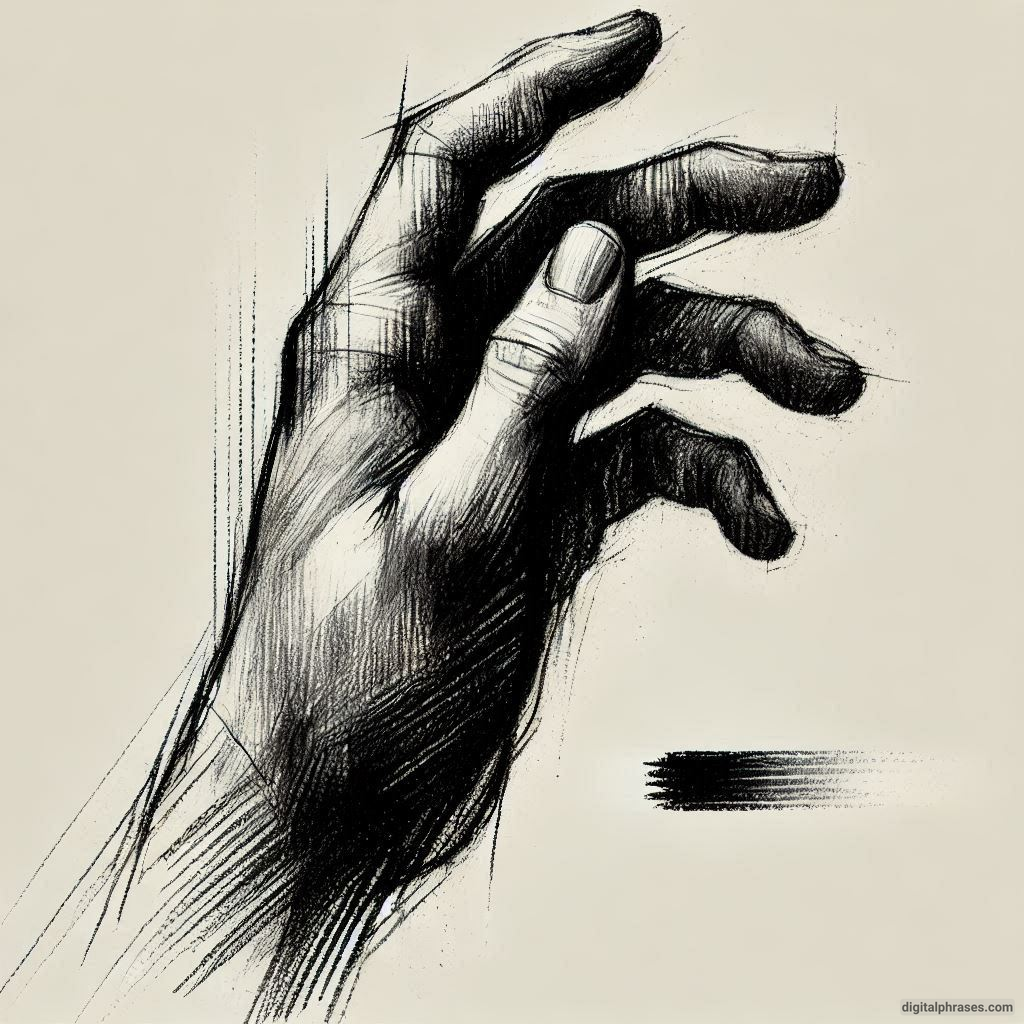
Here are some examples to get you started –
1
2

3
4
5

6
7

8
9
10
11
12
13
14
15
3. Easy Hand Drawings For Kids
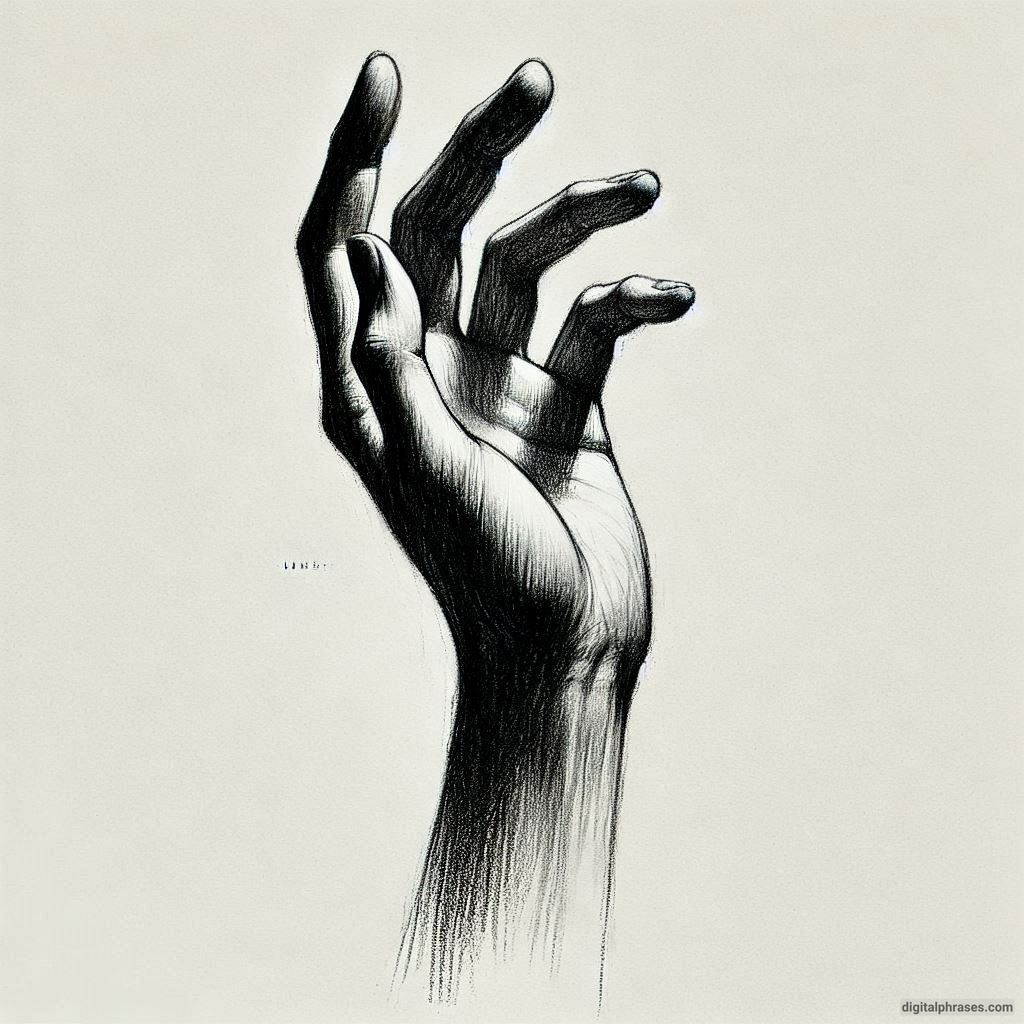
For beginners or those looking for quick sketches, easy hand drawings are a fun way to practice without getting overwhelmed.
Cartoon-Style Hands
Cartoon hands are simplified and exaggerated, making them an excellent choice for beginners. They often consist of:
- Three to four fingers instead of five
- Rounded shapes and soft edges
- Minimal details like simplified nails or wrinkles
Trace and Draw
Tracing is a great way to build muscle memory for hand shapes. Find a reference image, trace the outline lightly, and then try to redraw it freehand. Over time, you’ll notice improvements in your proportions and lines.
Minimalist Hands
Minimalist art relies on clean, simple lines. Try sketching hands using only a few strokes, focusing on capturing the essence rather than intricate details. This technique is perfect for modern art styles or quick studies.
Stylized Hands
Experiment with stylized interpretations of hands:
- Use bold outlines and graphic shapes.
- Incorporate patterns or textures to add visual interest.
- Play with proportions for an abstract or surreal effect.
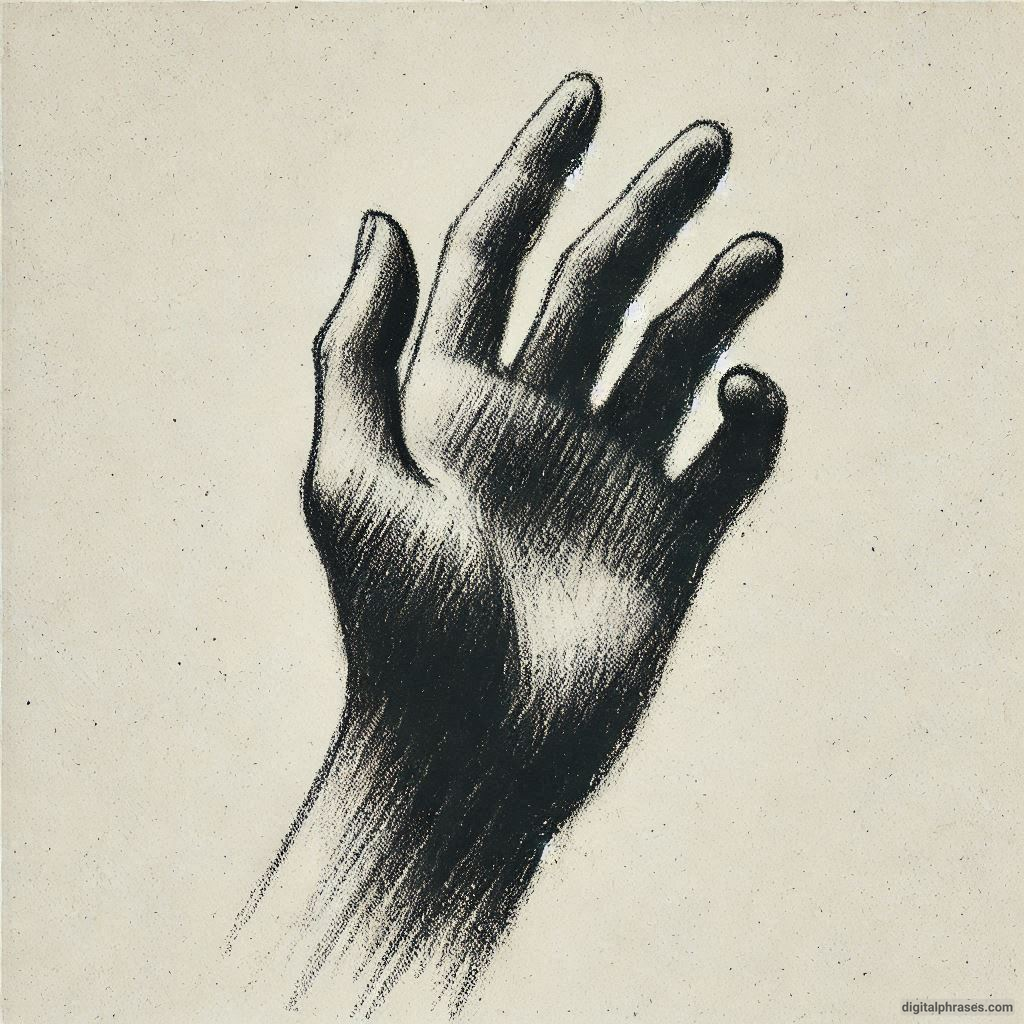
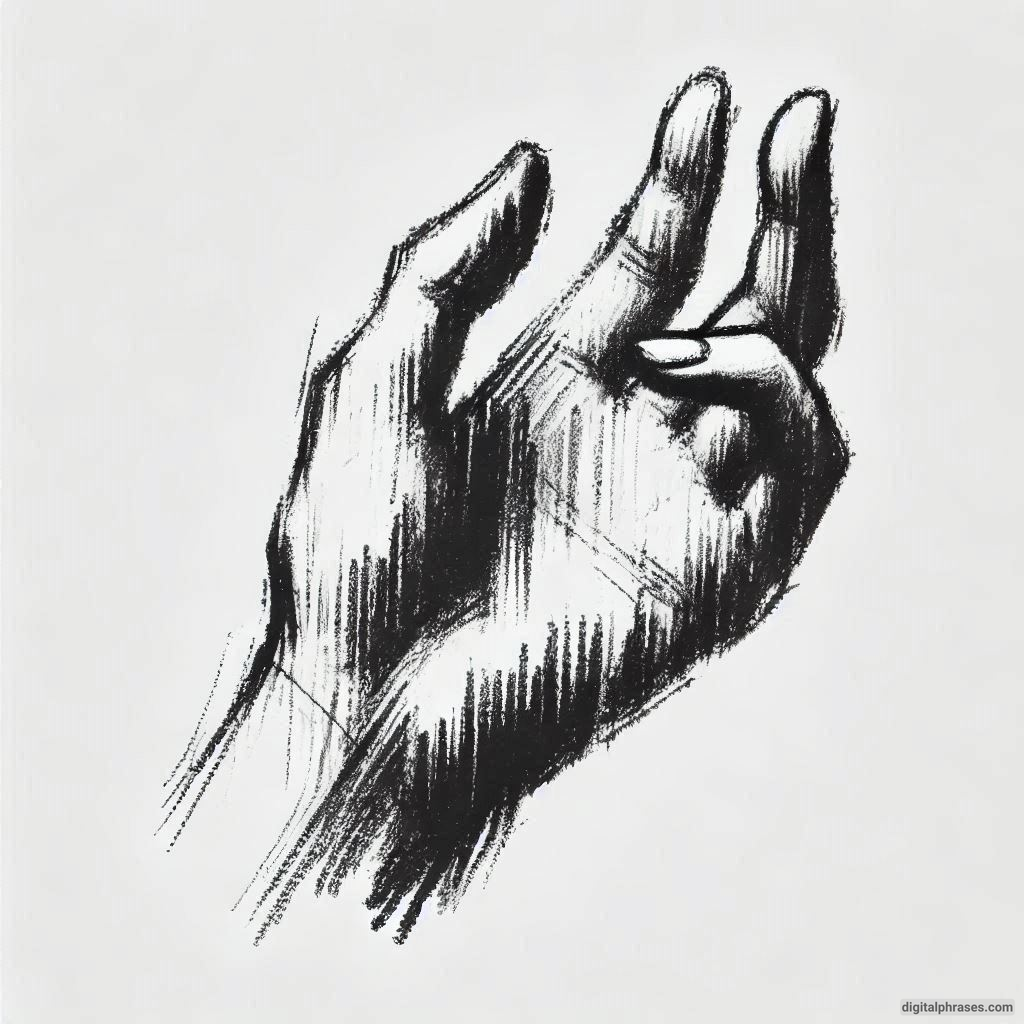
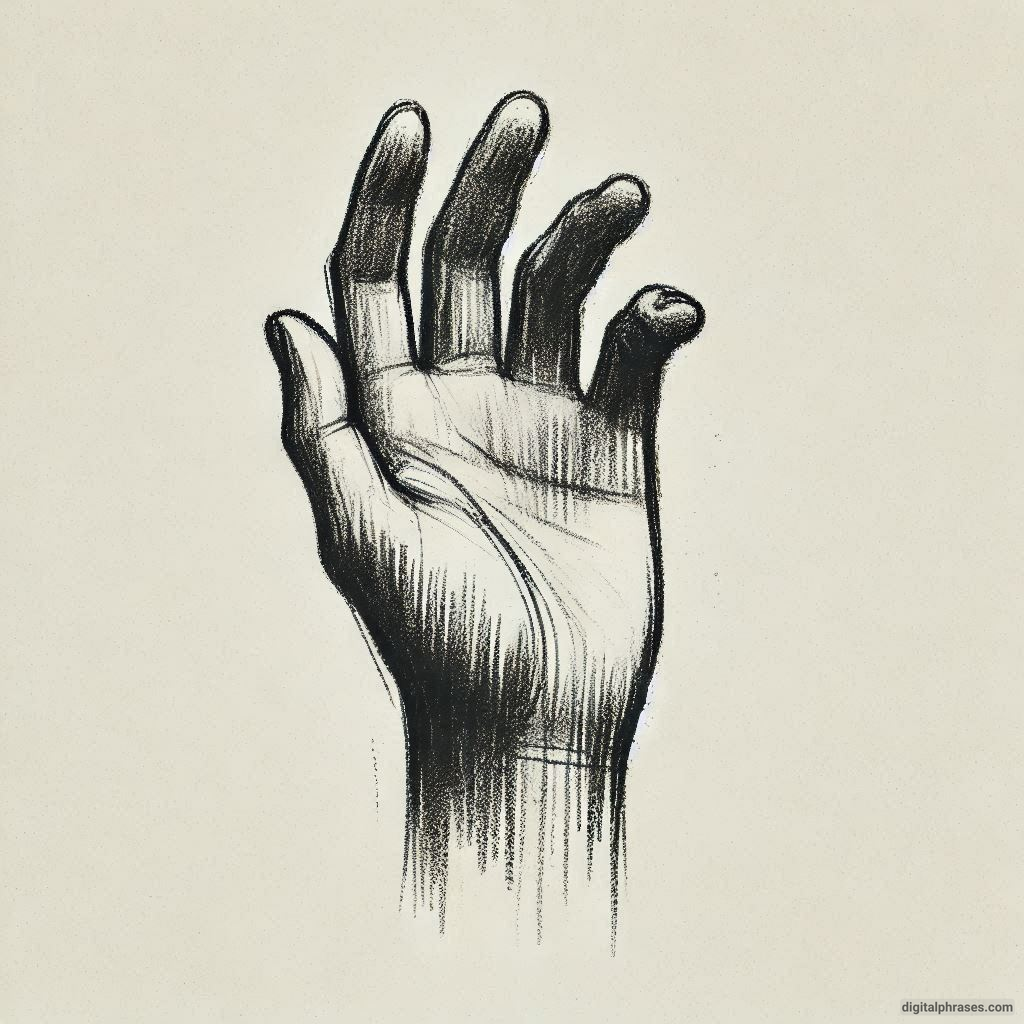
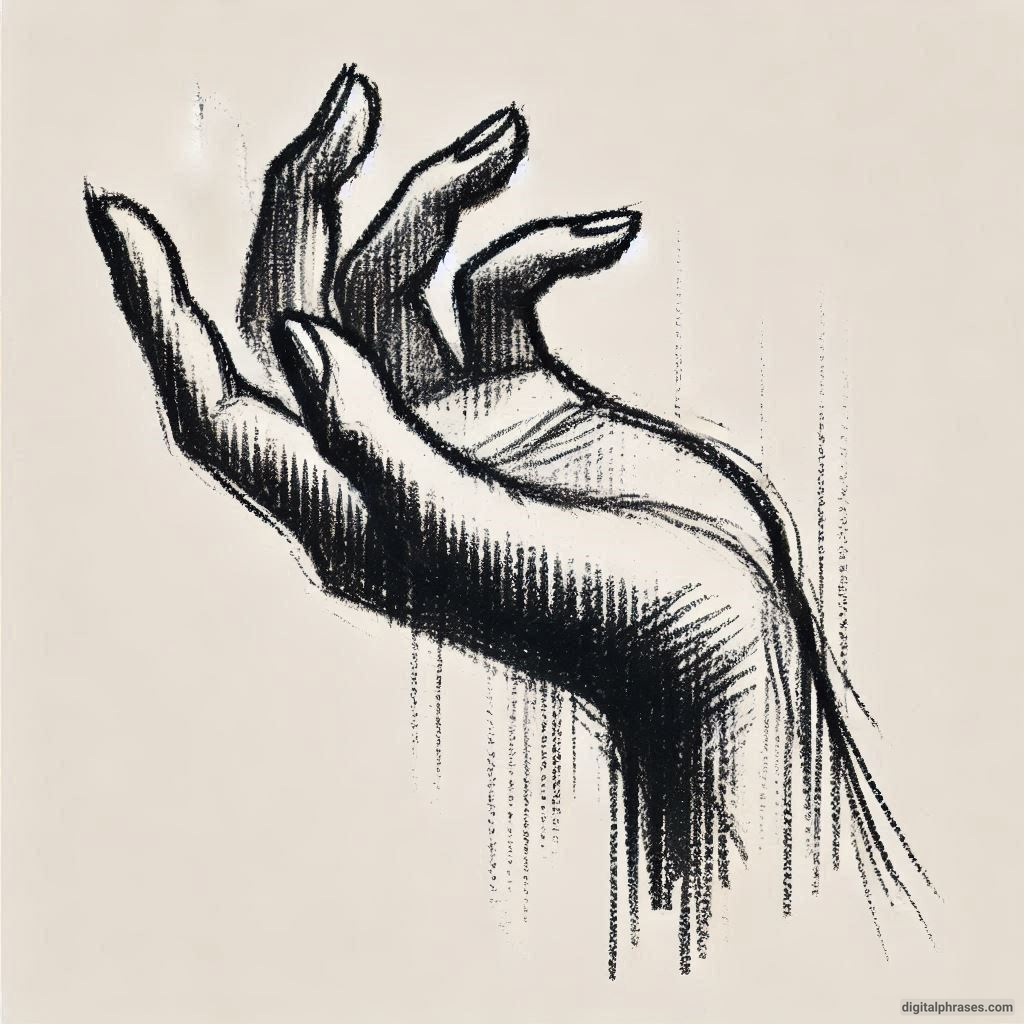
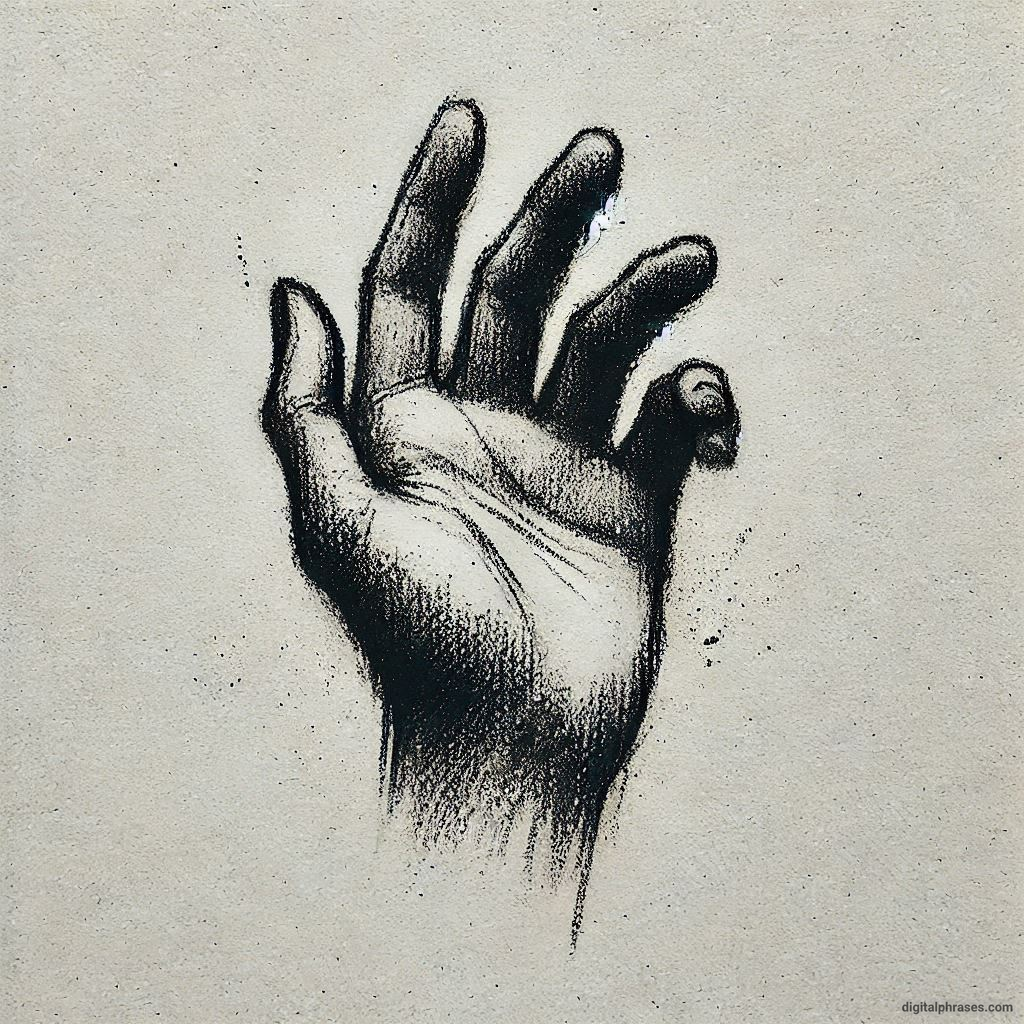
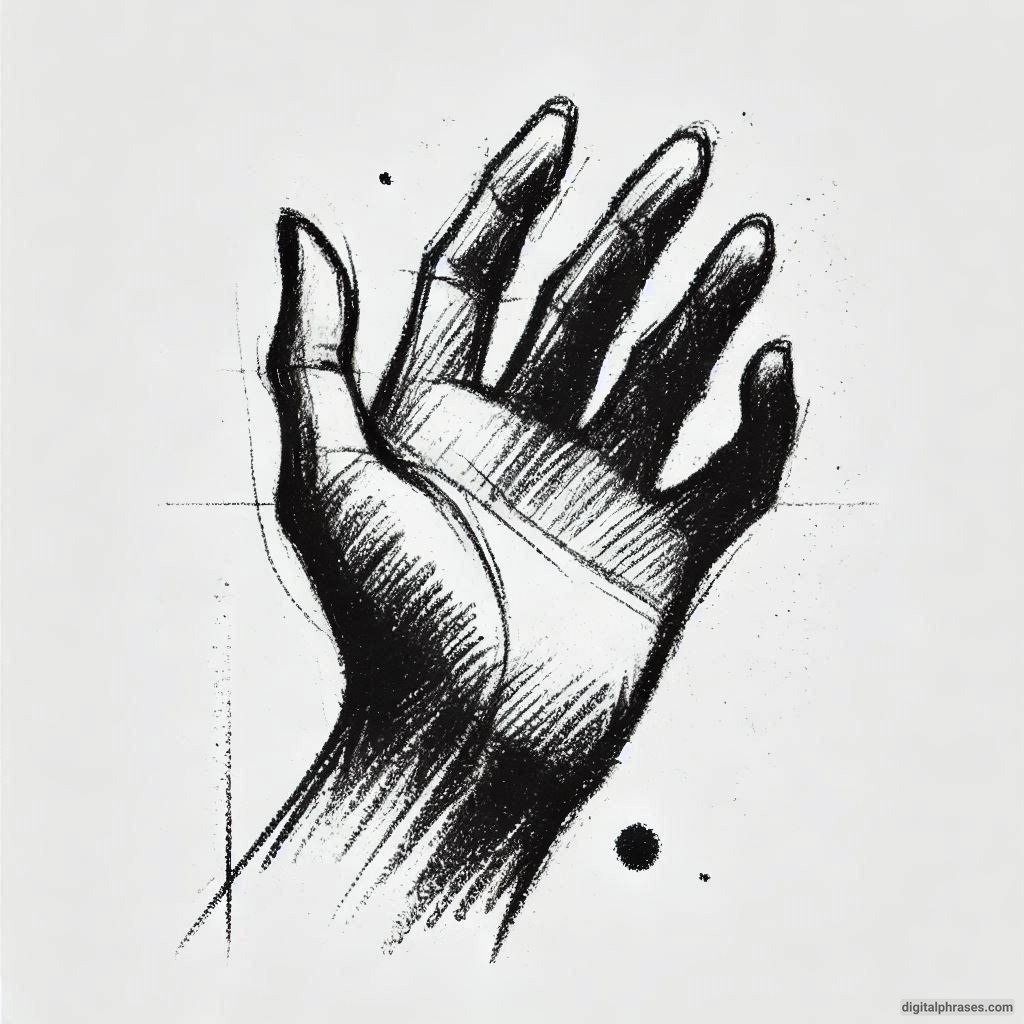
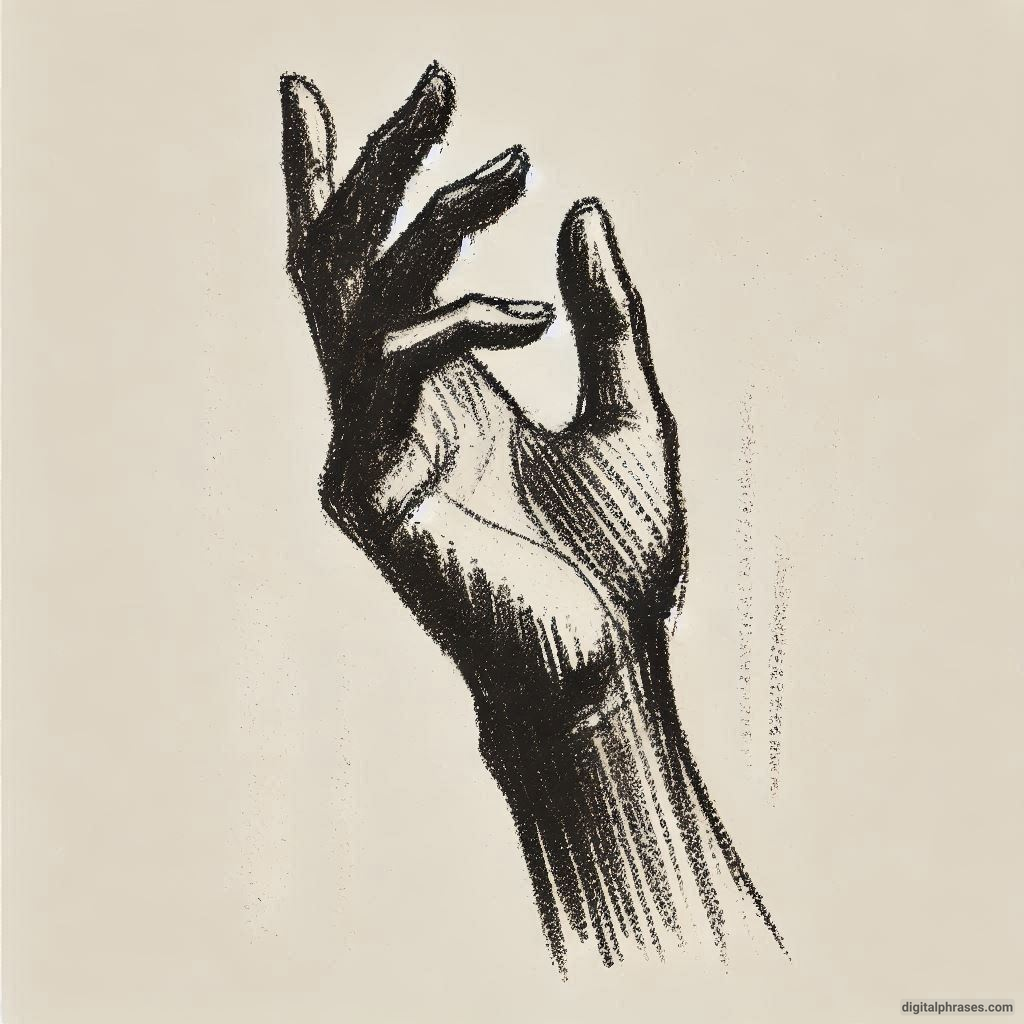
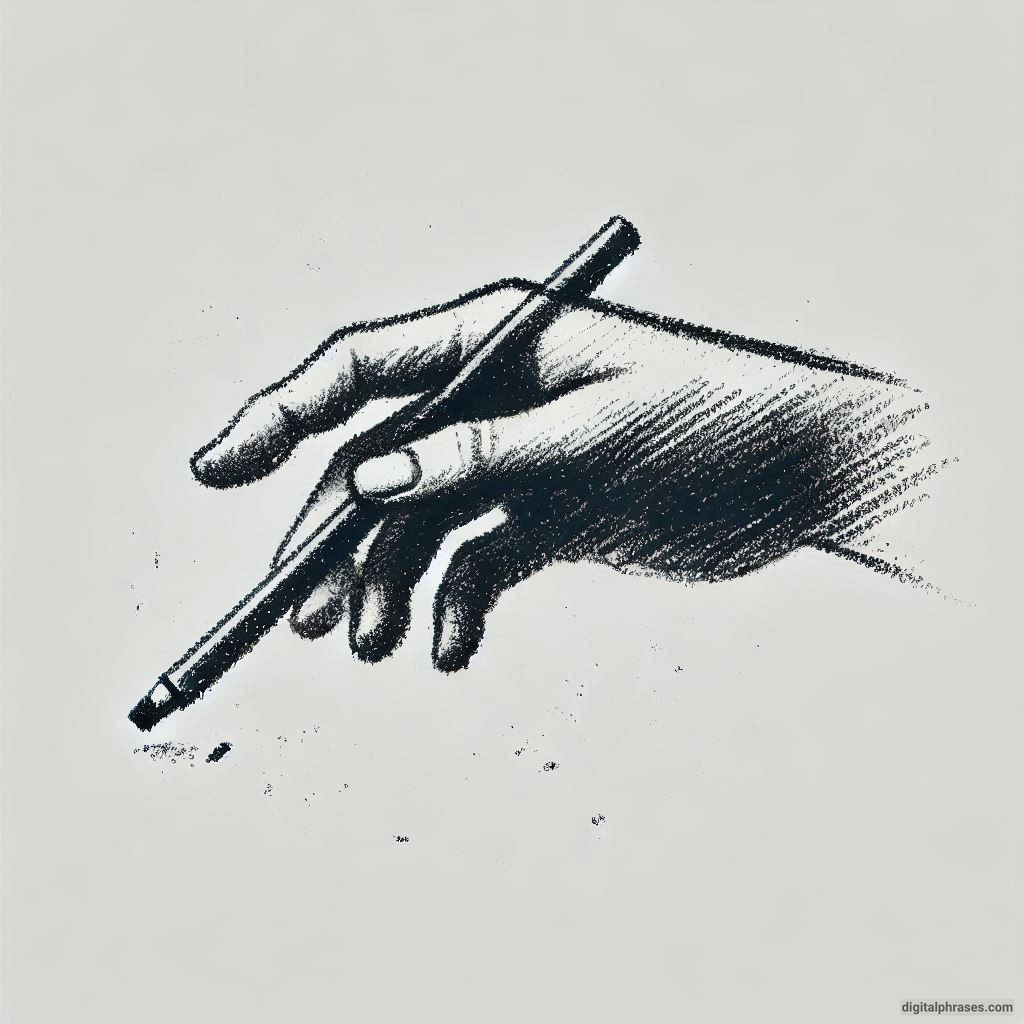
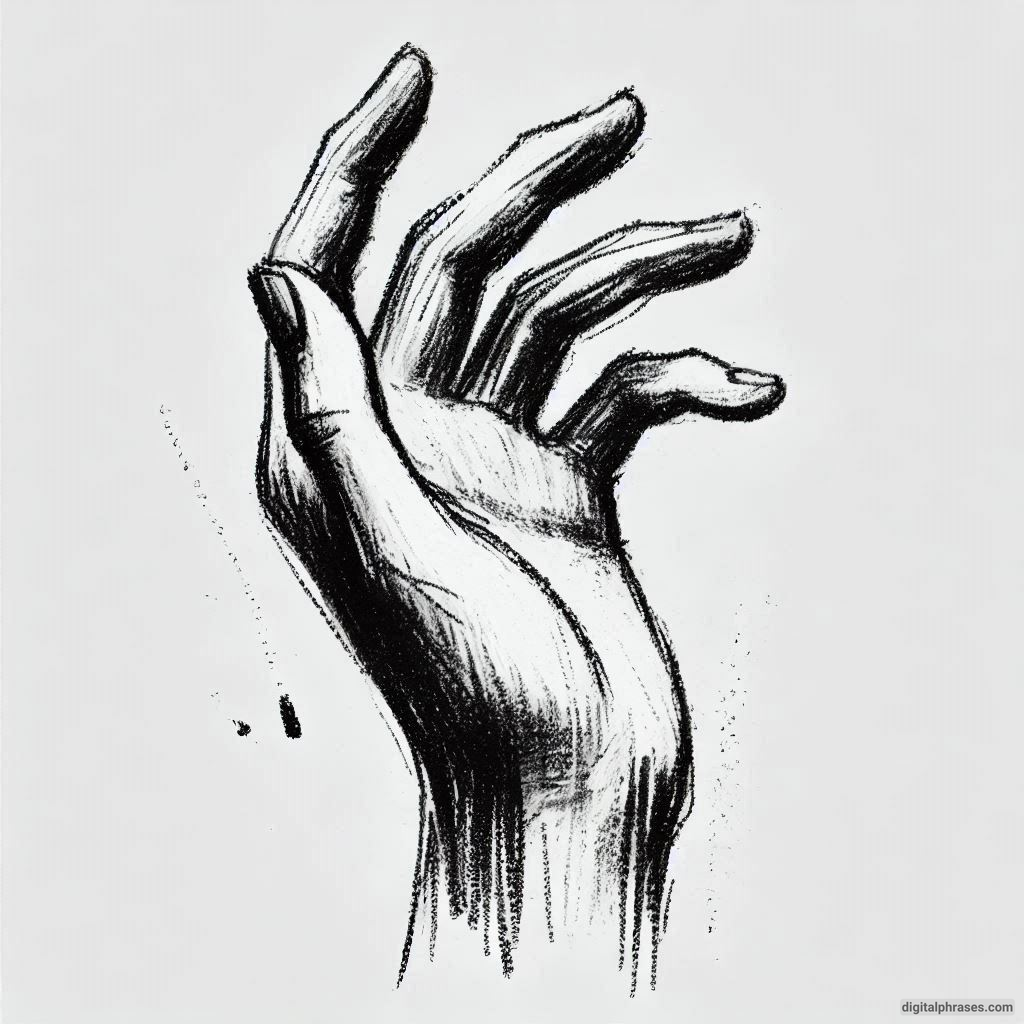
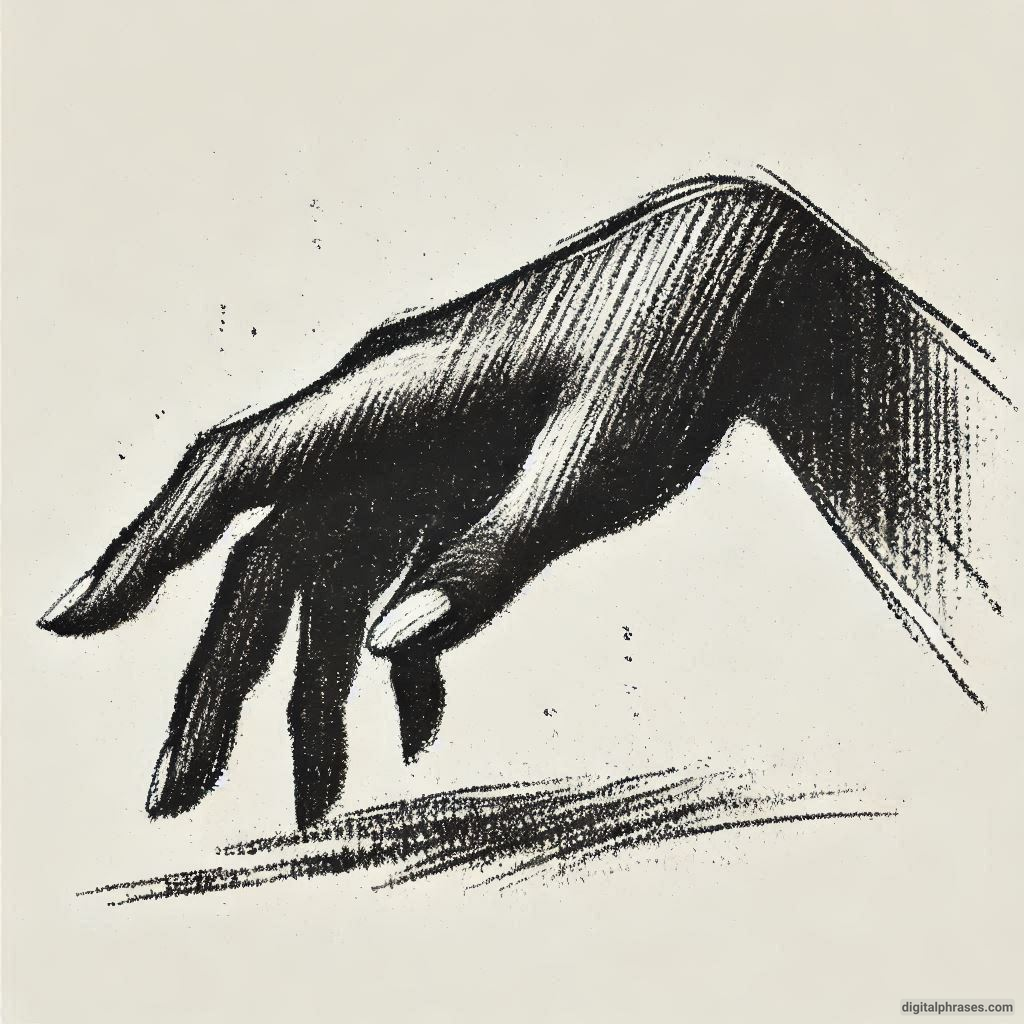
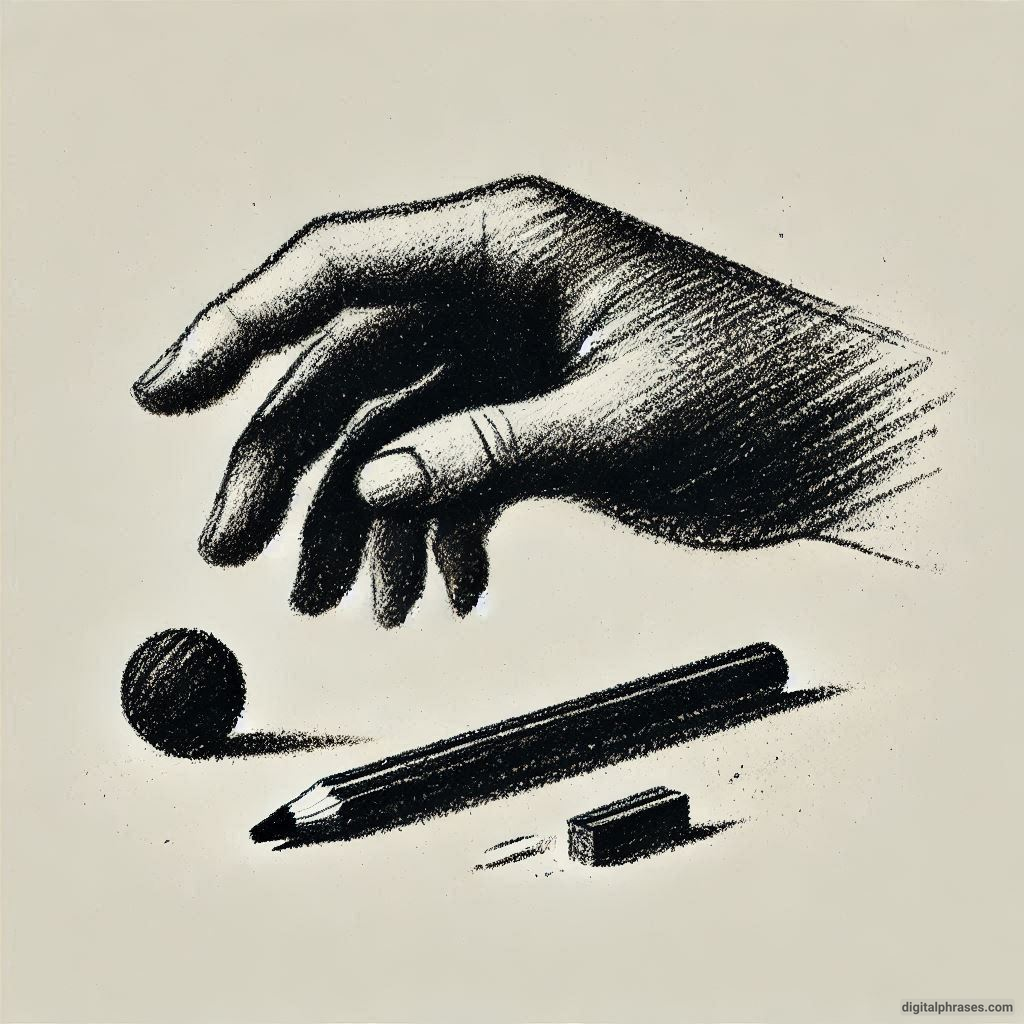
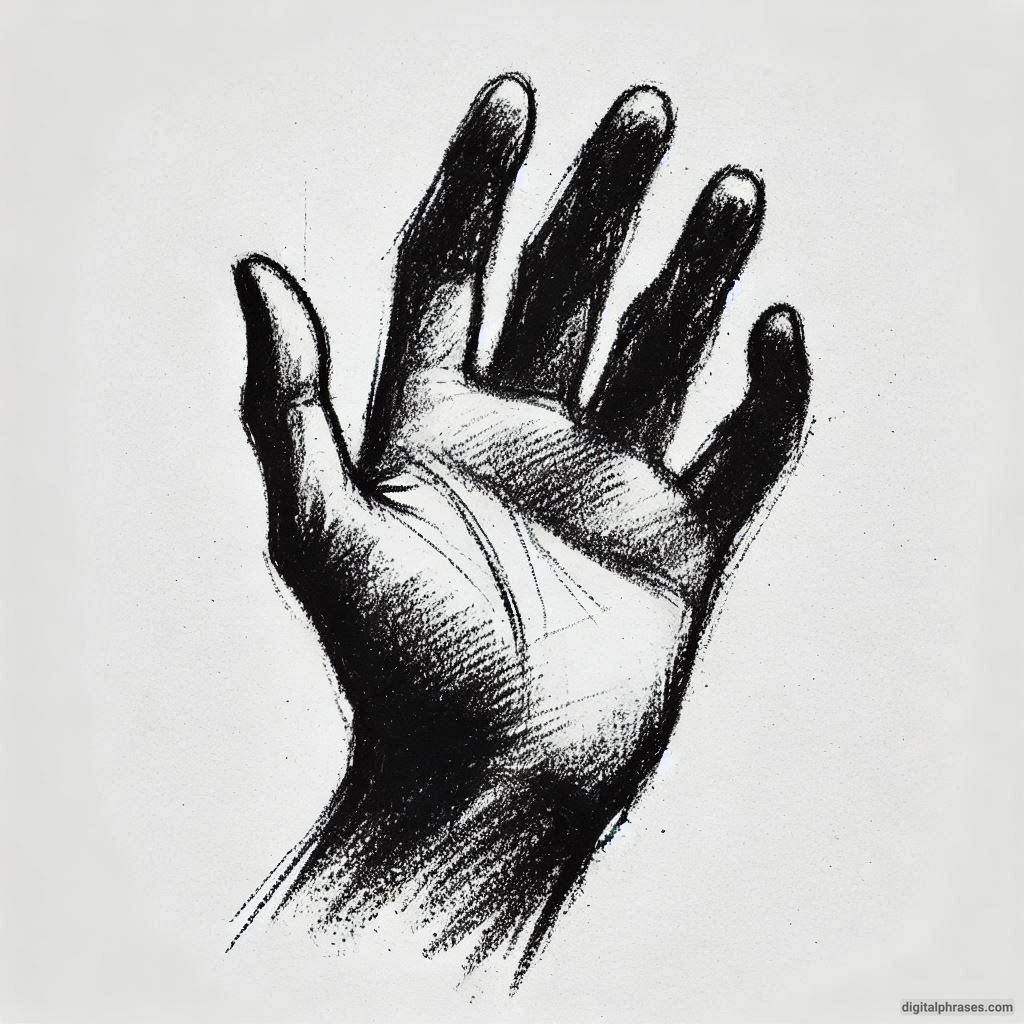
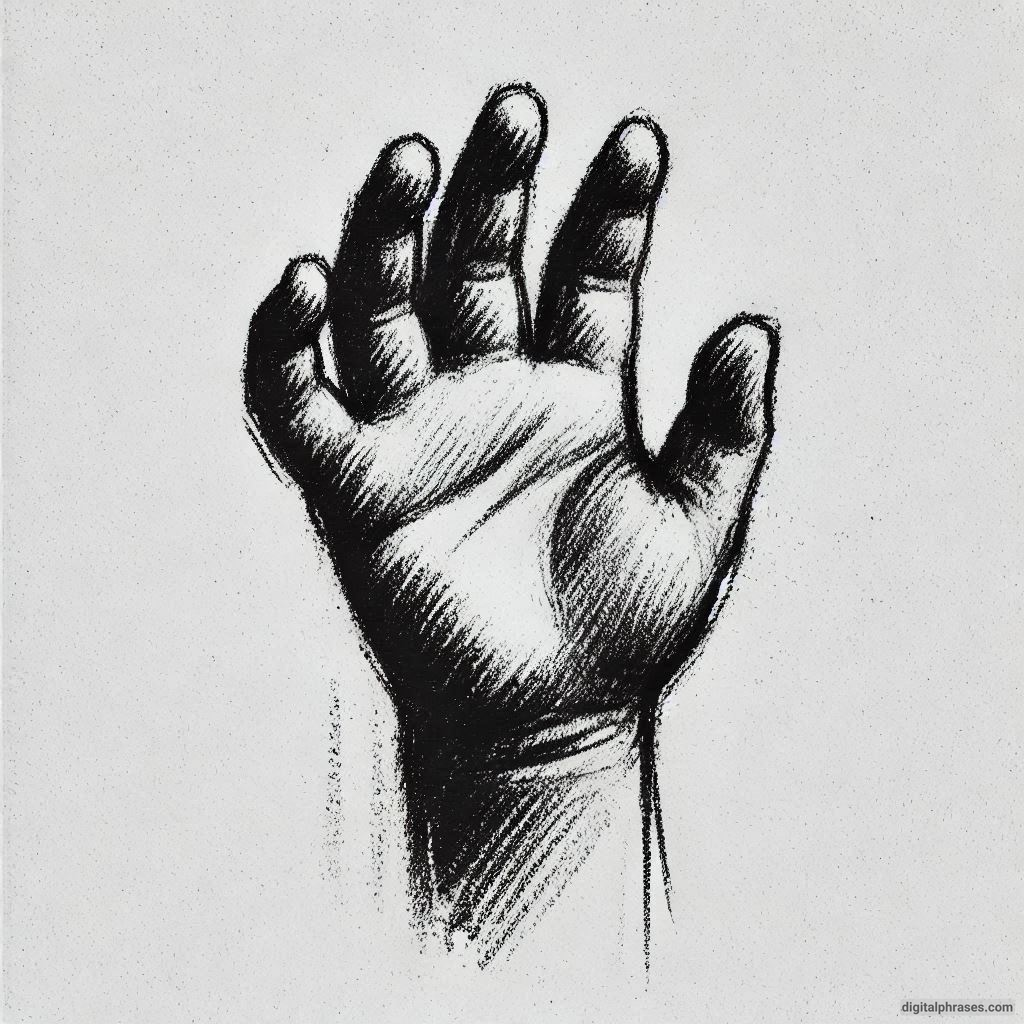
Here are some examples to get you started –
1

2
3
4

5
6
7
8
9
10
11
12
13
14
15
4. Hands Gripping and Holding Each Other Drawing References
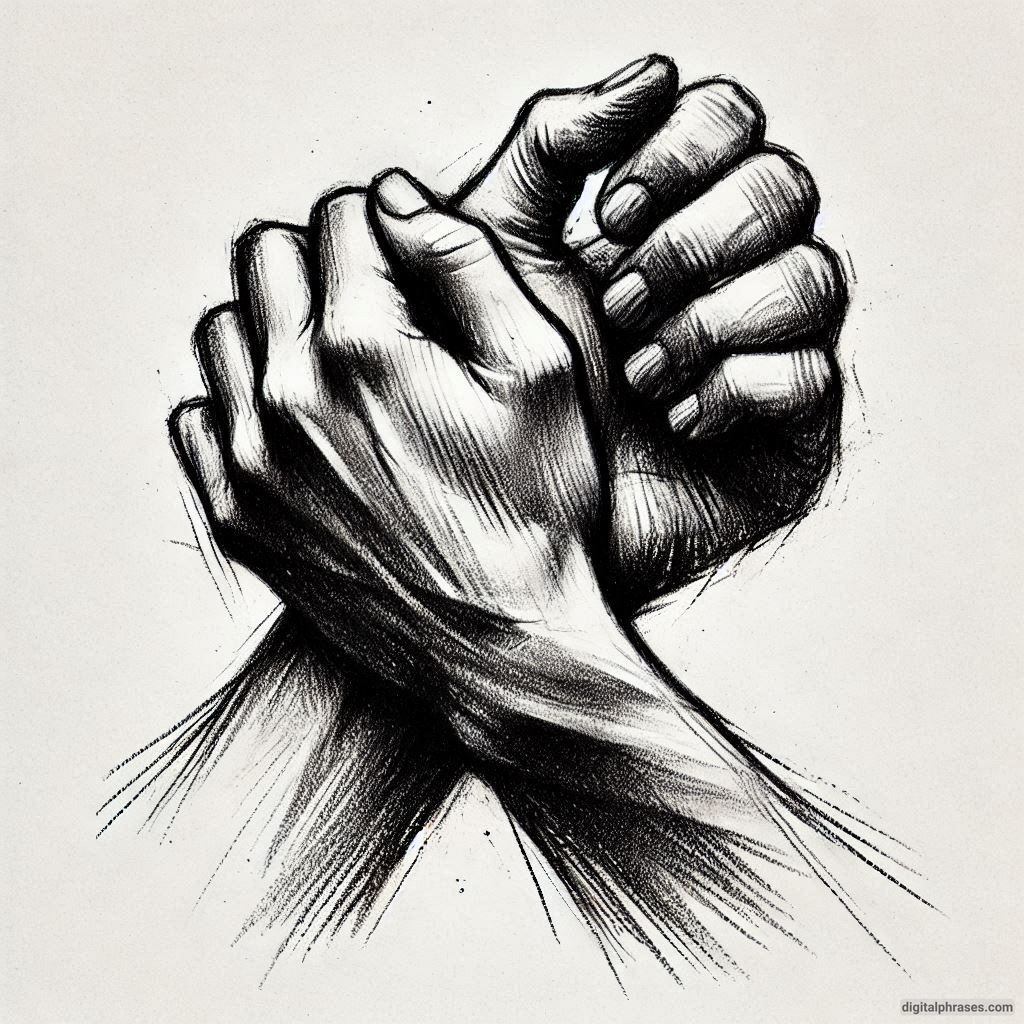
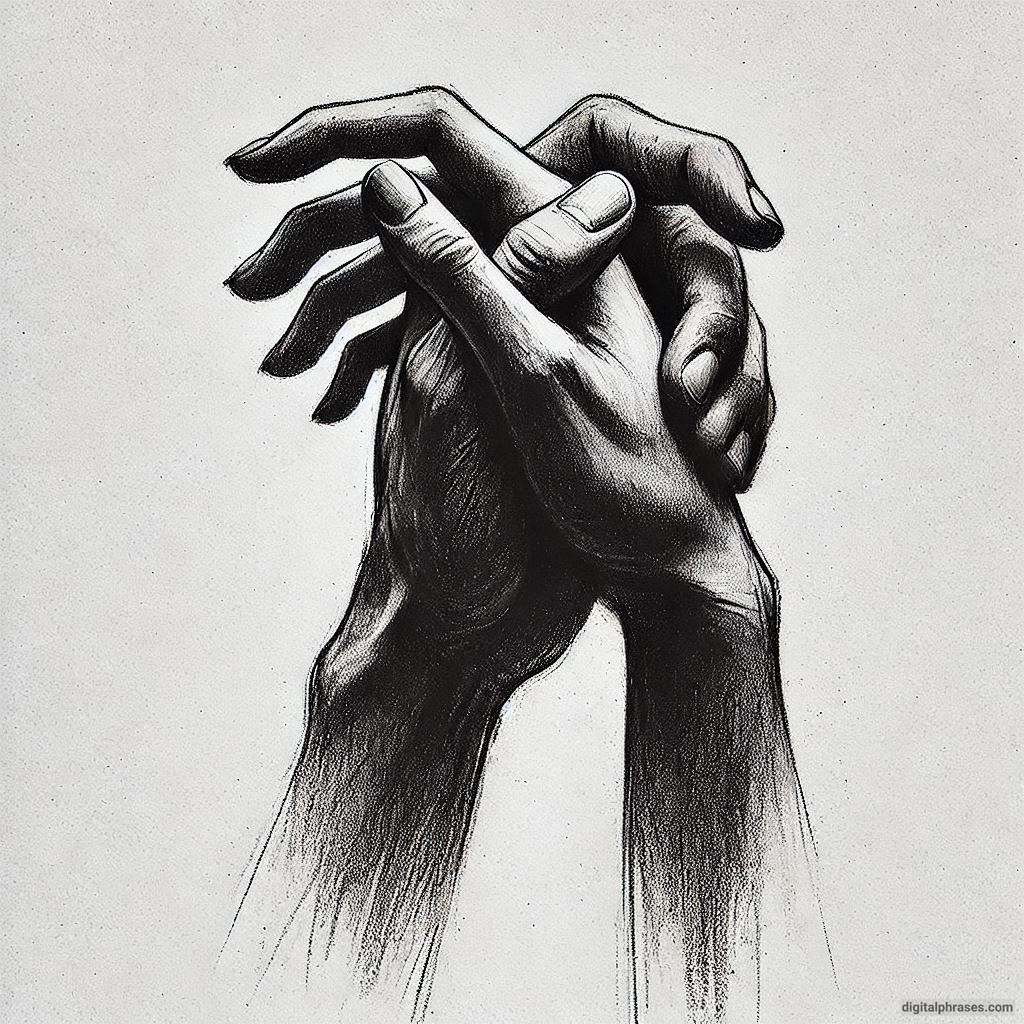
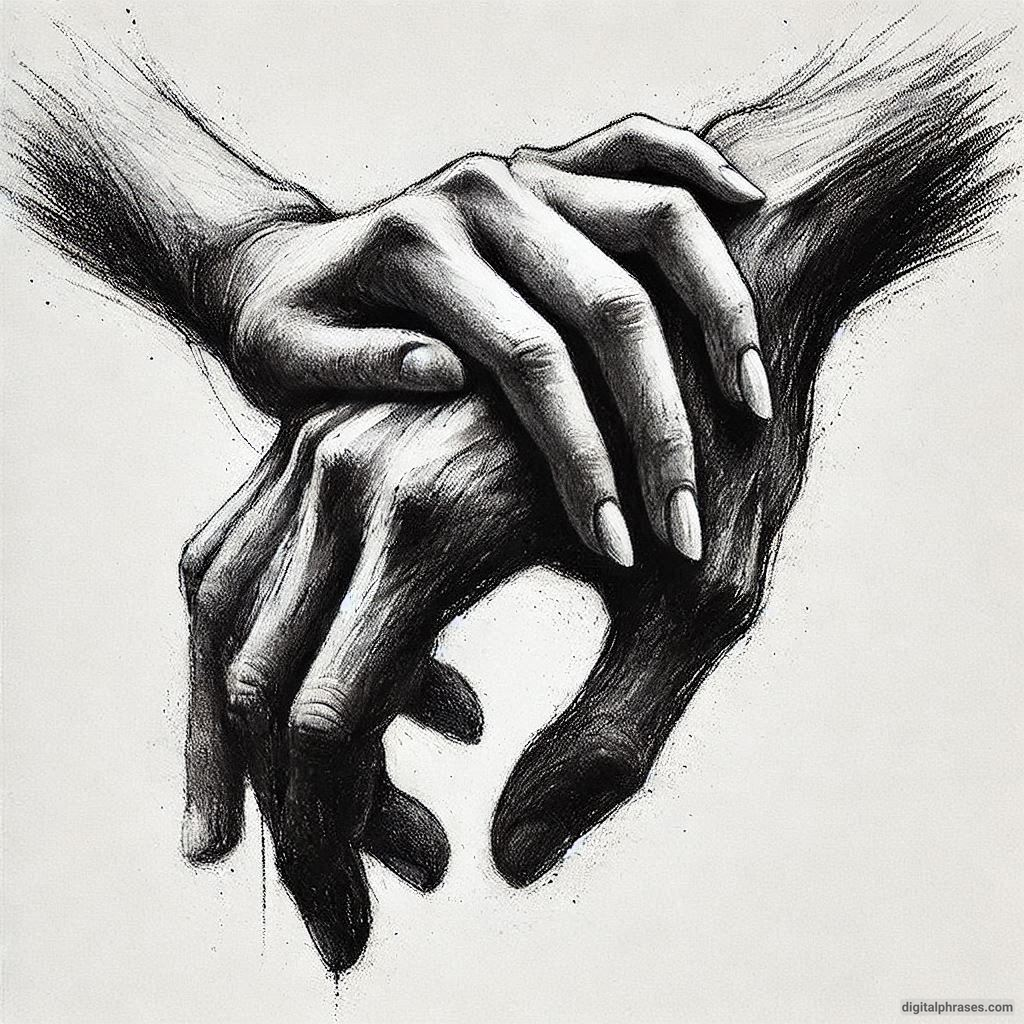
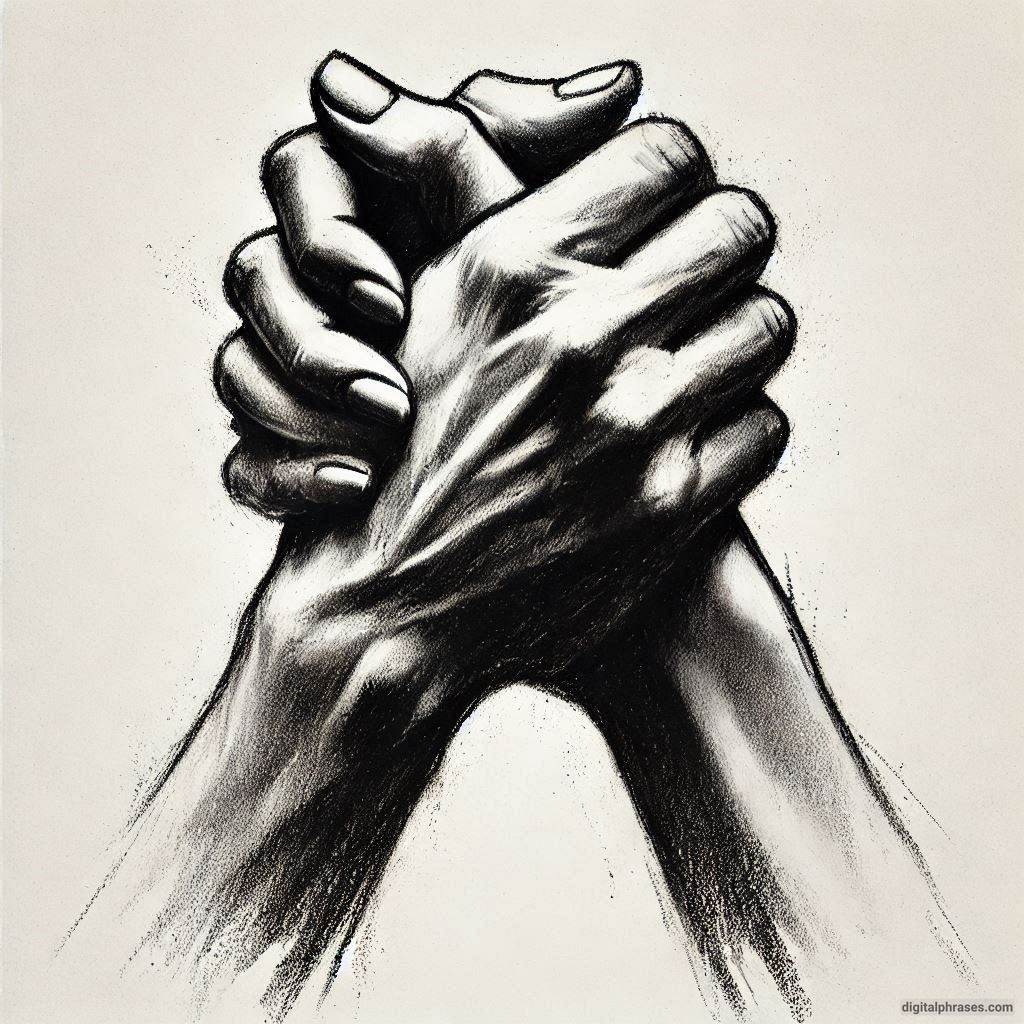
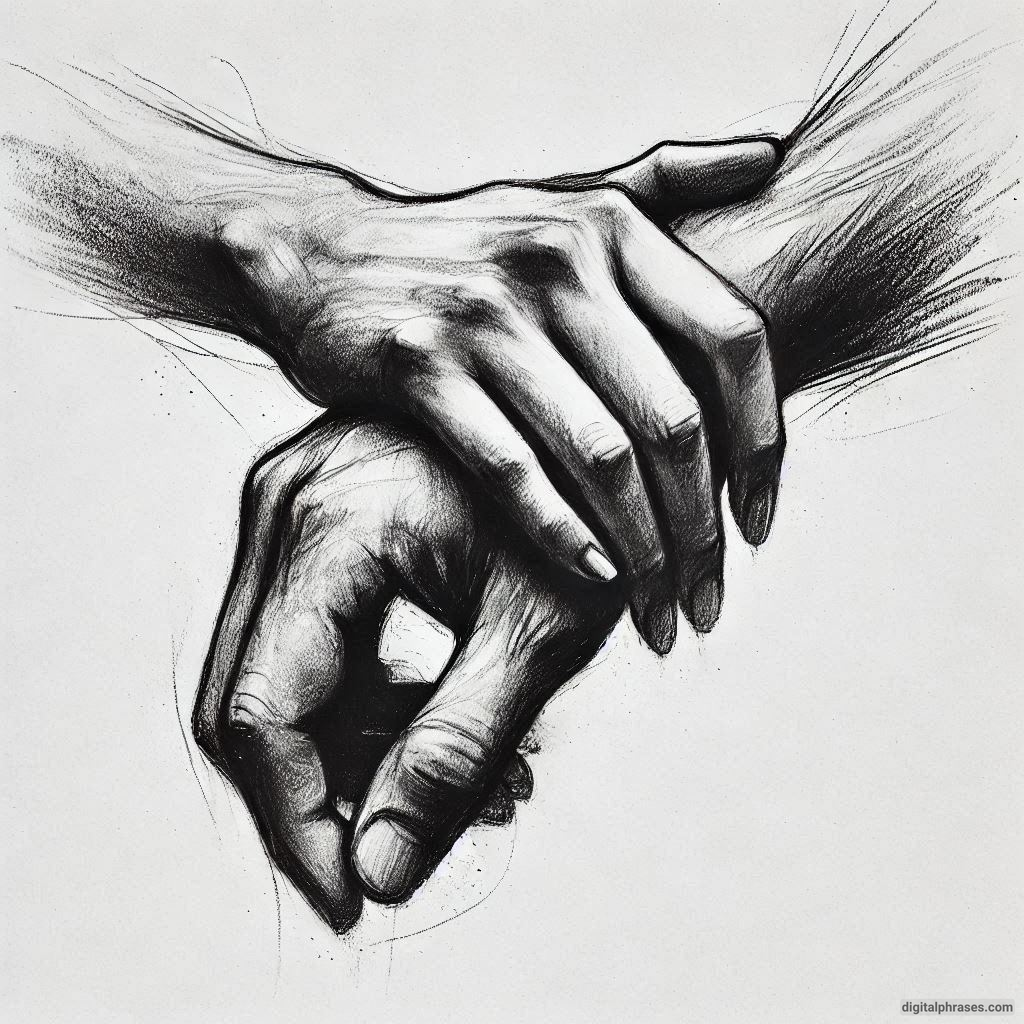
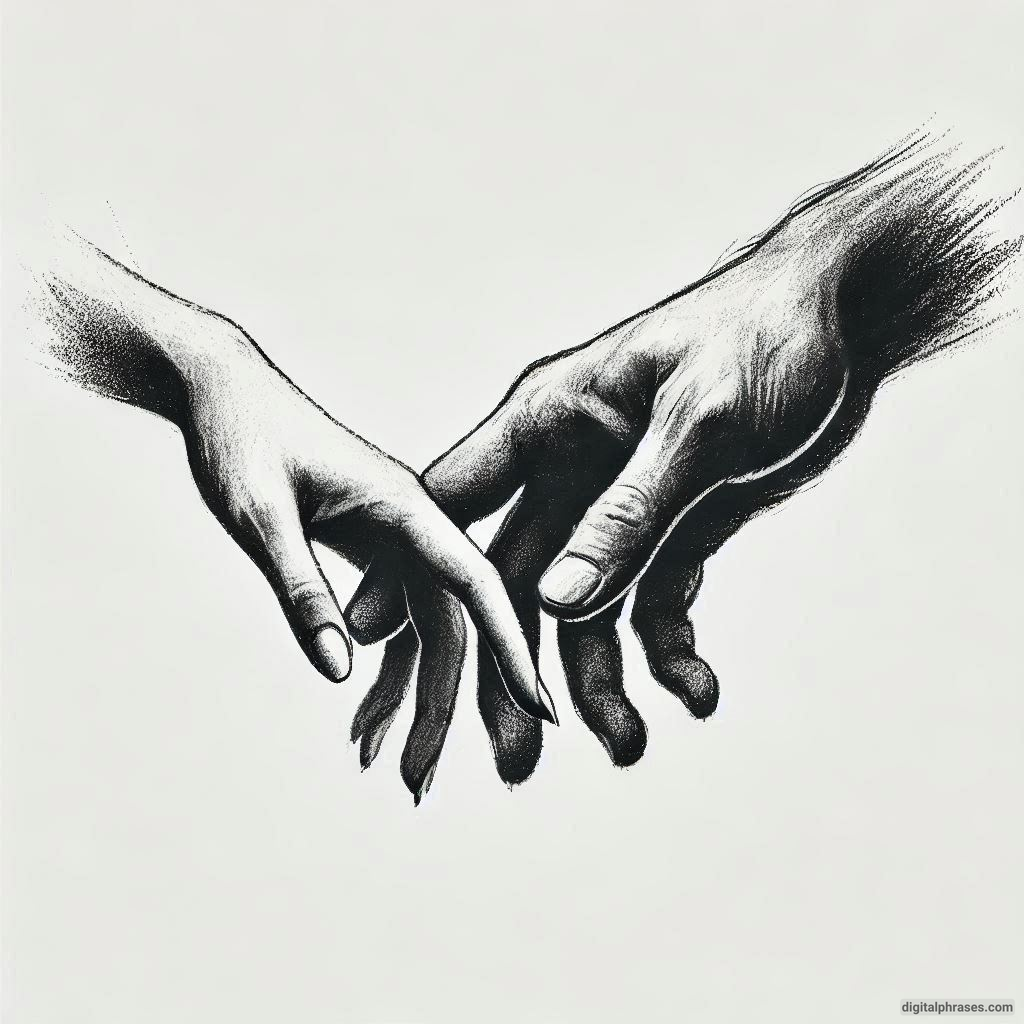
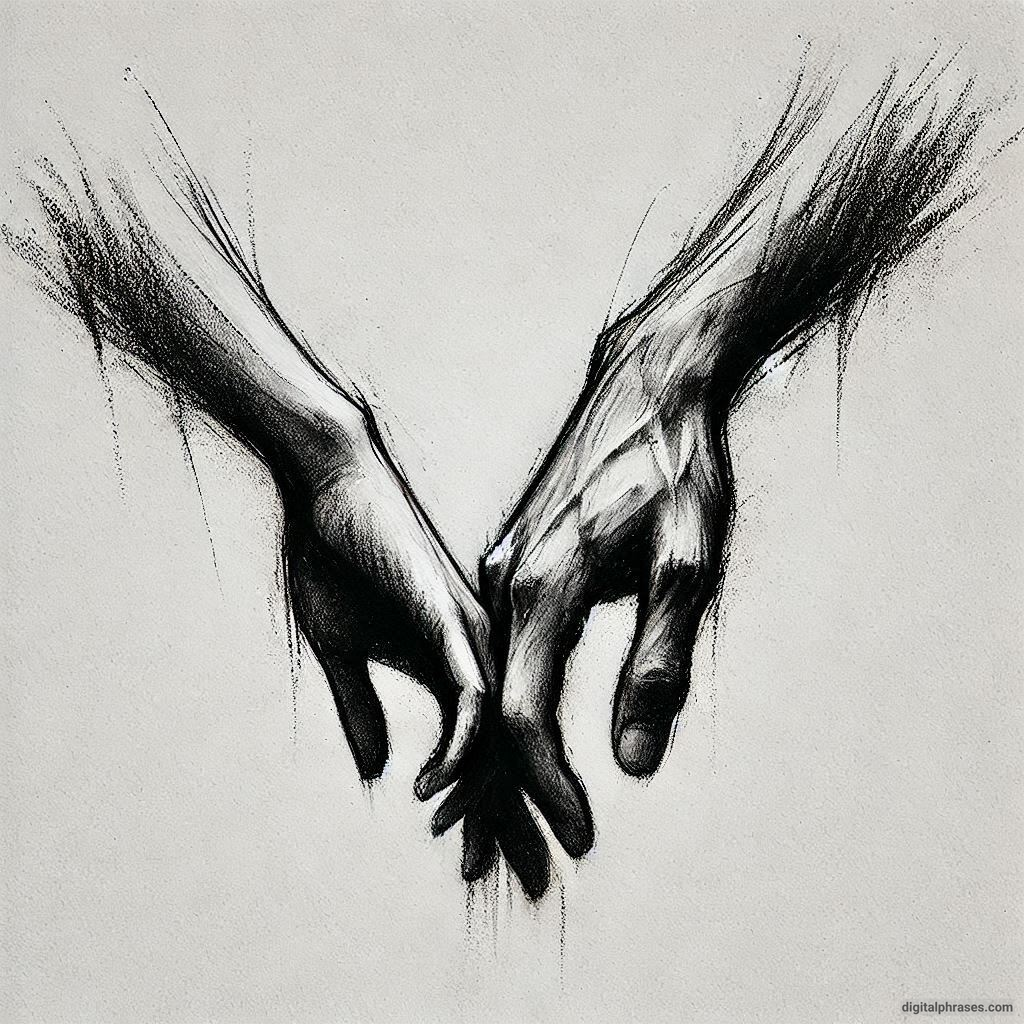
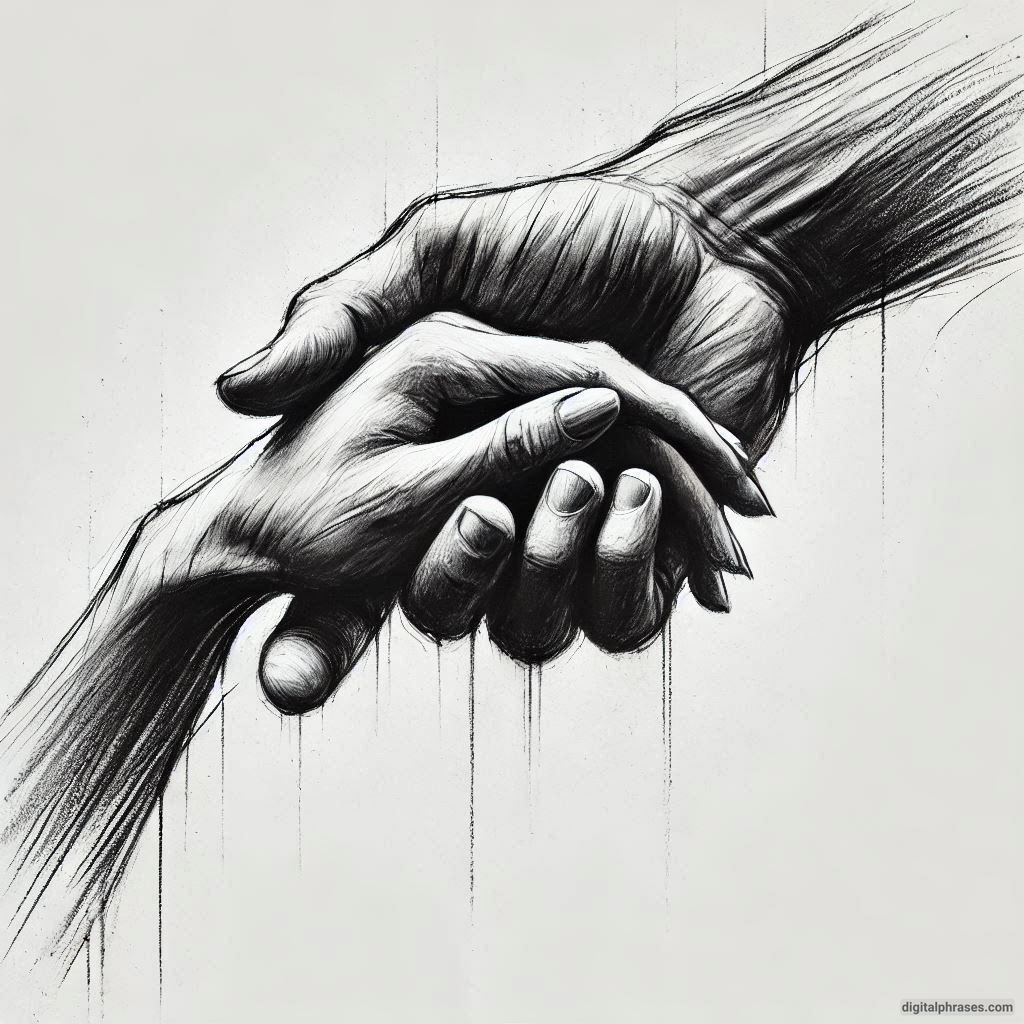
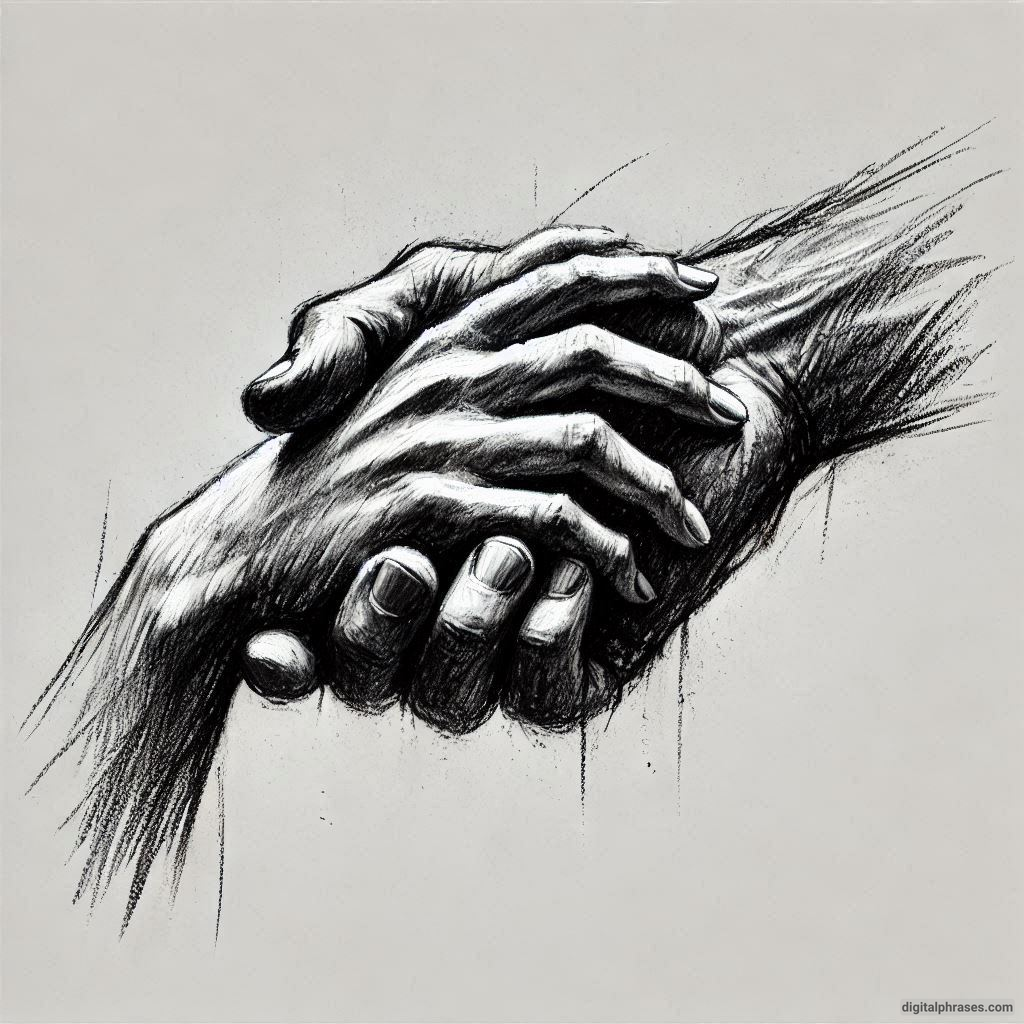
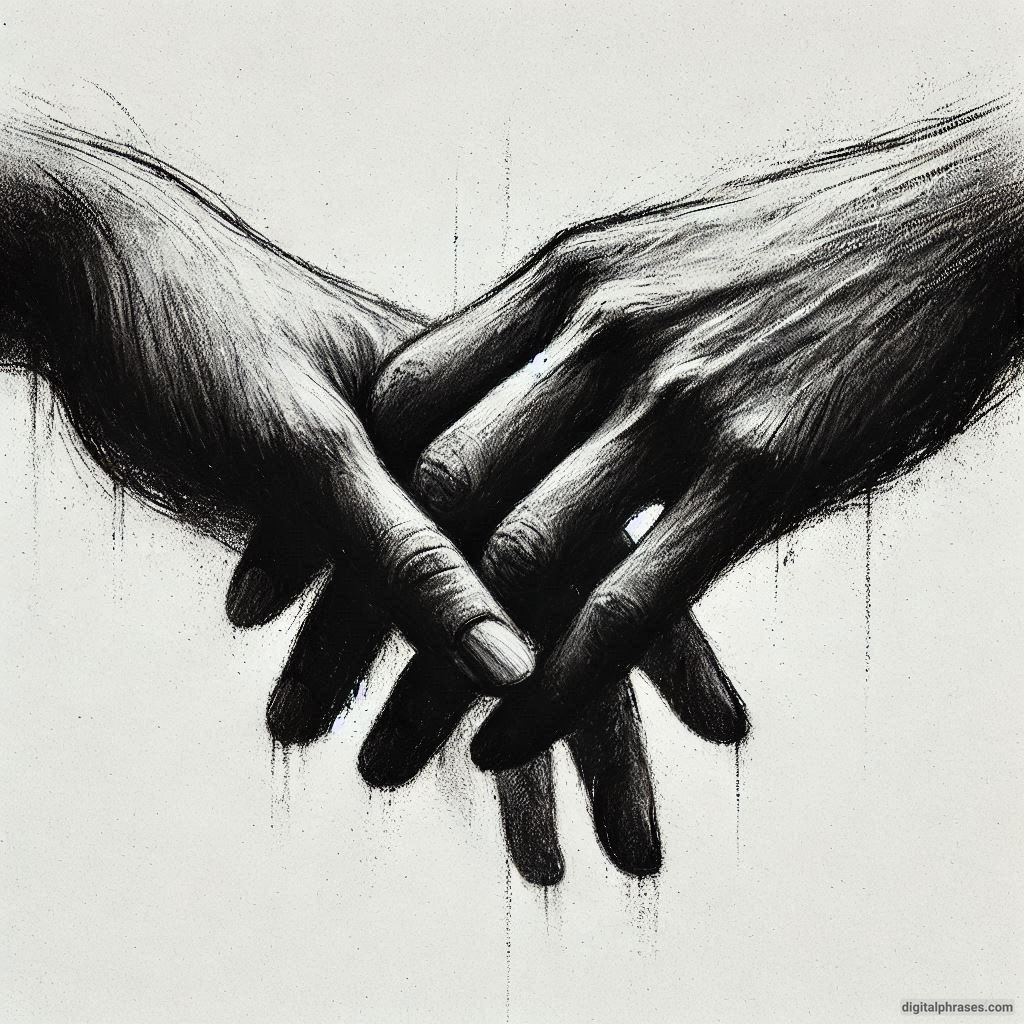
Hands gripping each other can convey powerful emotions, such as support, trust, or struggle. This subject requires attention to overlapping forms and tension in the muscles.
Understand the Mechanics
When hands grip each other, certain features stand out:
- Pressure Points: Observe where fingers press into the skin, creating dimples or changes in shape.
- Tension: Study the angles of fingers and the flexing of muscles, especially in the thumbs and knuckles.
- Overlap: Note how fingers from one hand weave into the spaces between the other’s fingers.
Study Specific Poses
Explore common gripping poses:
- Handshake: Focus on the symmetry and interaction between the palms and fingers.
- Holding Hands: Pay attention to the subtle curves and connections between the two hands.
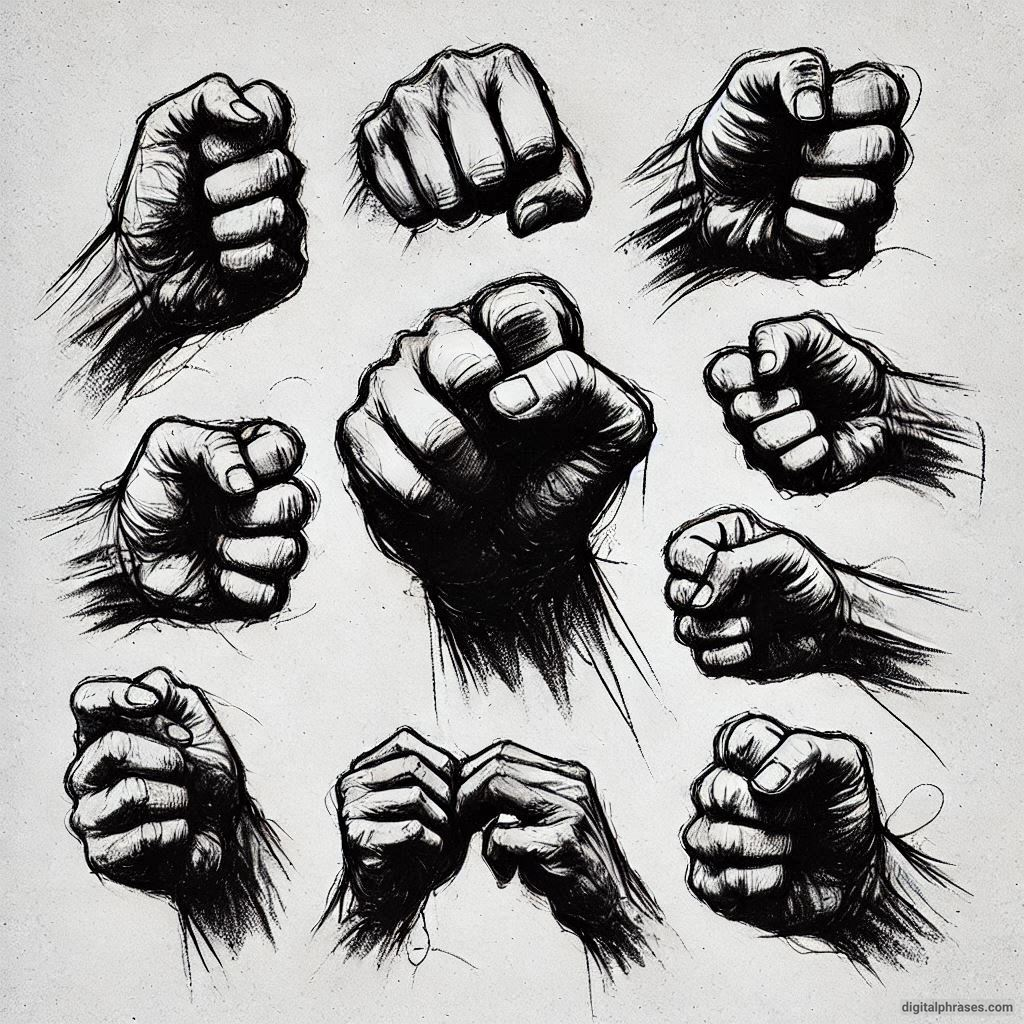
- Clenched Grips: Highlight the tension and overlapping fingers.
Use Dynamic References
Capture real-life references for gripping hands by:
- Photographing a friend or family member holding your hand.
- Observing hand poses in movies or online videos.
- Sketching from life at a cafe or park where people often interact.
Practice with Shadows and Highlights
Hands gripping each other create intricate patterns of light and shadow. Study how the overlapping forms cast shadows and how light reflects off curved surfaces.
Here are some examples to get you started –
1
2
3
4
5
6

7
8
9

10
11

12
13
14
15

Tips for Successful Hand Drawings
1. Be Patient and Persistent
Drawing hands can feel intimidating, especially for beginners. It’s important to recognize that improvement comes with time and consistent effort.
- Embrace Imperfection: Your early sketches might look awkward, but these are essential steps toward mastery.
- Set Realistic Goals: Focus on gradual progress. For instance, practice drawing a single pose repeatedly until you feel comfortable with it.
- Celebrate Milestones: Appreciate how much you’ve improved, even if the progress seems small.
2. Observe and Analyze Real Hands
Observation is one of the most effective ways to improve your understanding of hand anatomy and gestures.
- Daily Observations: Take note of how your hands move during everyday tasks like typing, holding a cup, or writing.
- Study Interaction: Observe how hands interact with objects or each other. For example, how fingers wrap around a pen or how they press against a surface.
- Notice Individual Differences: Hands vary in size, shape, and proportions. Observe variations like long fingers, wide palms, or unique wrinkles.
3. Keep a Dedicated Sketchbook
A sketchbook devoted to hand studies is a powerful tool for growth.
- Practice Every Day: Fill at least one page with hand sketches daily, even if they’re rough or quick.
- Document Your Learning: Write notes beside your sketches about what you found challenging or enjoyable.
- Review and Reflect: Periodically flip through your sketchbook to see how your skills have evolved over time.
4. Experiment with Different Mediums and Styles
Using diverse tools and approaches can make your practice more engaging and help you discover what works best for you.
- Traditional Tools: Pencils are great for precision and shading, while pens help refine line work and confidence.
- Digital Drawing: Digital platforms allow for infinite retries and the use of 3D models as references.
- Mixed Media: Combine techniques, like sketching with a pencil and finishing with watercolor or ink.
- Explore Styles: Try realistic, cartoonish, or abstract styles to build versatility.
5. Break Down Hand Anatomy
A strong foundation in anatomy is crucial for realistic hand drawings. Study the following elements in detail:
- Bones: Learn how the metacarpals, phalanges, and carpal bones create the framework of the hand.
- Joints: Study how knuckles and finger joints bend and how far they can stretch.
- Tendons and Muscles: Understand the surface impact of muscles and tendons, especially when the hand is flexed or gripping something.
- Skin and Wrinkles: Pay attention to how the skin folds, creases, and stretches around joints and under pressure.
6. Focus on Proportions
Proportions can make or break the realism of your hand drawings.
- General Rule: The length of the middle finger is roughly equal to the length of the palm.
- Finger Variation: Each finger has a unique length and thickness—study these differences.
- Practice Scaling: Use guidelines to maintain consistent proportions as you sketch.
7. Use References Frequently
Even professional artists use references to enhance accuracy and creativity.
- Photo Libraries: Collect a variety of reference images featuring hands in different poses, gestures, and lighting conditions.
- Real-Life Observation: Ask friends or family to pose their hands or use your own as a live model.
- 3D Models and Tools: Apps and software like “Handy” or Blender provide dynamic 3D models that you can rotate and light for perfect angles.
8. Master Light and Shadow
Adding realistic shading is key to making your hand drawings pop.
- Light Source: Decide on the direction and intensity of your light source.
- Soft vs. Hard Shadows: Observe where shadows are sharp (near edges) or soft (gradual transitions).
- Highlights: Capture the subtle reflections on knuckles, nails, and fingertips.
- Layered Shading: Use multiple layers of shading to build depth and texture.
9. Practice Gesture and Movement
Hands are highly expressive and capable of a vast range of movements. Practicing gestures can bring your drawings to life.
- Quick Gesture Sketches: Spend 30 seconds to a minute sketching the overall pose and flow of a hand.
- Dynamic Poses: Try drawing hands in action, such as clapping, gripping, or pointing.
- Emotional Gestures: Explore how hands can convey emotions like joy (open and raised), anger (clenched fists), or nervousness (fidgeting).
10. Start Simple and Build Complexity
Simplifying the process will help you avoid getting overwhelmed.
- Stick Figures for Hands: Begin with a basic stick-figure outline for the palm and fingers.
- Gradual Detailing: Once the structure feels right, add details like wrinkles, nails, and shading.
- Focus on One Area: Practice just the fingers, the thumb, or the palm separately before combining them.
11. Study Renowned Artists
Learn from masters to see how they approach drawing hands.
- Classical Artists: Michelangelo and Leonardo da Vinci were known for their detailed studies of human anatomy, including hands.
- Contemporary Illustrators: Look at comic book artists or animators who depict hands in dynamic, stylized ways.
- Analyze Their Techniques: Observe how they handle line weight, shading, and proportions.
12. Incorporate Feedback and Critique
Sharing your work with others can provide valuable insights and motivation.
- Join Communities: Participate in online forums, social media groups, or local art classes.
- Request Feedback: Ask peers or mentors for constructive criticism.
- Self-Critique: Compare your work to references or previous sketches to identify areas for improvement.
13. Embrace Challenges
Challenge yourself to tackle complex poses and scenarios to expand your skill set.
- Intertwined Hands: Drawing two hands gripping each other teaches you about overlap and tension.
- Hands Holding Objects: Add variety by including props like cups, pens, or flowers in your drawings.
- Foreshortened Hands: Experiment with angles that create the illusion of depth, such as a hand reaching toward the viewer.
14. Use Warm-Up Exercises
Before diving into a detailed drawing, warm up with simple exercises to loosen your hand and sharpen your focus.
- Circles and Lines: Sketch circles, straight lines, and curves to improve control.
- Quick Hand Poses: Spend 10–15 minutes sketching simple hand poses to prepare your mind and muscles.
15. Enjoy the Process
Remember, the journey is as important as the destination. Treat each drawing session as an opportunity to learn and have fun.
- Experiment Freely: Don’t hesitate to try unconventional techniques or tools.
- Take Breaks: Avoid burnout by giving yourself time to rest and recharge.
- Celebrate Your Style: Embrace your unique way of depicting hands, even if it deviates from realism.
Final Thoughts
Drawing hands may be challenging, but it’s an incredibly rewarding skill that will elevate your artistic abilities.
By exploring simple hand drawings, using references, practicing easy styles, and mastering more complex poses like hands gripping each other, you’ll build confidence and develop a deeper understanding of this intricate subject.
Whether you’re sketching for fun or pursuing professional-level artwork, the journey to mastering hand drawings is filled with creative possibilities. So grab your sketchbook and start practicing today!


