20 Hand Texture Drawing Ideas
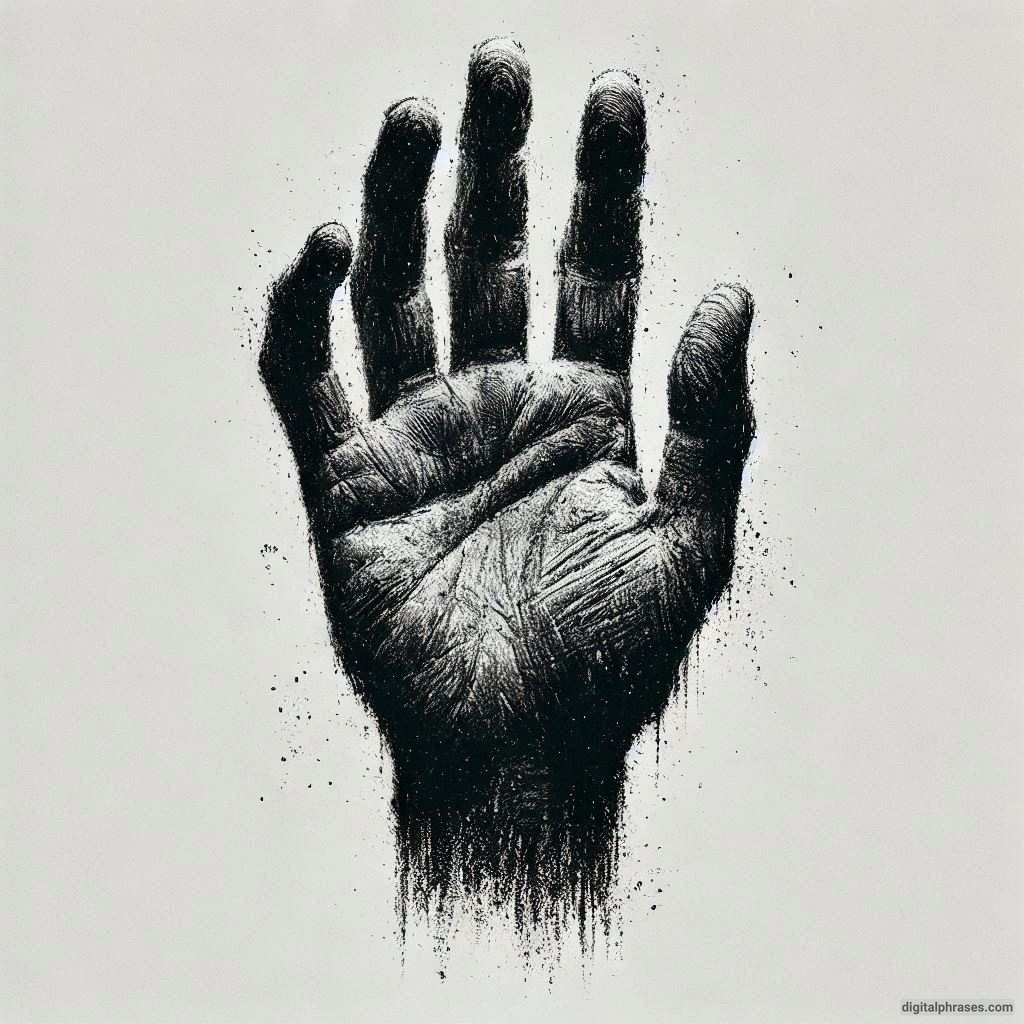
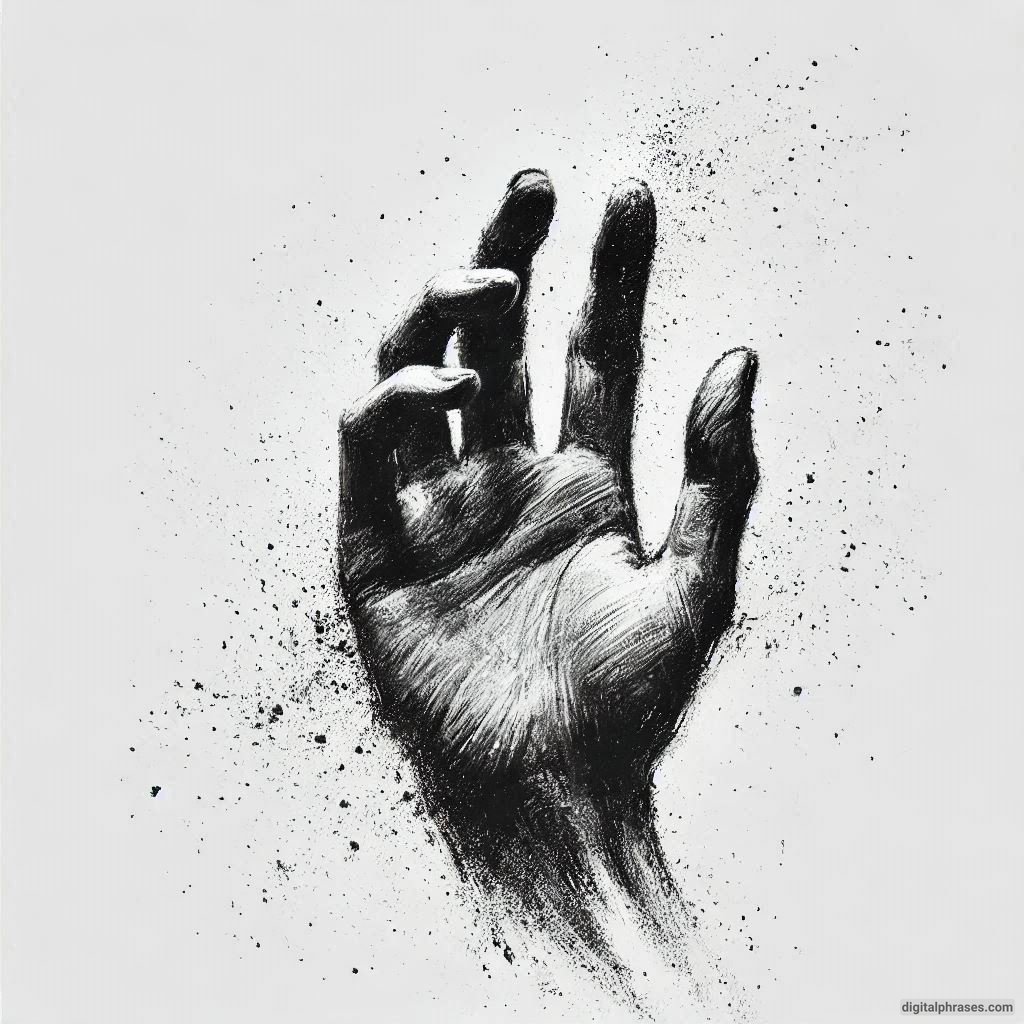
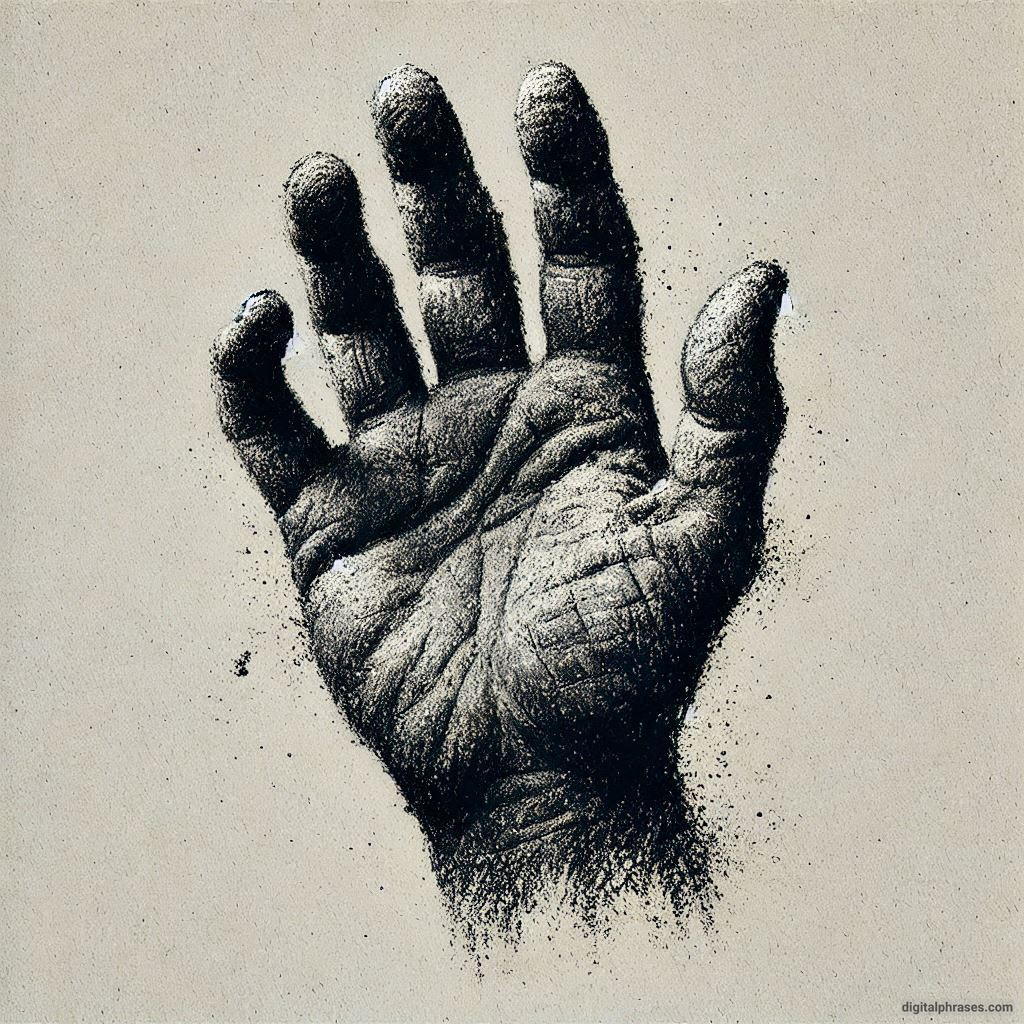
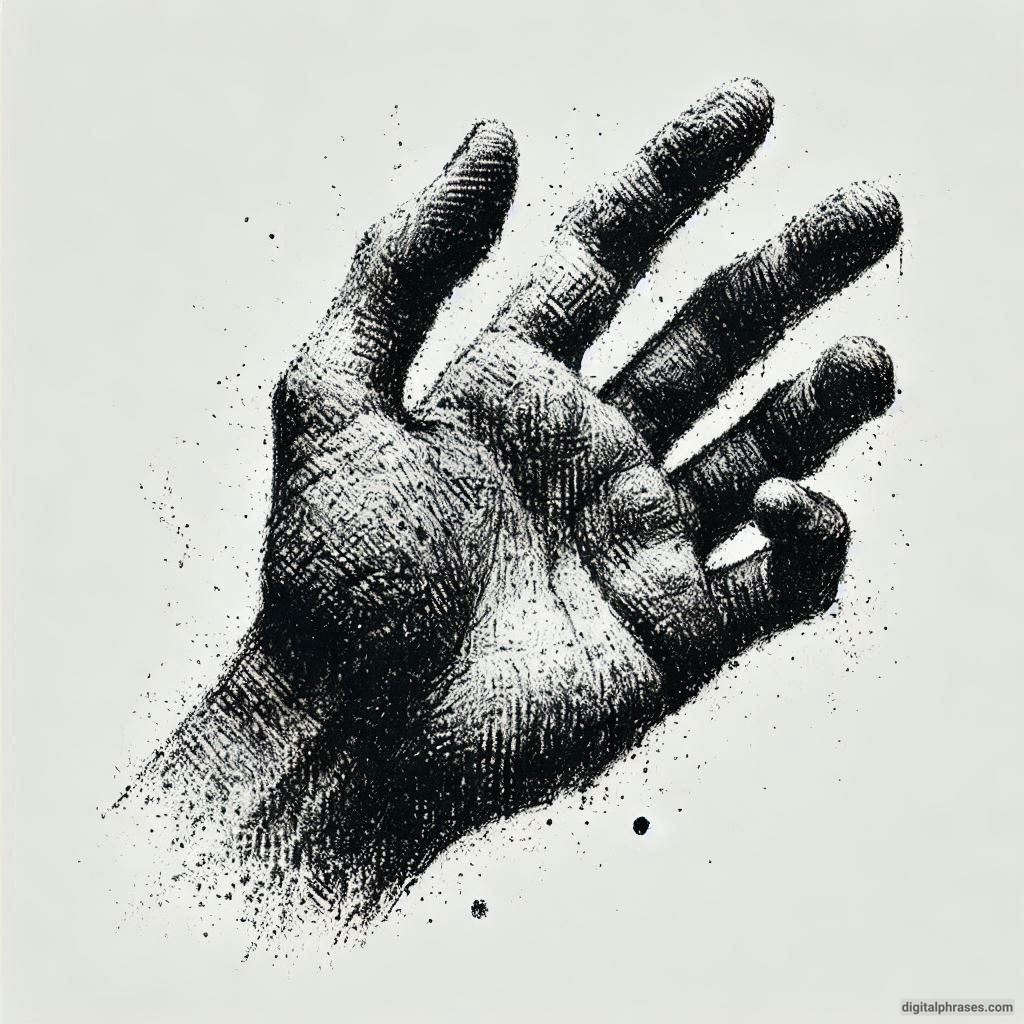
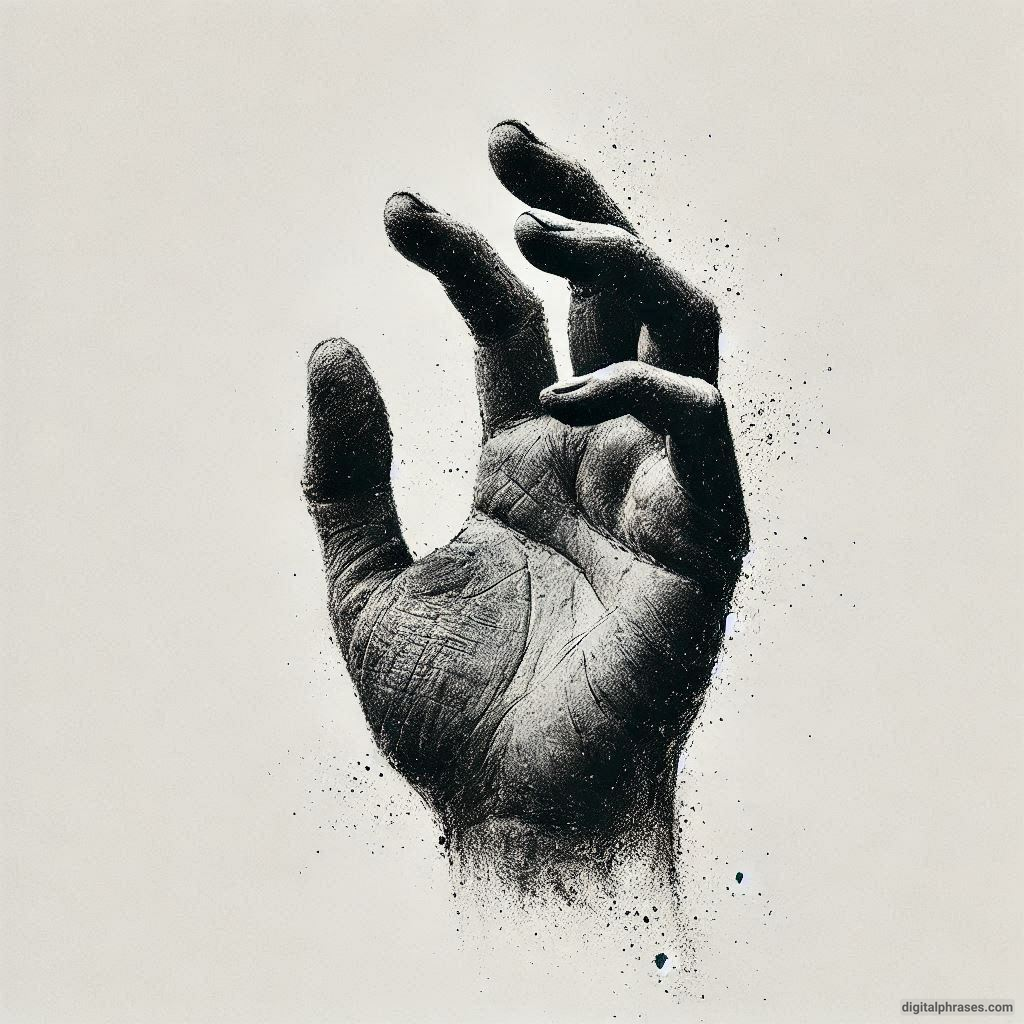
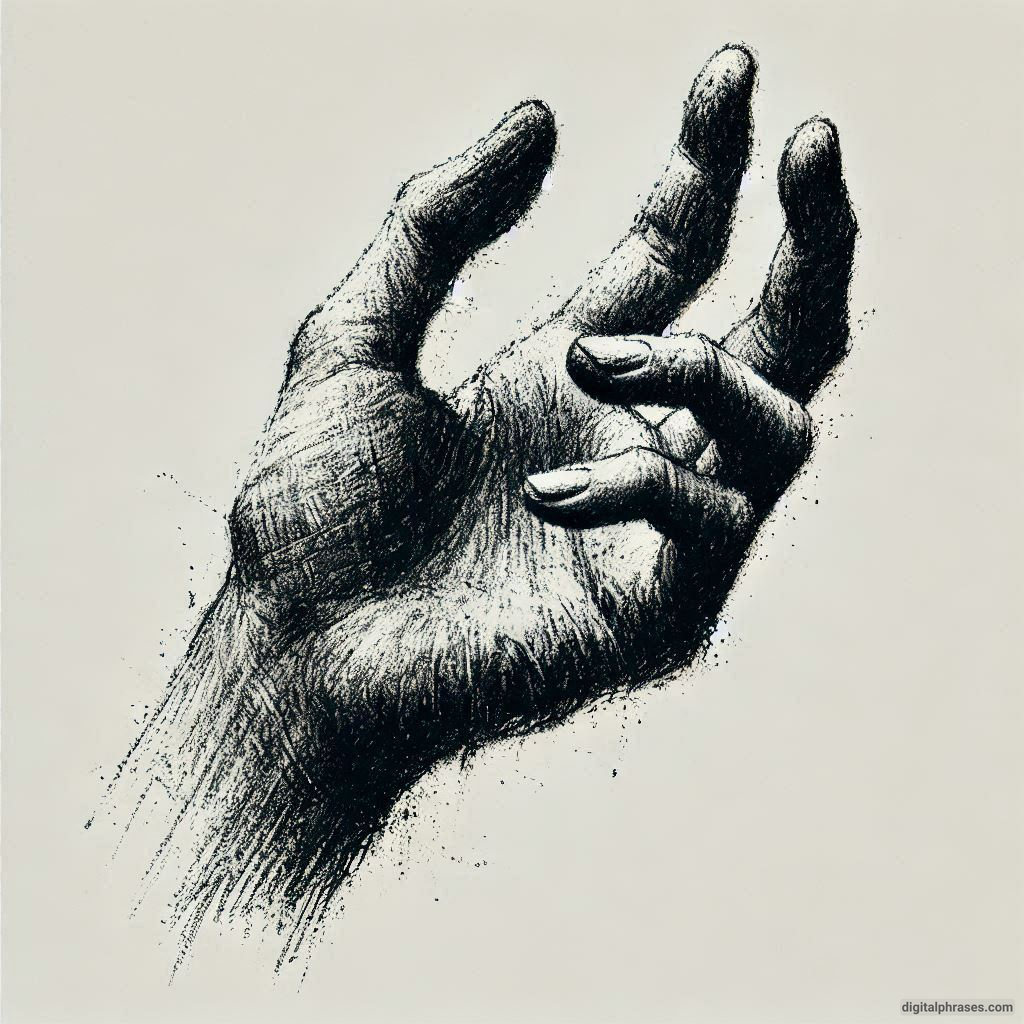
Hands are a canvas of stories, etched with lines, wrinkles, and textures that speak volumes about a person’s journey. As artists, we often overlook just how expressive and captivating hands can be.
From delicate creases to rugged callouses, each detail holds the potential to elevate your art and convey emotion like never before.
If you’re ready to dive into this intricate world of hand texture art but aren’t sure where to start, you’re in the right place.
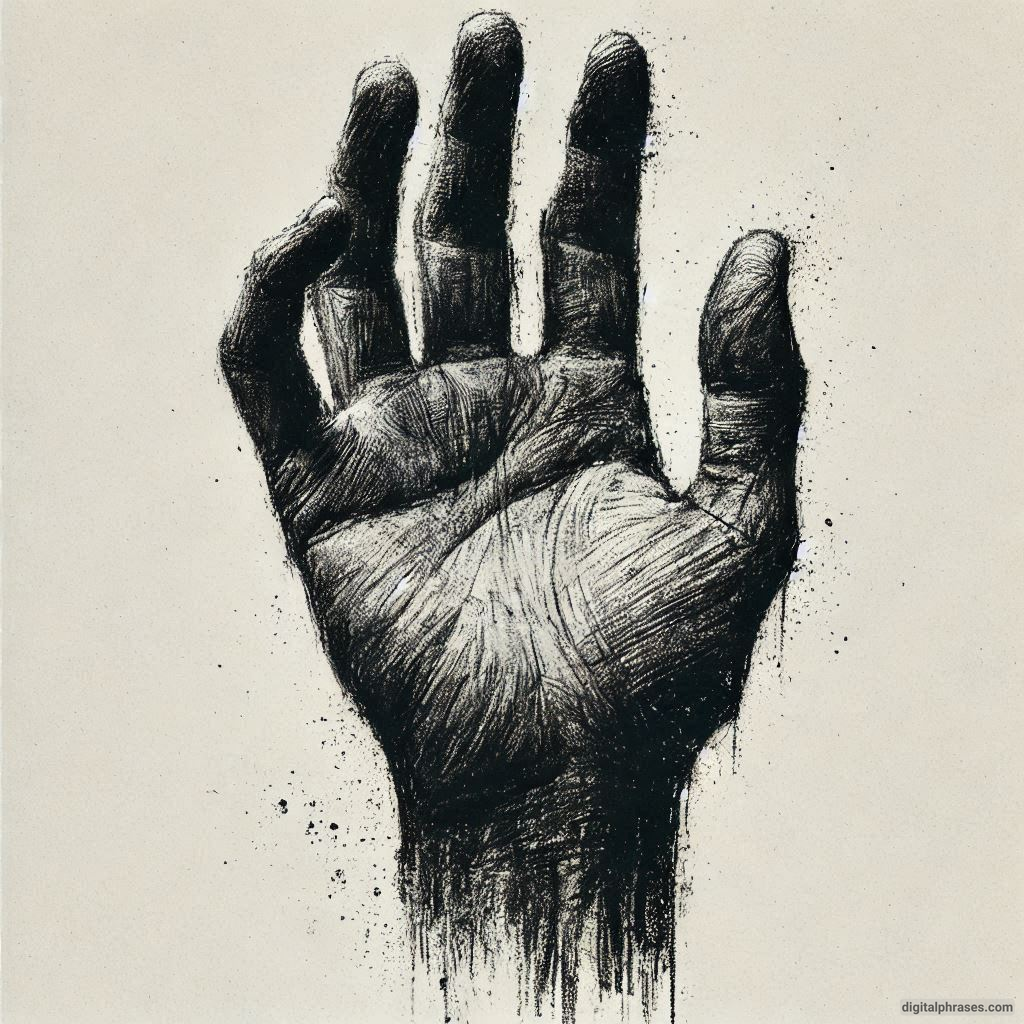
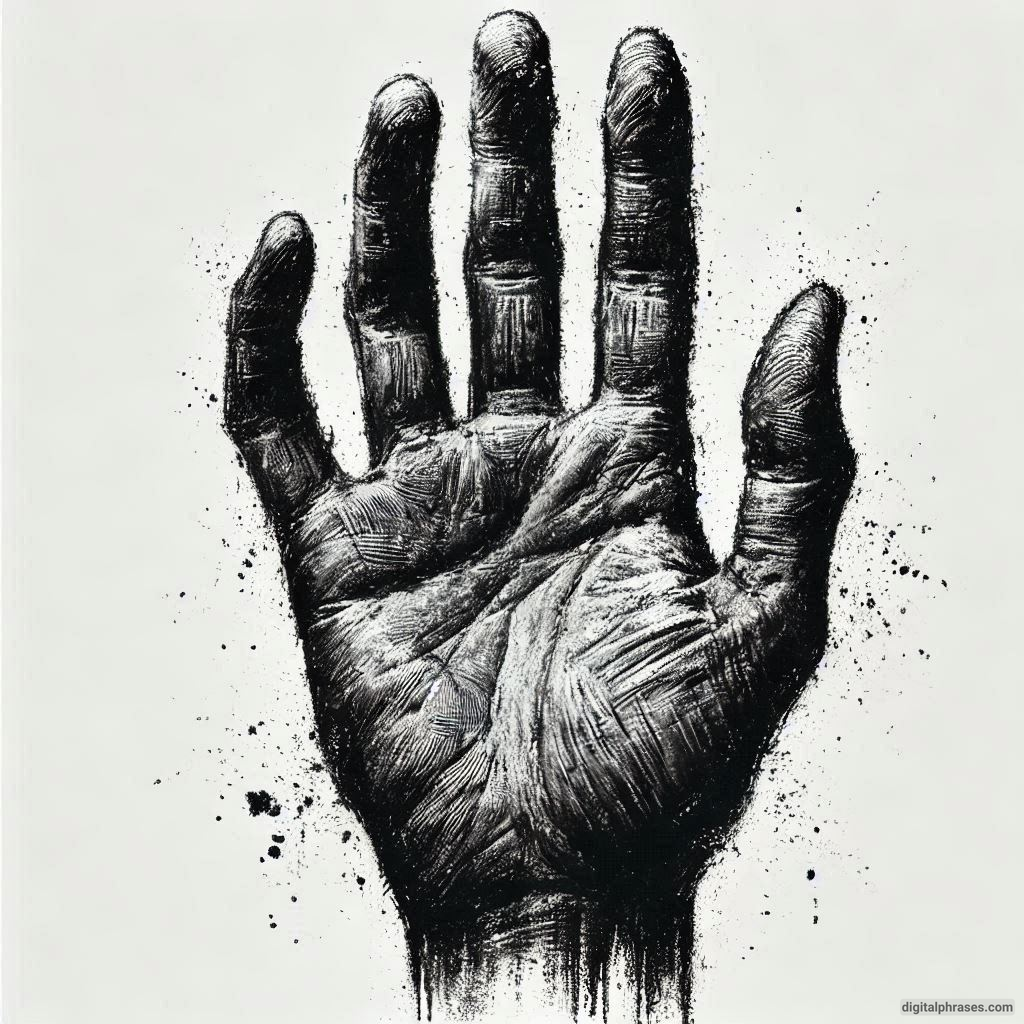
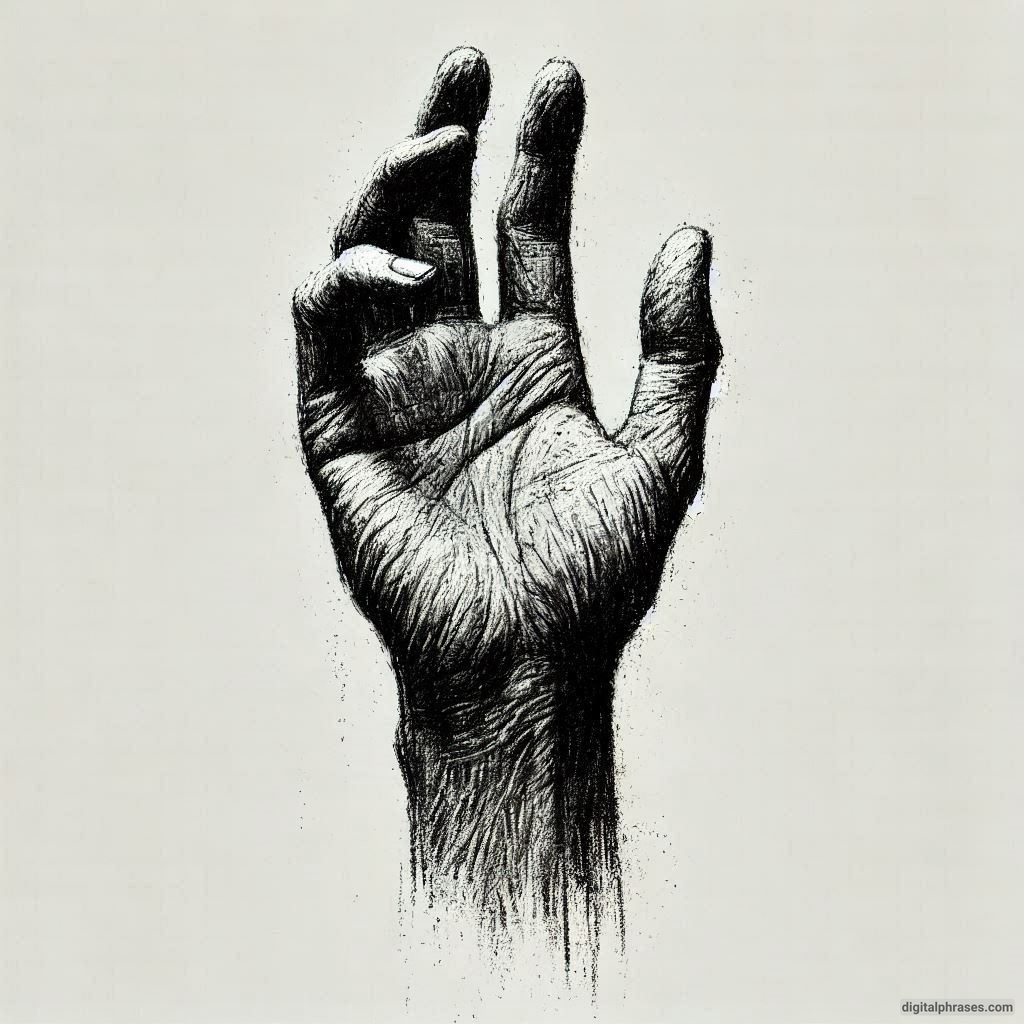
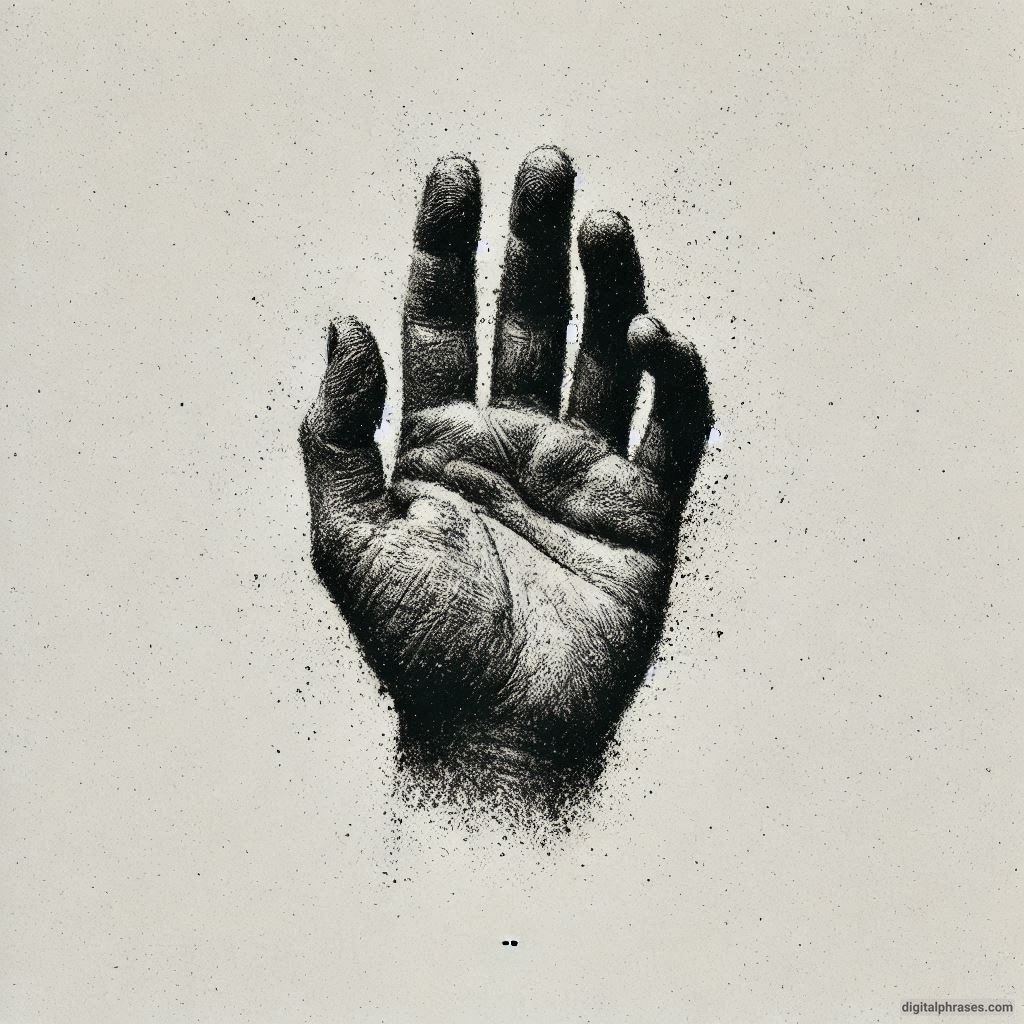
In this blog, we’ll share some inspiring hand texture drawing ideas that will ignite your creativity and challenge your skills. Whether you’re aiming for hyperrealistic details, exploring abstract patterns, or experimenting with bold styles, these ideas will guide you in transforming hands into powerful pieces of art.
Let’s get started!
Hand Texture Drawing Ideas
1
2
3
4
5
6
7
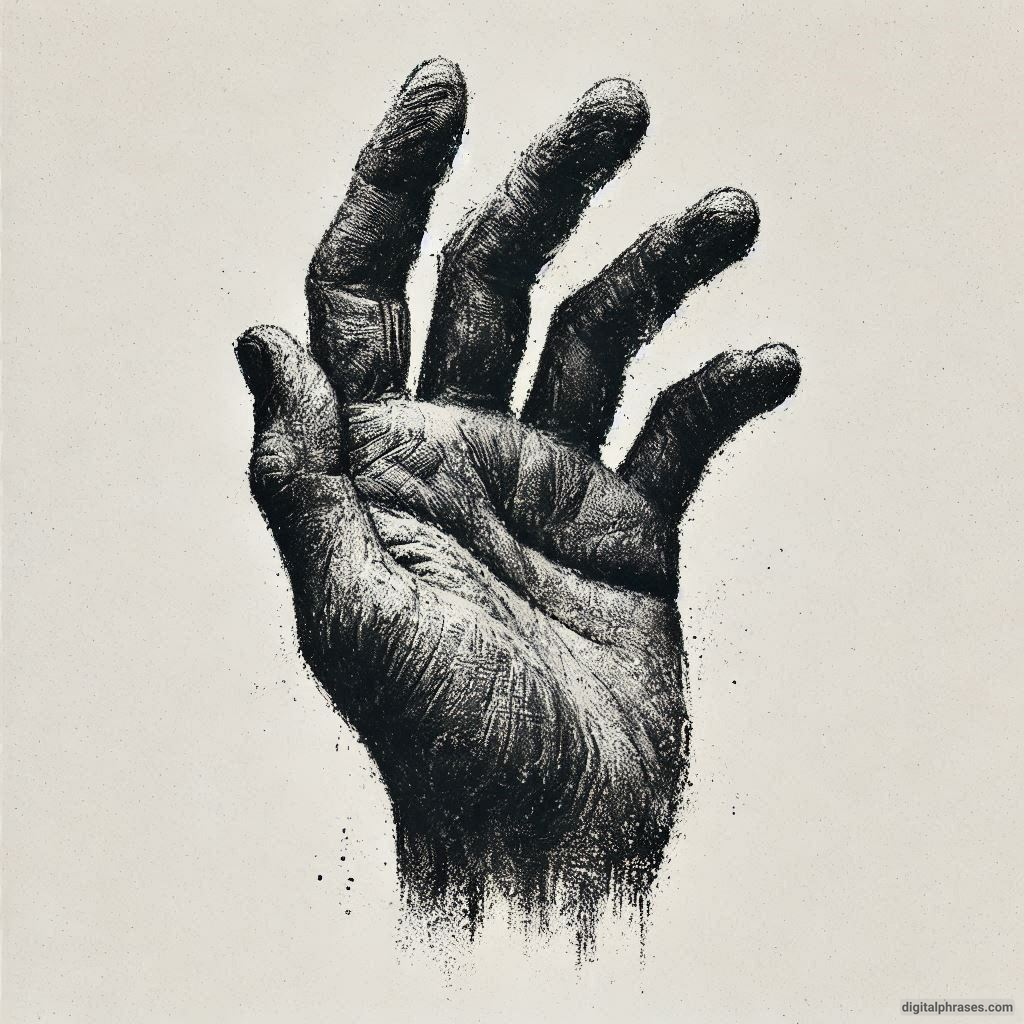
8
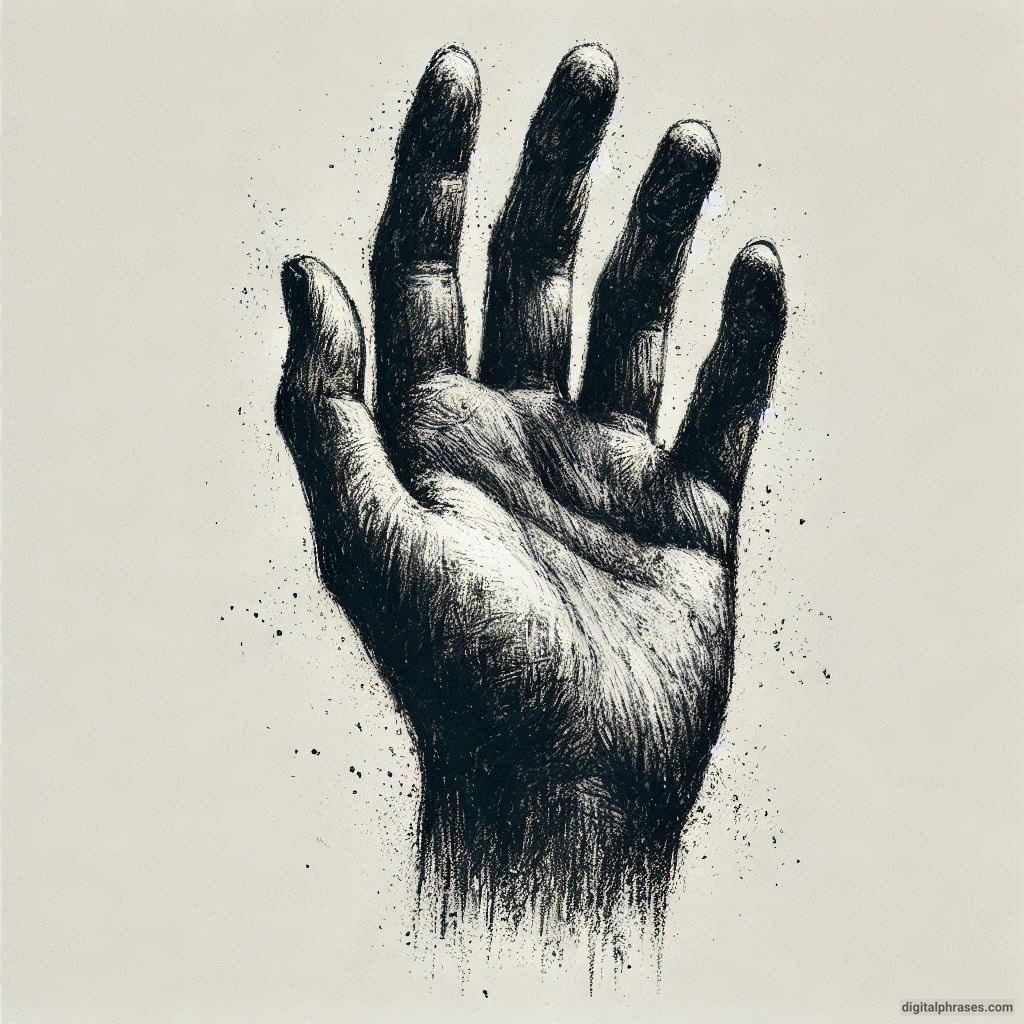
9
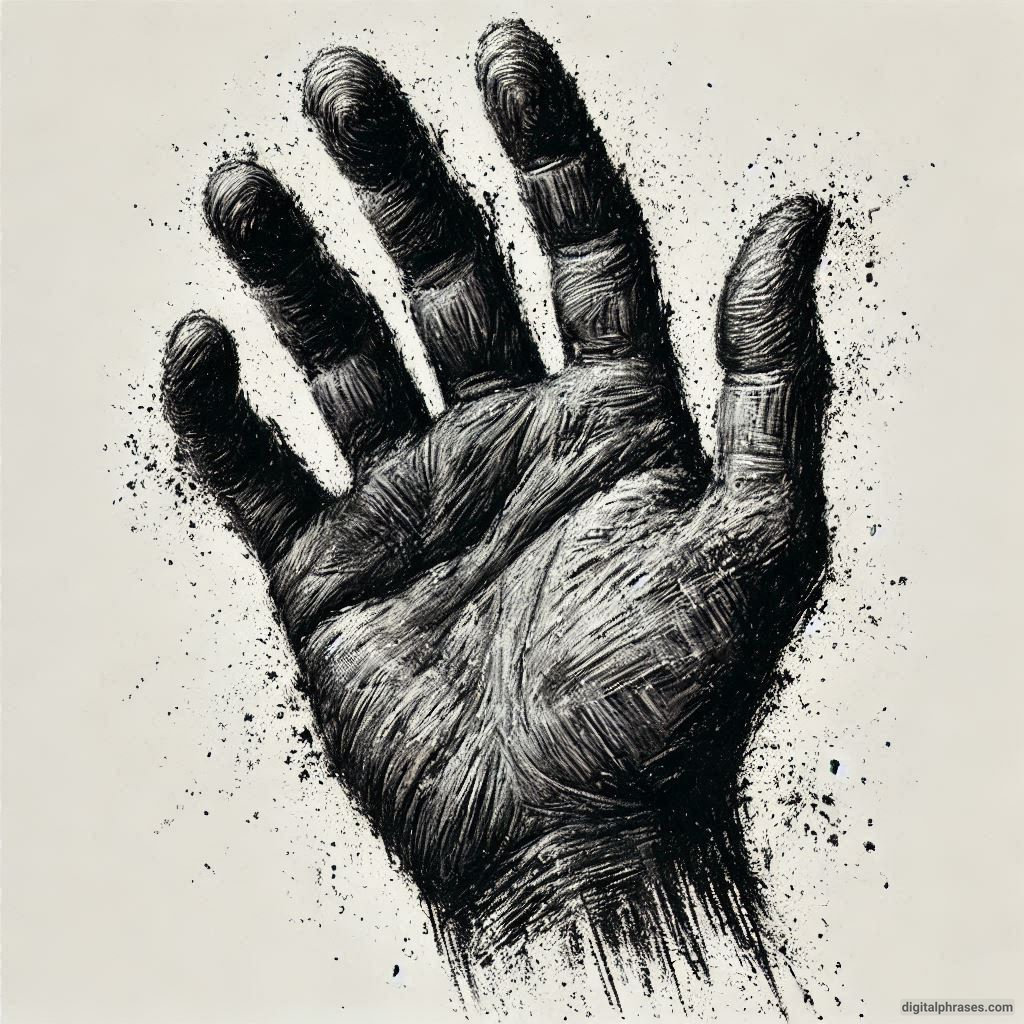
10
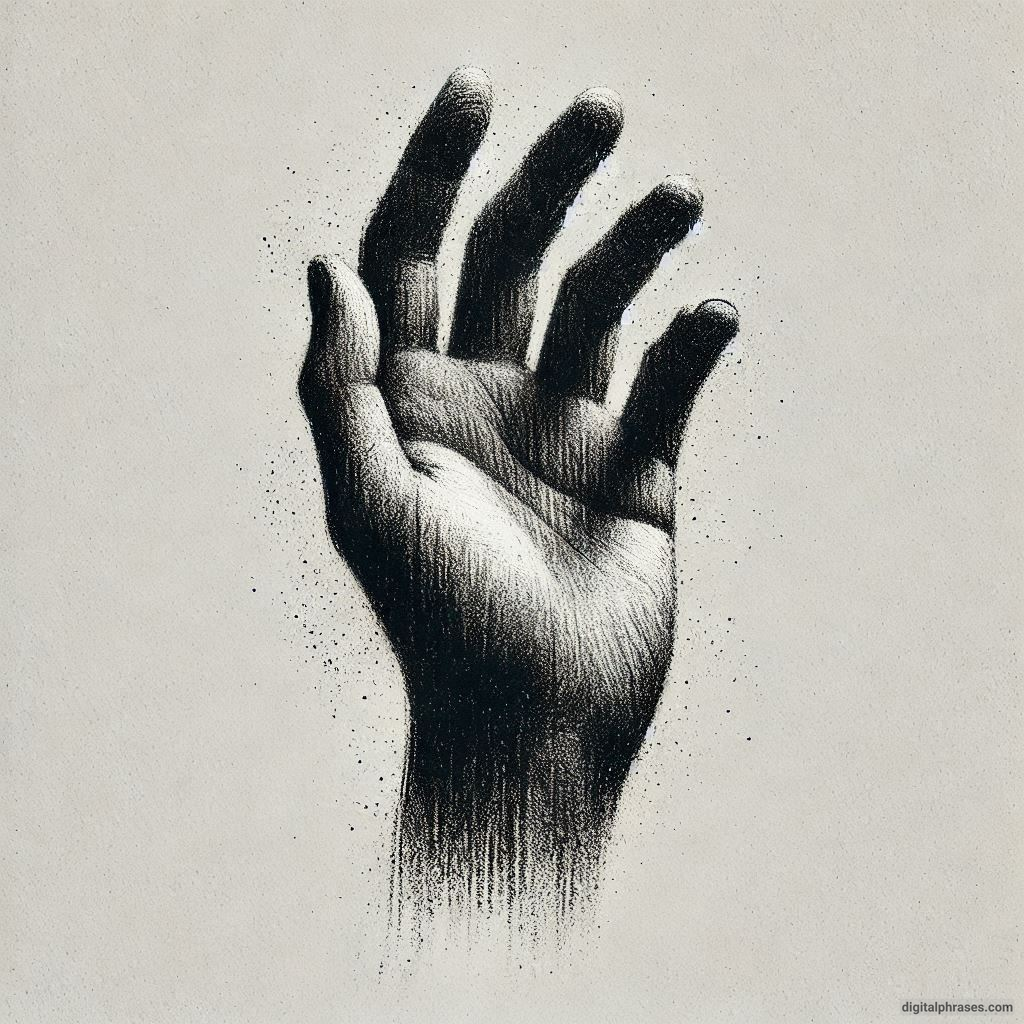
11
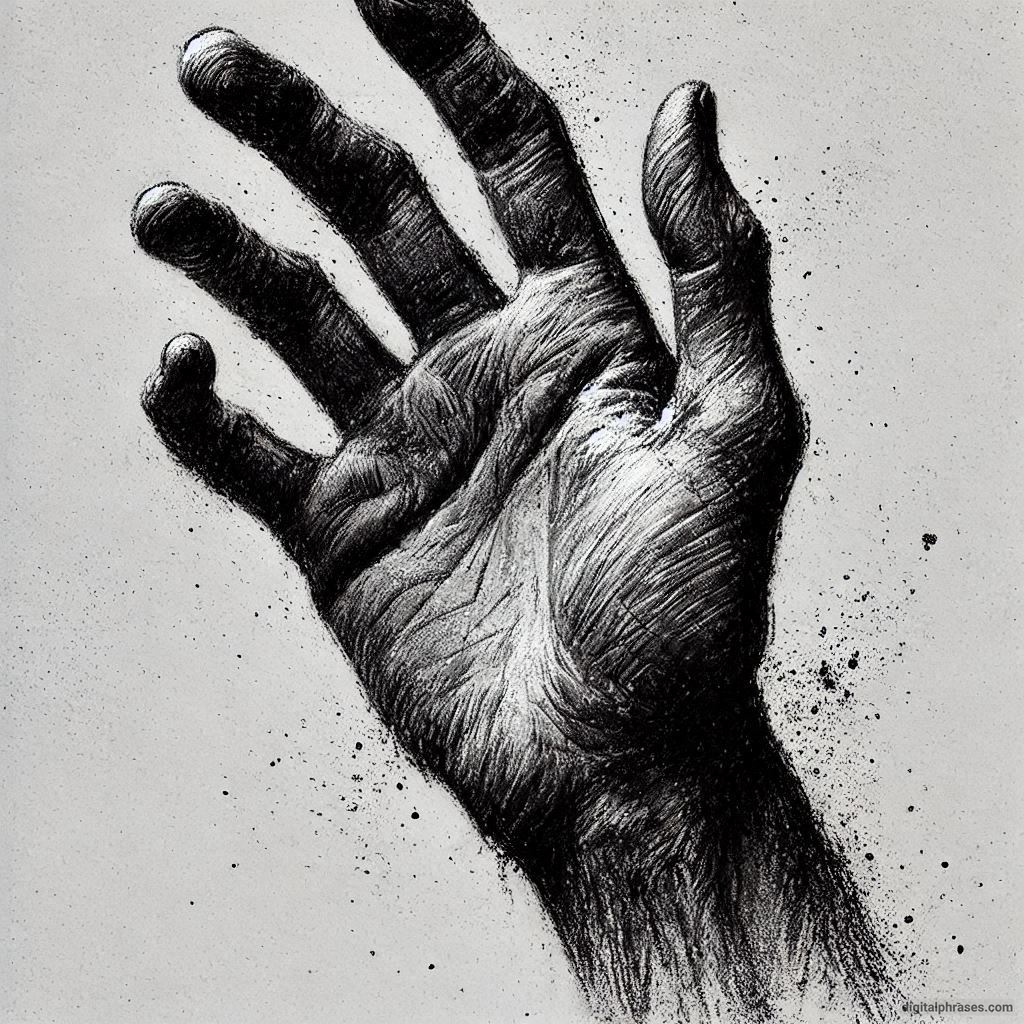
12
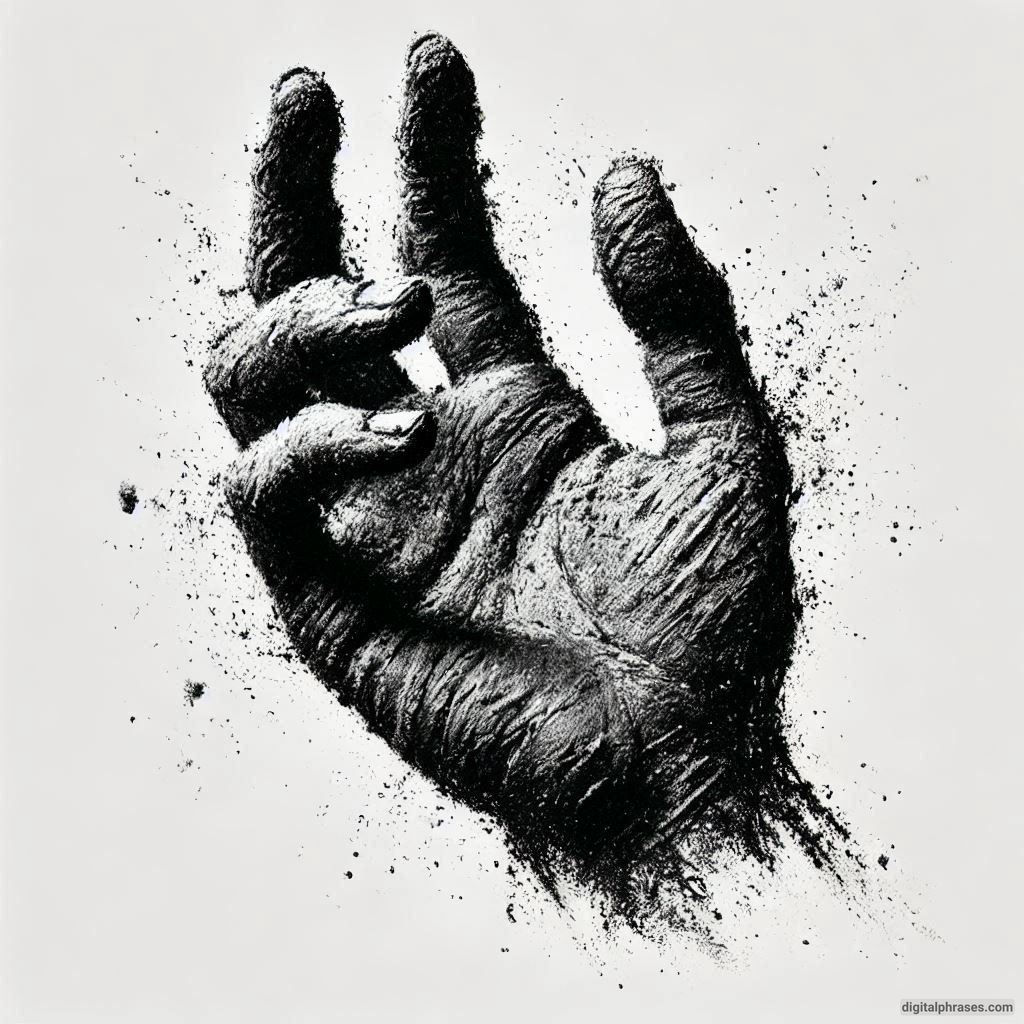
13
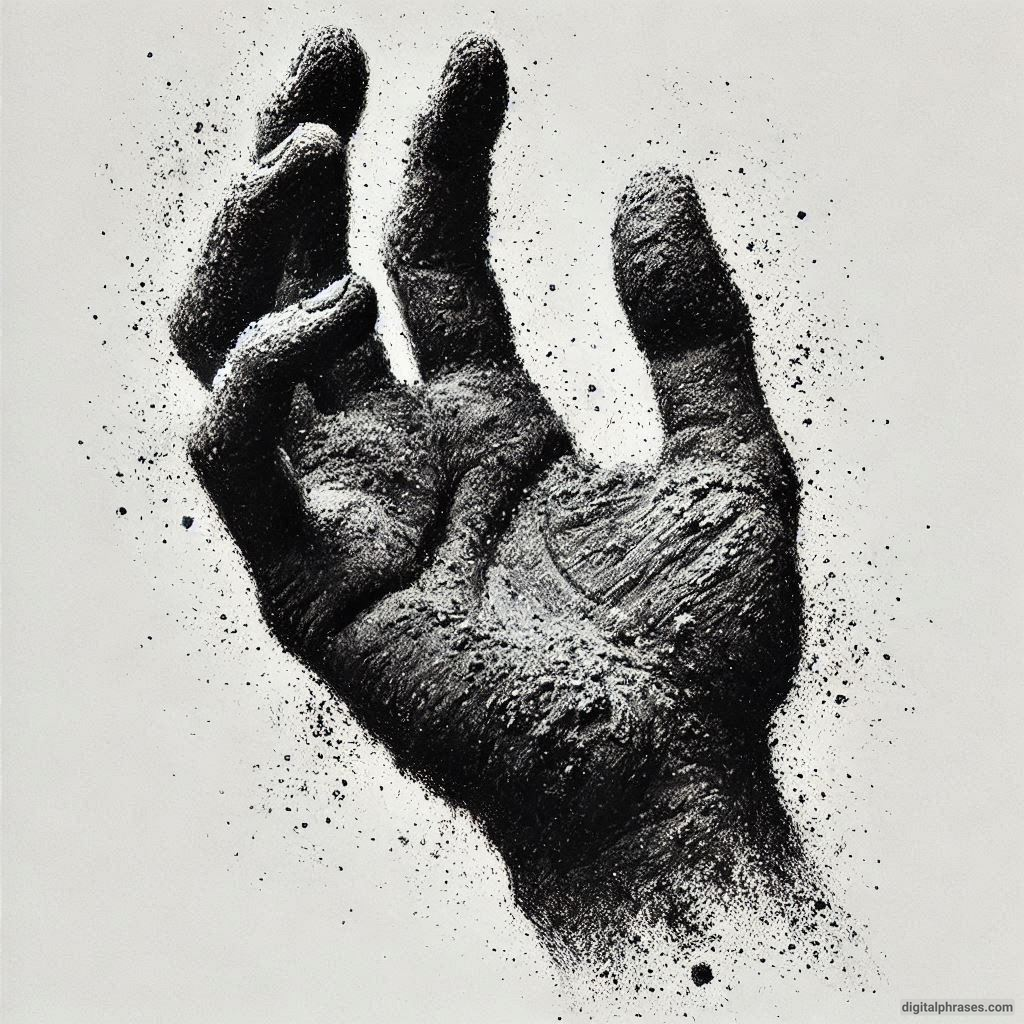
14
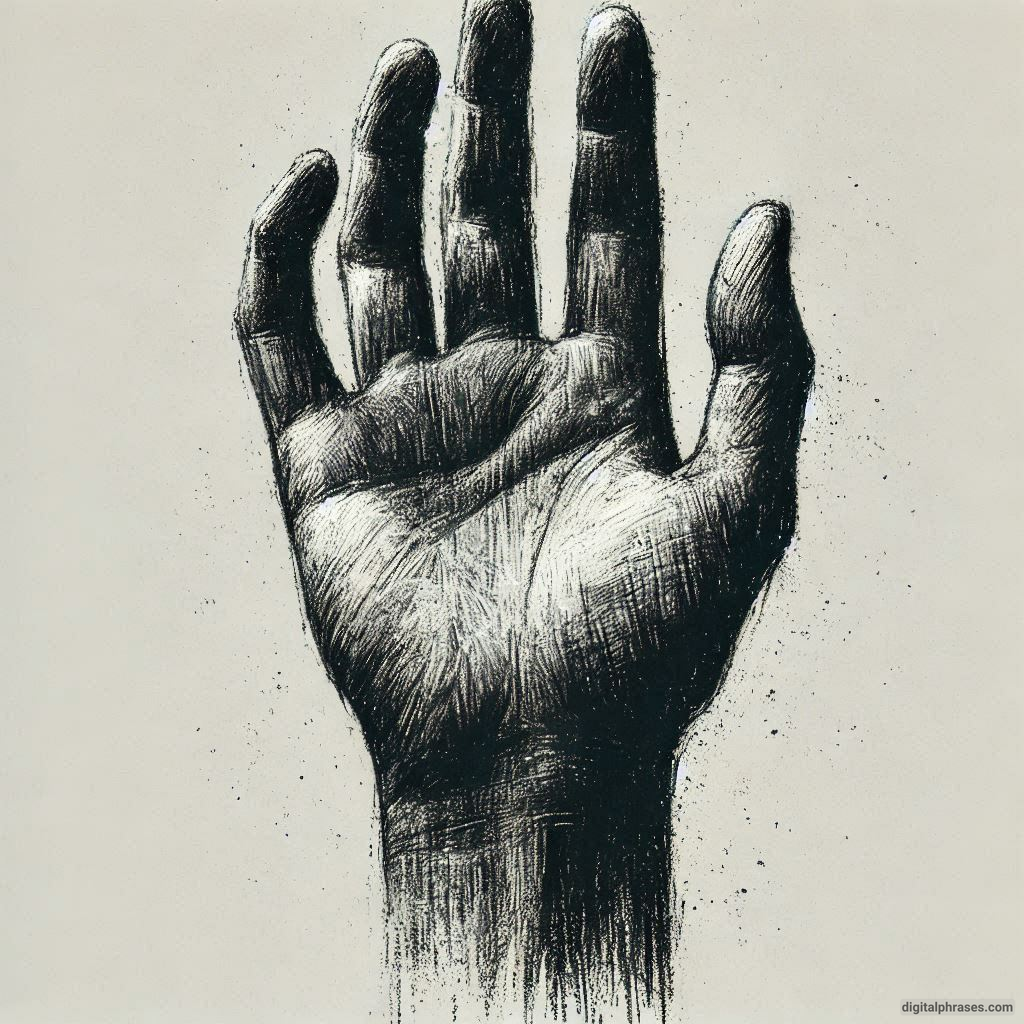
15
16
17
18
19
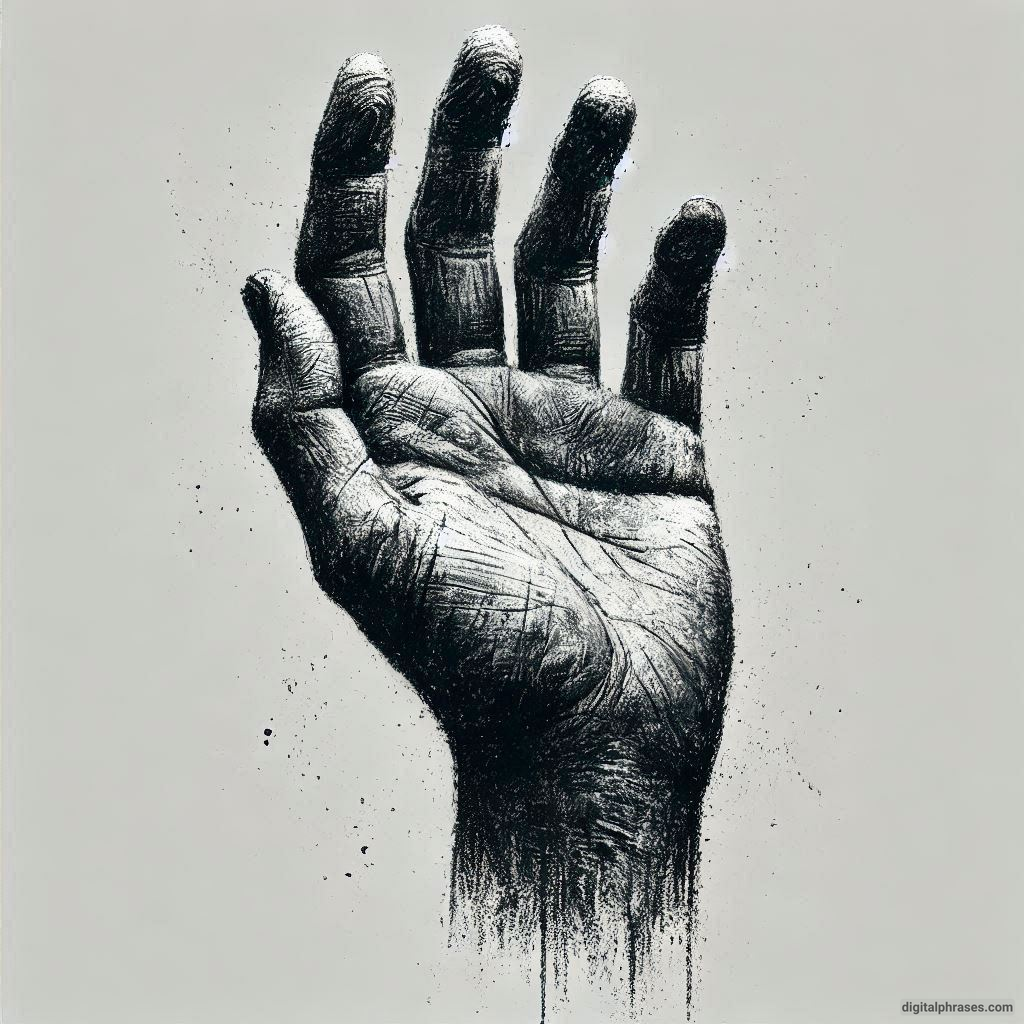
20
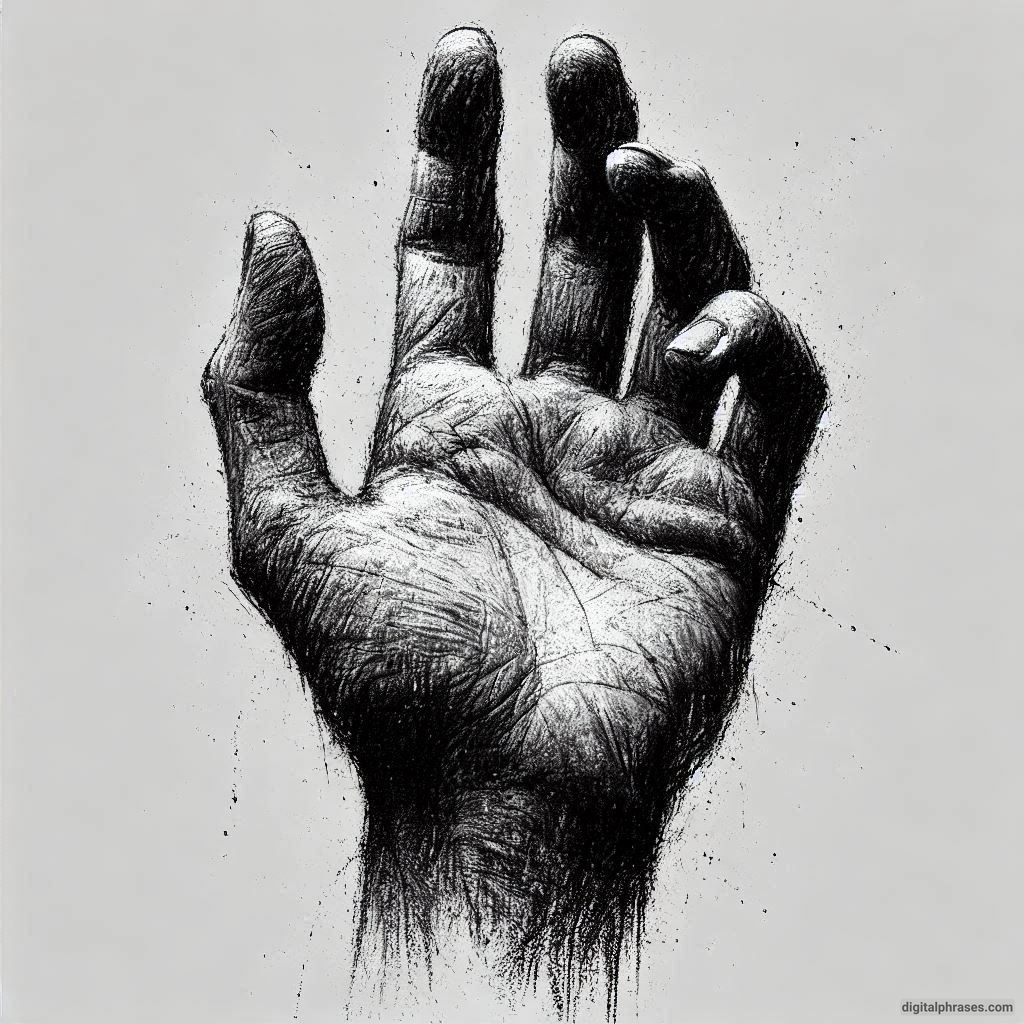
Things To Keep in Mind While Drawing Hand Textures
1. Study Hand Anatomy
Before diving into the textures of the hand, it’s essential to understand its structure. The hand is a complex composition of bones, muscles, tendons, and skin. A firm grasp of the underlying anatomy helps you depict the textures realistically.
- Key Structures to Study:
- Bones: Familiarize yourself with the phalanges, metacarpals, and carpal bones.
- Tendons and Muscles: Learn how tendons stretch and contract, creating dynamic lines under the skin.
- Fat Pads: Notice the soft areas on the palms and fingers that contribute to the hand’s form.
- Joints: Observe the knuckles and how they influence the surrounding textures.
2. Observe Skin Texture
The skin on the hand is unique and varies depending on the area:
- Palm: The palm has a coarse texture with visible creases and lines that form natural patterns.
- Back of the Hand: This area typically features finer lines, visible veins, and subtle wrinkles.
- Fingertips: The tips are covered with fingerprints, an intricate pattern of ridges that can be a focal point in your art.
Spend time observing real hands or high-resolution reference images. Note the differences between young and aged hands, as aging adds layers of texture such as wrinkles, folds, and spots.
3. Choose the Right References
Using references is crucial when creating hand texture art. The more detailed and high-quality your reference images are, the better your final artwork will be. Look for images with good lighting that highlights textures, shadows, and highlights.
- Tips for Reference Selection:
- Use multiple angles of the same hand for a well-rounded understanding.
- Include both natural and artificial lighting references for versatility.
- Consider creating your own references by photographing hands under varied lighting conditions.
4. Master the Lighting
Lighting plays a pivotal role in emphasizing the textures of the hand. Shadows and highlights reveal the depth of wrinkles, folds, and veins.
- Soft Lighting: Ideal for capturing subtle details and creating a gentle, realistic look.
- Hard Lighting: Highlights sharp contrasts, making textures like wrinkles and veins more pronounced.
- Directional Lighting: Casts shadows that accentuate the hand’s three-dimensionality.
Experiment with different lighting setups to understand how it affects textures.
5. Pay Attention to Proportions
Accurate proportions are the foundation of realistic hand art. Mistakes in proportion can distract viewers from the intricate textures.
- Measurements to Note:
- The length of fingers relative to the palm.
- The size of the thumb compared to other fingers.
- The angles and spacing between fingers.
Regularly compare your drawing to your reference, and use grid techniques or tracing for accurate proportions if needed.
6. Use the Right Tools
The tools you use significantly impact the quality of your hand texture art. Choose materials that allow for precision and variation in texture.
- Pencils: Graphite pencils in various hardnesses (HB, 2B, 4B, etc.) are perfect for detailed shading.
- Erasers: Use kneaded erasers to lift highlights and create soft textures.
- Charcoal: Adds depth and intensity, particularly for darker areas.
- Fine-Tipped Pens: Useful for outlining intricate lines and creases.
For digital art, ensure you have a pressure-sensitive stylus and software that supports texture brushes.
7. Focus on Gradients
The texture of the hand involves gradual changes in tone and depth. Harsh lines or inconsistent gradients can make the art look unrealistic.
- Blending Techniques:
- Use a blending stump or your fingers to soften pencil strokes.
- Apply smooth transitions between highlights and shadows.
- Layer your strokes gradually to build depth.
Digital artists can use opacity adjustments and gradient tools to achieve similar effects.
8. Highlight the Key Features
Not all parts of the hand require the same level of detail. Focus on the features that stand out the most in your reference image.
- Focal Points:
- Prominent veins on the back of the hand.
- Deep creases in the palm.
- The intricate patterns of fingerprints.
- Callouses or scars for character and realism.
By emphasizing these areas, you can guide the viewer’s eye and enhance the overall impact of your artwork.
9. Understand Texture Mapping
Textures often follow specific patterns on the hand, influenced by its anatomy and movement.
- Lines and Creases: These follow natural folding points, such as knuckles and the base of the fingers.
- Stretch Marks: Areas where the skin stretches more frequently, such as between fingers.
- Skin Grain: Observe the fine grain of the skin, especially on the back of the hand.
Follow these patterns to create authentic and cohesive textures.
10. Capture the Personality of Hands
Every hand tells a story. The texture, wrinkles, scars, and marks reveal age, occupation, and lifestyle. A farmer’s hand, for instance, will have rough, weathered skin, while a musician’s hand might show callouses and fine lines.
- Details to Include:
- Scars or unique marks.
- Signs of aging, such as liver spots or thin skin.
- Specific features like nail shape or joint prominence.
These personal touches add depth and individuality to your art.
11. Practice Patience
Hand texture art is detailed and time-consuming. Rushing through it can lead to inconsistencies.
- Tips for Patience:
- Break the process into smaller sections, focusing on one area at a time.
- Take regular breaks to maintain focus and prevent fatigue.
- Revisit your work with fresh eyes to catch and correct mistakes.
12. Use Layering Techniques
Texture art benefits from layering, as it allows you to build complexity gradually.
- Process:
- Start with a light sketch to outline the hand and major features.
- Add mid-tones to define form and structure.
- Gradually build darker tones for depth.
- Finish with highlights to emphasize textures.
For digital art, use separate layers for shadows, mid-tones, and highlights to retain control over the composition.
13. Experiment with Styles
While realism is a popular approach for hand texture art, experimenting with styles can lead to unique results.
- Hyperrealism: Push details to the extreme for a photo-like quality.
- Minimalism: Focus on key textures and simplify others for a modern look.
- Abstract: Use exaggerated lines and patterns to convey emotion and movement.
Choose a style that resonates with your artistic goals and audience.
14. Incorporate Feedback
Sharing your work with peers or online communities can provide valuable insights. Others may notice areas for improvement that you might have missed.
- Where to Get Feedback:
- Art forums and social media groups.
- Feedback from mentors or professional artists.
- Constructive critiques from friends or family.
Be open to suggestions and use them to refine your skills.
15. Practice Regularly
Mastery of hand texture art comes with consistent practice. Dedicate time to sketch hands in various poses, lighting conditions, and textures.
- Practice Ideas:
- Quick studies of different hand types.
- Detailed renderings of specific textures, such as wrinkles or veins.
- Experimenting with different mediums, like ink, charcoal, or digital tools.

