60 Horse Coloring Pages For Kids, Adults and Toddlers (Free PDF Printables)
Welcome to a place where creativity meets the majesty of one of nature’s most beautiful creatures—the horse!
Our collection of horse coloring pages is the perfect canvas for your imagination.
Get ready to gallop through a spectrum of colors, from the bold and vibrant to the soft and serene, as you bring these stunning horses to life.
With each page, you’ll find a new opportunity to express yourself, discover the joy of coloring, and maybe even escape into a whimsical world of your own making.
Let’s go.
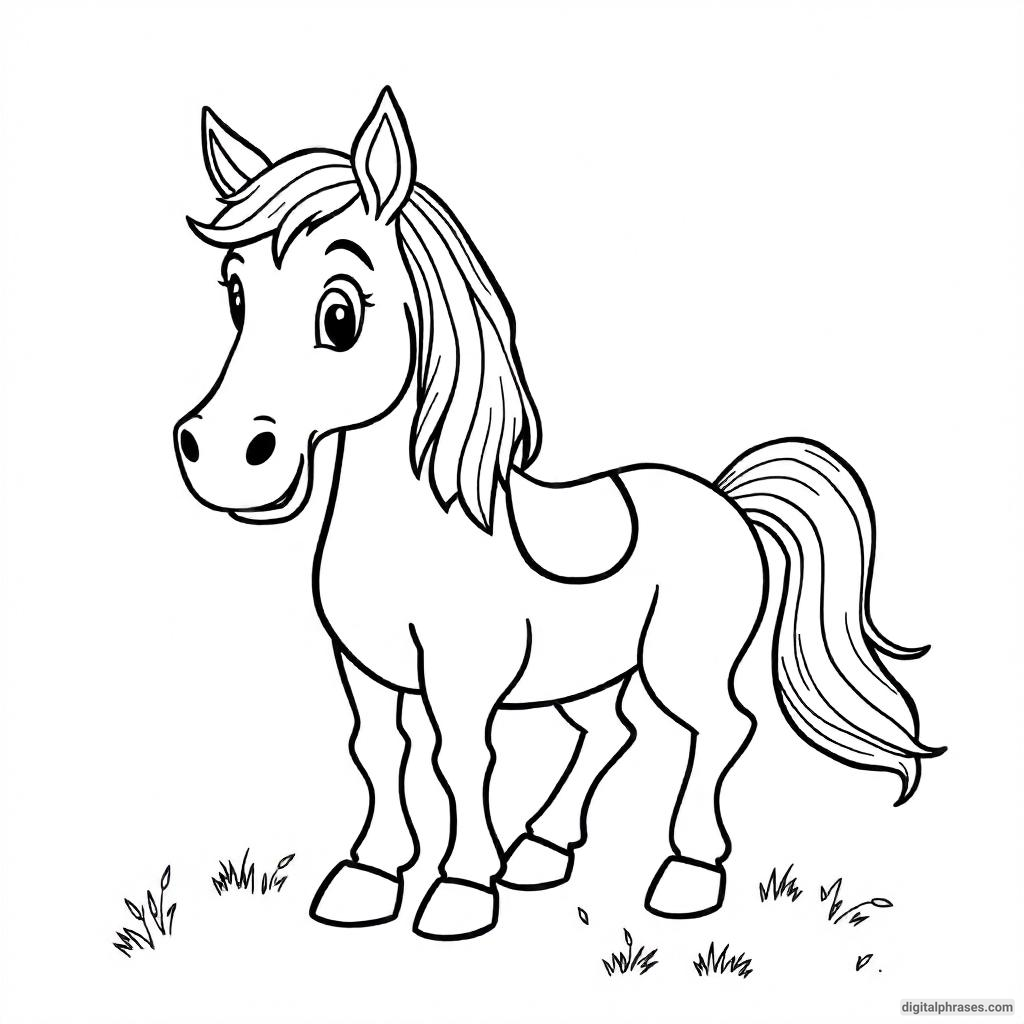
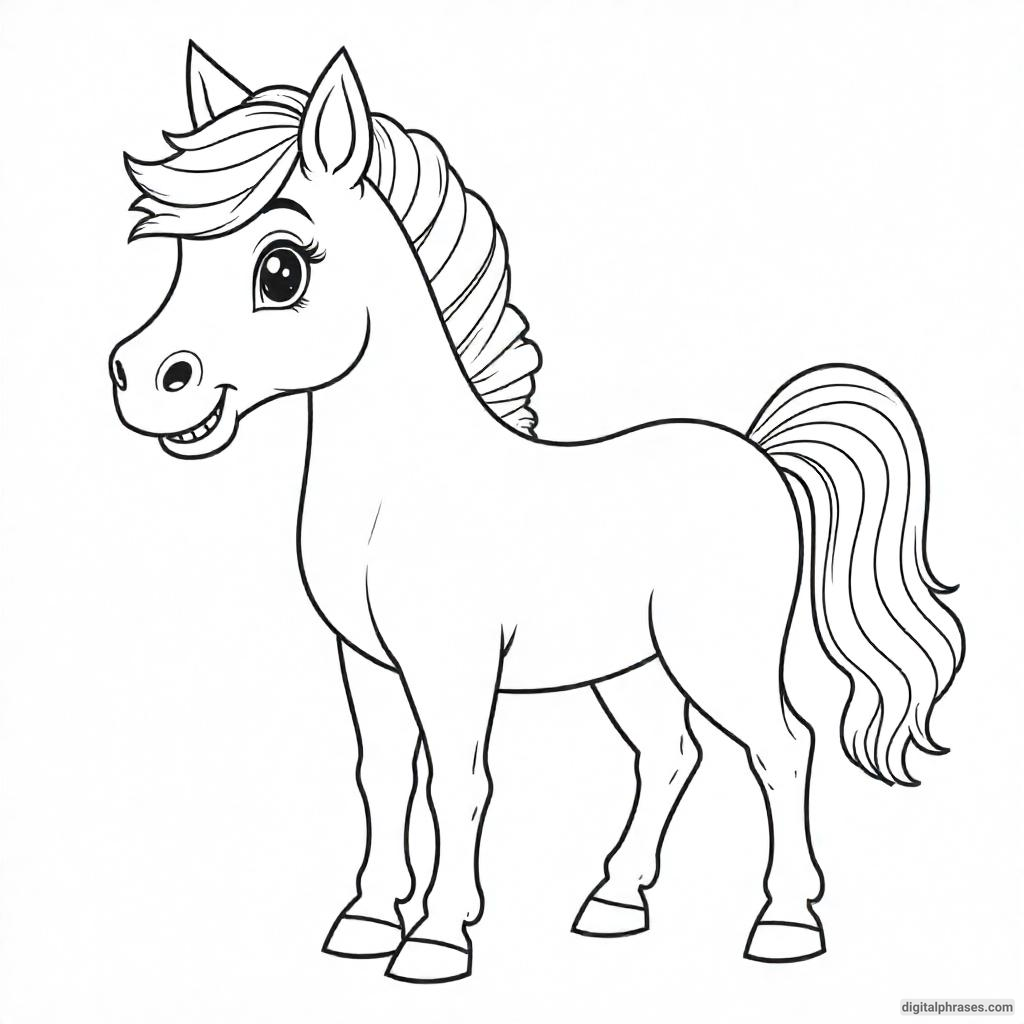
Horse Coloring Pages For Toddlers
1
2
3
4
5
6
7
8
9
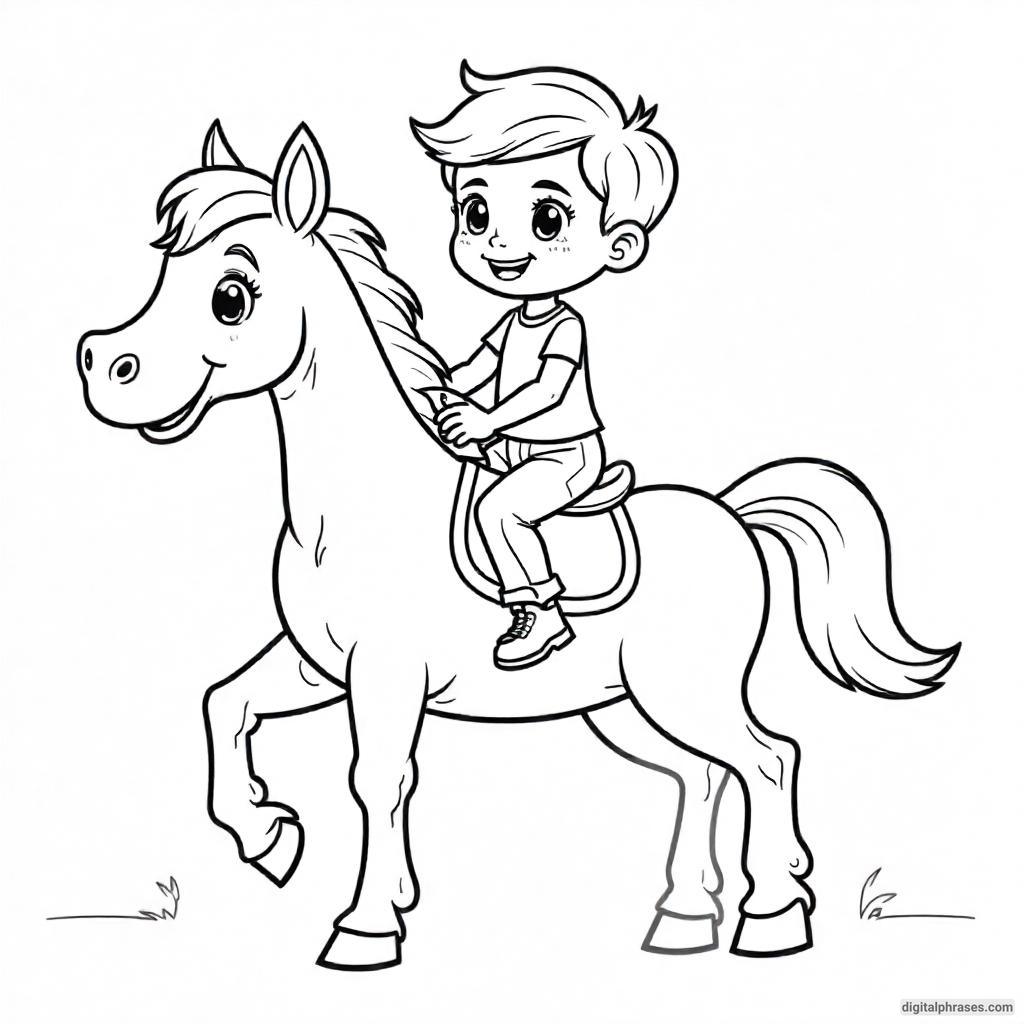
10
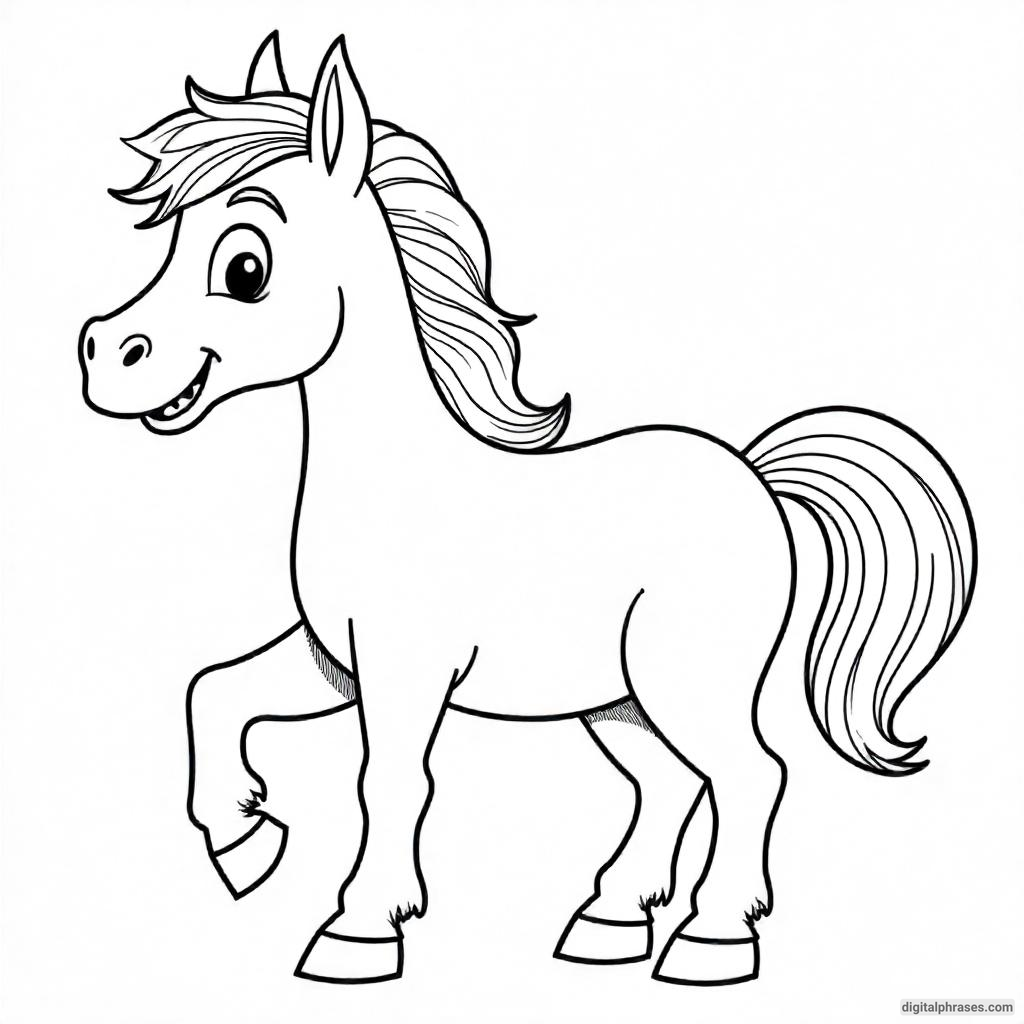
11
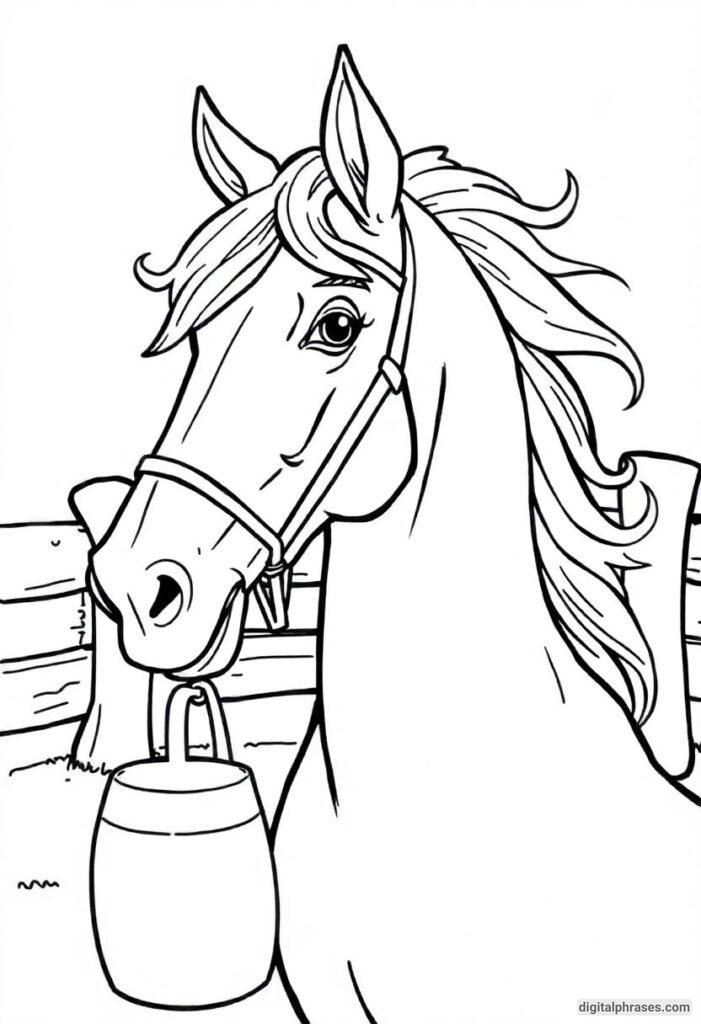
12
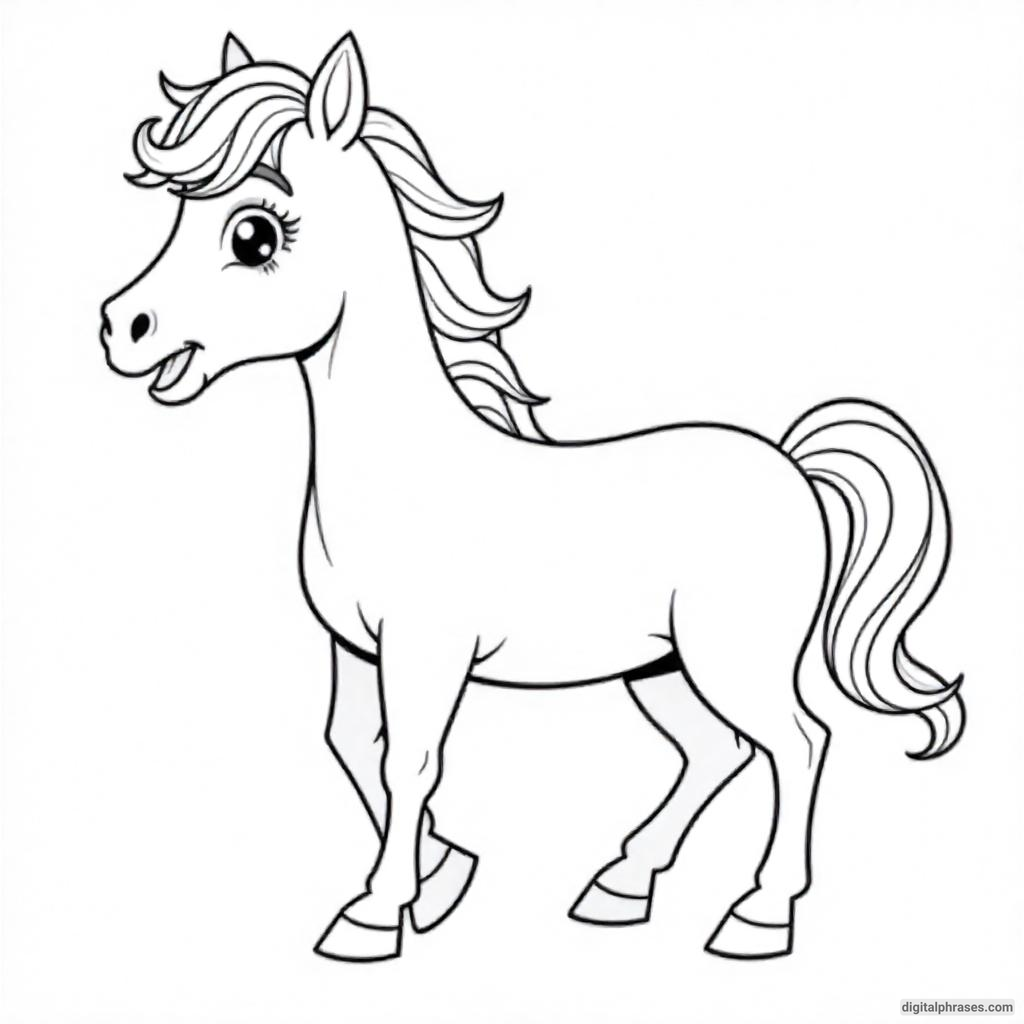
13
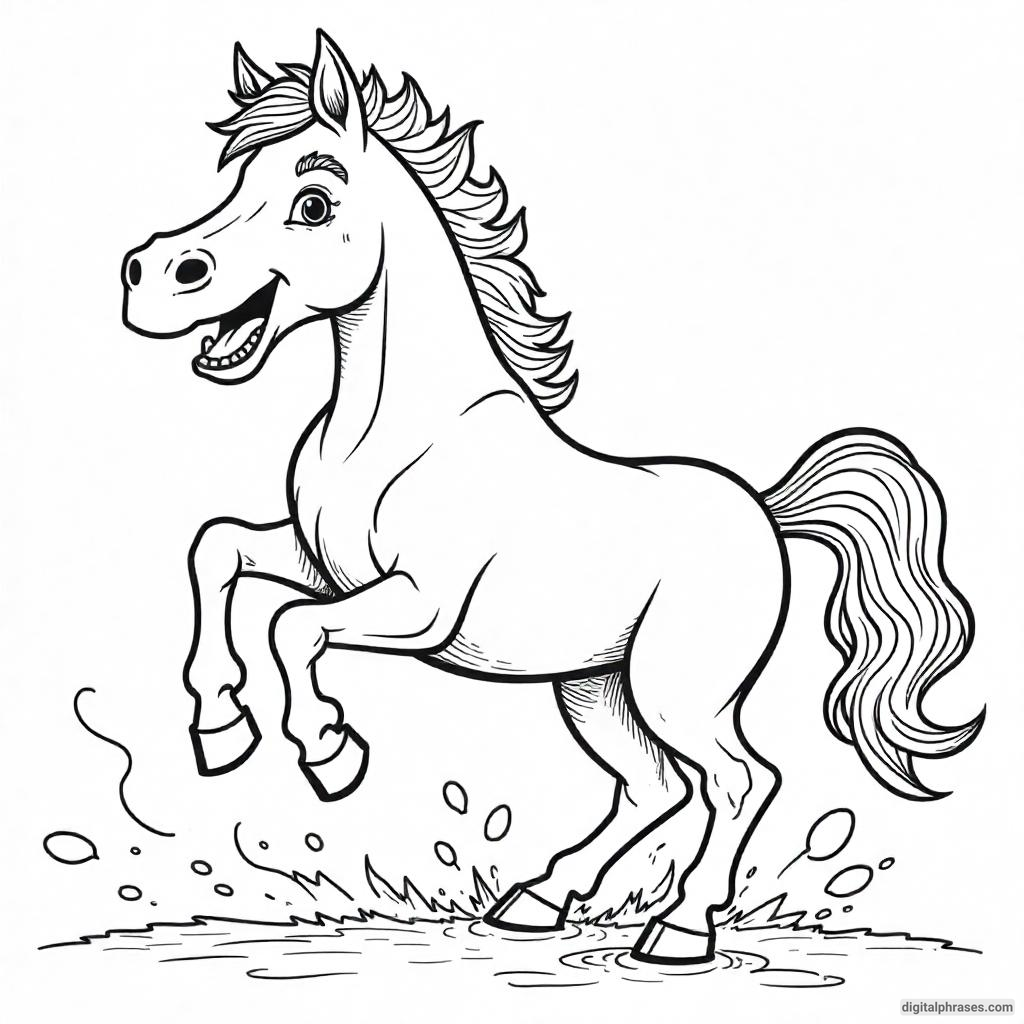
14
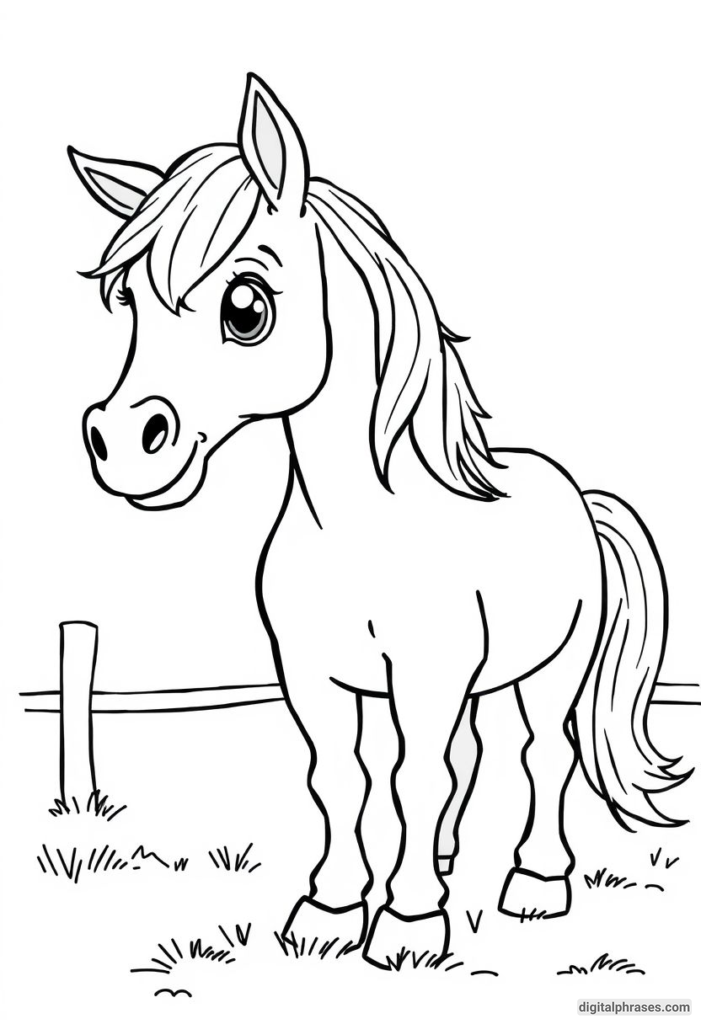
15
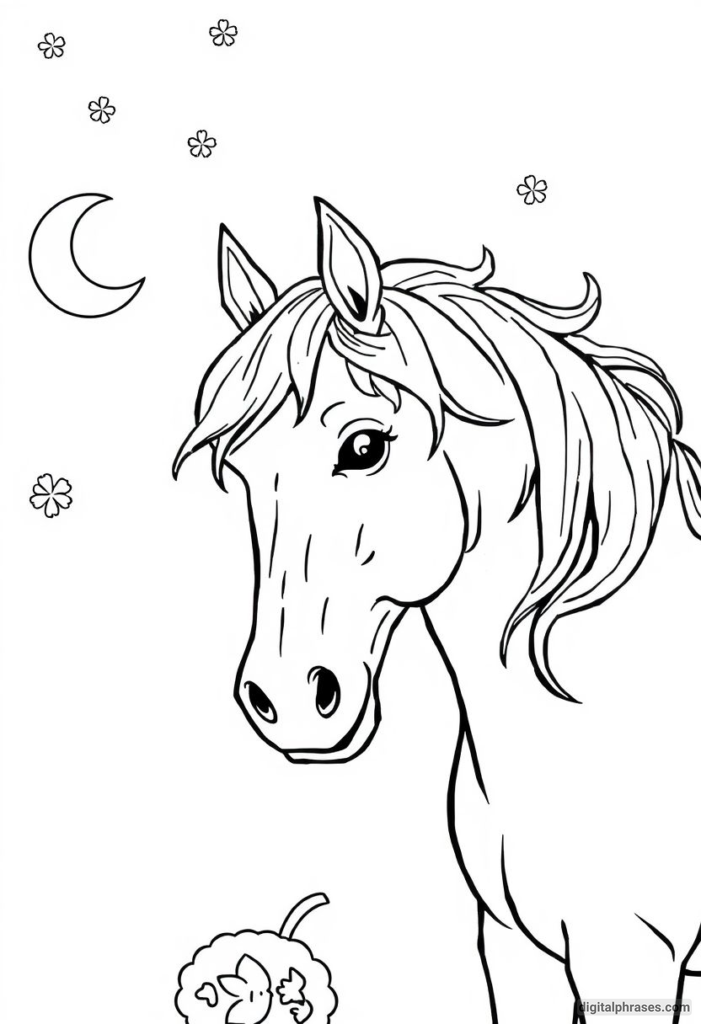
16
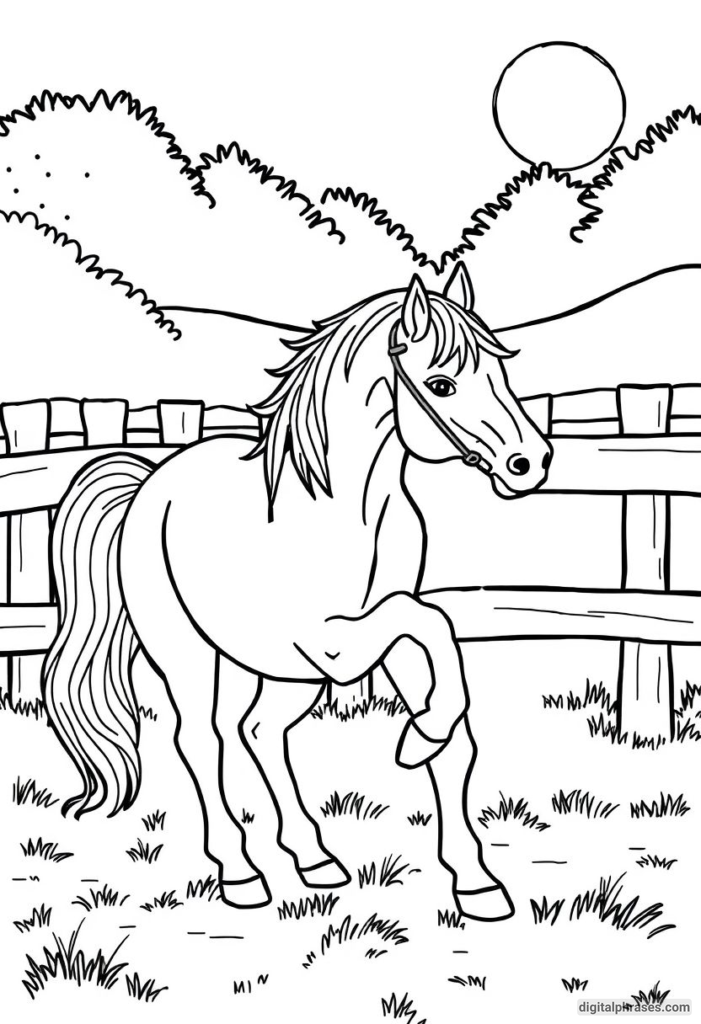
17
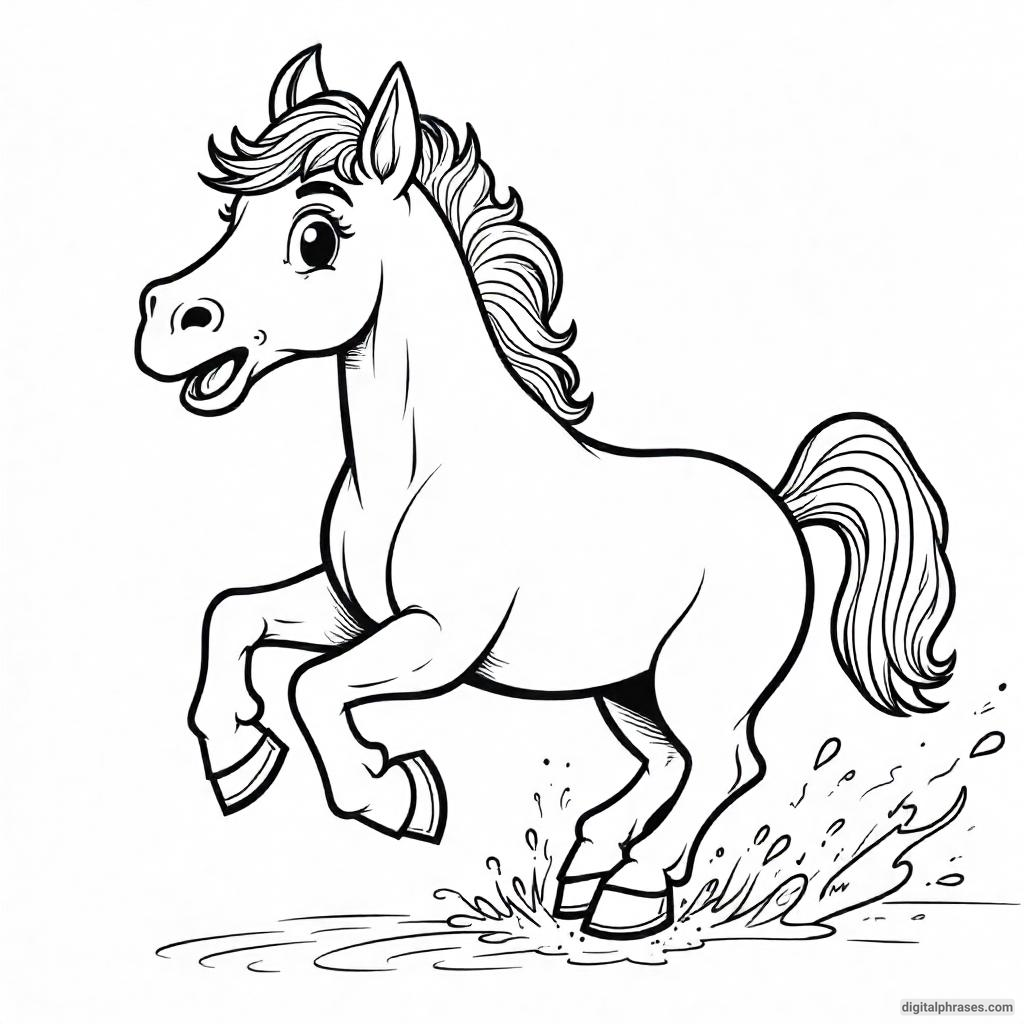
18
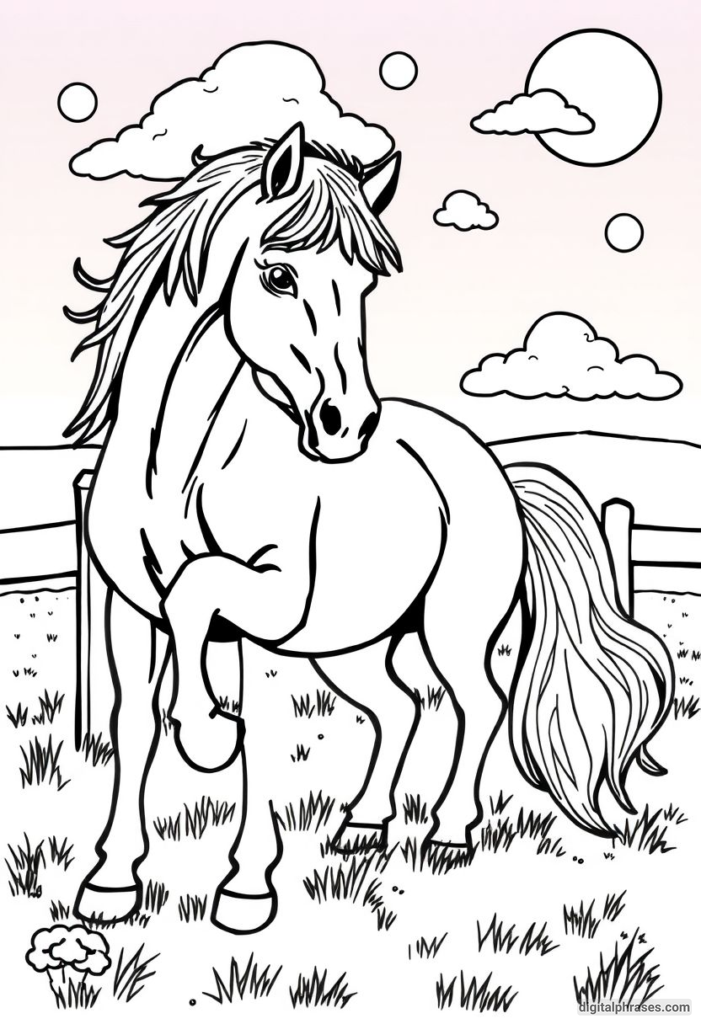
19
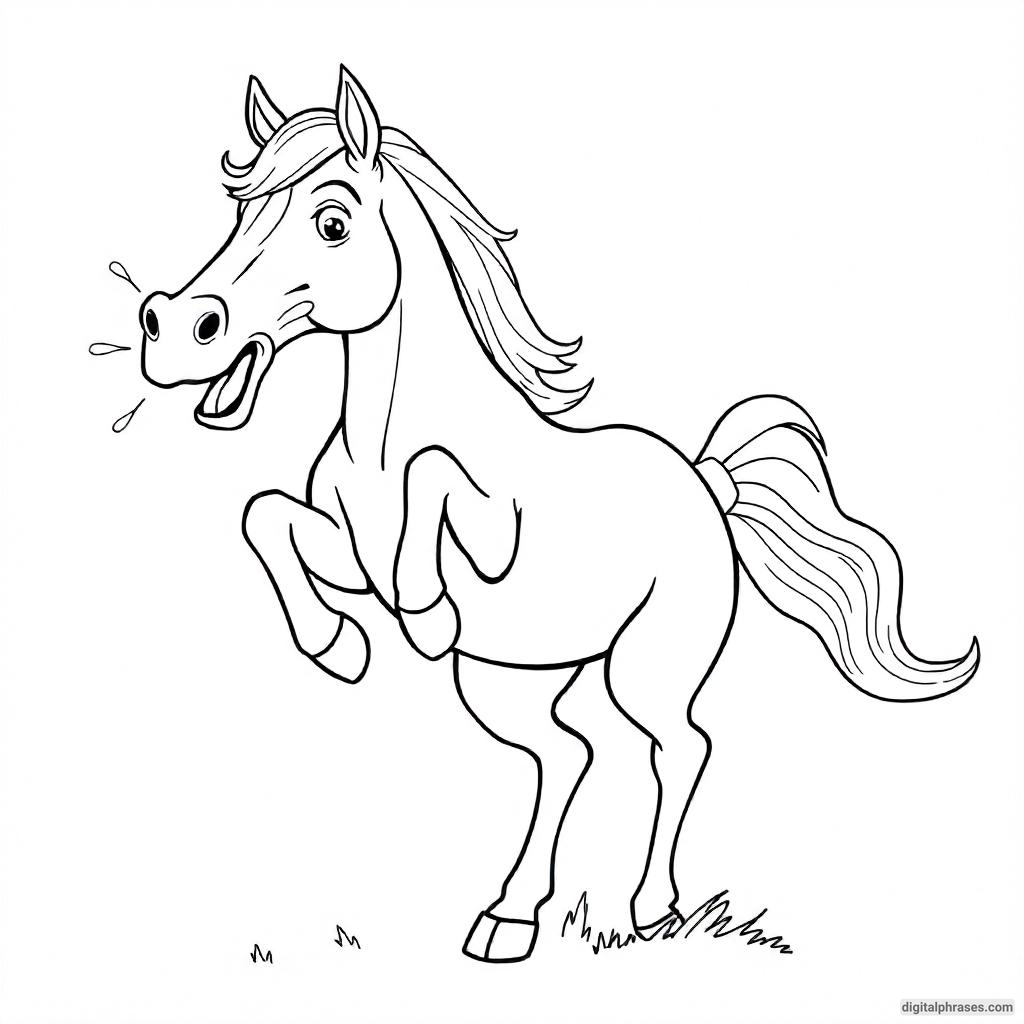
20
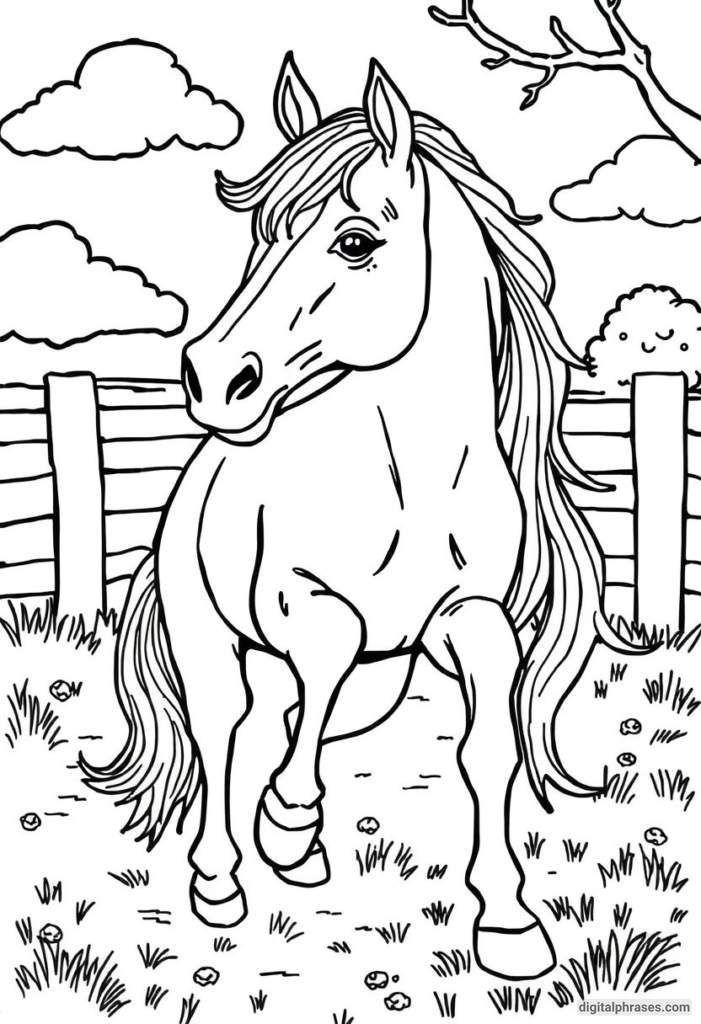
Horse Coloring Pages For Kids
1
2
3
4
5
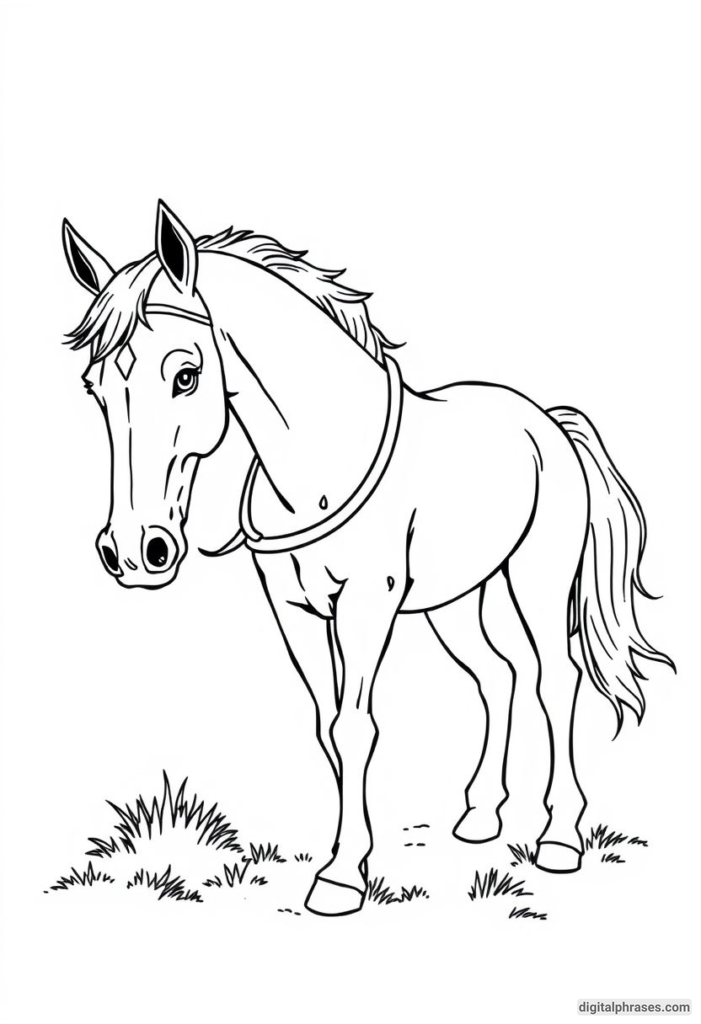
6
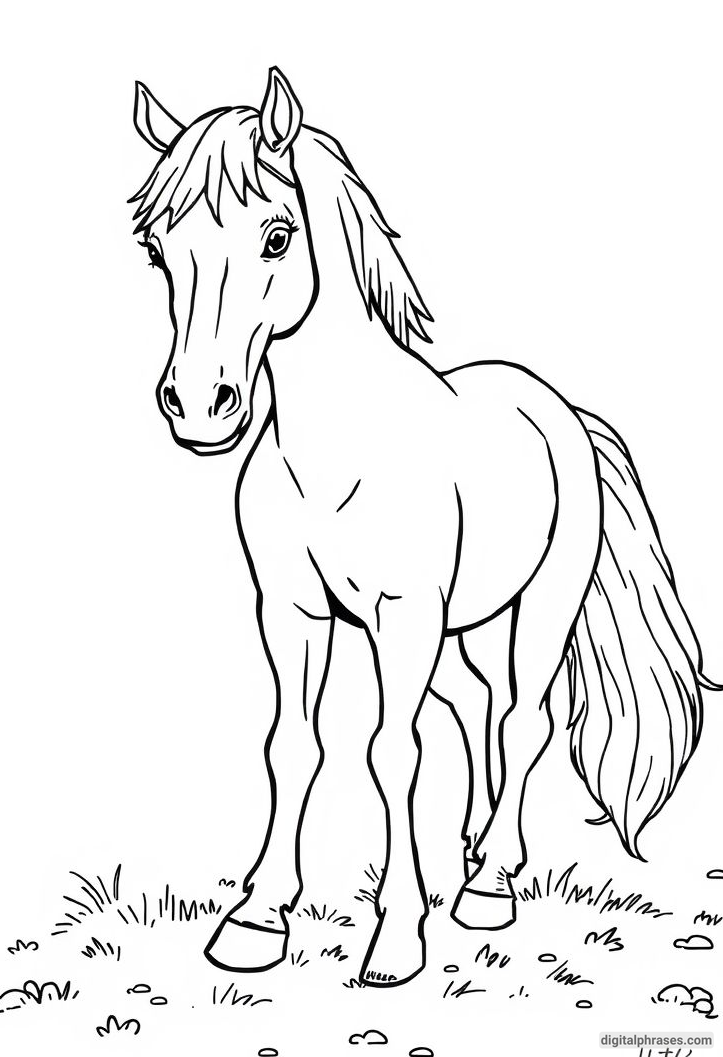
7
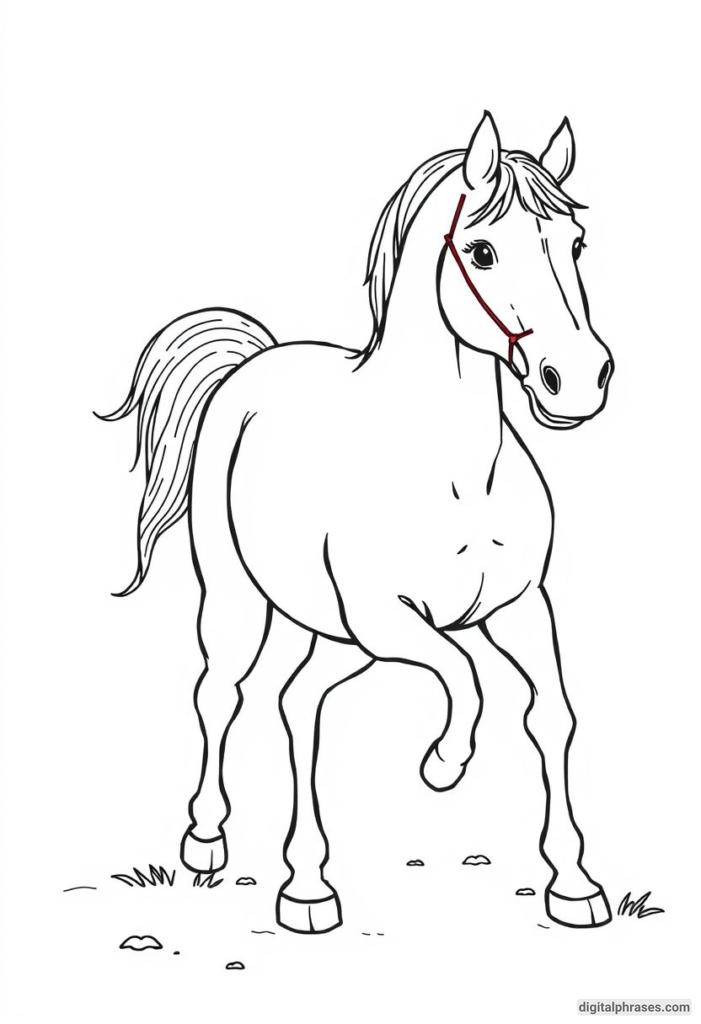
8
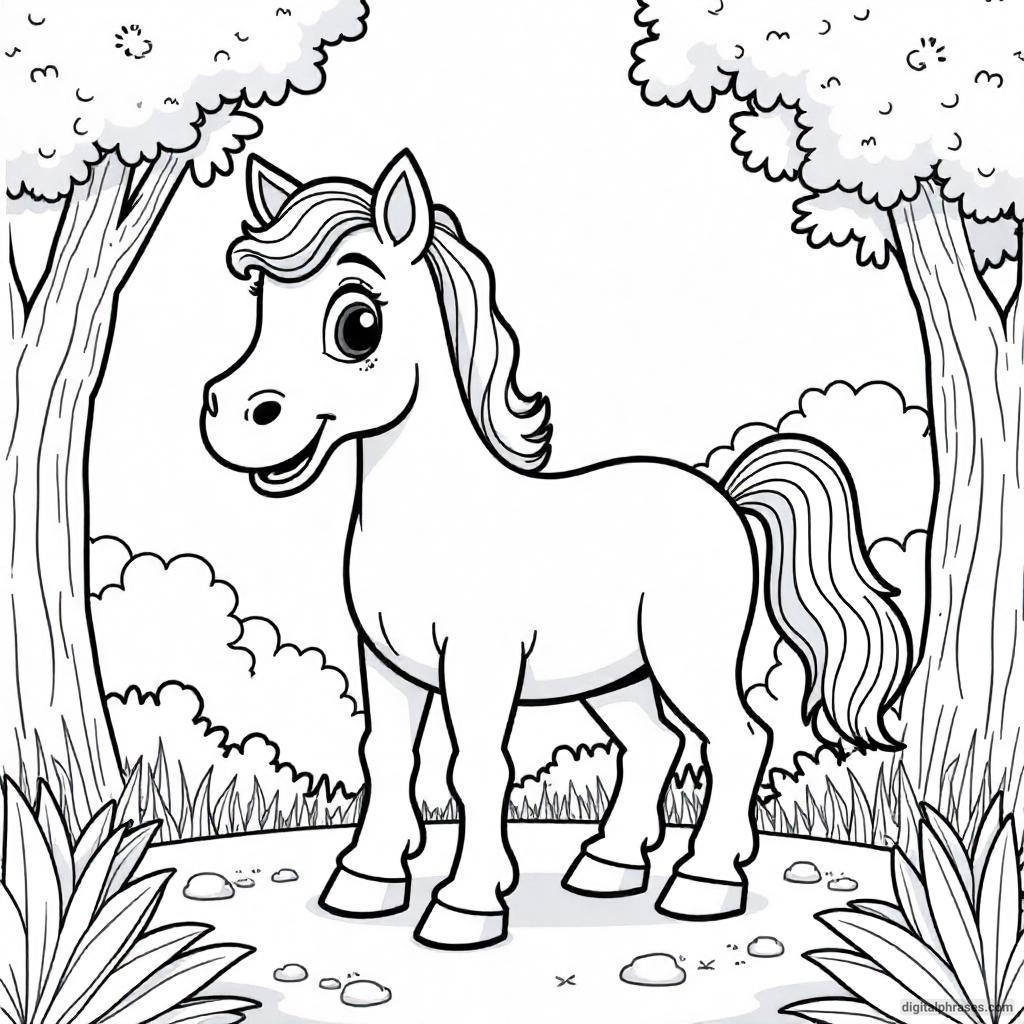
9
10
11
12
13
14
15
16
17
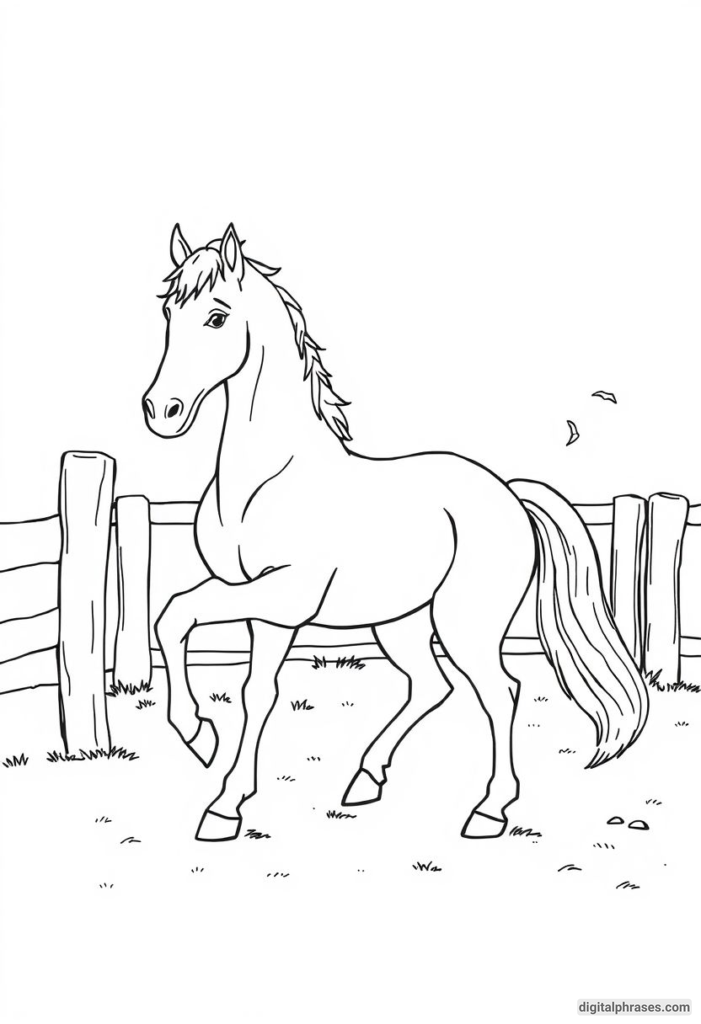
18
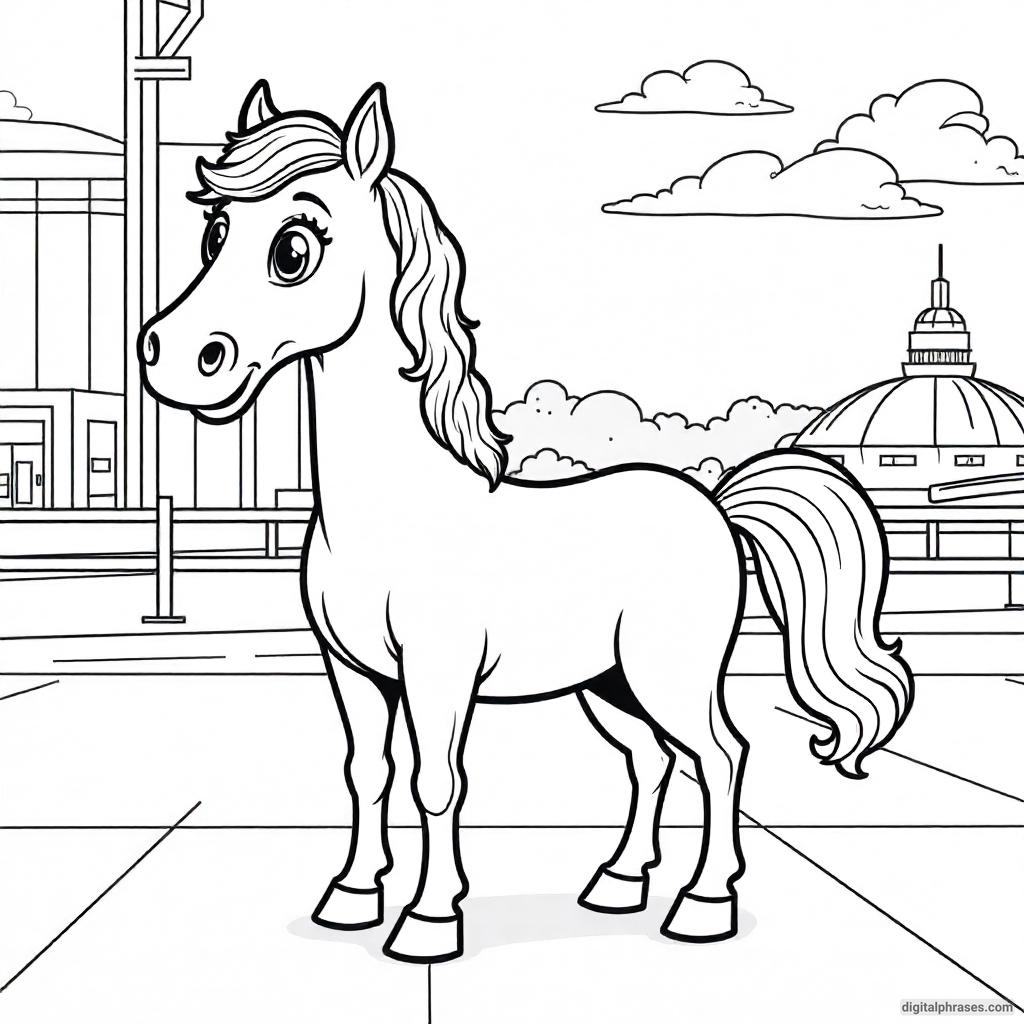
19
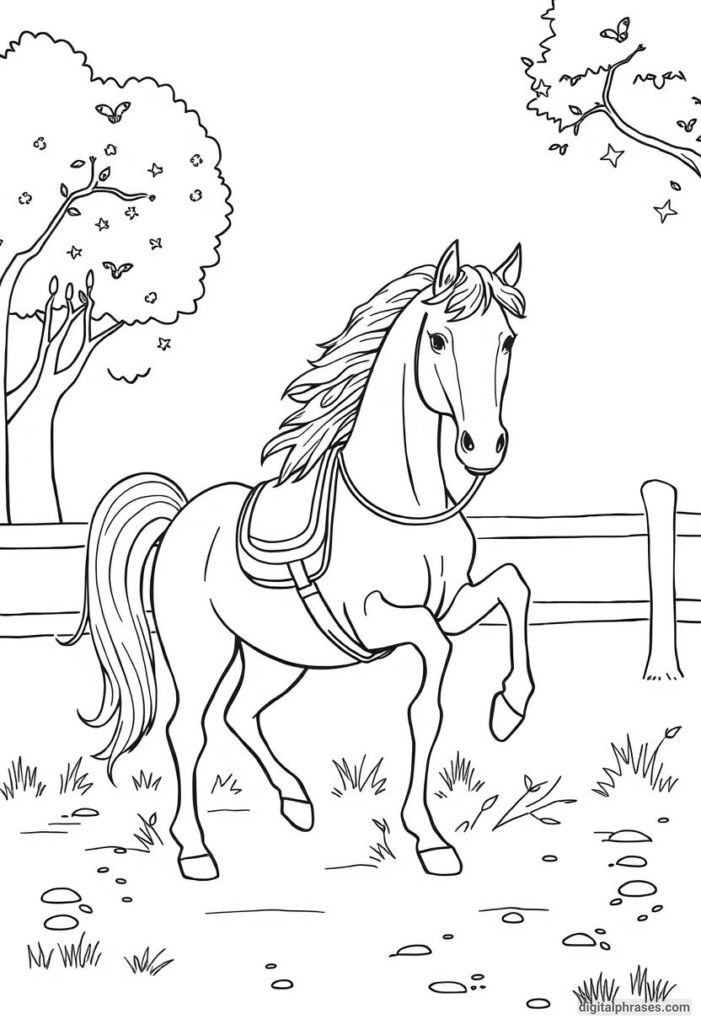
20
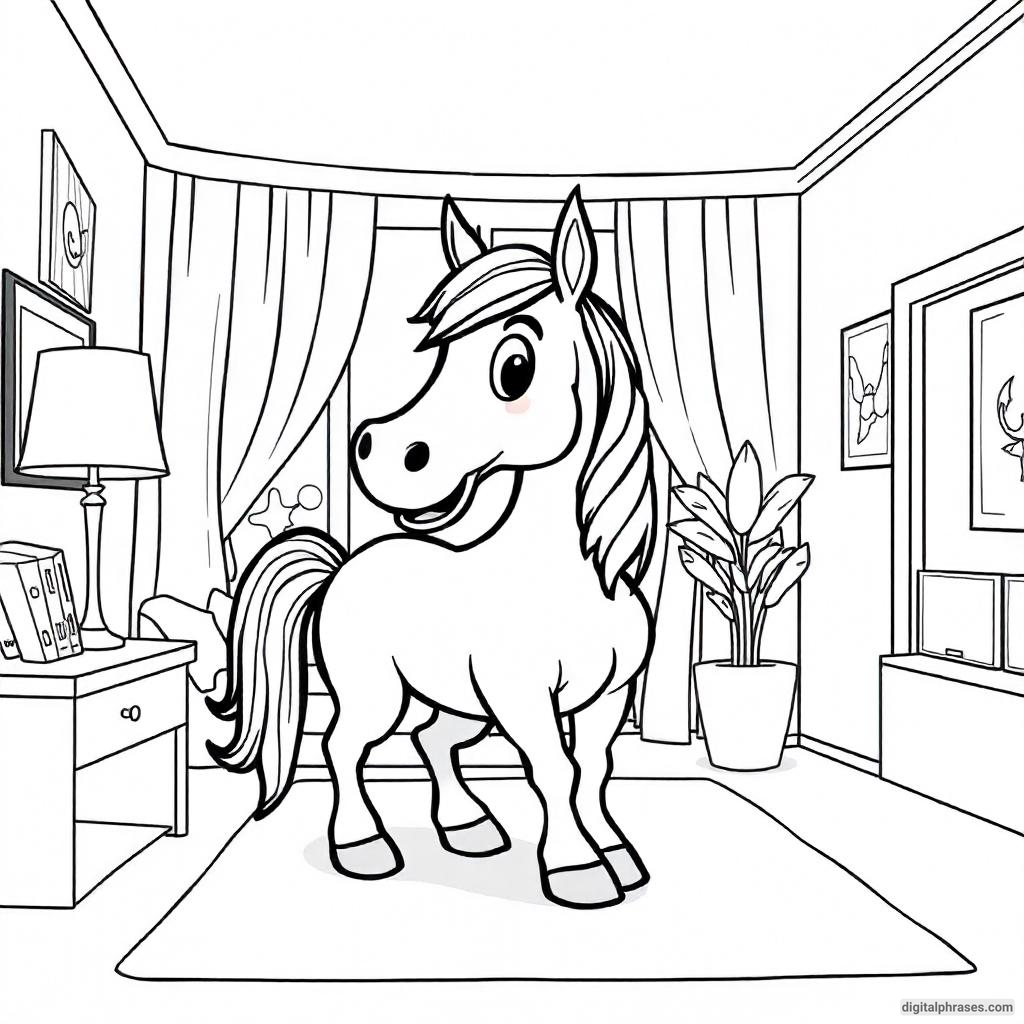
Horse Coloring Pages For Adults
1
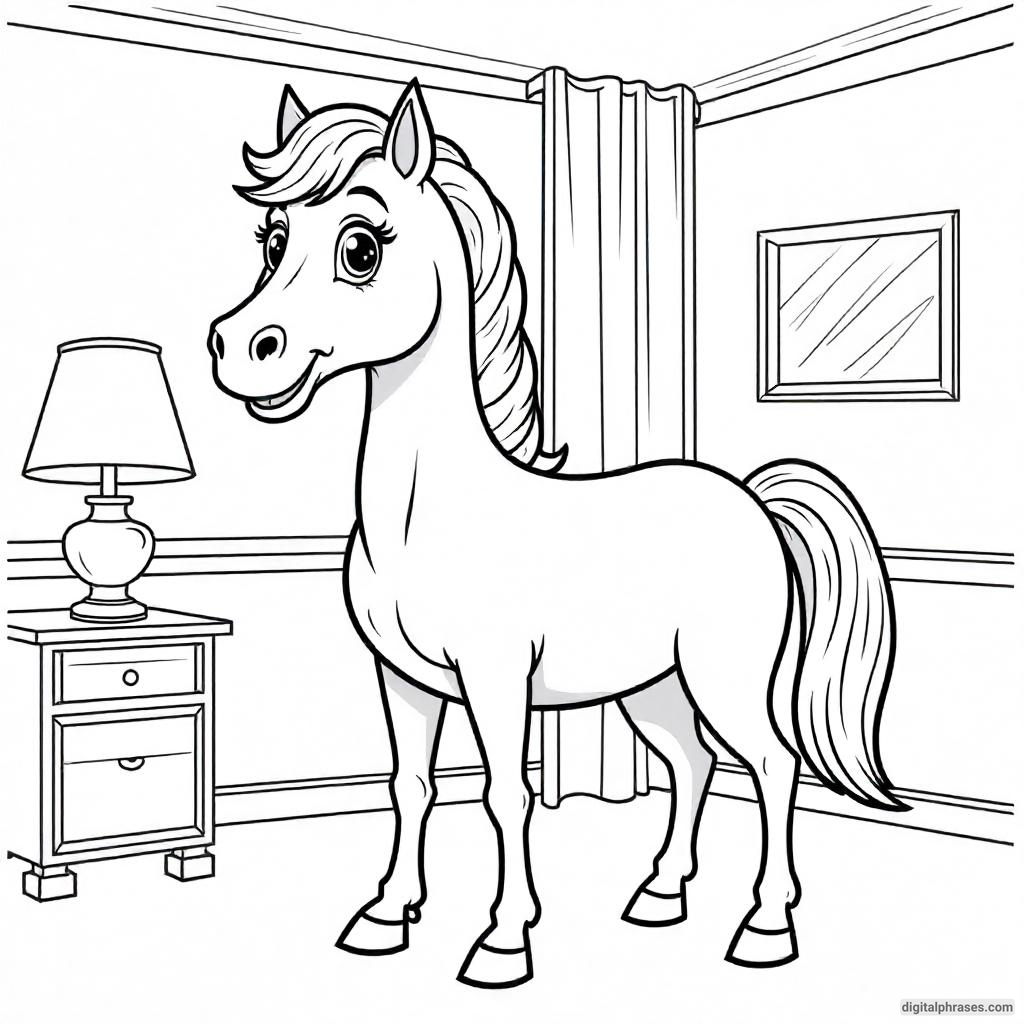
2
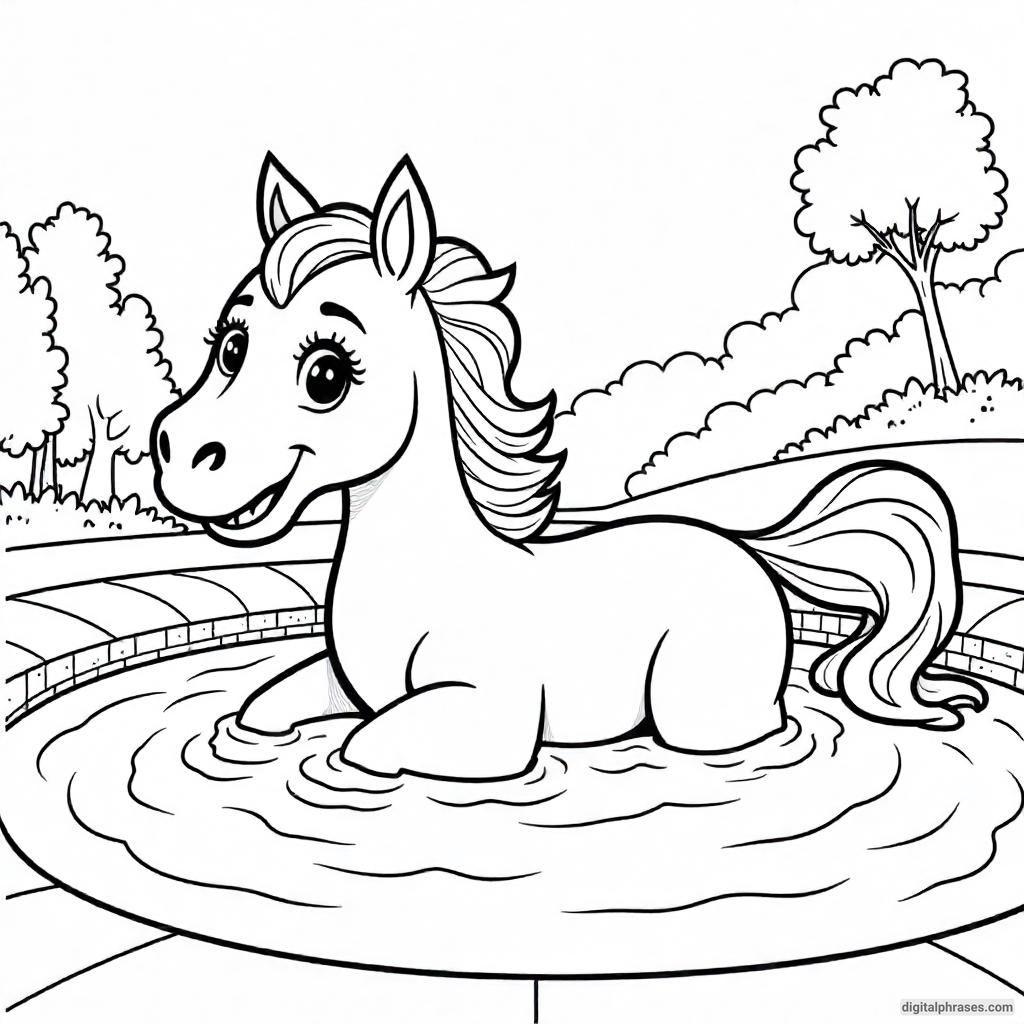
3
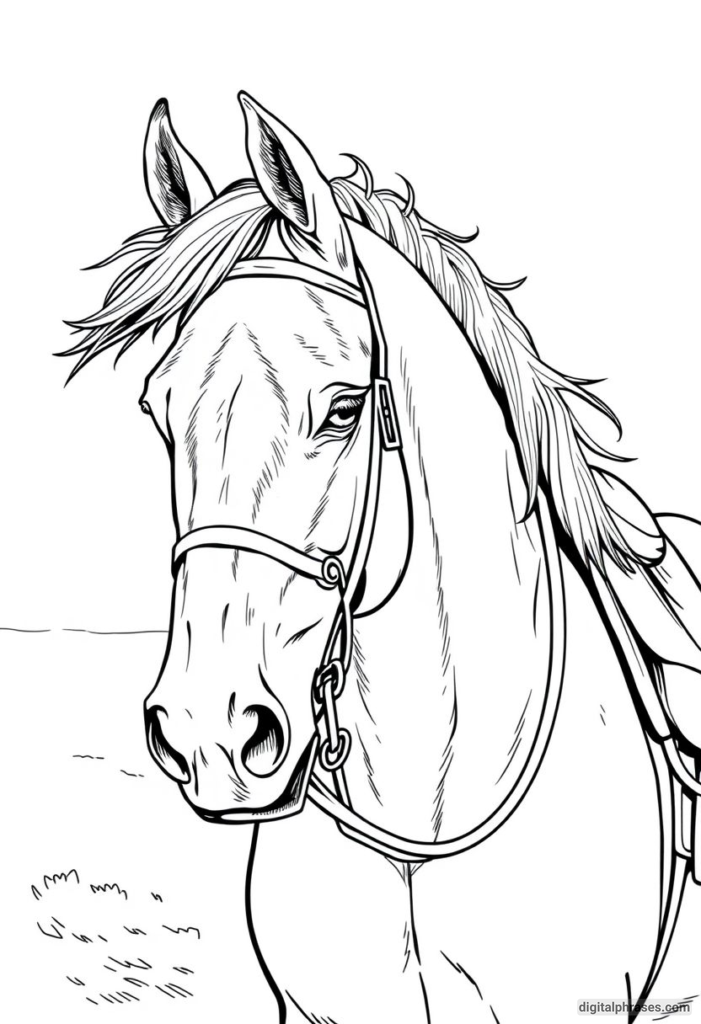
4
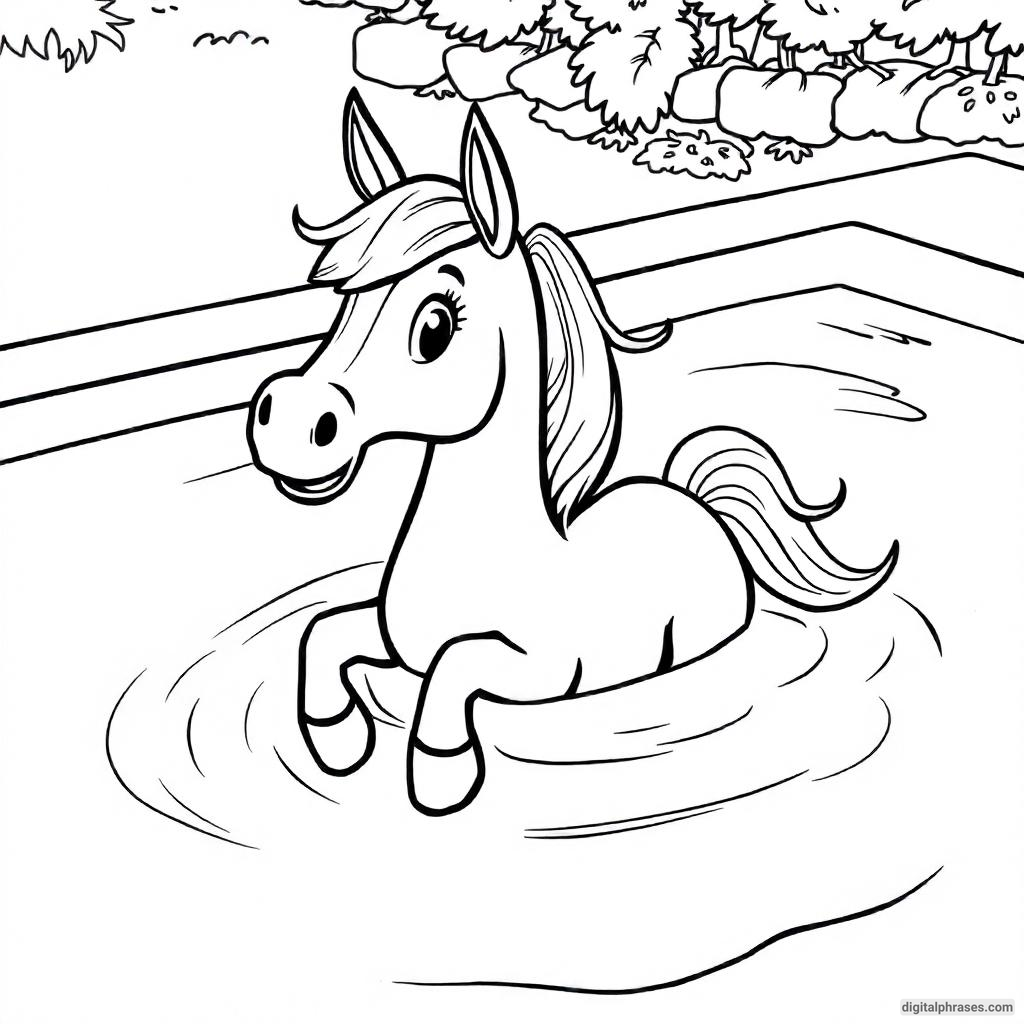
5
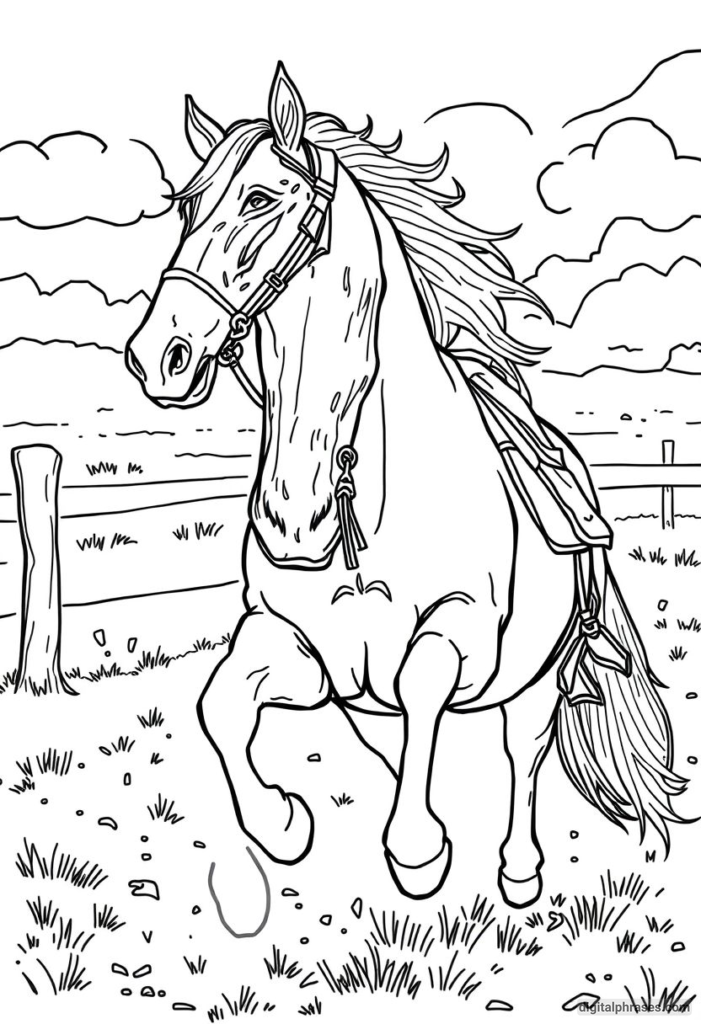
6
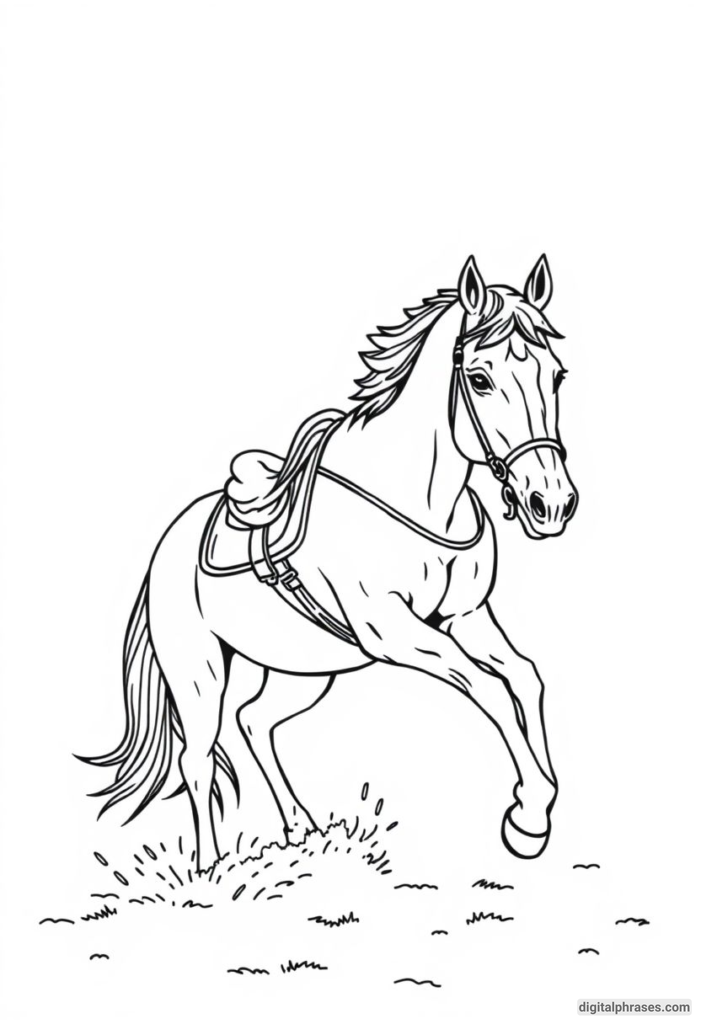
7
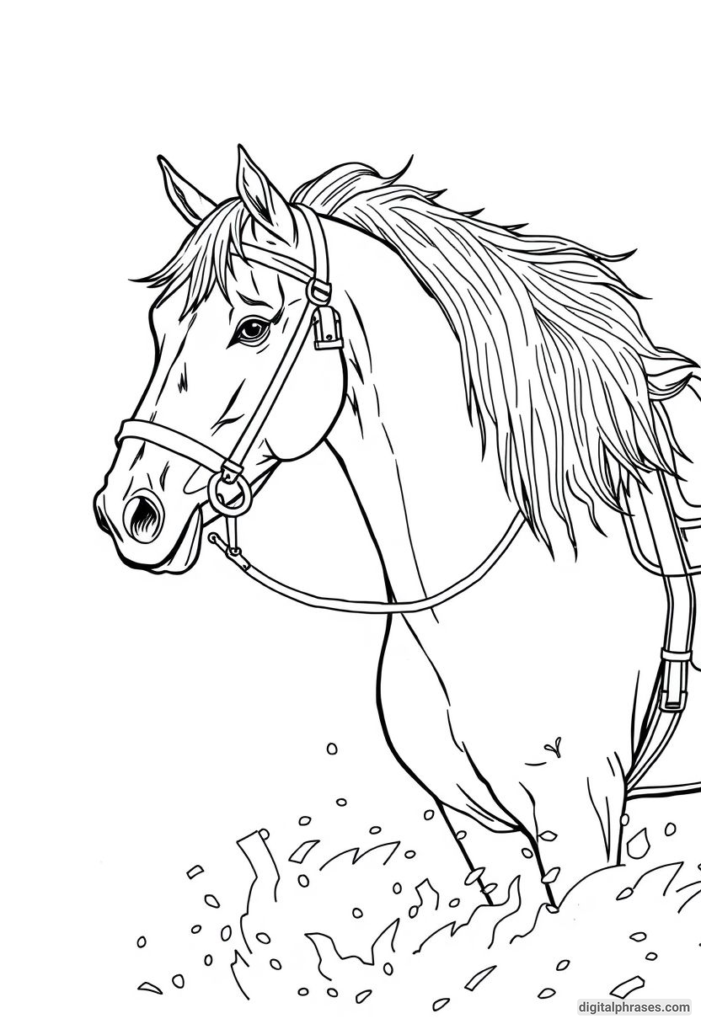
8
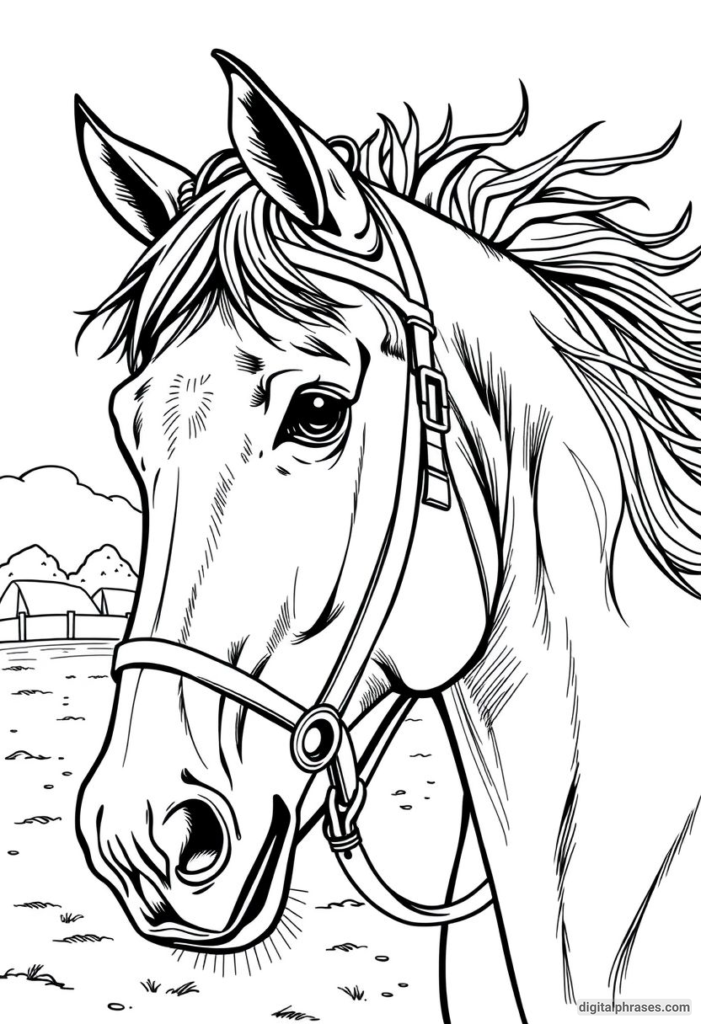
9
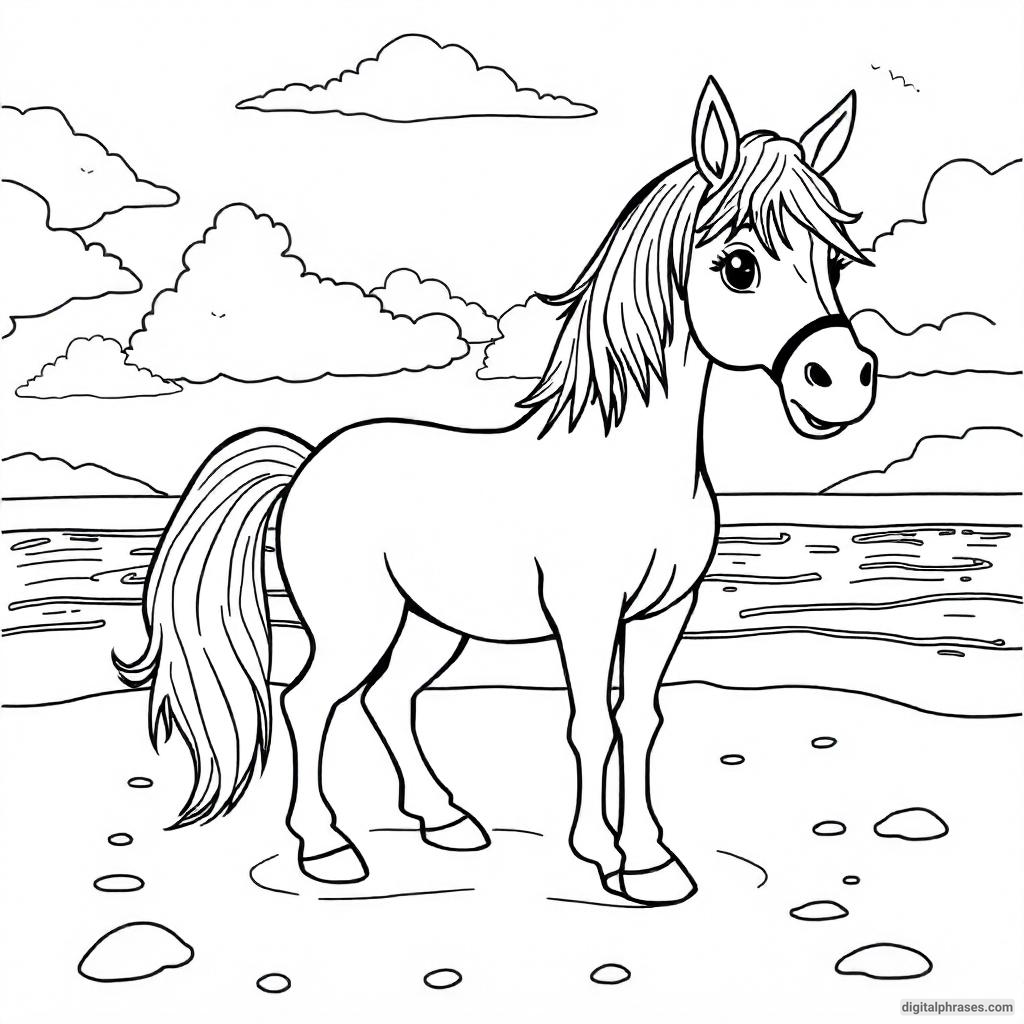
10
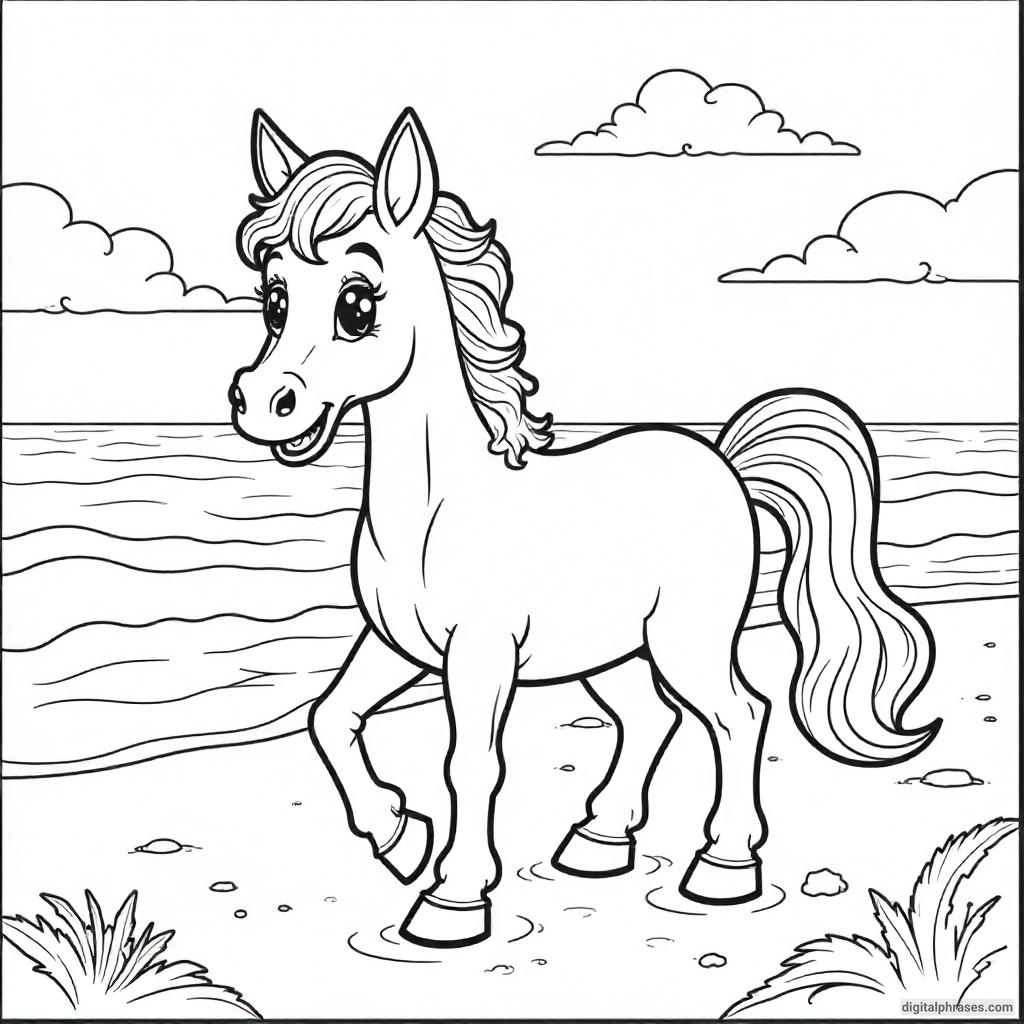
11
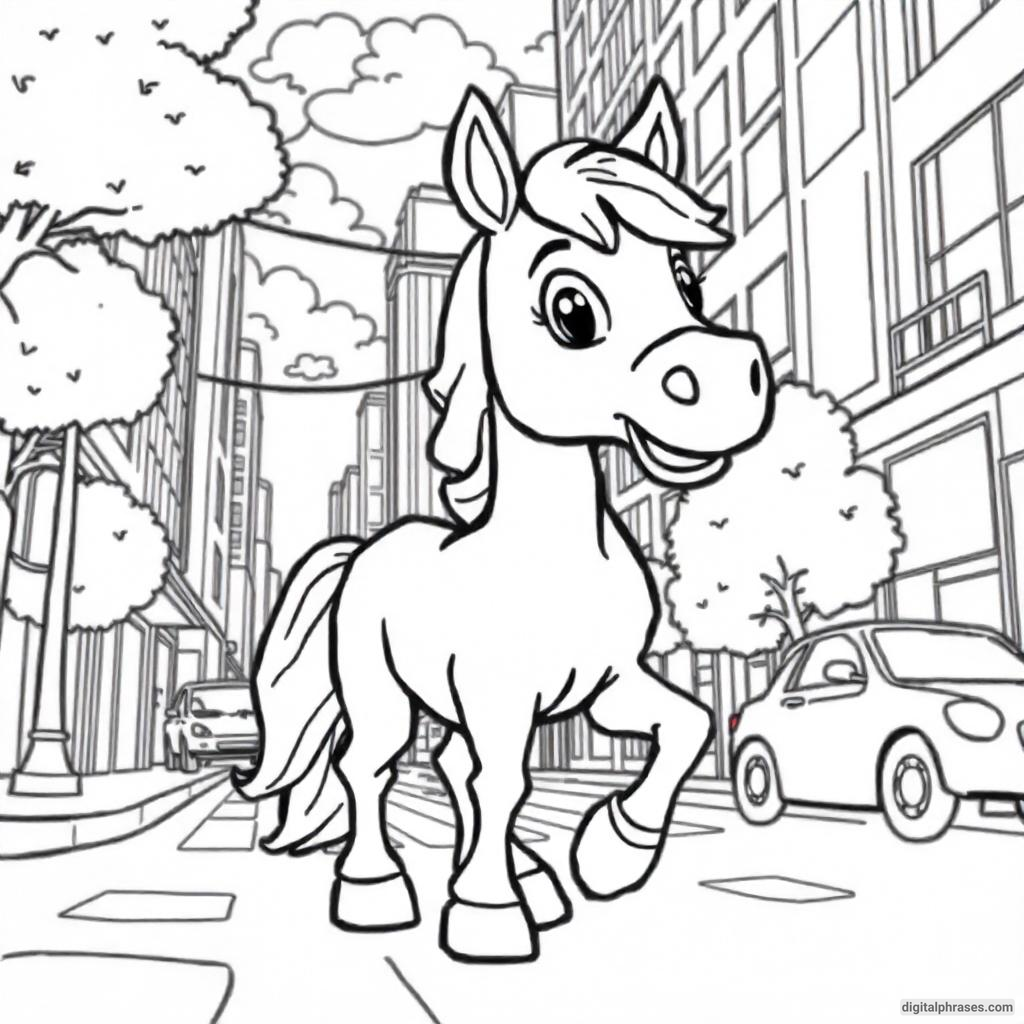
12
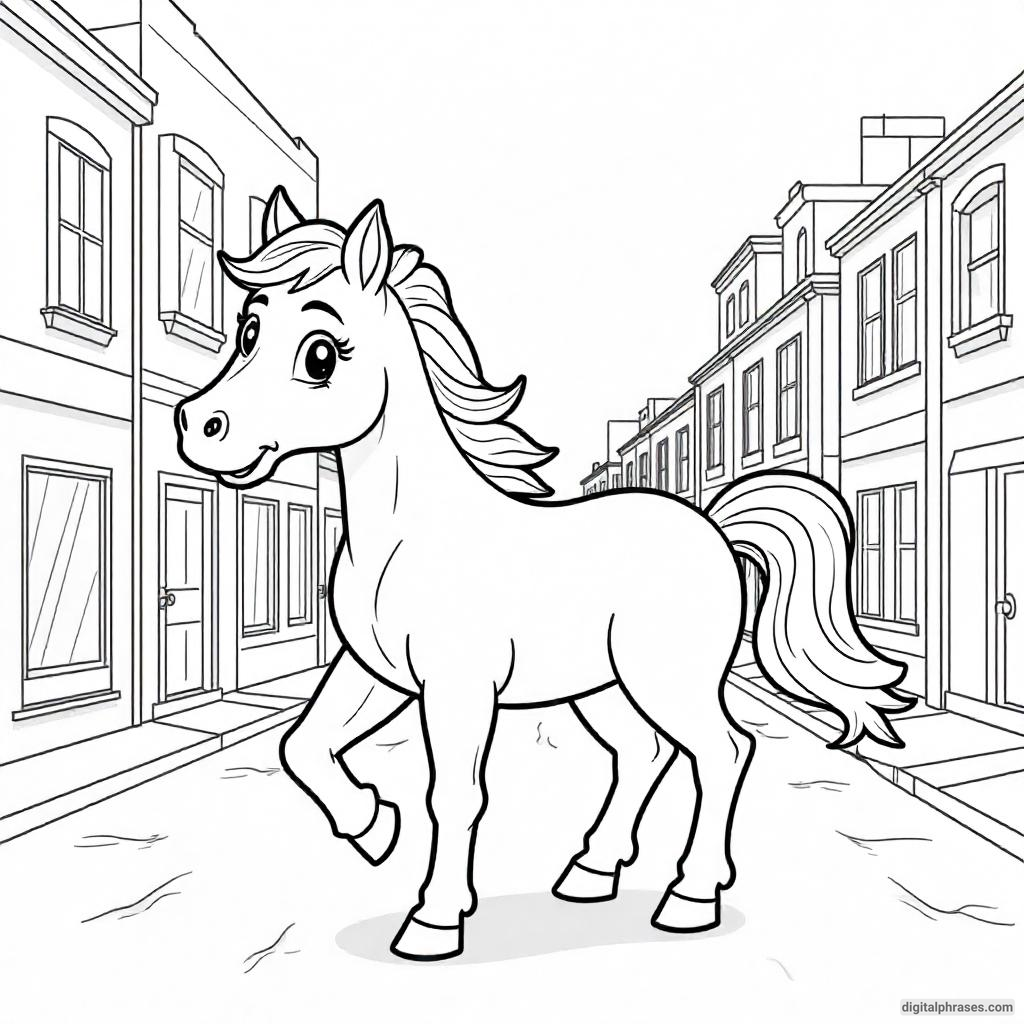
13
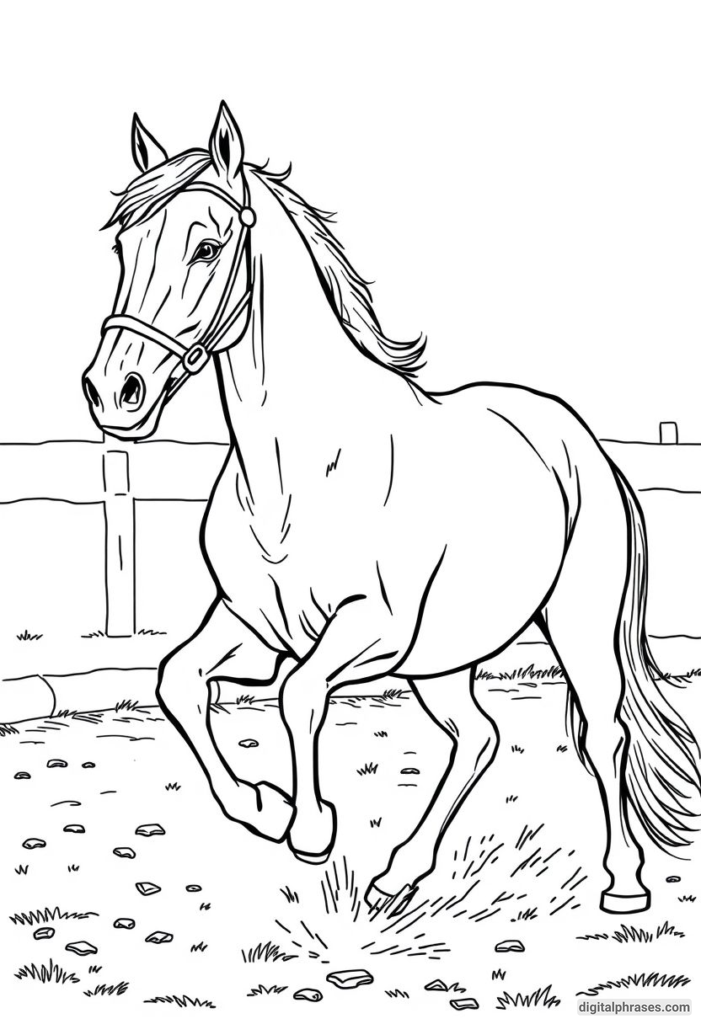
14
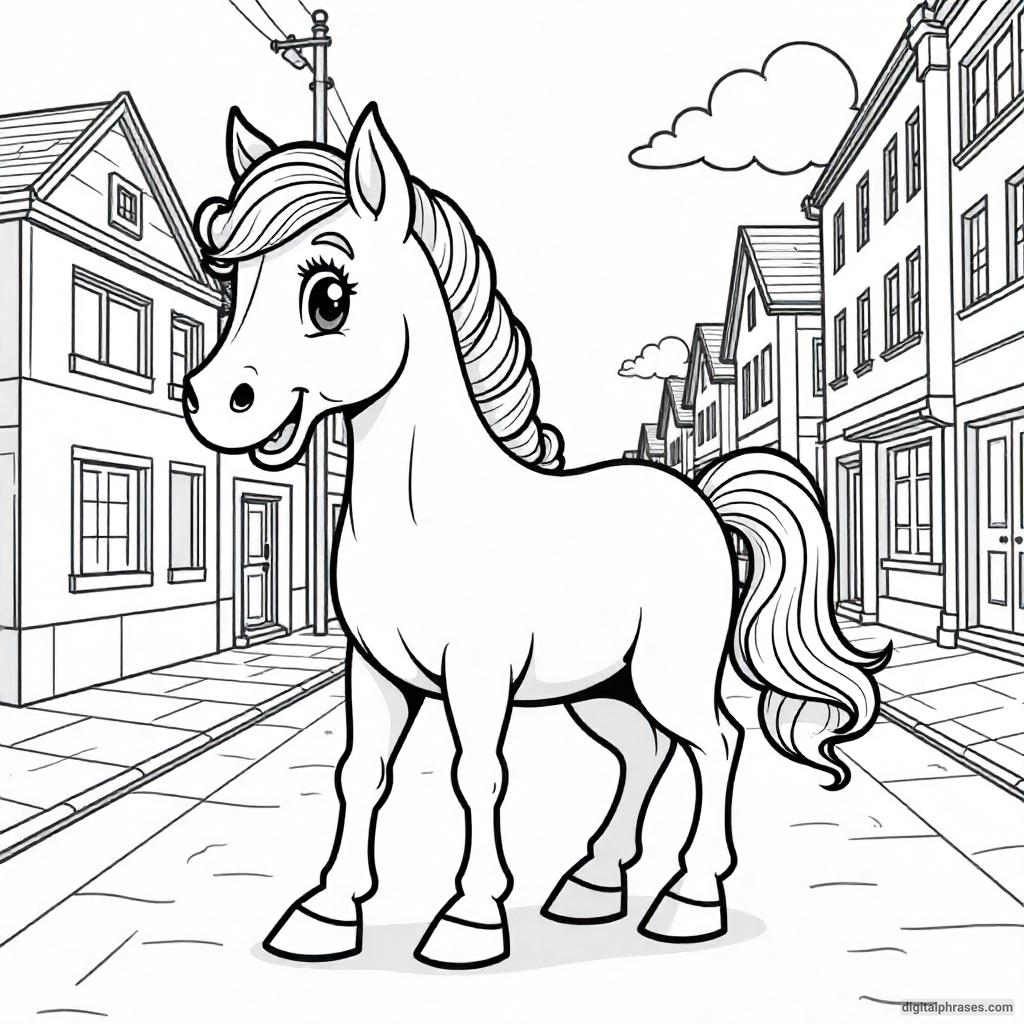
15
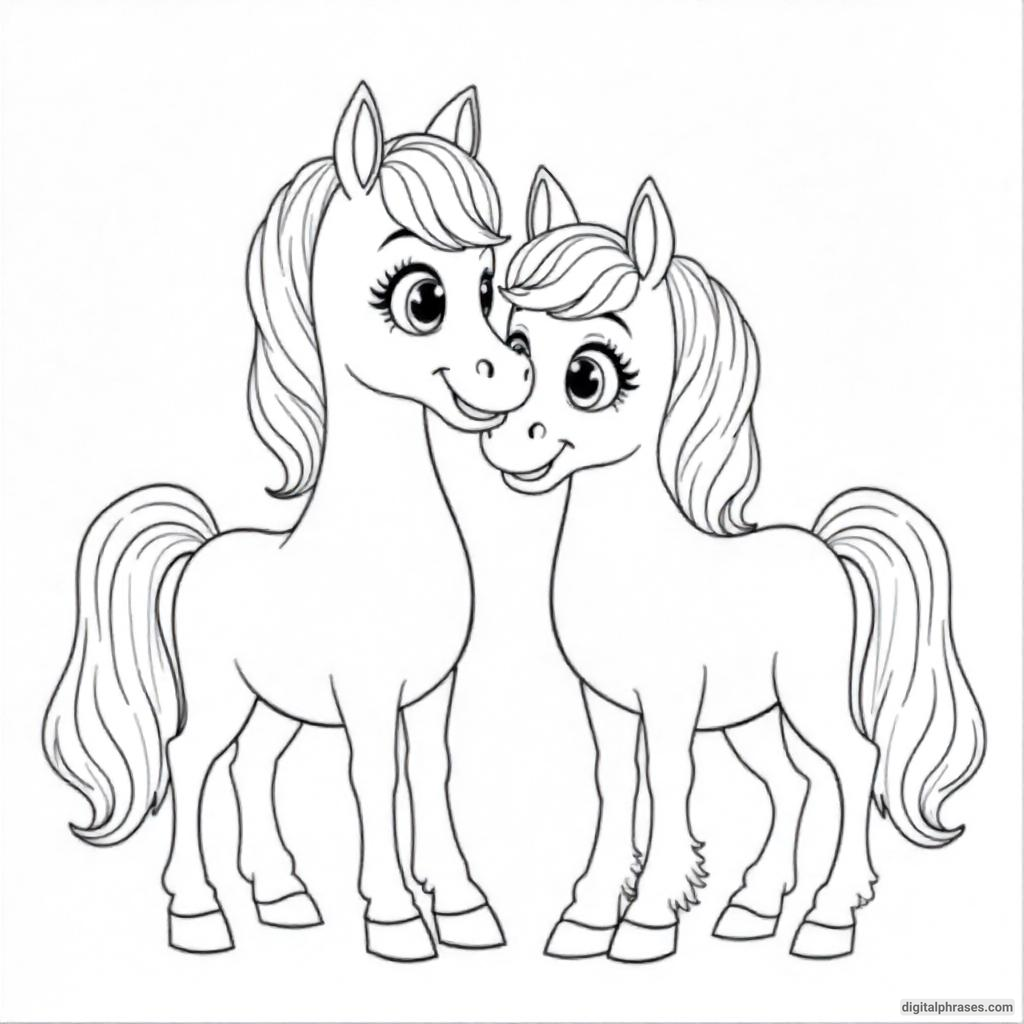
16
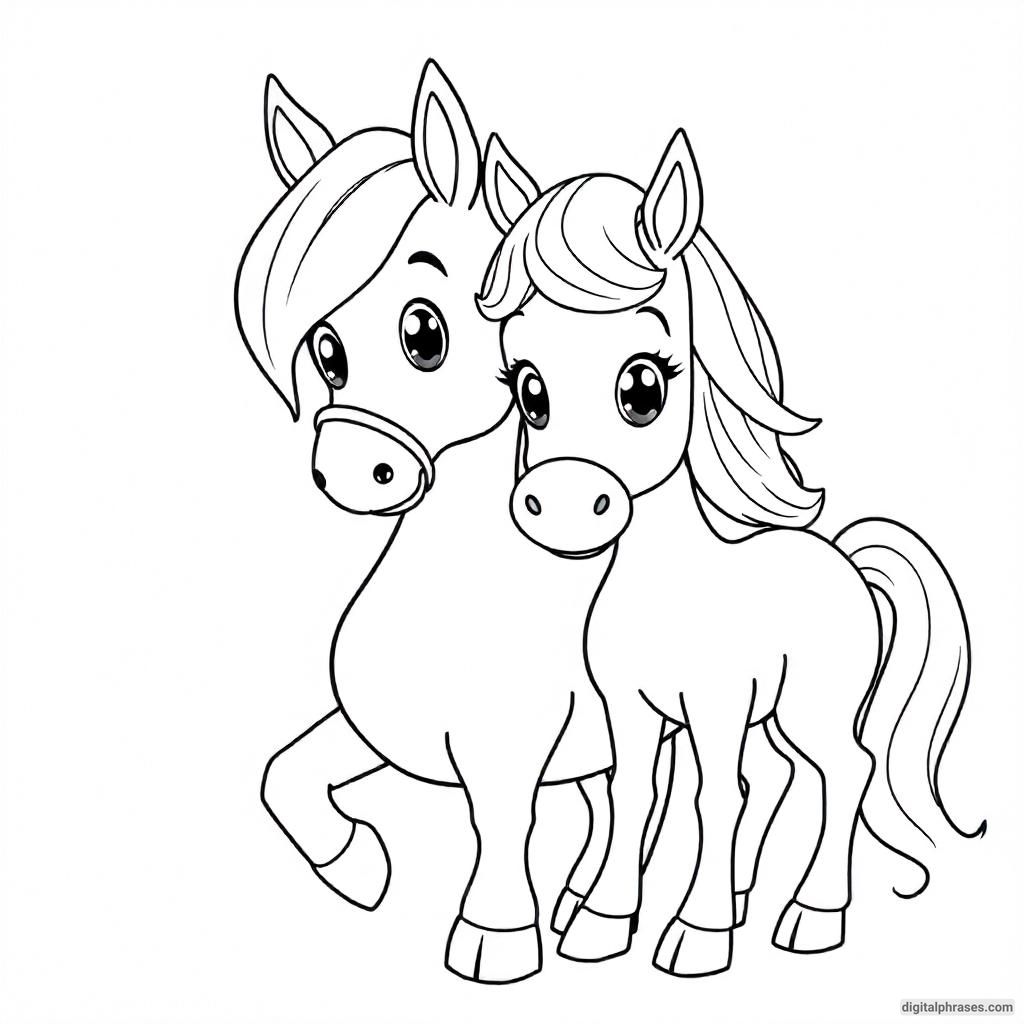
17
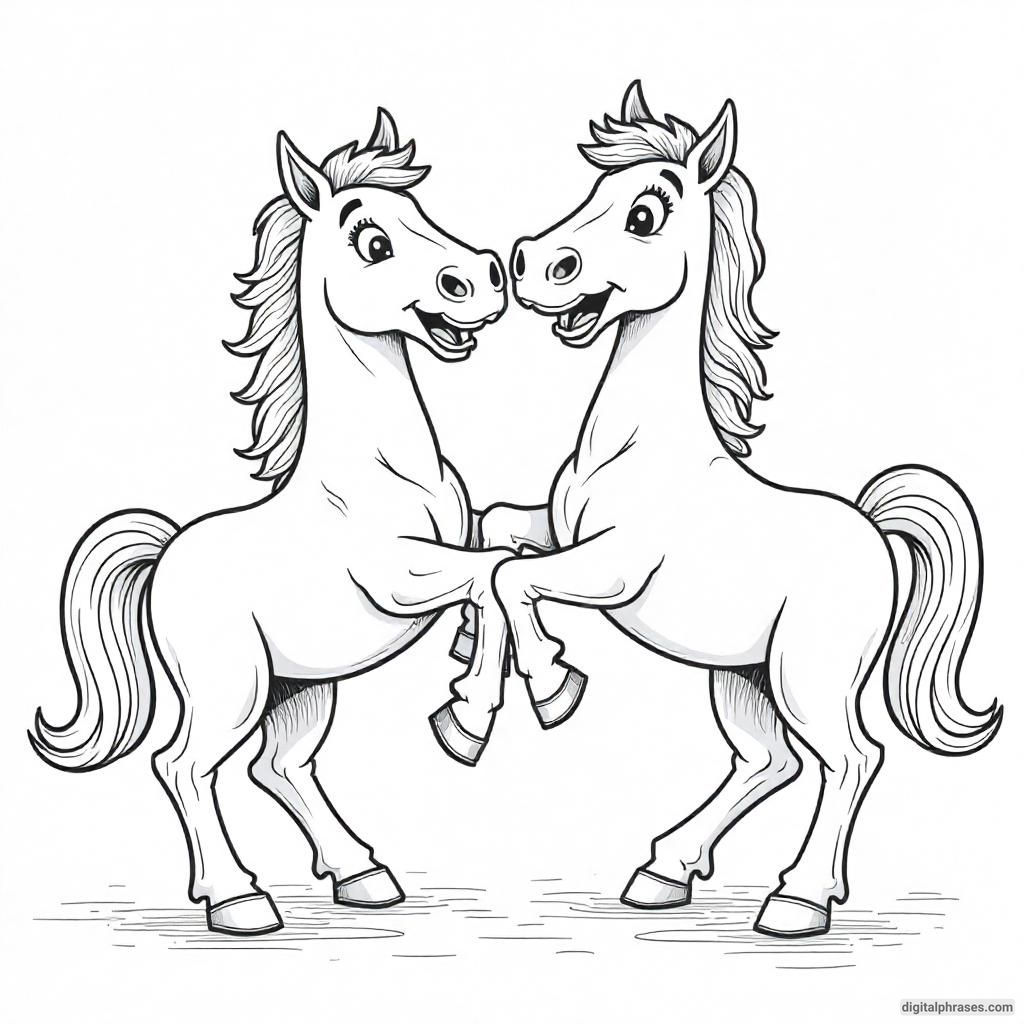
18
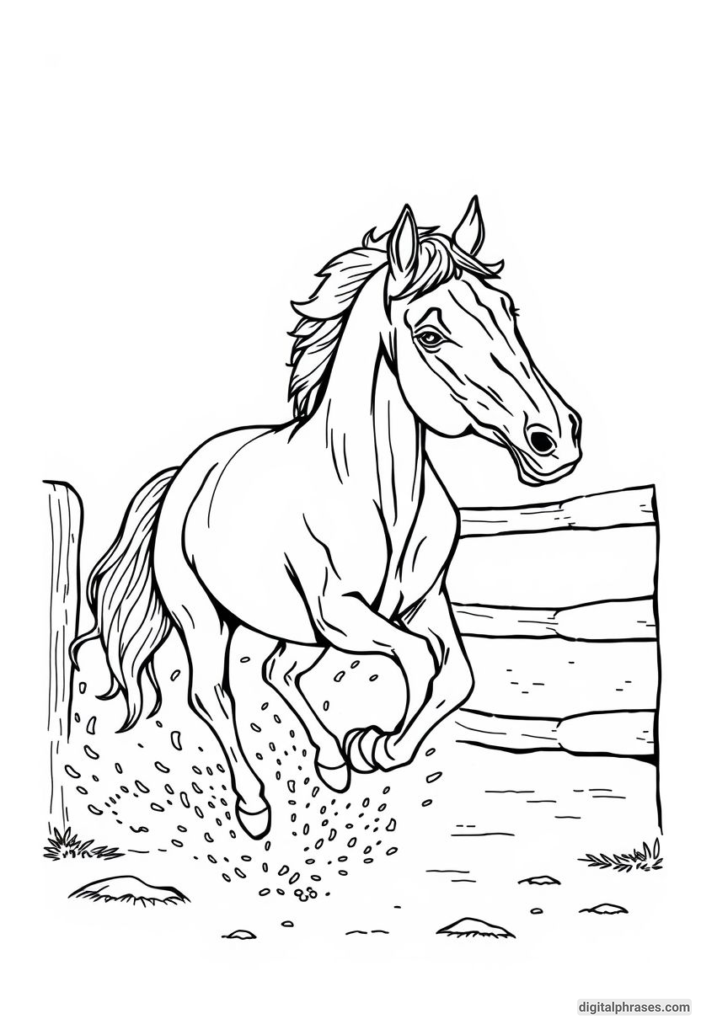
19
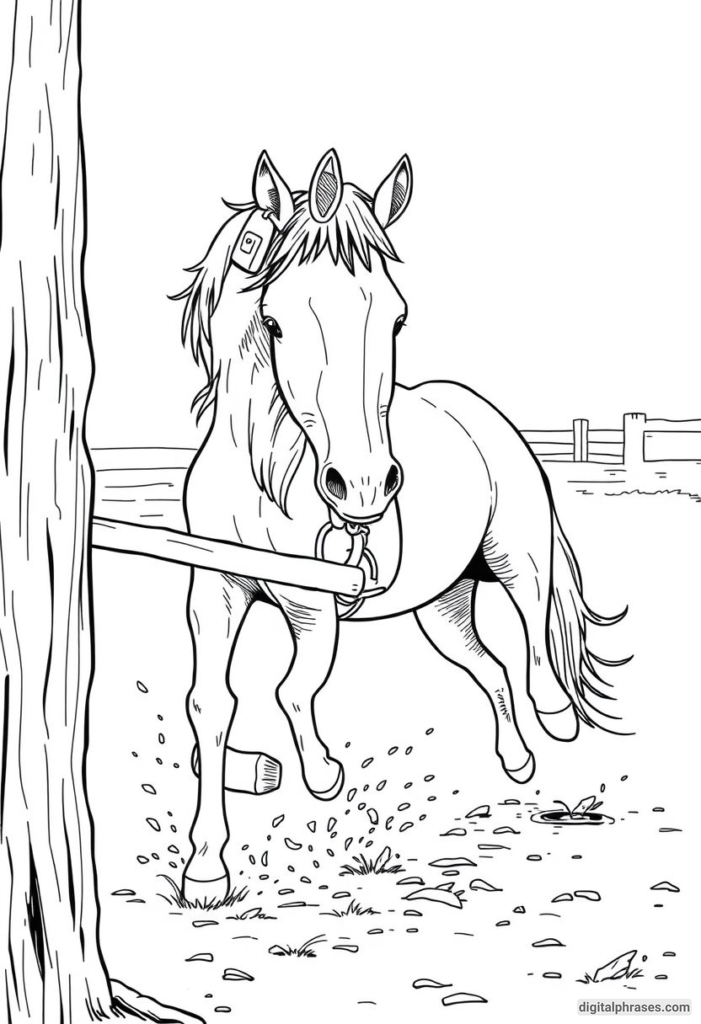
20
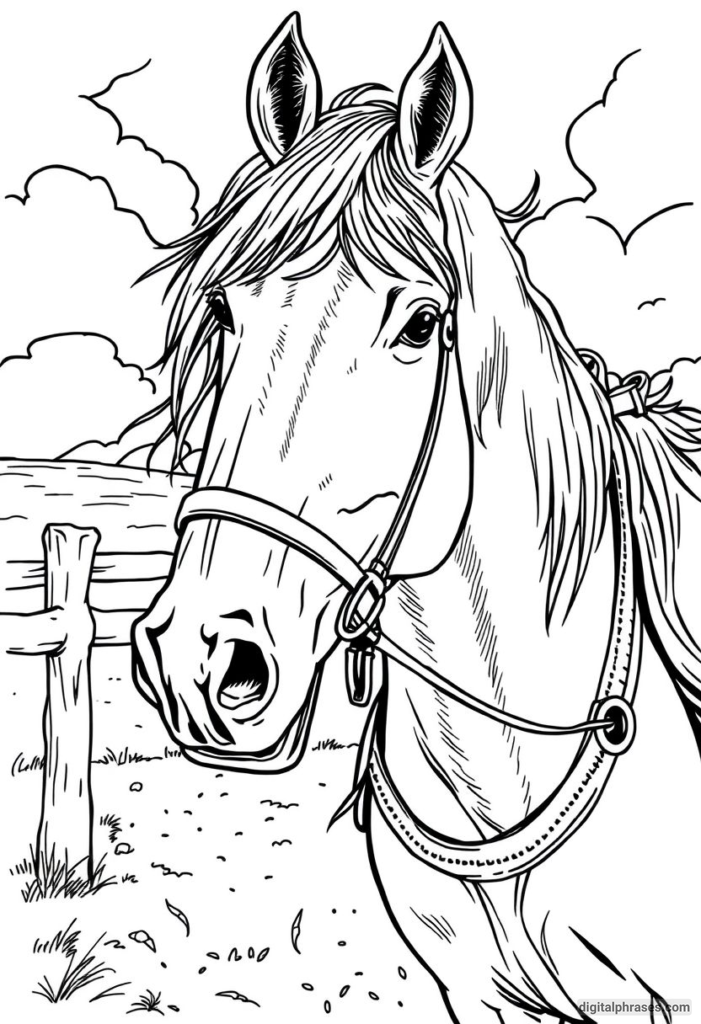
Tips and Techniques for Bringing Your Horse Coloring Page to Life
1. Understand the Anatomy of a Horse
Before you start coloring, it’s essential to have a basic understanding of a horse’s anatomy. Horses are not just a flat surface; they have muscles, contours, and shadows that can add depth and realism to your coloring.
Pay attention to the muscles in the legs, the arch of the neck, the shape of the head, and the placement of the eyes, ears, and mane. Knowing these details can help you decide where to add highlights and shadows, making your horse look more three-dimensional.
Tip: If you’re unfamiliar with horse anatomy, consider looking up reference images or even watching a short video on horse anatomy to get a sense of the muscle groups and bone structure.
2. Choose the Right Color Palette
Horses come in a wide variety of colors, known as “coat colors.” Some common horse coat colors include bay, chestnut, black, grey, palomino, and roan. Each of these has its unique hue and shading, so choosing the right color palette is crucial.
- Bay horses have a rich reddish-brown coat with black points (mane, tail, and lower legs).
- Chestnut horses are a solid reddish-brown color, with no black points.
- Black horses are, as the name suggests, entirely black, though they may have a slight sheen to their coat.
- Grey horses are born dark and lighten with age, often having a mix of black, white, and grey hairs.
- Palomino horses have a golden coat with a white or light cream mane and tail.
- Roan horses have a mix of white and colored hairs, giving them a speckled appearance.
Tip: Decide on the coat color of your horse before you begin coloring. This will help you choose the right shades and ensure consistency throughout your coloring process.
3. Consider the Lighting
Lighting plays a significant role in coloring. The direction and intensity of light can affect the appearance of your horse’s coat. Identify where the light source is coming from on your coloring page. Is it above, from the side, or behind the horse? This will help you determine where to place highlights and shadows.
- Highlights: These are the brightest parts of the horse’s body, where the light hits directly. Common places for highlights include the top of the back, the crest of the neck, and the forehead.
- Shadows: These are the darker areas, usually on the underside of the horse, such as under the belly, inside the legs, and under the jaw.
Tip: Use a lighter shade of your base color for highlights and a darker shade for shadows. Blending these shades smoothly will give your horse a more realistic look.
4. Blend Colors for Realism
Horses’ coats are rarely just one flat color. To make your coloring page look more realistic, blend different shades and tones together. This can mimic the way light plays on a horse’s coat, as well as the natural variations in hair color that occur in real horses.
- Layering: Start with a base color and then layer additional colors on top to create depth. For example, if you’re coloring a bay horse, you might start with a base of reddish-brown, add darker browns for shadows, and blend in some lighter tones for highlights.
- Blending tools: You can use blending tools such as a blending stump, cotton swab, or even your finger to smooth out transitions between colors. Some colorists also use a light touch of a white pencil to blend and soften colors.
Tip: Don’t rush the blending process. Take your time to layer and blend colors gradually for the best effect.
5. Pay Attention to the Mane and Tail
The mane and tail are two of the most distinctive features of a horse and offer a great opportunity for creative expression. Depending on the breed and style of your horse, the mane and tail can be sleek and smooth, thick and wavy, or even braided.
- Directional strokes: When coloring the mane and tail, use strokes that follow the natural direction of the hair. This will give the hair a more realistic and flowing appearance.
- Color variation: Even within the mane and tail, there can be color variations. You might want to use a mix of colors or shades to depict the way light catches different strands of hair.
Tip: Consider using a different technique for the mane and tail, such as cross-hatching or stippling, to add texture and depth.
6. Don’t Forget the Eyes
The eyes are often referred to as the windows to the soul, and this is especially true when coloring a horse. The eyes can convey a lot of emotion and character, so they deserve special attention.
- Iris: Horses’ eyes are usually brown or dark, but they can also be blue, especially in certain breeds. Use a deep, rich color for the iris, and add a small white highlight to give the eye a realistic, glossy appearance.
- Pupil: The pupil is usually black and should be well-defined. However, don’t make it too harsh; soften the edges slightly to blend with the iris.
- Surrounding area: Pay attention to the area around the eyes as well. There’s often a subtle change in color around the eyes, which can be achieved by using a slightly lighter or darker shade of the horse’s base coat color.
Tip: For added realism, consider using a very fine pen or a sharpened colored pencil to add small details around the eye, such as eyelashes or the crease of the eyelid.
7. Texture Matters
Horses have a variety of textures on their bodies, from the smoothness of their coat to the roughness of their hooves. Incorporating texture into your coloring can add another layer of realism.
- Coat texture: You can create the appearance of a smooth, shiny coat by carefully blending colors and adding highlights. For a more textured look, such as a winter coat or a less groomed horse, you might use small, repeated strokes to simulate the appearance of hair.
- Hooves: The hooves should have a different texture from the rest of the horse. They’re often darker and can be colored with a solid, smooth shading. Adding a slight gradient or small, subtle lines can mimic the natural texture of hooves.
Tip: Use different pressure levels with your pencils or markers to create varying textures. Lighter pressure will give you softer, more blended colors, while heavier pressure will create more defined lines and texture.
8. Background and Context
While the horse is the main focus of your coloring page, the background and context can greatly enhance the overall image. Think about where your horse is. Is it in a lush green pasture, a desert landscape, or maybe even a fantasy world?
- Natural backgrounds: If you’re going for a realistic look, consider adding elements like grass, trees, or a sky. The colors you choose for the background should complement the colors of the horse without overwhelming it.
- Fantasy backgrounds: If you’re in the mood to get creative, you could place your horse in a more imaginative setting, like a starry night sky or a magical forest. This allows for more freedom in your color choices and lets you experiment with vibrant, unconventional colors.
Tip: If the background is detailed, use softer, less intense colors to keep the focus on the horse. For simpler backgrounds, you might choose more vibrant colors to add interest.
9. Use References for Inspiration
It’s always helpful to look at real horses or artwork for inspiration. Studying photos of horses can give you a better understanding of how light affects their coats, how their manes and tails flow, and the subtle variations in their colors.
- Photos: Use photos of real horses as references for coloring your horse. This can help you understand how the light hits their coat, how their muscles create shadows, and how the colors transition across their bodies.
- Other artwork: Look at how other artists depict horses. You might find inspiration in their color choices, techniques, or the way they capture the horse’s movement and personality.
Tip: Don’t hesitate to mix and match ideas from different sources. You might like the coloring style of one artist and the composition of another, so feel free to combine elements that appeal to you.
10. Be Creative and Have Fun
While realism is one approach, don’t forget that coloring is also about creativity and personal expression. If you want your horse to have a purple mane or a rainbow tail, go for it! The most important thing is that you enjoy the process and feel satisfied with your work.
- Experiment: Try different color combinations, techniques, and tools. You might discover a new favorite method or create something entirely unique.
- Personal touch: Add your own flair to the coloring page. Maybe give your horse a distinctive marking, add some flowers in the mane, or even incorporate patterns into the coat.
Tip: If you’re coloring with children, encourage them to use their imagination. They might come up with ideas that you wouldn’t think of, adding an extra layer of fun and creativity to the project.






![130 Coloring Pages Of People [Contains Pages For Kids, Adults, Teens, Beautiful People and Much More] 130 Coloring Pages Of People [Contains Pages For Kids, Adults, Teens, Beautiful People and Much More]](https://digitalphrases.com/wp-content/uploads/2024/10/coloring-pages-of-people-768x512.jpg)