How to Draw a Bow
Here’s a simple and straightforward approach towards drawing a bow.
Step-by-Step Process of Drawing a Bow
Step 1: Build the Framework with Basic Shapes
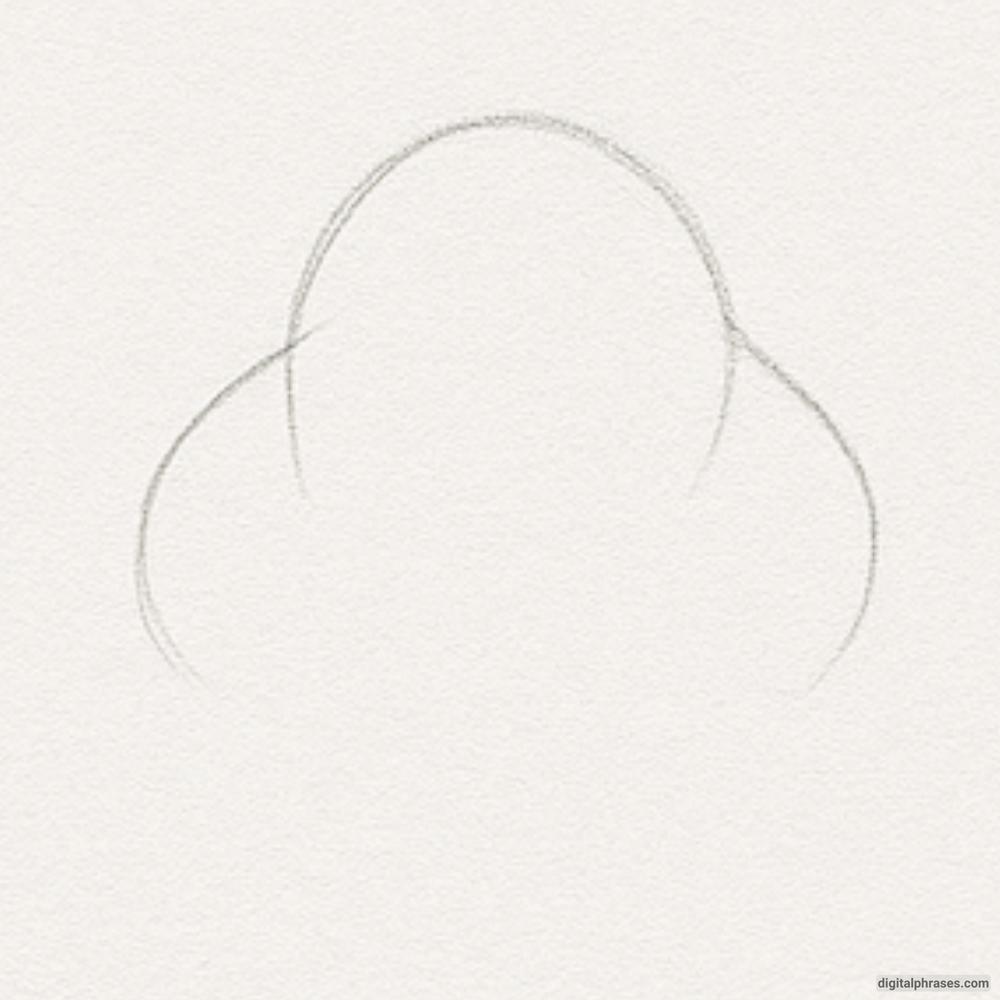
Let’s begin by laying down the foundation of the bow. Start with a curved arch at the top, and add two symmetrical curves underneath that dip slightly to the sides—think of the outline like an abstract butterfly wing.
These curves represent the outer shape of the loops of the bow. Keep your pencil pressure light because these lines are just to guide us.
You want your shapes to look balanced on both sides, but don’t stress too much over perfect symmetry—we’ll refine them later.
Step 2: Add the Center Knot and Ribbon Tails
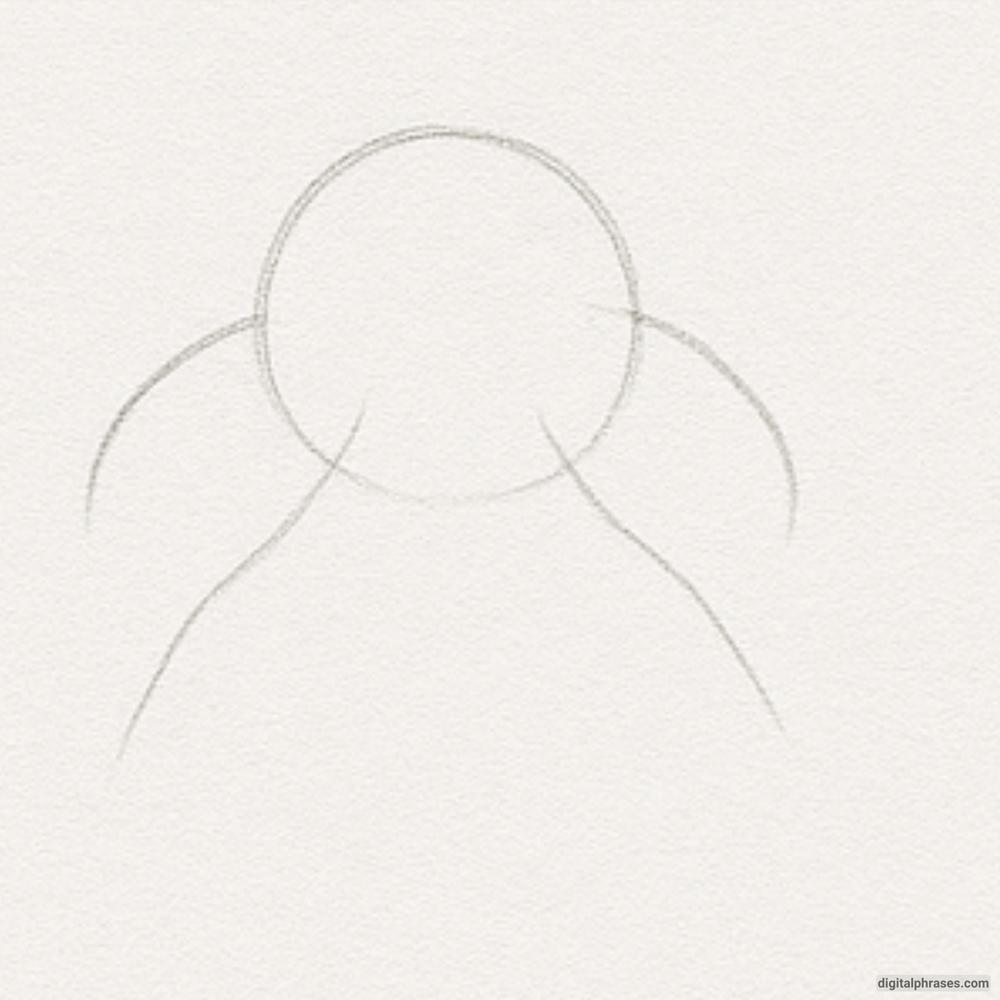
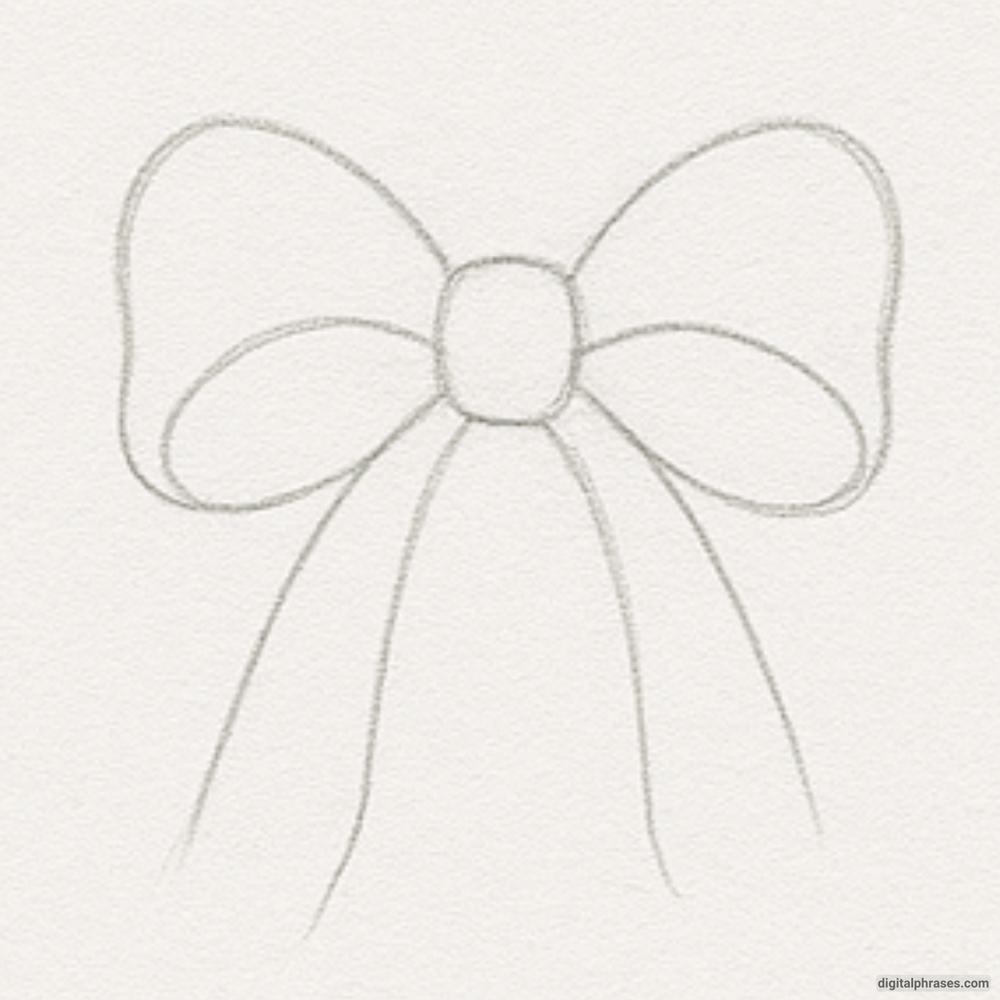
Now, draw a circle in the middle where the two curves meet—this will be the knot that ties the bow together. From each side of the circle, extend the inner sides of the loops back toward the body of the bow.
Then, draw two curved, flowing lines extending downward from the knot to represent the ribbon tails. Let the ends of the ribbons angle outward slightly for a natural, relaxed look. The idea here is to show the way fabric would naturally fall.
Step 3: Shape the Loops and Ribbon Ends
Time to clean up and define the bow.
Let’s now turn those basic curves into more structured loops. You’ll want to refine each side of the bow loop by drawing it with soft, rounded corners that taper slightly inward toward the knot.
Each loop should resemble a teardrop or petal shape. For the ribbon tails, make sure they start slightly behind the knot, and curve outward at the bottom with small V-shaped cuts at the ends. These give the bow that charming, classic ribbon look.
Step 4: Finalize Line Work
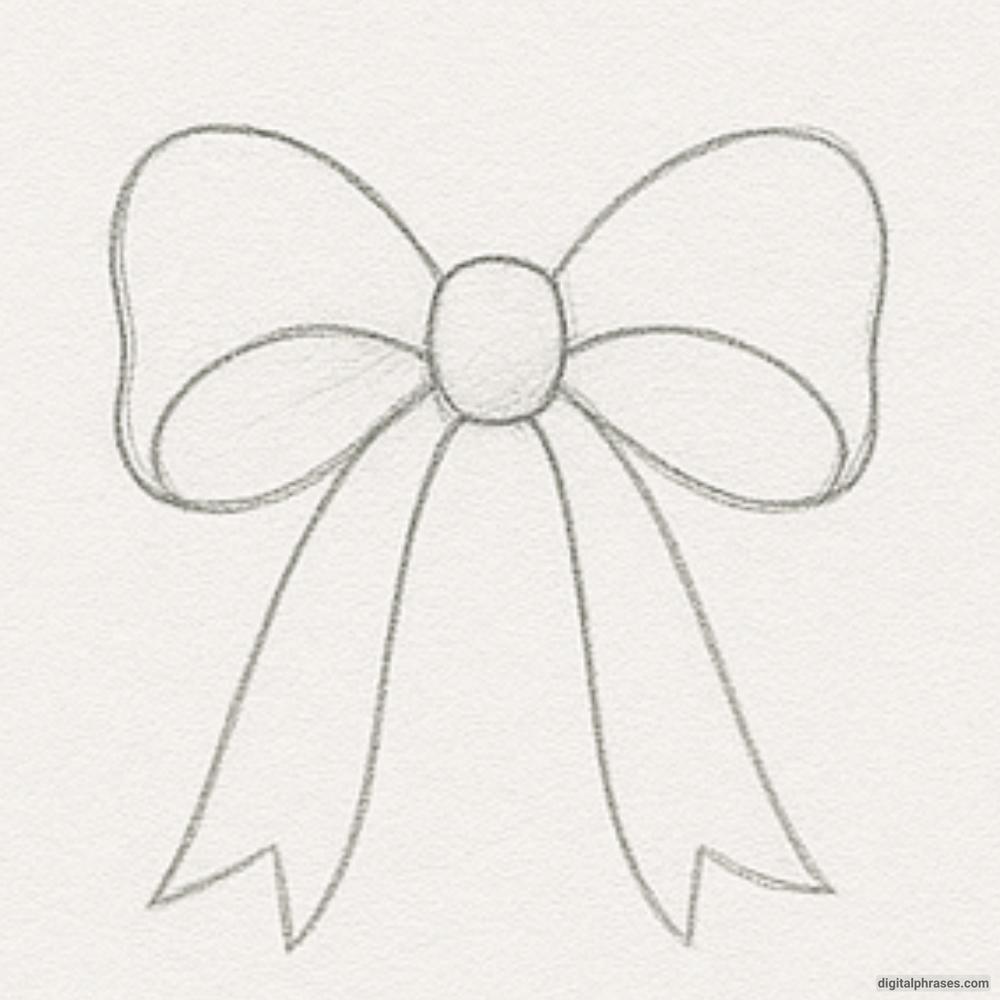
At this stage, go over your drawing and clean up the lines. Erase any extra construction lines that you don’t need anymore.
You should now have a clear, smooth outline of the entire bow: the central knot, the fluffy loops, and the elegant, hanging ribbon tails. If needed, reinforce the outlines with a slightly darker pencil pressure to make the shape pop.
This step is where everything starts to come together and feel polished.
Step 5: Add Shading and Texture for Realism
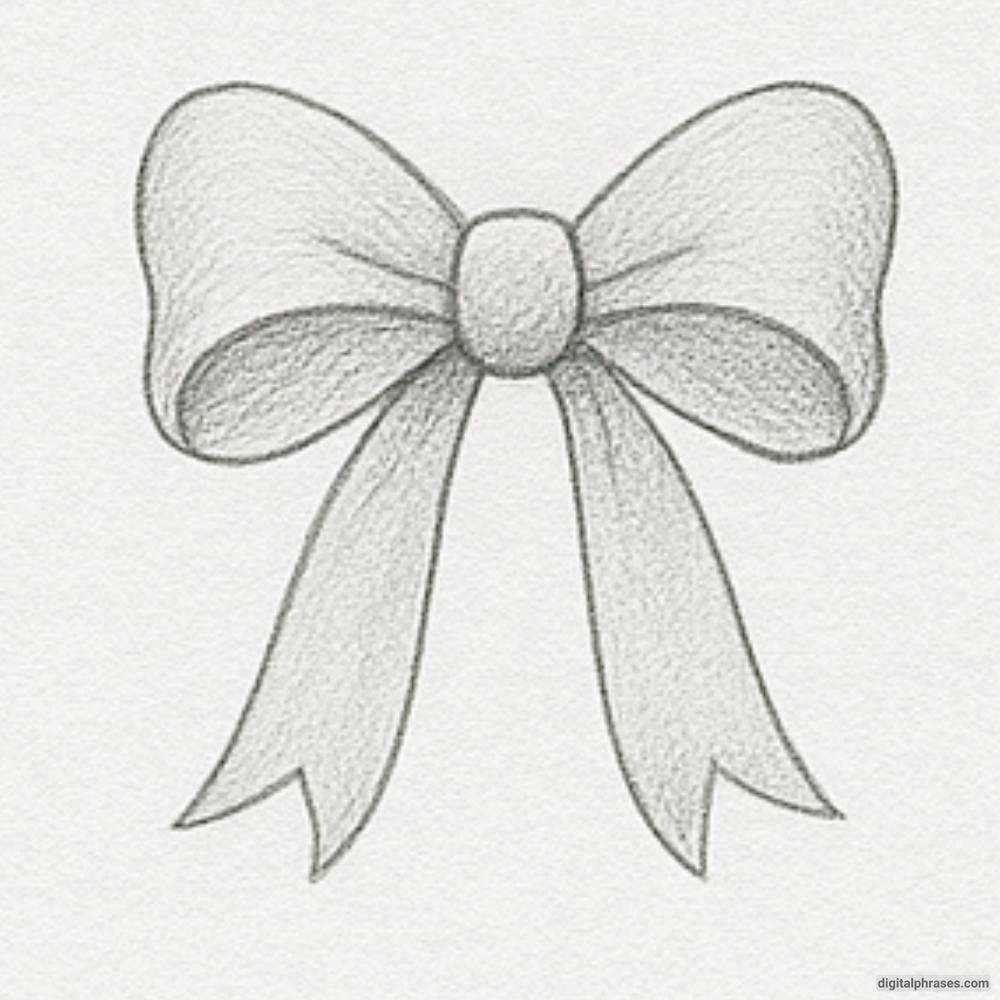
Now, let’s bring your bow to life with shading. Begin by identifying your light source—imagine it coming from the top left.
Shade the areas that would naturally be darker, like the underside of the bow loops, just under the knot, and where the ribbons fold or overlap.
Use curved strokes to follow the contour of the fabric, which gives the impression of depth and softness. Add a gentle gradient within the loops to make them look puffed and dimensional. Don’t forget to shade around the knot where the fabric gathers, as this is typically the darkest part.
For the ribbon tails, apply some shading along the sides and base, and even add a few light creases to suggest movement or bend in the fabric. This final step adds texture, depth, and elegance to your bow.
Equipment Needed to Draw a Bow
- Drawing Paper or Sketchbook – Choose a smooth or lightly textured surface that allows for clean pencil work and erasing.
- Pencils (Range from HB to 4B) – Start with HB or 2B for sketching your structure, then move to 3B or 4B for deepening outlines and adding shading.
- Eraser (Preferably Kneaded) – Perfect for lifting light construction lines and cleaning up around the details without damaging the paper.
- Pencil Sharpener – Keeping your pencil sharp is essential for clean edges, especially on the knot and folds of the bow.
- Blending Tool (Stump or Tissue) – Useful for smoothing out shaded areas to give your bow a soft, realistic texture.
- Ruler or Compass (Optional) – While not necessary, these tools can help if you want to make sure your loops and knot are symmetrical.
- Reference Image (Optional) – Studying a real ribbon or bow can give you ideas on how fabric folds and catches light.

