How To Draw a Braid
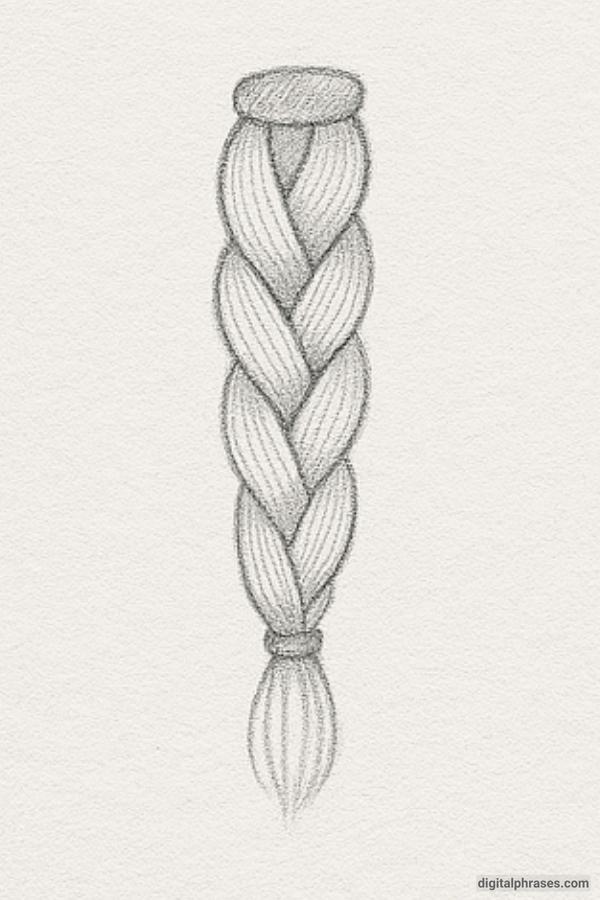
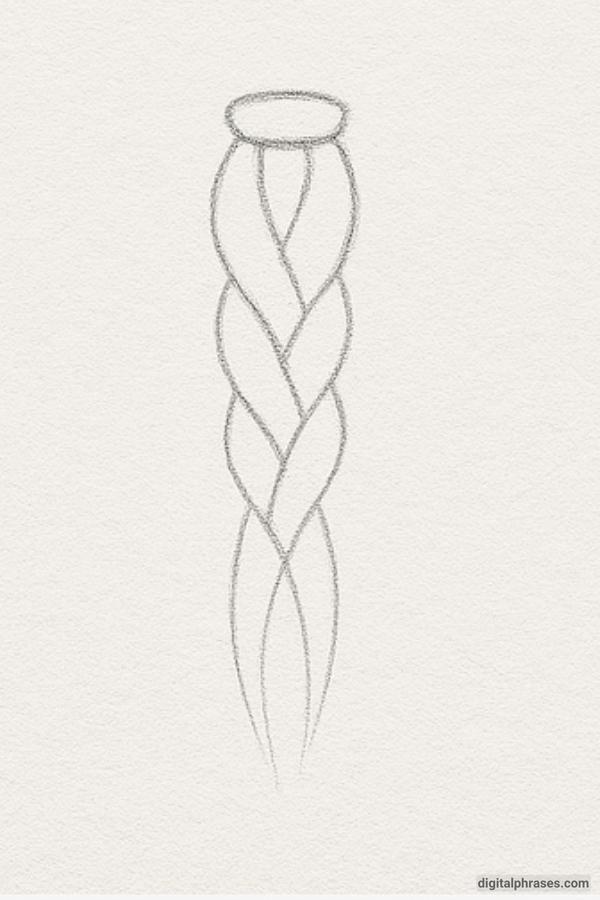
Here’s a step-by-step guide on how to draw a braid.
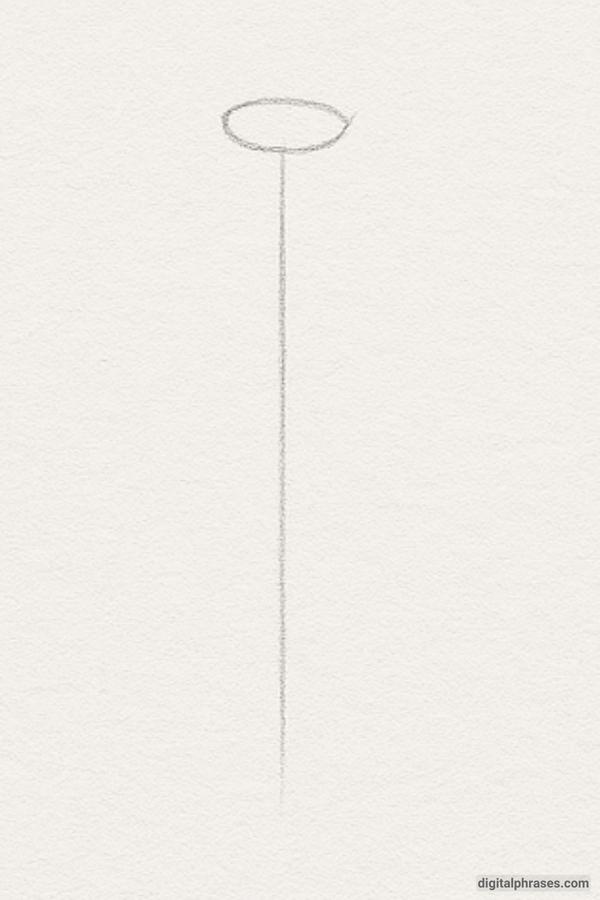
Step 1: Draw the Guidelines
- Start with a vertical line to guide the length of the braid.
- Sketch a small circle or tie at the top where the braid begins.
- Lightly draw three sections branching from the tie — these will become the strands.
Step 2: Begin Interweaving Strands
- Start braiding by overlapping the three sections.
- Use curved, tapering shapes that alternate — the left strand crosses over center, then right crosses over new center.
- Keep lines light and focus on symmetry.
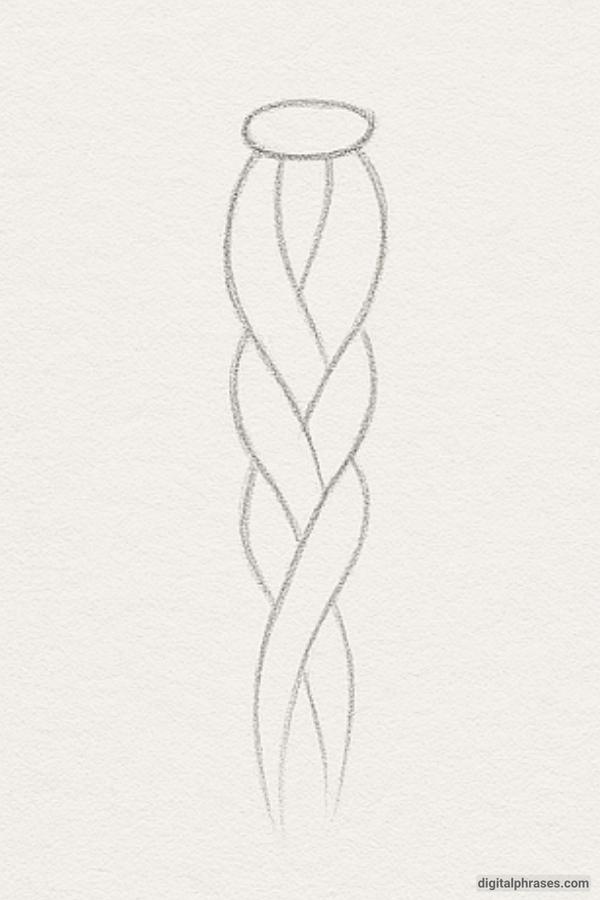
Step 3: Build the Braid Downward
- Continue the alternating pattern of interwoven strands.
- Each new section should slightly taper inward to mimic real hair.
- Maintain consistent spacing and flow to give a natural appearance.
Step 4: Final Details & Shading
- Add a hair tie at the bottom to end the braid.
- Shade between the strands to show depth and separation.
- Use short strokes for texture and gently darken areas under overlaps for realism.
