How To Draw a Bunny
Here’s a step-by-step guide on how to draw a bunny.
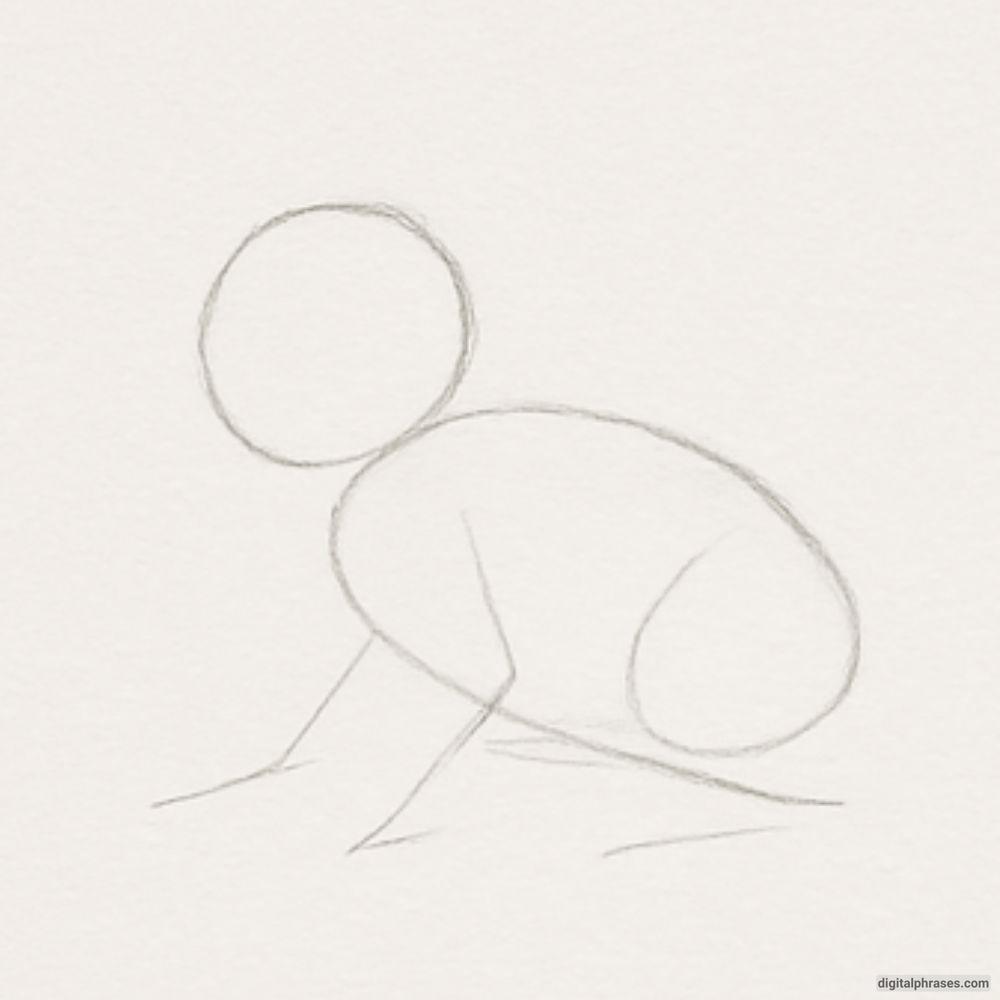
Step 1 – Sketch the Basic Shapes
- Begin with a circle for the head and a rounded oval for the body. These will serve as the basic structure.
- Lightly sketch a line for the ground and draw simple stick-like limbs to mark the position of the legs.
- This foundational sketch helps with proportions and posture.
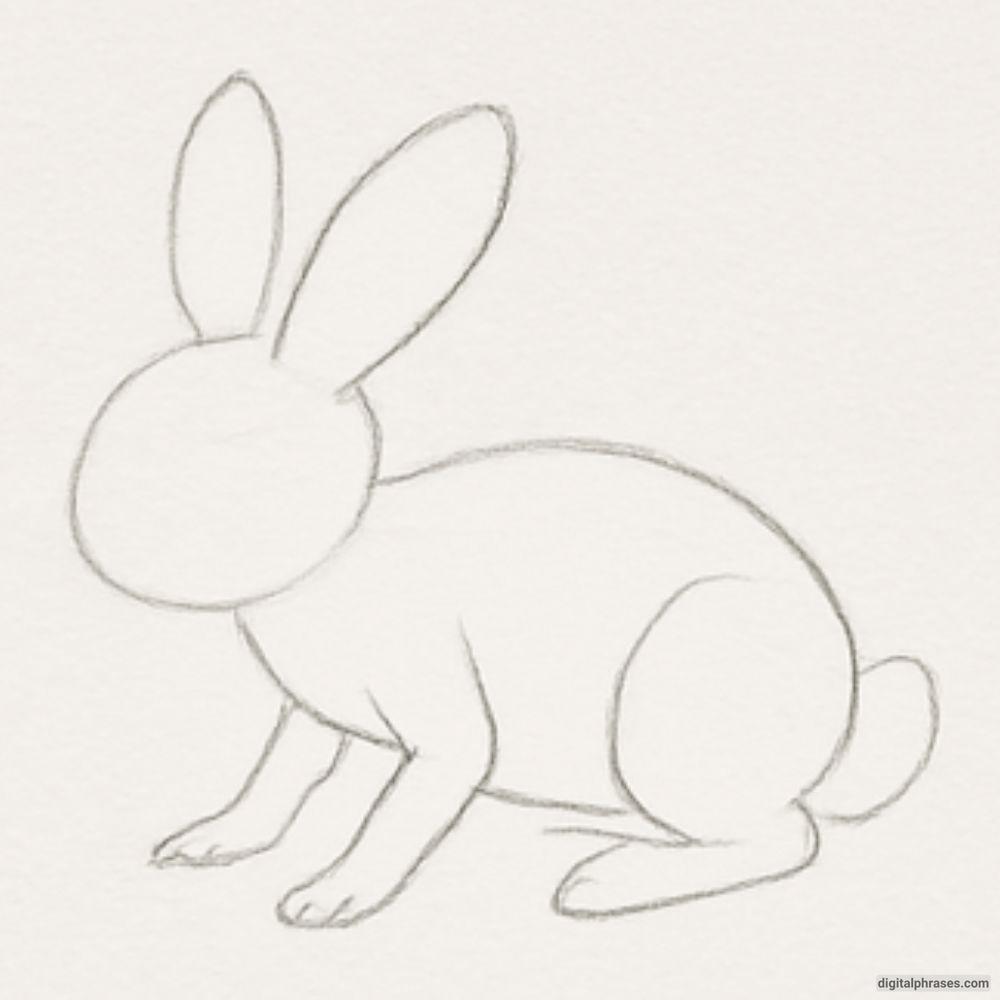
Step 2 – Add Basic Features
- Add two long oval shapes on top of the head to form the ears. Keep them upright and slightly tilted.
- Draw a small circle where the tail will go and begin shaping the legs with more structure.
- Refine the head’s outline, connecting it smoothly to the body for a more natural look.
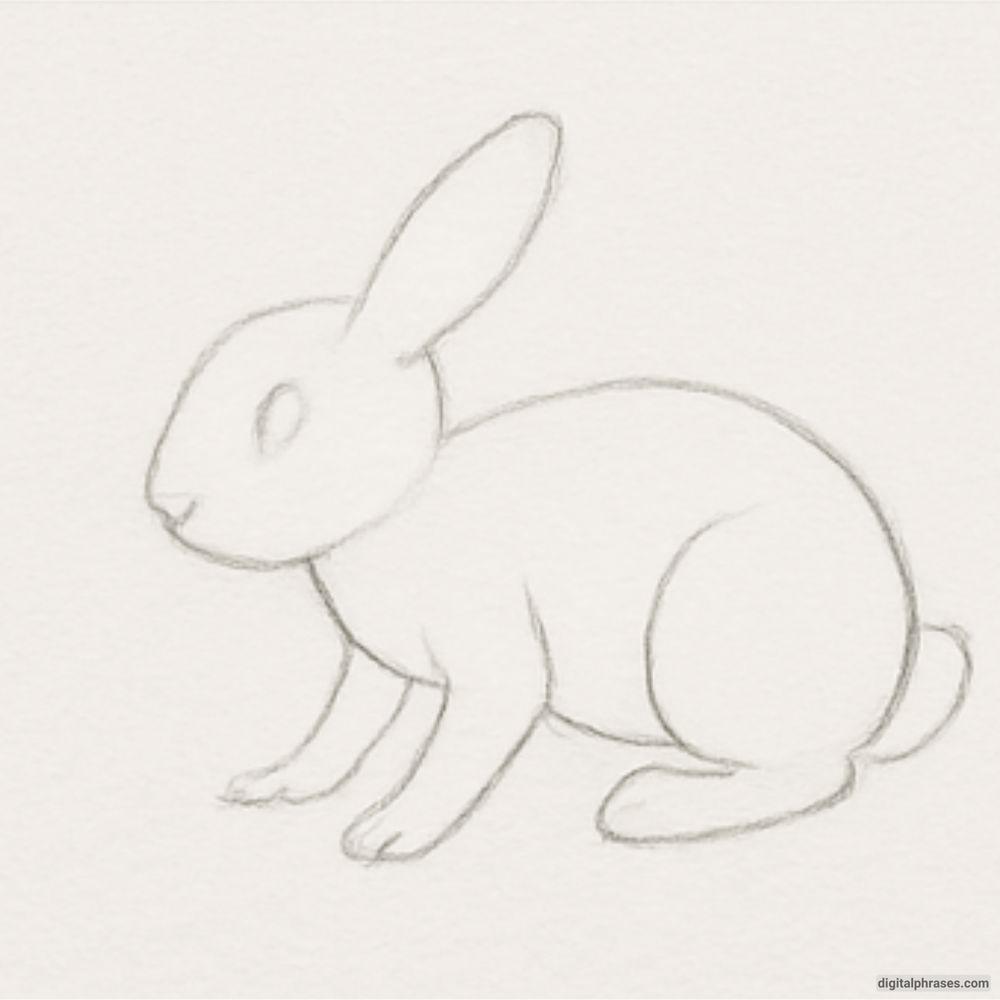
Step 3 – Refine the Body Shape
- Use curved lines to define the front and back legs, giving them volume and form.
- Add a small curved line for the nose area and a short line to indicate the mouth.
- Erase the unnecessary construction lines from the first step to clean up the sketch.
Step 4 – Draw the Face and Details
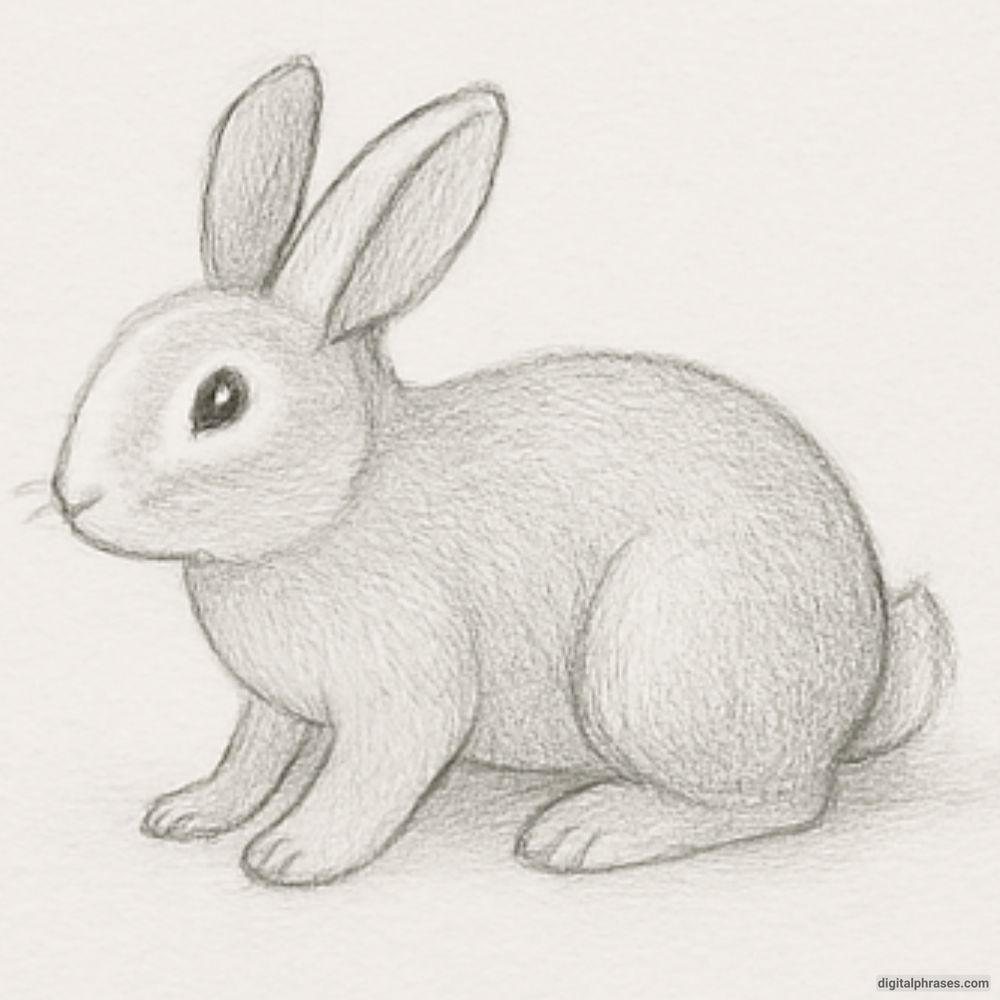
- Add the eye as a small, almond-shaped oval and position it well within the head.
- Refine the outline of the ears, legs, and tail, making the shapes more natural and rounded.
- Begin to softly shade in the areas under the body and legs to add depth.
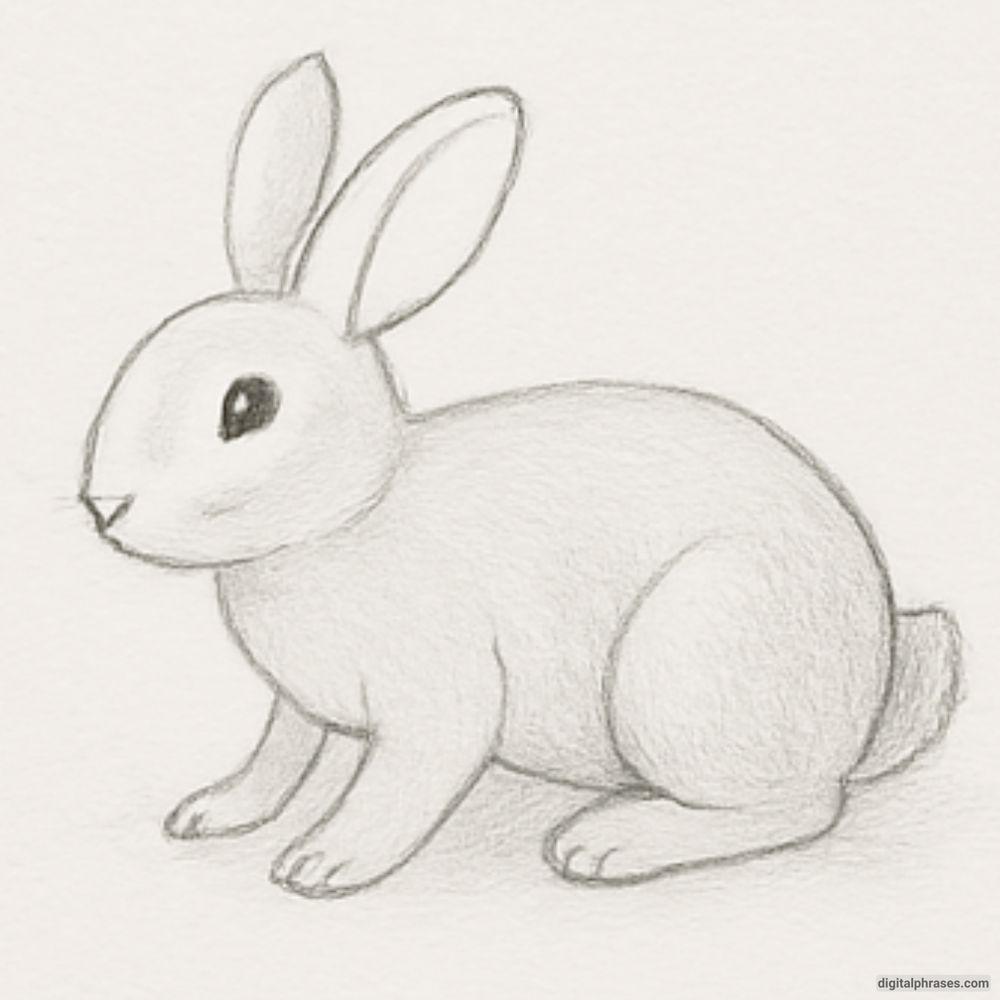
Step 5 – Final Shading and Texture
- Finish by darkening the eye, adding a highlight for a shiny, lively appearance.
- Deepen the shading on the back, ears, and under the belly to enhance realism.
- Add fur texture using short, light pencil strokes in the direction of hair growth.
