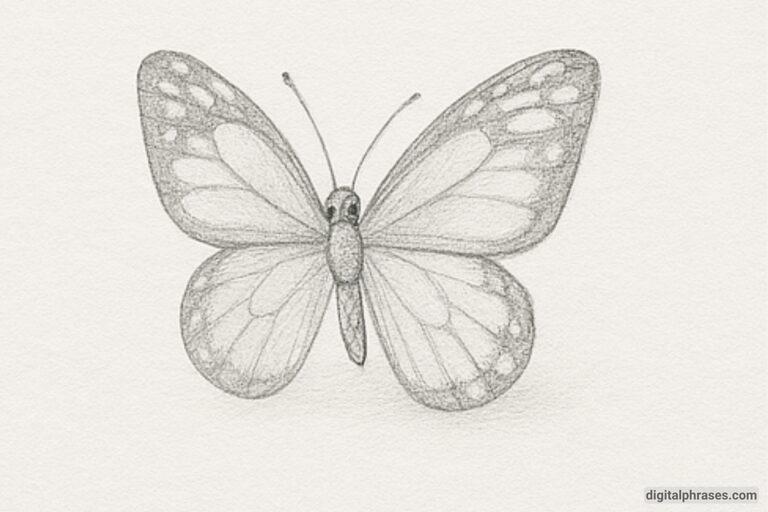
How To Draw a Clover Plant
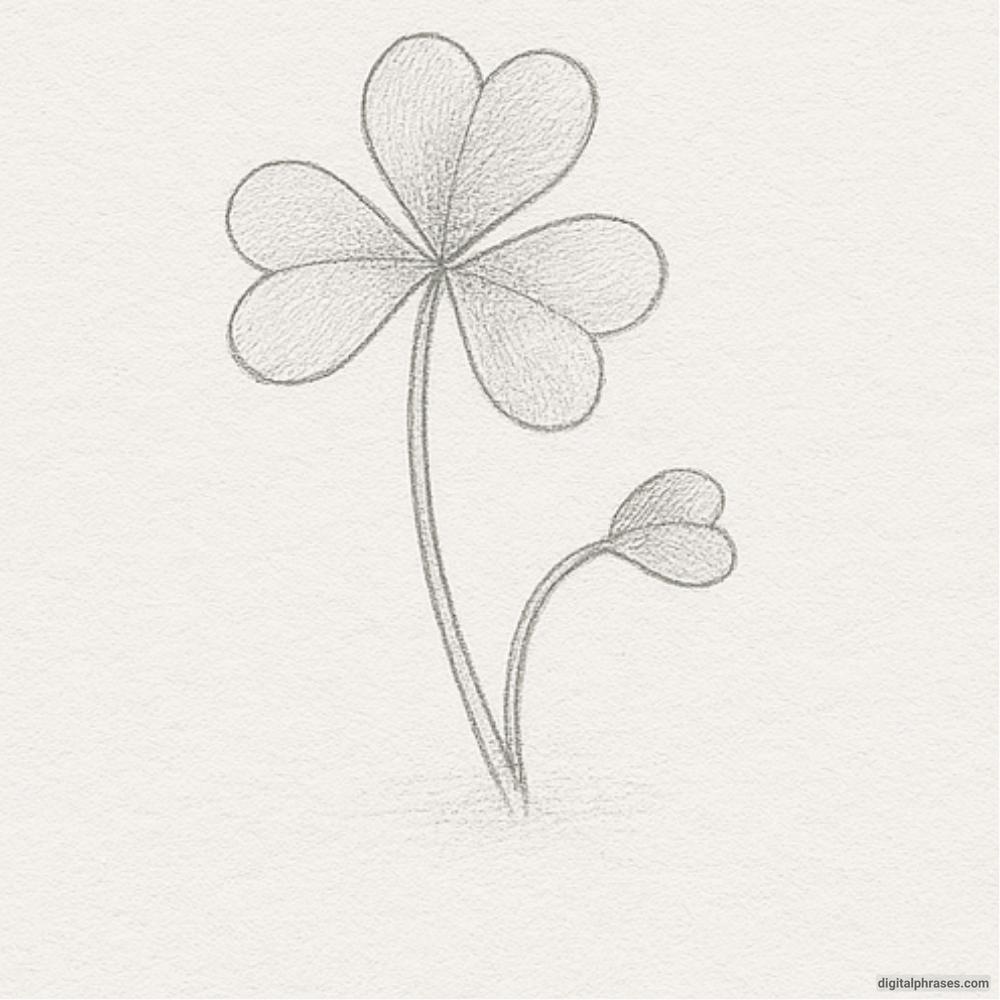
Here’s a step-by-step guide on how to draw a clover plant.
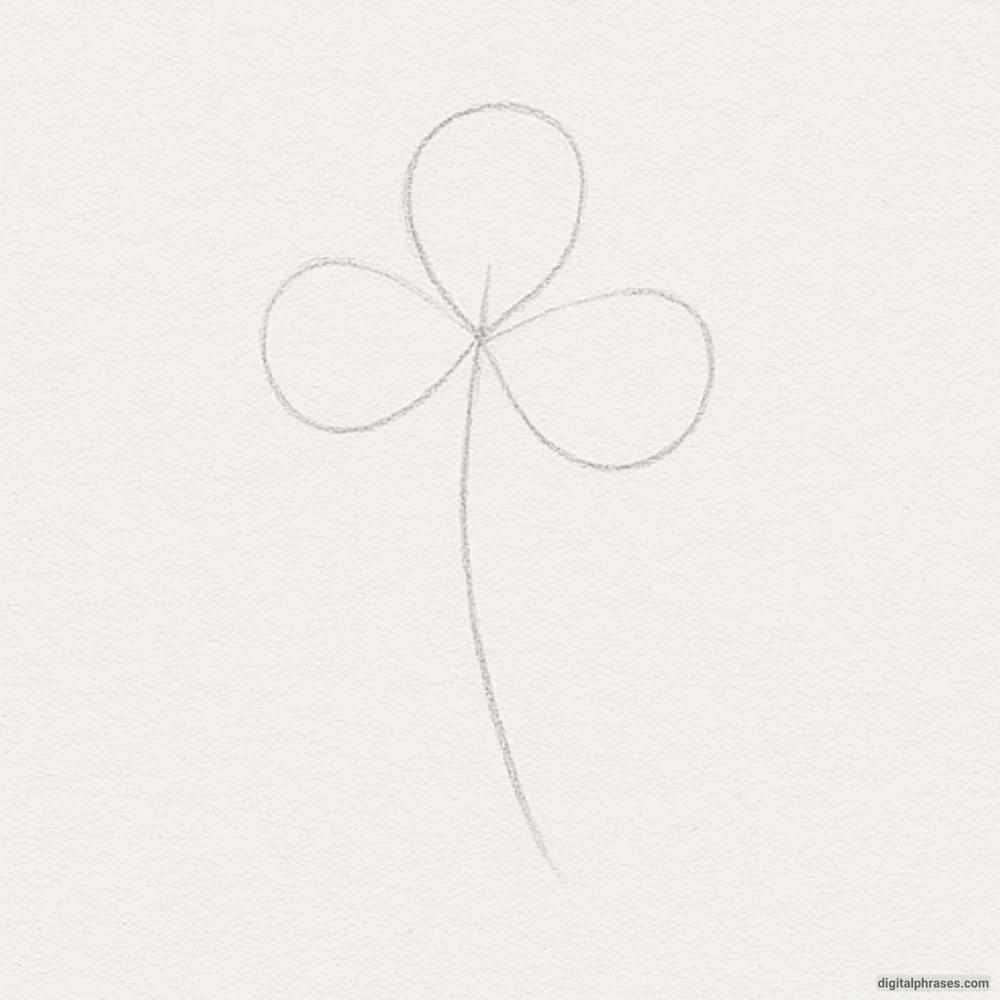
Step 1: Basic Shapes
- Start with light outlines of three ovals or rounded heart shapes forming the classic clover leaf.
- Add a curved stem line extending downward from the center of the clover.
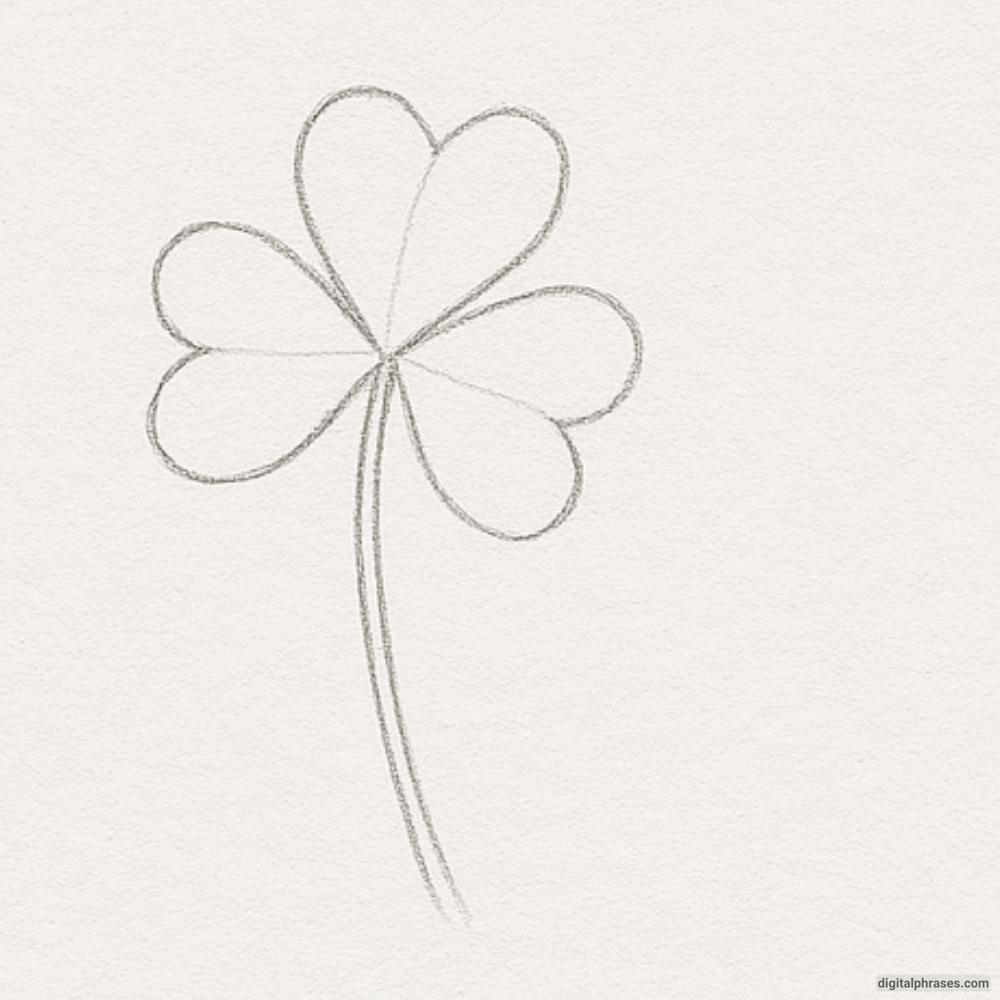
Step 2: Refine the Outline
- Sharpen the leaf shapes into more defined heart-like leaves.
- Reinforce the stem, giving it a smooth curve.
- The clover now begins to take on its recognizable form.
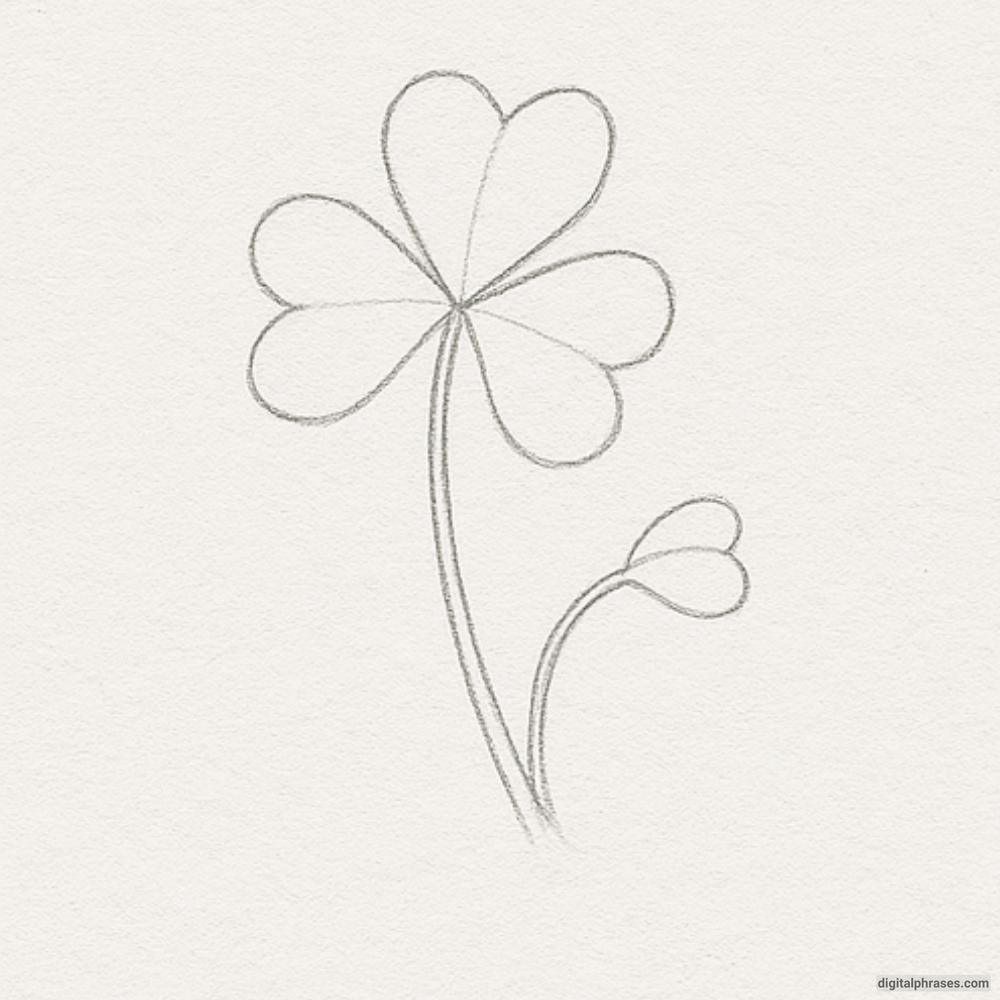
Step 3: Add a Second Leaf Cluster
- Add a smaller clover offshoot from the stem with its own curved stalk.
- Draw two rounded shapes on this offshoot, showing a younger or smaller clover.
- This adds depth and natural growth to the drawing.
Step 4: Shading & Final Touches
- Apply soft shading to each leaf to show texture and depth.
- Shade the stem and offshoot subtly.
- Add hatching near the base to anchor the plant visually to the surface.
