How To Draw a Daisy Flower
Here’s a step-by-step guide on how to draw a daisy flower.
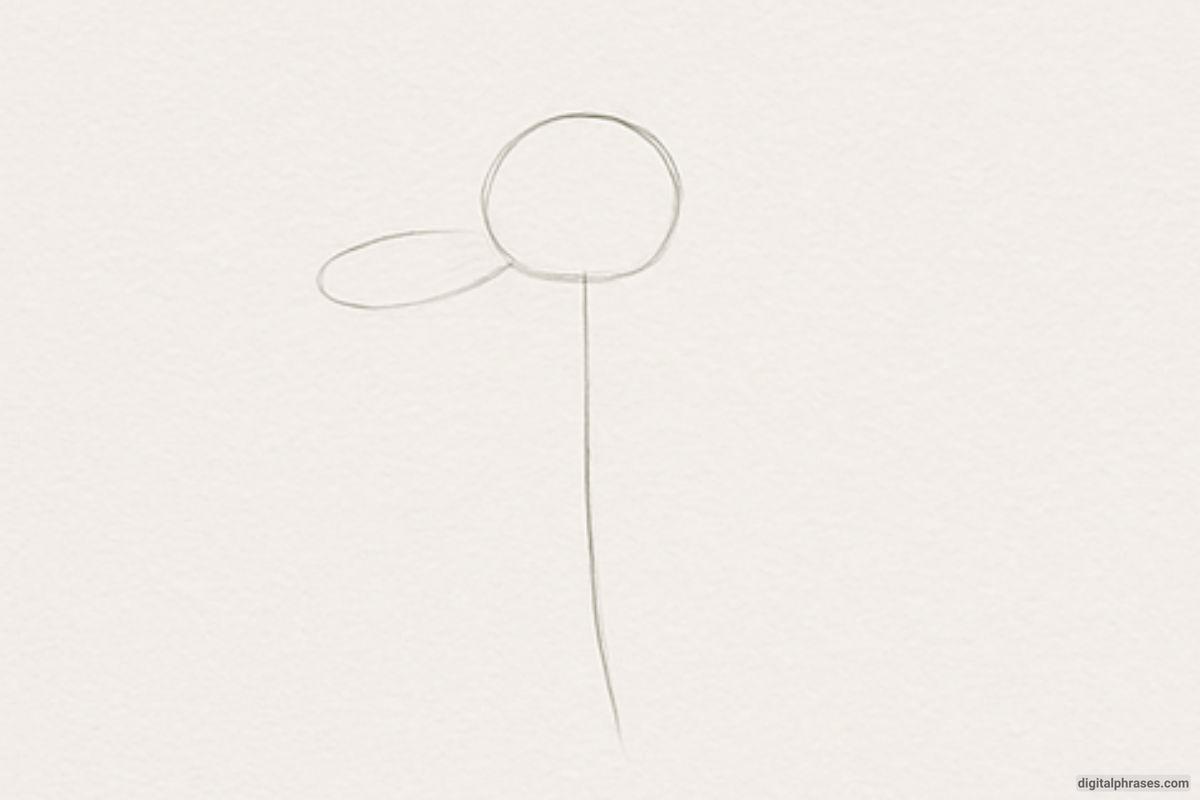
Step 1: Start with the Center and a Petal
- Draw a small circle in the middle of the page—this will be the center of the daisy.
- Add one oval-shaped petal attached to the circle, starting on the left side.
- Draw a long, slightly curved line extending downward from the circle to represent the flower’s stem.
- Keep your lines light and loose as this is just the base sketch.
Step 2: Complete the Petals
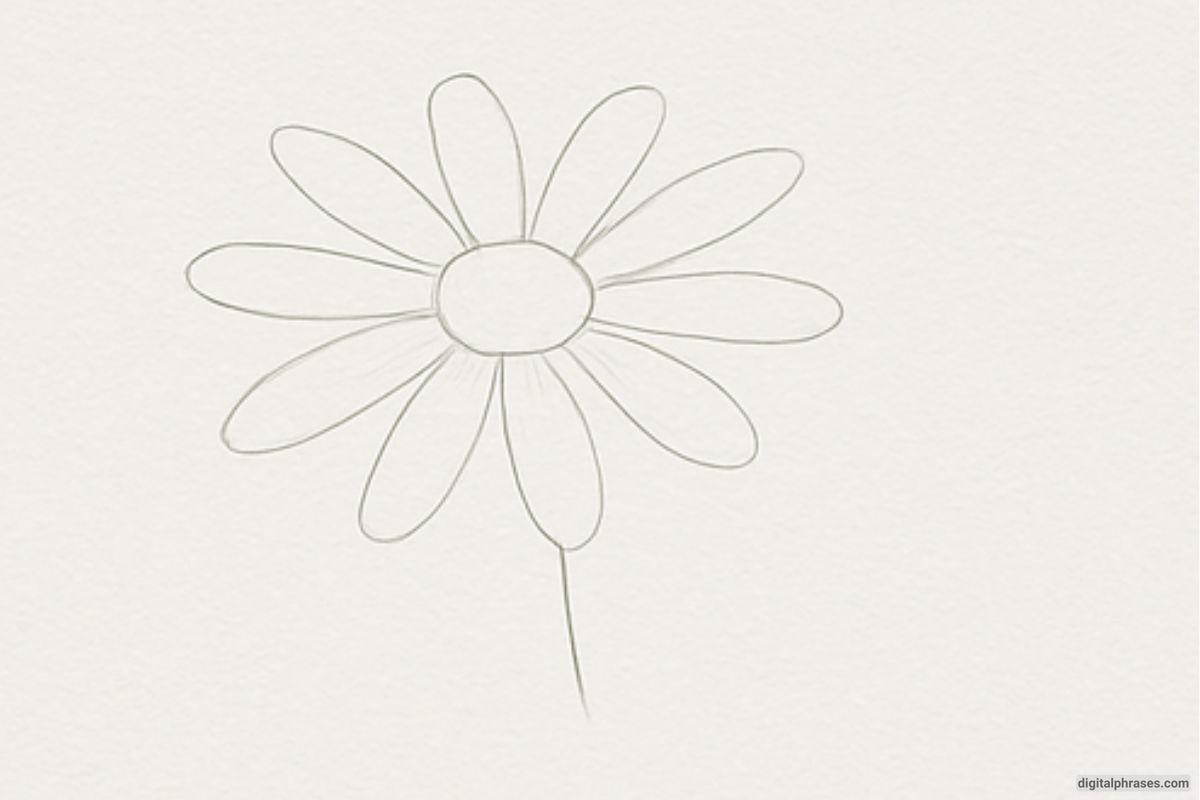
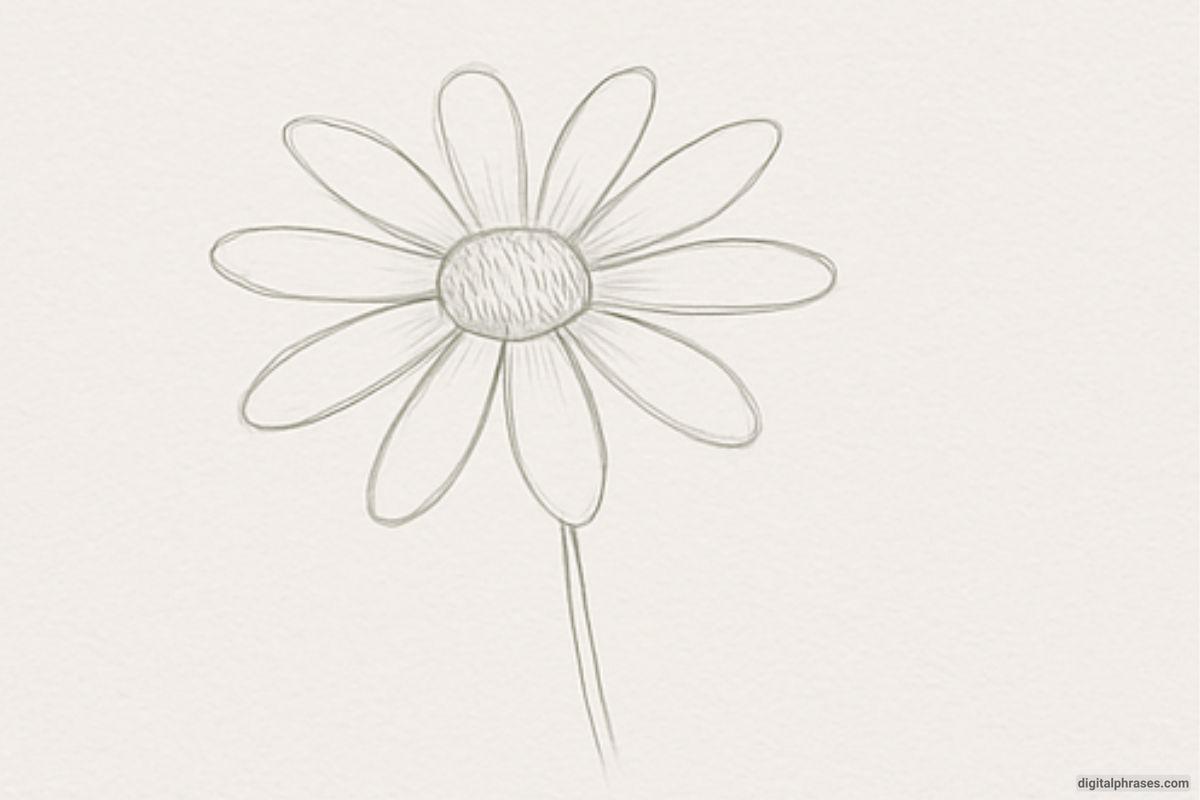
- Add more oval-shaped petals radiating around the central circle.
- Vary the angles slightly to give a natural, full look to the flower.
- Ensure the petals are evenly spaced and roughly similar in size and shape.
- Let a few petals overlap or tilt to make the daisy appear more organic and realistic.
Step 3: Define the Shape and Add Shading
- Darken the outlines of the petals and the center circle to emphasize the shape.
- Add some light shading to the petals by using thin lines or gentle hatching.
- Shade the central circle with curved lines to show texture and a round form.
- Slightly thicken the stem and add a bit of curve to make it look more lifelike.
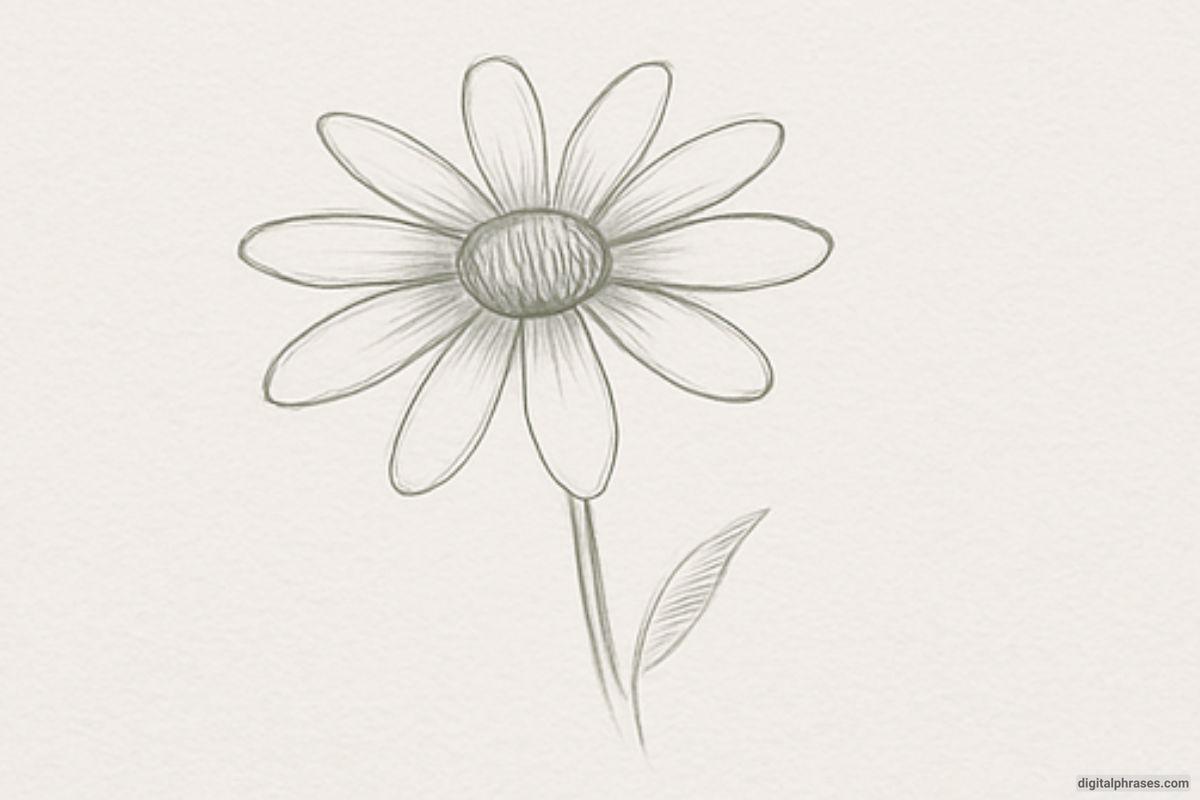
Step 4: Final Touches and Leaf Detail
- Refine the petal edges and enhance the shading for a three-dimensional effect.
- Add a single leaf to the stem using two curved lines meeting at a point.
- Draw a center line inside the leaf and add veins using small angled strokes.
- Go over the entire drawing to clean up the sketch, emphasizing light and shadows for depth.
