How To Draw a Disco Ball
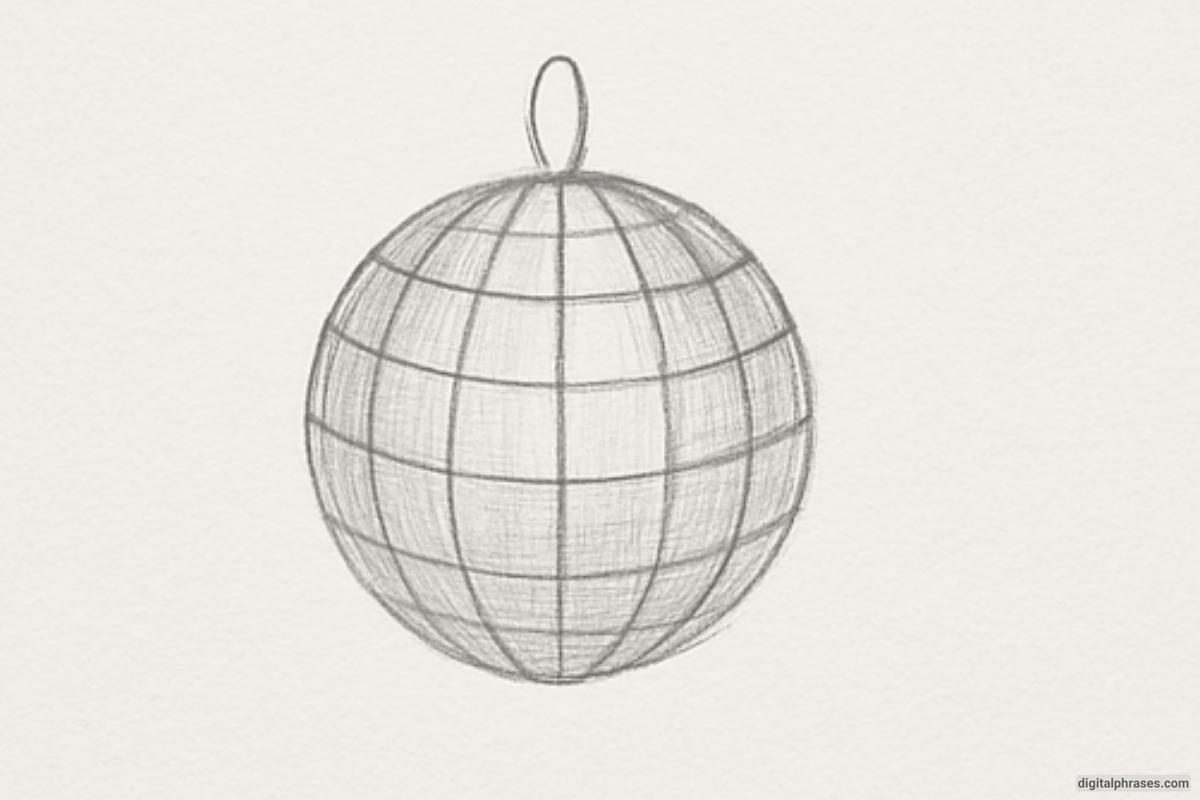
Here’s a step-by-step process on how to draw a disco ball.
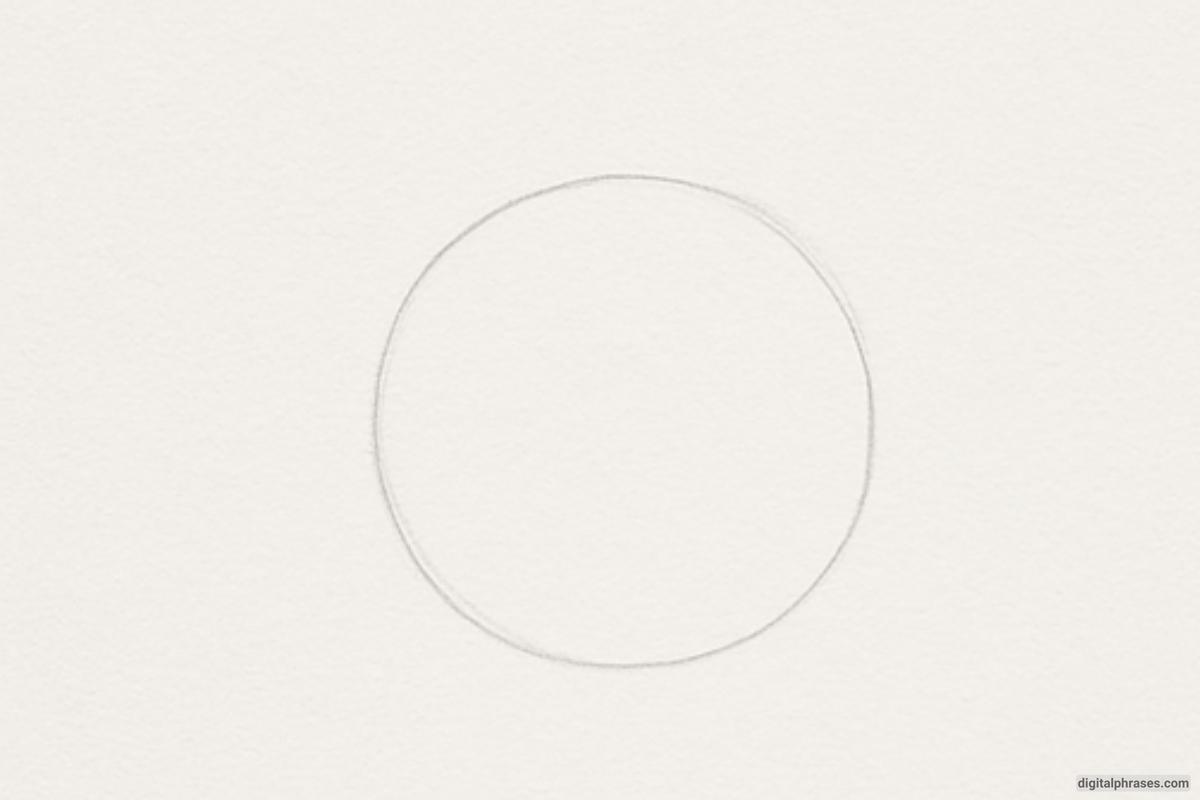
Step 1 – Draw the Basic Circle
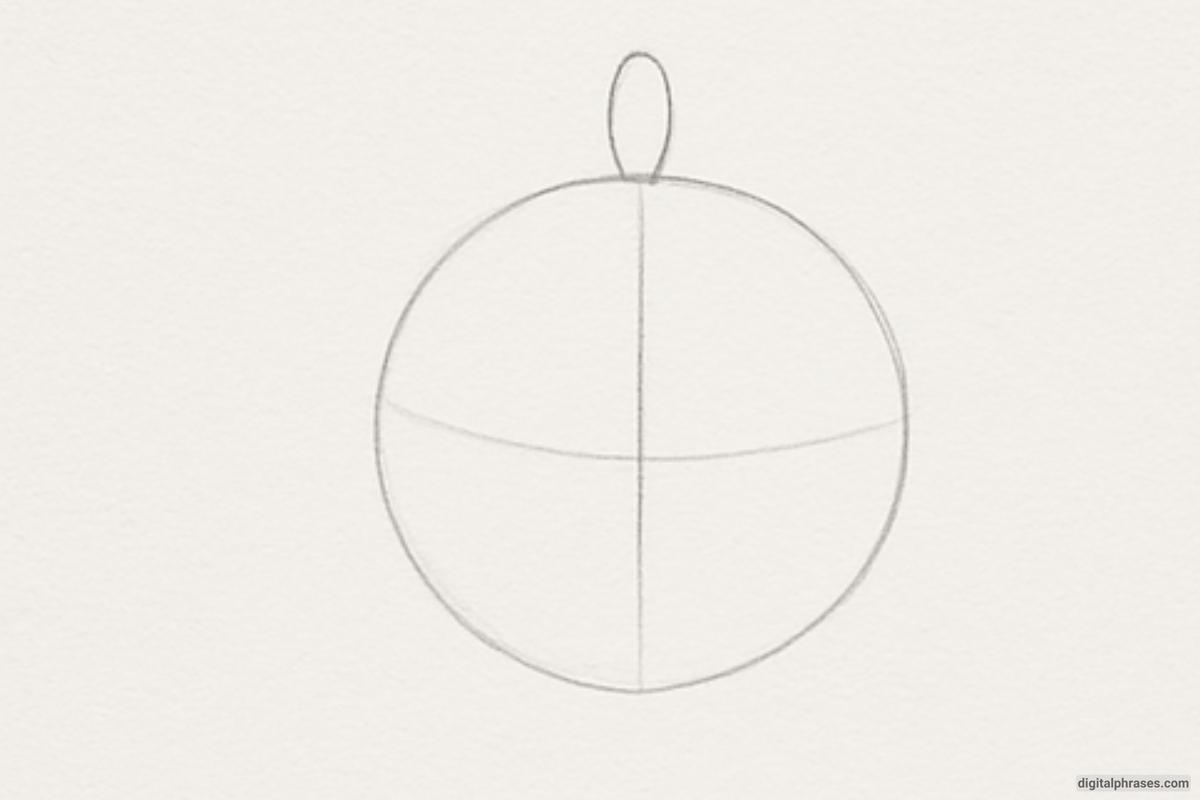
- Start by drawing a perfect circle in the center of your page. This will be the main shape of your disco ball.
- Use a compass or trace around a circular object to keep the edges smooth and balanced.
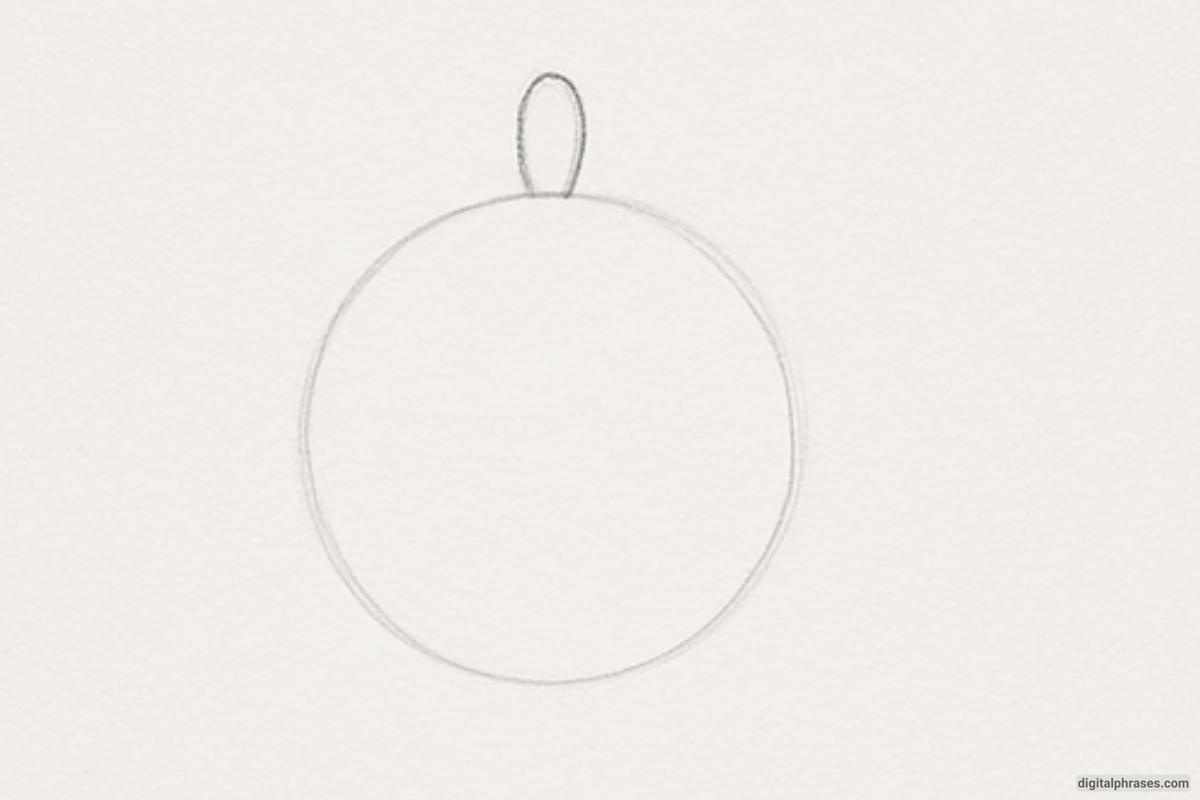
Step 2 – Add the Hanging Loop
- Draw a small oval shape at the top center of the circle. This represents the metal loop that suspends the disco ball.
- Make sure the oval is proportionate to the ball and connects smoothly at the top.
Step 3 – Draw Guiding Lines
- Inside the circle, lightly sketch a vertical line straight down the center.
- Then add a horizontal line across the middle, forming a cross. These lines will act as guides for the grid and help keep everything symmetrical.
Step 4 – Create Vertical Grid Lines
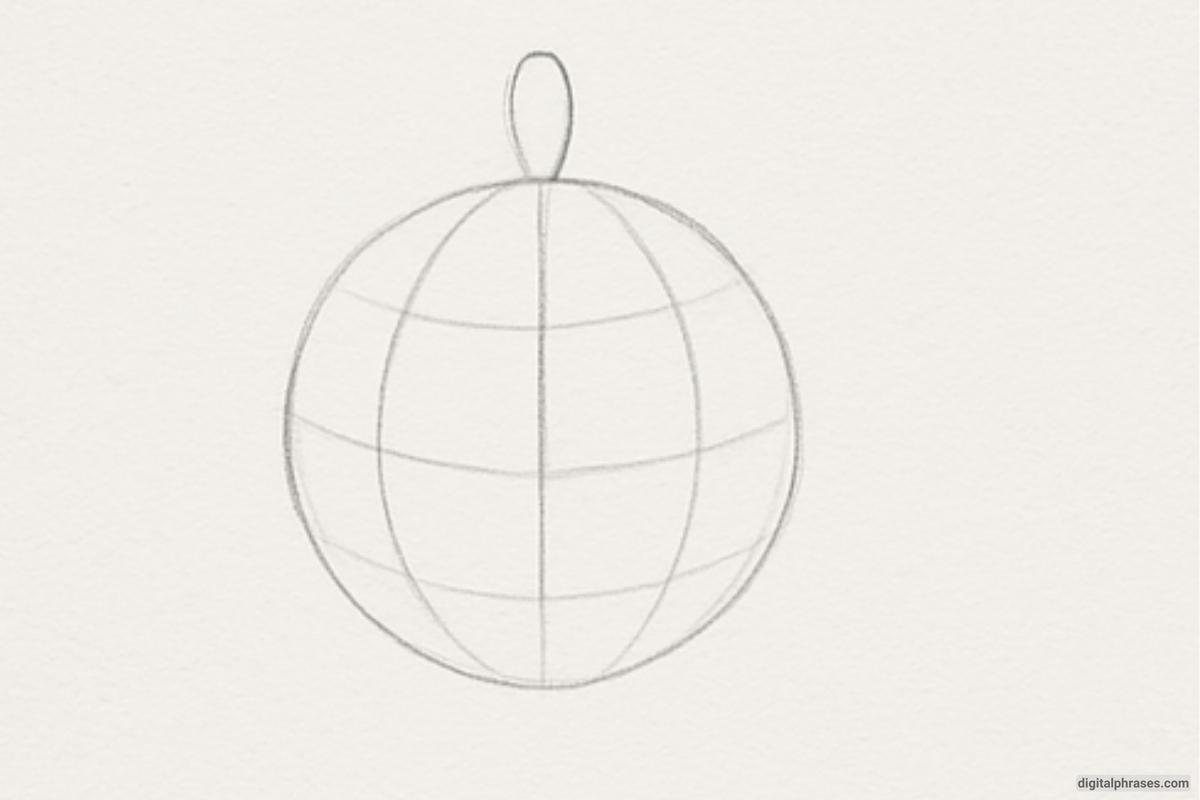
- Starting from the top of the ball, draw curved vertical lines that follow the shape of the sphere, spacing them evenly from the center outward.
- These curves should mimic the roundness of the disco ball and help it look 3D.
Step 5 – Add Horizontal Grid Lines
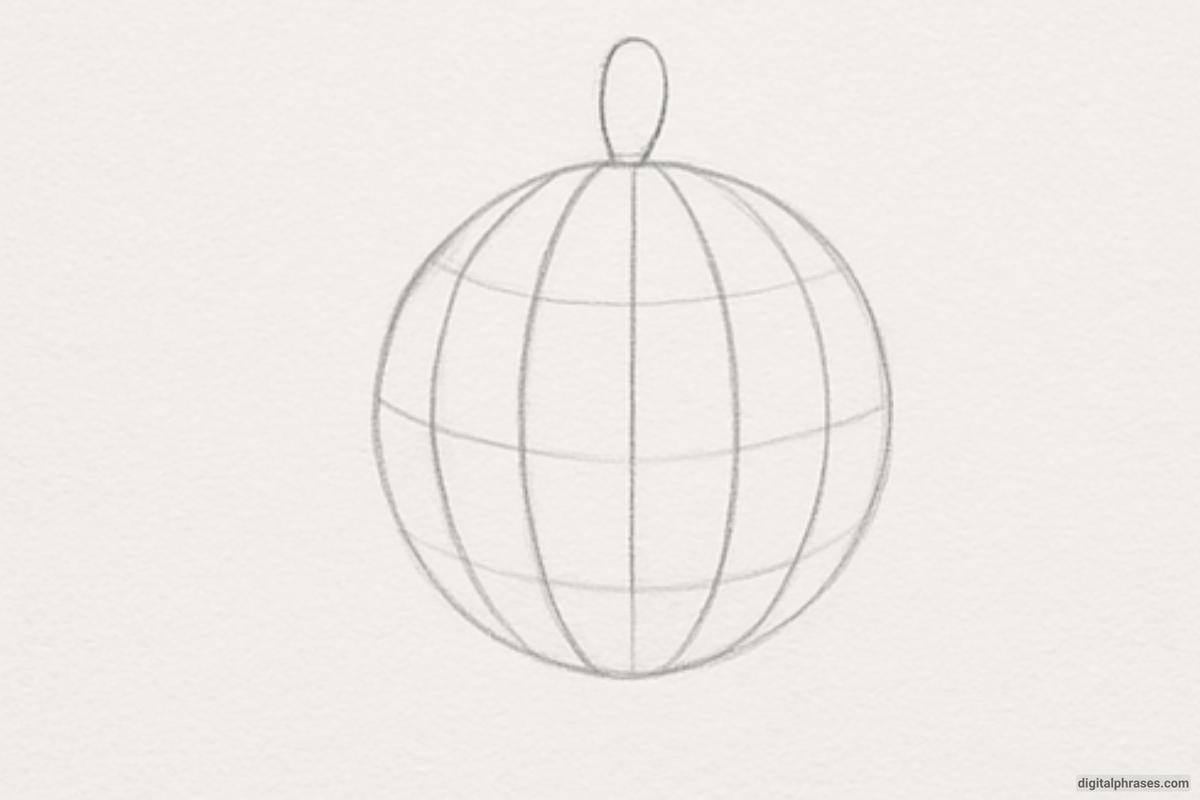
- Now, add evenly spaced curved horizontal lines across the ball to complete the tiled pattern.
- The intersecting vertical and horizontal lines should resemble a mesh of reflective squares typical of a disco ball.
Step 6 – Shade and Add Detail
- Begin shading the individual squares lightly, adding darker tones on one side to show the effect of light reflection.
- Add shading to one side of the entire ball to suggest a light source and create depth.
- You can vary the intensity of the shading to make some tiles look shinier than others, enhancing realism.
