How To Draw a Dragon
Here’s a step-by-step process on how to draw a dragon.
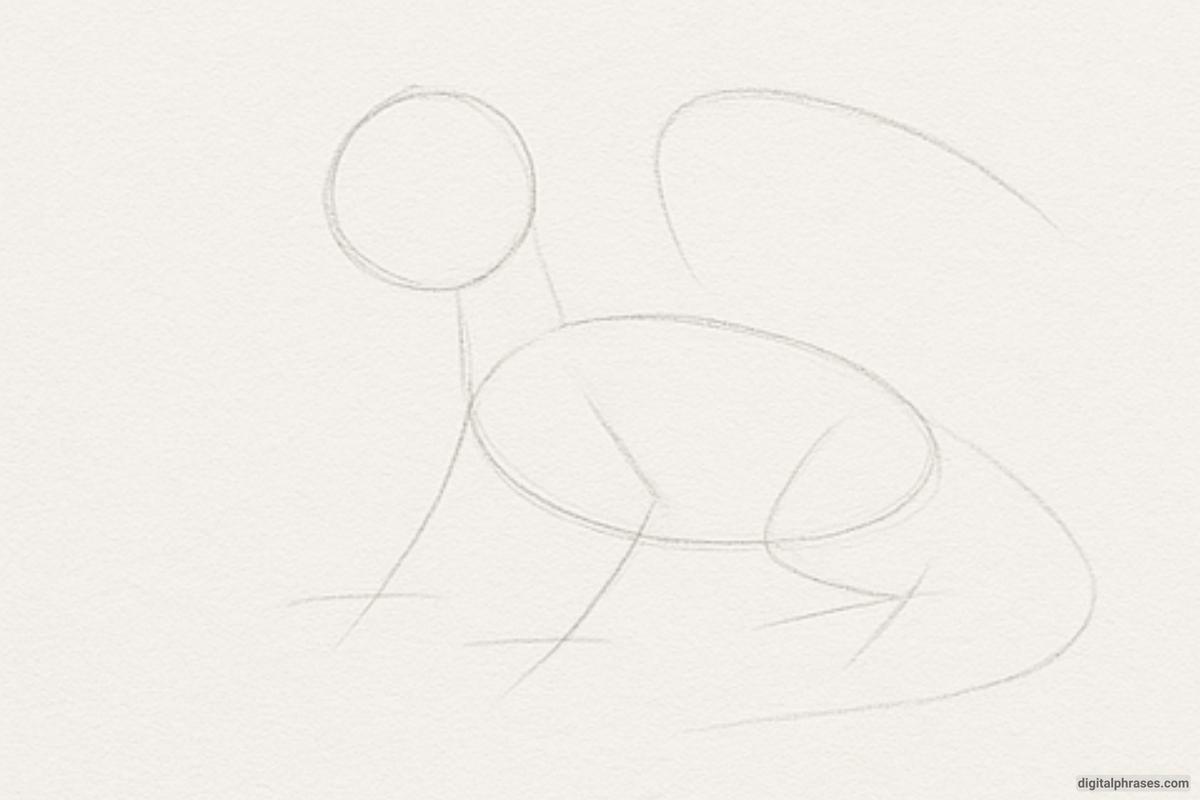
Step 1 – Sketch the Basic Structure
- Begin by drawing the basic outline of the dragon’s body. Use simple shapes like circles and ovals for the head and body to represent the dragon’s overall proportions.
- Draw a line for the tail and use light strokes to sketch out where the legs, wings, and neck will go. This step serves as a rough framework to establish the dragon’s pose and balance.
Step 2 – Define the Shape and Add the Features
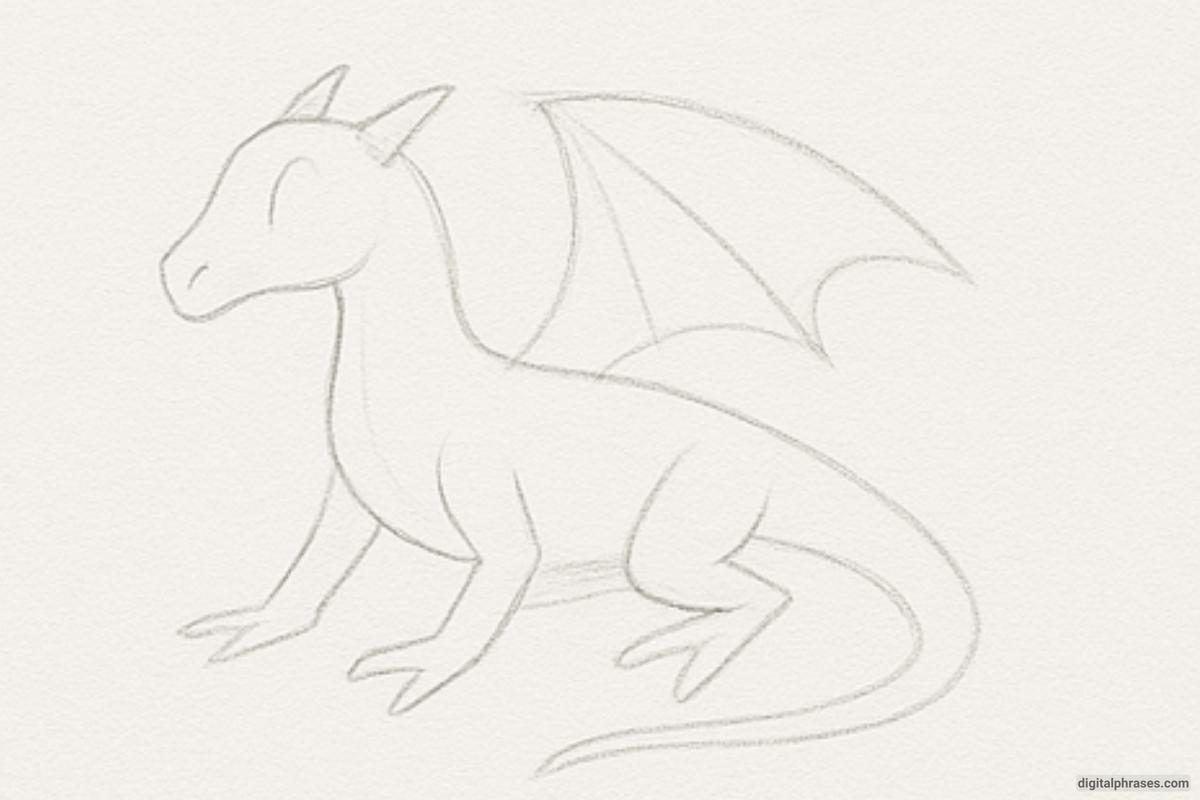
- Refine the dragon’s body by shaping the torso and legs more distinctly. Start to sketch the head and facial features like the eyes, nose, and mouth.
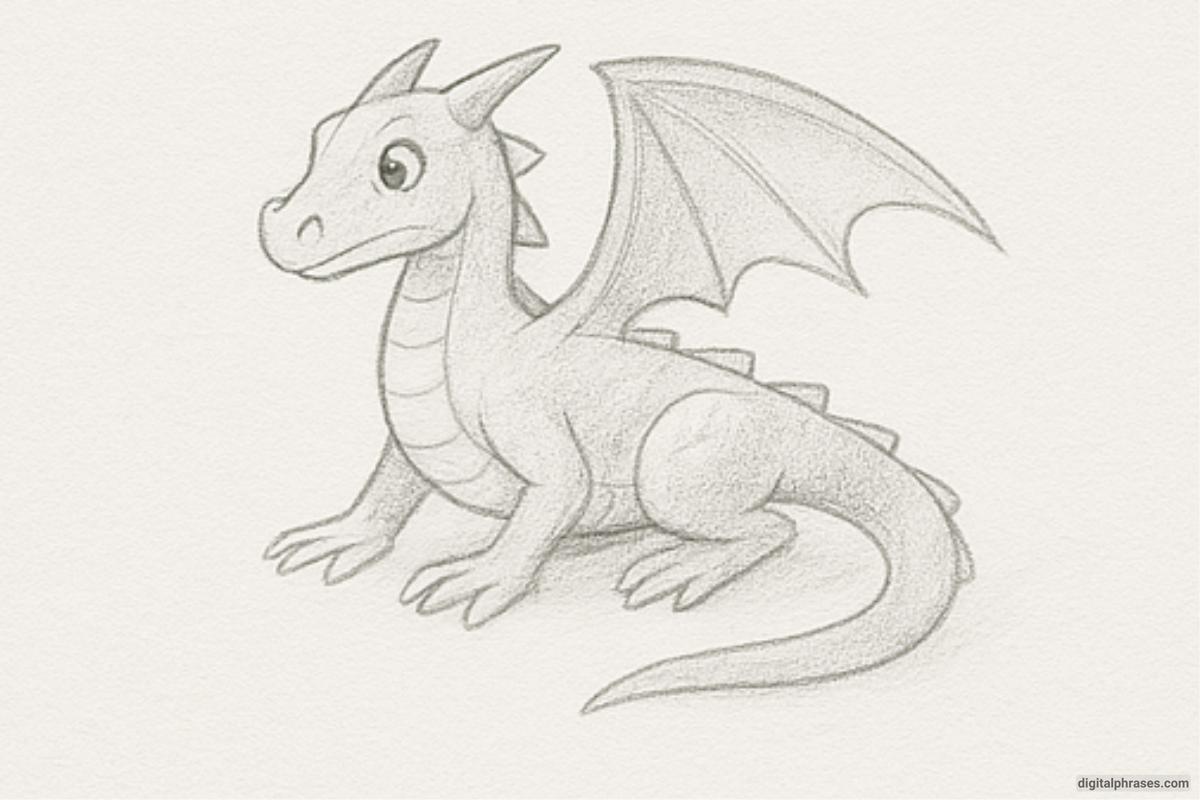
- Draw the wings extending from the back of the dragon, ensuring they have a bat-like shape. Make the arms and legs more defined with details like claws and muscles.
- At this stage, the dragon should look more like an animal, but with still some unfinished details.
Step 3 – Add Details and Texture
- Now, focus on adding finer details. Define the dragon’s scales, using light curved lines along the body, legs, and tail.
- Add any extra details like spikes along the back or other characteristics that define your dragon, such as horns or small wing textures.
- Focus on making the creature look dynamic and interesting by refining the features and ensuring the proportions are correct.
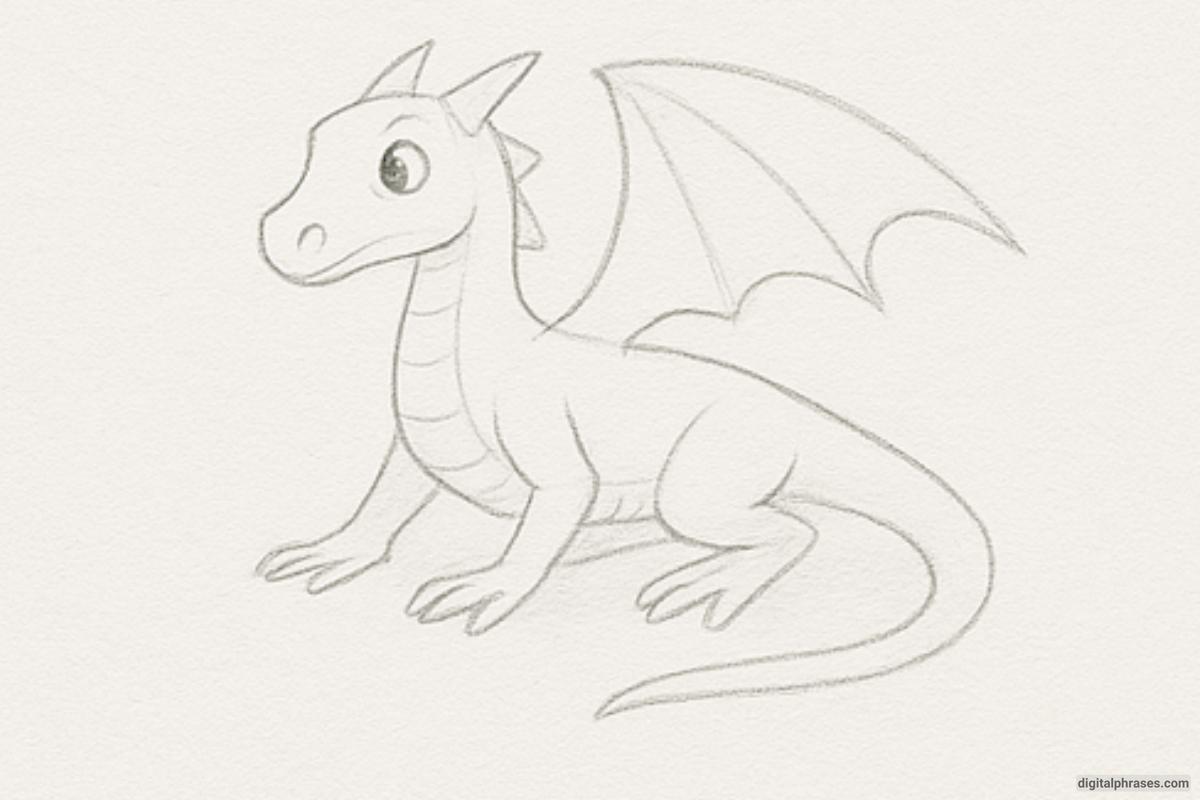
Step 4 – Final Shading and Polishing
- In this final step, apply shading to give the dragon a more three-dimensional appearance. Use shading along the underside, between the wings, and beneath the body to create depth.
- Darken areas like the back and around the tail, and use softer shading on the head and wings to highlight the texture.
- Add final touches to the wings and claws, enhancing the details to make the dragon look realistic and polished.
