How To Draw a Face
Here’s a simple and easy guide on how to draw a face.
Step-by-Step Instructions to Draw a Face:
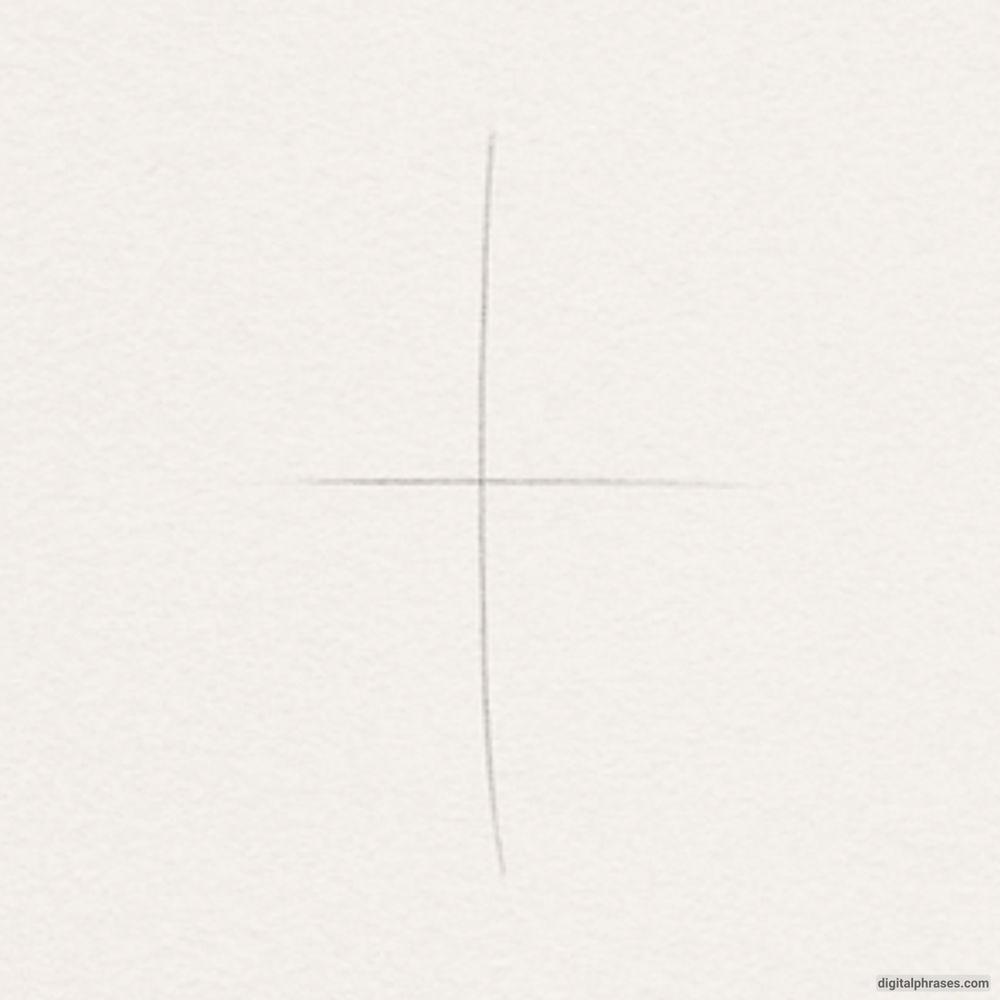
Step 1: Draw a Cross (Guidelines)
In the first step, you will draw a simple cross in the center of your paper. This cross serves as a guideline to position the features of the face.
Draw a vertical line first (down the middle of your page), and then draw a horizontal line across it, intersecting at the center. The vertical line will help align the face’s symmetry, while the horizontal line will guide where to position the eyes.
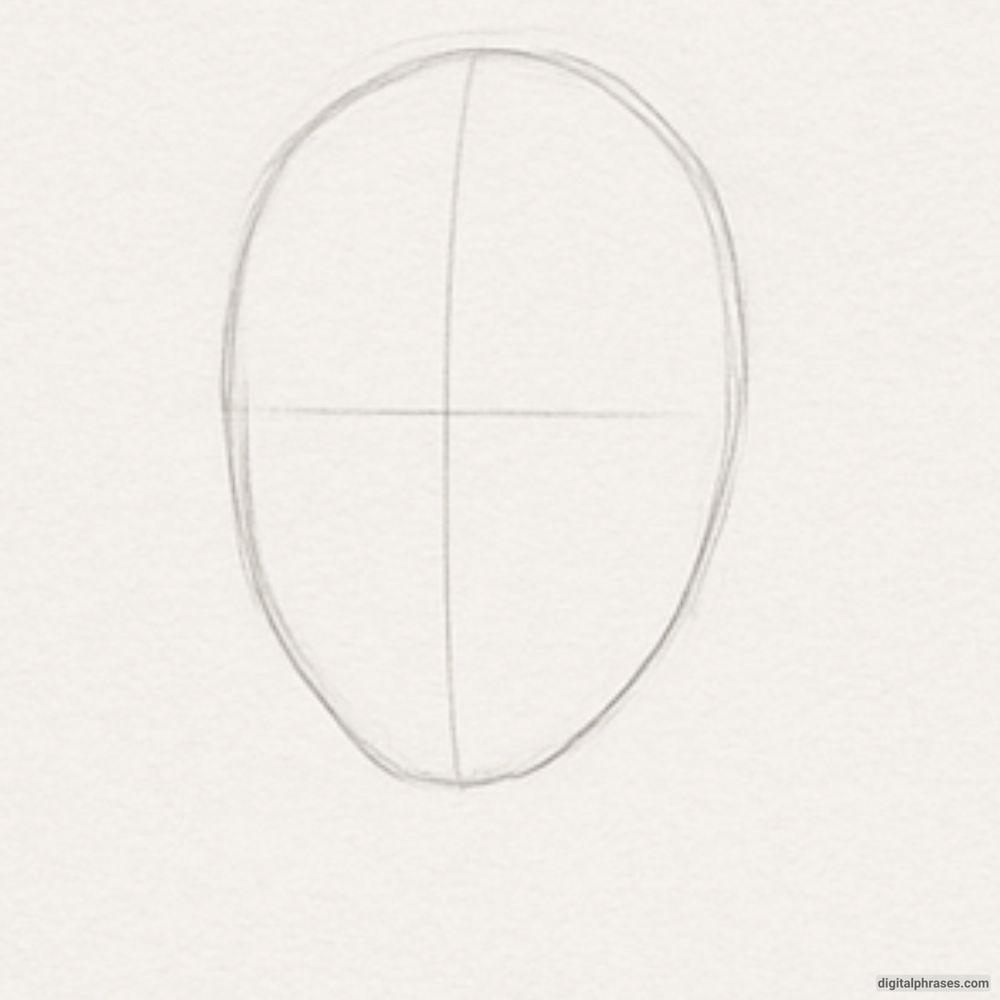
Step 2: Outline the Head Shape
Next, draw an oval shape around the intersection of the cross. This shape represents the outline of the head.
Notice how the oval is slightly longer vertically, giving it the general shape of a human head. This step is about defining the outer contour of the face, so it’s important to keep the lines smooth and balanced.
You can erase and adjust the oval as needed to ensure it looks symmetrical and accurate.
Step 3: Add Facial Guidelines
Here, you’ll add more lines to divide the oval and mark where the facial features will go. The first line should be a horizontal line through the middle of the oval, marking where the eyes will be placed.
The second line is a vertical line running down the center, which helps you ensure the nose, mouth, and other features are aligned.
These lines are just guides, so don’t worry about them being perfect. Their purpose is to keep everything proportional as you add details later.
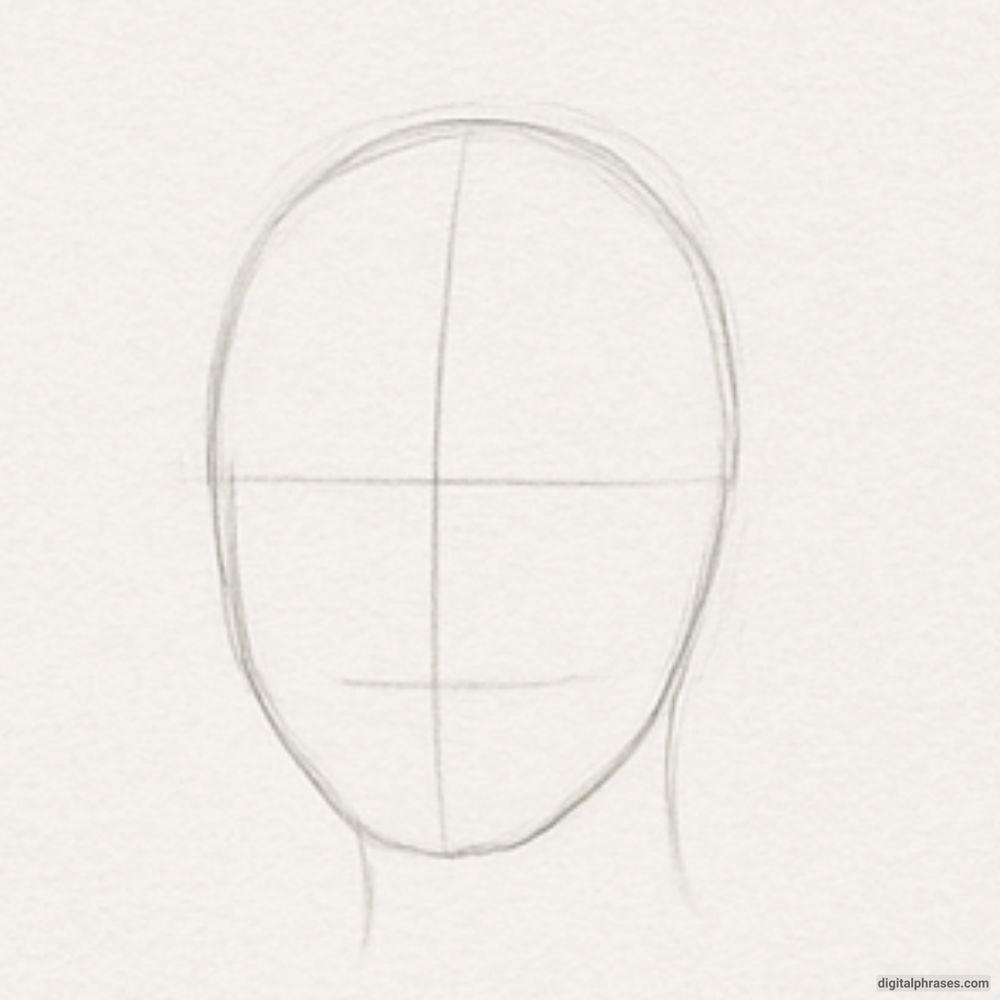
Step 4: Refine the Face Structure
Now that you have the basic shape and guidelines, it’s time to refine the face’s outline and structure.
Begin shaping the jawline and the overall contour of the face. The lines should gently curve down from the sides of the oval to create a more natural face shape.
You can start detailing the sides of the face and make slight adjustments for a more realistic look. Pay attention to the chin, as it should gradually come to a point, completing the face’s structure.
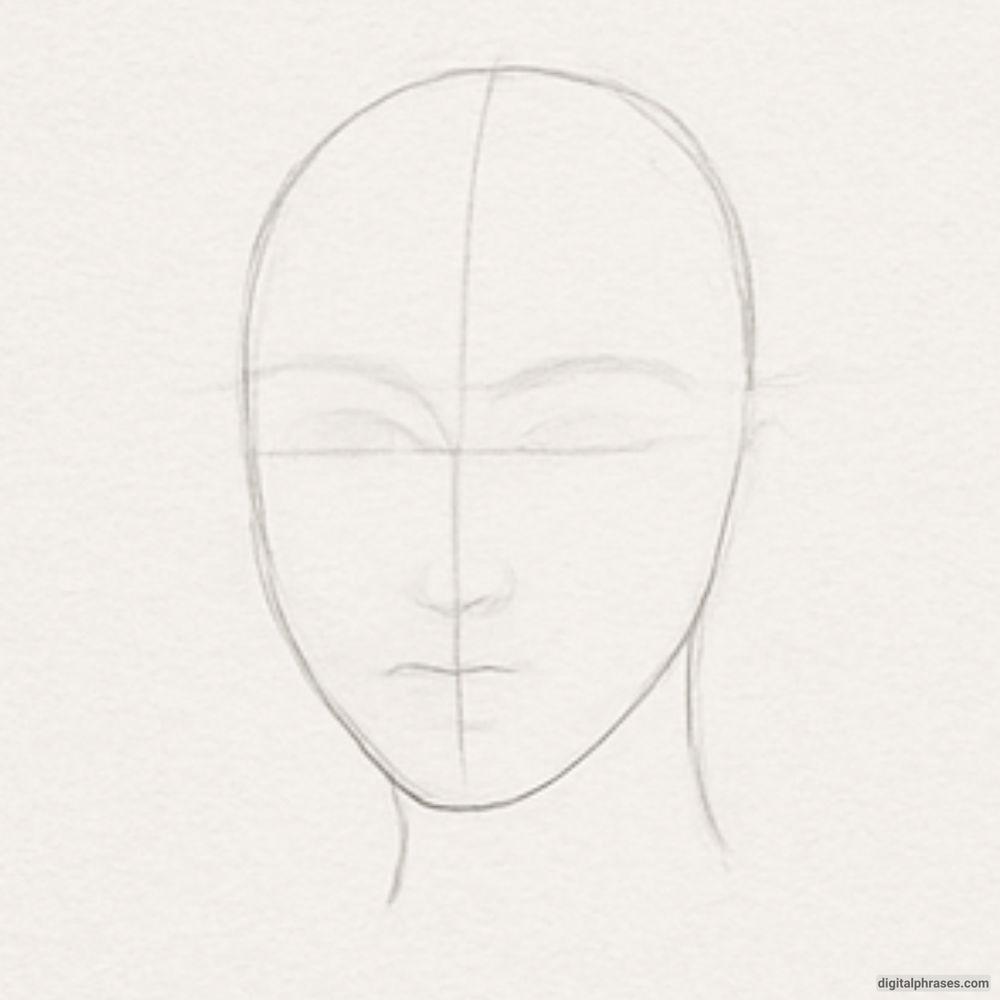
Step 5: Sketch the Eyes and Nose
Start adding the eyes and nose along their respective guidelines. The eyes are generally placed along the middle horizontal line.
Begin by sketching two almond-shaped eyes, making sure they are evenly spaced on either side of the vertical line. Then, for the nose, use the center vertical guideline to position it accurately in the middle of the face.
The bottom of the nose is typically placed between the halfway mark and the chin, so you can sketch the nose accordingly.
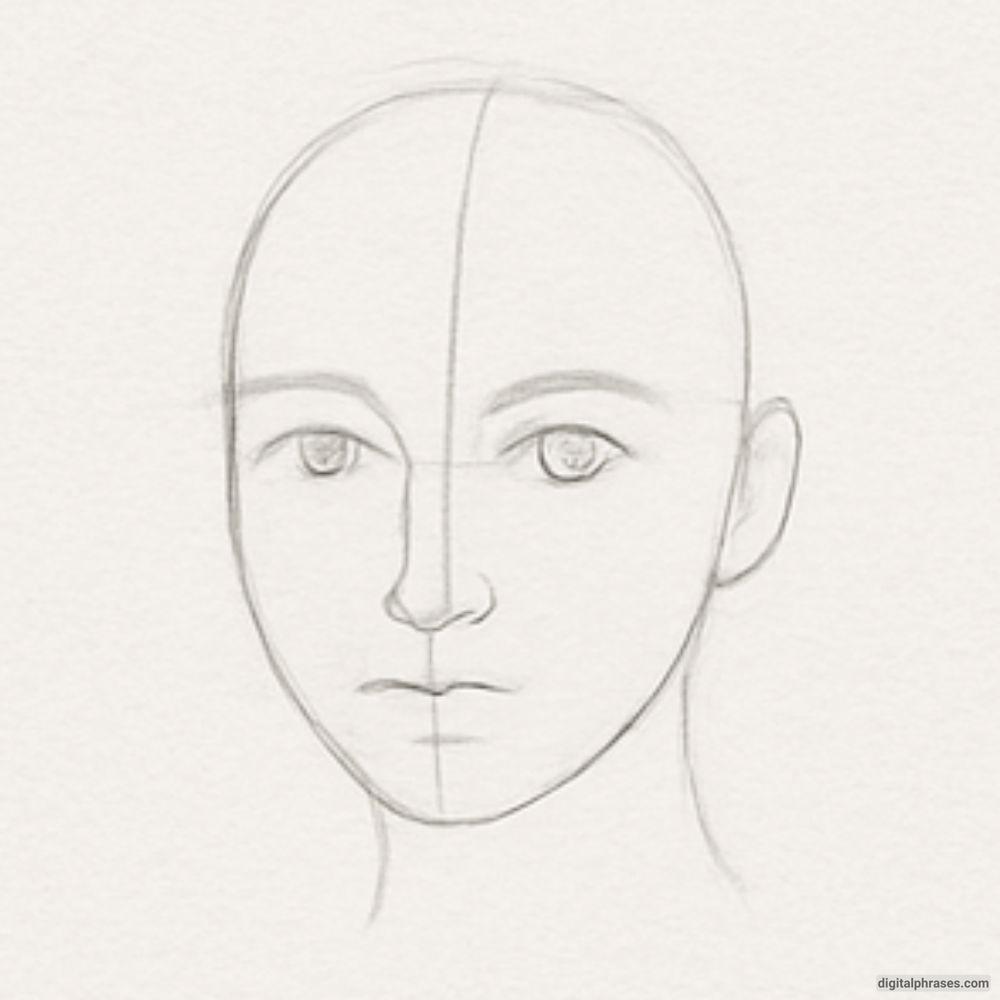
Step 6: Add the Ears and Eyebrows
At this stage, it’s time to add the ears and eyebrows.
Position the ears along the side of the head, between the horizontal lines for the eyes and the nose.
This placement is crucial for getting the proportion right. Sketch the ears carefully, considering their shape and size. Then, draw the eyebrows above the eyes. Use the space above each eye to create a natural arc for the eyebrows.
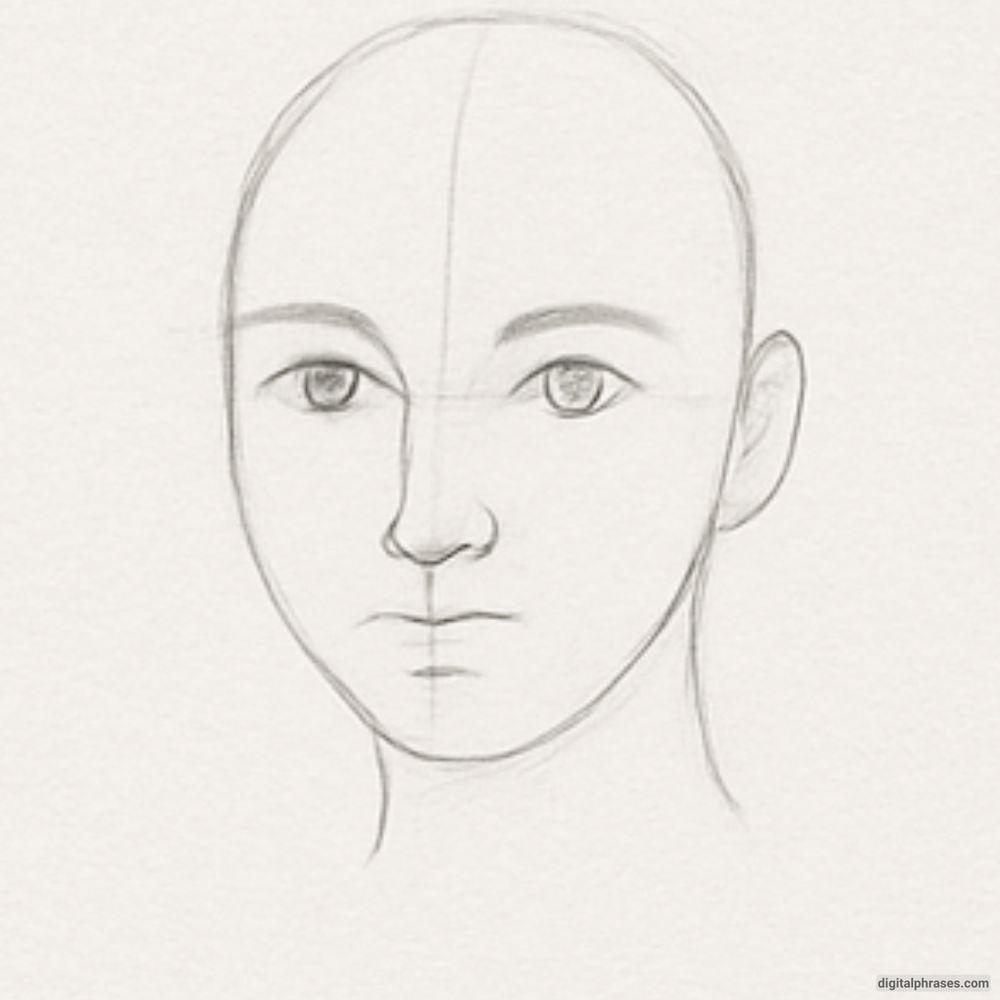
Step 7: Sketch the Mouth and Neck
Next, move to the lower part of the face to add the mouth and neck. The mouth is usually placed halfway between the bottom of the nose and the chin, so use that as a reference point.
Draw a soft horizontal line where you want the mouth to go. For the neck, use the sides of the head and extend two vertical lines downward to create the neck’s shape.
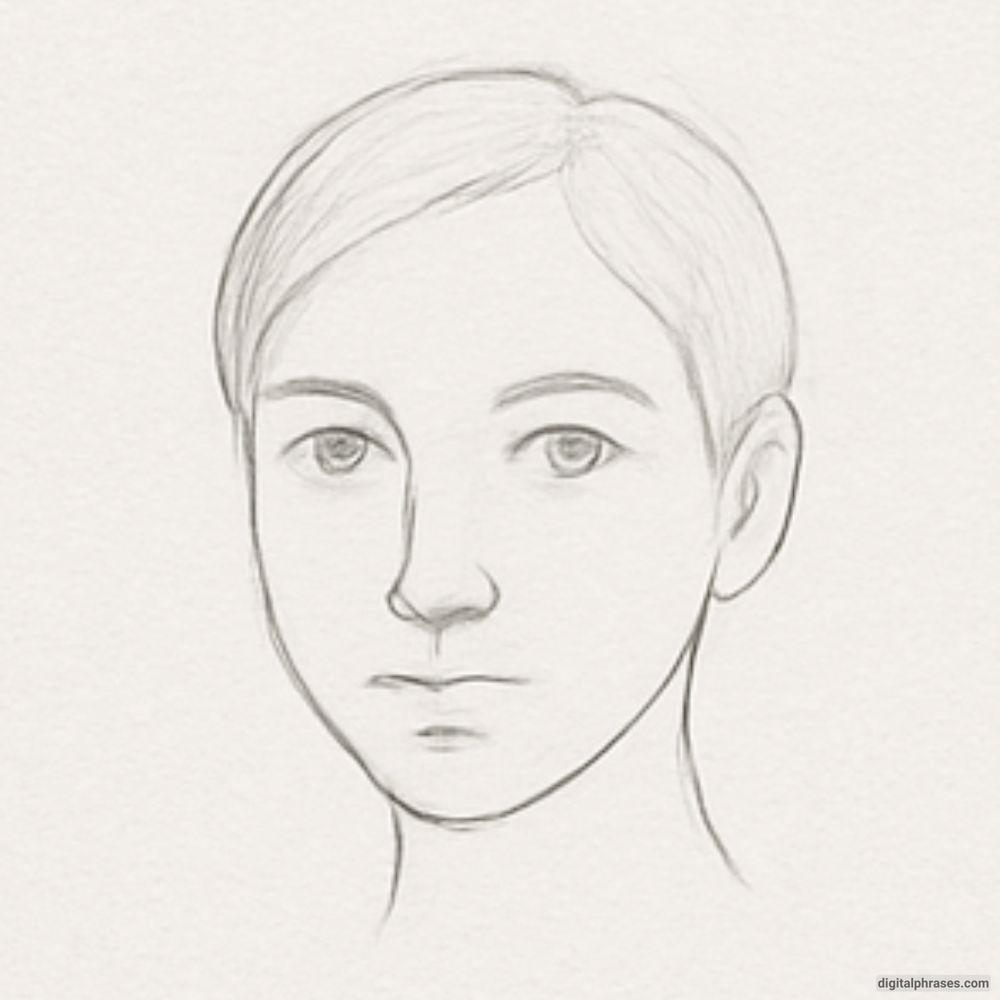
Step 8: Detail the Hairline
At this point, you can begin adding the hairline and any initial details for the hair. Depending on the hairstyle you are going for, start sketching the outline of the hair. For this step, use light lines to suggest where the hair will flow, keeping in mind that hair generally frames the face.
Adjust the hairline based on the character you are drawing.
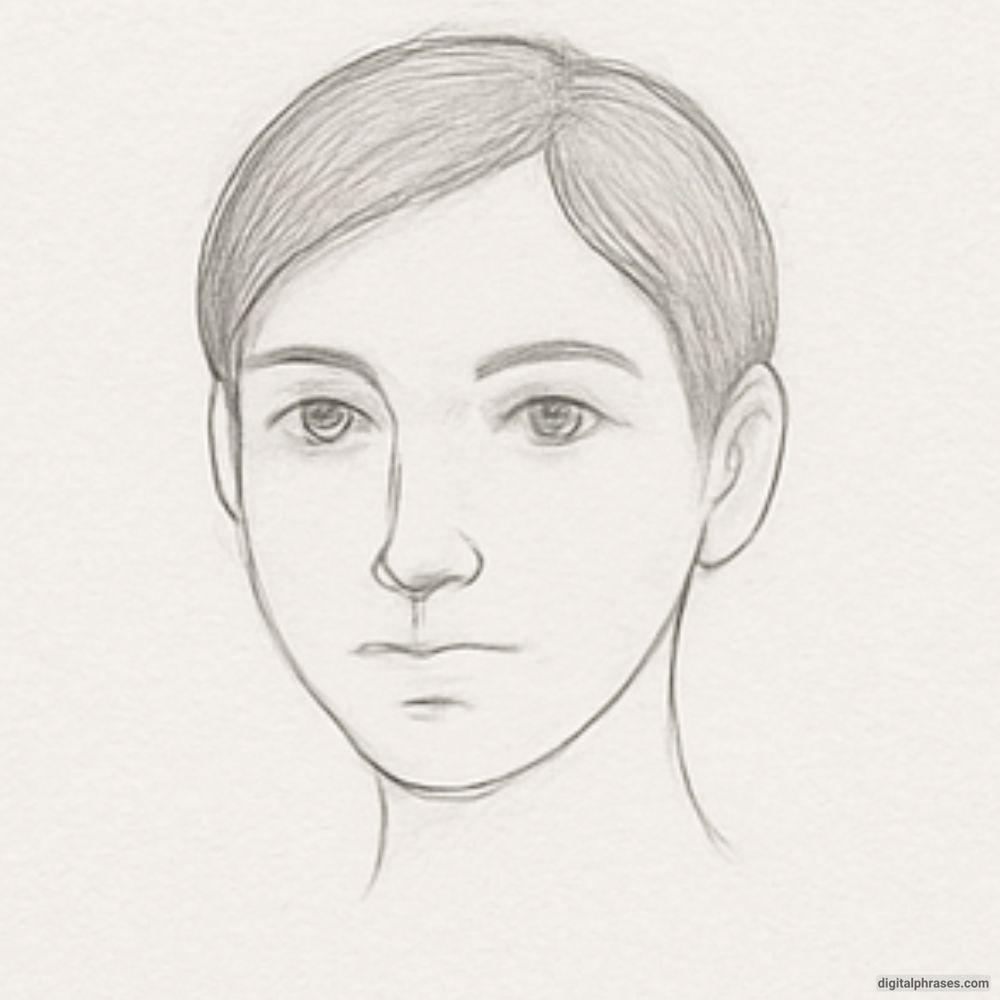
Step 9: Finalize the Drawing
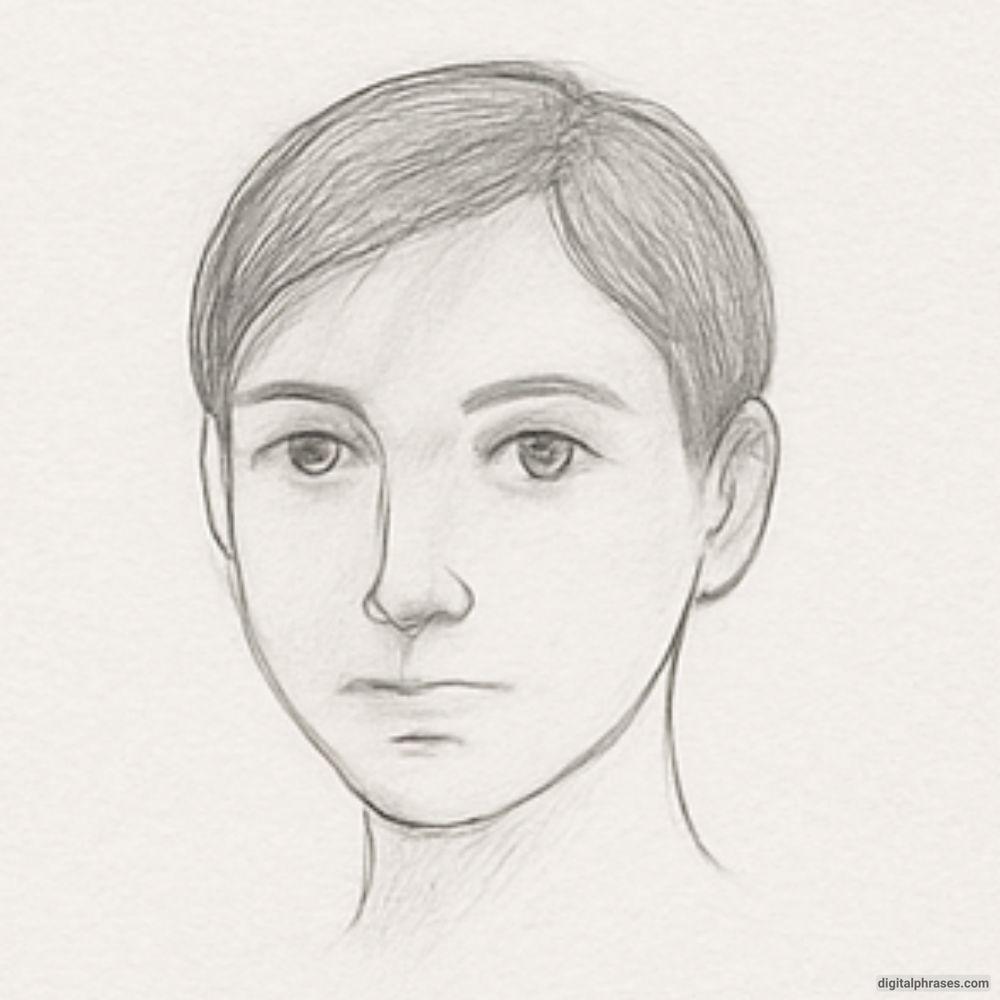
Now, it’s time to refine your drawing. Go over all the lines you’ve drawn, correcting any mistakes, and adding finer details.
Define the jawline, enhance the eyes, nose, and mouth with darker lines, and add shading or texture where needed. Erase any unnecessary guidelines (such as the original cross) and add final touches to the hair, ears, and neck.
Equipment Needed:
Here is a list of essential tools you’ll need to complete this drawing:
- Pencil – A good quality pencil (preferably HB or 2B) for initial sketching and details.
- Eraser – A soft eraser to correct mistakes and lighten pencil lines that are no longer needed.
- Paper – A smooth drawing paper or sketchbook that is durable enough to handle erasing and shading.
- Ruler (Optional) – A ruler can help with straight lines if you want to be precise with your guidelines.
- Blending Stump (Optional) – If you’re adding shading to the drawing, a blending stump helps blend graphite smoothly, creating soft shadows.
Colored Pencils/Markers (Optional) – If you want to add color to the face or hair, colored pencils or markers are a great addition.

