How To Draw a Frog – A Step-By-Step Guide
Here is a simple, straight-forward method towards drawing a frog.
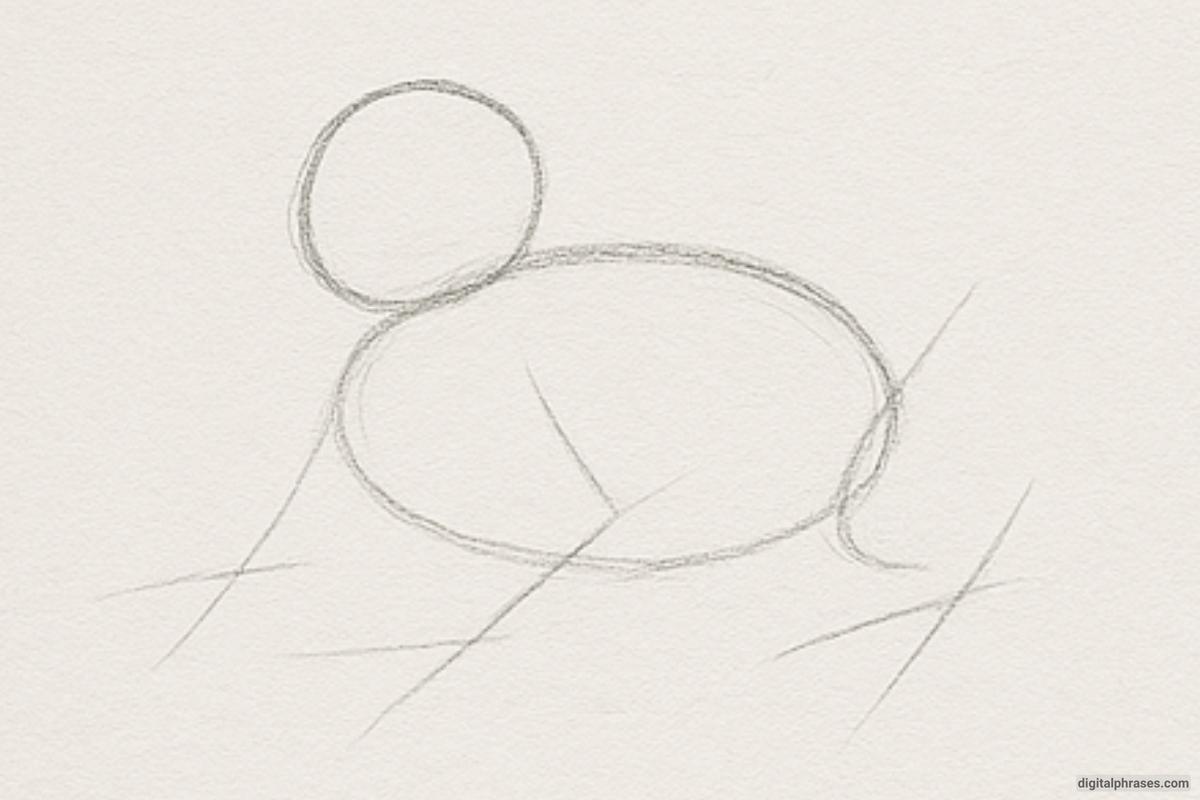
Step 1 – Draw Basic Shapes
Start with light pencil strokes:
- A large oval or circle for the body.
- A smaller circle or oval on top for the head.
- Light lines to guide limb placement.
Step 2 – Sketch the Limbs
- Draw two curved lines extending from the body for the front legs.
- Add longer, bent lines for the back legs.
- Use ovals or circles at the ends to mark hands and feet.
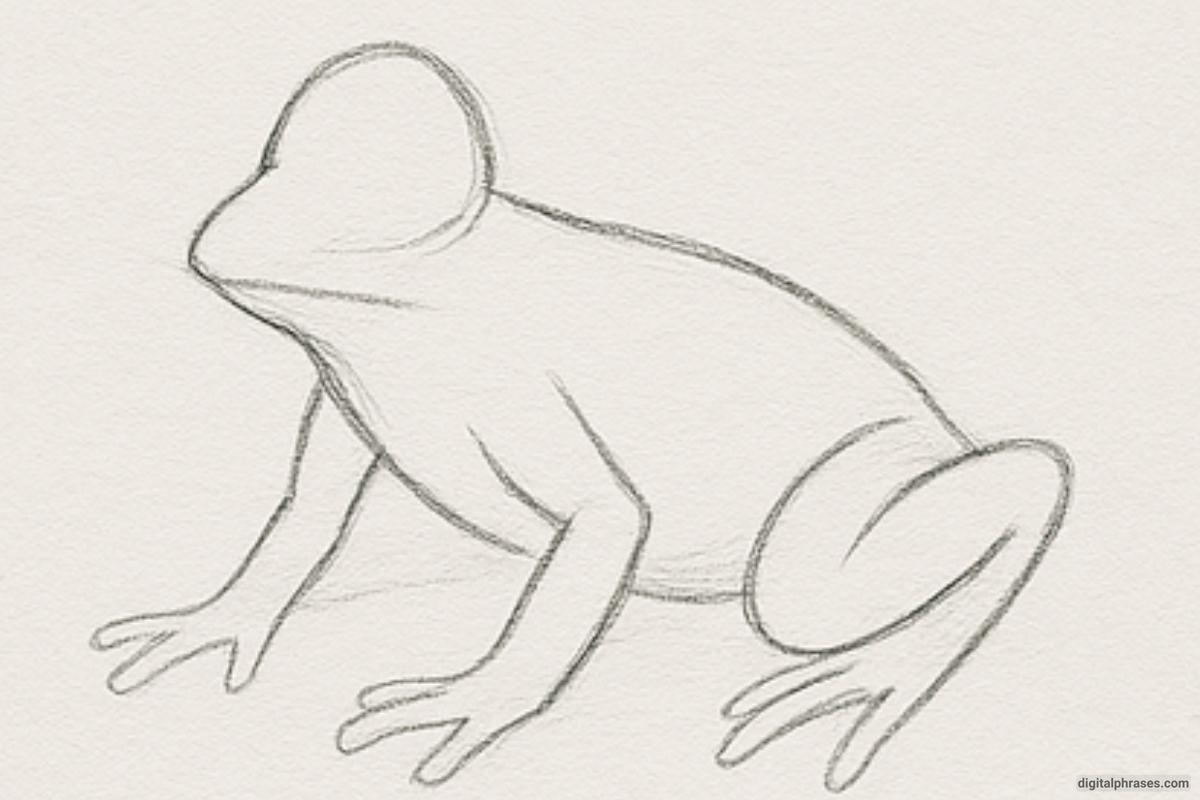
Step 3 – Outline the Frog’s Shape
- Refine the head and body into a more natural frog shape.
- Connect the limbs to the body with smooth, curved lines.
- Shape the fingers and toes—frogs often have rounded or webbed toes.
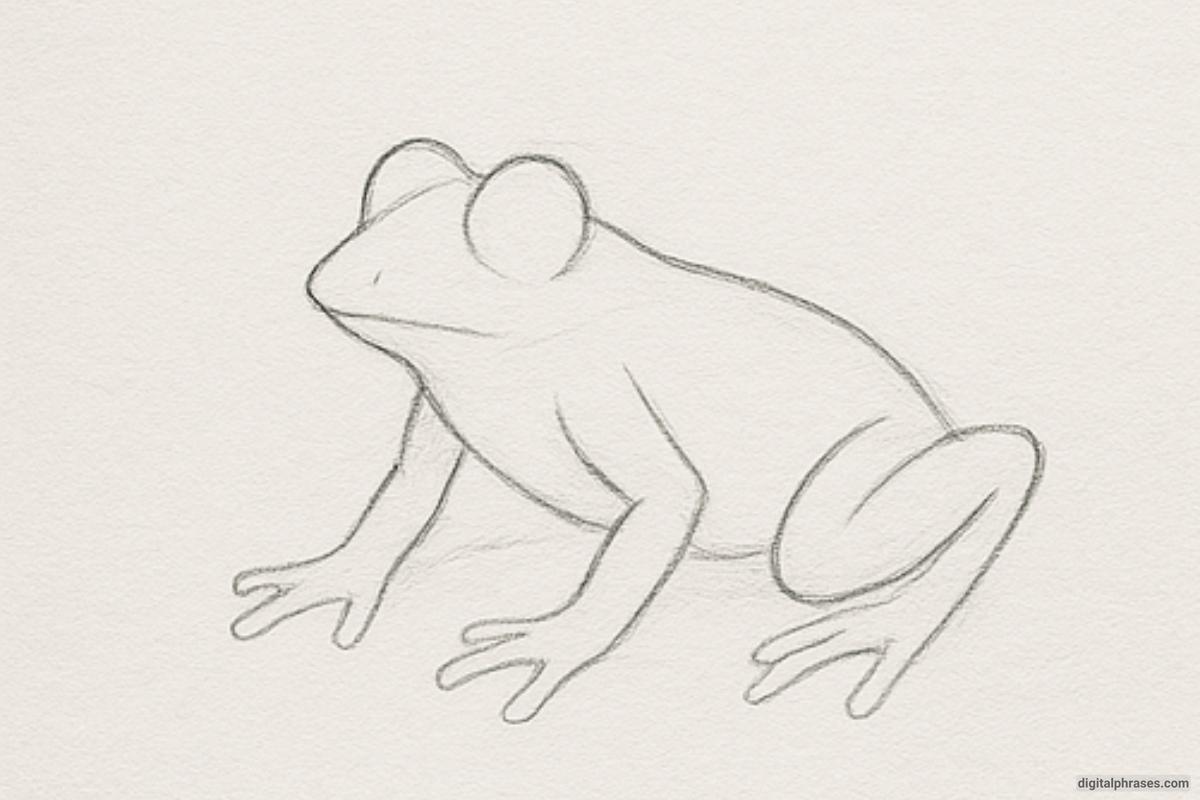
Step 4 – Add Facial Features
- Draw two large round eyes on top or sides of the head.
- Add pupils, and optionally a small line or dot for the nostrils.
- Sketch a slight curve or line for a simple, froggy smile.
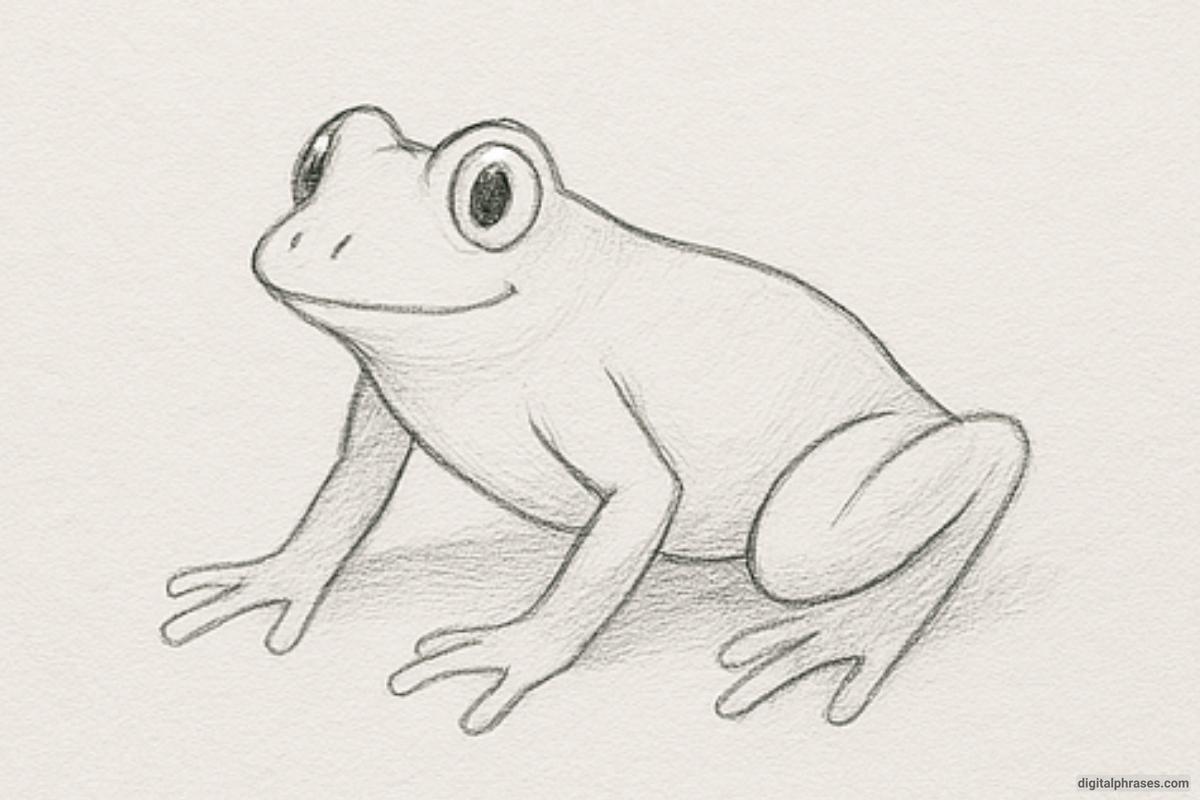
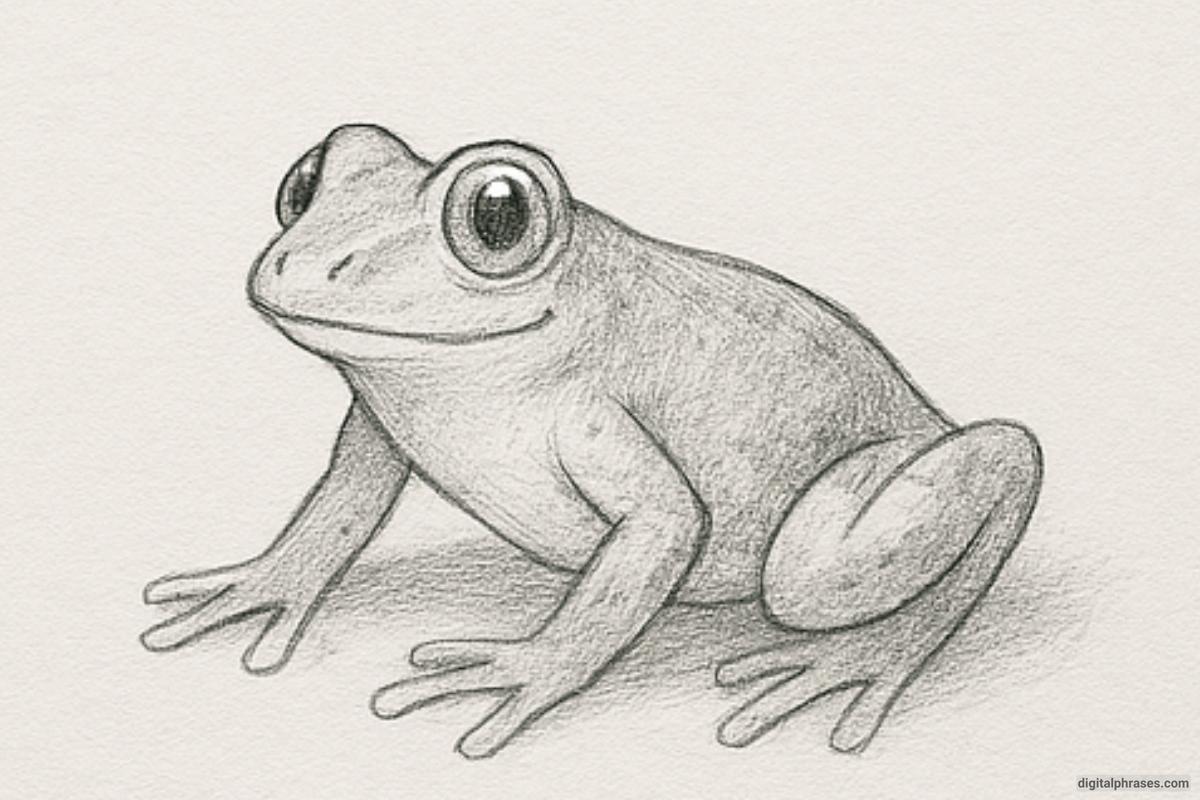
Step 5 – Detailing
- Add skin texture or bumps if you want realism.
- Use light shading to define muscle structure or roundness.
- Shade around the eyes and under the belly to give depth.
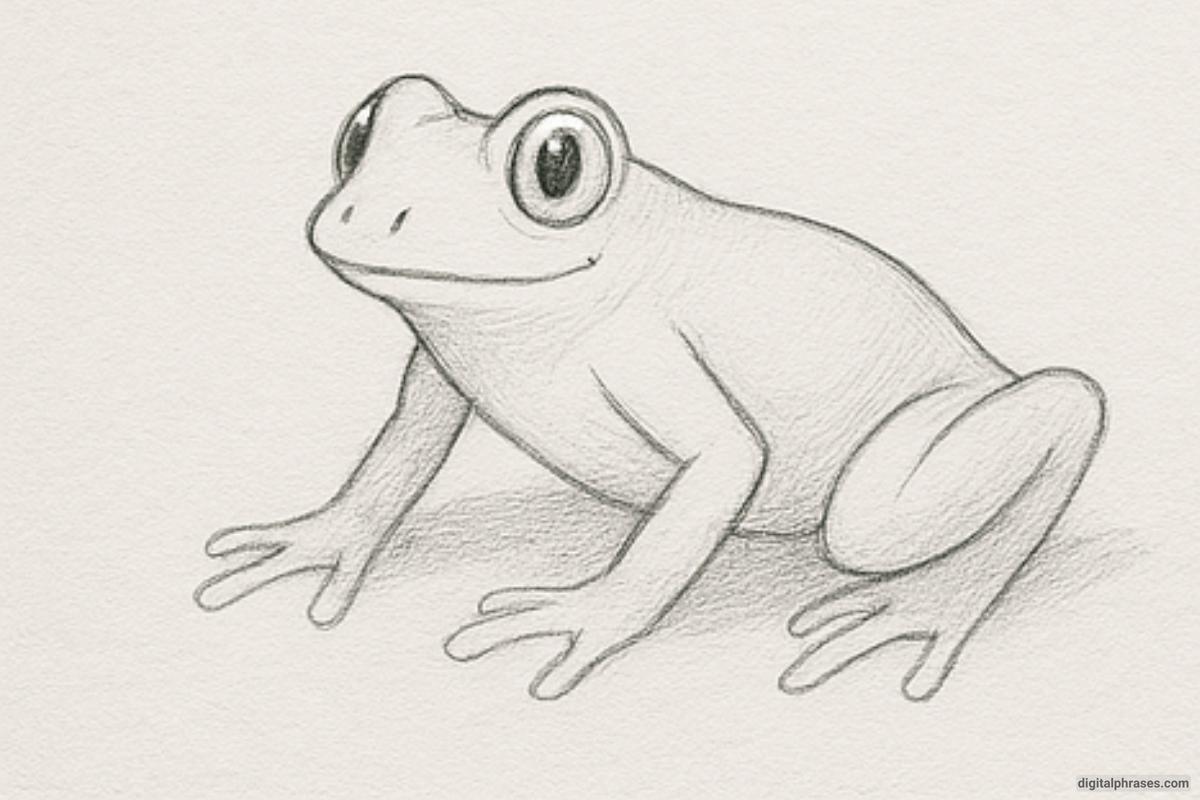
Step 6 – Refine & Finish
- Erase any unnecessary guide lines.
- Darken the final lines.
- Add more shading to give a realistic or stylized look.
- Optional: Add a lily pad, pond, or background details.
