How To Draw a Garden
Here’s a step-by-step guide on how to draw a garden.
Tutorial on How To Draw a Garden
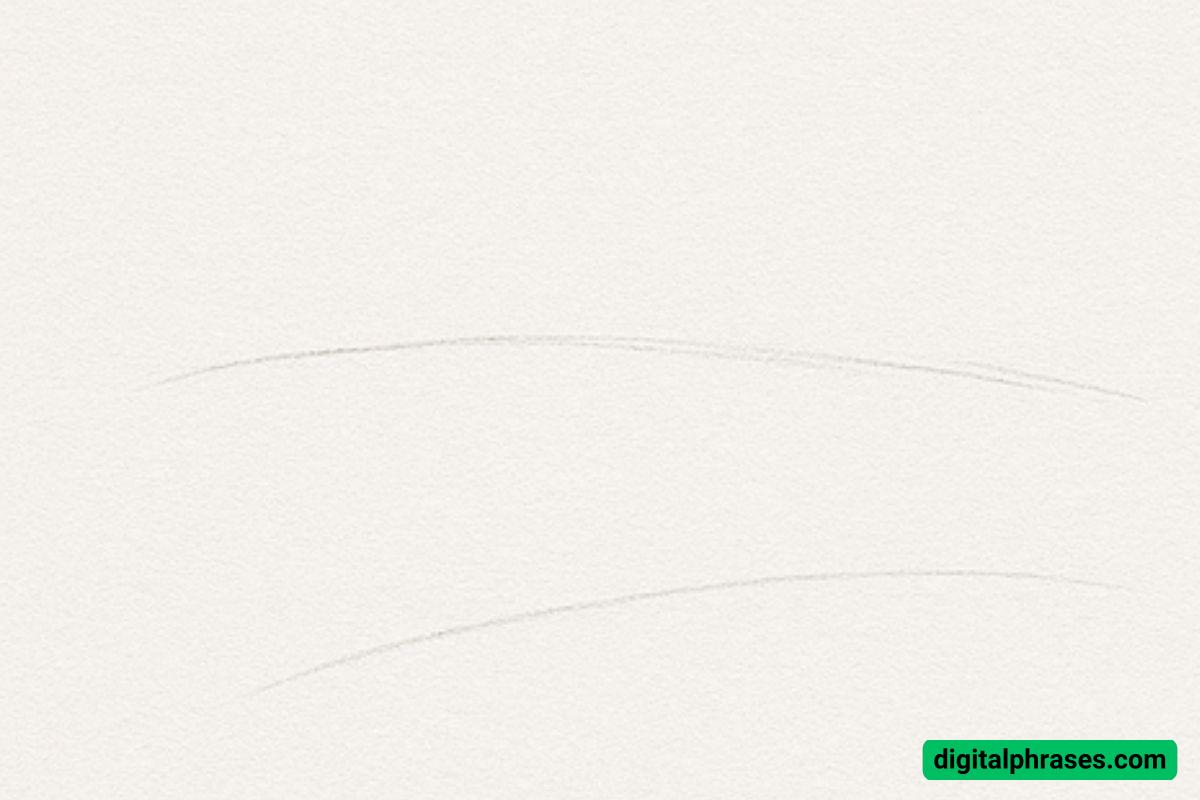
Step 1: Draw the Ground Layers
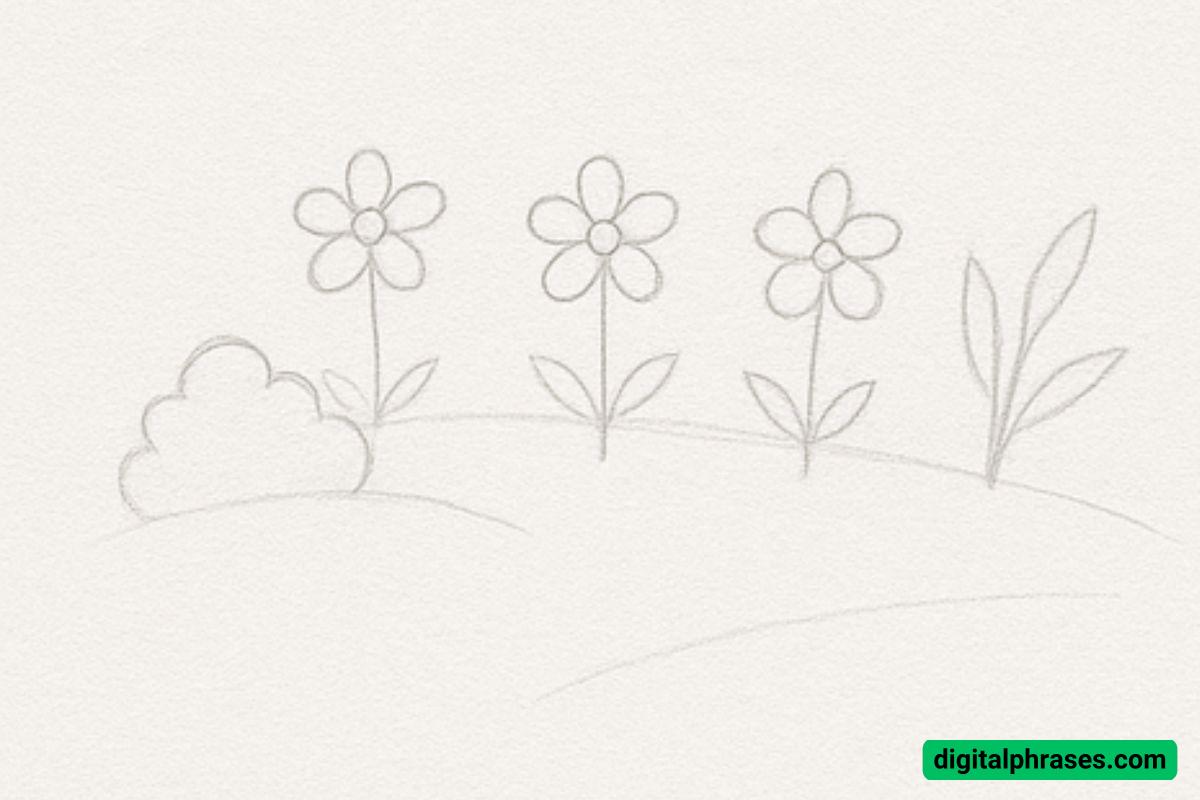
We’ll start by laying out the foundation. Lightly sketch two curved, horizontal lines across the page. These represent the rolling ground or grassy mounds in the garden.
This creates a sense of depth and separates the foreground from the background. Make sure the curves are gentle—this keeps the scene looking natural.
Step 2: Add the Flowers and Stems
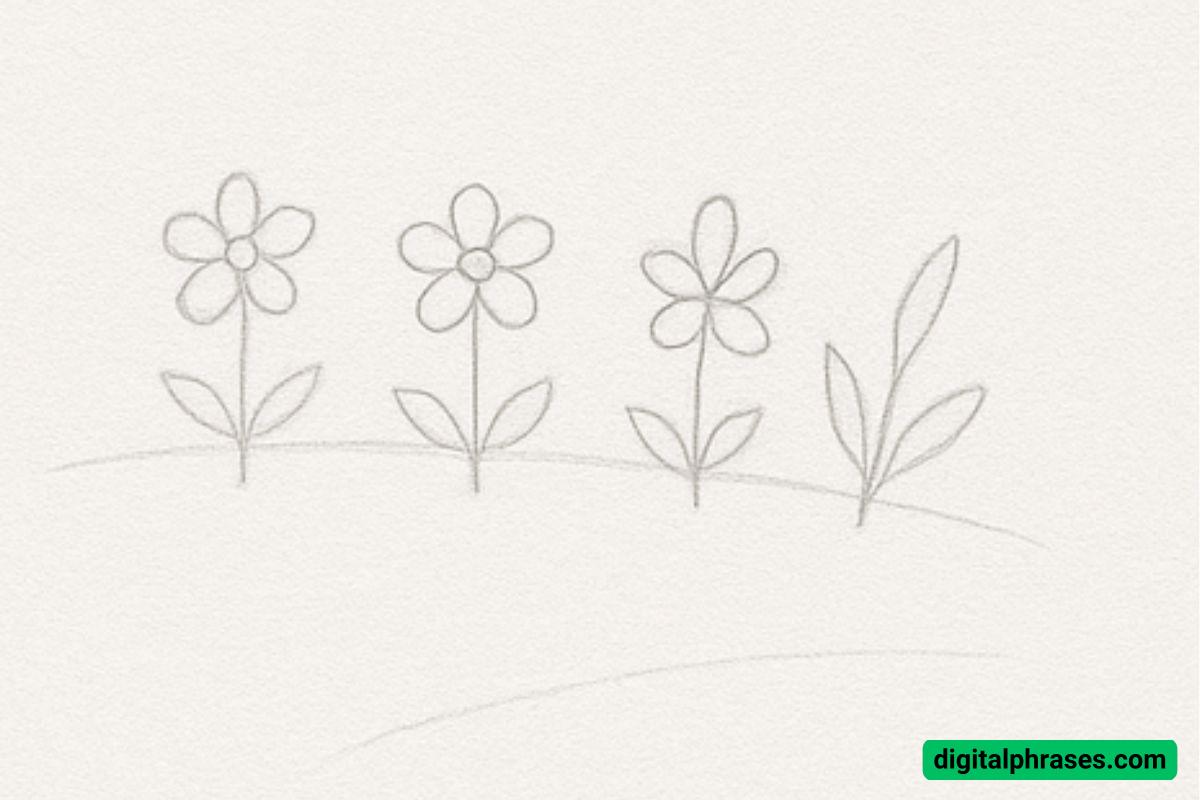
Now let’s bring in the life! Begin drawing flowers along the back curve (upper hill).
Start with three to four simple daisy-like flowers—each with a circular center and evenly spaced petals around it. Under each flower, add two leaves and a slender stem.
You can vary the angle of the petals or leaf direction slightly to keep it natural. Add one taller plant or leaf bunch on the right to create a bit of variety.
Step 3: Include a Bush for Depth
Time to introduce more greenery! On the left side, sketch a bush to add balance and depth to the composition.
The bush can be made with several connected semi-circular shapes to represent fluffy foliage. Now your garden has both vertical (flowers/plants) and rounded (bush) shapes—great visual contrast.
The drawing should already be looking vibrant in form, even before shading.
Step 4: Add Background Details and Shading
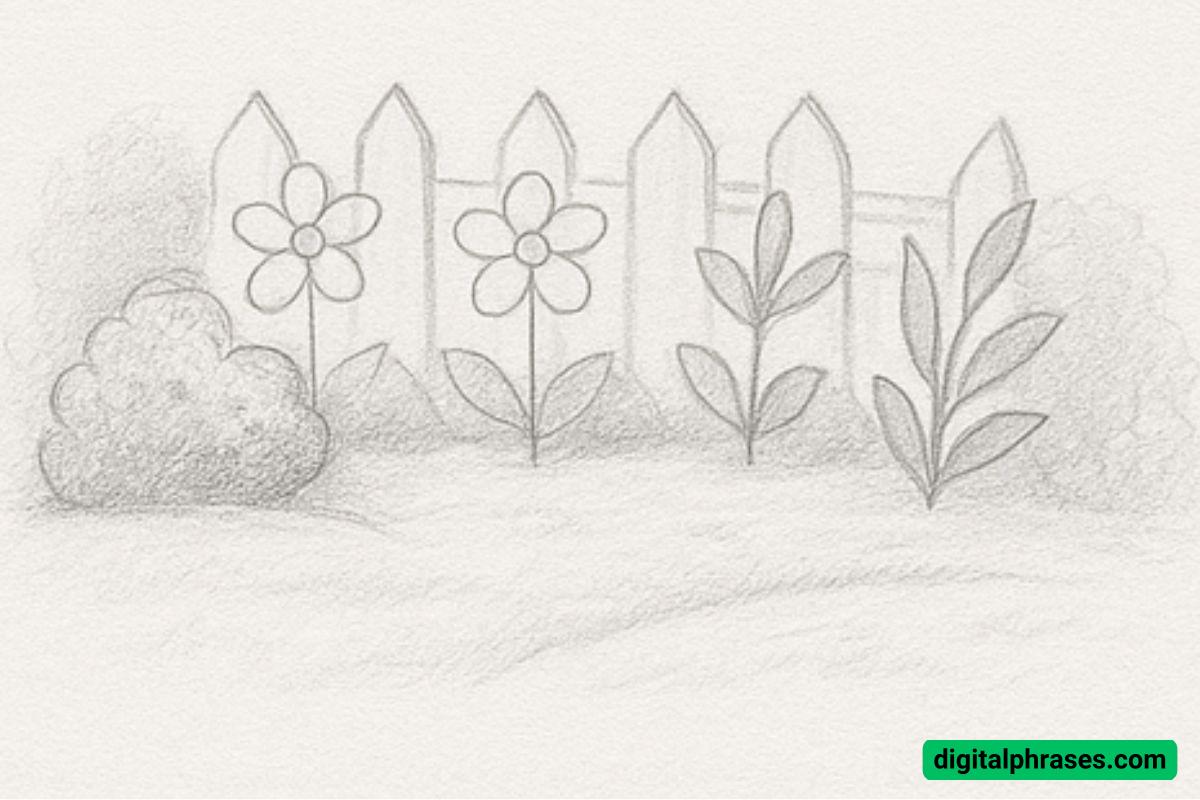
This is where your sketch really comes to life. Add a simple wooden picket fence behind the flowers. Each fence plank is a tall, narrow rectangle with a triangular top. Space them evenly for a neat look.
Now, shade the bushes with a stippling or circular motion to give them texture. Add light shading on the ground and behind the fence to suggest grass and shadows.
Finally, darken some flower centers and parts of the leaves to add depth. Your peaceful garden scene is now complete!
List of Equipment Needed
- Pencil (HB or 2B) – For clean sketching and gentle shading.
- Eraser – To correct shapes or clean up any overlapping lines.
- Blending tool (stump or tissue) – Optional, to smooth out shaded areas.
- Sketchbook or drawing paper – A mid-to-light texture paper works best.
- Ruler (optional) – For drawing fence lines evenly.

