How To Draw a Goat
Here’s a simple and easy tutorial for drawing a goat.
Step-by-Step Goat Drawing Tutorial For A Goat
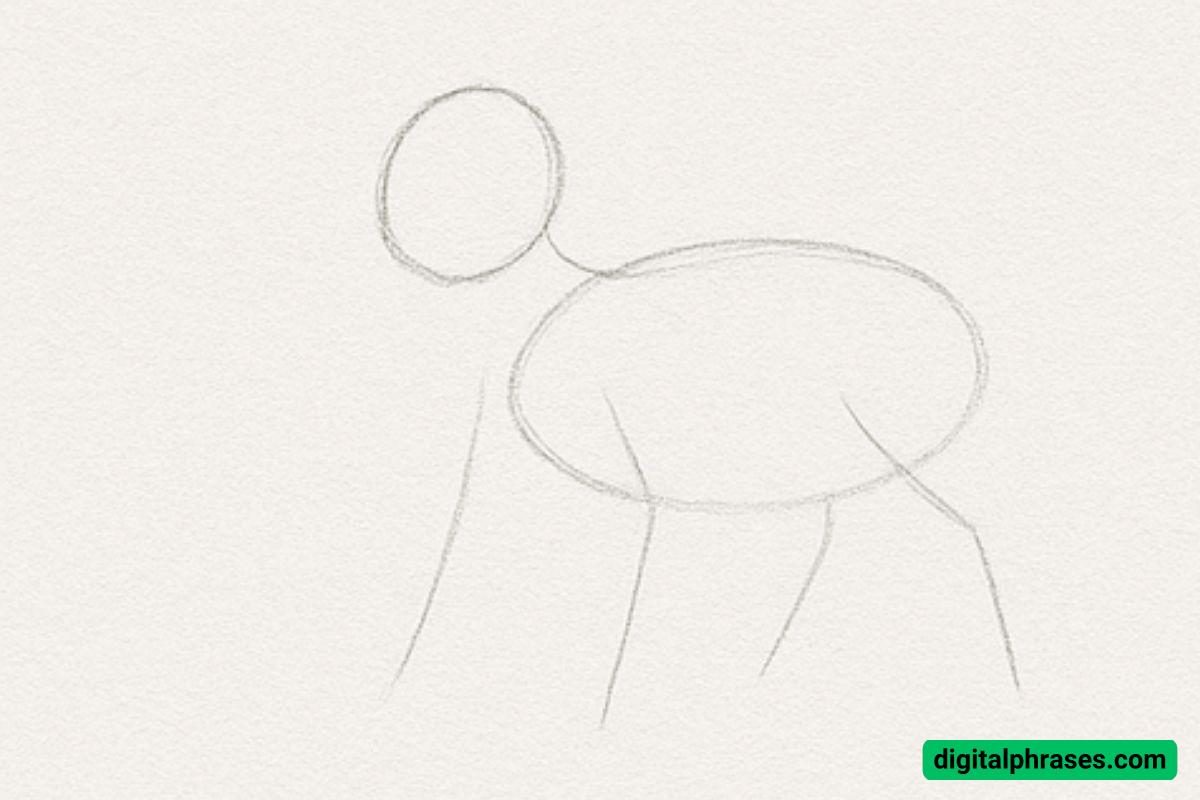
Step 1: Basic Framework
Begin by laying down the foundational shapes of the goat using light pencil strokes.
Start with a small oval for the head, and a larger horizontal oval for the body, positioned slightly lower and to the right.
Connect the two with a slight curve that will form the neck.
Sketch four lines extending downward from the body — these are your leg guidelines.
At this stage, the idea is to establish proportions and posture. Don’t worry about details yet; focus on balance and spacing.
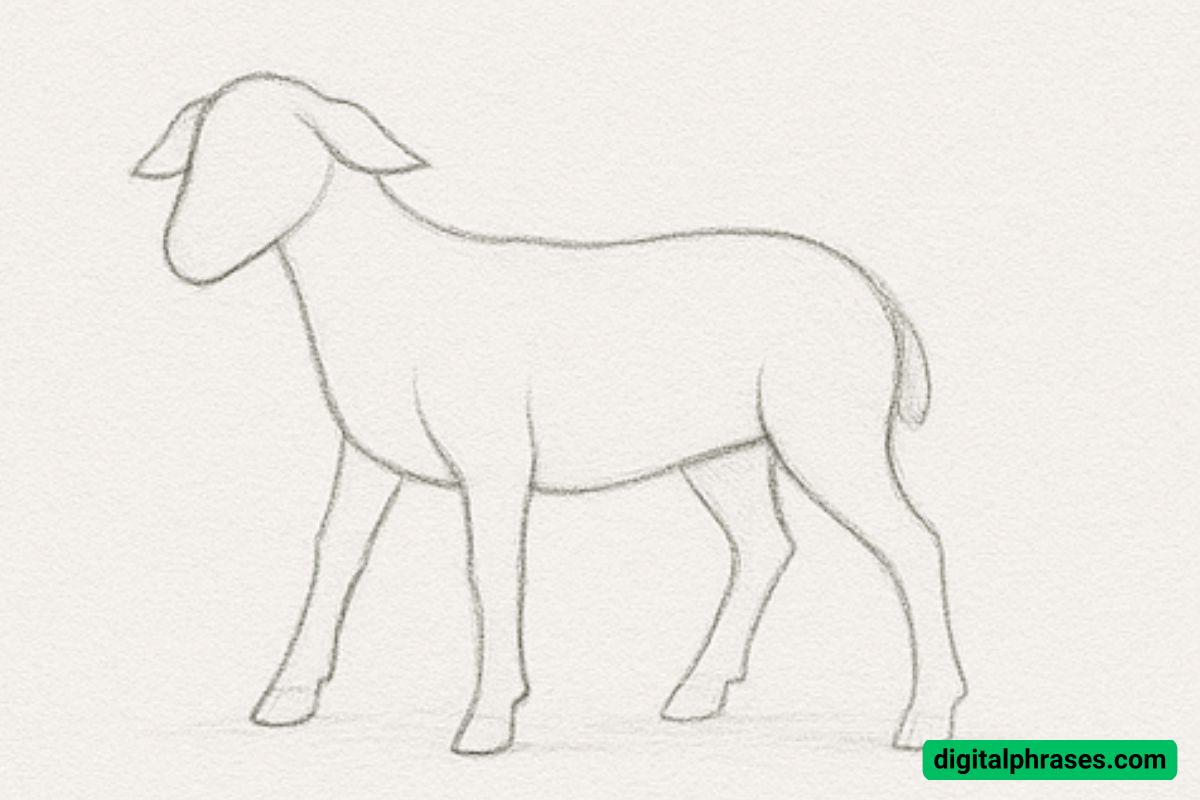
Step 2: Outline the Goat’s Form
Using the basic shapes as a scaffold, begin refining the outline of the goat’s body.
Define the shape of the head with a slightly slanted snout and a curve for the cheek. Extend the neck into a more natural transition into the body.
Then, draw the legs around your initial guidelines, thickening them slightly for a realistic appearance. Don’t forget to add a small tail at the back and define the ears and beginning shapes of the horns on the head.
The body should now look more goat-like and proportionate.
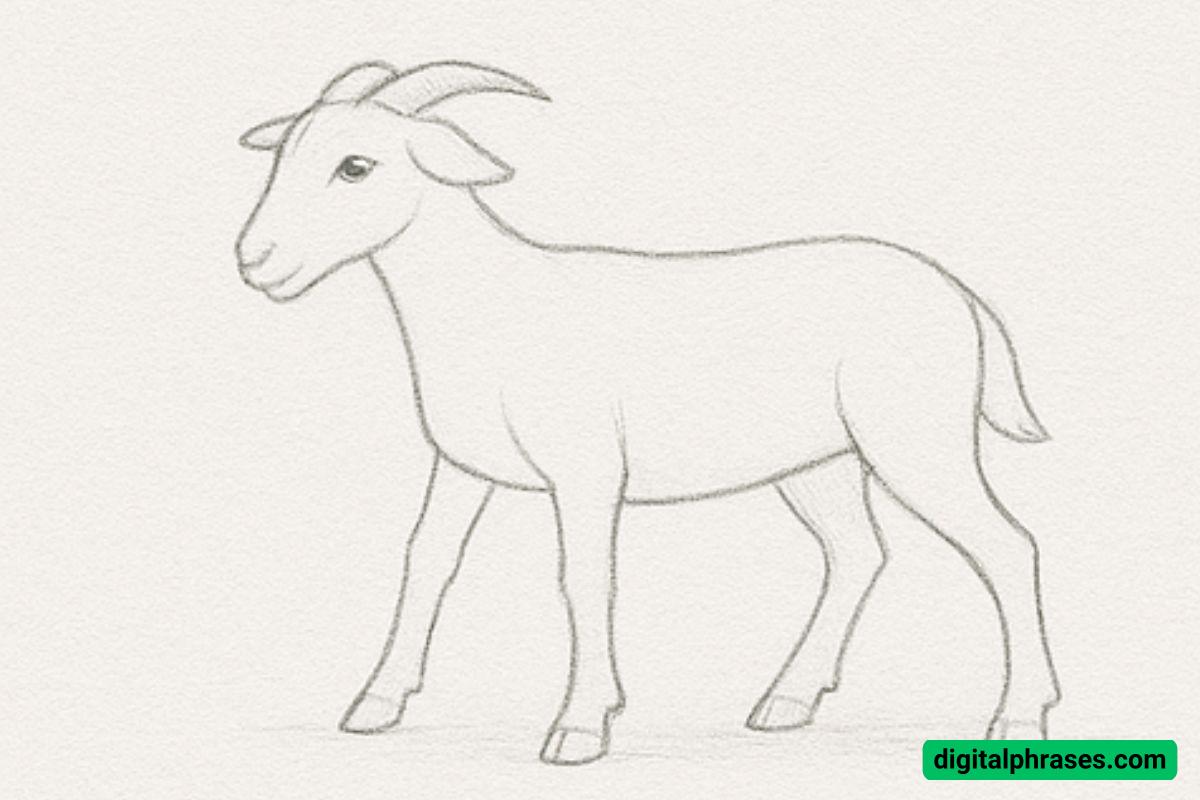
Step 3: Add Facial Features and Horns
Now it’s time to bring life to your goat.
Add in a clear almond-shaped eye, a subtle curve for the mouth, and a small nostril on the snout. Refine the ears and draw the horns curling backward in an arched shape. The horns should emerge from just behind the ears and curve smoothly.
Also, add a short beard to the underside of the chin to enhance the goat’s characteristic appearance. Clean up any unnecessary guidelines from previous steps to keep your drawing tidy.
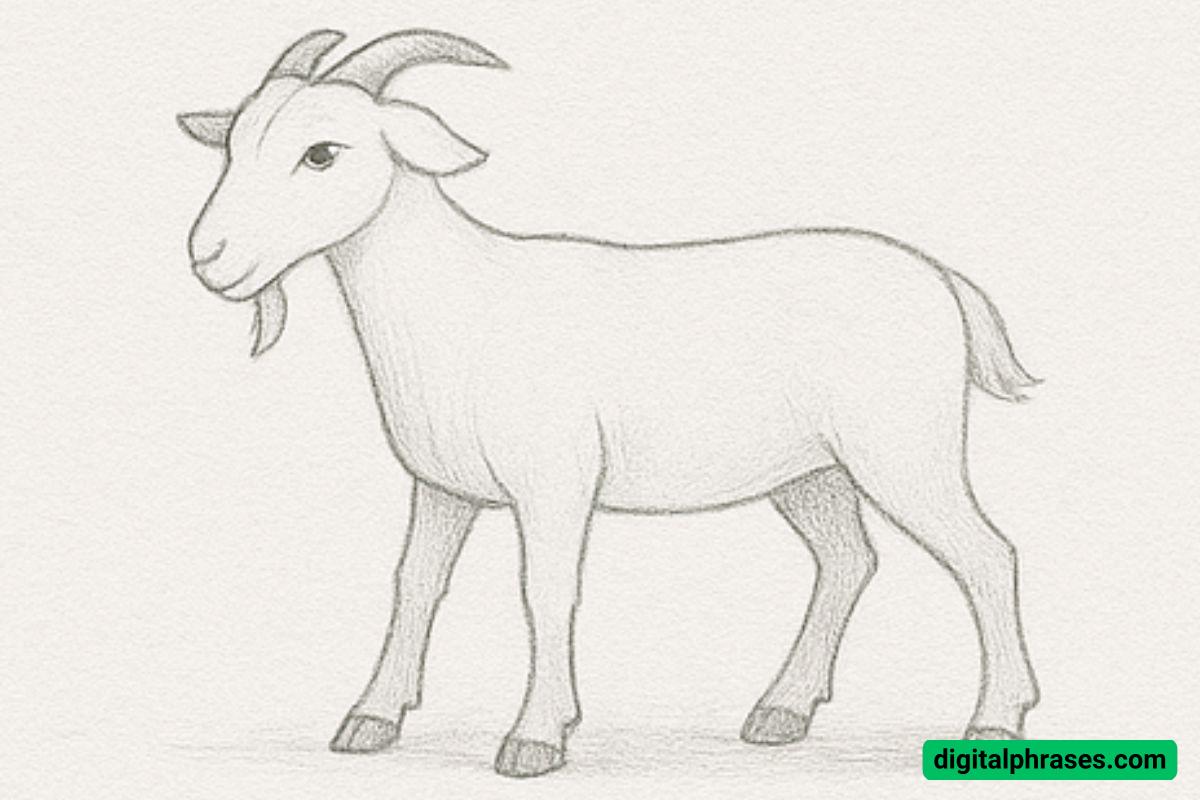
Step 4: Add Texture and Depth
Begin enhancing the drawing with shading and texture. Shade under the neck, along the belly, and under the legs to create volume.
Add some light contour lines to indicate the fur’s direction and natural muscle structure. Define the hooves by adding a division at the bottom of each leg.
The goal here is to add depth and realism without over-complicating the image. Keep your strokes soft and consistent.
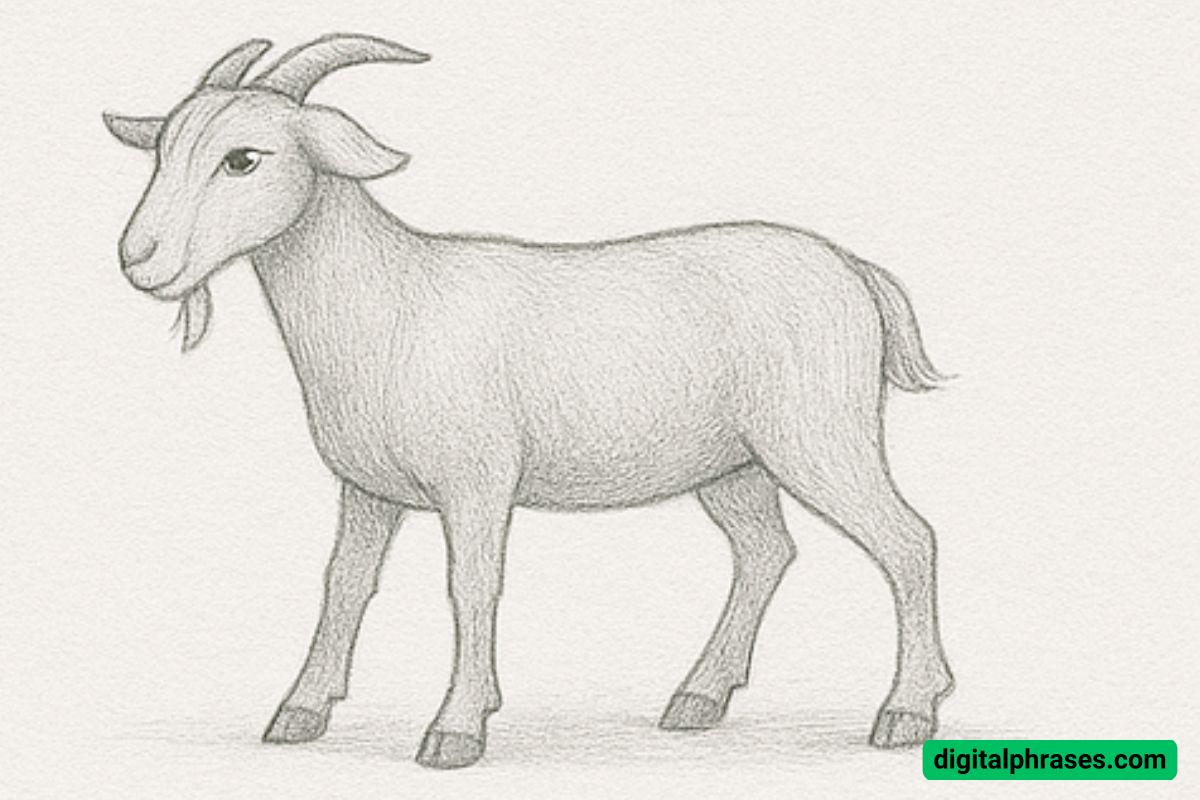
Step 5: Final Details and Full Shading
Now for the finishing touches. Deepen your shading to emphasize light source and form — the areas beneath the belly, around the legs, and under the chin should be slightly darker.
Add fur texture with short, controlled strokes, especially around the neck, back, and thighs.
The horns should have subtle shading to show their cylindrical form. Finally, make sure the hooves are neatly shaded, and the beard is gently defined. Your goat should now look complete, with a clean, realistic presence.
List of Equipment Needed
Here’s a complete list of drawing tools based on what was used or implied in the tutorial:
- Drawing Pencils
- H or HB for light sketching
- 2B to 6B for outlines, details, and shading
- H or HB for light sketching
- Eraser
- Kneaded eraser for lifting graphite and refining shapes
- Standard eraser for cleaning large areas
- Kneaded eraser for lifting graphite and refining shapes
- Sketchbook or Drawing Paper
- Use medium to heavyweight paper with a fine tooth for good graphite grip and clean lines
- Use medium to heavyweight paper with a fine tooth for good graphite grip and clean lines
- Blending Stump or Tortillon
- To smooth out shading and blend pencil strokes, especially around the body and under the neck
- To smooth out shading and blend pencil strokes, especially around the body and under the neck
- Pencil Sharpener
- Keep your pencils sharp for clean lines and detailed textures
- Keep your pencils sharp for clean lines and detailed textures
- Optional: Ruler or Compass
- For aligning proportions during the initial framework phase

