How to Draw an Anime Face – A Step-By-Step Guide
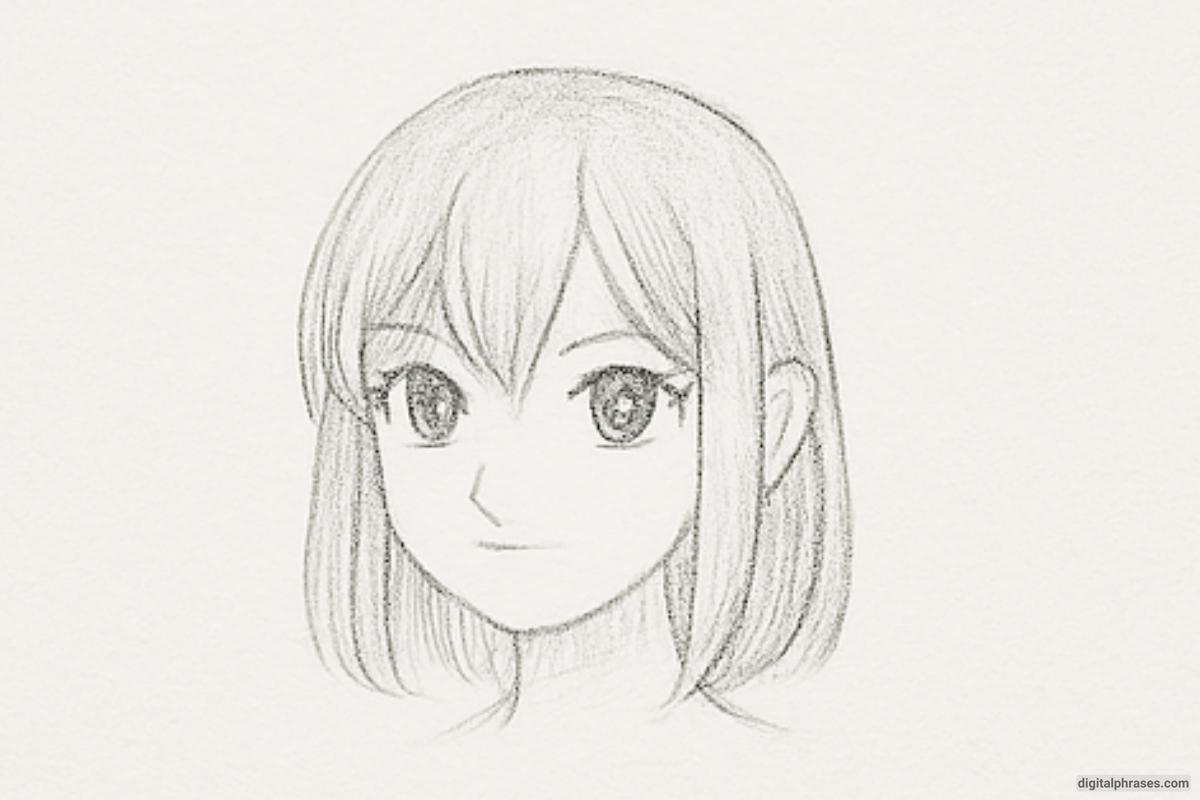
Check out this simple and straight-forward method on how to draw an anime face.
Step 1 – Draw Basic Guidelines
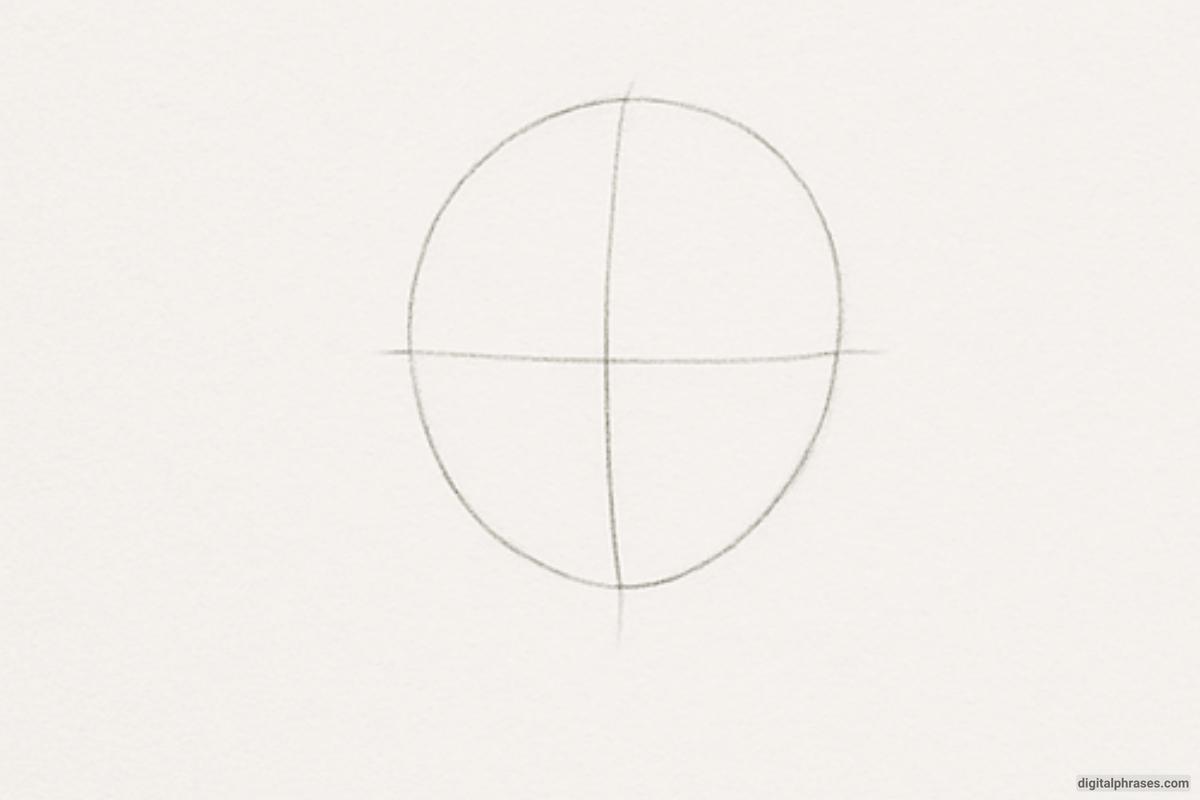
- Start by drawing a large circle which will represent the upper part of the head.
- Lightly sketch a vertical line through the center of the circle. This line helps you maintain symmetry in the face.
- Add a horizontal guideline across the circle, about one-third from the bottom. This will serve as the placement for the eyes.
- These foundational lines are crucial because they give structure and proportion to your drawing before adding any detailed features.
Step 2 – Shape the Face and Add the Ear
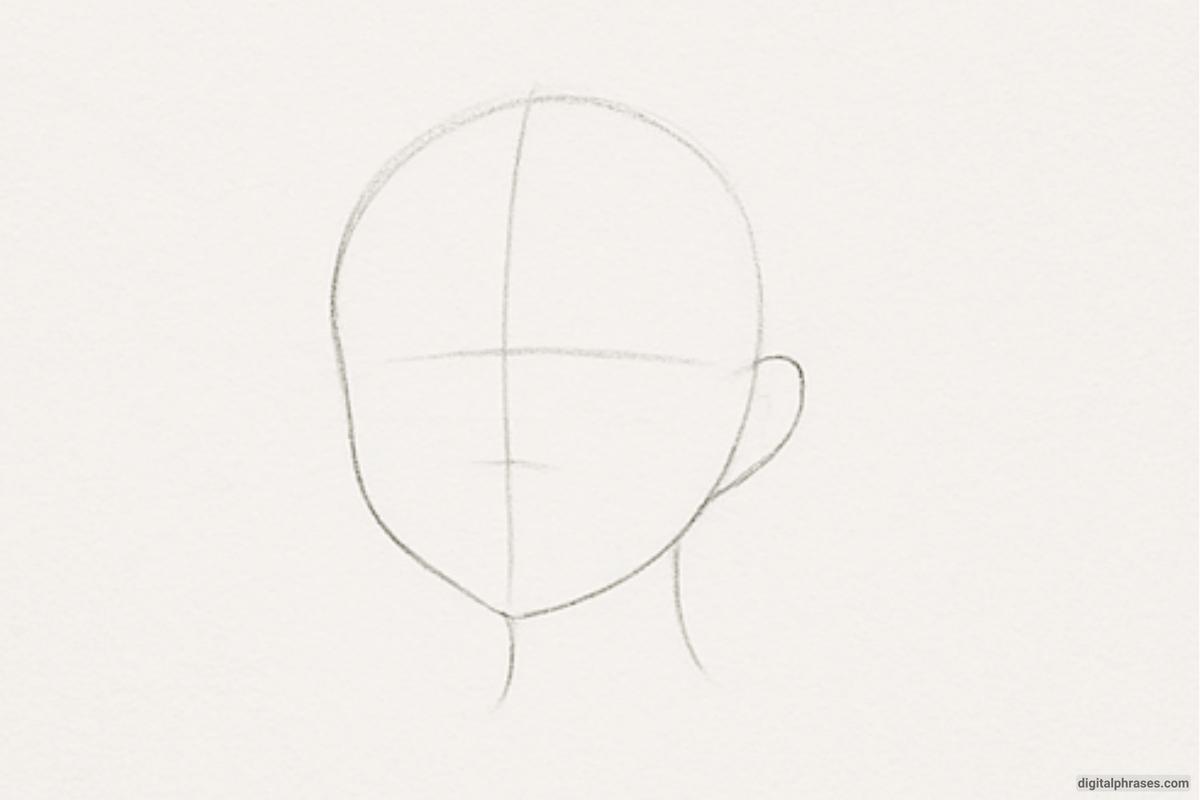
- From the bottom sides of the circle, begin to draw the jawline by curving the lines inward to form the chin. This creates the basic face shape.
- Next, sketch the neck extending down from the jaw. Keep it slender and in proportion to the head.
- Add an ear on the side of the head. Use the horizontal guideline to help place the ear correctly—it should roughly align with the eyes and the nose area.
- These shapes don’t need to be perfect yet; they act as a scaffold for more refined lines later.
Step 3 – Place the Facial Features
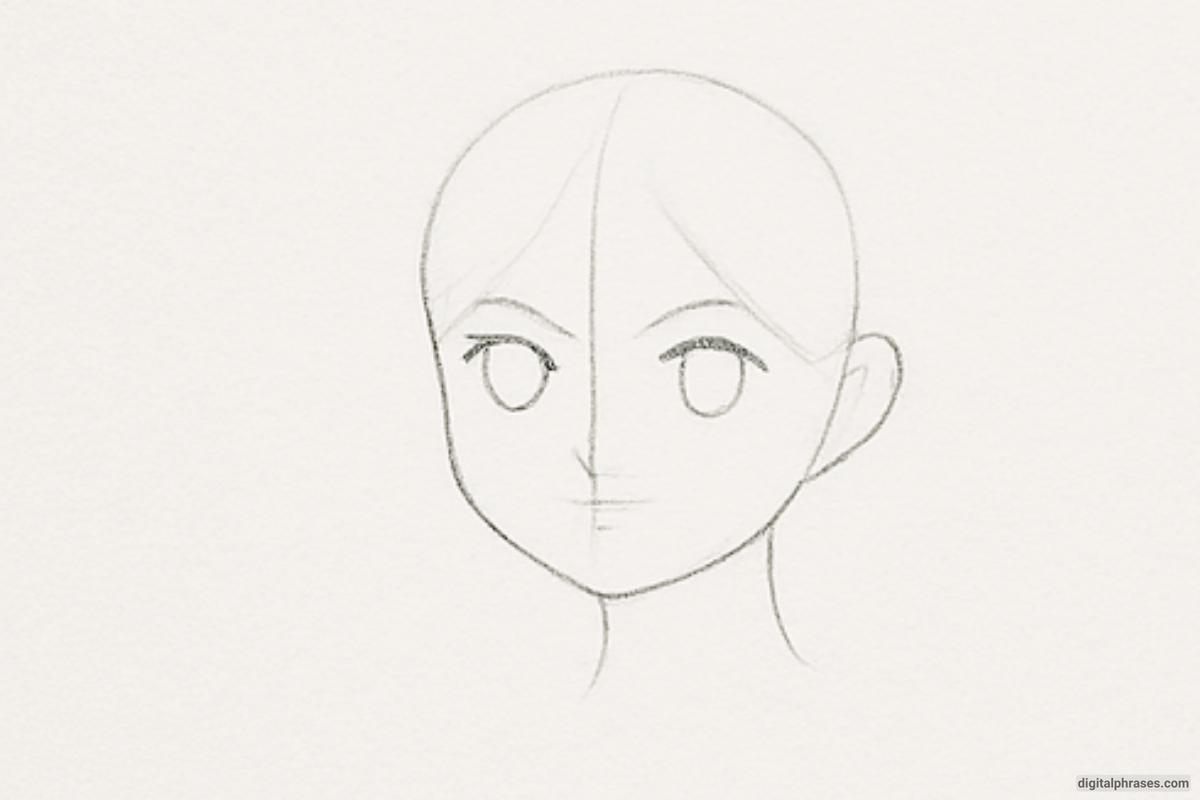
- Begin drawing the eyes using the horizontal guideline for placement. Anime eyes are typically large, so give them plenty of space.
- Draw the upper and lower eyelids, then add pupils and basic highlights to bring life to the eyes.
- Sketch the eyebrows above the eyes, following the curvature of the forehead.
- Add a simple nose using a short line or a small curve, placed halfway between the eyes and chin.
- Finish this step by adding a small curved line for the mouth, positioned just below the nose.
Step 4 – Add Hair Structure
- Now draw the hairline and start outlining the hairstyle. Anime hair often has defined clumps or layers, so use confident, flowing lines.
- Sketch the front bangs and let the side strands frame the face naturally.
- Extend the hair down around the shoulders if desired, giving it volume and motion.
- At this stage, the hair can look a bit rough—details will be added in the next steps.
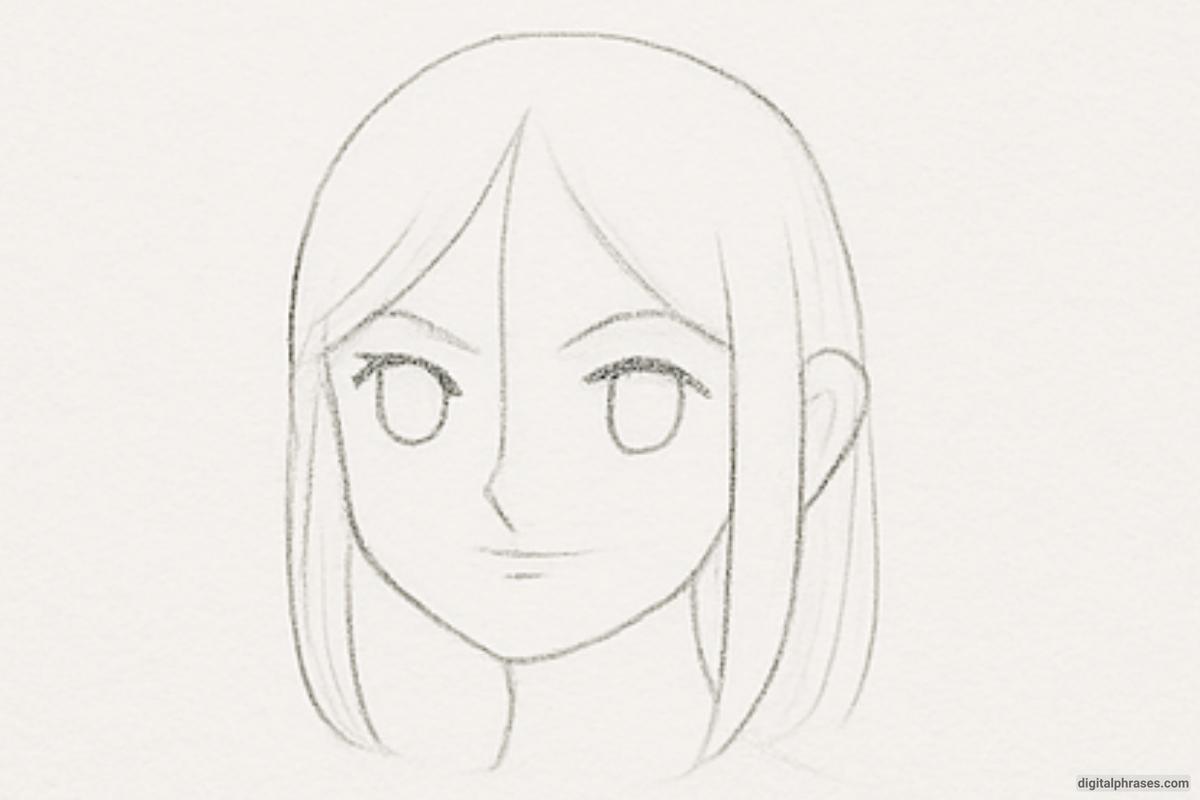
Step 5 – Refine the Features and Hair
- Go over the facial features and clean up any rough or uneven lines. Add eyelashes, iris details, and refine the mouth and nose.
- Define the individual strands or layers in the hair, paying attention to the direction and flow.
- Begin shaping the outer hair to look more natural and aligned with the head shape.
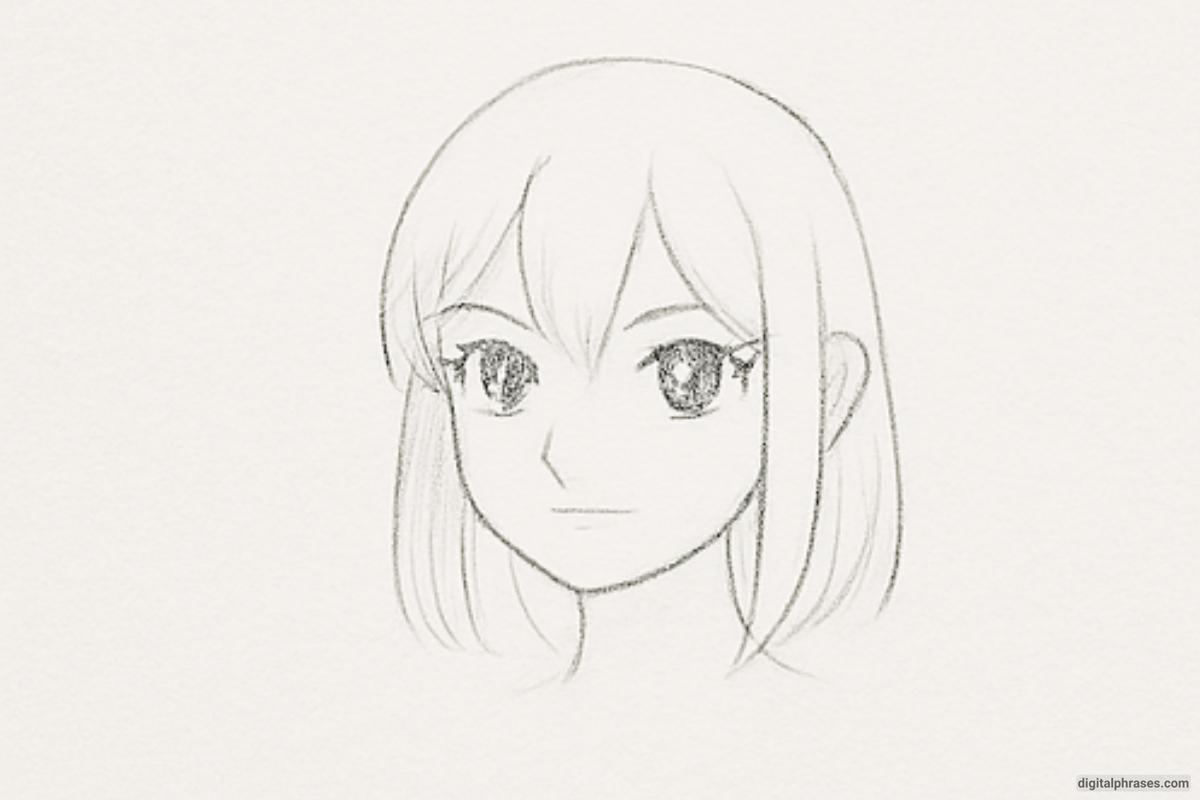
Step 6 – Final Touches and Shading
- Erase any unnecessary guidelines to clean up the drawing.
- Deepen the lines where needed to emphasize key areas like the eyes and outer contours.
- Add light shading to areas such as under the chin, inside the ear, and especially the hair, to create a sense of depth.
- Finish by blending the shading for a polished look and give highlights to the eyes and hair for a lively anime feel.
