How to Draw an Anime Nose
Here’s a simple, straight-forward step-by-step guide on how to draw an anime nose.
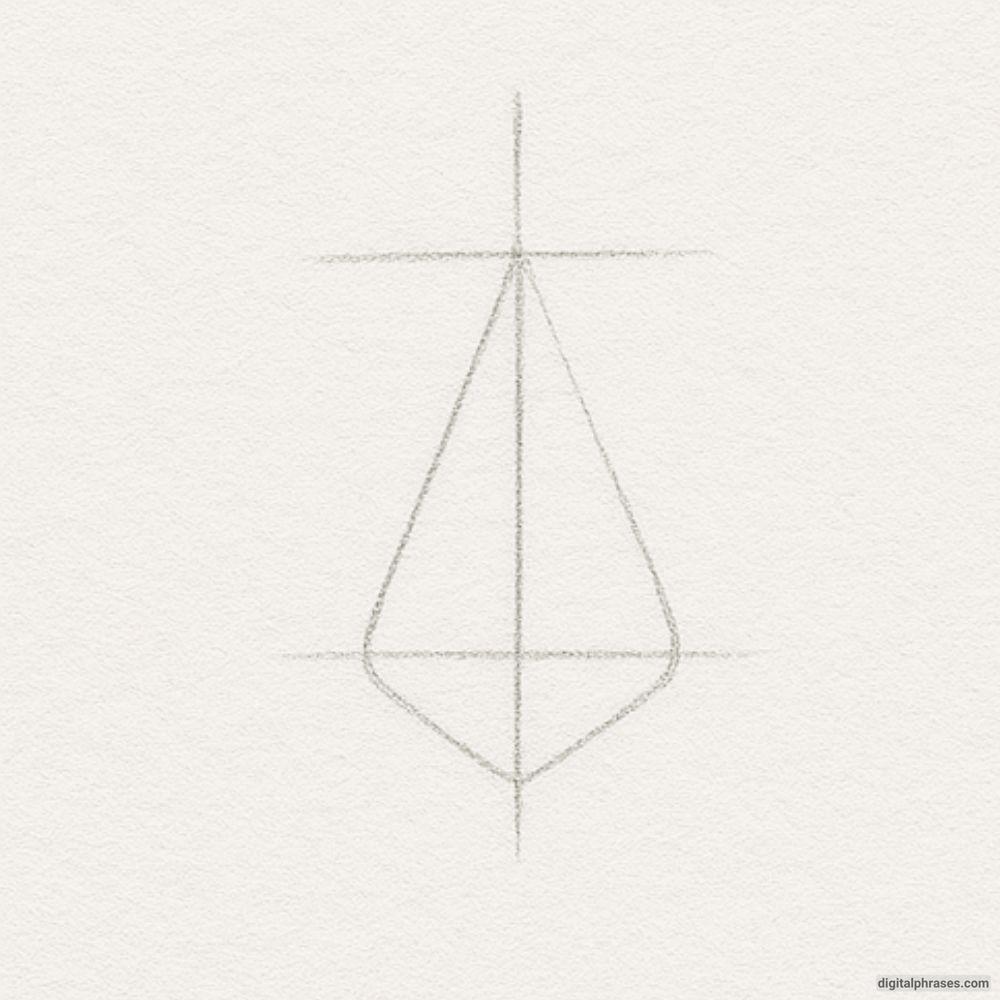
Step 1: Basic Guideline
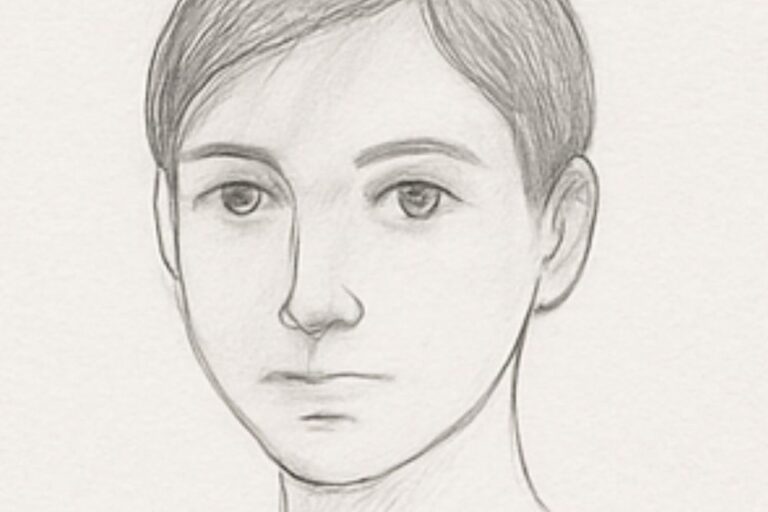
- Draw a vertical centerline for the face.
- Mark the general position of the nose along this line.
- Add a small horizontal line where the bottom of the nose will be.
- Sketch a soft triangle or trapezoid shape to guide the structure.
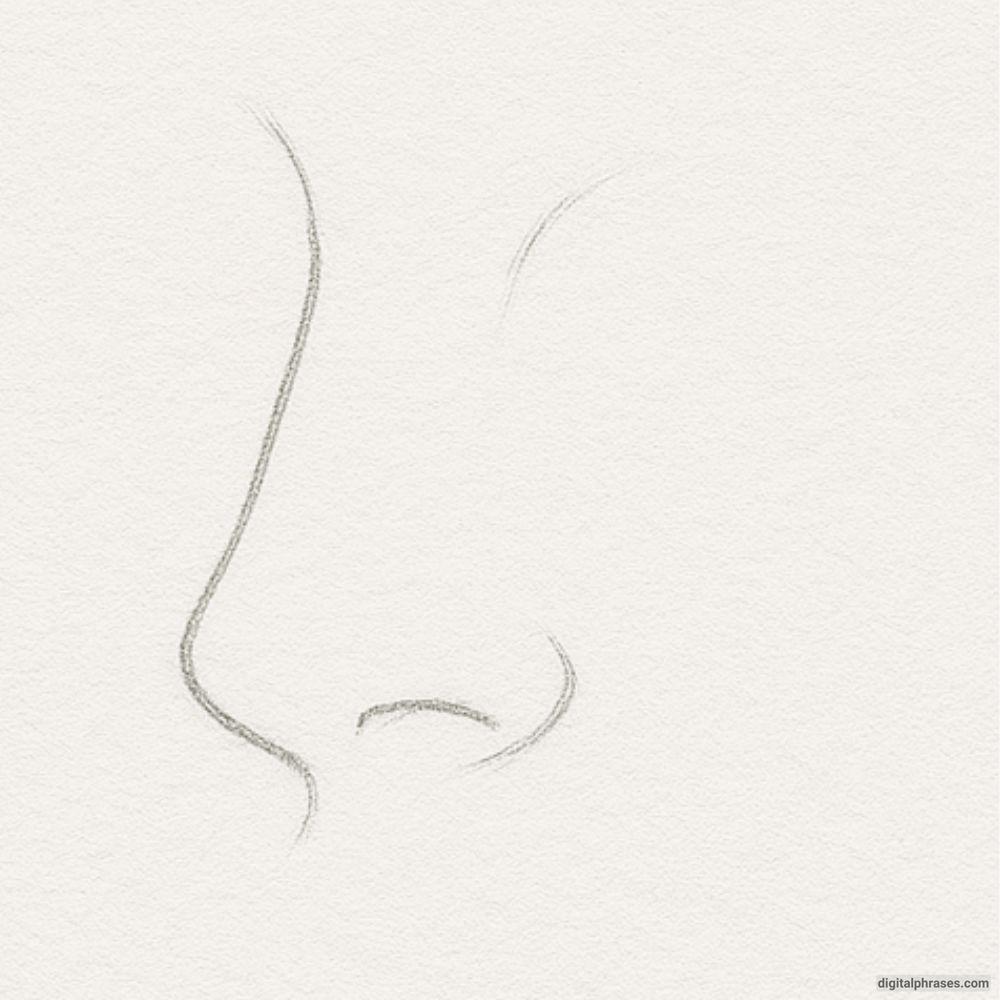
Step 2: Outline the Nose Shape
- Lightly sketch the bridge of the nose with two soft curves coming down the centerline.
- Draw the nostrils using small curved lines on each side of the triangle’s base.
- Add a subtle shape for the tip of the nose.
Step 3: Add Definition
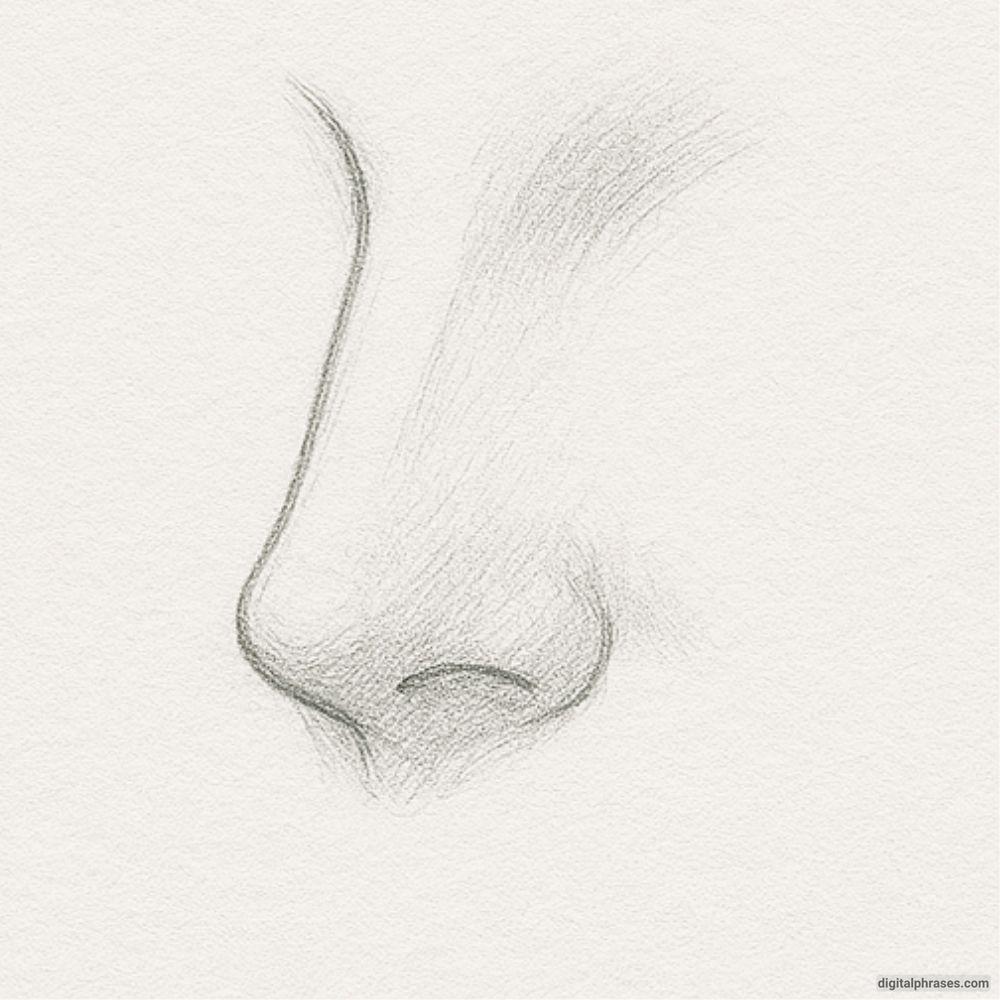
- Define the nostrils and wings (the curved outer edges).
- Start shaping the underside of the nose.
- Slightly refine the bridge and add small curves to suggest light and shadow areas.
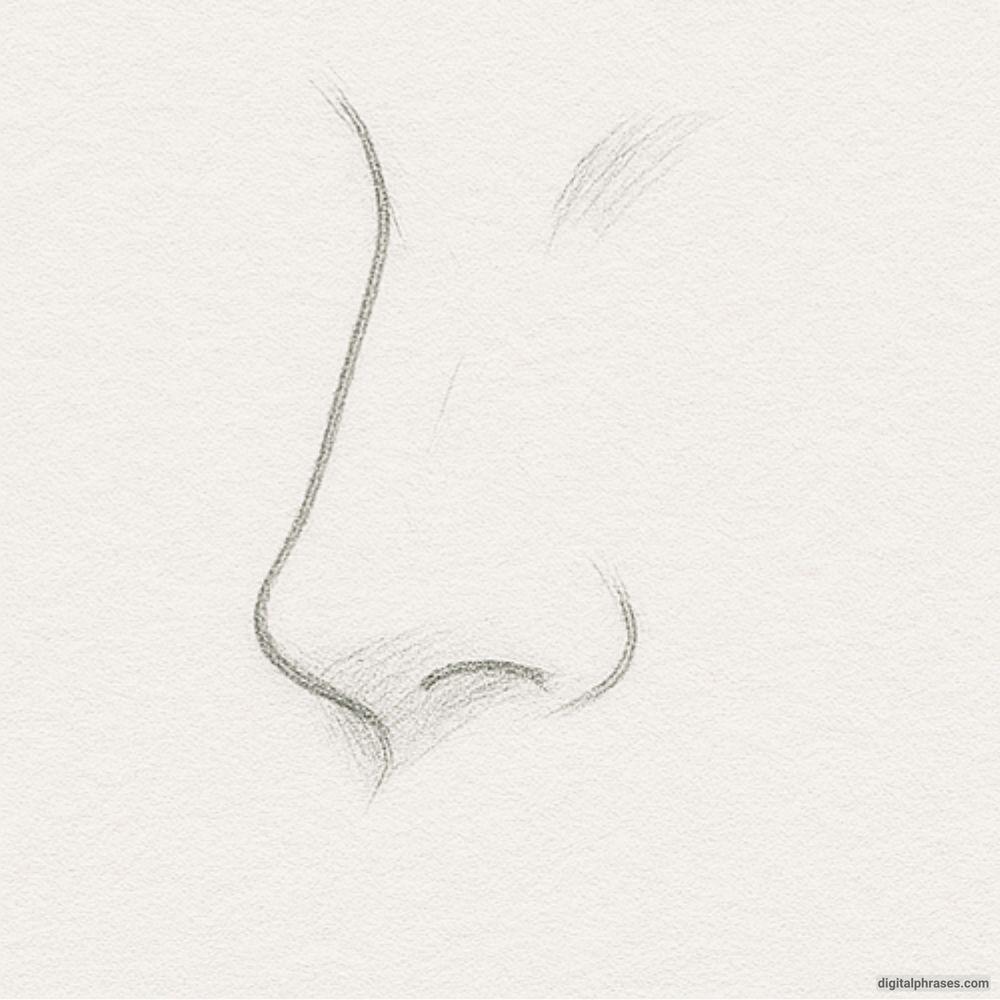
Step 4: Final Details & Shading
- Darken important lines like the nostrils and the nose tip.
- Add soft shading under and around the nose for depth.
- Use a blending tool or finger to smooth out tones.
- Keep the lines minimal—anime noses rely more on subtle shading than heavy outlines
