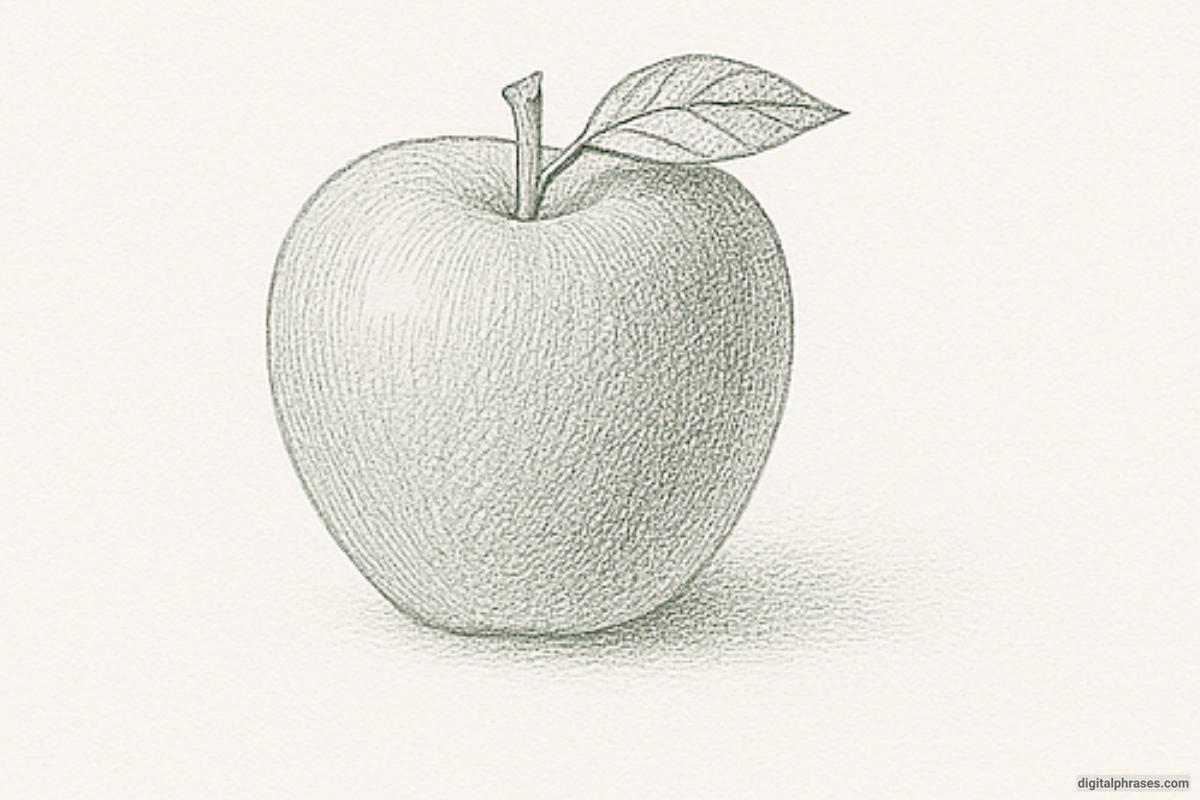
How To Draw an Apple
Here’s a step-by-step guide of how to draw an apple.
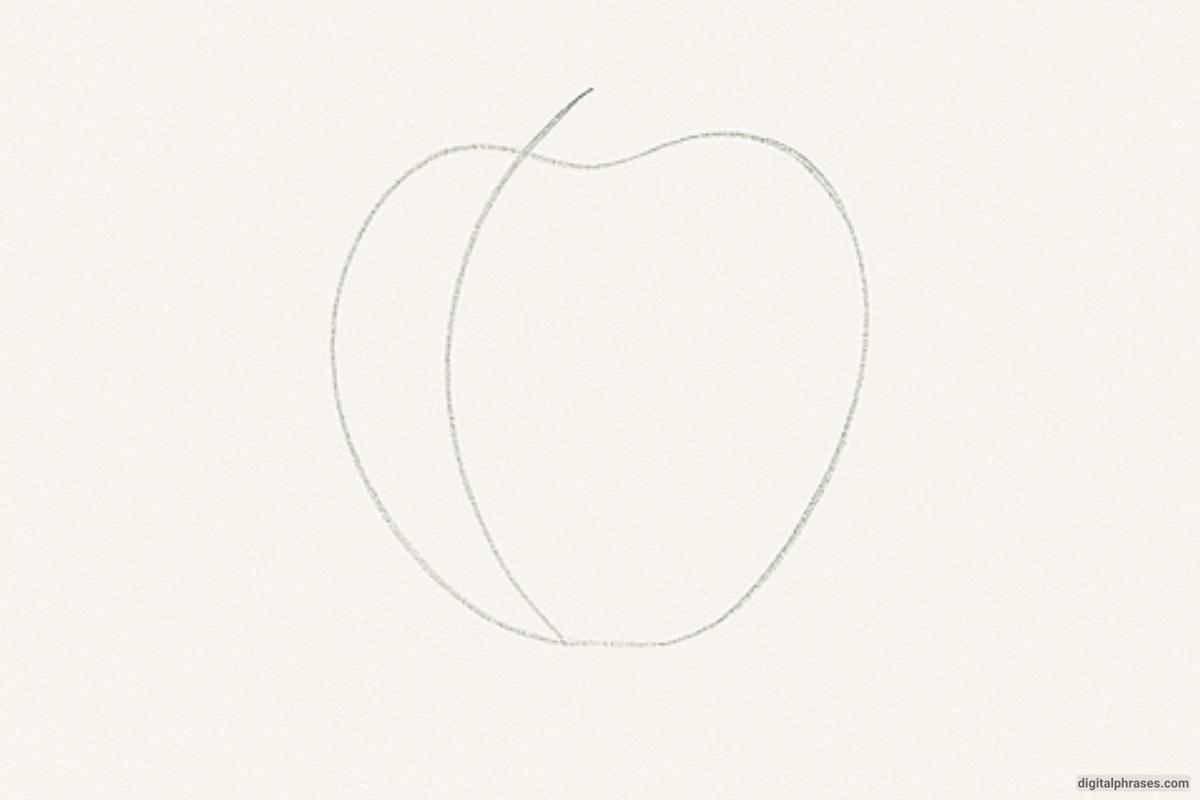
Step 1 – Sketch the Apple’s Basic Shape
- Begin by lightly drawing a large circular form. This will serve as the foundation of your apple.
- Refine the shape by adjusting the contour to represent the natural curves of an apple. Add a dip at the top to indicate where the stem will go.
- Draw a slightly curved vertical line across the apple to define its form and symmetry. This will help guide the placement of details later.
- The apple should appear slightly asymmetrical and organic rather than a perfect circle to capture a realistic appearance.
- Keep your pencil strokes light, as you will be erasing and refining in the following steps.
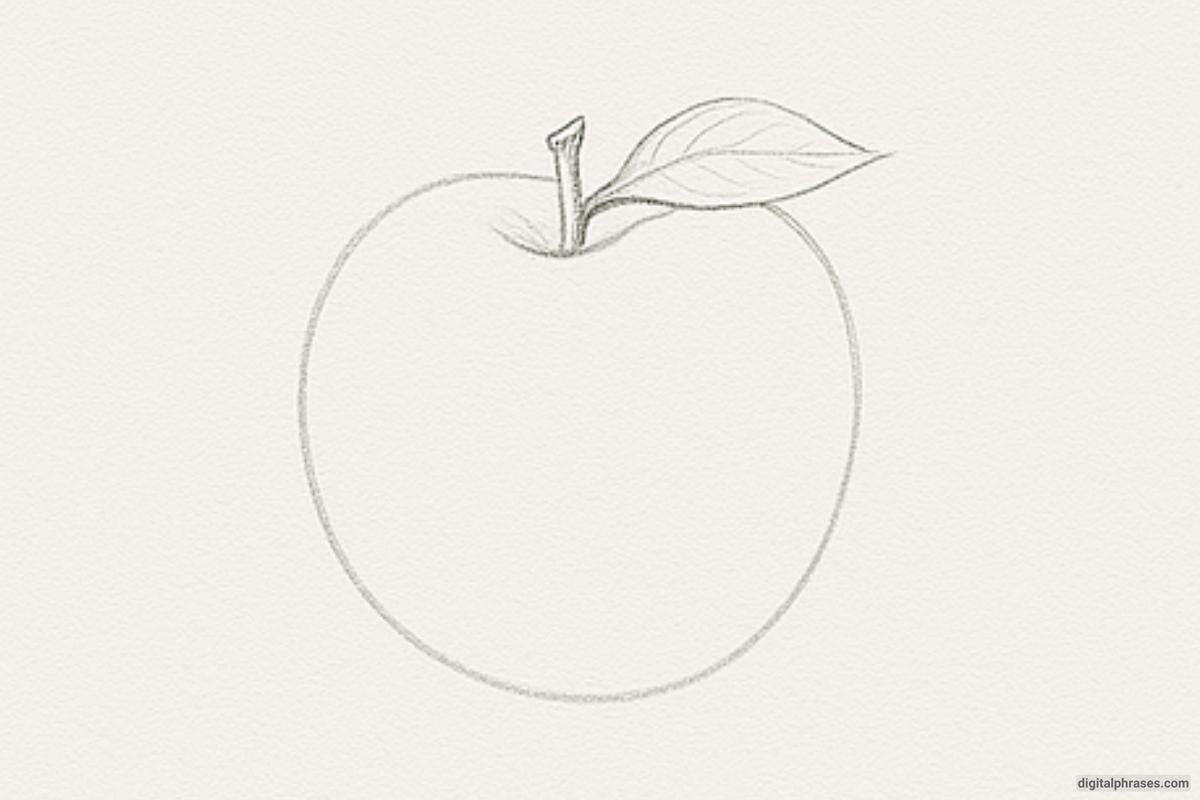
Step 2 – Define the Apple’s Outline and Add Stem & Leaf Structure
- Begin by refining the rough apple shape you sketched earlier. Smooth out the outline to give the apple its natural, slightly asymmetrical, organic form. Notice how the top has gentle dips and the bottom curves inward—these subtle changes bring realism.
- At the top center of the apple, draw a short stem that tilts slightly to one side. This adds a more natural, unstructured feel, rather than making the apple appear too perfect or artificial.
- From the base of the stem, extend a line to form the central vein of the leaf. Keep the line gently curved to give the leaf a soft, flowing appearance.
- Sketch the basic shape of the leaf around the vein. Let the edges of the leaf taper to a point and show slight undulations along the sides to mimic a real leaf’s natural imperfections.
- Add a few secondary veins branching out from the central vein within the leaf. These small details will make the drawing more intricate and life-like.
- Ensure the stem and leaf are proportionate to the apple, and lightly erase any overlapping guidelines or unnecessary lines to clean up the overall sketch.
Step 3 – Begin Shading and Add Light Texture
- With the basic outline complete, start shading the apple to give it depth and form. Use gentle, curved strokes that follow the natural roundness of the apple’s surface.
- Focus on creating a soft gradient. Darken the side opposite your imagined light source and keep the center or the light-facing side relatively lighter to create a sense of volume.
- Begin building texture by layering your pencil strokes slightly. Use a light hand to maintain a smooth, realistic feel—avoid harsh lines or blotchy shading.
- Add soft shading around the base of the stem to create a shallow indentation where the stem connects to the apple.
- Lightly shade under the apple to create the early impression of a shadow on the surface it’s resting on, anchoring it visually and giving the drawing a foundation.
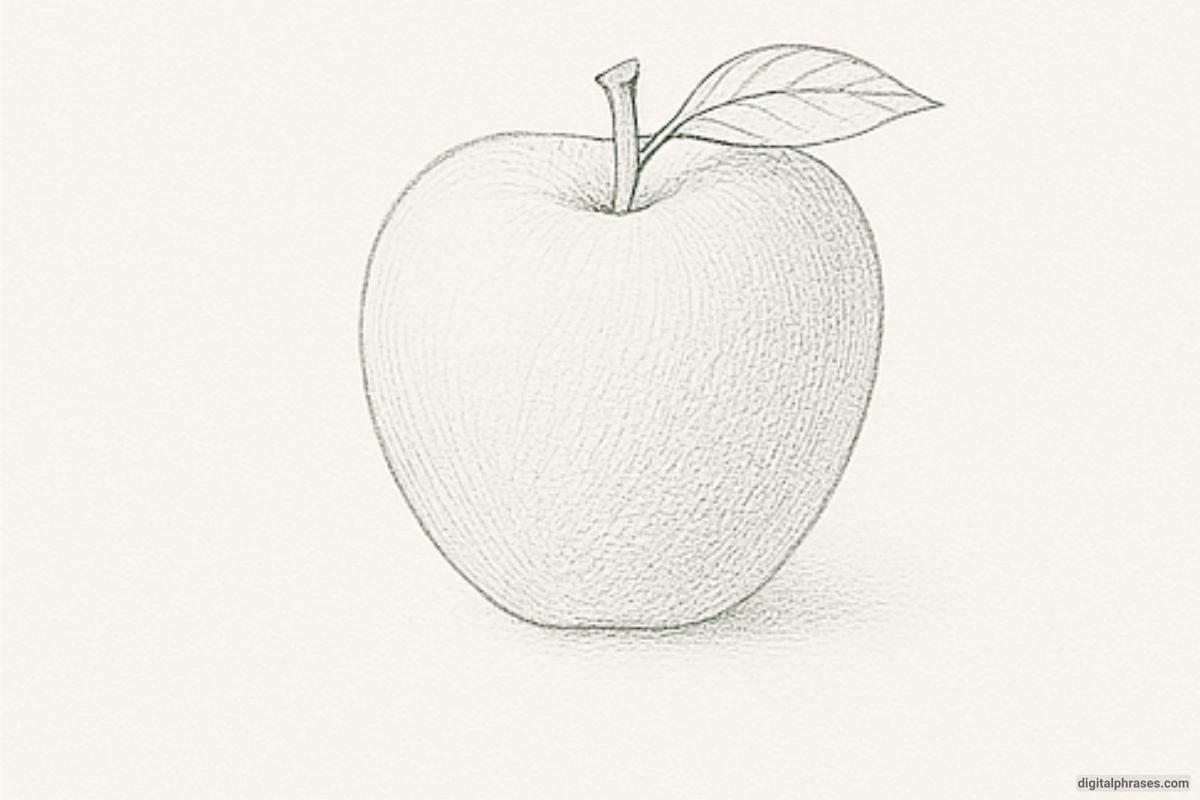
Step 4 – Deepen the Shadows and Enhance the Form
- In this step, intensify the shading by applying more pressure or layering multiple strokes in the darkest areas of the apple, especially along the edge furthest from the light source.
- Smoothly blend the mid-tones into the highlights to enhance the three-dimensional effect. The apple should now look fuller and more realistic with a clear transition from dark to light.
- Add subtle cross-hatching or circular strokes to build texture and richness, particularly where the apple curves inward near the base or stem.
- Deepen the shadow beneath the apple, making it darker and more defined closer to the base and softer as it spreads outward.
- Refine the leaf and stem with more detailed shading—add darker tones to one side of the stem and along the veins of the leaf to give them volume and structure.
