How To Draw an Arm
Here’s a simple, straightforward guide on how to draw an arm.
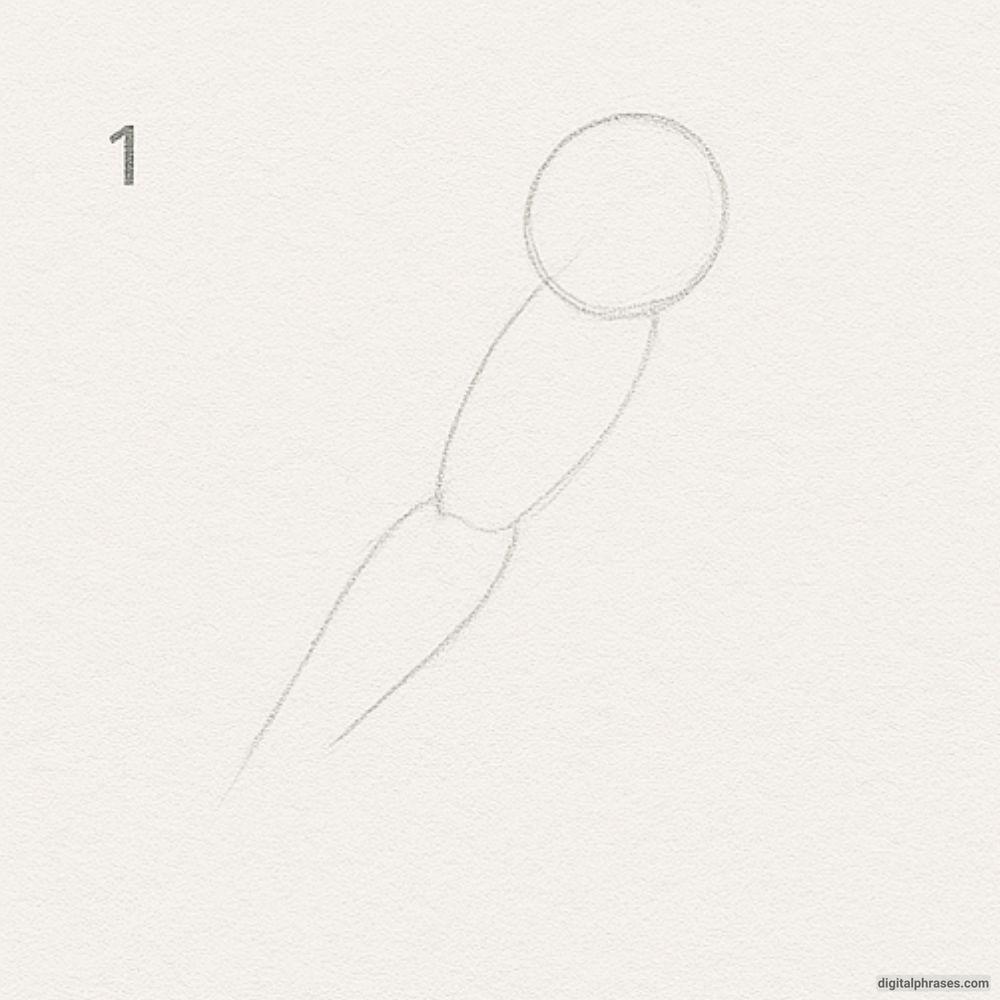
Step 1 – Construct the Basic Framework
- Begin by sketching a circle for the shoulder joint to establish the arm’s starting point.
- Draw an oval shape underneath the circle to represent the upper arm (biceps area).
- Extend a long, slightly curved shape from the end of the oval to represent the forearm.
- These shapes serve as a skeletal structure and help establish the correct proportions and flow of the arm.
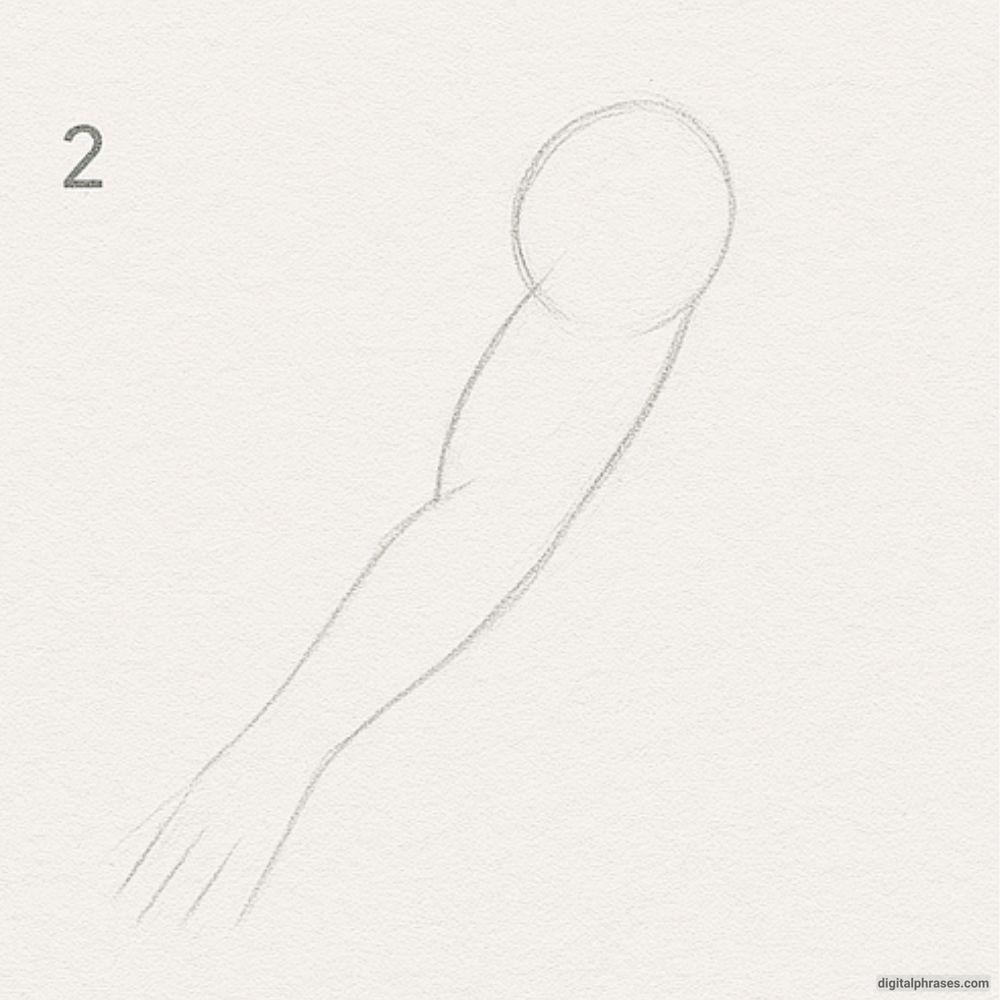
Step 2 – Outline the Arm’s Contour
- Use the foundational shapes to define the overall contour of the arm.
- Smooth out the transitions between the shoulder, upper arm, and forearm, forming the outer shape of the muscles.
- Lightly sketch the outline of the hand at the bottom, using lines to indicate the finger positions.
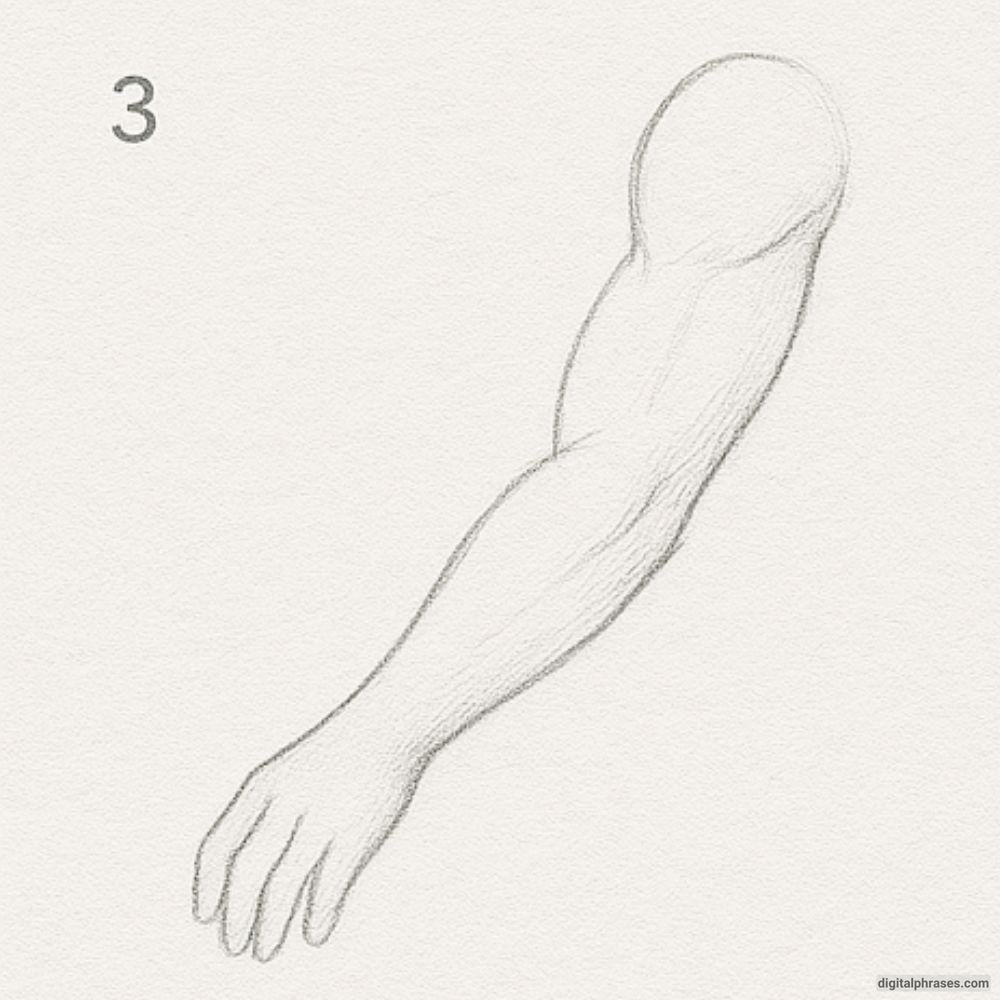
Step 3 – Add Muscle Definition
- Begin adding muscular details by refining the shapes within the outline.
- Sketch visible muscles such as the deltoid, biceps, and forearm tendons, ensuring anatomical accuracy.
- Add slight curves and indentations to suggest tension and volume in the arm.
- The hand is now more defined, with individual fingers taking shape.
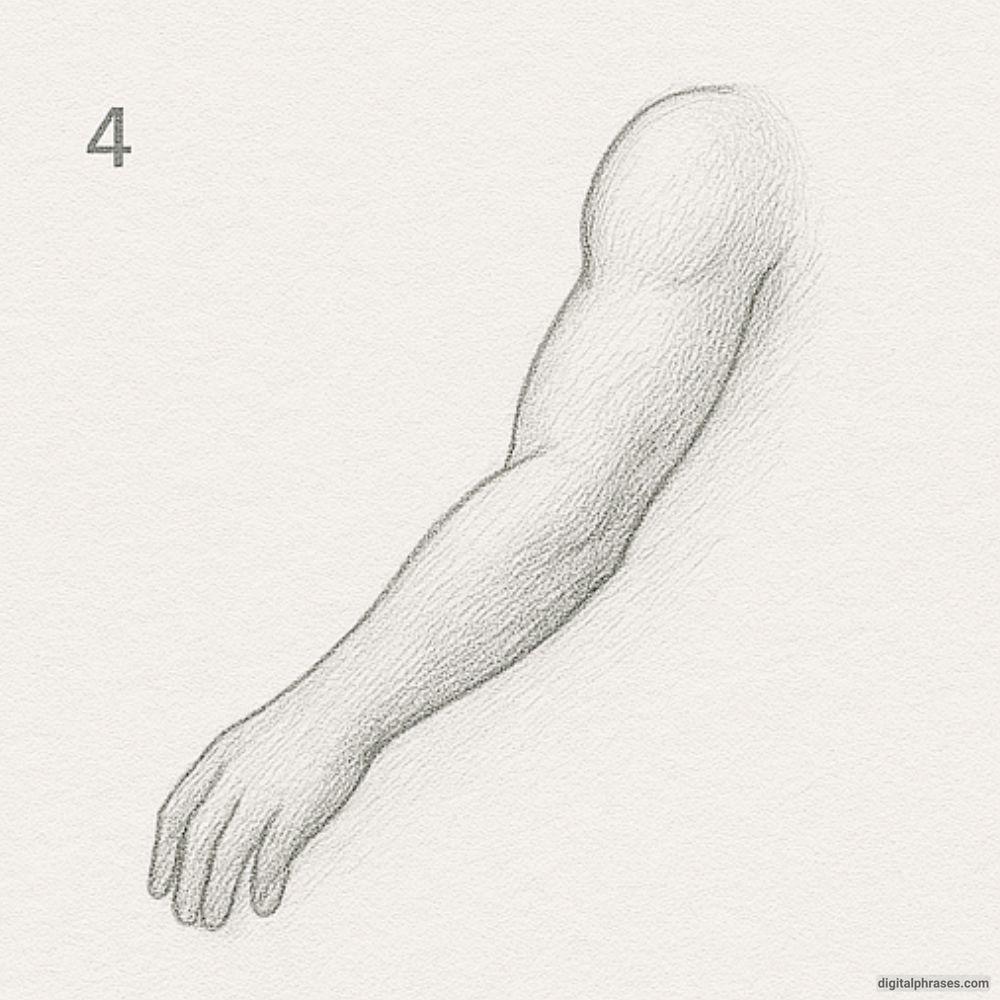
Step 4 – Final Shading and Detailing
- Add shading to create depth and realism, paying attention to the light source.
- Use hatching or cross-hatching techniques to render shadowed areas, particularly around the muscles.
- Smooth out the transitions with blending, especially where muscles curve or overlap.
- Enhance the contours to give the arm a strong, three-dimensional appearance.
