How To Draw an Axolotl
Here’s a step-by-step guide on how to draw an axolotl.
Step 1: Basic Shapes and Guidelines
- Begin with light sketching.
- Draw a horizontal oval for the head and a longer oval or curved shape for the body.
- Add a long curved line at the back for the tail guide.
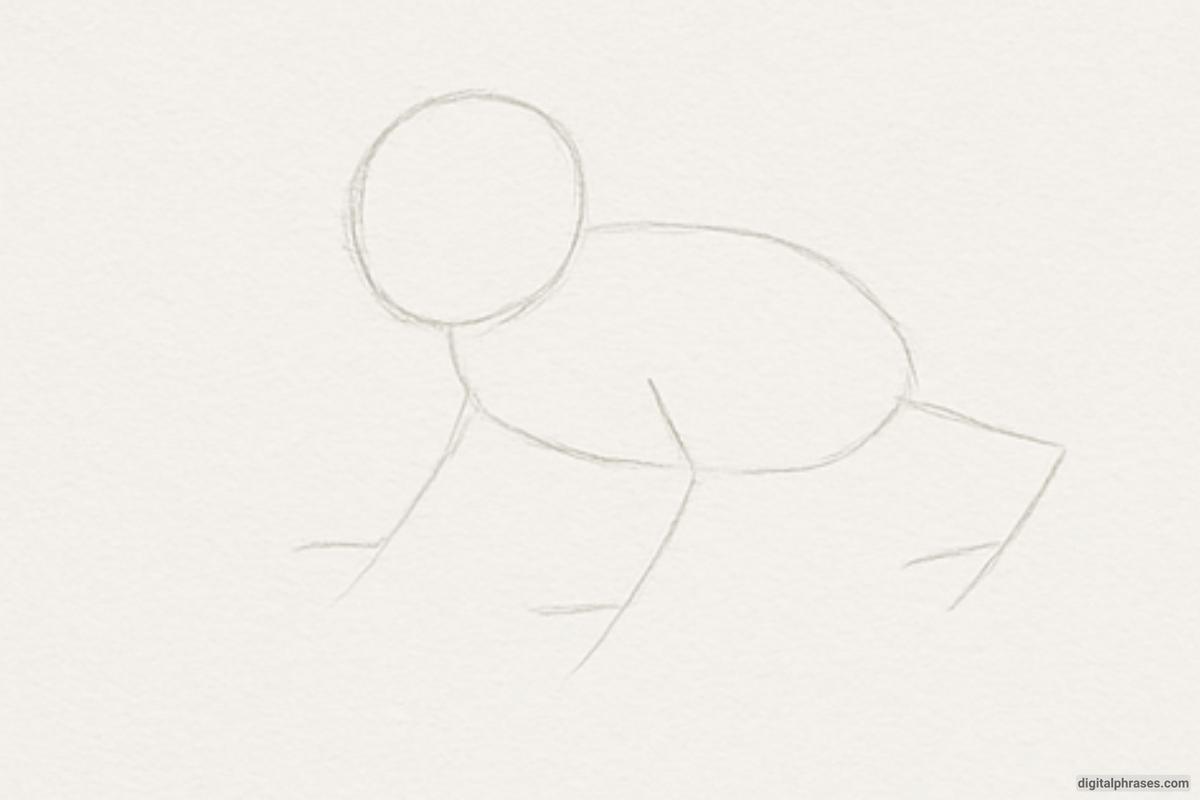
Step 2: Add Limbs and Tail
- Sketch the four limbs using short lines, positioning the front legs near the head and the back legs farther down the body.
- Extend the tail outline using the curved guide to give the axolotl its distinctive flowy shape.
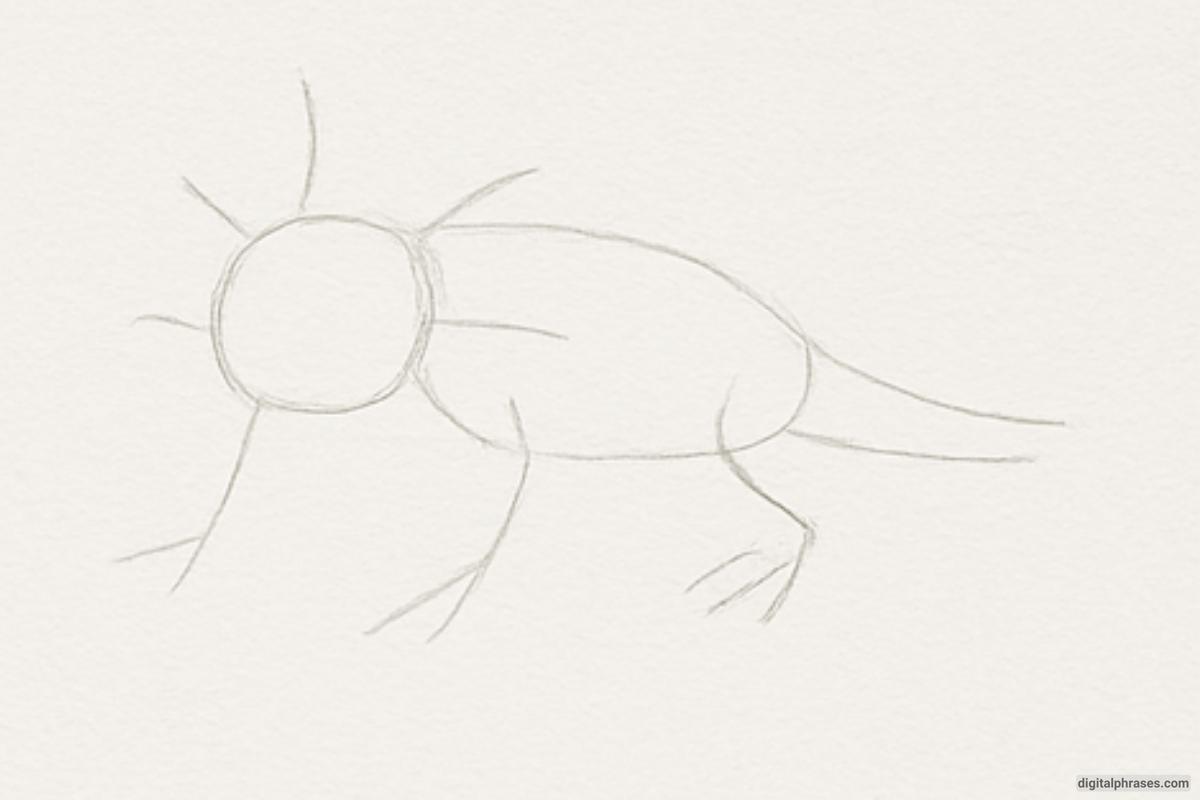
Step 3: Define the Body and Face
- Refine the body contours, smoothing the shape of the head and body.
- Add eyes as two small circles and begin outlining the gills extending from the head (three on each side like feathery fronds).
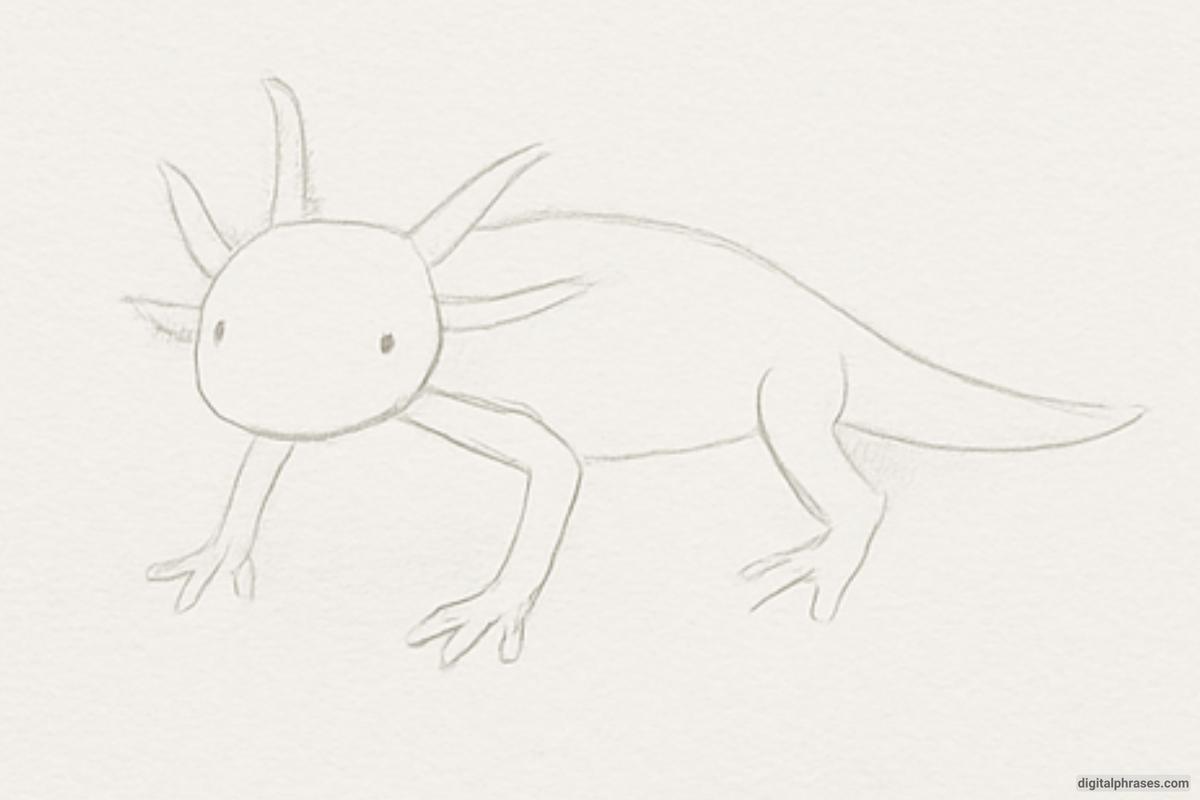
Step 4: Finalize Limbs and Gills, Begin Shading and Detailing
- Draw fingers and toes—thin, delicate lines for each foot.
- Flesh out the external gills, giving them a soft, branch-like structure.
- Start adding subtle curves to indicate skin folds and body texture. Begin shading around the eyes, body, and limbs.
- Add texture to the gills and tail, using light strokes to suggest transparency and softness.
- Emphasize light and shadow for depth.
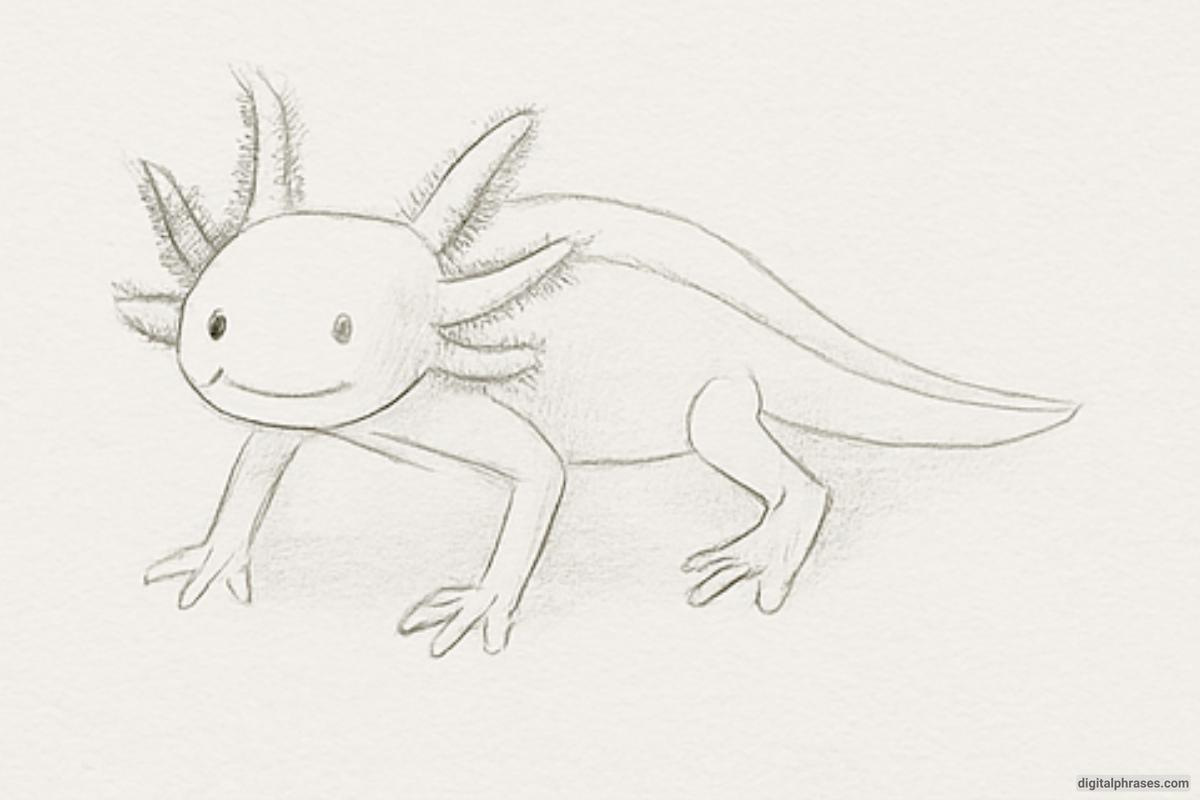
Step 5: Final Touches
- Darken the final outlines.
- Add fine pencil strokes for realistic texture—on the gills, body, and limbs.
- Deepen shadows under the axolotl and around the feet.
- Erase any stray guide lines.


