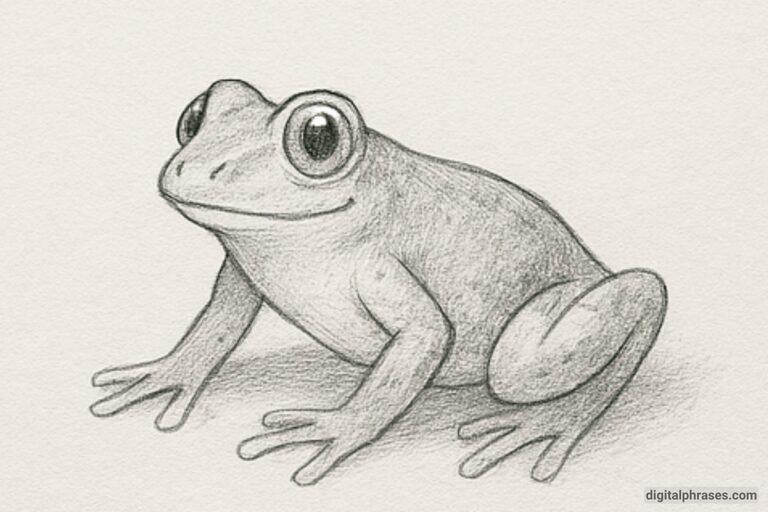
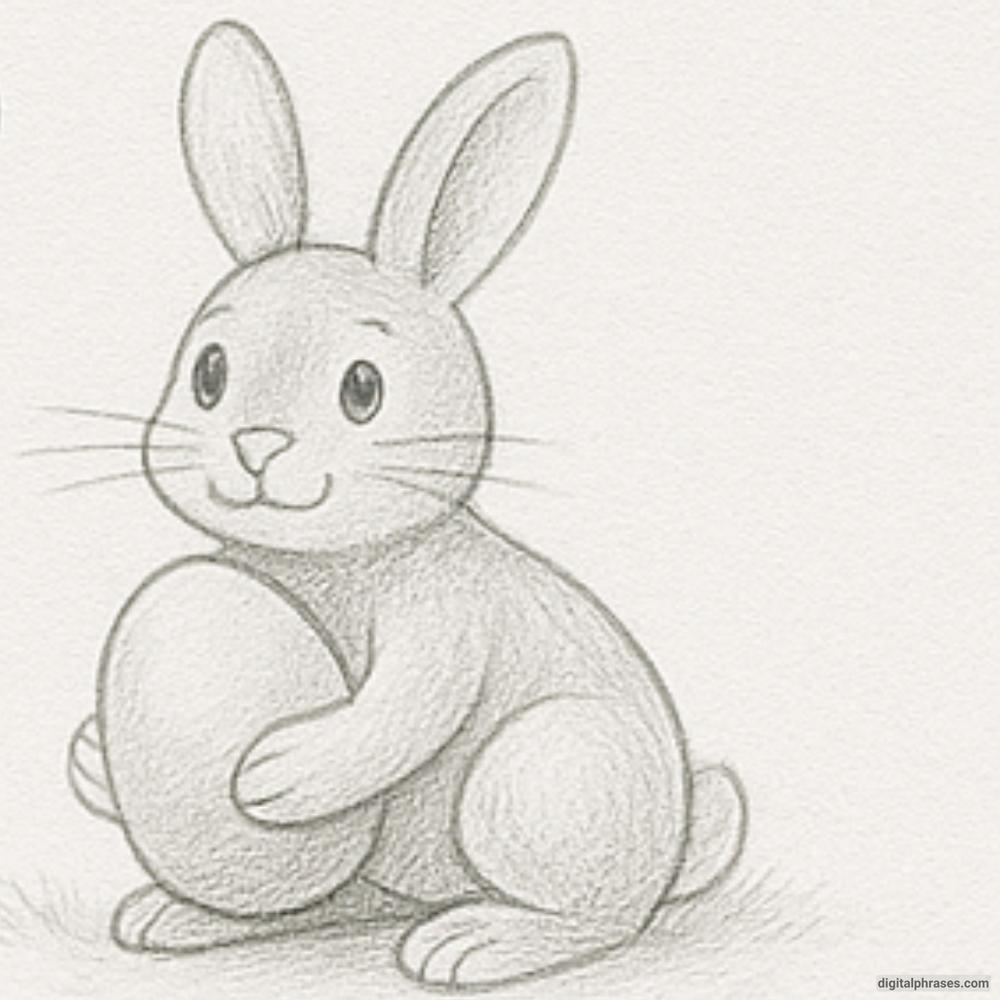
How To Draw an Easter Bunny
Here’s a step-by-step guide on how to draw an Easter Bunny.
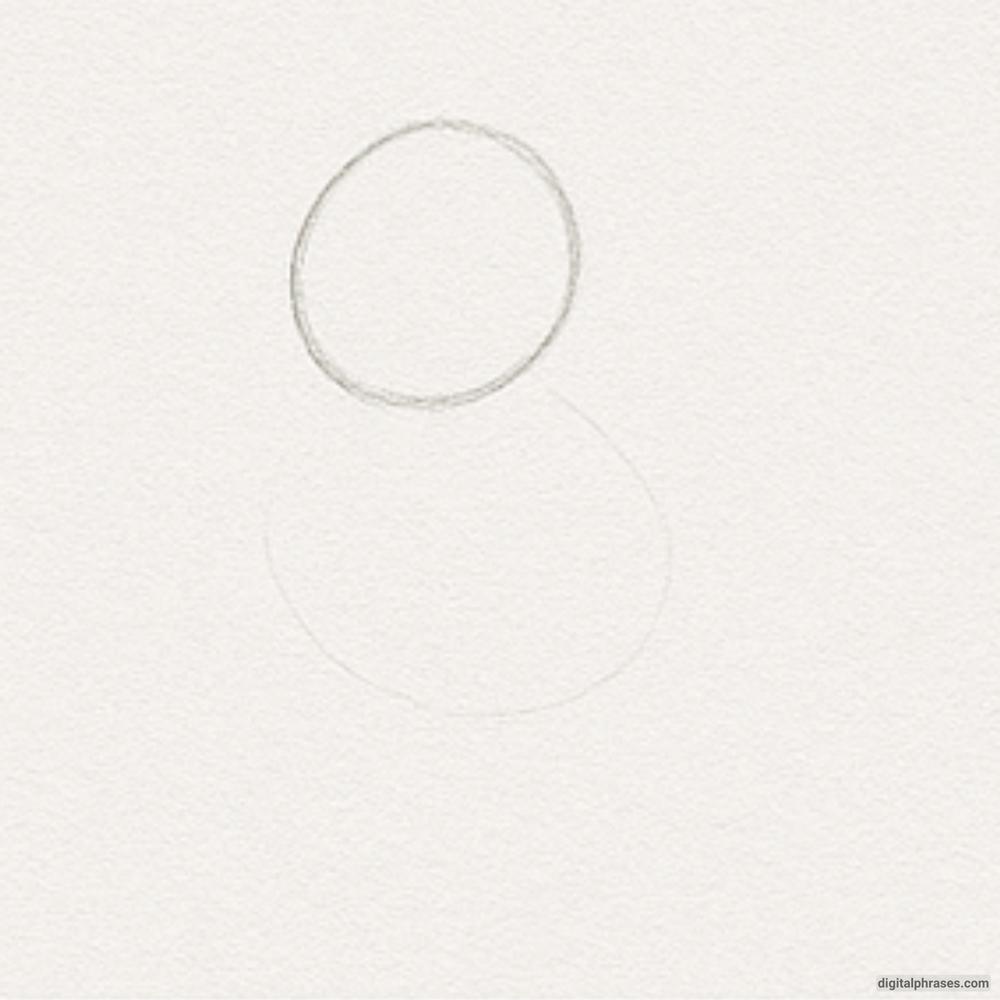
Step 1: Start with Basic Shapes
Let’s begin by lightly sketching the foundation.
Draw a medium-sized circle for the bunny’s head and a slightly larger oval overlapping it below for the body.
Don’t worry about perfection—these shapes are just placeholders to help us build the correct proportions and positioning. This loose framework will guide everything else.
Step 2: Add Ears and Head Placement
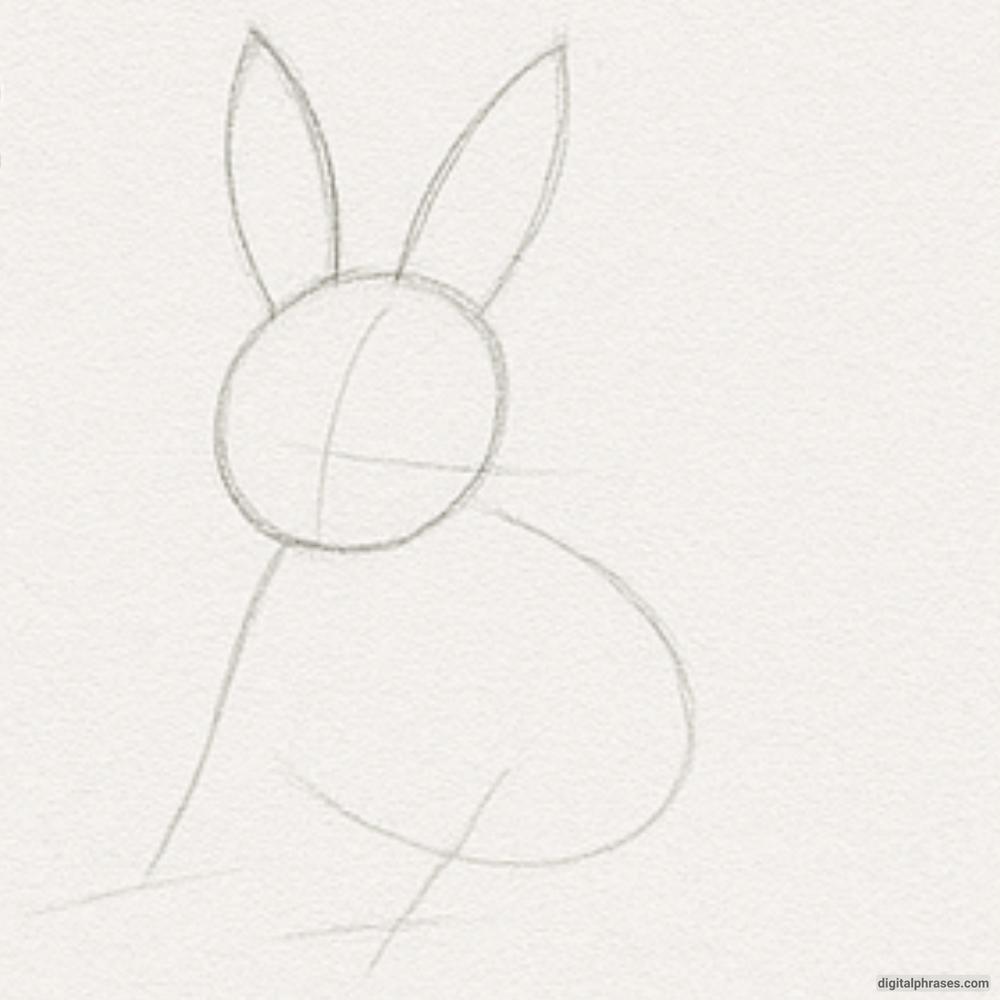
Now we’ll attach two tall, narrow ovals to the top of the head circle to form the bunny’s ears.
They should be slightly curved to give them a natural, floppy look. From there, refine the shape of the head, adding a slight indentation where the head connects to the body.
This helps define the bunny’s posture and direction it’s facing.
Step 3: Sketch Out the Limbs
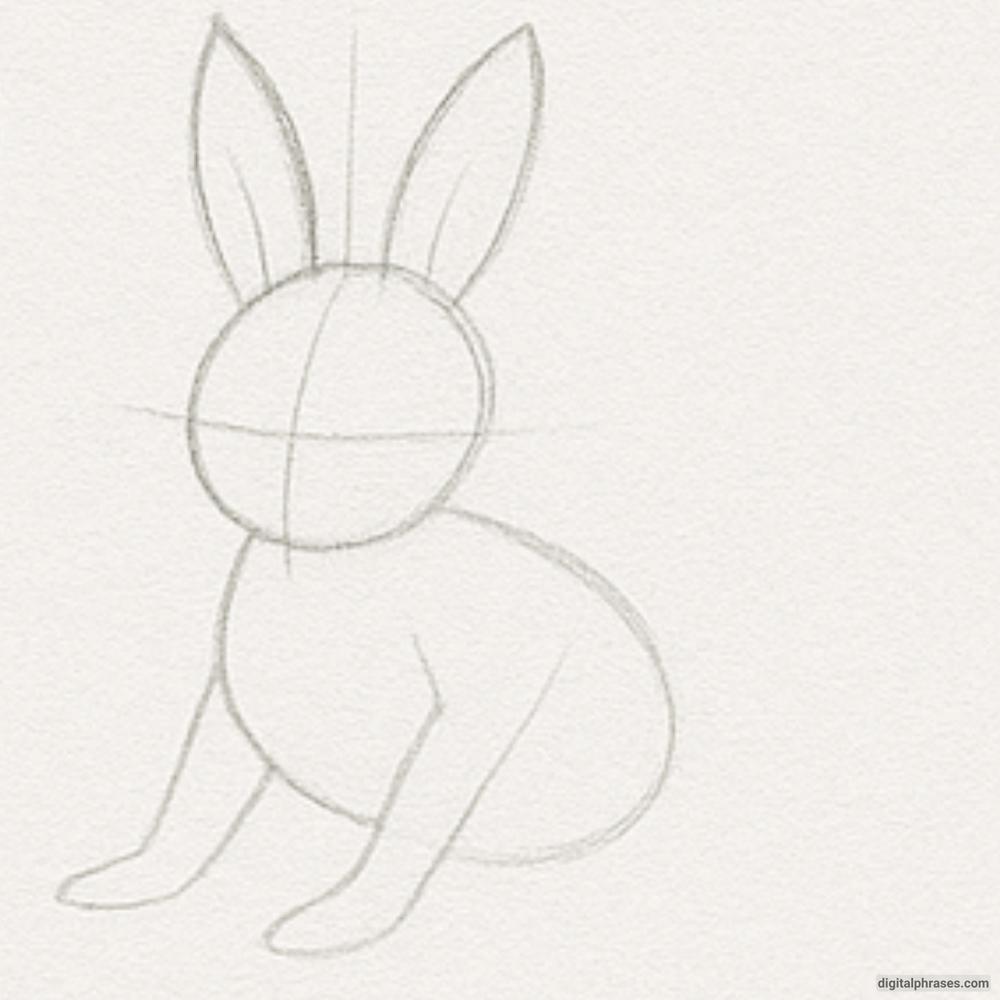
Next, let’s start adding legs and arms. Use simple curved lines and shapes to sketch in the front limbs, with the bunny’s feet tucked underneath its body.
At this stage, everything should still look basic—just enough to show placement and posture. Draw the back leg as a soft oval-like curve at the back, indicating it’s sitting.
Step 4: Refine the Body Outline
We’ll now clean up and refine the outer contours of the bunny. Define the arms and legs more clearly, making them look soft and rounded.
Begin shaping the paws and feet. Also, start sketching in the tail as a small puffed circle. You should now have a very recognizable bunny form.
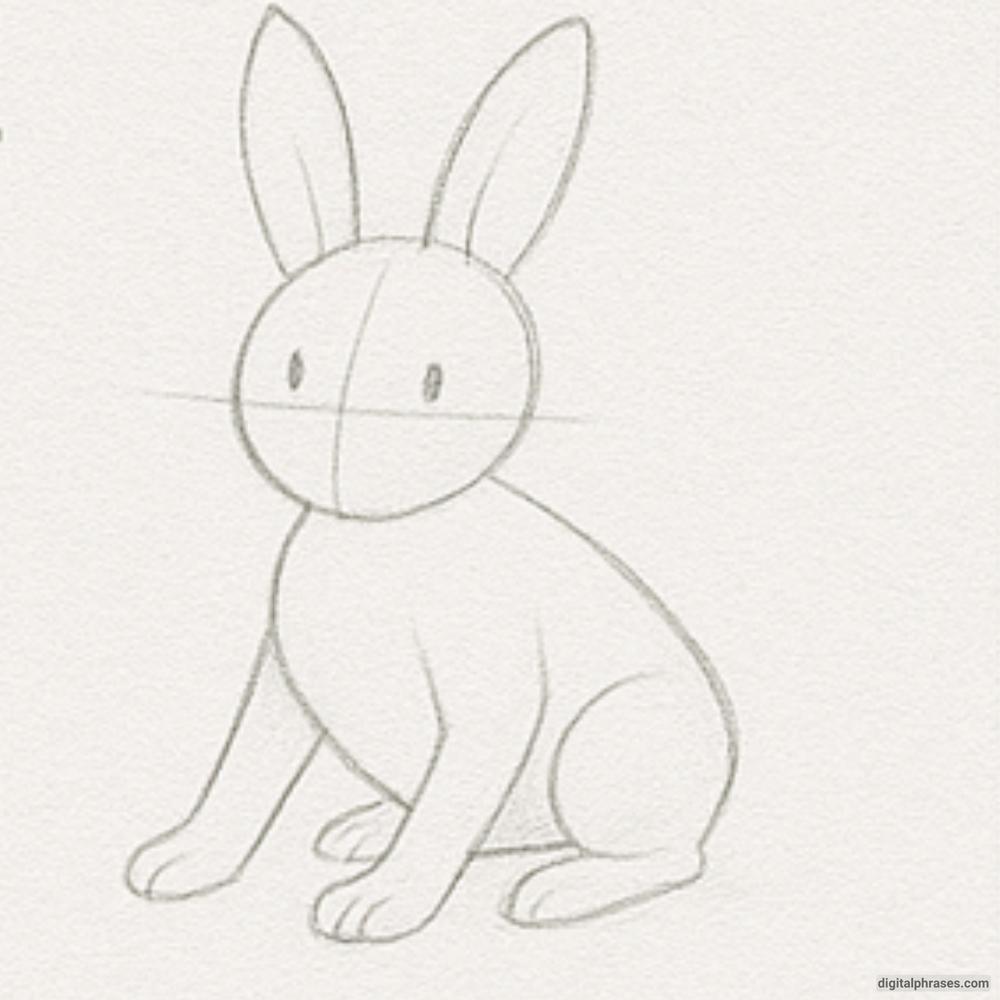
Step 5: Add the Face
Now the bunny gets its personality! Draw two round eyes using small dark circles, then add a small, rounded triangle for the nose. Below that, sketch a cute little mouth—simple curved lines will do.
Don’t forget to add the whiskers, which help give the bunny a playful and lively expression.
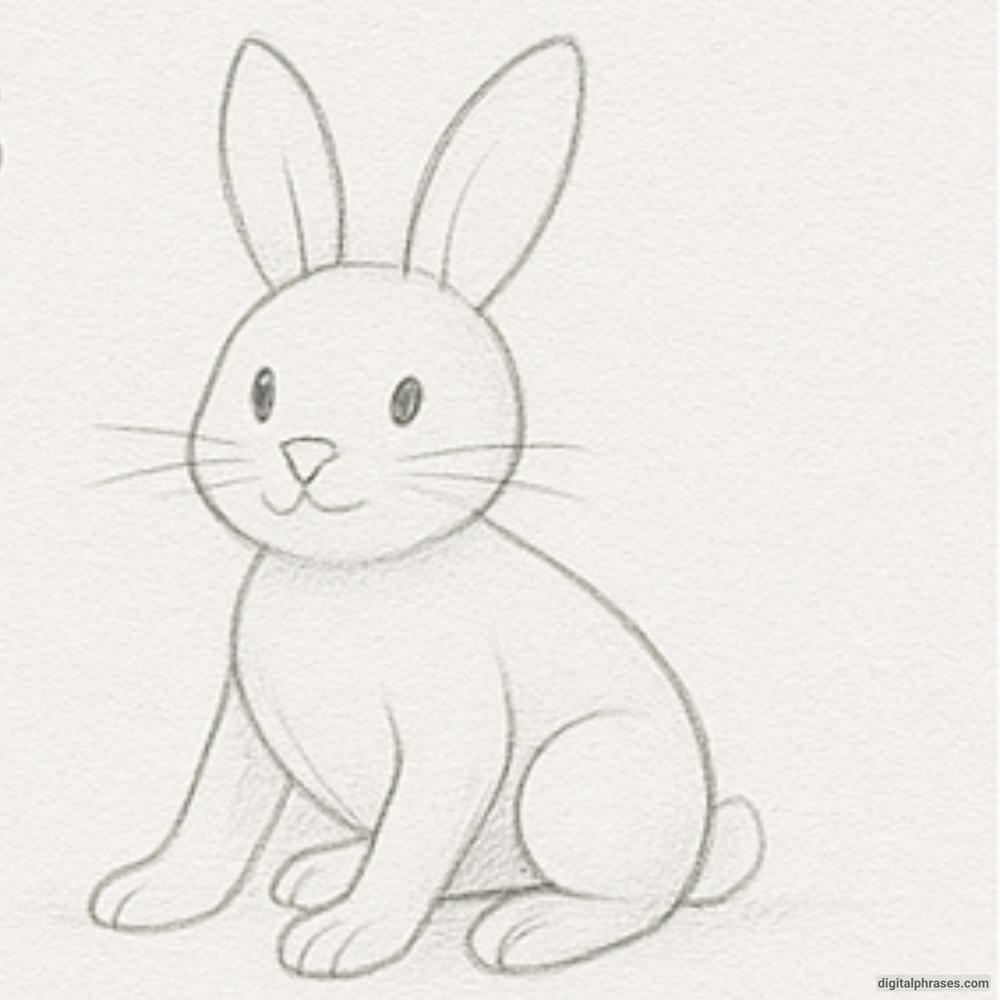
Step 6: Add Detail and Clean Lines
At this point, go over your drawing and finalize your line work. Erase any unnecessary construction lines and strengthen the outlines.
You can also add small details like the inner ear lines or the curve of the toes. Begin lightly shading under the chin, behind the body, and around the feet to build volume and form.
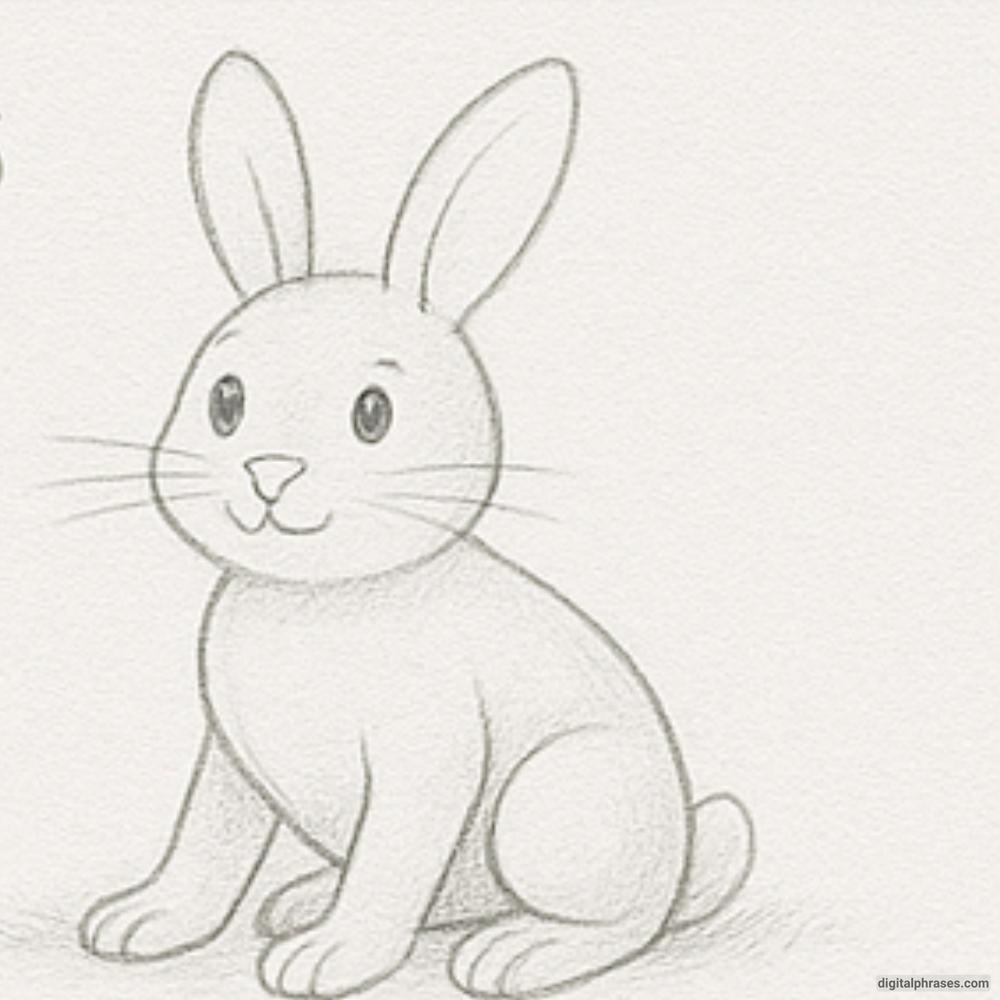
Step 7: Add the Easter Egg
Now let’s bring in the festive touch!
Draw an egg shape nestled in the bunny’s paws. Make sure the egg sits naturally in its hands, curving around the shape a bit. Then, decorate the egg with patterns—zigzags, dots, stripes—whatever feels fun and festive.
This adds character and emphasizes the Easter theme.
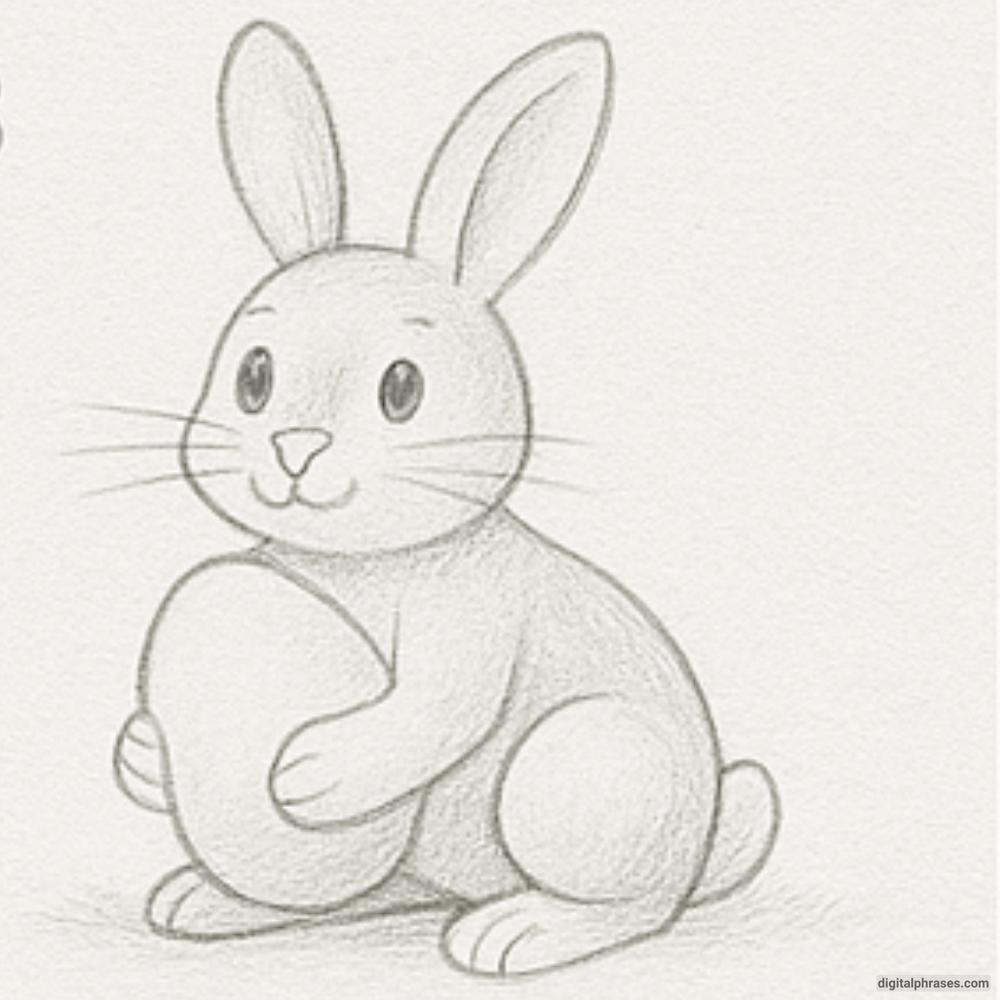
Step 8: Final Shading and Finishing Touches
Time to bring your bunny to life.
Add shading to the entire drawing, especially under the arms, at the base of the ears, under the egg, and behind the bunny to create a sense of depth. Use light, curved pencil strokes to give a soft fur texture, and apply darker shading where the light wouldn’t hit.
You can also darken the eyes and deepen the facial lines slightly to give them emphasis. When you’re satisfied, step back and admire your Easter Bunny—cute, cuddly, and ready to celebrate!
Equipment Needed
- Drawing Paper or Sketchbook – Use medium to smooth paper that holds pencil well and allows for clean erasing.
- Pencils (HB to 4B) – Start with a hard lead like HB or 2B for sketching, then use softer leads like 3B or 4B for outlines and shading.
- Eraser (Kneaded Preferred) – Great for gently removing guidelines or creating highlights in the fur.
- Pencil Sharpener – A sharp pencil tip is essential for detail work, especially for the eyes, whiskers, and fur.
- Blending Stump or Soft Tissue – Useful for smooth shading and creating soft textures around the bunny’s body.
- Ruler or Compass (Optional) – For perfecting the shape of the Easter egg if symmetry is important to you.
- Color Pencils or Markers (Optional) – If you want to color the egg or bunny after the drawing is complete.

