60 Spider Drawing Ideas
Let’s draw a spider!
It’s a cool way to challenge your skills and get creative. Spiders are super interesting, with their weird bodies and all those legs. But drawing them isn’t as easy as it looks. In this guide, we’ll learn everything from how spiders are built to tricks for making them look real.
Here we go.
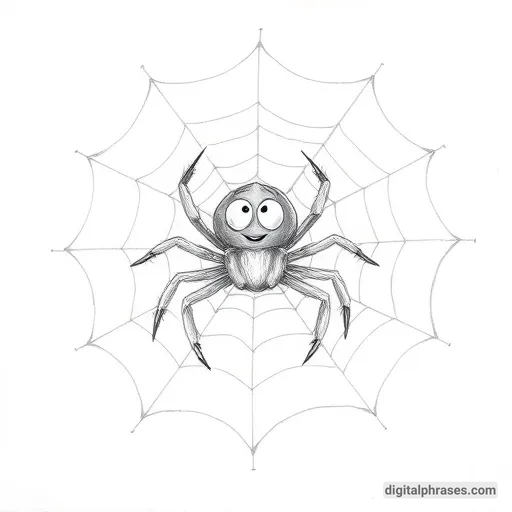
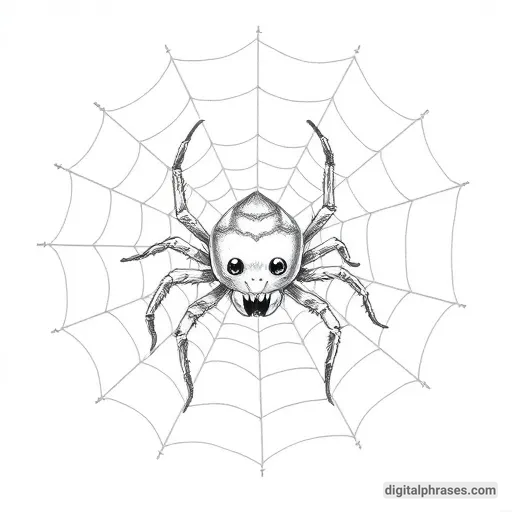
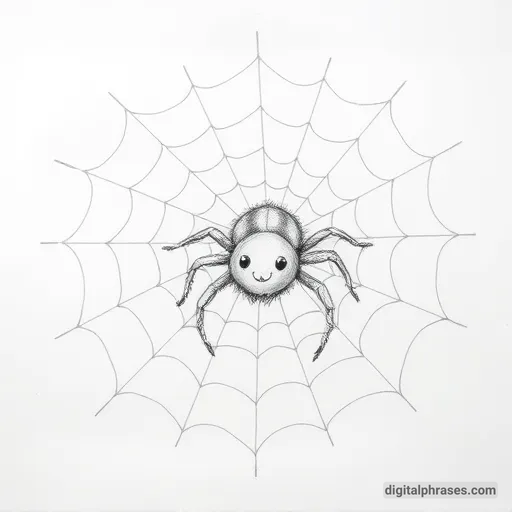
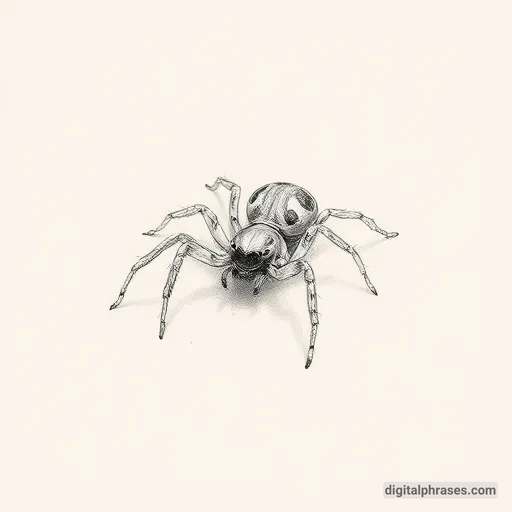
Easy Spider Drawing Ideas
1
2
3
4
5
6
7
8
9
10
11

12
13
14
15
16
17
18

19
20

Creative Spider Drawing Ideas
1
2
3

4

5
6
7
8
9
10
11
12
13
14
15
16

17
18
19
20
Realistic Spider Drawing Ideas
1
2
3
4
5
6
7
8
9
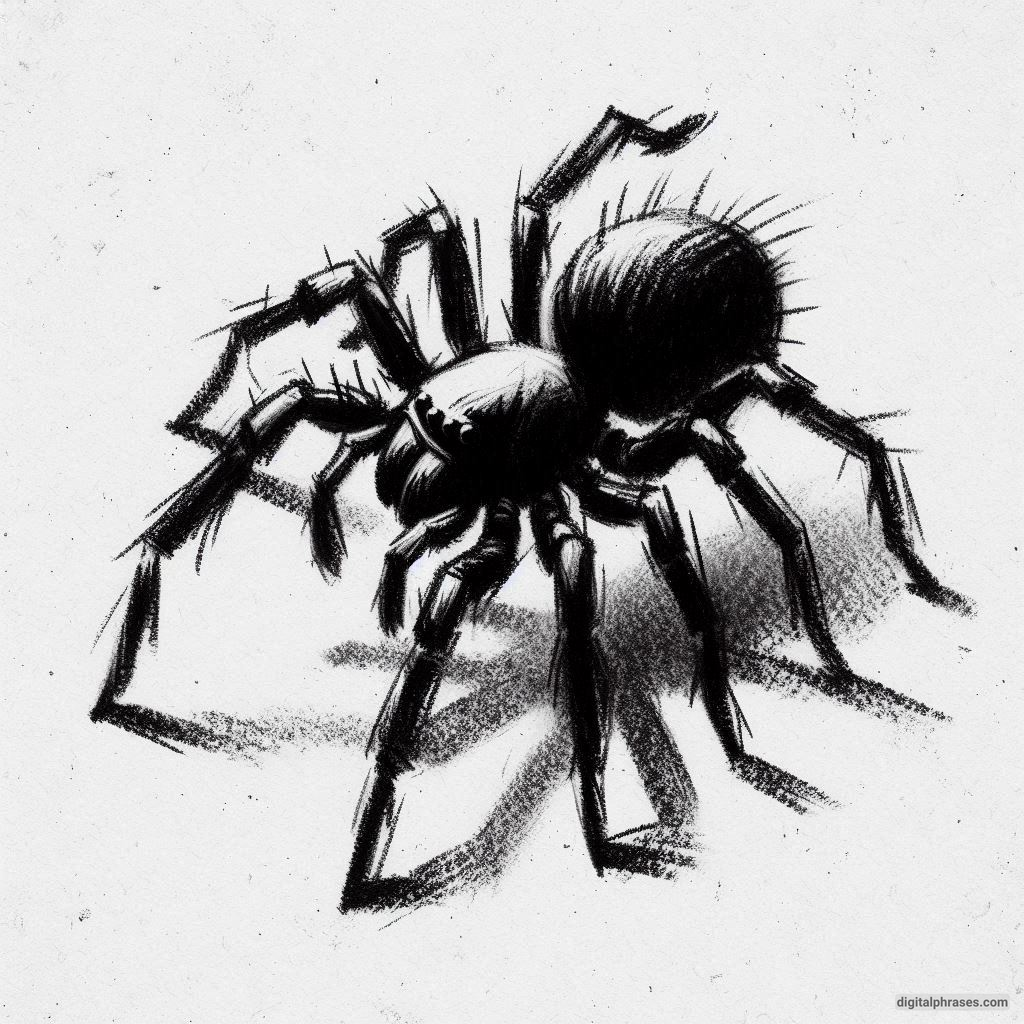
10
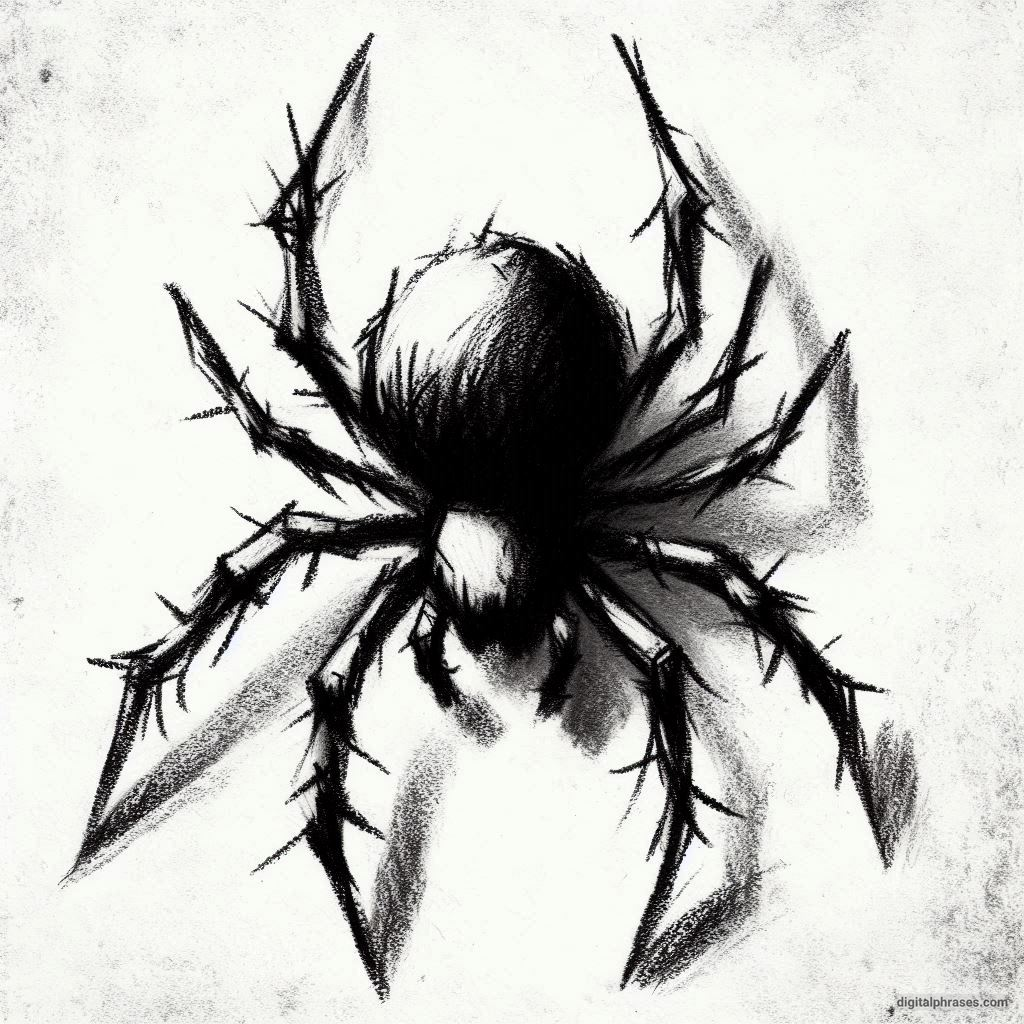
11
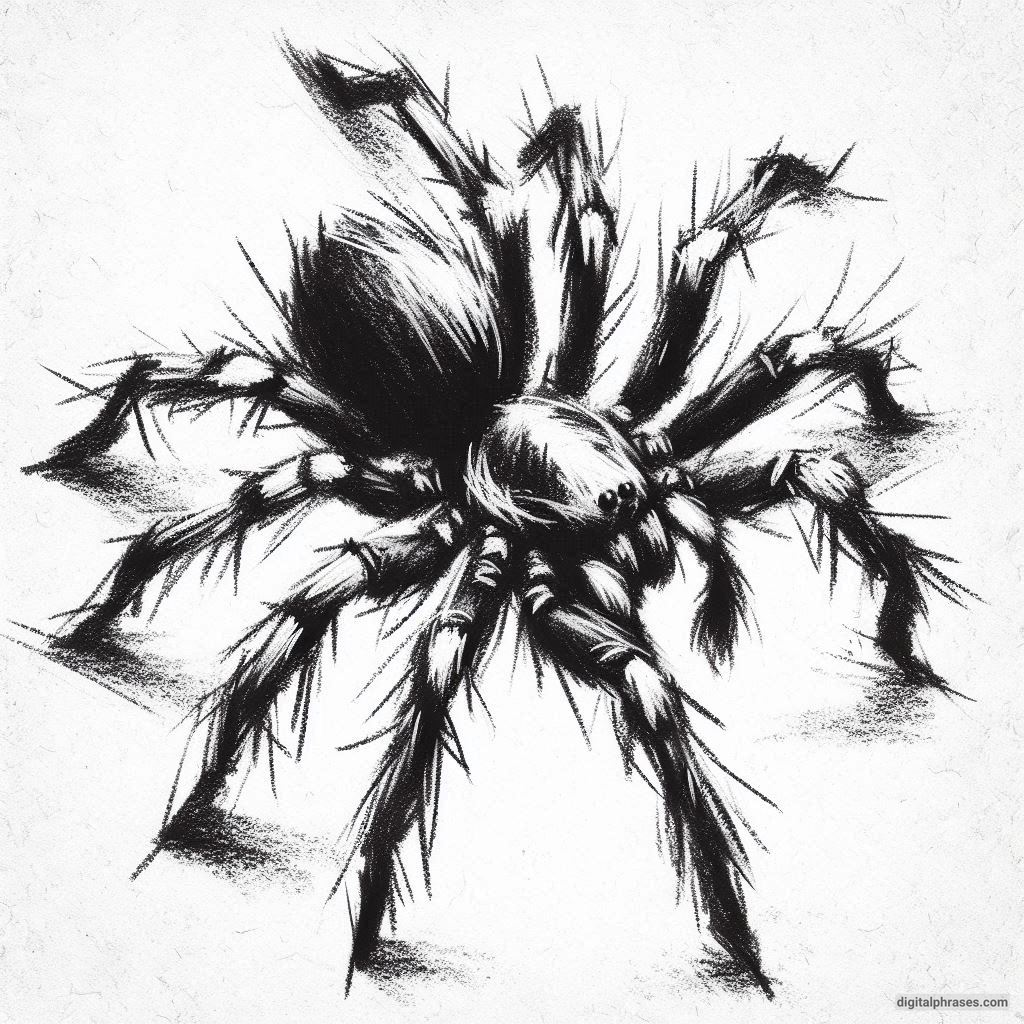
12
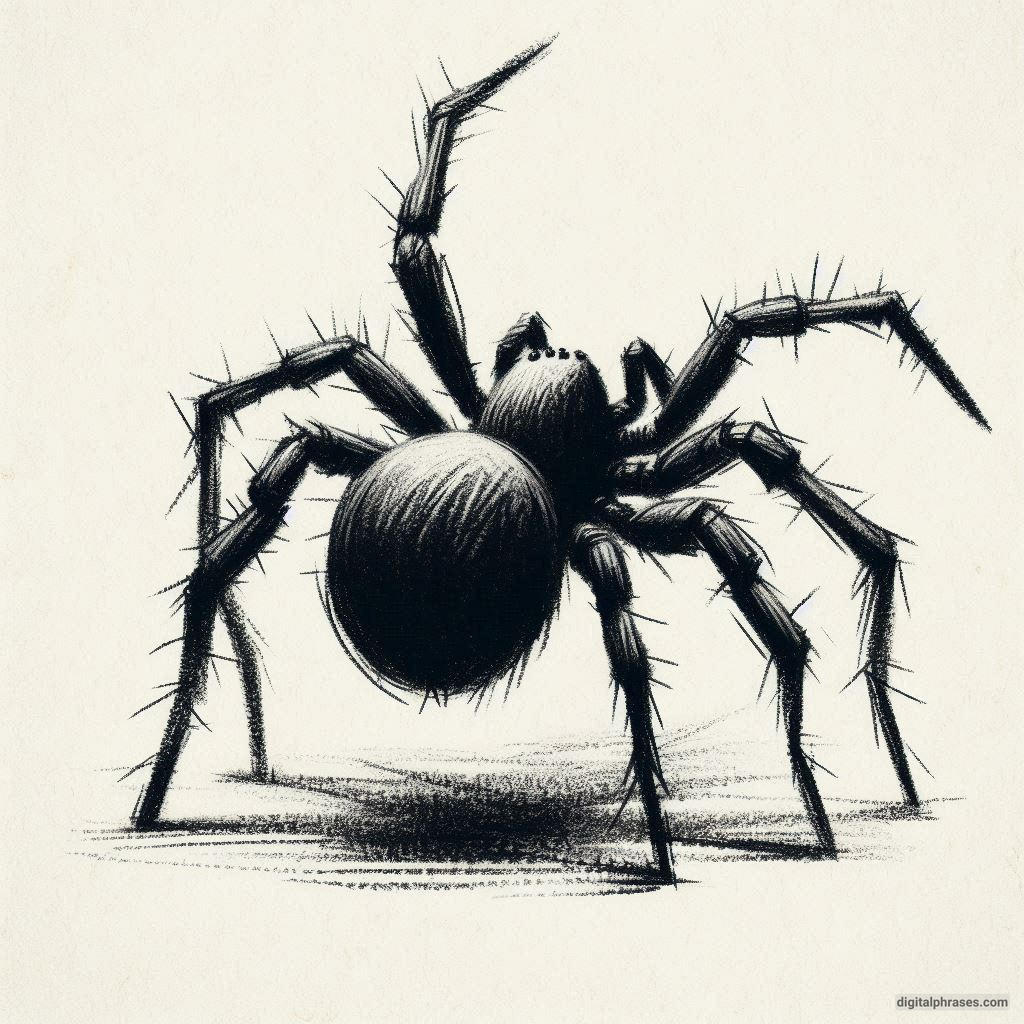
13
14

15
16
17

18
19
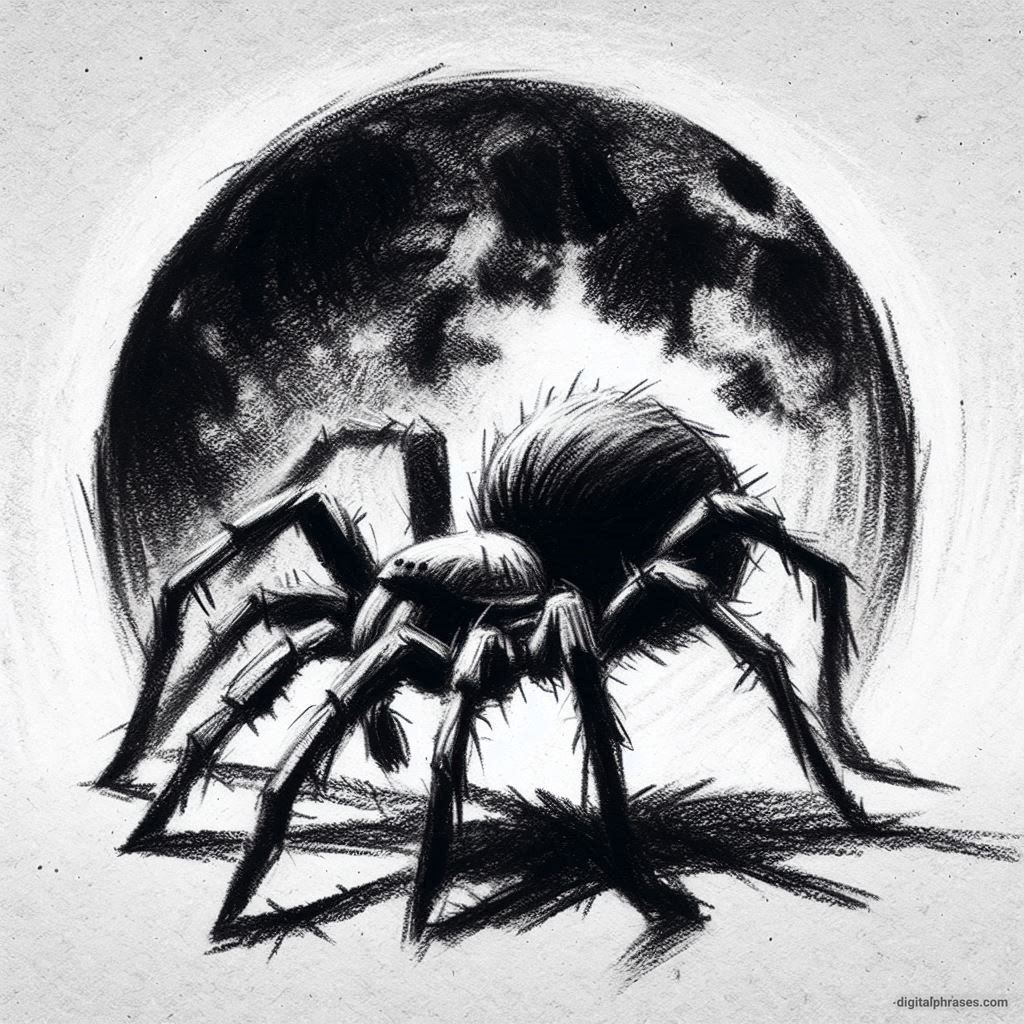
20

Things To Keep in Mind While Drawing a Spider
Understanding Spider Anatomy
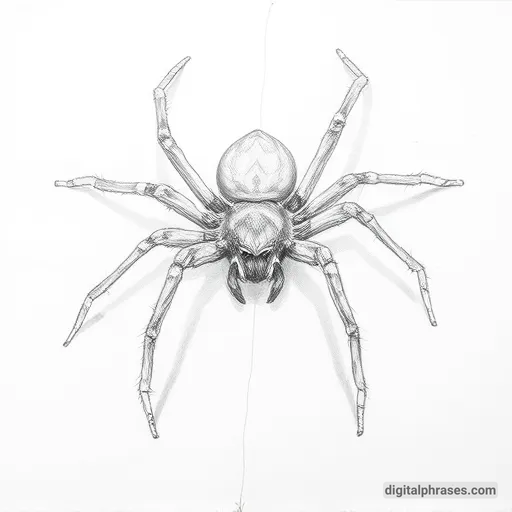
Before you start drawing, it’s crucial to have a solid grasp of spider anatomy. Unlike insects, which have three body parts, spiders have two main sections: the cephalothorax and the abdomen.
- Cephalothorax (Prosoma):
- This is the front part of the spider’s body, where the head and thorax are fused together.
- It houses the spider’s eyes, mouthparts (including the chelicerae and fangs), and the legs.
- Pay attention to the arrangement and number of eyes, as this varies between species. Most spiders have eight eyes, but their placement and size can differ, affecting the spider’s overall appearance.
- Abdomen (Opisthosoma):
- The abdomen is usually larger and softer than the cephalothorax and can vary in shape and size depending on the species.
- This part contains the spider’s vital organs, spinnerets (for silk production), and other appendages.
- The abdomen often displays distinctive patterns or textures that are key to species identification and artistic expression.
- Legs:
- Spiders have eight legs, each consisting of seven segments: coxa, trochanter, femur, patella, tibia, metatarsus, and tarsus.
- The legs are usually covered in fine hairs or spines, which play a role in sensory perception and can add detail to your drawing.
- The articulation and positioning of the legs are crucial for conveying the spider’s posture and movement.
Proportion and Symmetry
Spiders are generally symmetrical, meaning their left and right sides mirror each other. This symmetry is crucial when drawing a realistic spider. However, it’s also important to capture the slight imperfections and variations that make each spider unique.
- Body Proportions:
- The ratio of the cephalothorax to the abdomen varies among species. For example, tarantulas typically have a larger abdomen relative to their cephalothorax, while some orb-weaving spiders might have a more balanced proportion.
- Observe the spider you’re drawing closely to get these proportions right, as they significantly impact the accuracy of your representation.
- Leg Length and Placement:
- The legs should be proportionate to the body and evenly spaced. In many species, the front pair of legs is slightly longer than the others, which helps with tasks like hunting and web-building.
- Consider the perspective from which you’re drawing the spider. If it’s from above, the legs should radiate outward from the cephalothorax. If it’s a side view, the legs will overlap in a more complex arrangement.
- Eyes and Facial Features:
- The placement and size of the eyes are vital for capturing the spider’s expression. While most spiders have eight eyes, some species have six, and others might have very small or even absent eyes.
- The chelicerae and fangs are also important features. In species like tarantulas, these are prominent and can be a focal point in your drawing.
Texture and Surface Details
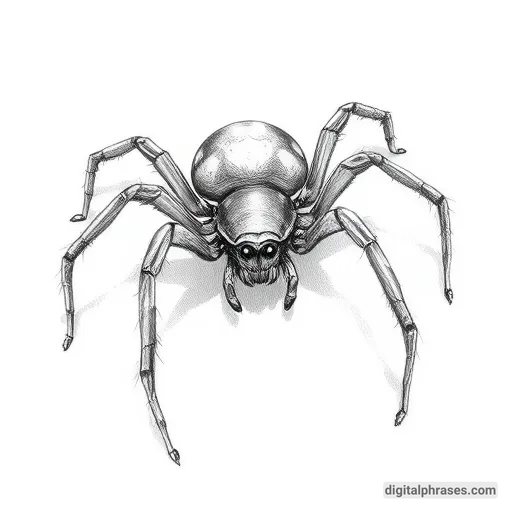
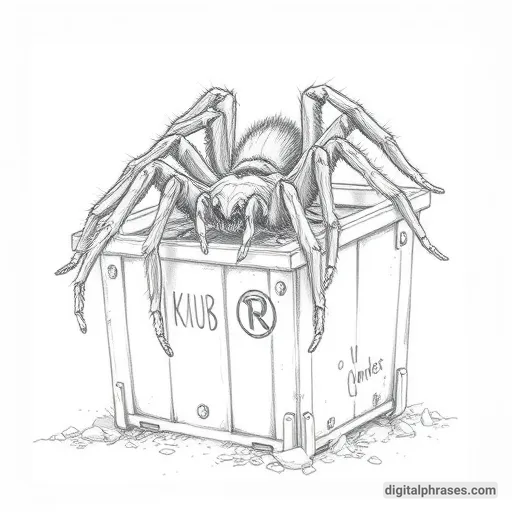
Spiders have diverse textures on their bodies, from the smooth, shiny exoskeleton of a jumping spider to the hairy surface of a tarantula. Capturing these textures adds realism and depth to your drawing.
- Exoskeleton:
- The exoskeleton is the hard outer layer that protects the spider. It can be smooth, shiny, or even reflective, depending on the species.
- Use light and shadow to emphasize the three-dimensional quality of the exoskeleton. In some cases, a slight gloss can be added to reflect the light source, giving the spider a more realistic appearance.
- Hair and Spines:
- Many spiders are covered in fine hairs or spines that serve various functions, from sensing vibrations to deterring predators.
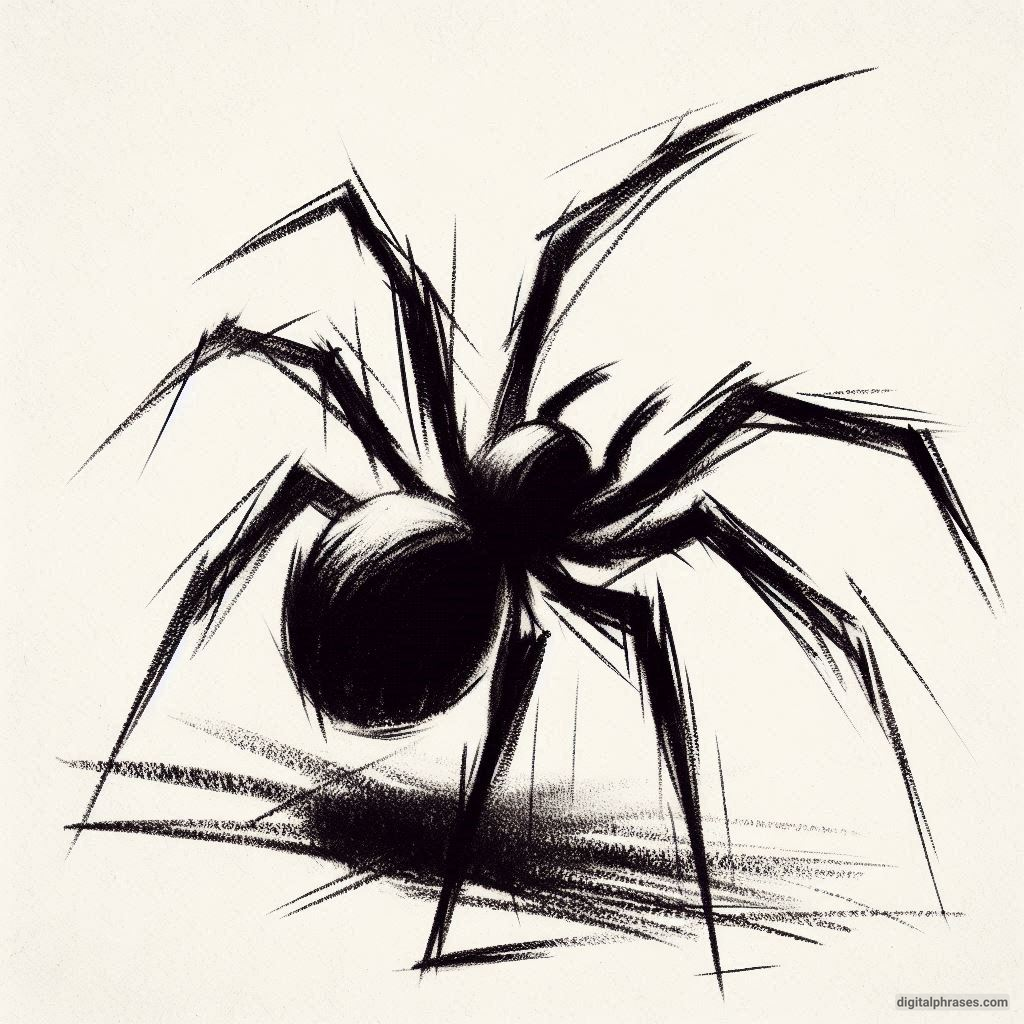
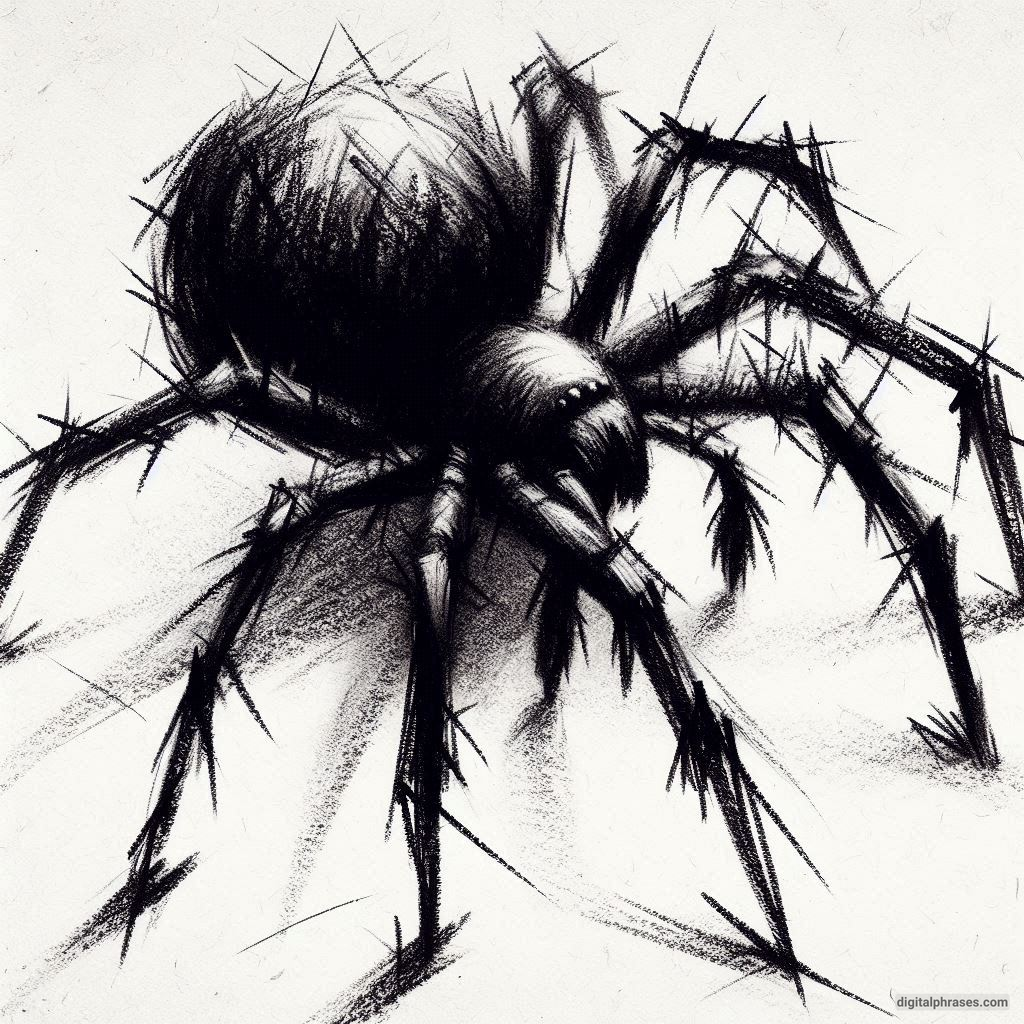
- For hairy spiders like tarantulas, use short, quick strokes to depict the hair. The direction and length of these strokes should follow the natural flow of the hair on the spider’s body.
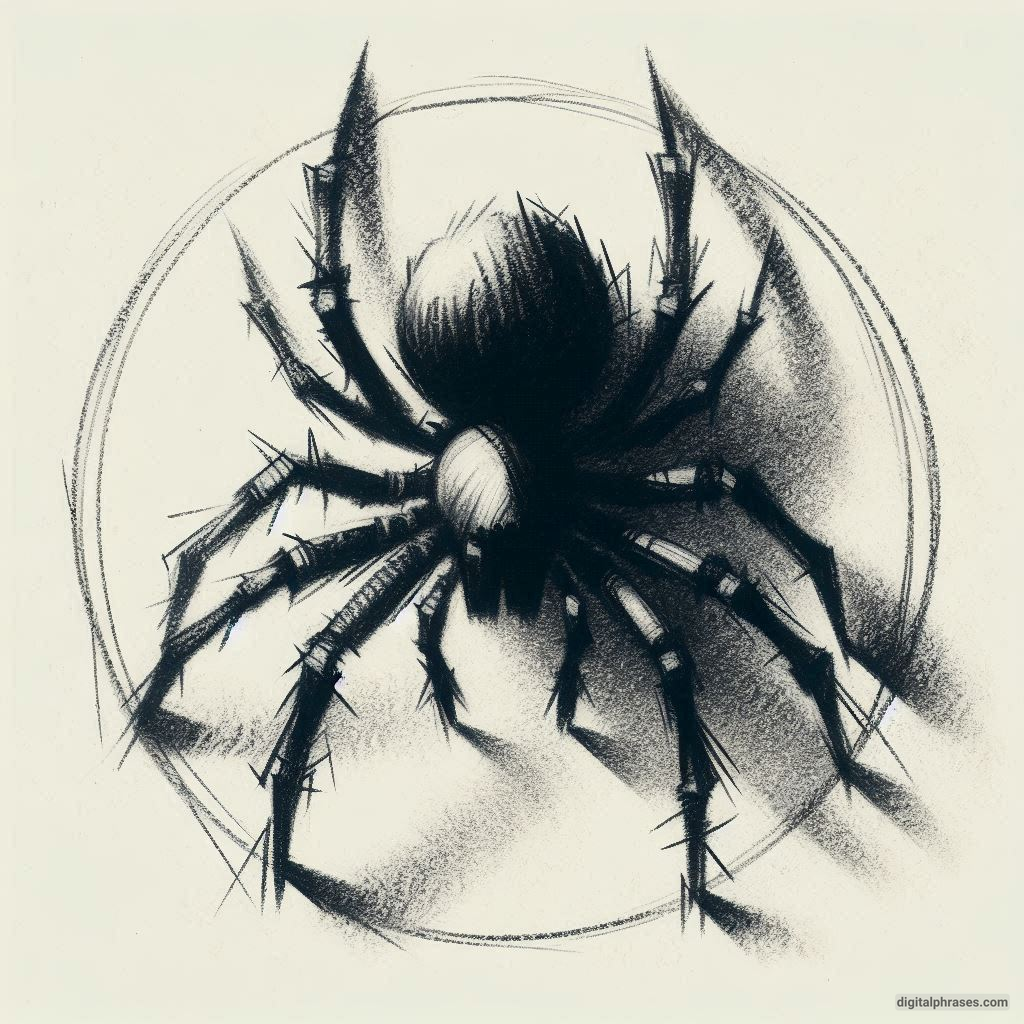
- Spines can be drawn as small, sharp lines that protrude from the legs or body, adding texture and a sense of danger.
- Patterning:
- Many spiders have intricate patterns on their abdomens, which can range from simple stripes to complex geometric designs.
- These patterns often play a role in camouflage or mating displays, so capturing them accurately is important for realism.
- Take your time to study these patterns, as they can be quite detailed. Use fine lines and careful shading to replicate them in your drawing.
Lighting and Shadows
Lighting plays a critical role in any drawing, and this is particularly true when drawing a spider. The way light interacts with the spider’s body can emphasize its three-dimensional form and texture.
- Light Source:
- Determine the direction of your light source before you begin shading. This will guide where you place highlights and shadows.
- A single light source from above or to the side is common in realistic drawings, as it helps to create dramatic shadows that accentuate the spider’s form.
- Shading Techniques:
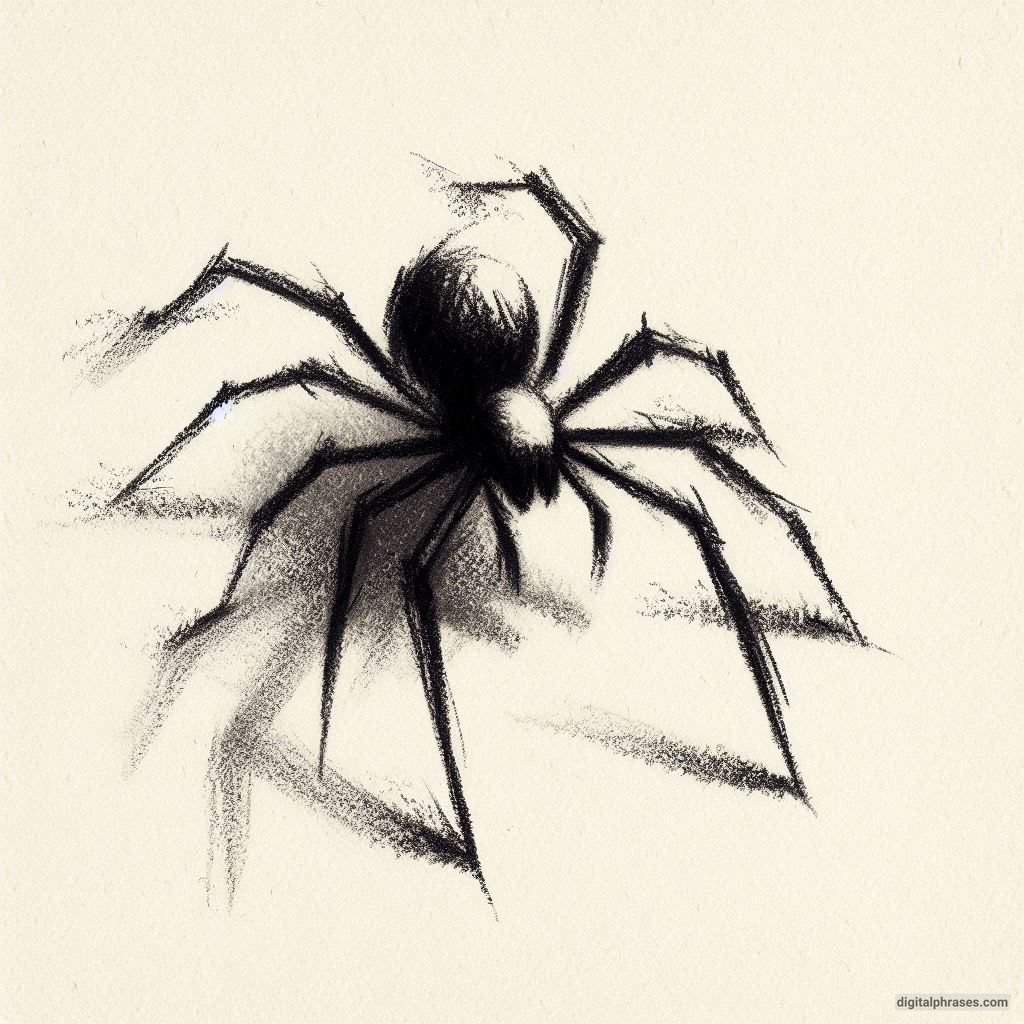
- Use hatching or cross-hatching techniques to create shadows and depth. The closer the lines are to each other, the darker the shadow will appear.
- For a smooth, shiny exoskeleton, consider using a blending tool or your finger to smooth out the shading, creating a gradient effect that mimics the way light naturally falls on a curved surface.
- Reflections and Highlights:
- On smooth or glossy parts of the spider, add small highlights where the light hits directly. These can be left as white spaces or lightly shaded with a blending tool to create a softer reflection.
- Be mindful of how light reflects off different textures. For example, the shiny surface of a jumping spider’s cephalothorax will reflect more light than the matte, hairy surface of its abdomen.
Composition and Perspective
The composition of your drawing and the perspective you choose can greatly affect the impact of your artwork. Consider the following when planning your spider drawing:
- Viewpoint:
- Decide on the perspective that best showcases the spider’s features. A top-down view is great for displaying the symmetry and patterning of the spider, while a side view can emphasize its legs and posture.
- For a more dynamic composition, consider an angled or close-up view that focuses on a particular part of the spider, such as its eyes or fangs.
- Background and Environment:
- Consider whether you want to include a background or place the spider in an environment, such as a web or a natural setting.
- A simple, uncluttered background can make the spider stand out, while a more detailed environment can tell a story or add context to your drawing.
- Scale and Size:
- Think about the scale of your drawing. A large-scale drawing allows for more detail, especially in the texture and patterning, while a smaller scale might be more suitable for quick studies or sketches.
- The size of the spider relative to the background or other elements can also influence the mood of the drawing. A large spider in a small environment can appear menacing, while a small spider in a large space might evoke a sense of vulnerability.
Artistic Techniques and Style
While realism is a common goal when drawing spiders, you might also want to experiment with different artistic techniques and styles to convey your unique interpretation of the subject.
- Line Work:
- Clean, precise lines are essential for a realistic spider drawing. However, varying the thickness and darkness of your lines can add interest and depth.
- Consider using different types of lines to convey texture. For example, use fine, delicate lines for the spider’s legs and bolder, heavier lines for the body.
- Shading and Contrast:
- High contrast between light and dark areas can create a dramatic effect, making your spider appear more three-dimensional and realistic.
- Experiment with different shading techniques, such as stippling, to create texture and depth. Stippling involves using small dots to build up shadows, which can be particularly effective for rendering the rough texture of a spider’s body.
- Stylization:
- While accuracy is important, don’t be afraid to inject some stylization into your drawing. This could involve exaggerating certain features, such as the size of the eyes or the length of the legs, to create a more expressive or cartoon-like image.
- Stylization can also involve simplifying the spider’s form, focusing on the most essential shapes and lines to convey the subject in a more abstract way.
Common Mistakes and How to Avoid Them
Even experienced artists can make mistakes when drawing complex subjects like spiders. Here are some common pitfalls and tips for avoiding them:
- Overlooking Proportions:
- It’s easy to get caught up in the details and lose sight of the overall proportions. Always start with a basic sketch that outlines the spider’s main shapes and proportions before adding details.
- Ignoring Texture:
- Spiders have rich textures that are crucial to their appearance. Don’t overlook the importance of adding hair, spines, and other surface details that give the spider its character.
- Inconsistent Lighting:
- Inconsistent lighting can make your drawing look flat or confusing. Establish your light source early on and stick to it throughout the drawing, ensuring that shadows and highlights are consistent.
- Overworking the Drawing:
- It’s easy to get carried away with details, but overworking the drawing can result in a cluttered or messy appearance. Know when to stop and let the drawing breathe, allowing the essential elements to stand out.
Final Thoughts
Drawing a spider is both a technical and creative challenge that requires careful observation, attention to detail, and a solid understanding of anatomy and artistic techniques.
By considering the points outlined in this guide—anatomy, proportion, texture, lighting, composition, and style—you’ll be well-equipped to create a spider drawing that is not only accurate but also artistically compelling.
Remember, practice is key.
Don’t be discouraged if your first attempts don’t turn out as you hoped. Each drawing is an opportunity to learn and improve. Over time, you’ll develop your own style and approach to drawing spiders, allowing you to capture the beauty and complexity of these fascinating creatures in your artwork.


