120 Sunset Drawing Ideas (Pencil Sketches, Crayon Drawings and Watercolor Paintings)
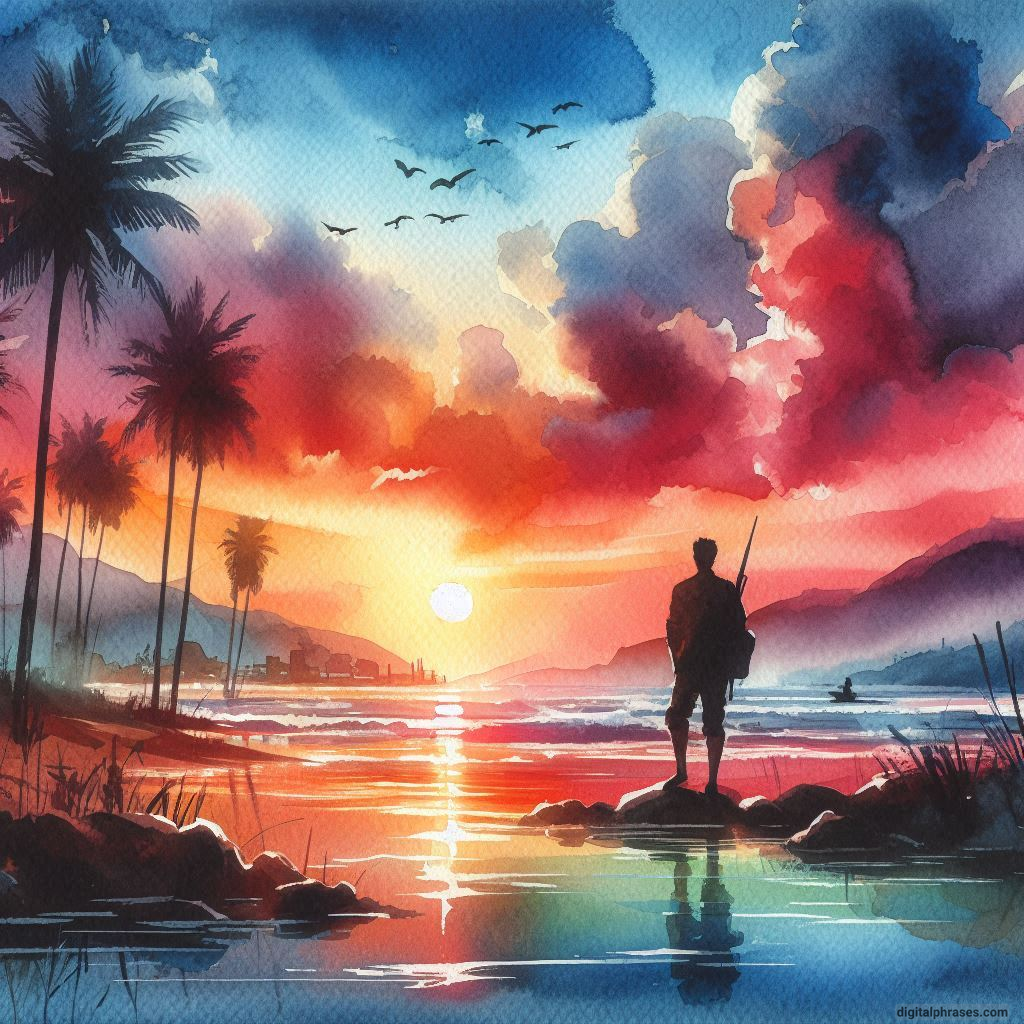
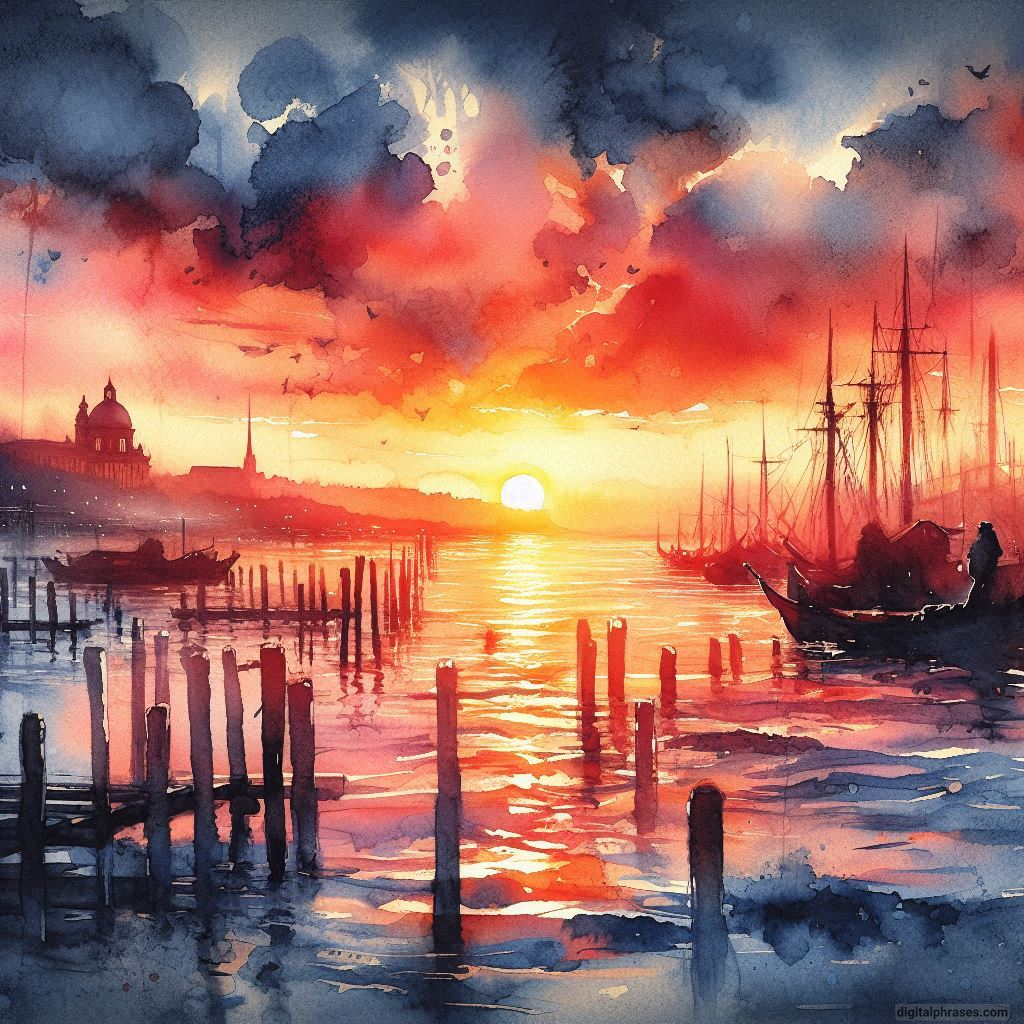
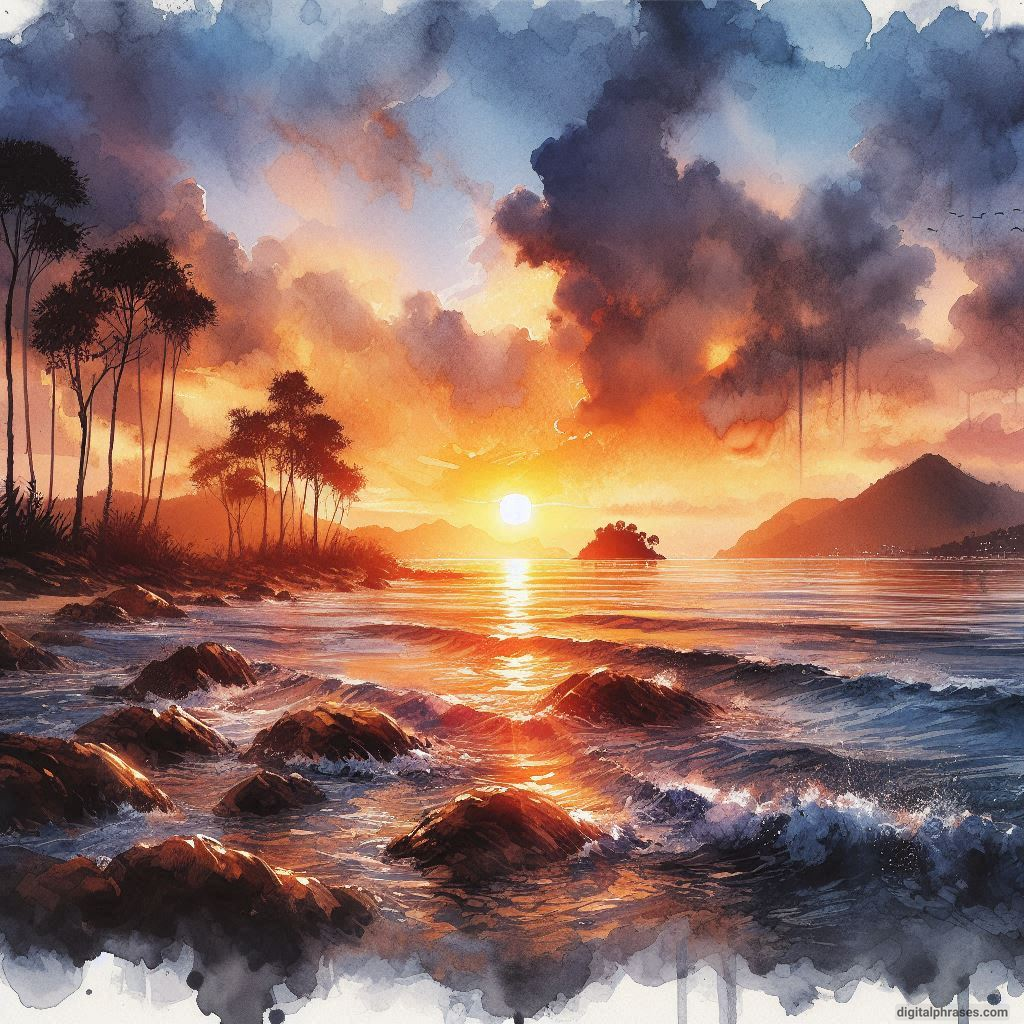
The sun dips below the horizon, painting the sky in hues of gold, orange, pink, and purple. It’s a breathtaking spectacle that has inspired artists of all shapes and sizes.
But what if you could capture that magic on paper?
Irrespective of whether you’re a seasoned artist or just a beginner starting out, this blog is your sunset sanctuary, brimming with some inspiring ideas for pencil sketches, water paintings, and crayon masterpieces of all things sunsets.
Let’s check these out.
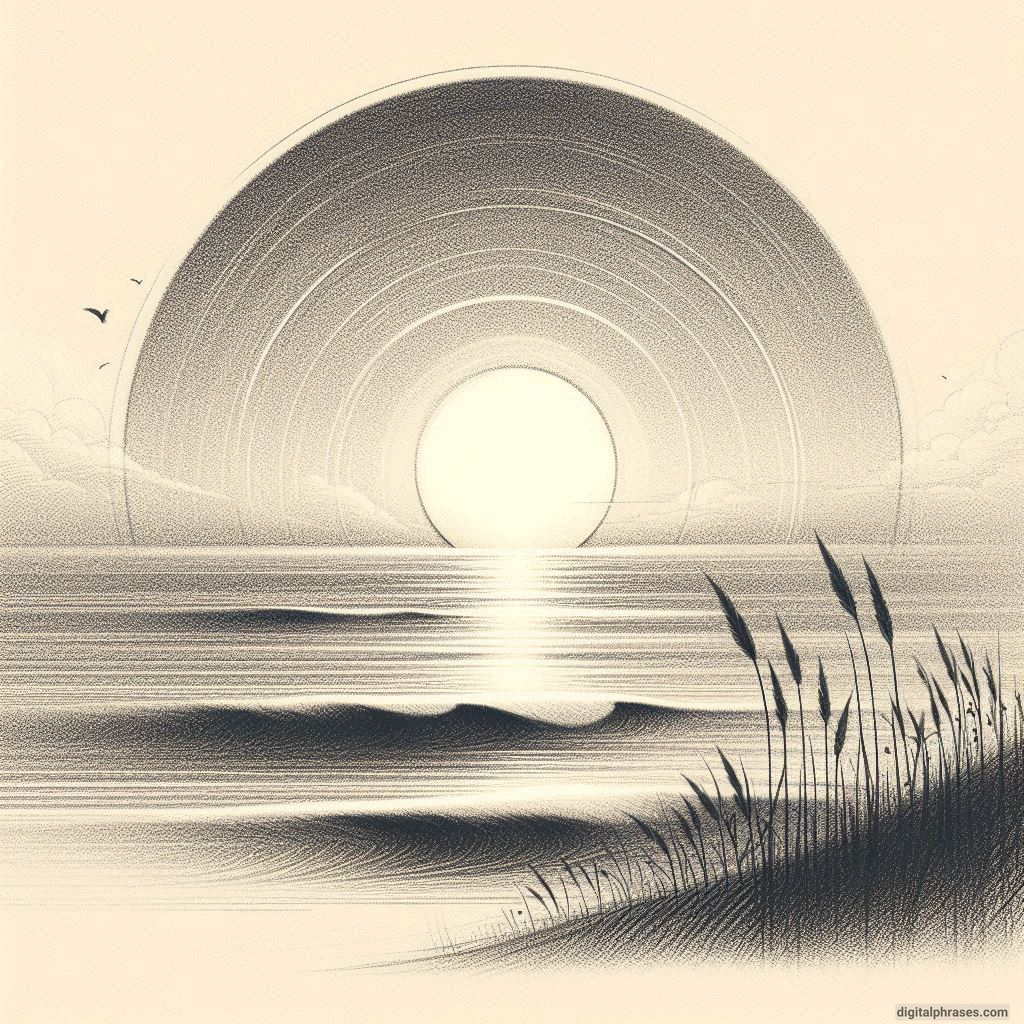
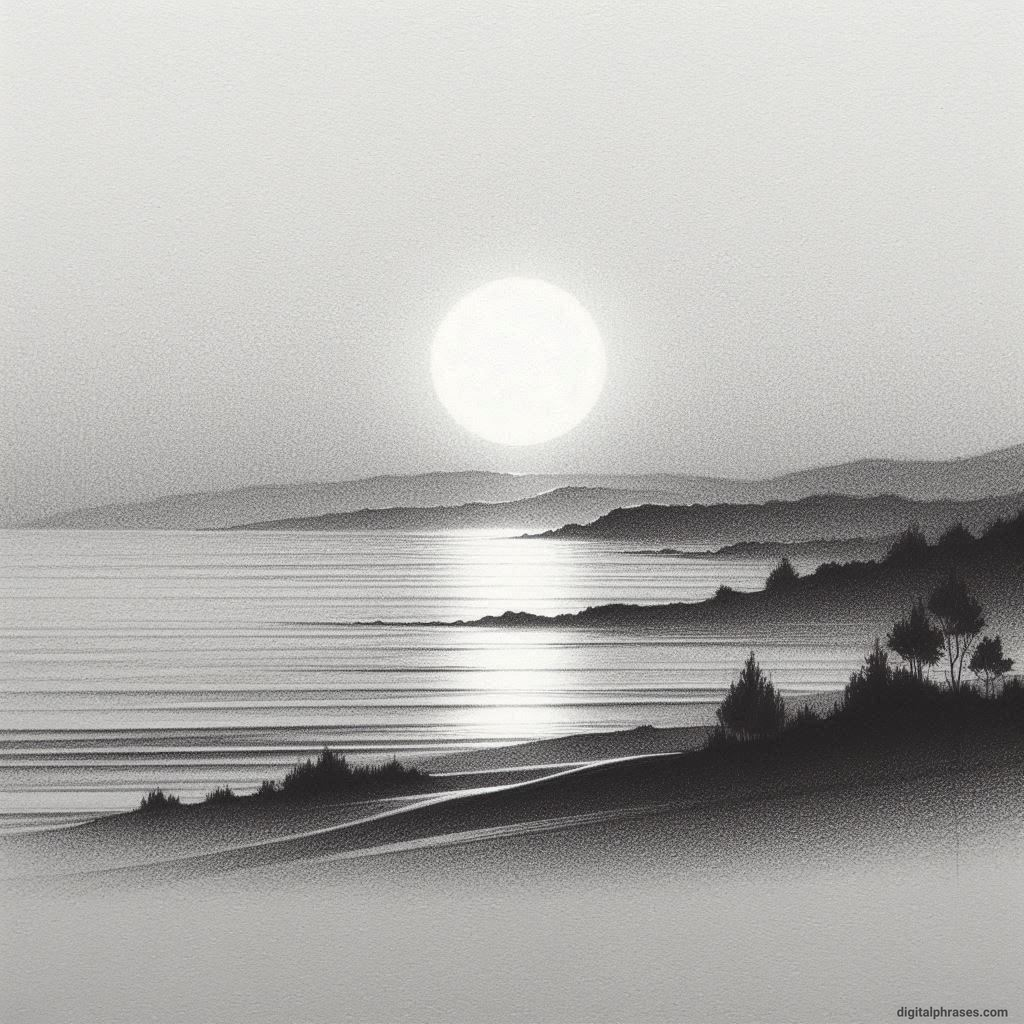
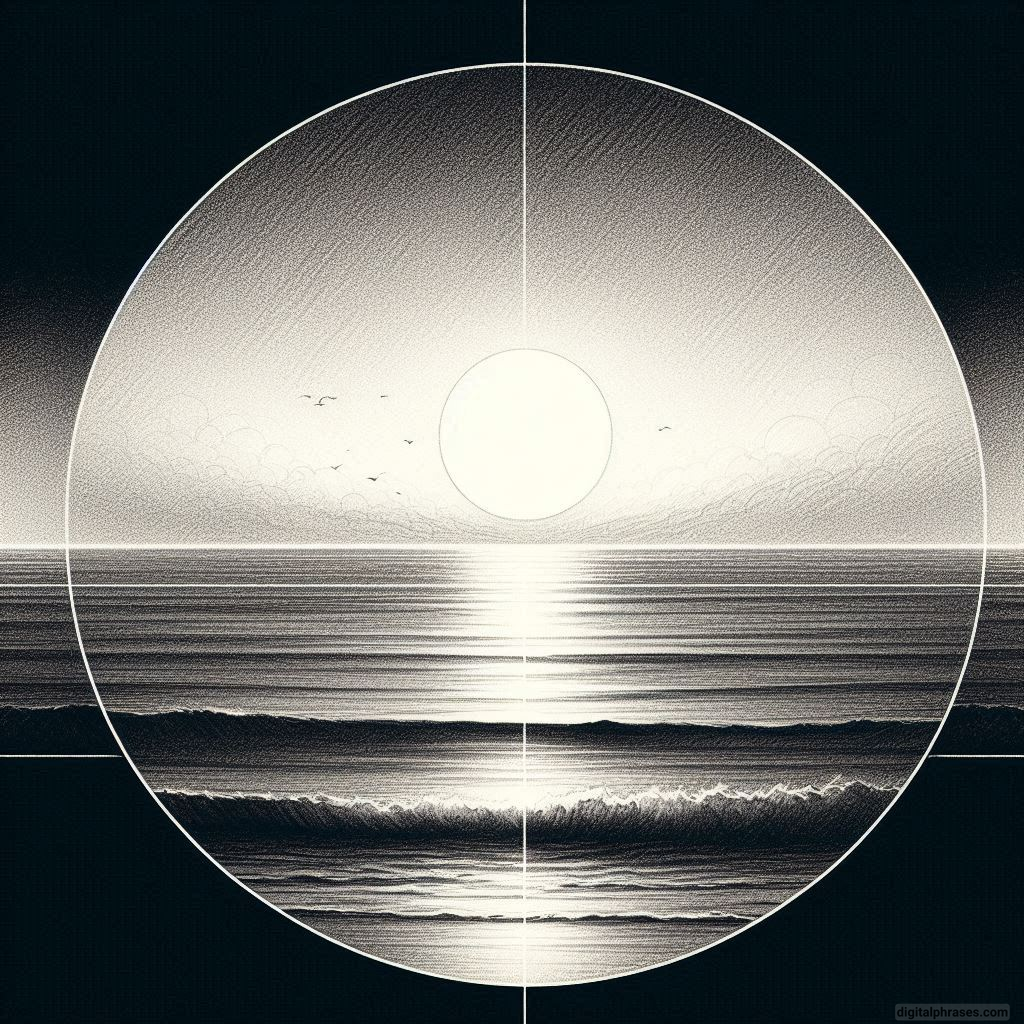
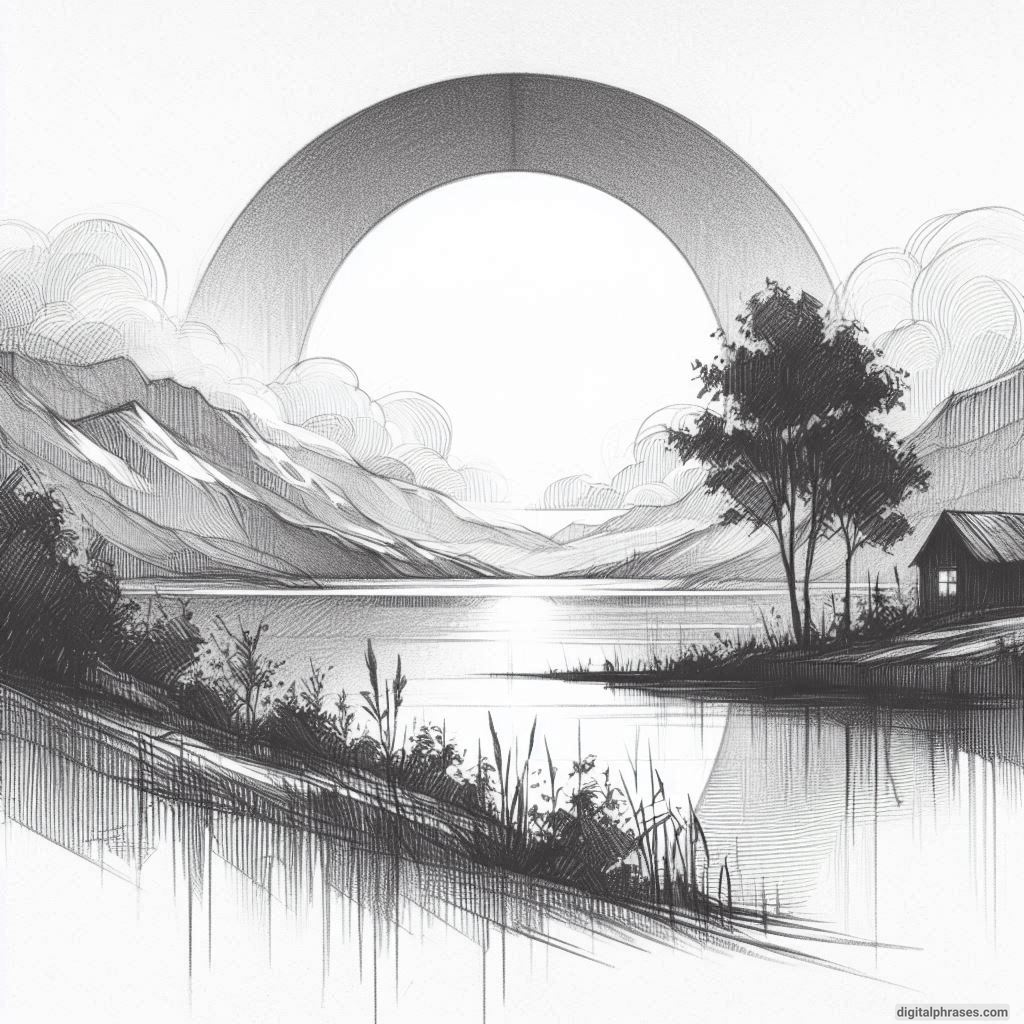
Pencil Sketches
1
2
3
4
5
6
7
8
9
10
11
12
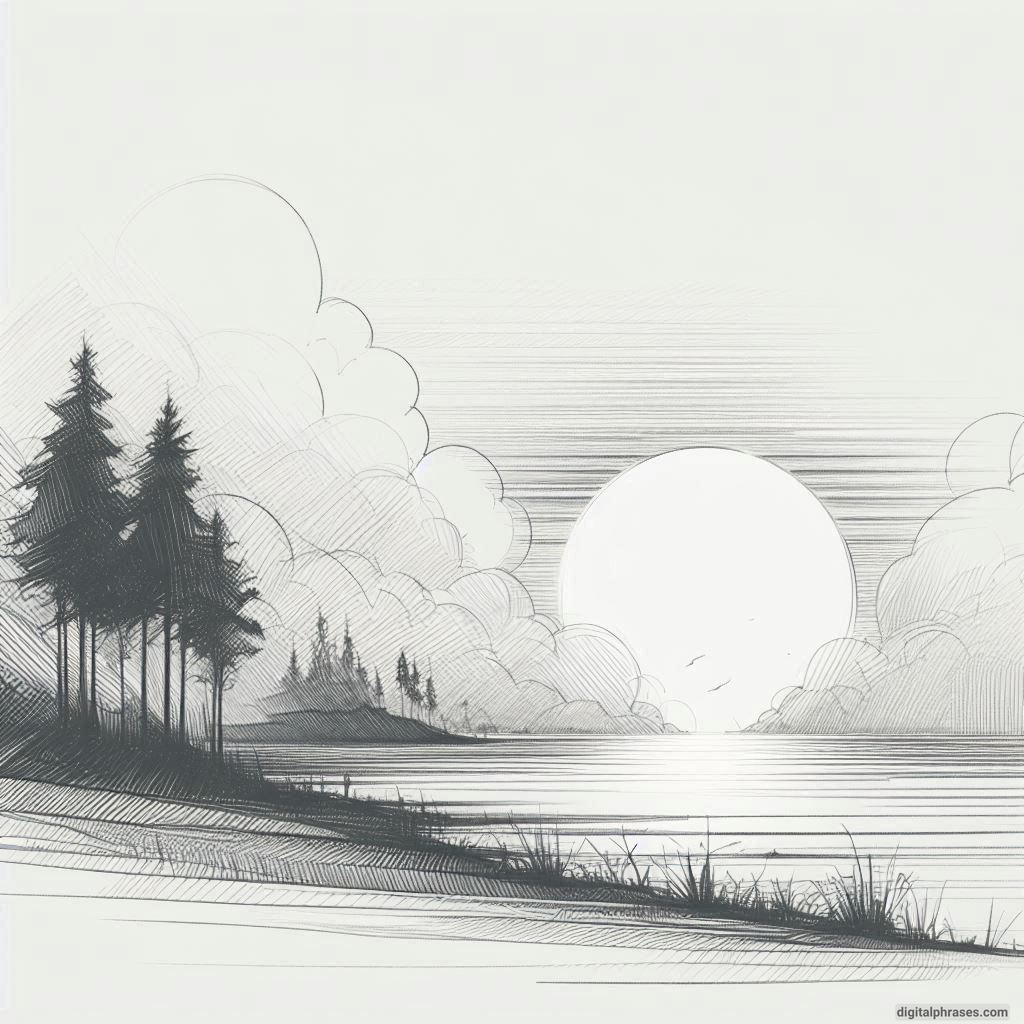
13
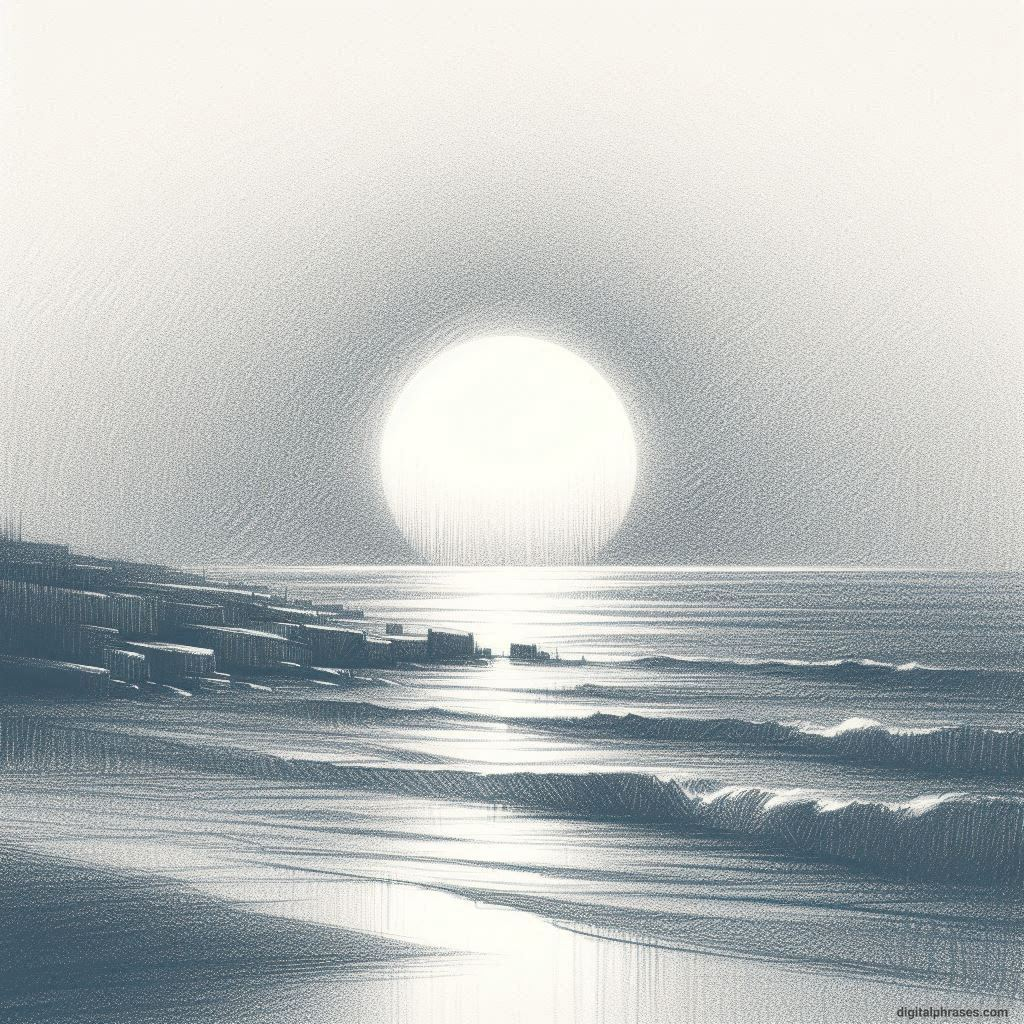
14
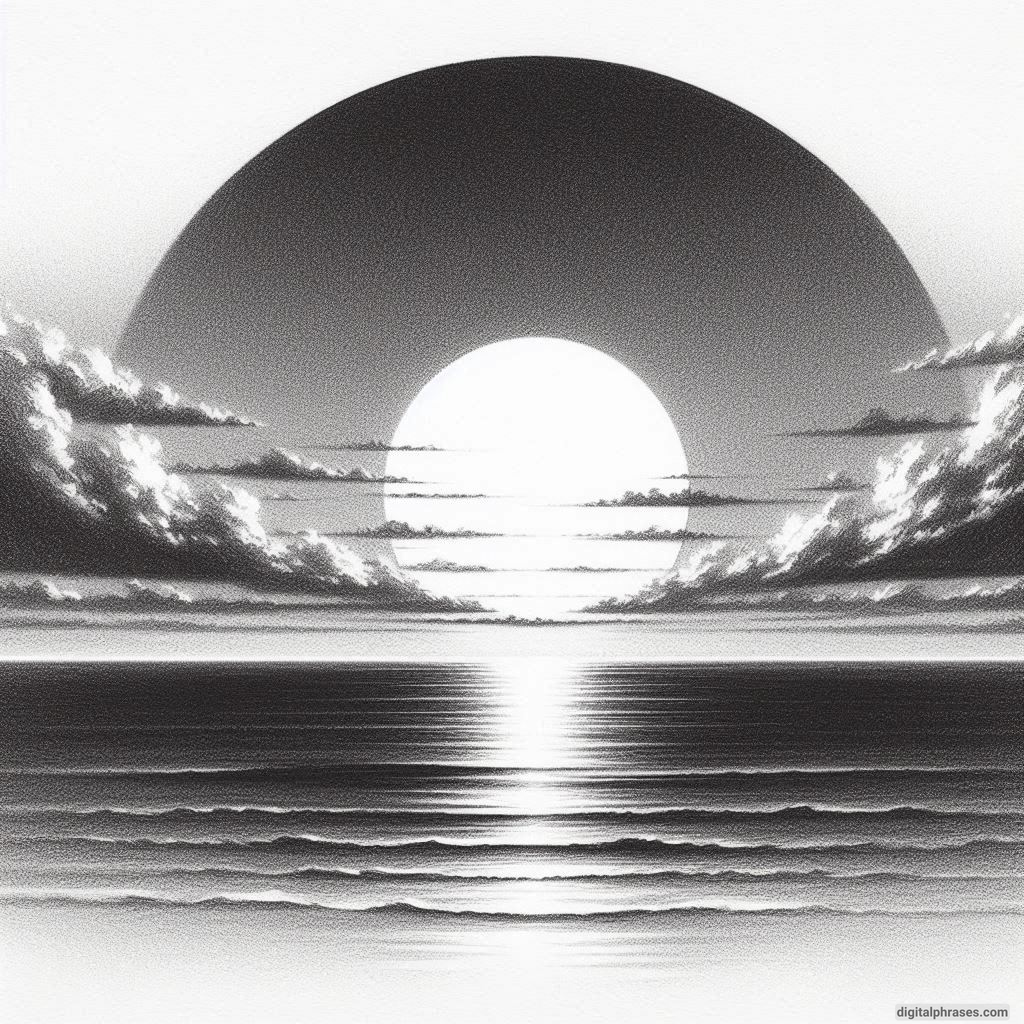
15
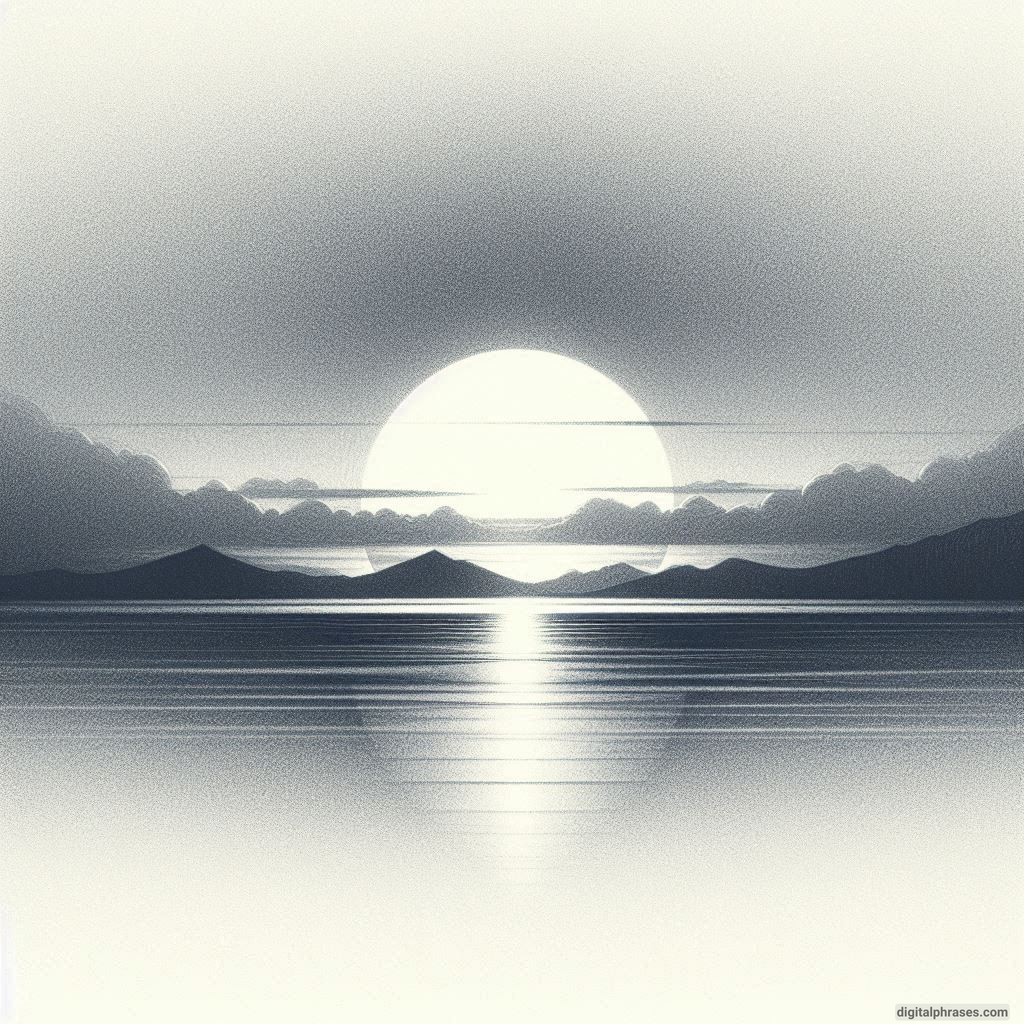
16
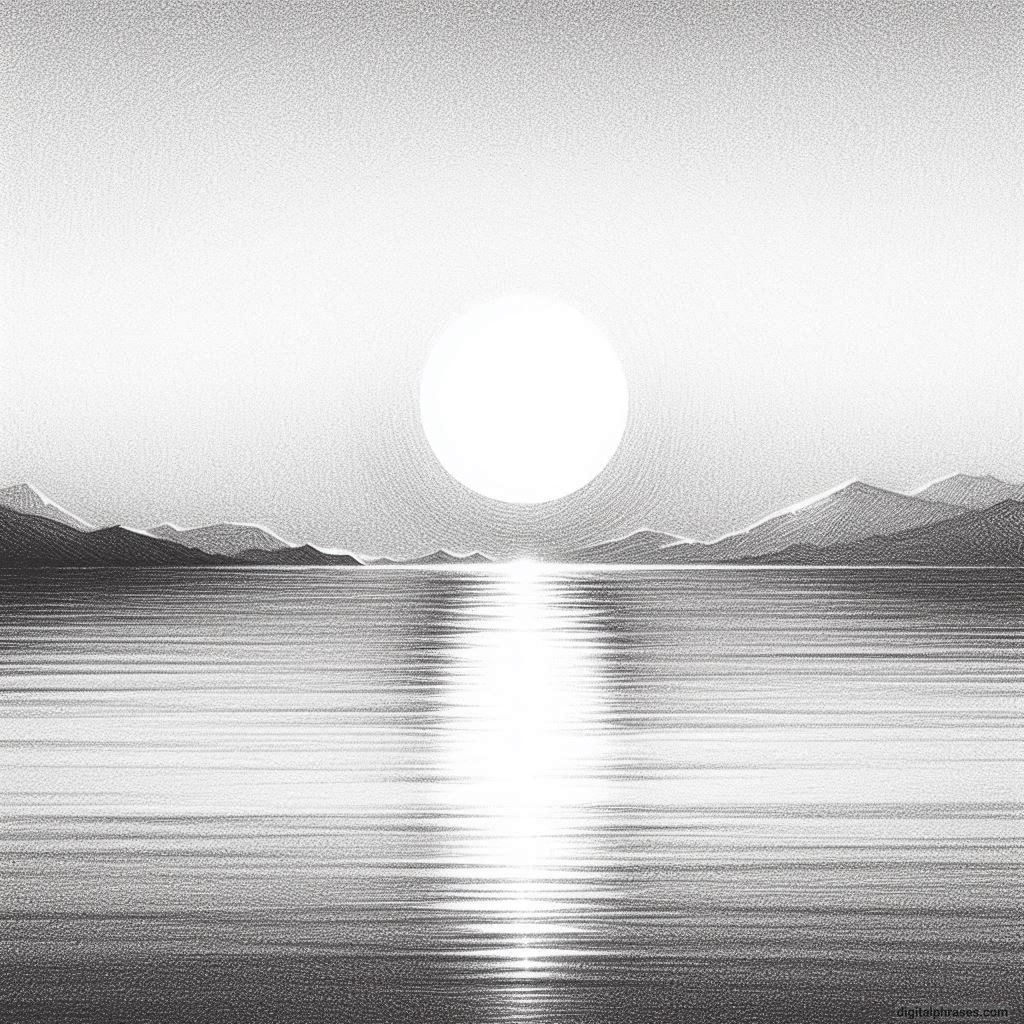
17
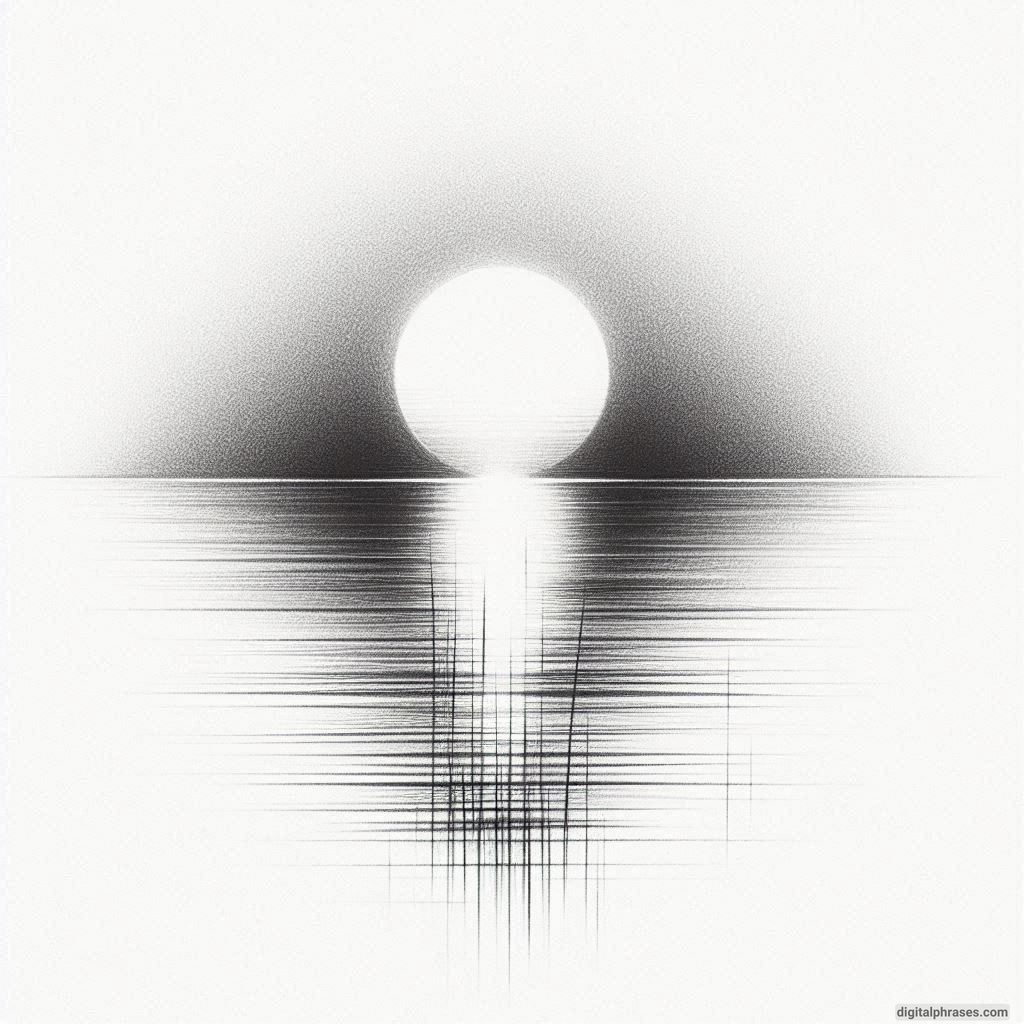
18
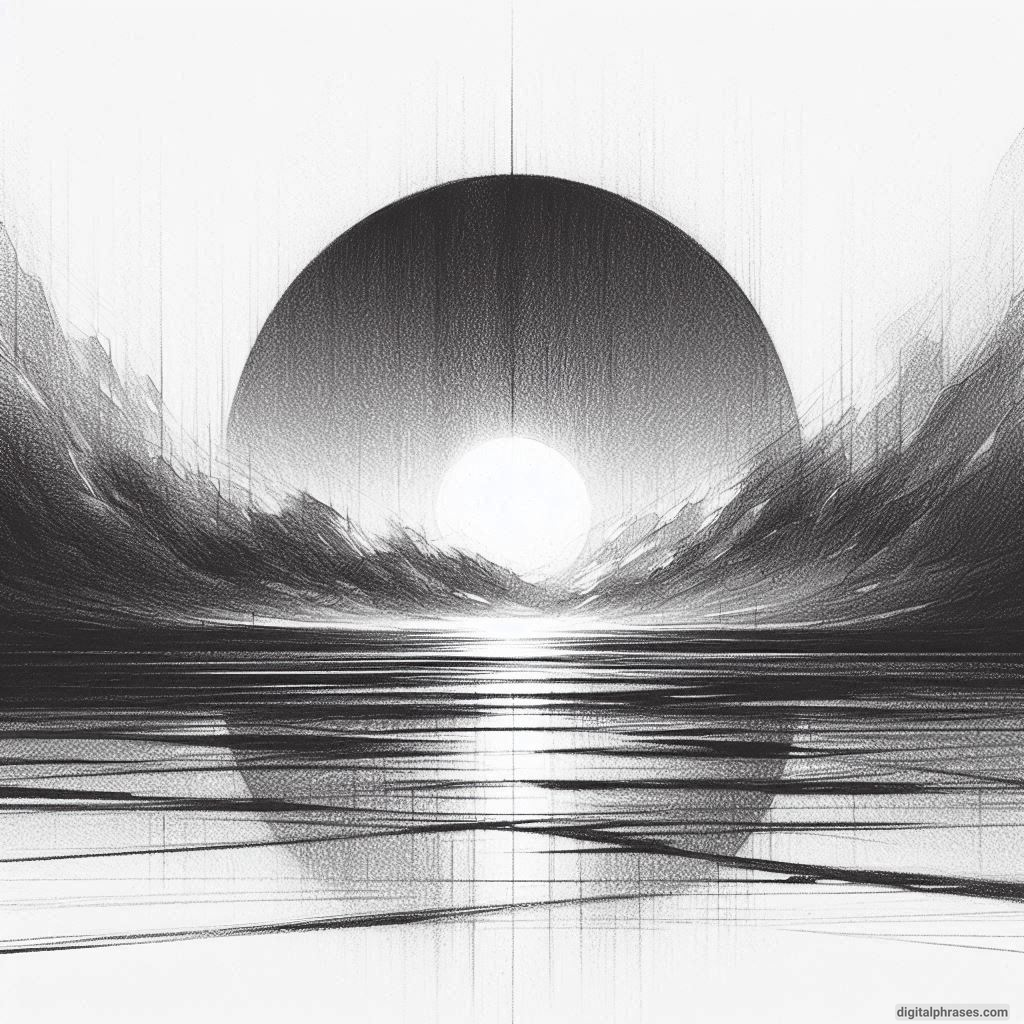
19
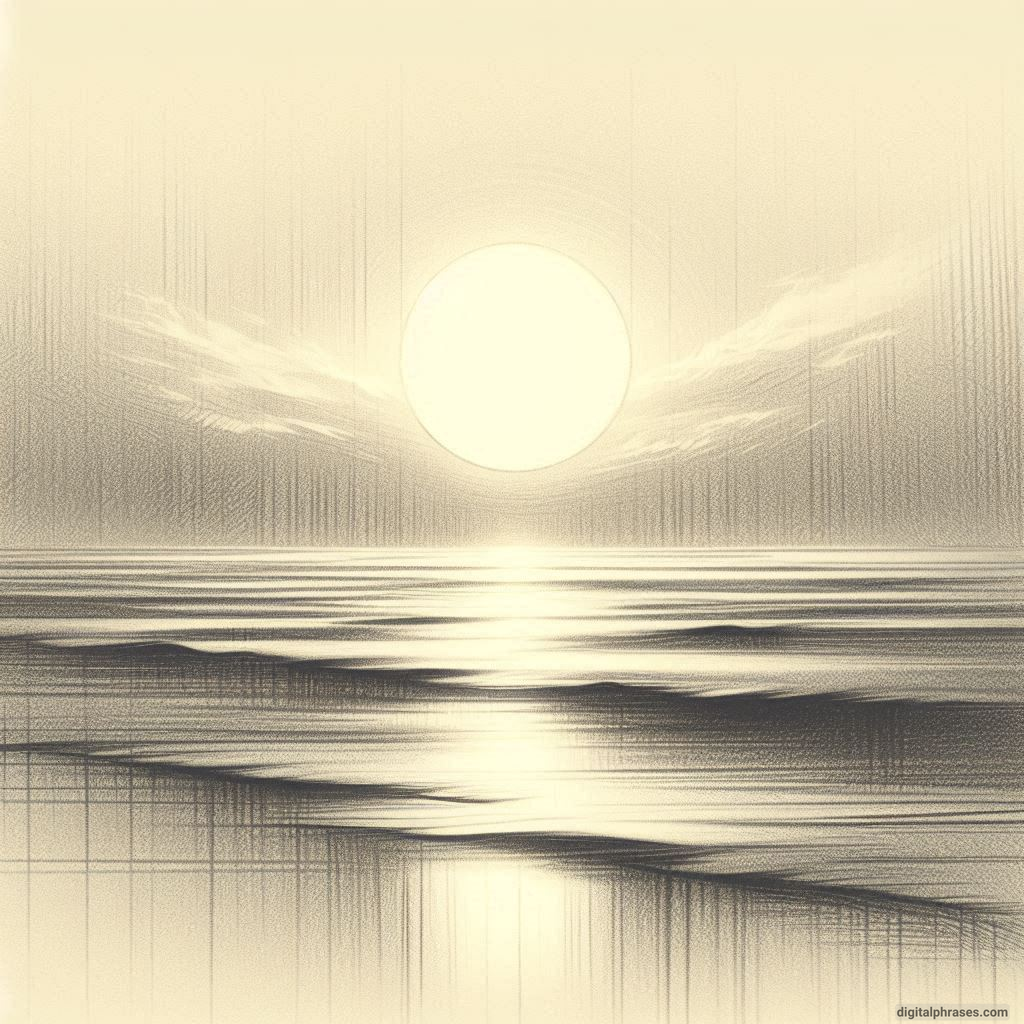
20
21
22
23
24
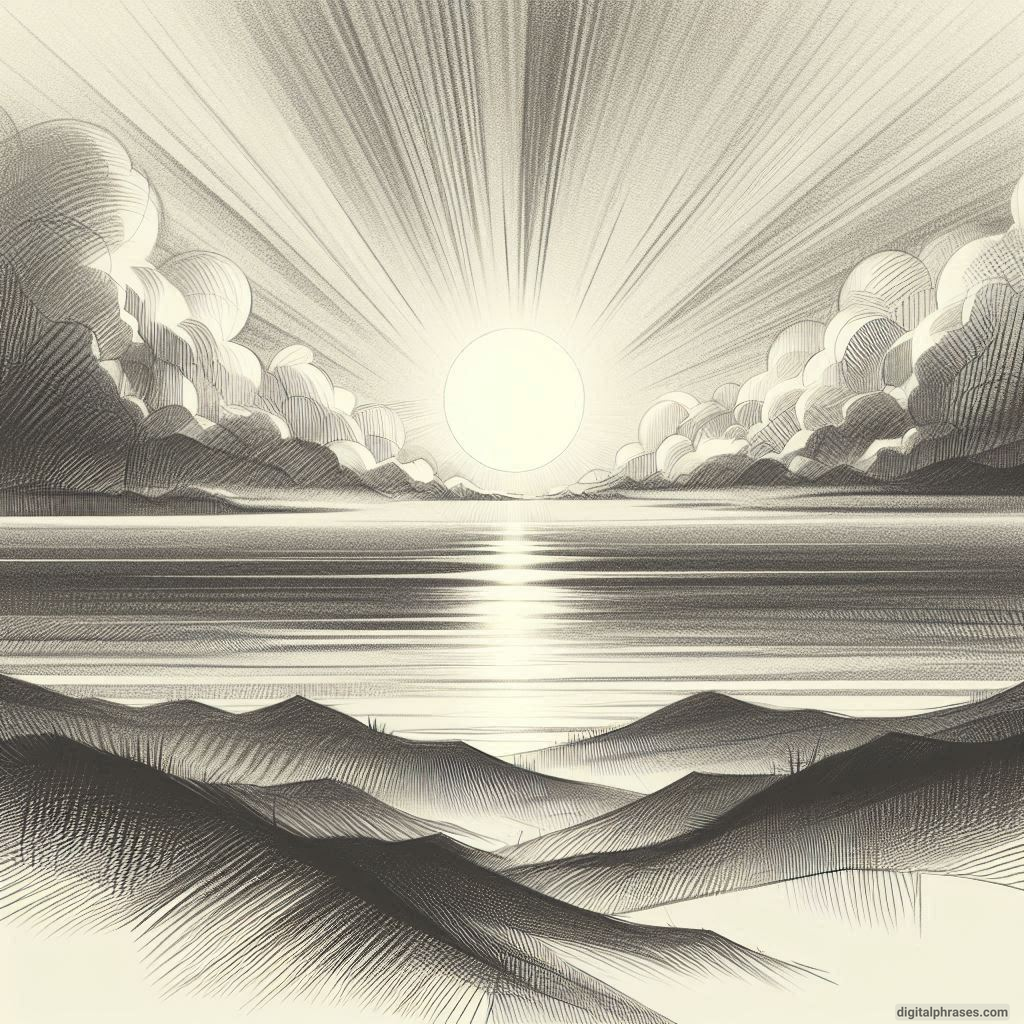
25
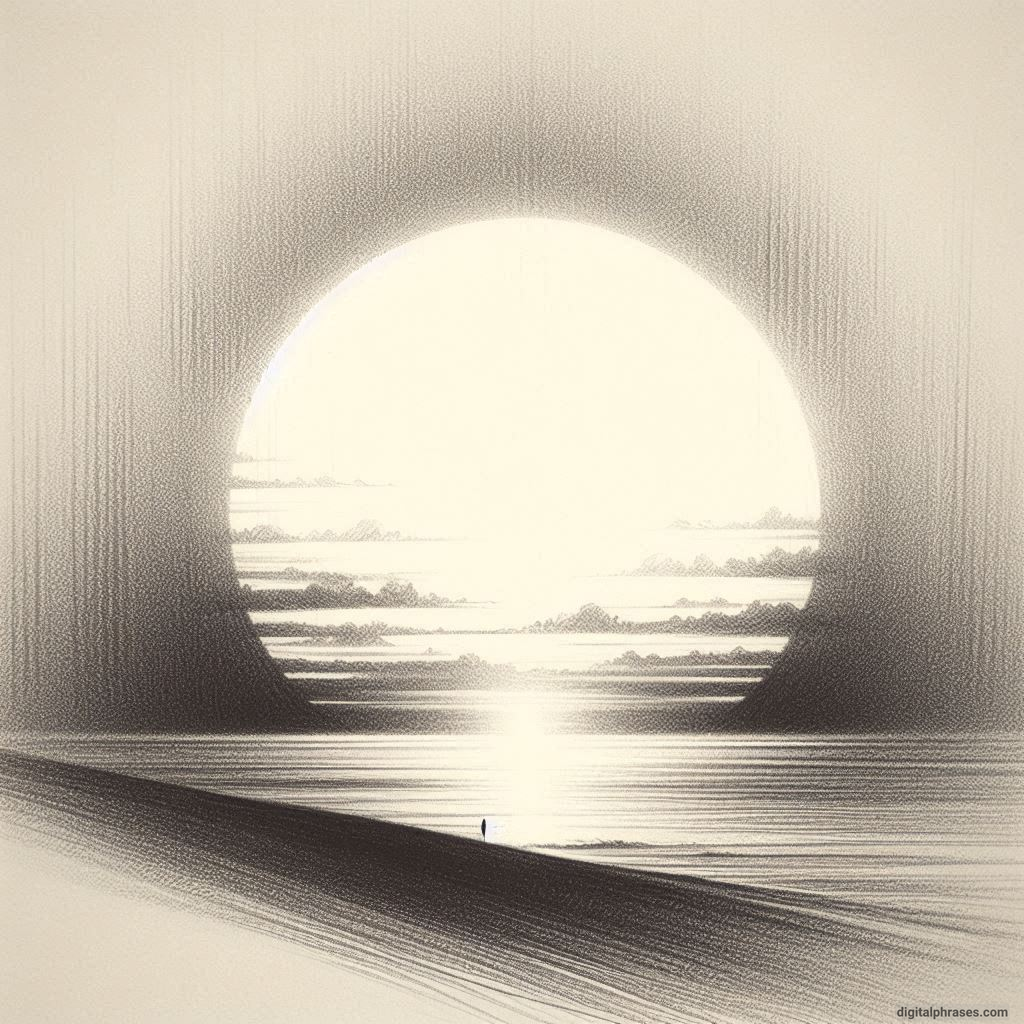
26
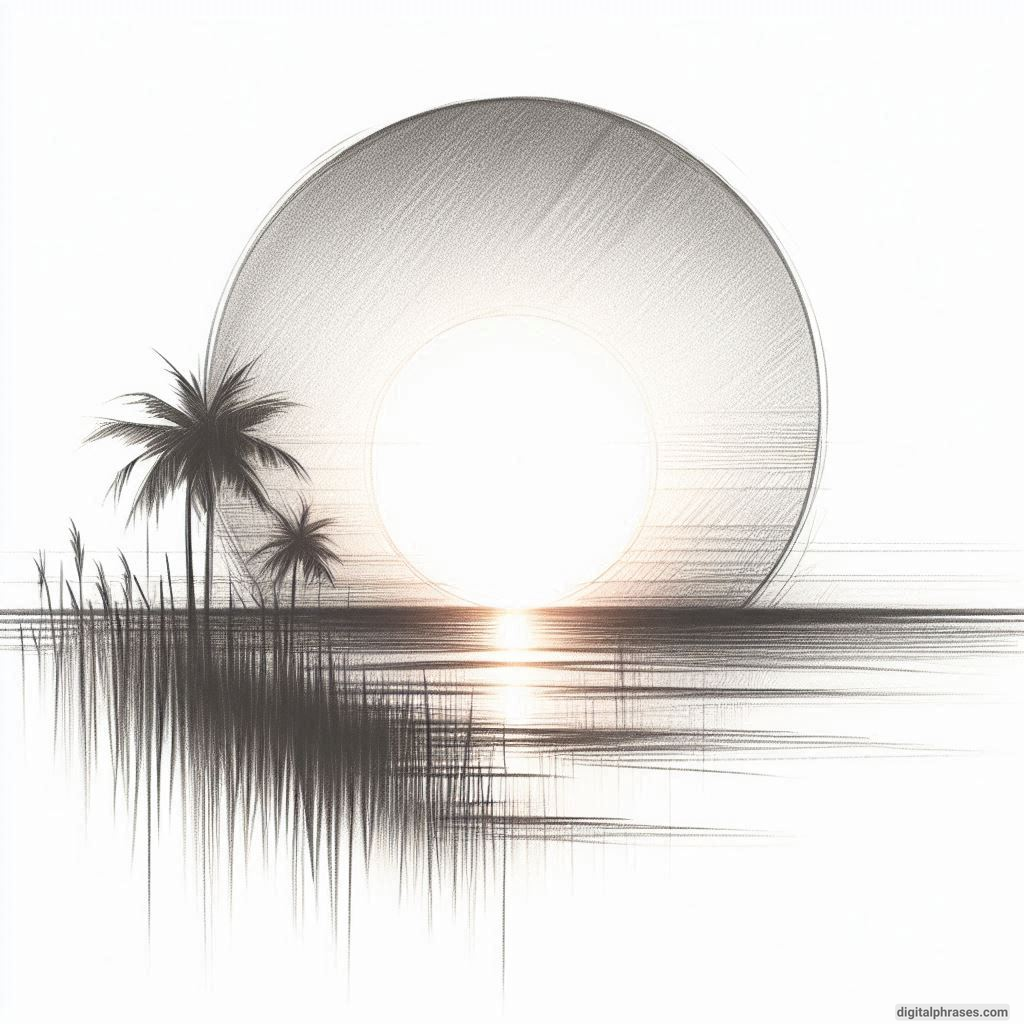
27
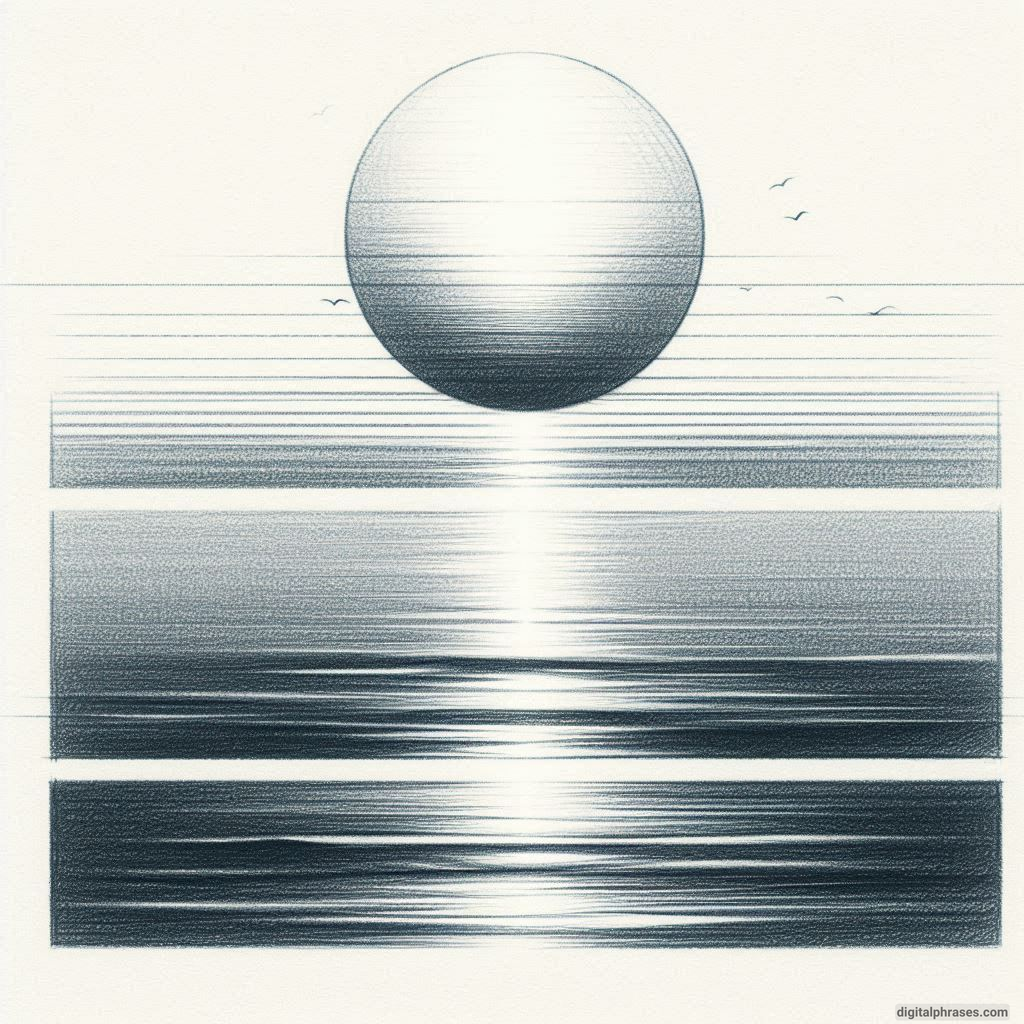
28
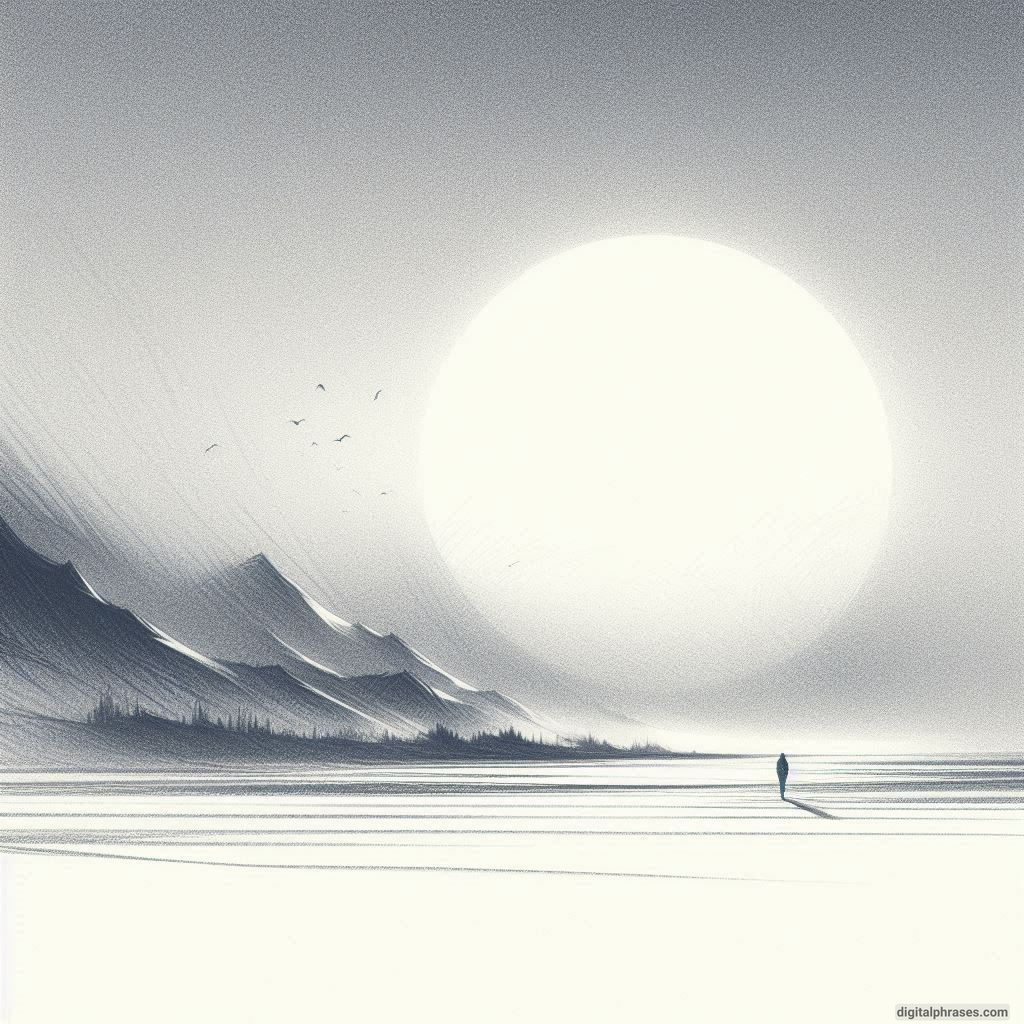
29
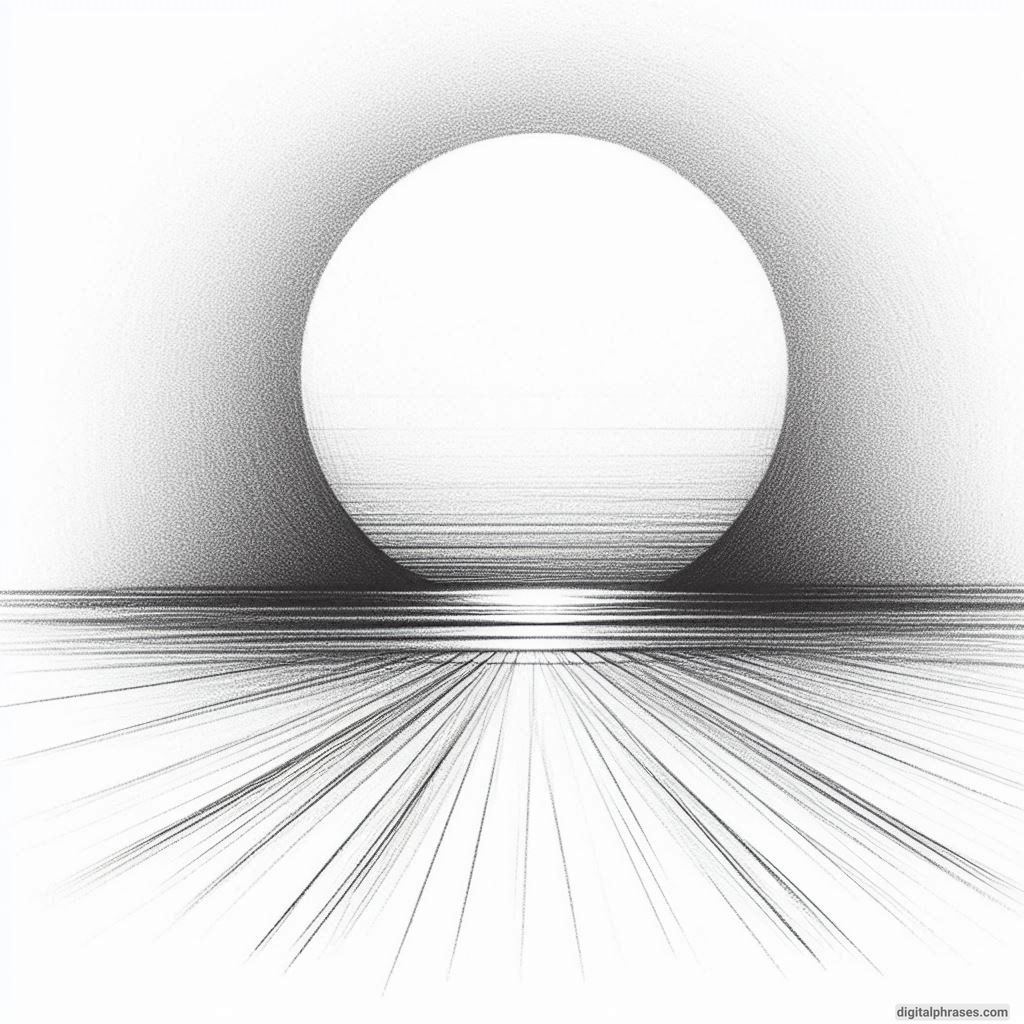
30
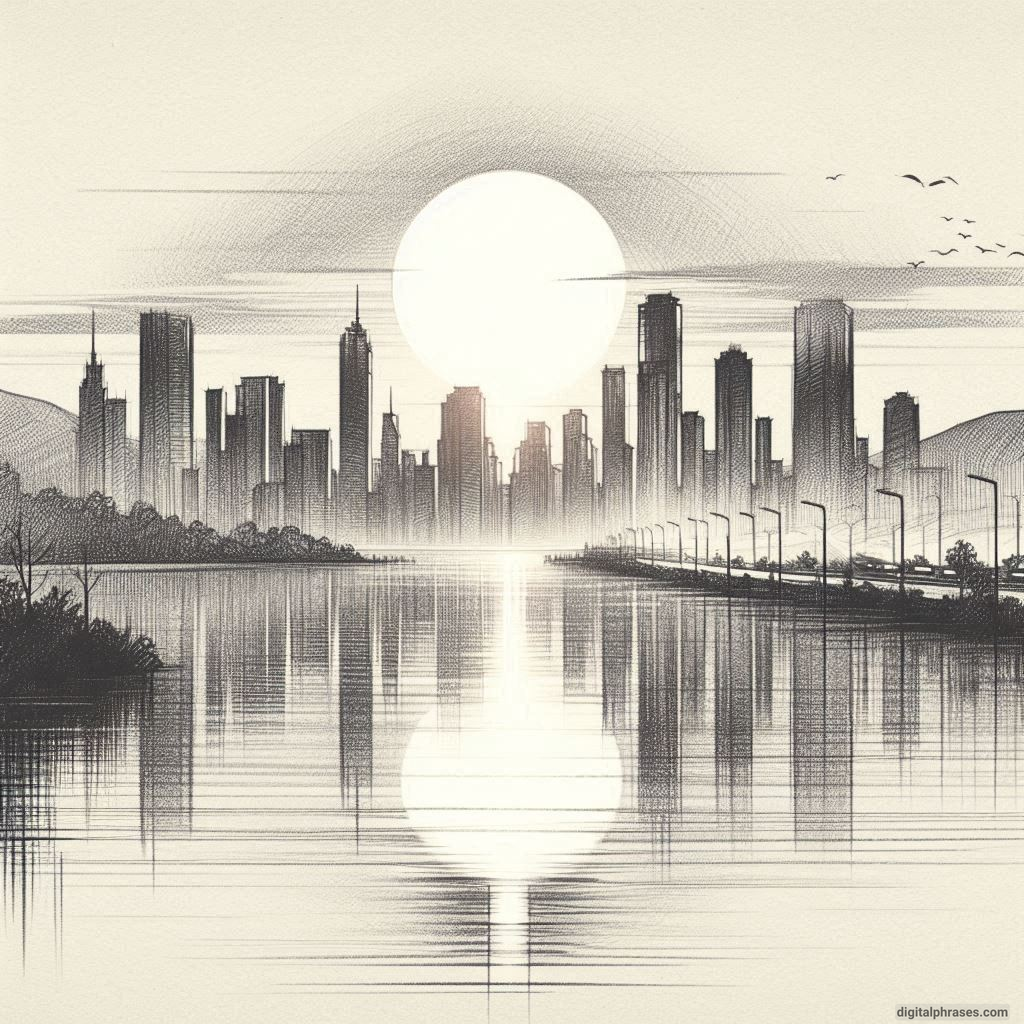
31
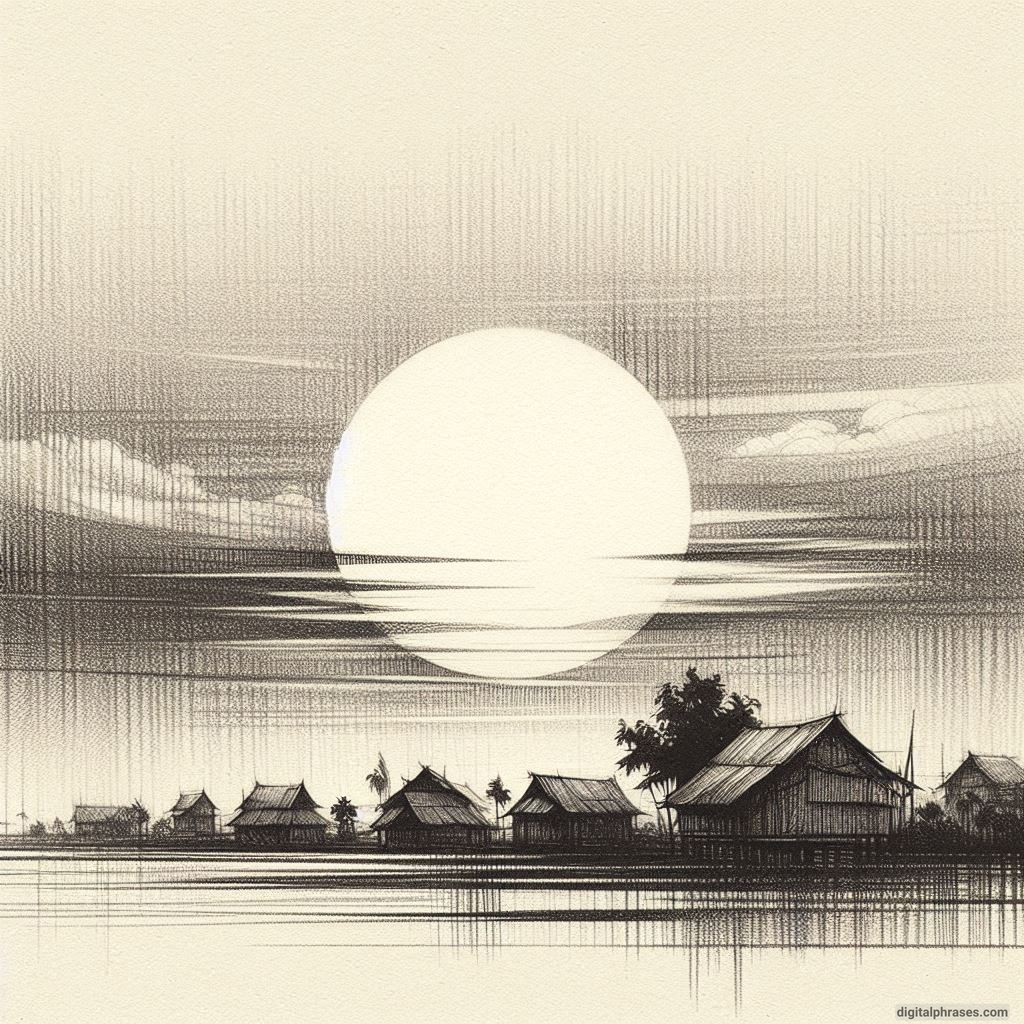
32

33
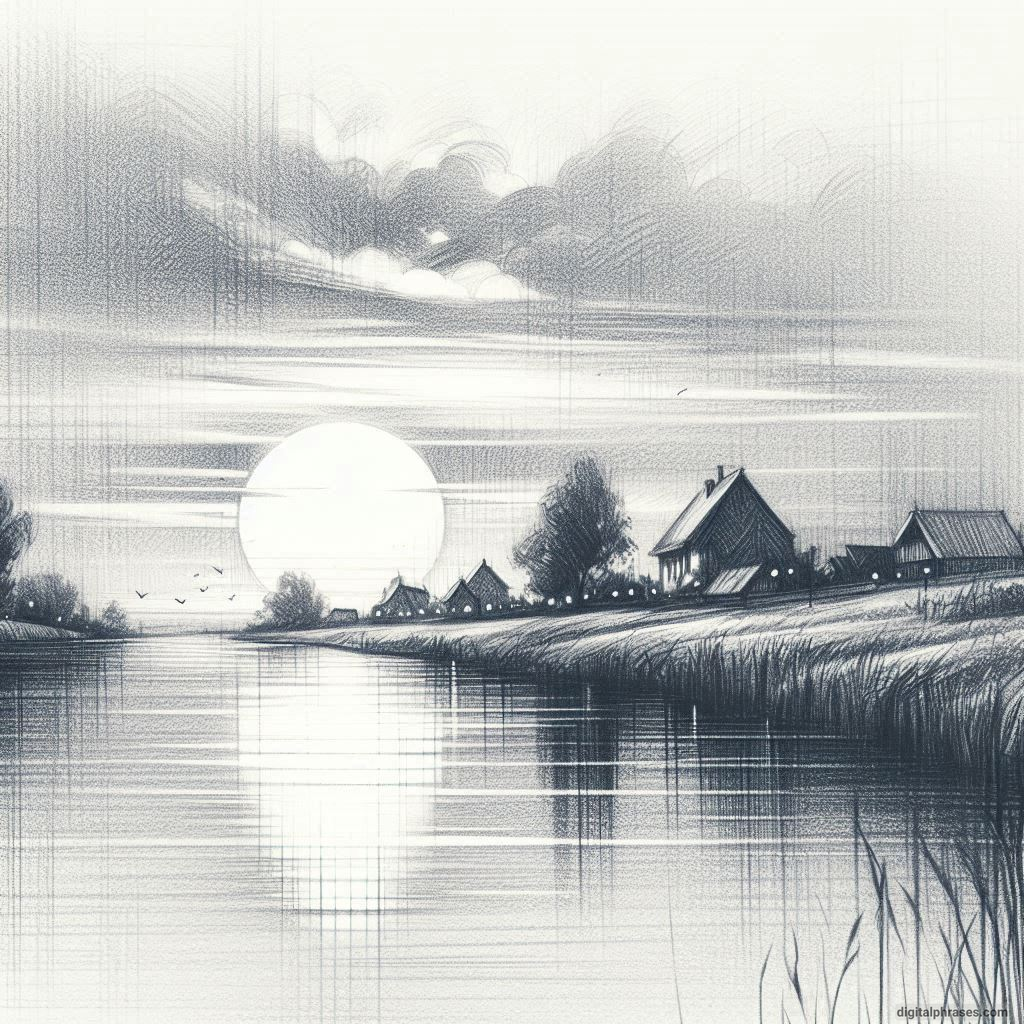
34
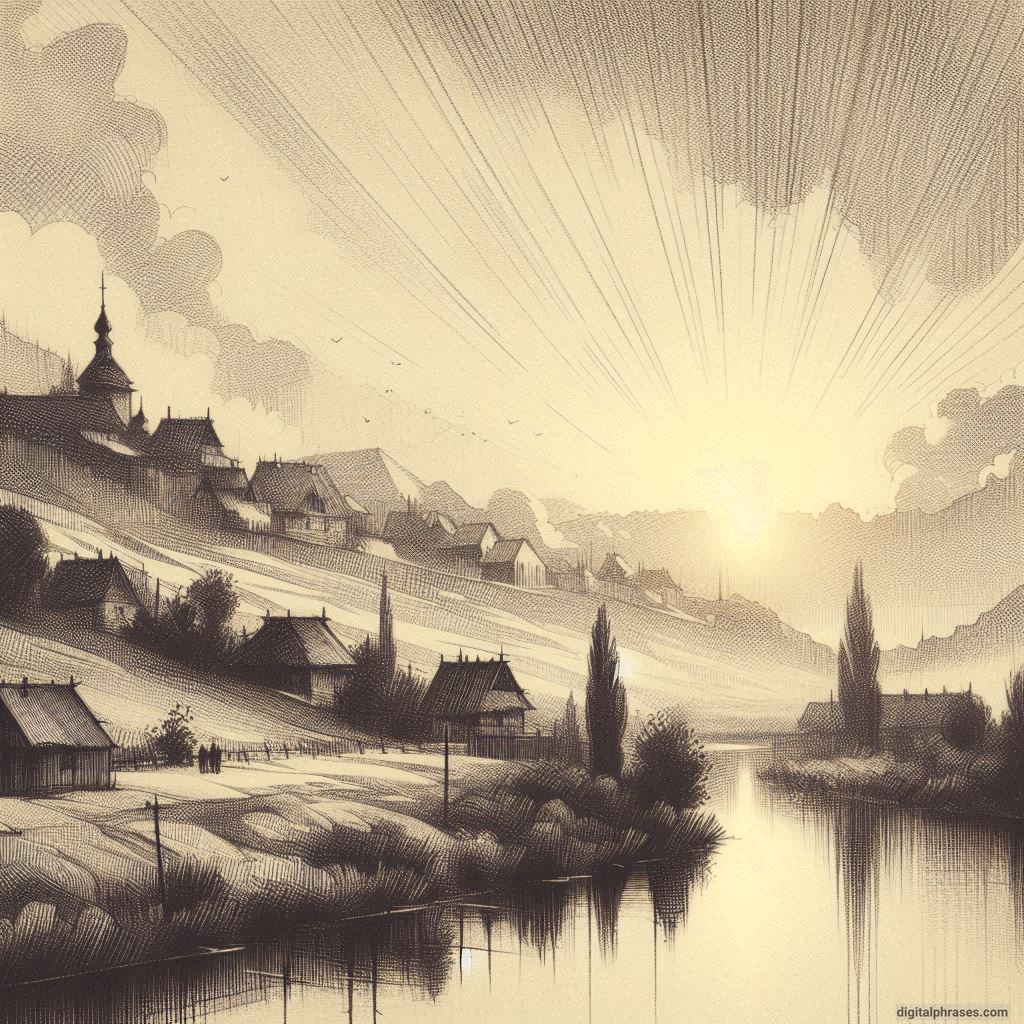
35
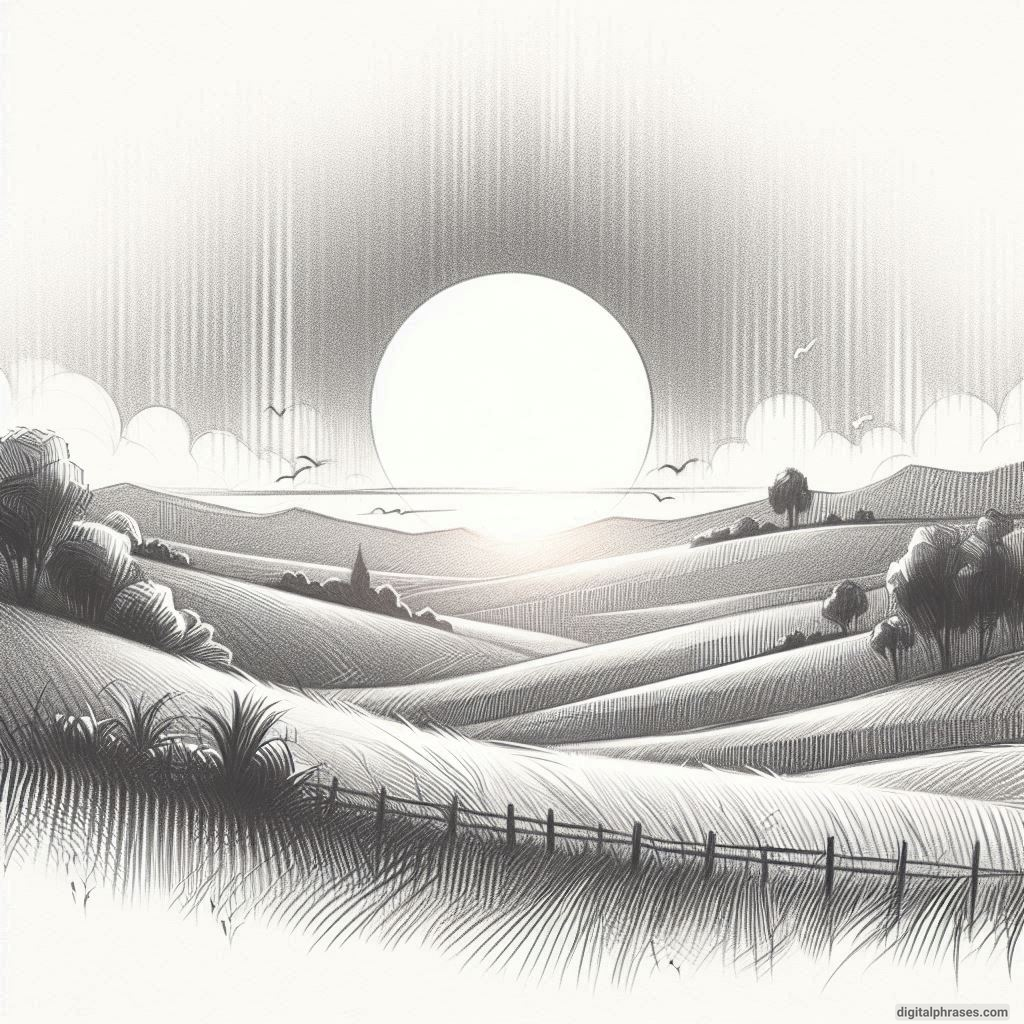
36
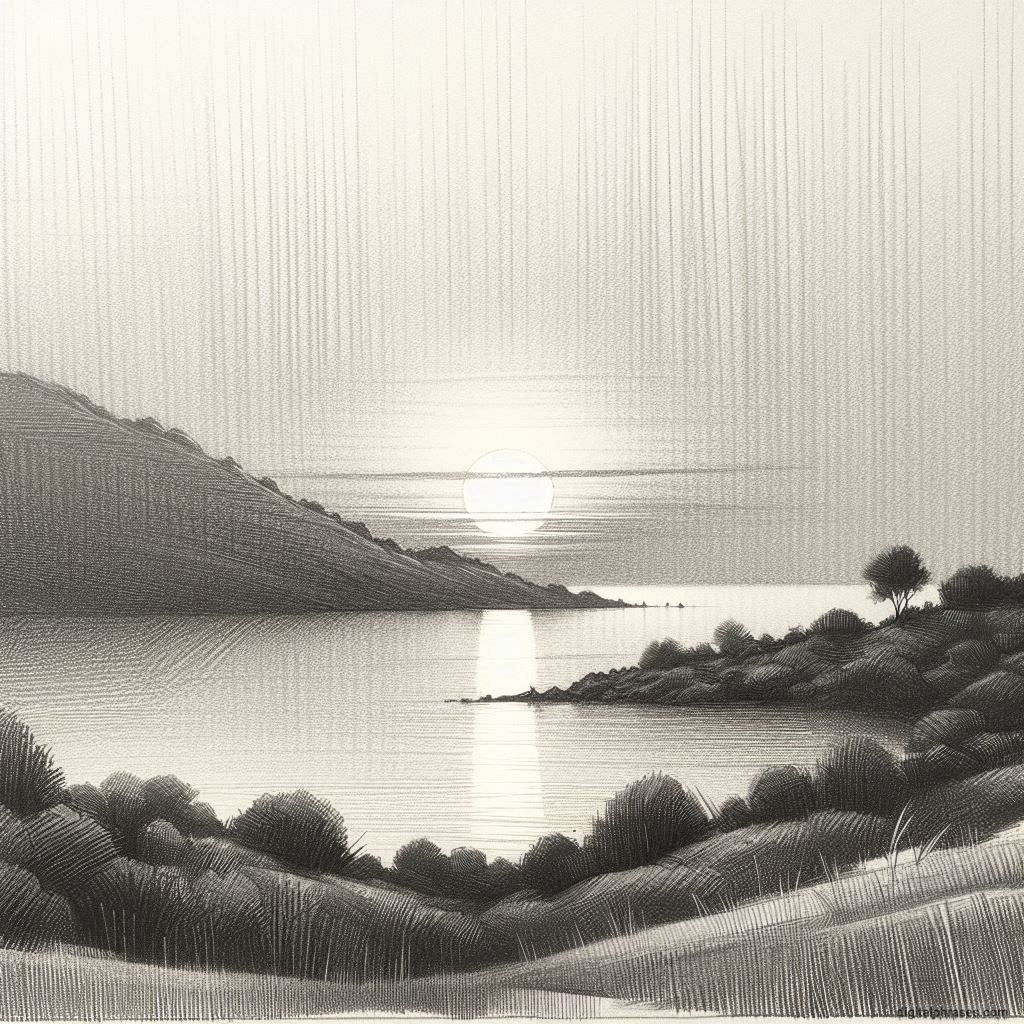
37
38
39
40

Crayon Drawings
41
42
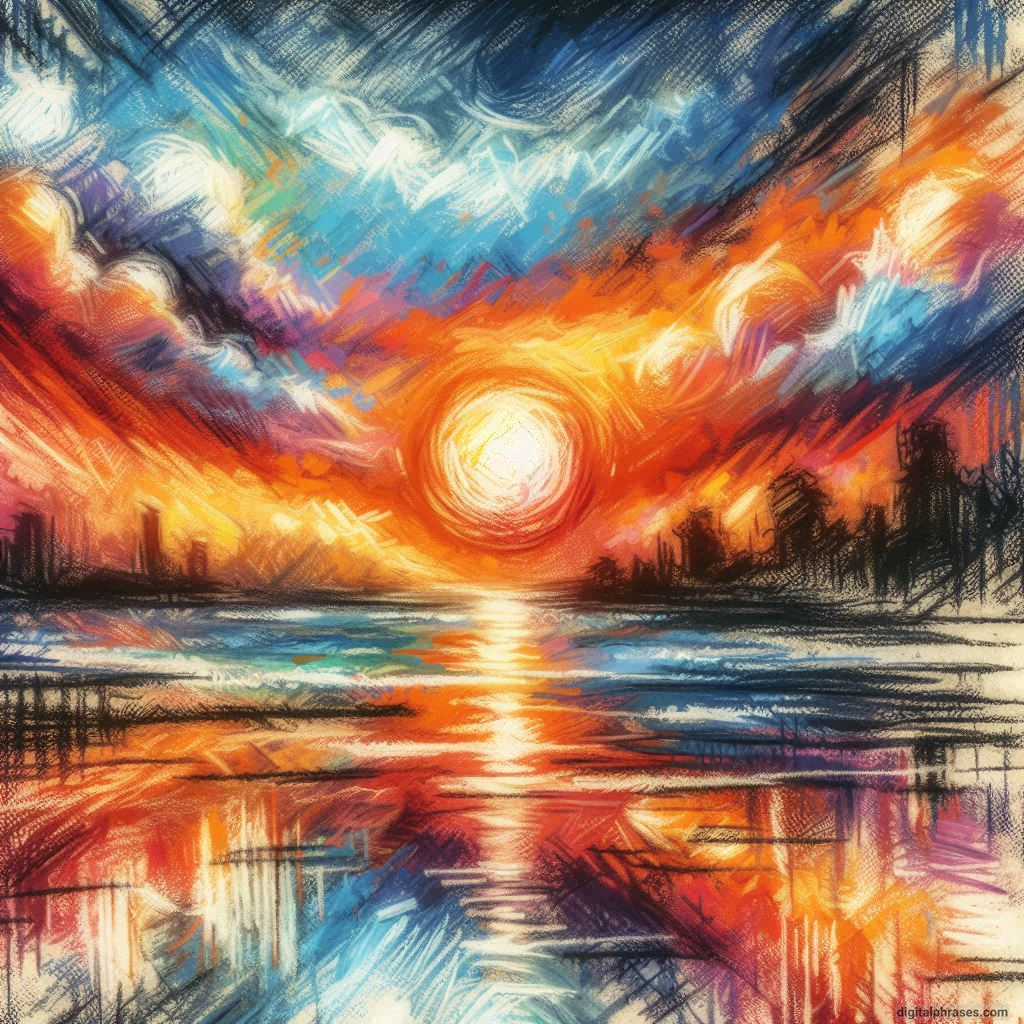
43
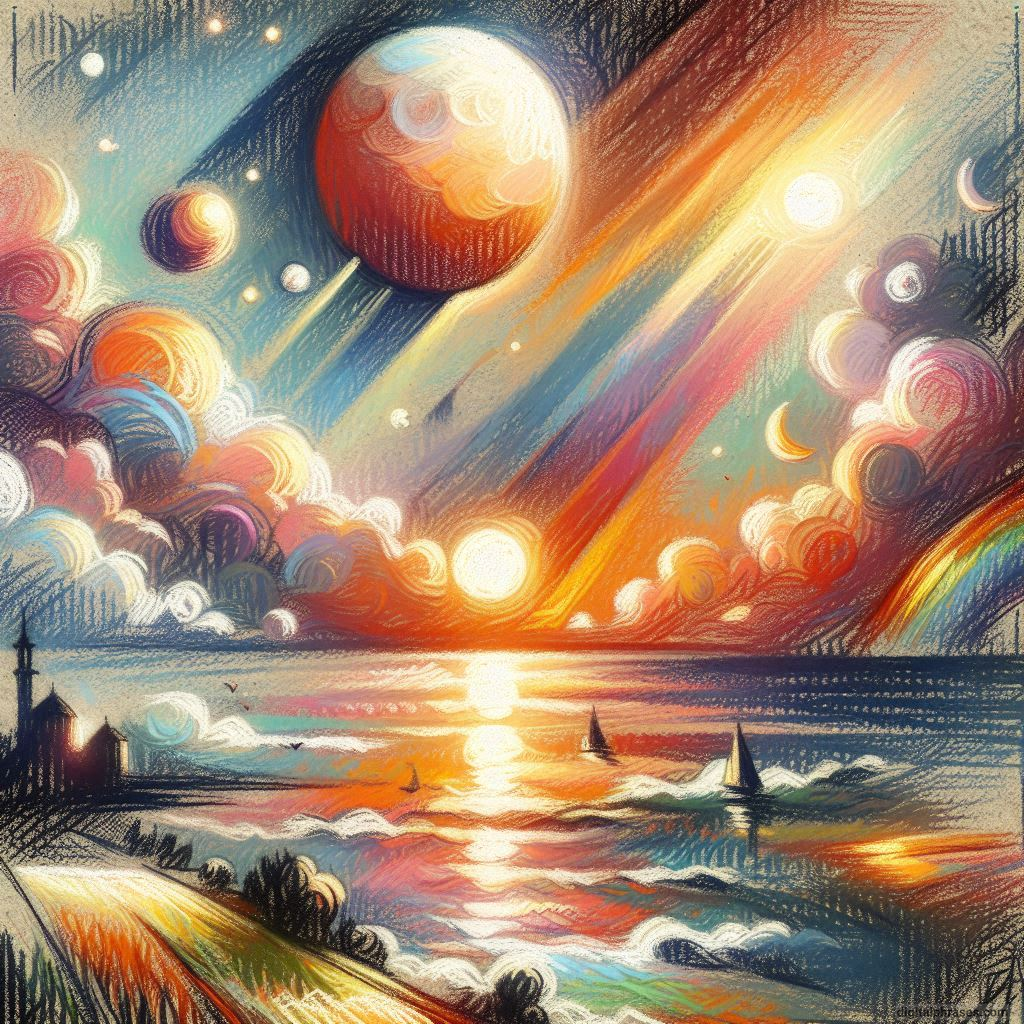
44

45
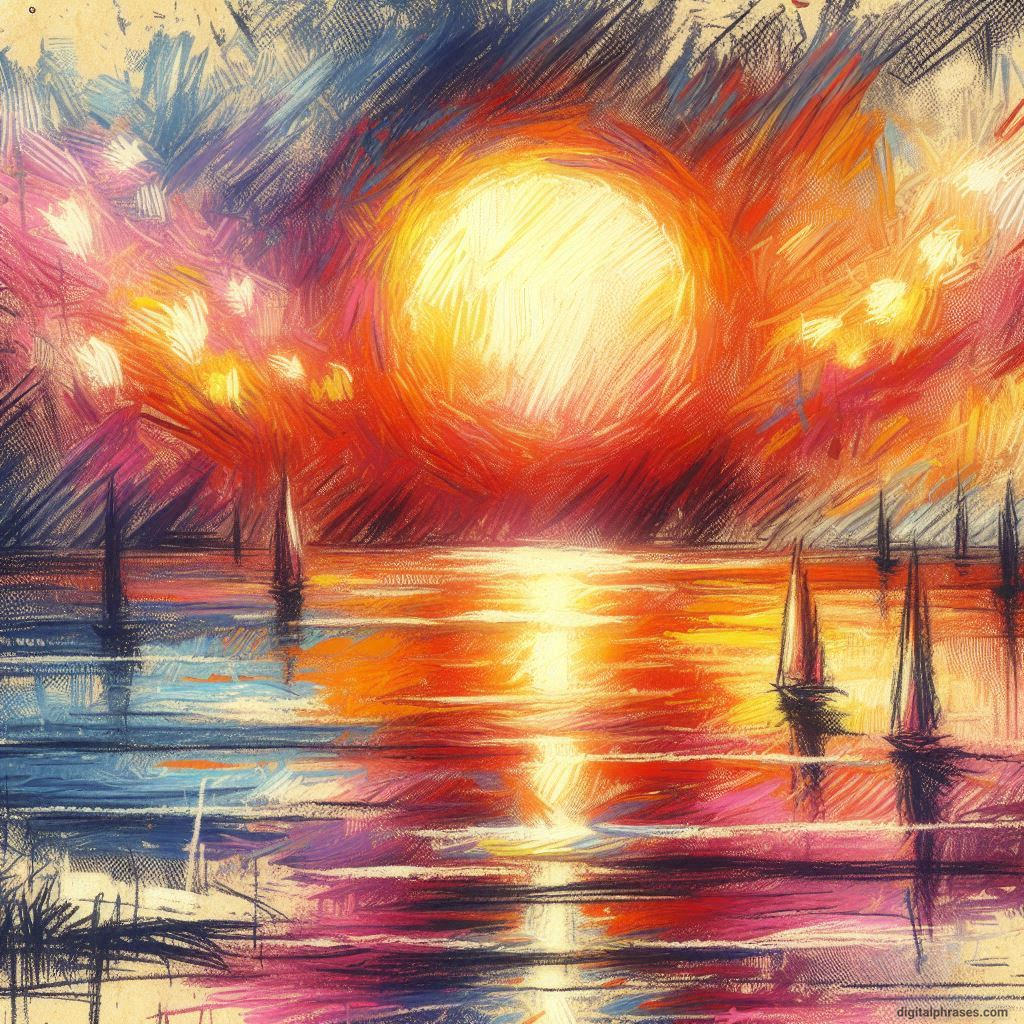
46
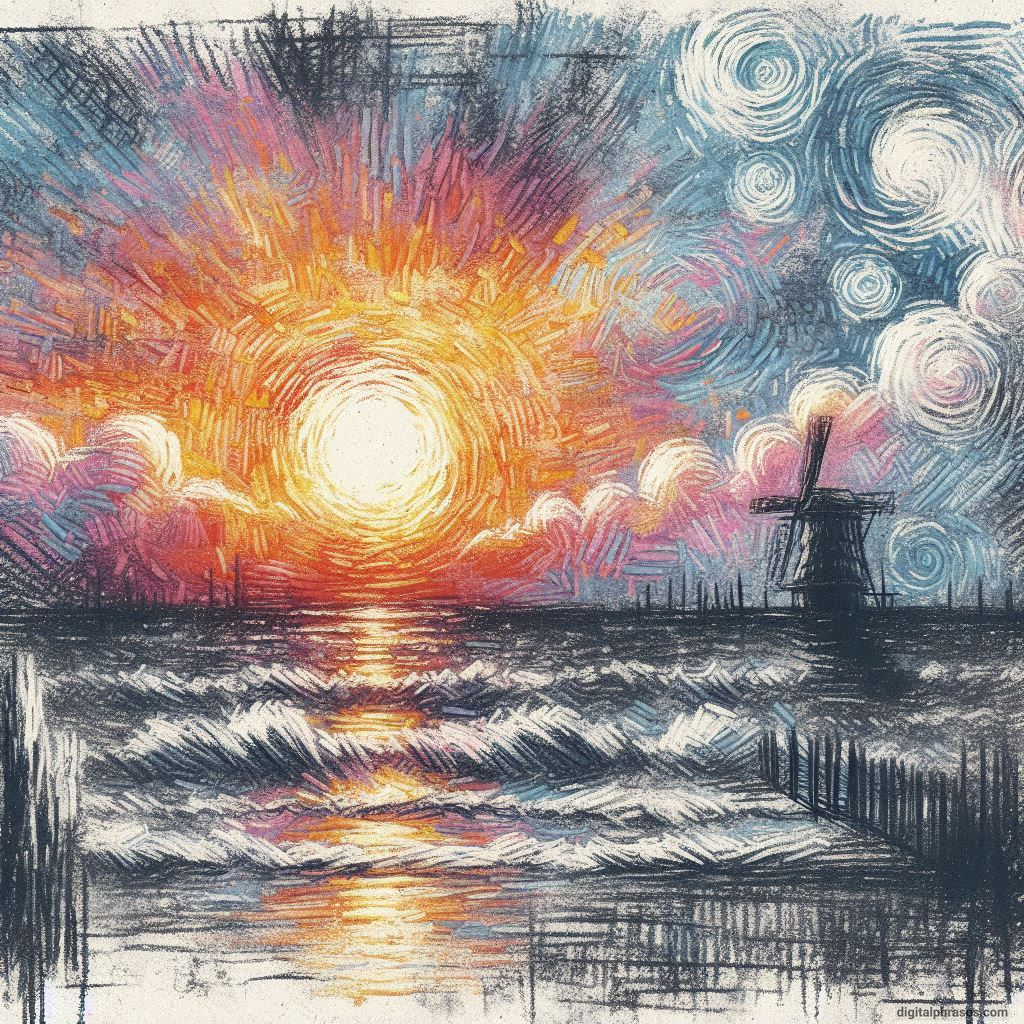
47
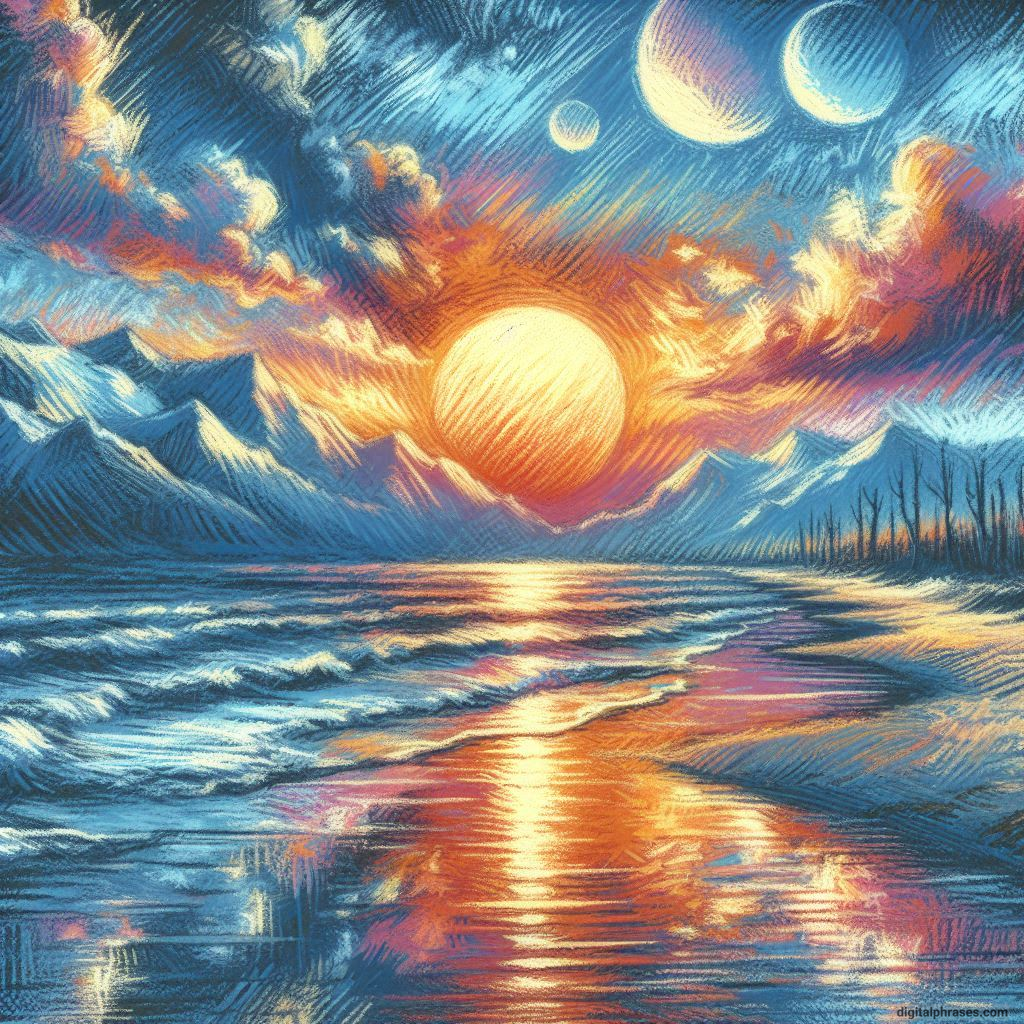
48
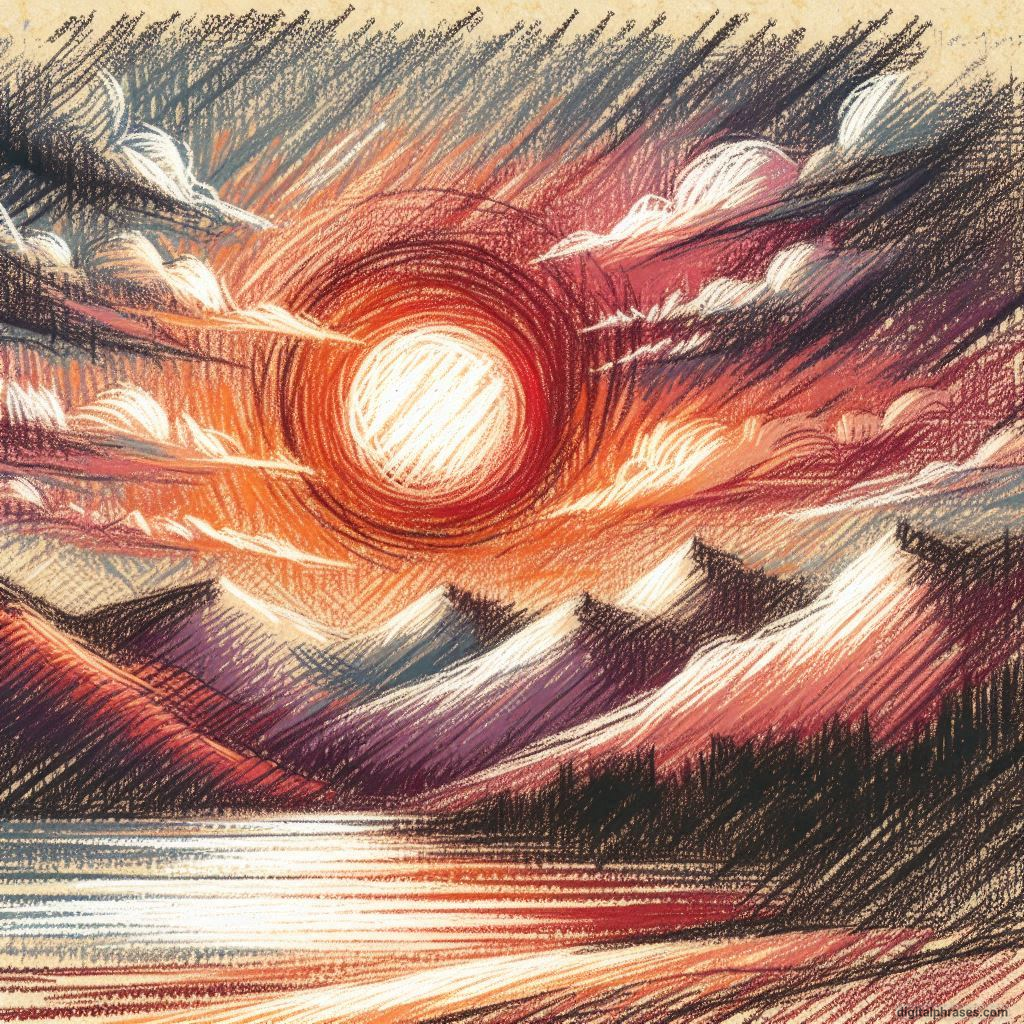
49
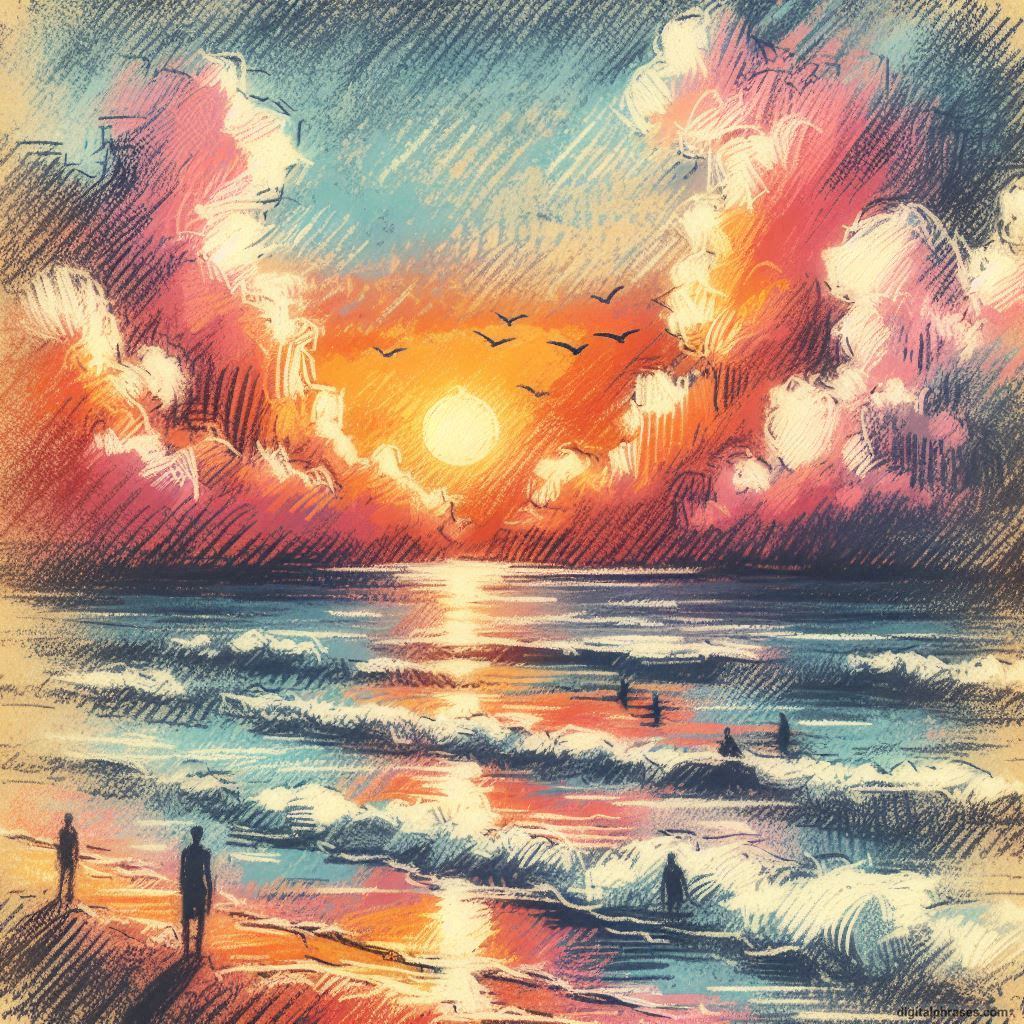
50

51
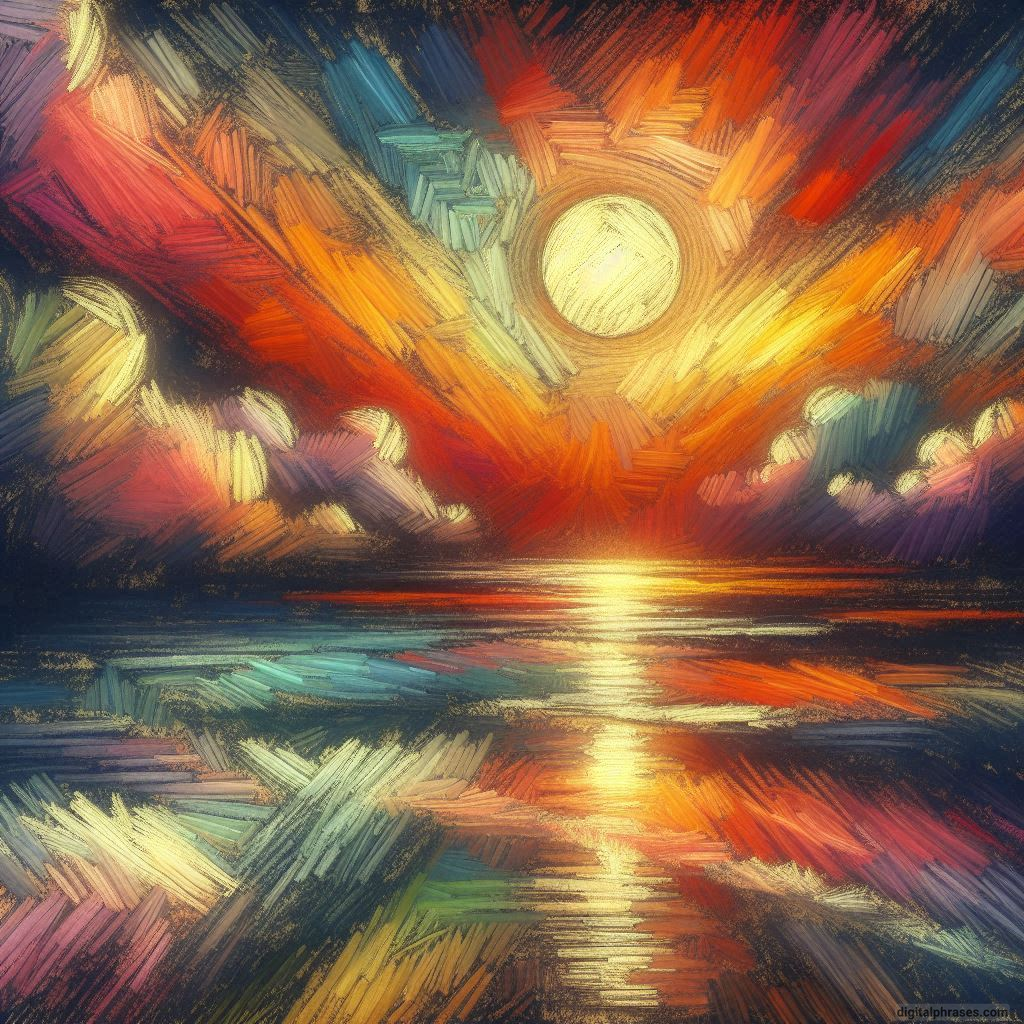
52

53
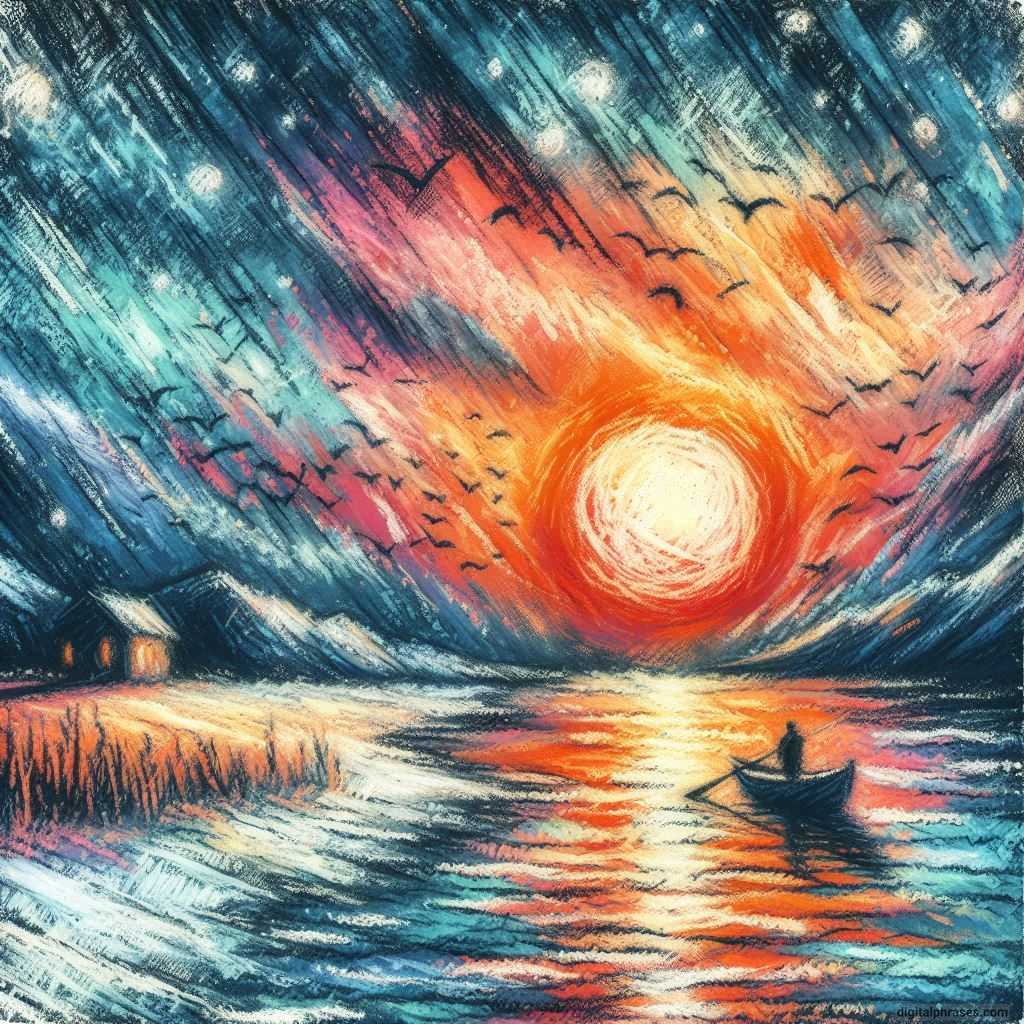
54
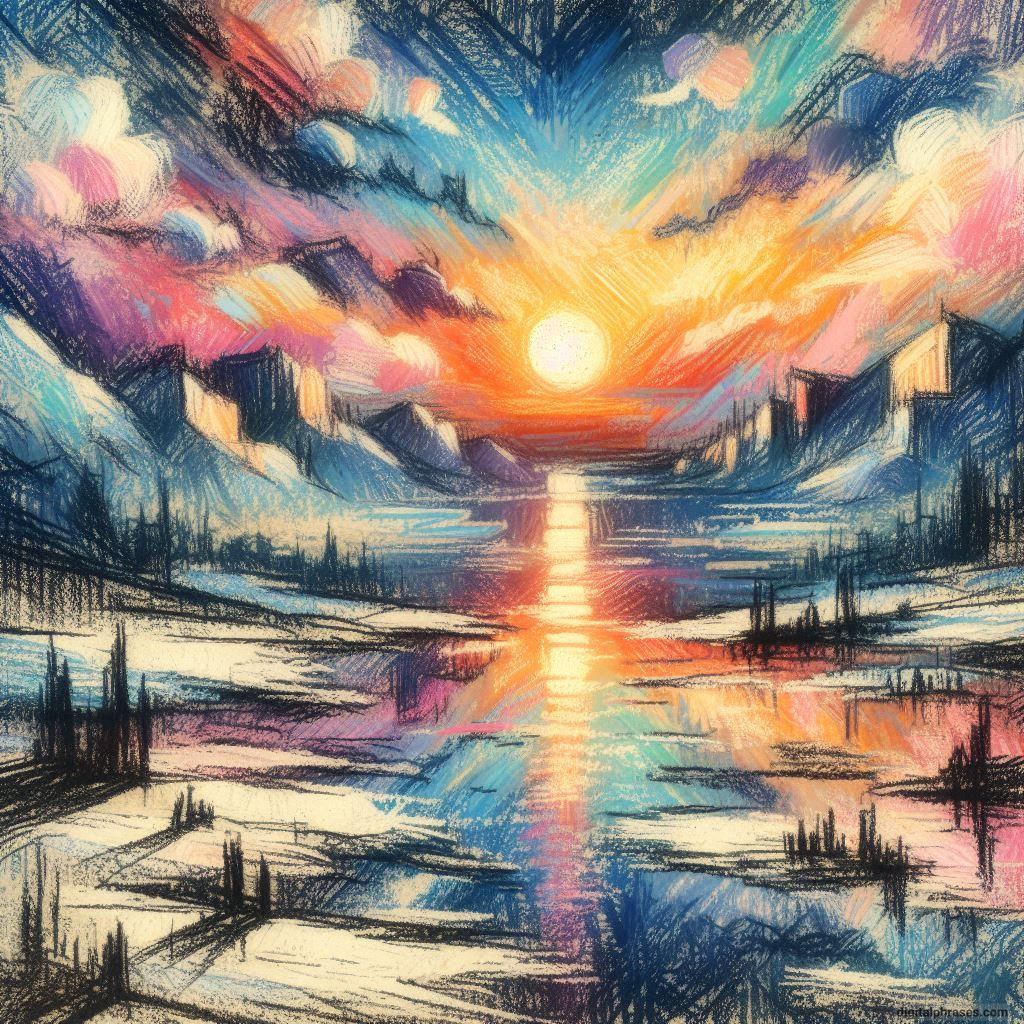
55

56

57

58
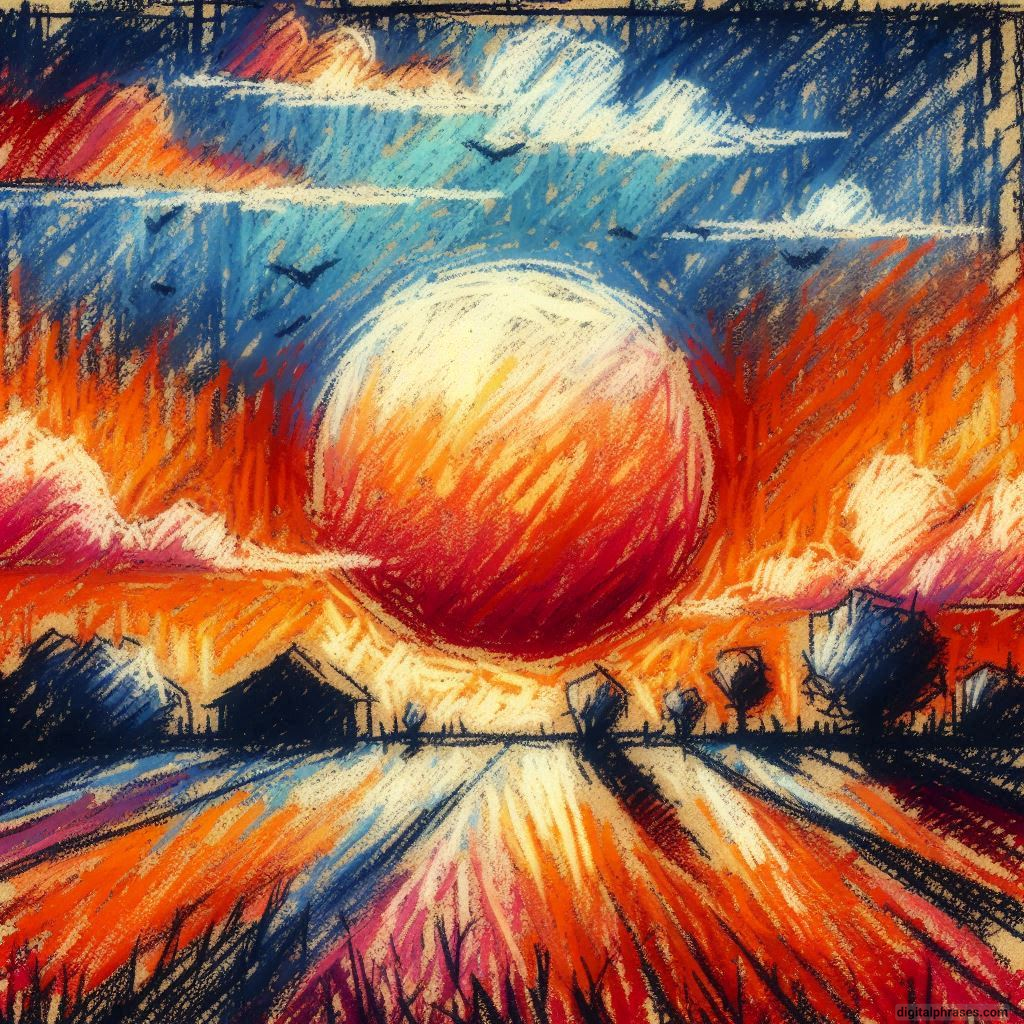
59
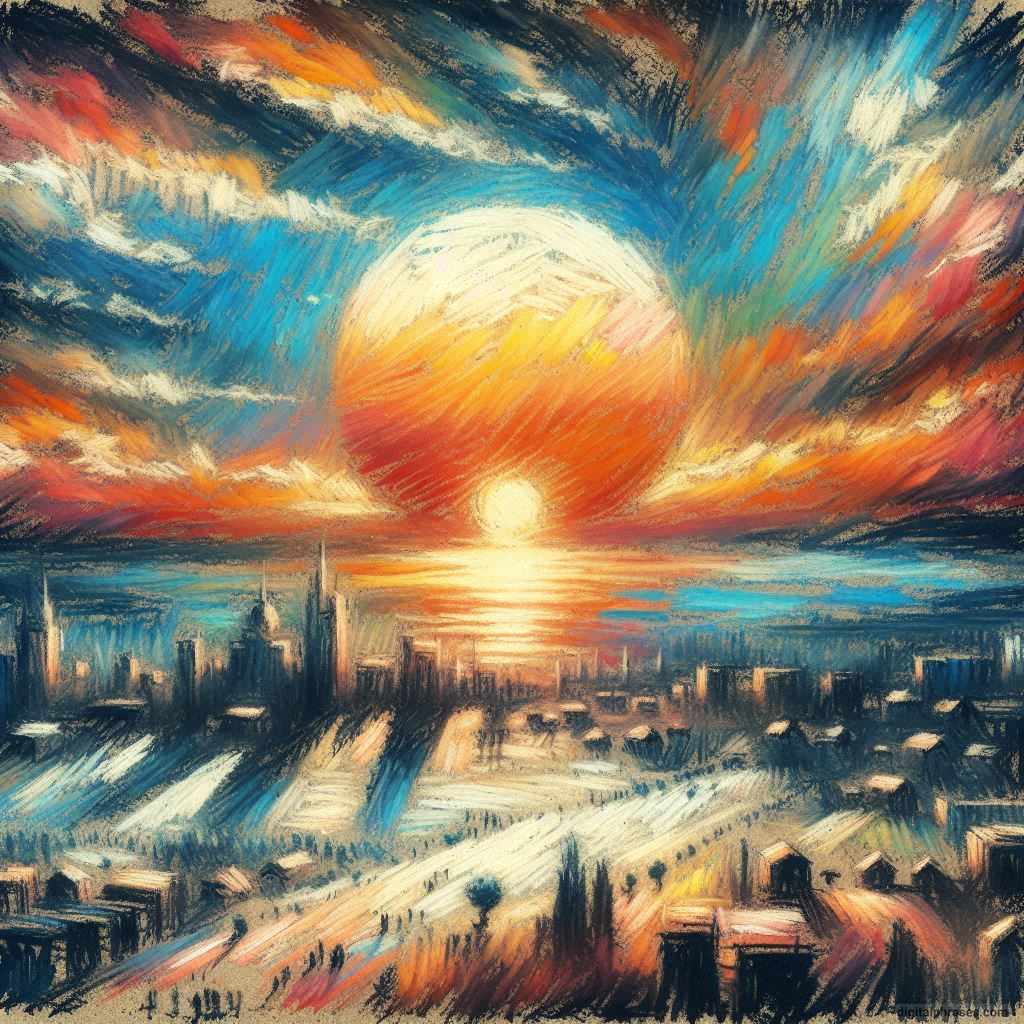
60
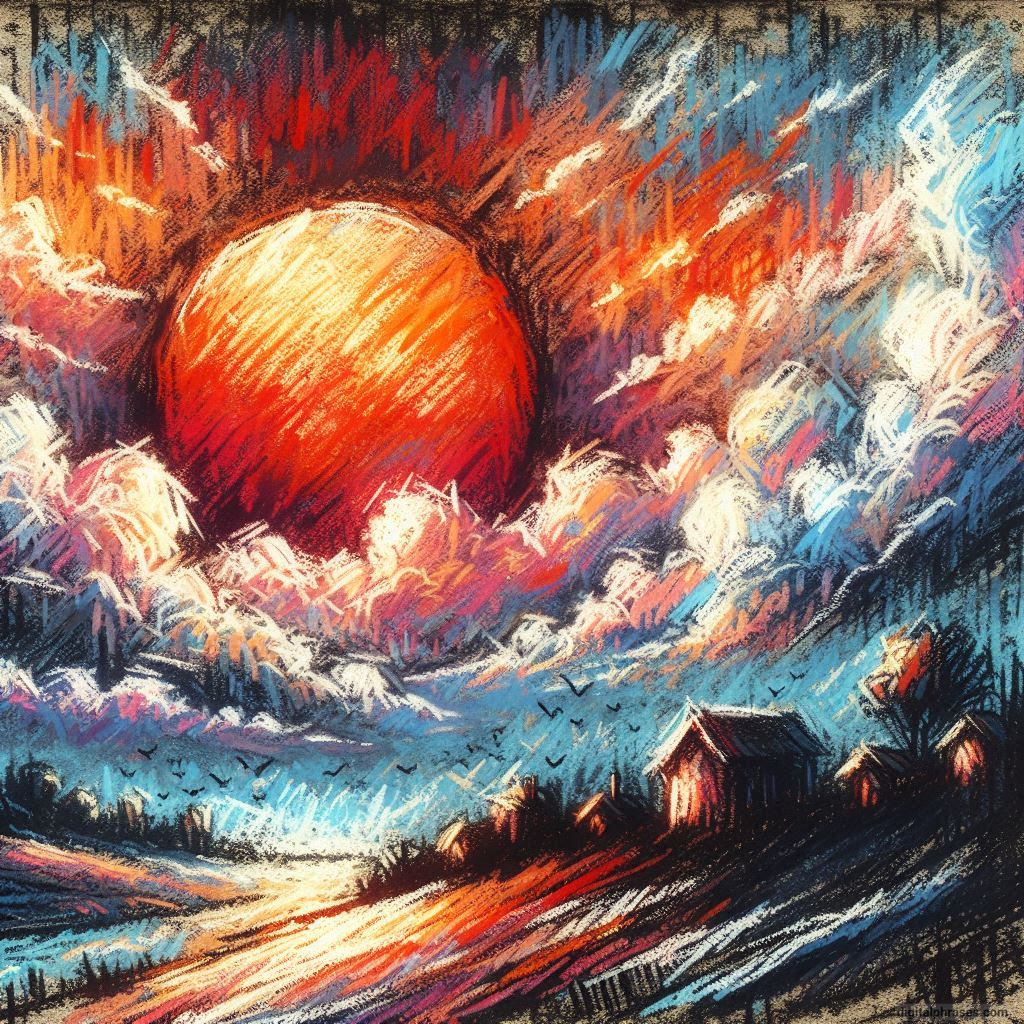
61
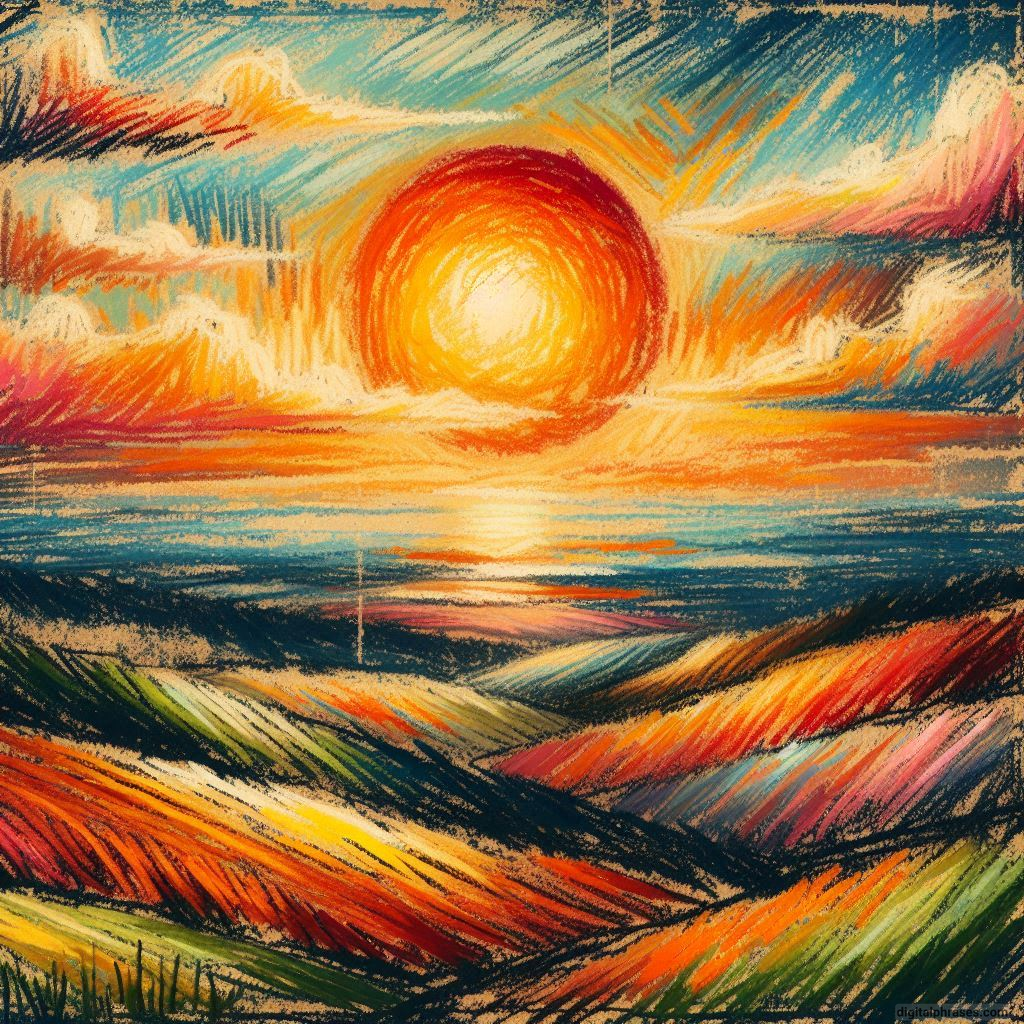
62
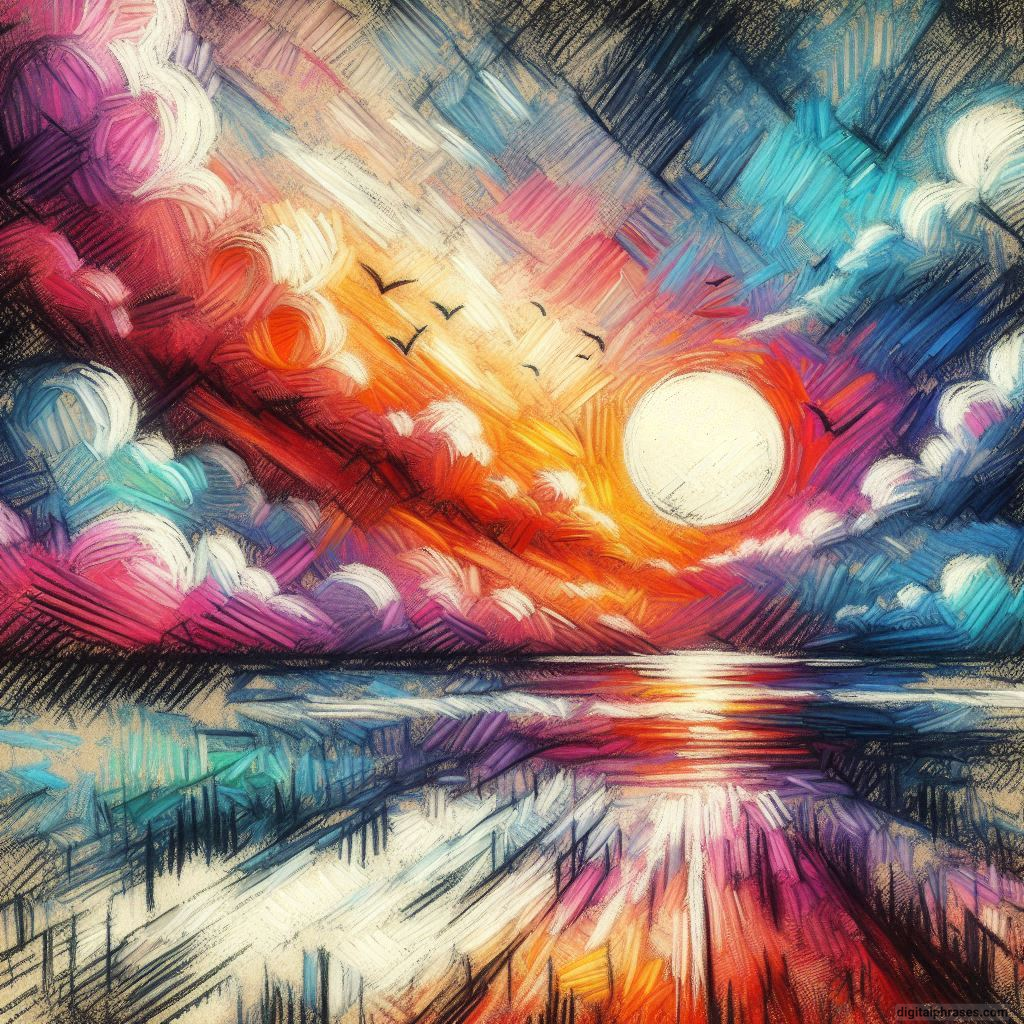
63

64
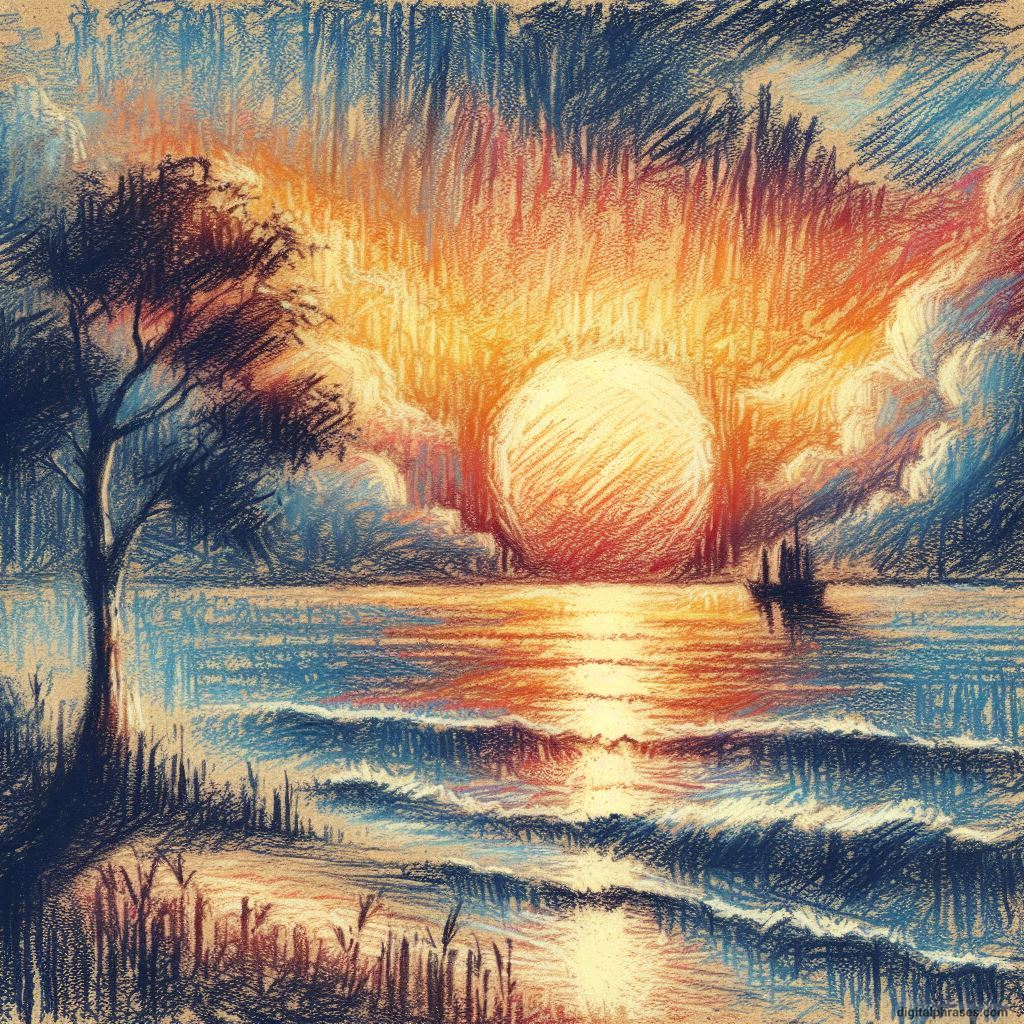
65
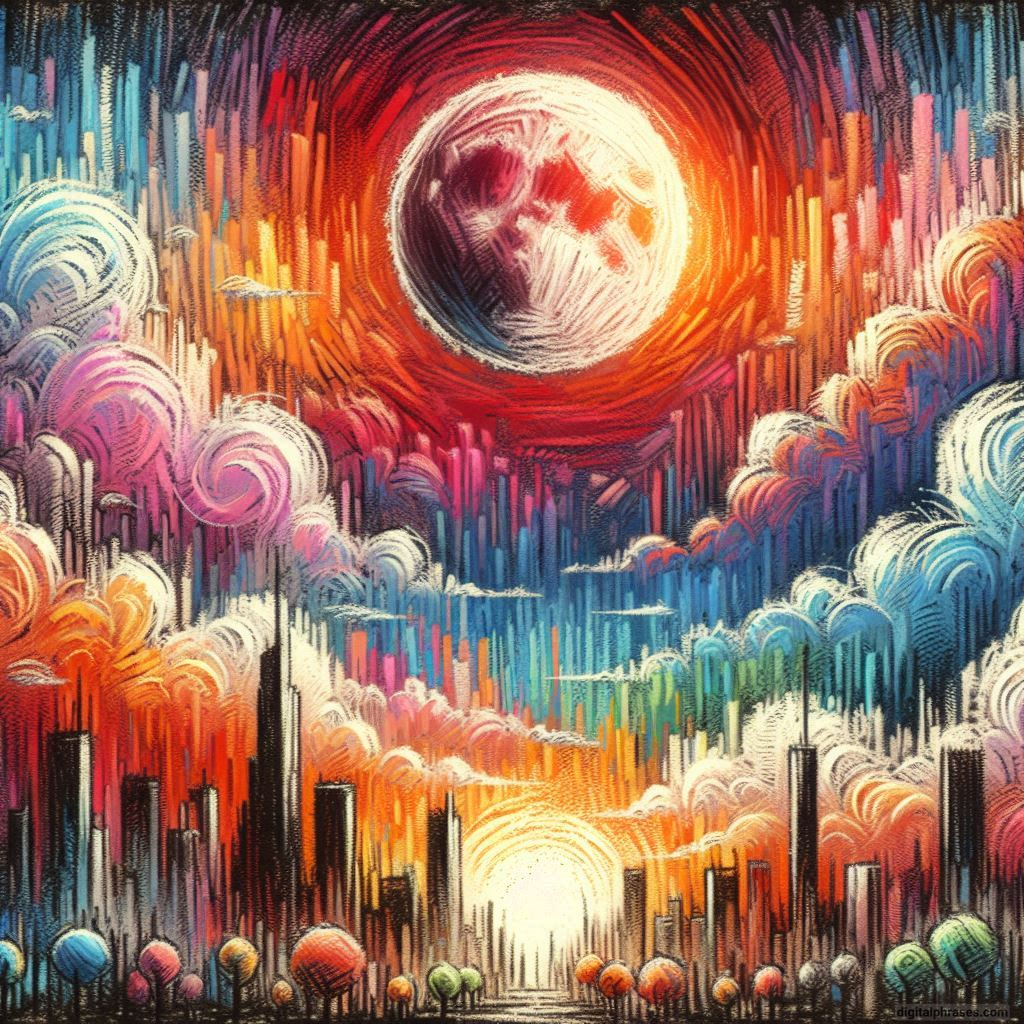
66

67

68
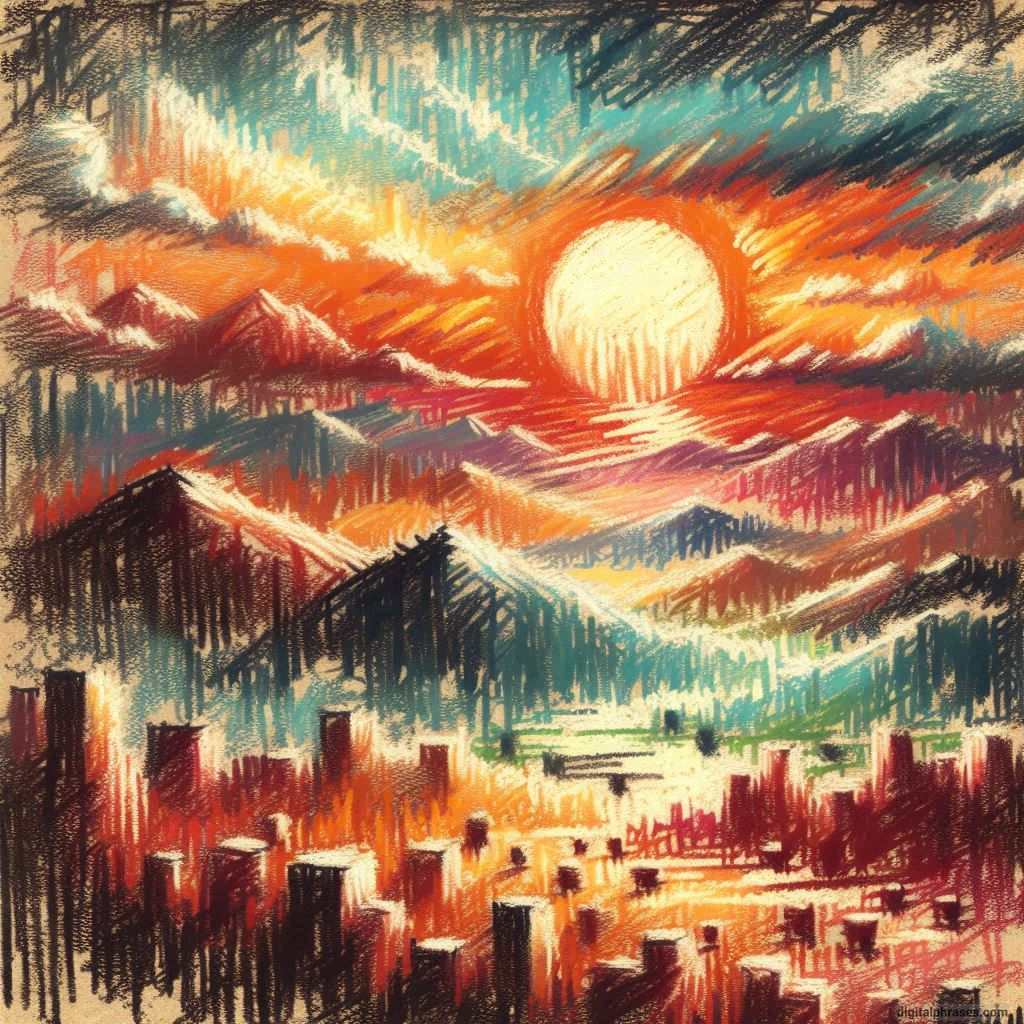
69
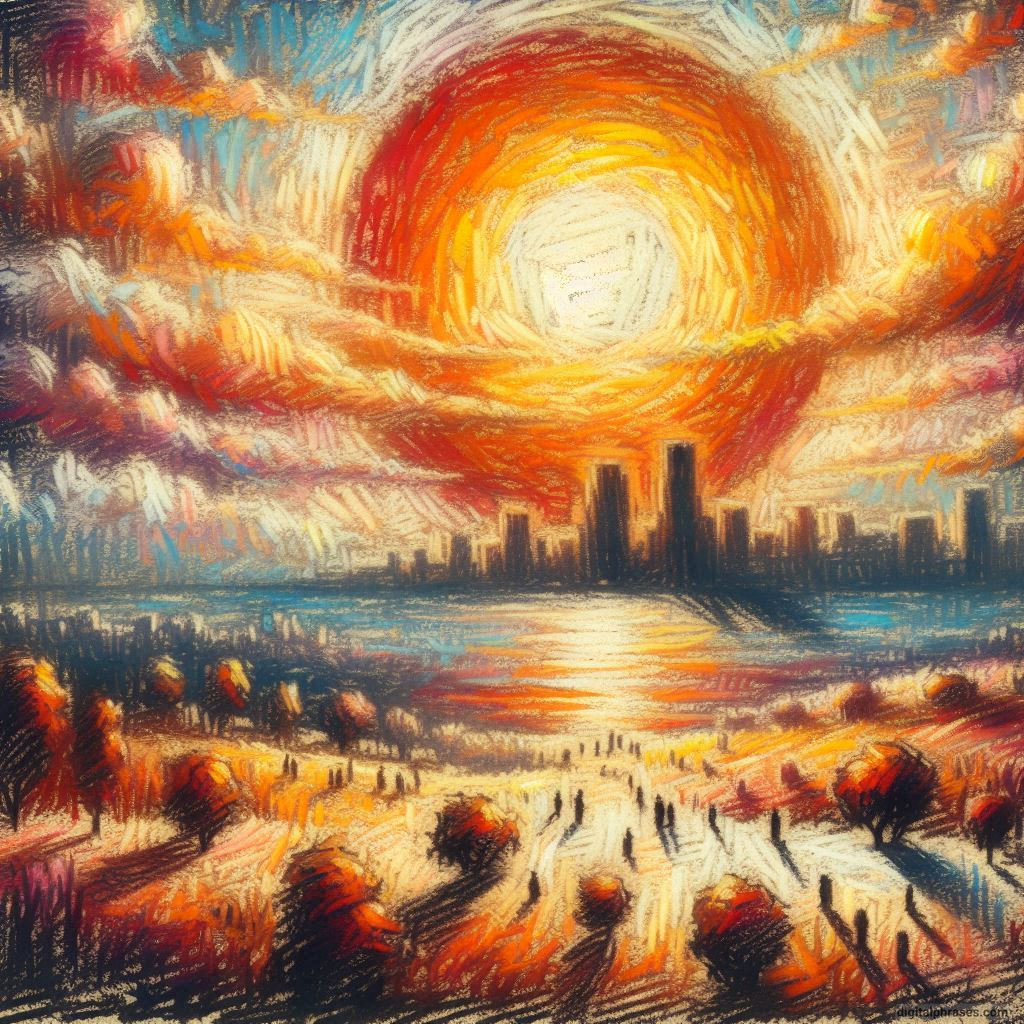
70

71

72
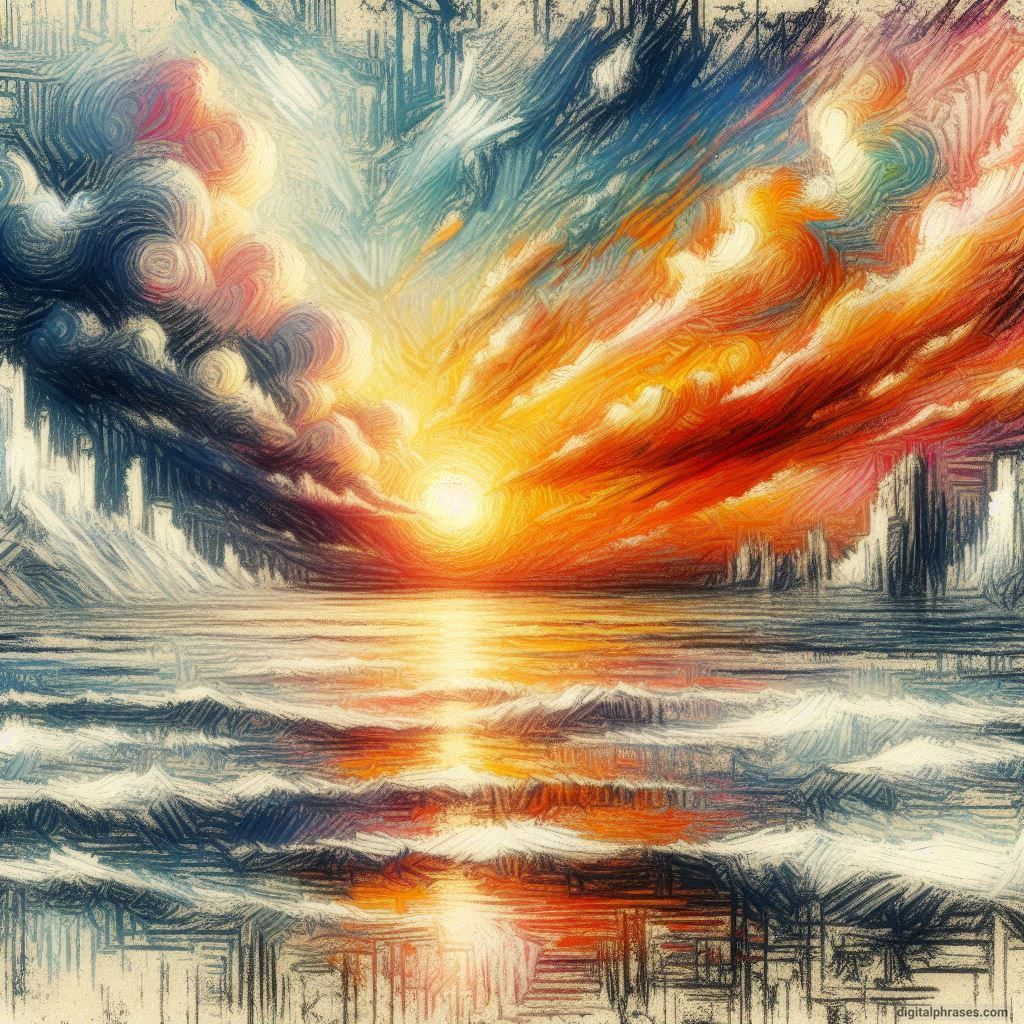
73
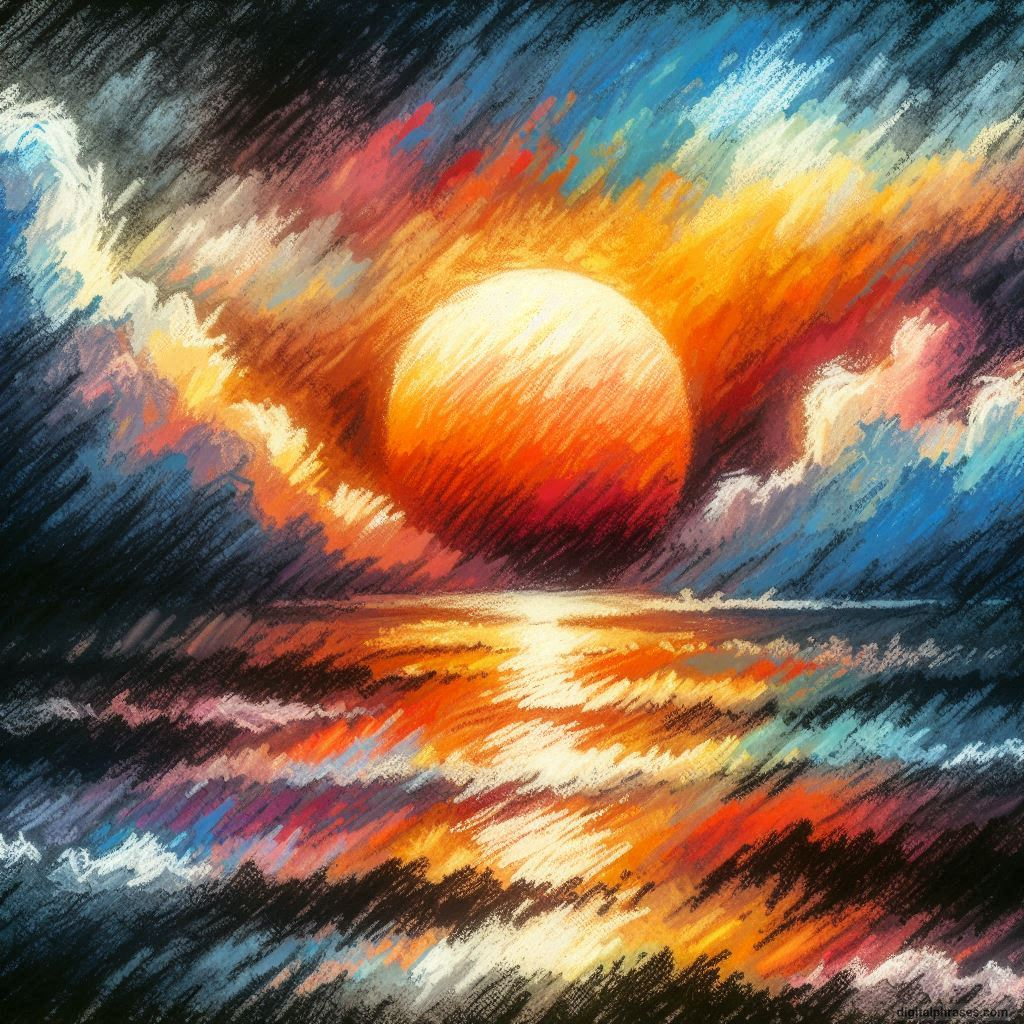
74

75
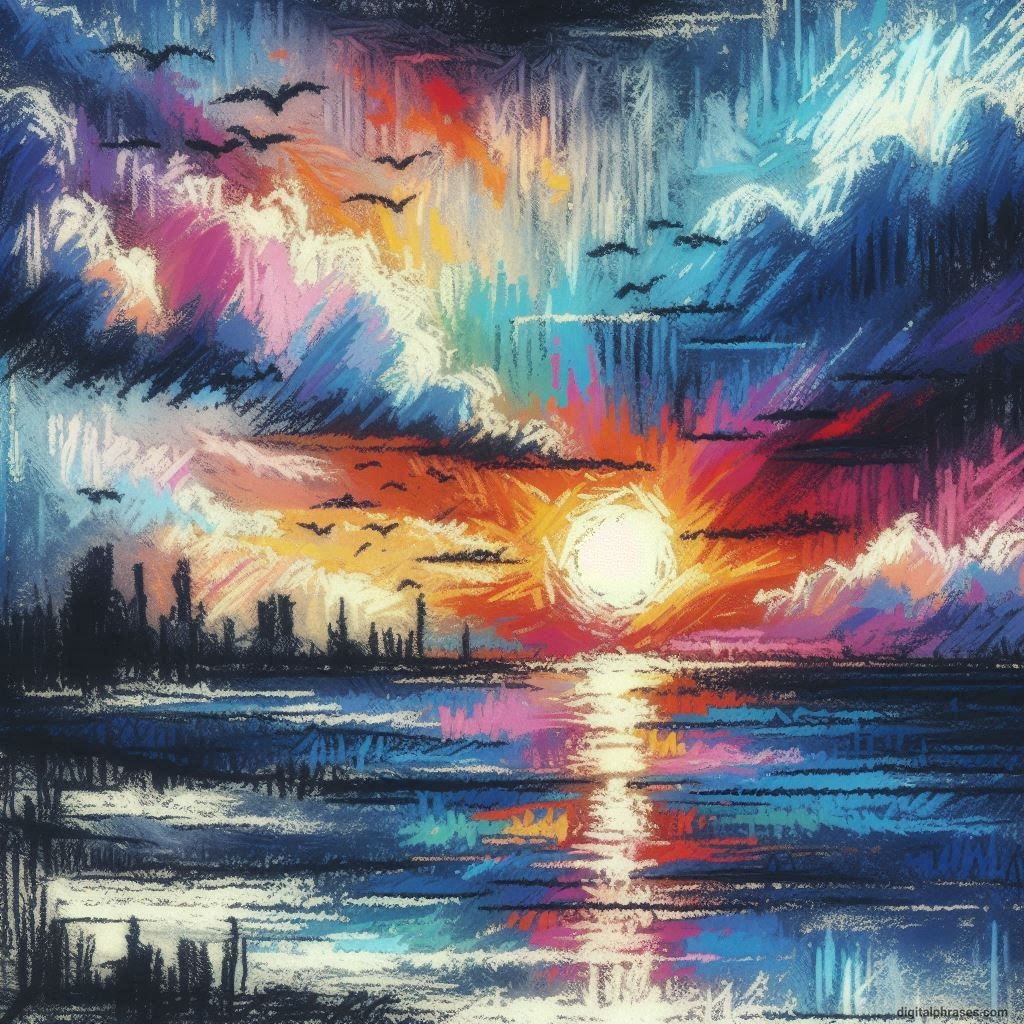
76
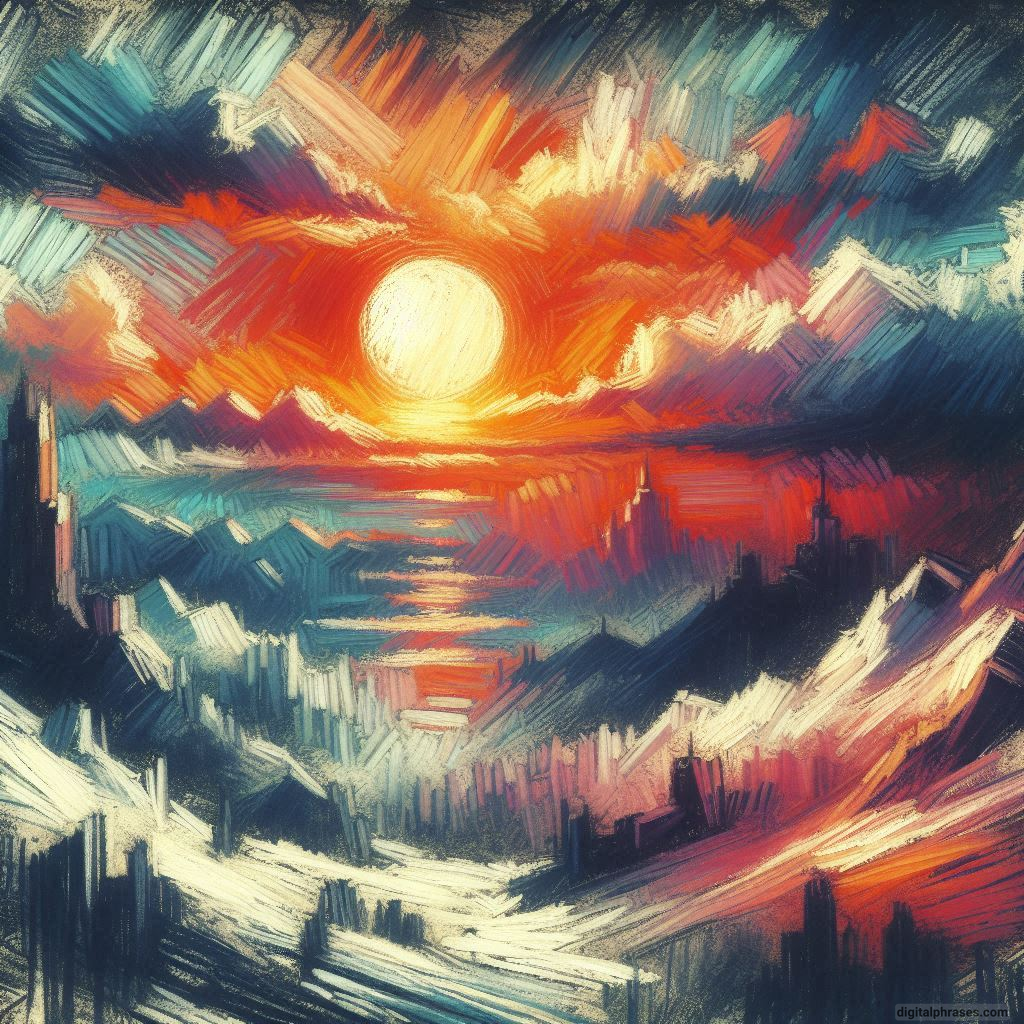
77
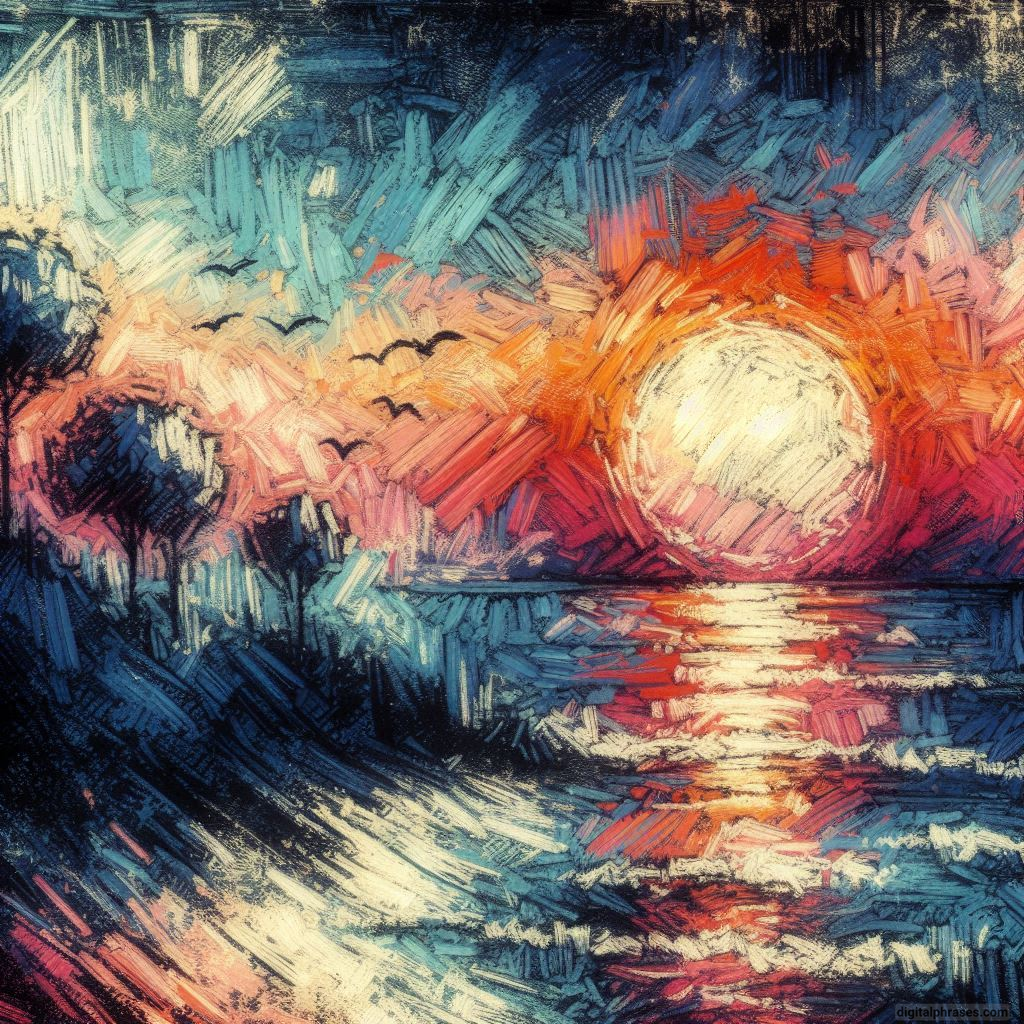
78
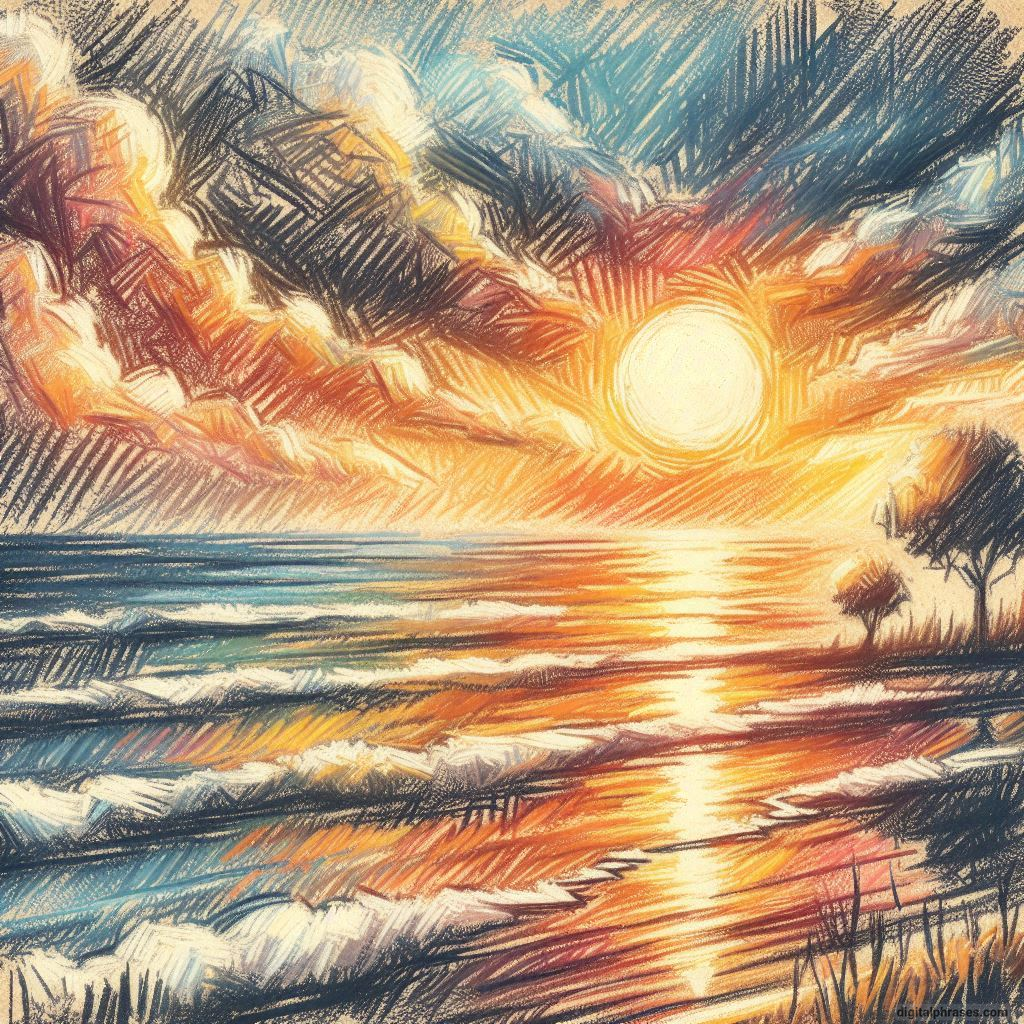
79

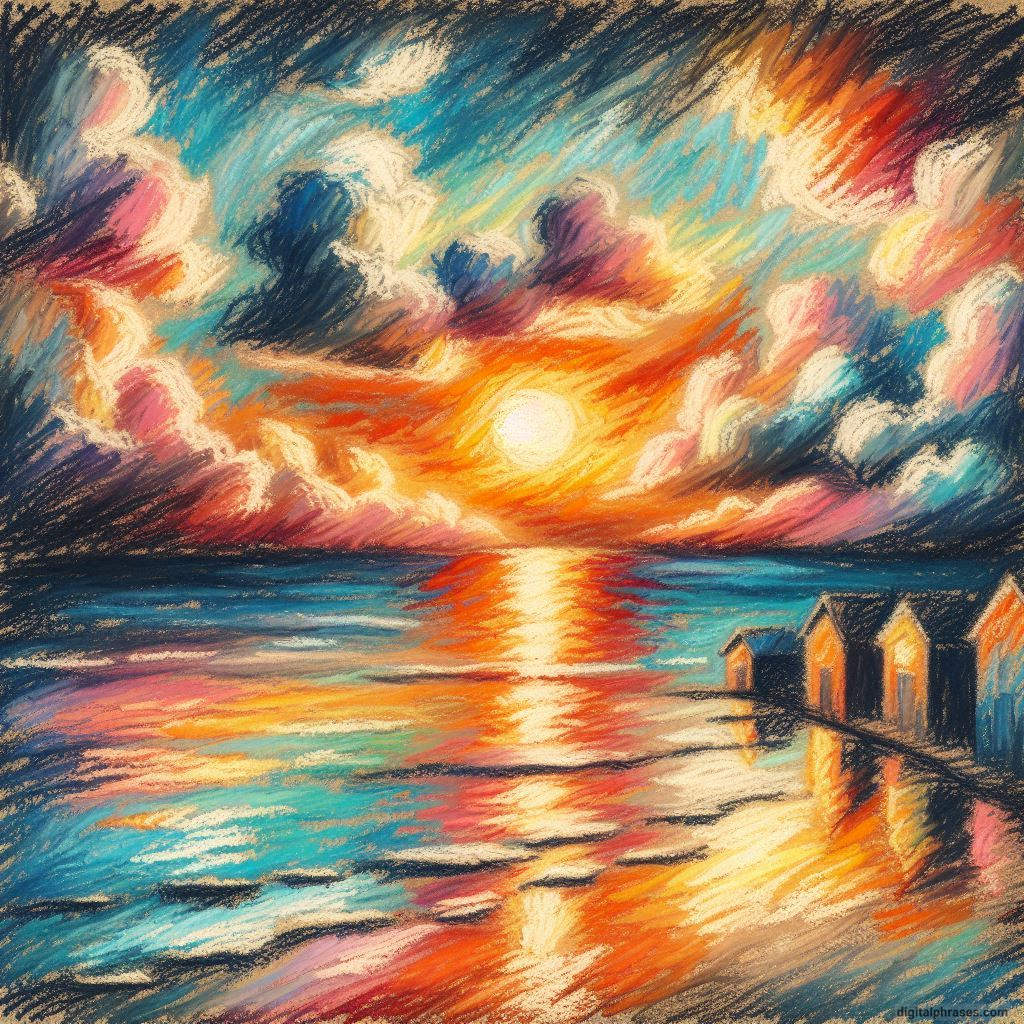
80
Watercolor Paintings
81
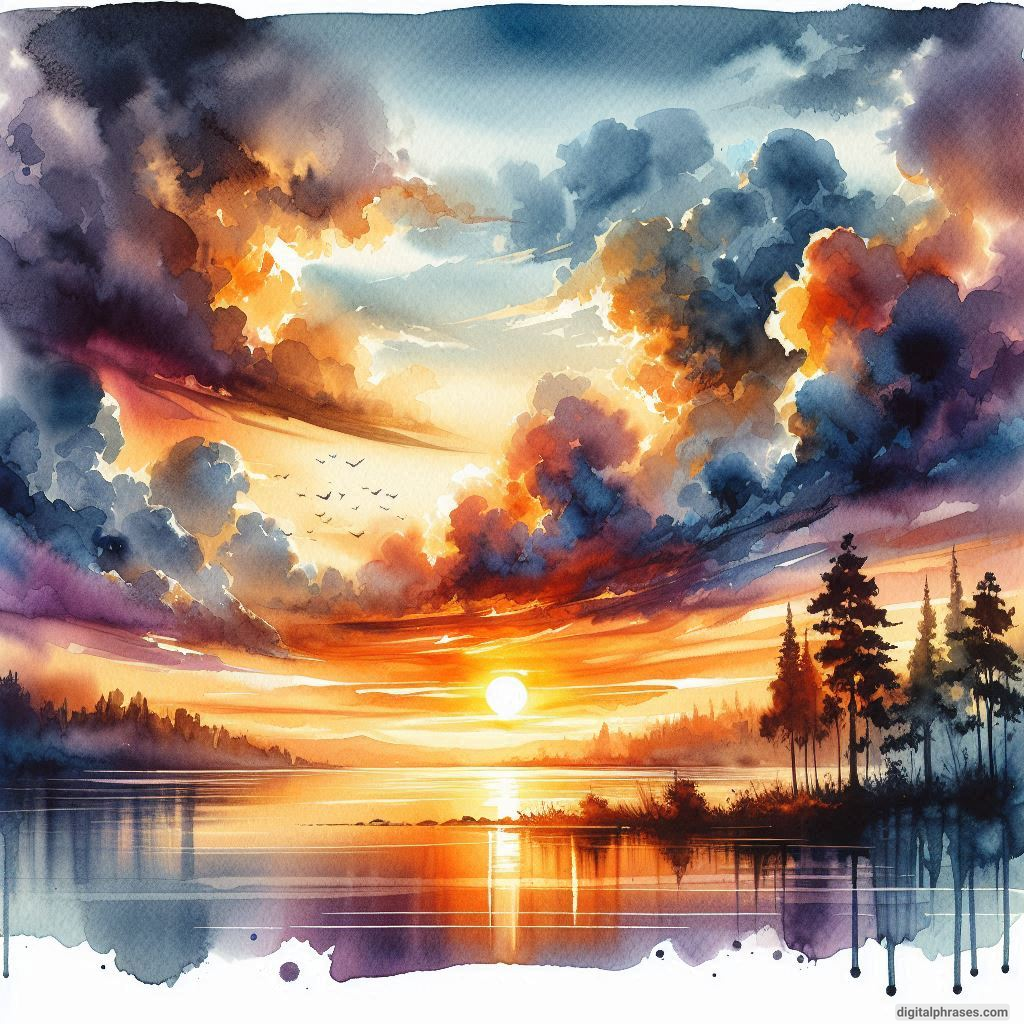
82

83

84
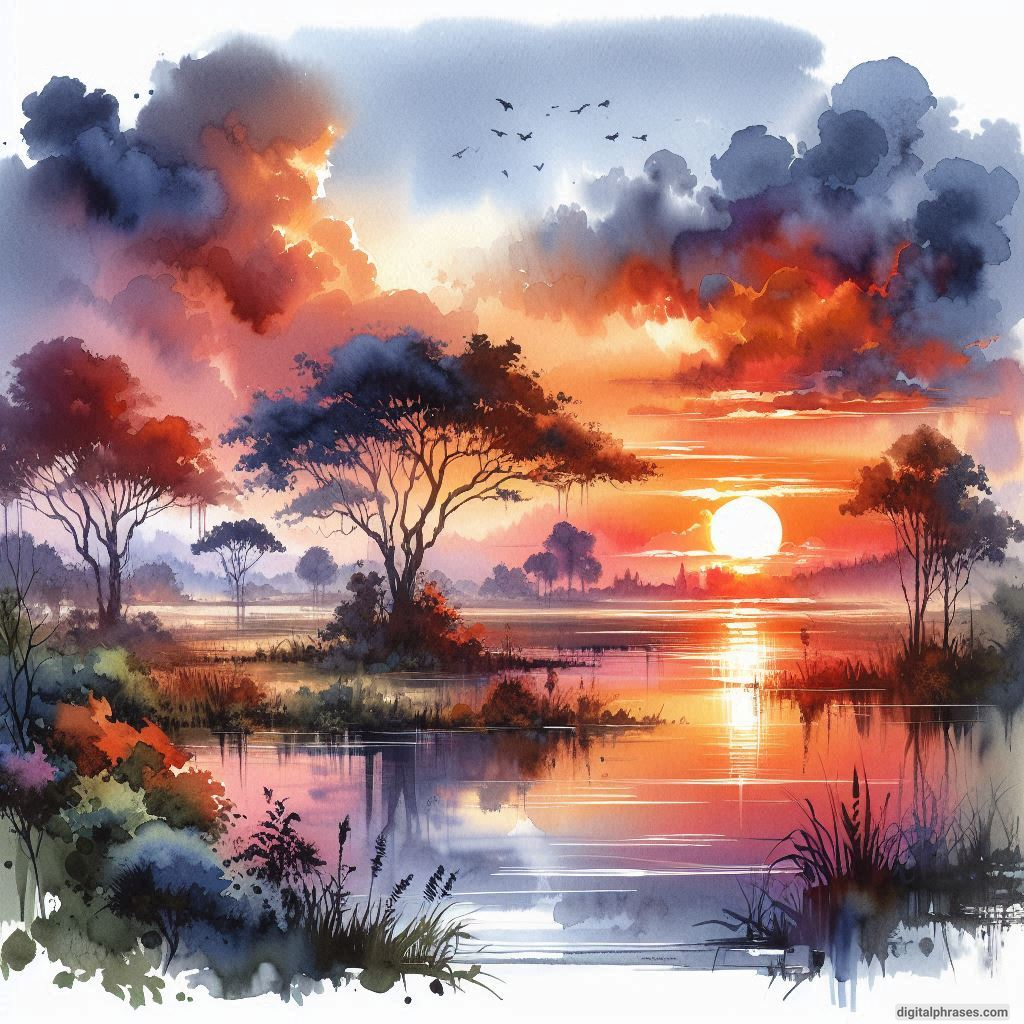
85
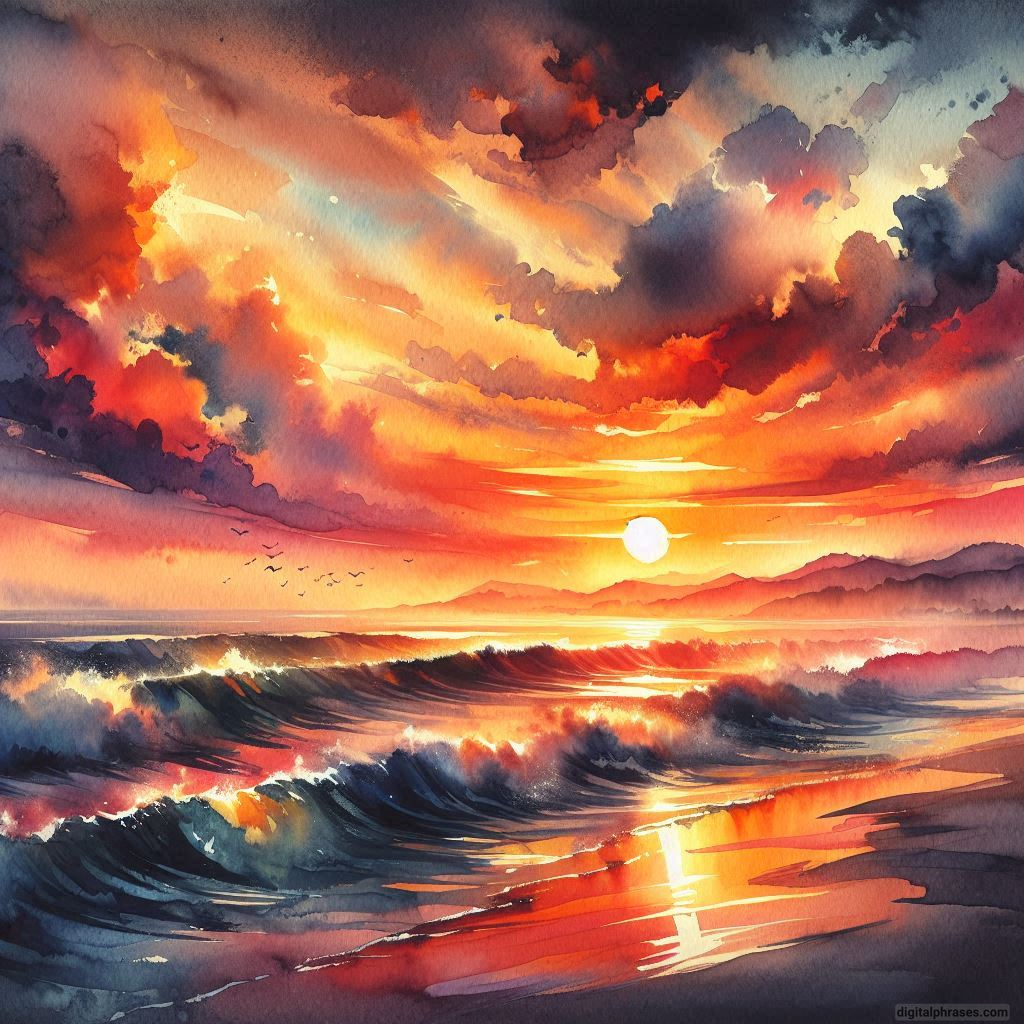
86
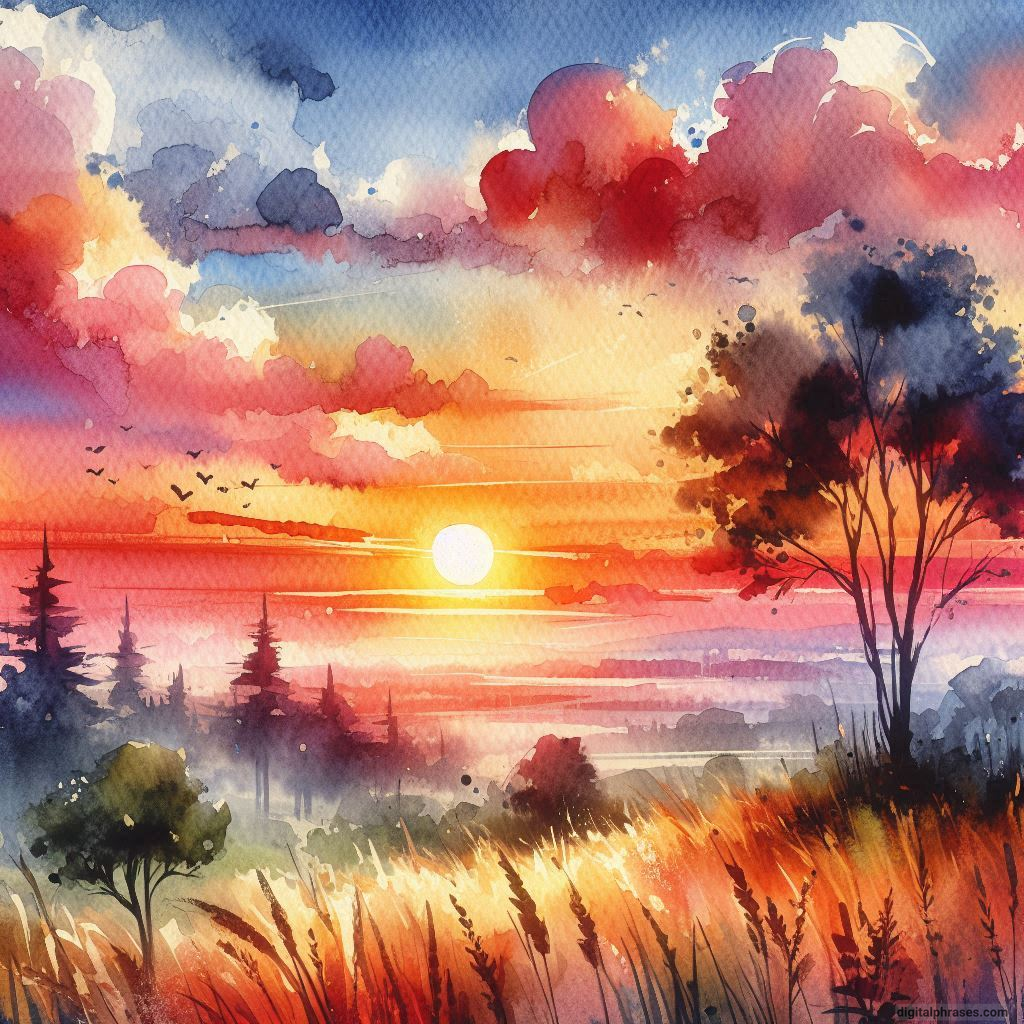
87

88
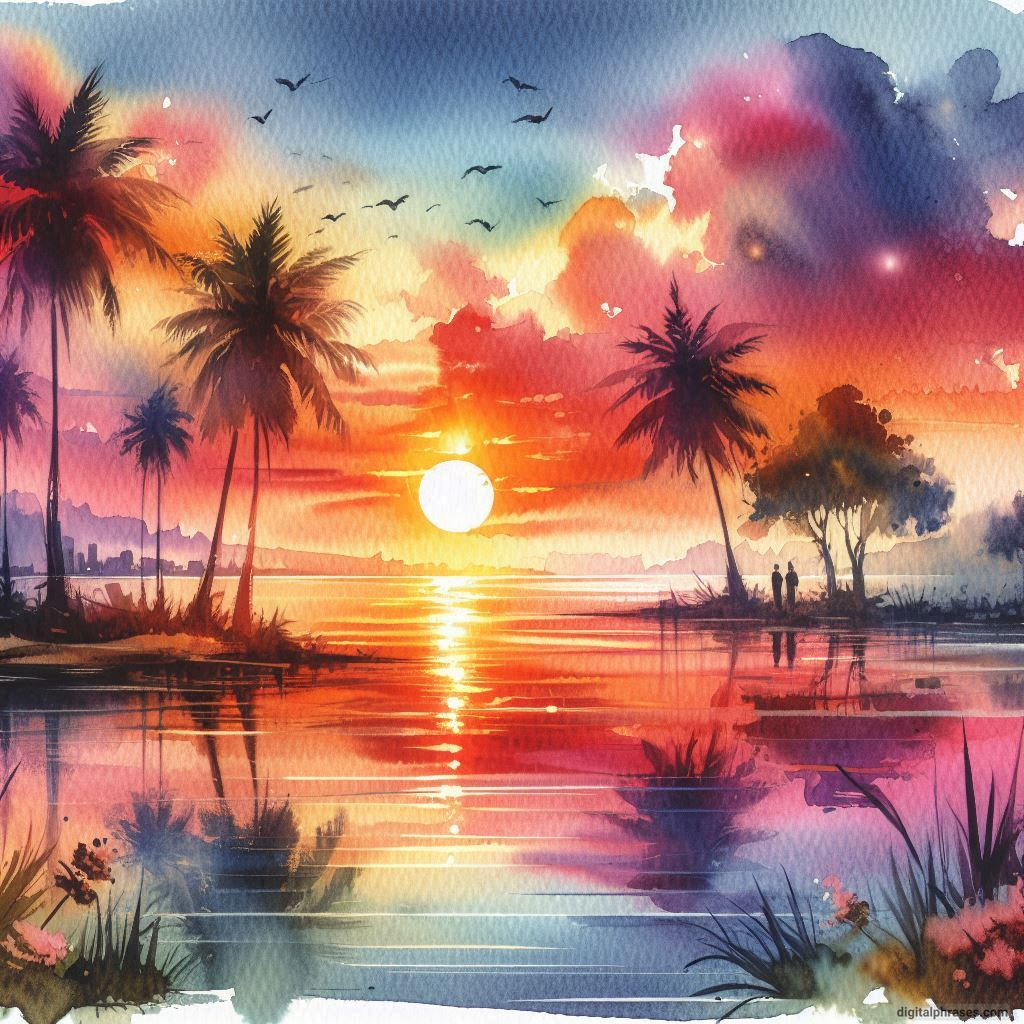
89
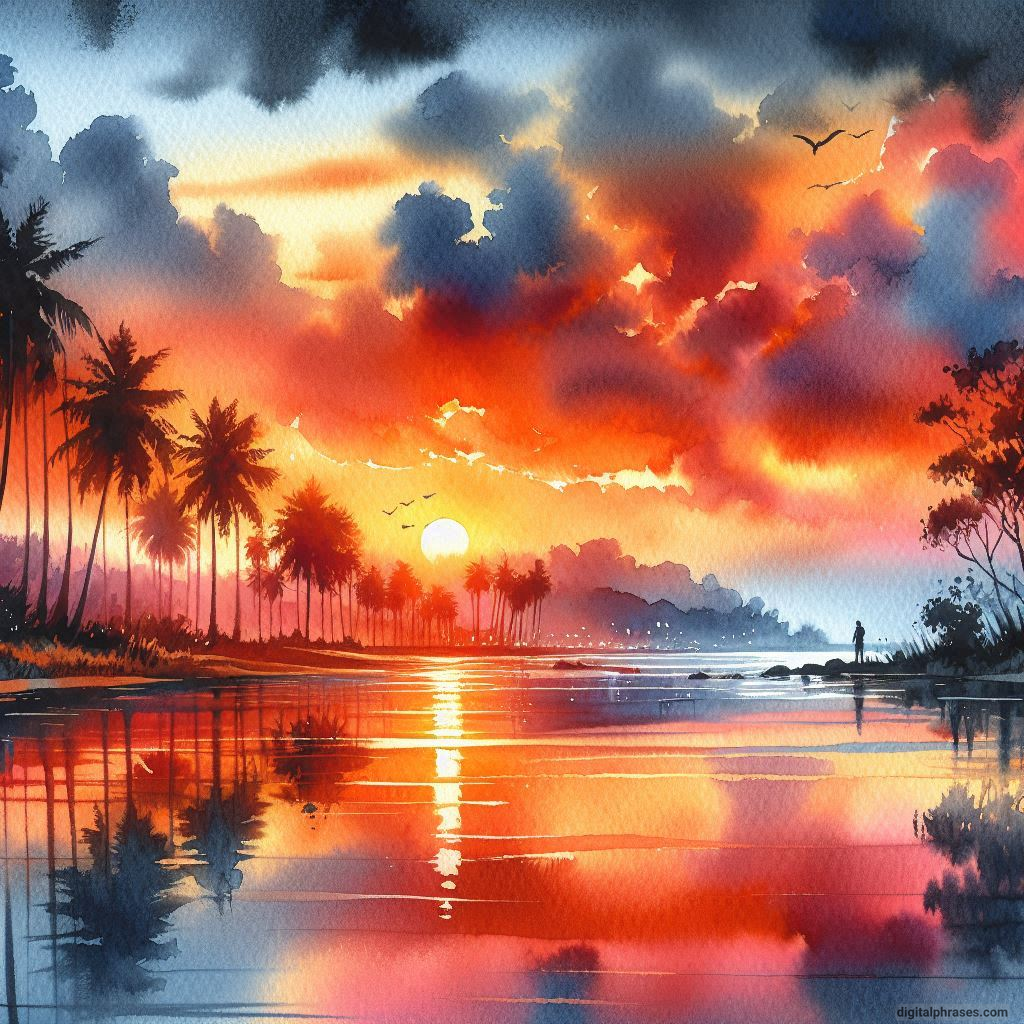
90

91
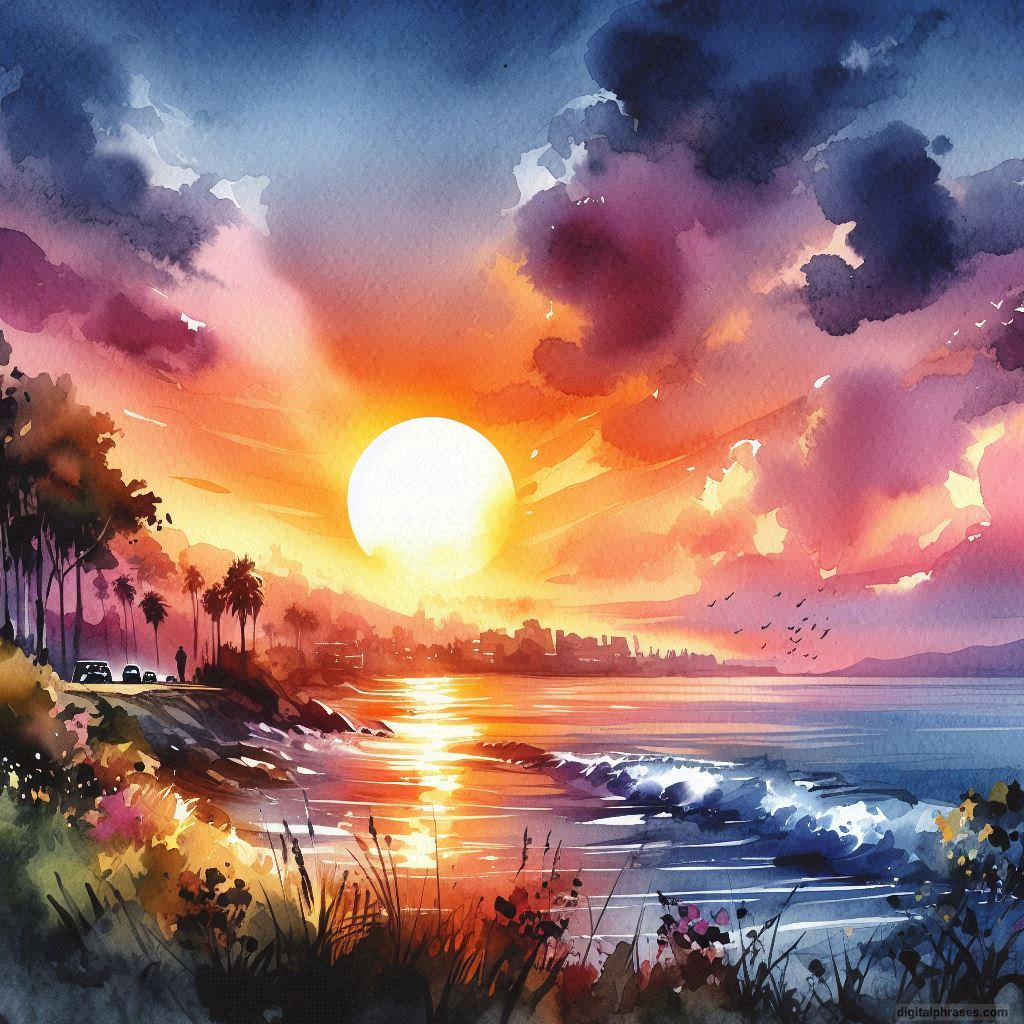
92
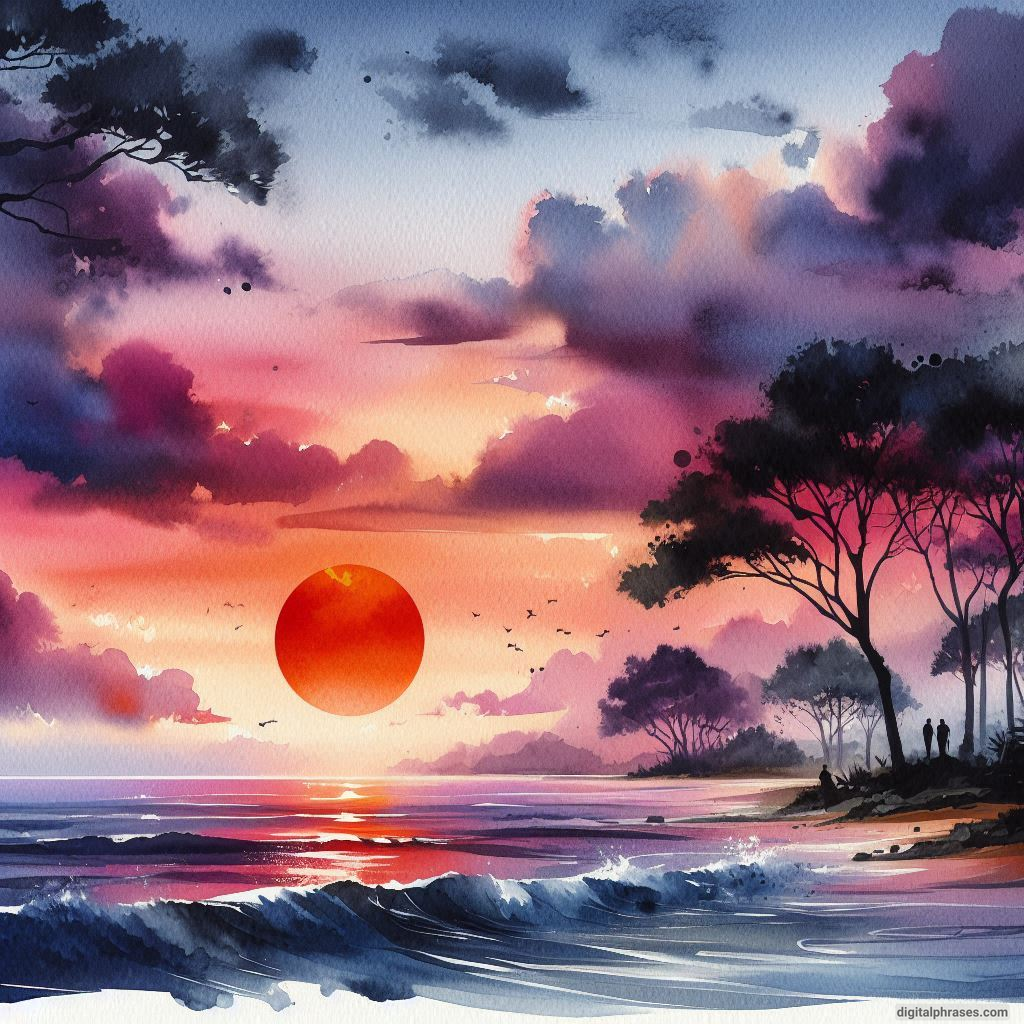
93
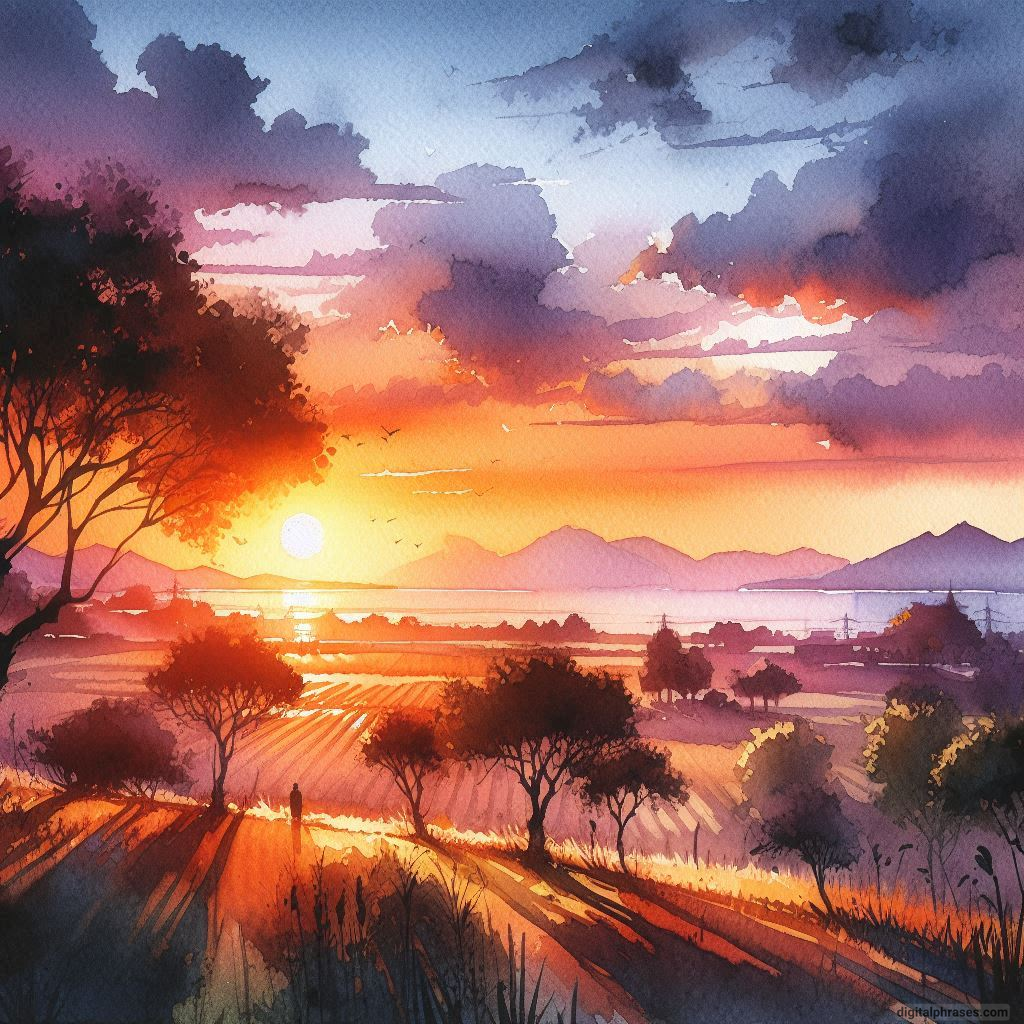
94
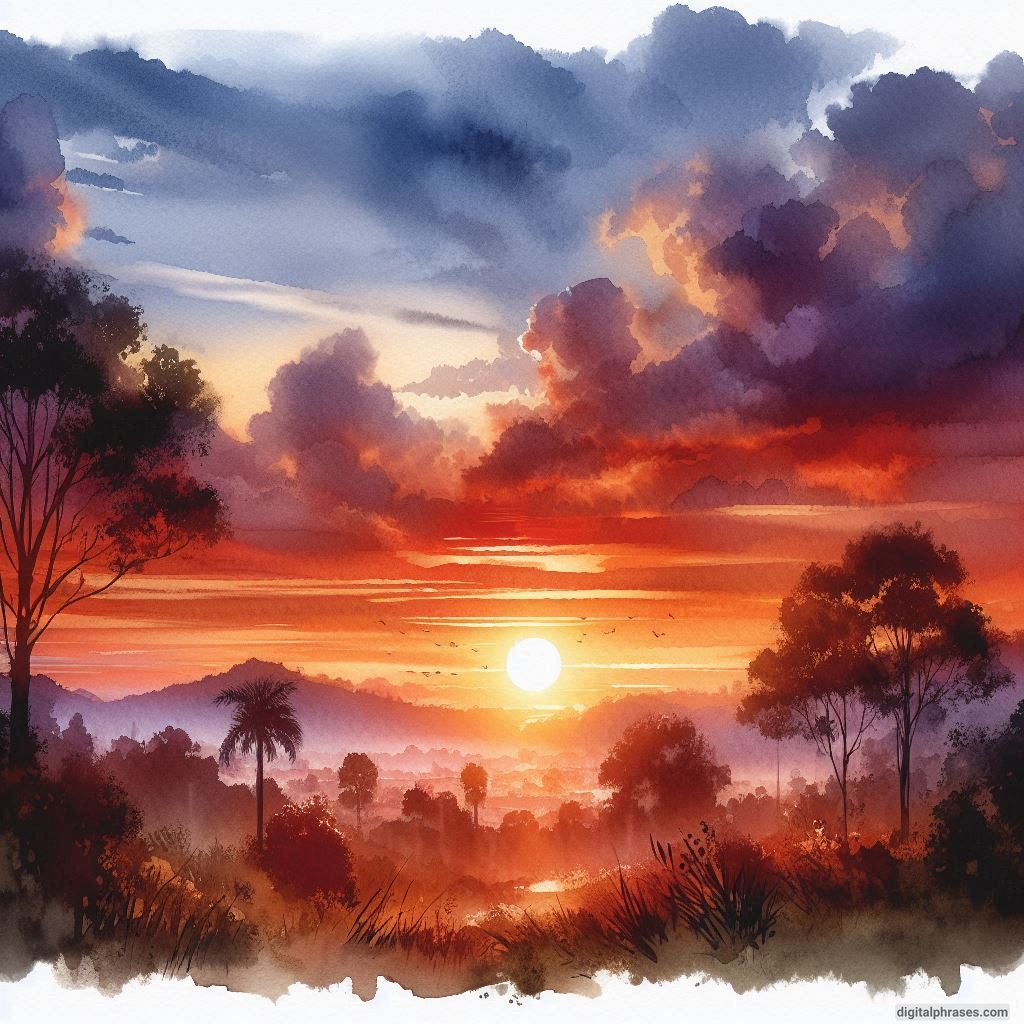
95

96

97
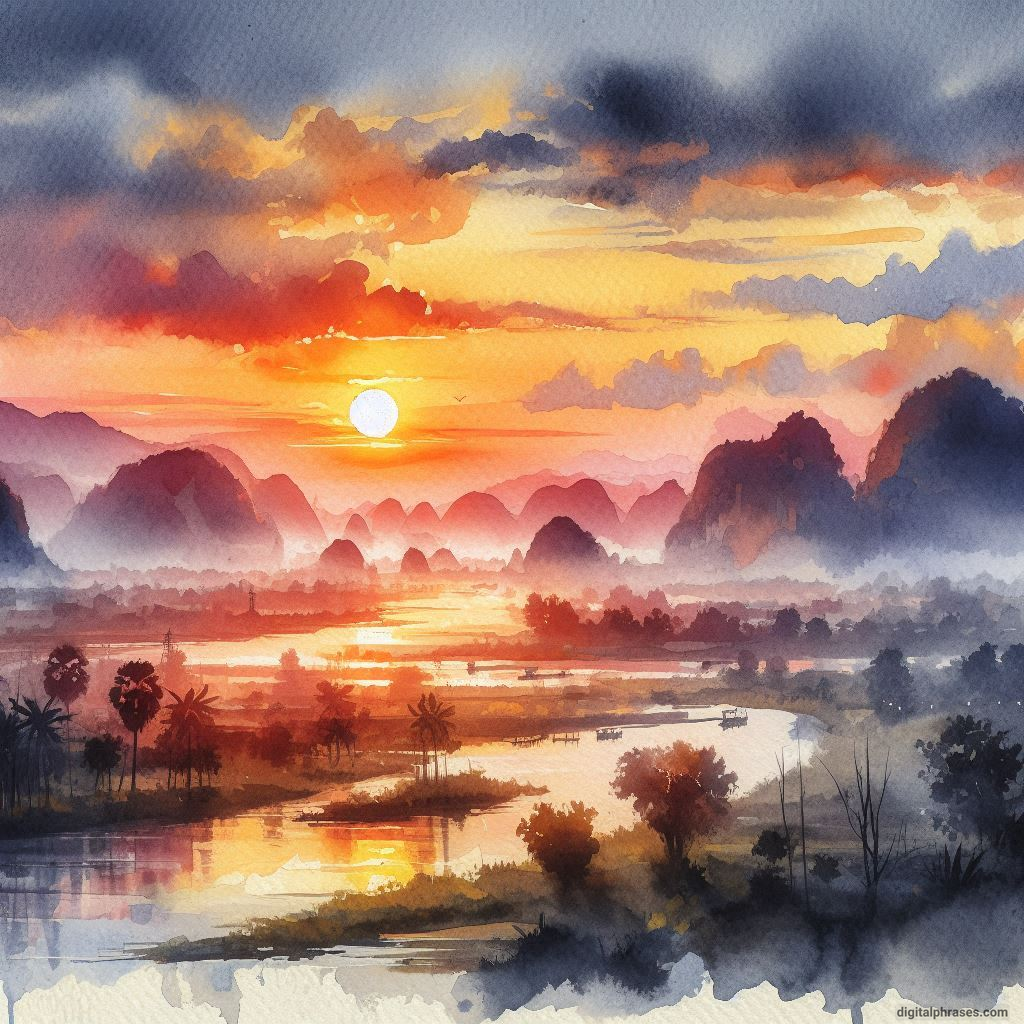
98

99
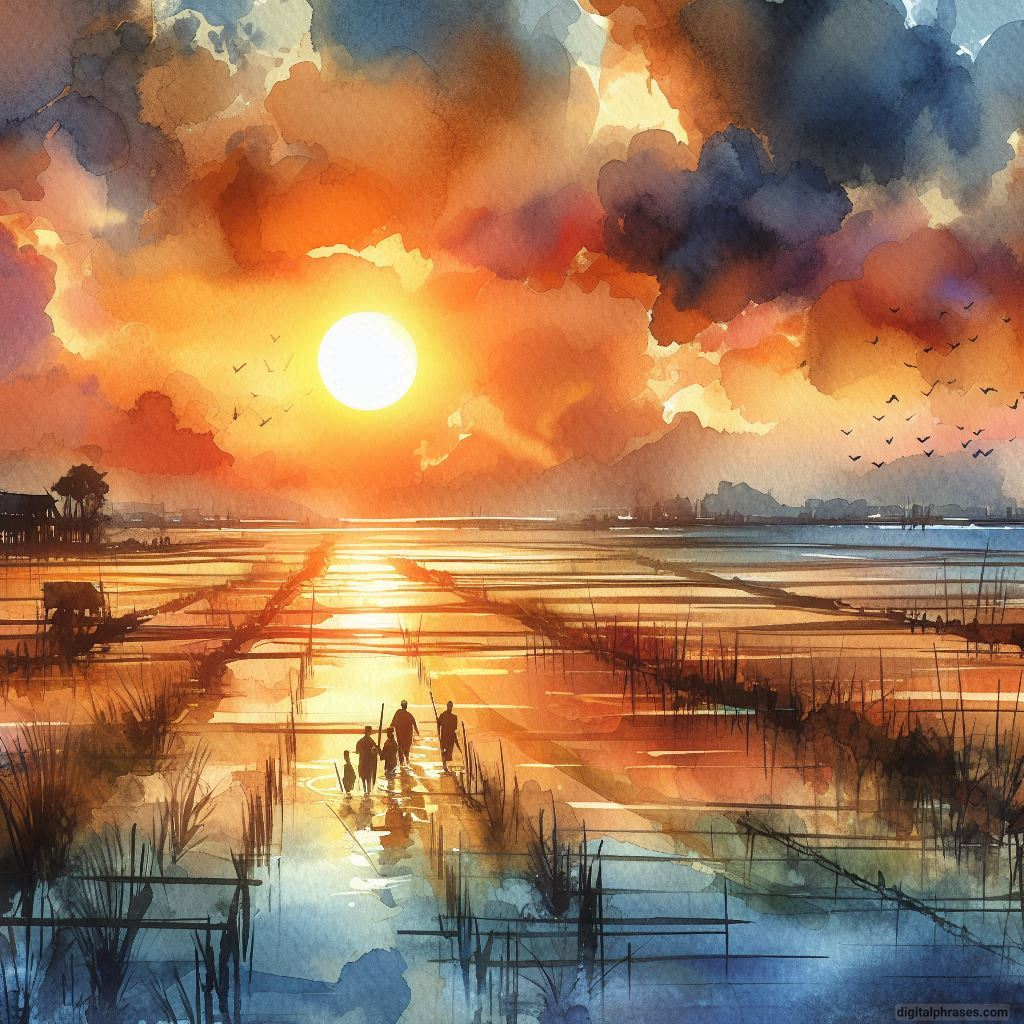
100
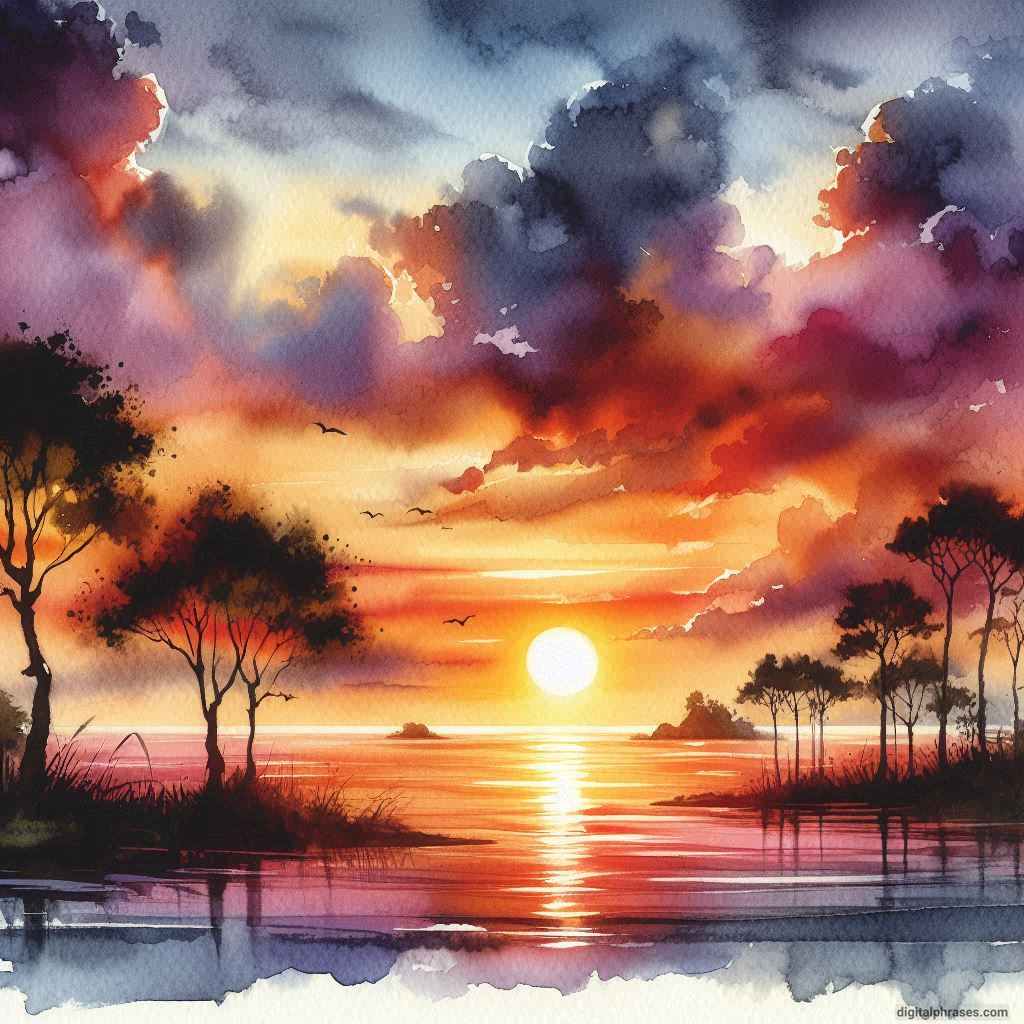
101
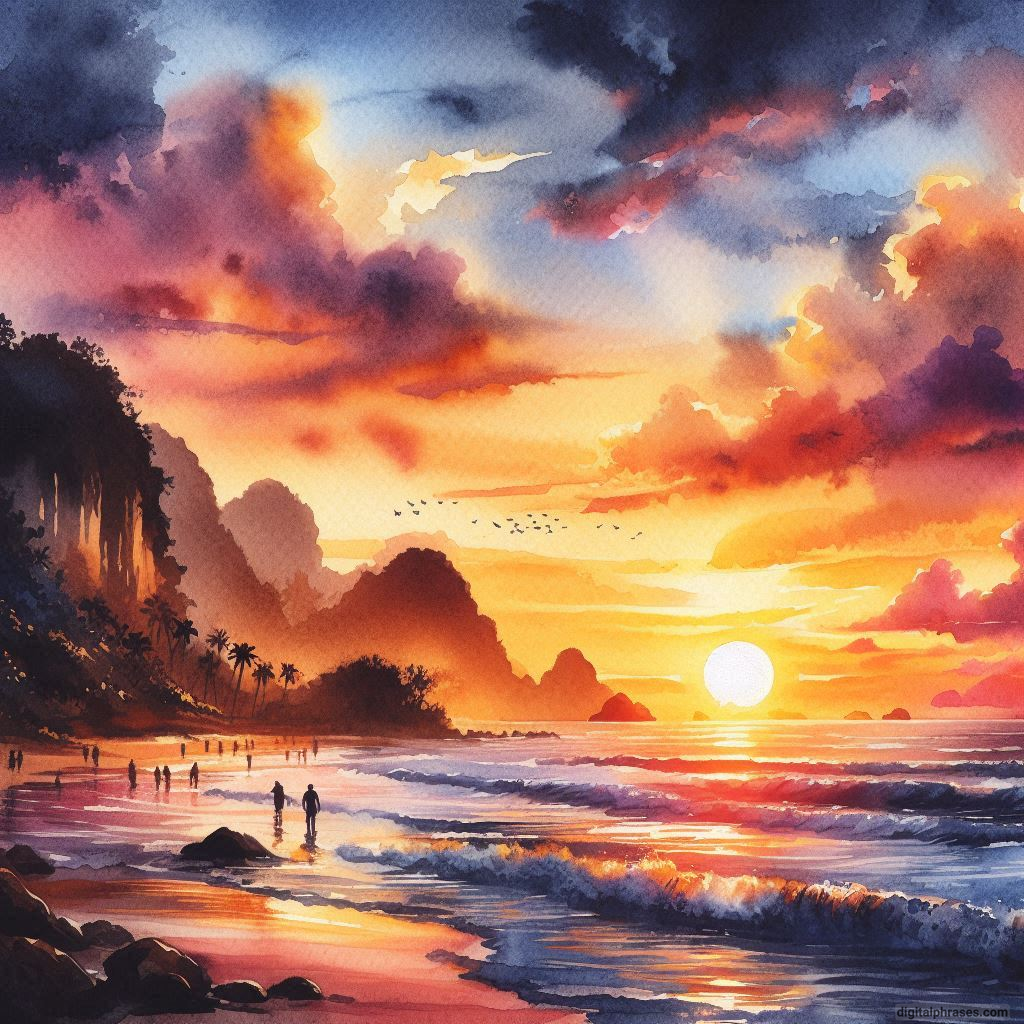
102

103
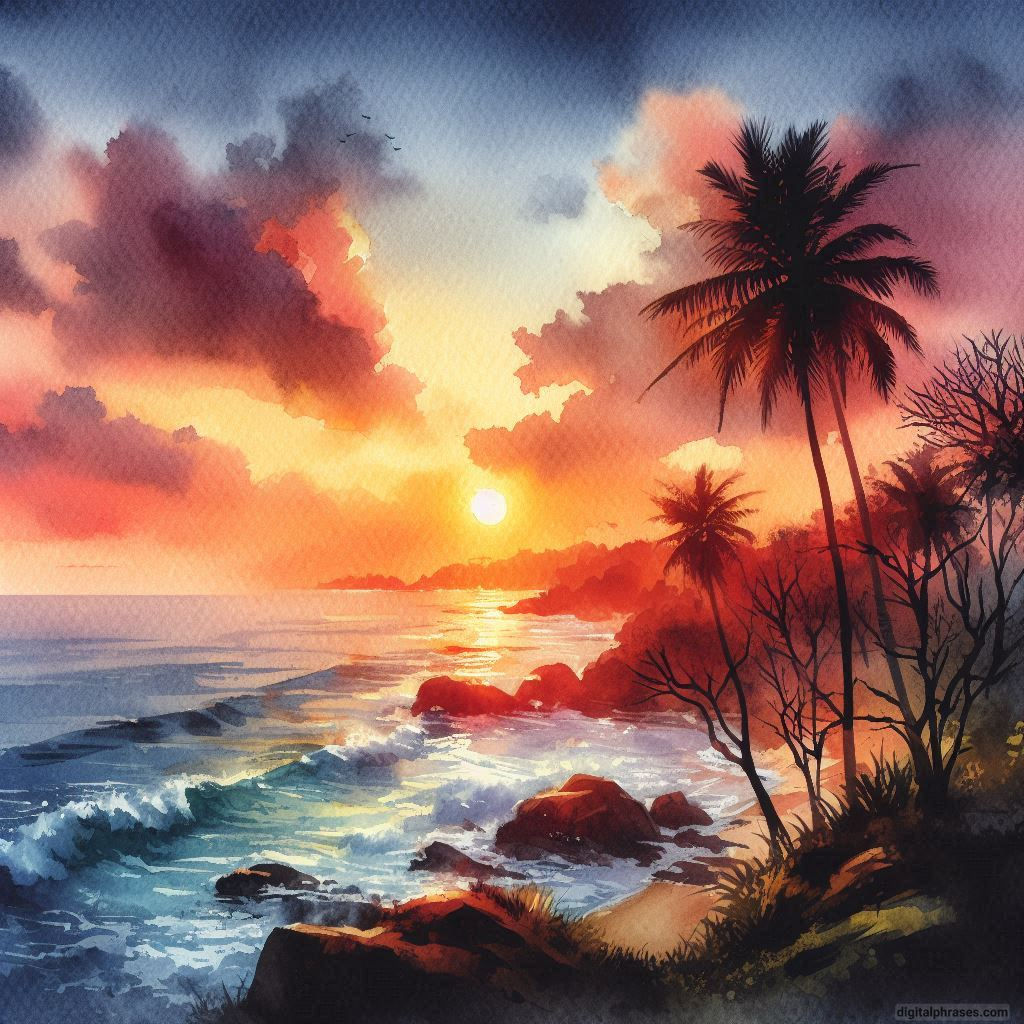
104
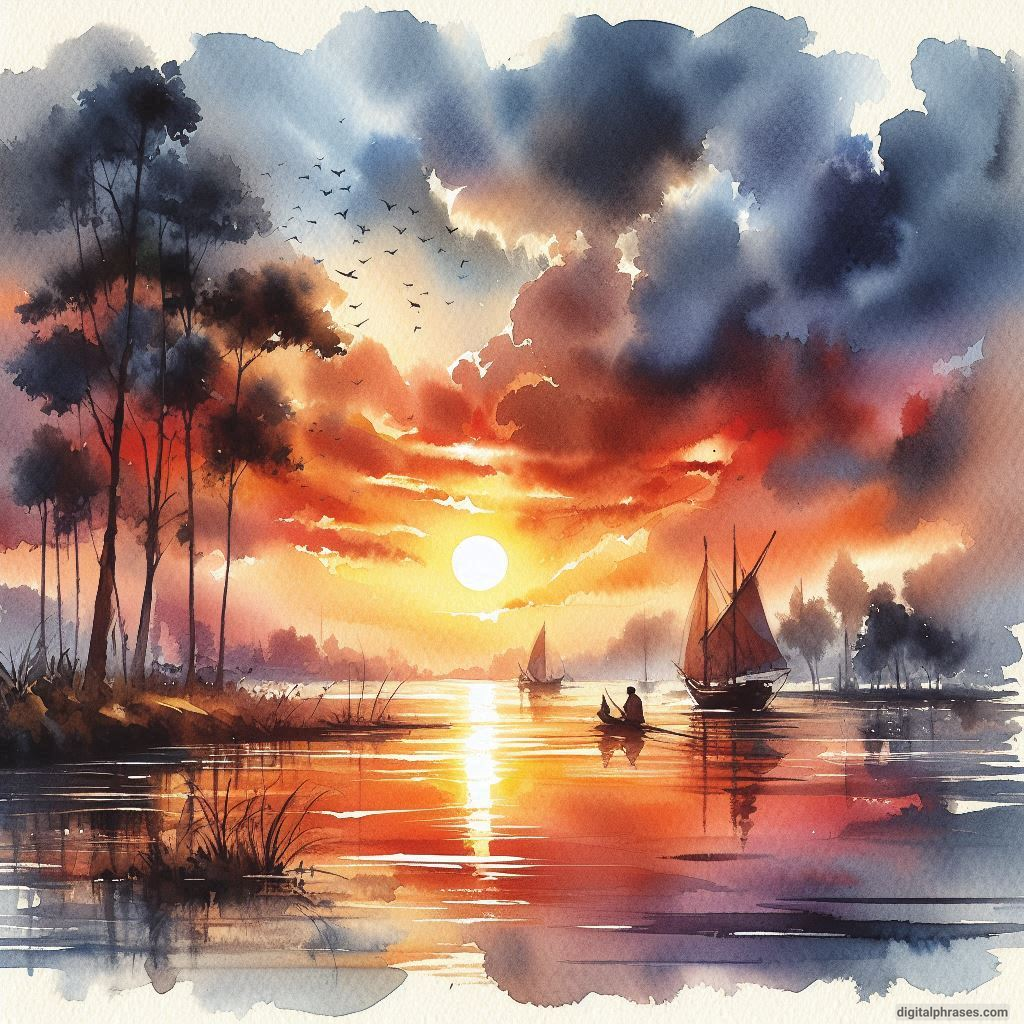
105
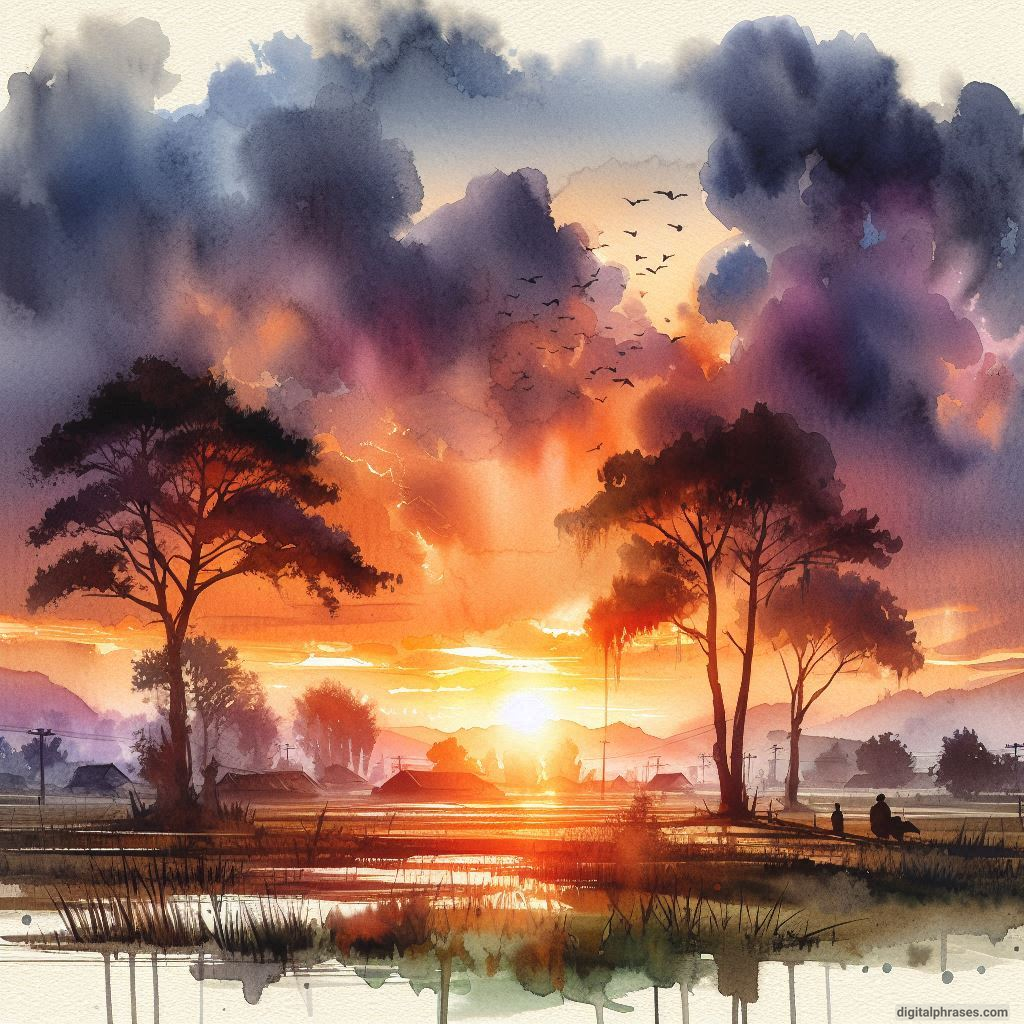
106
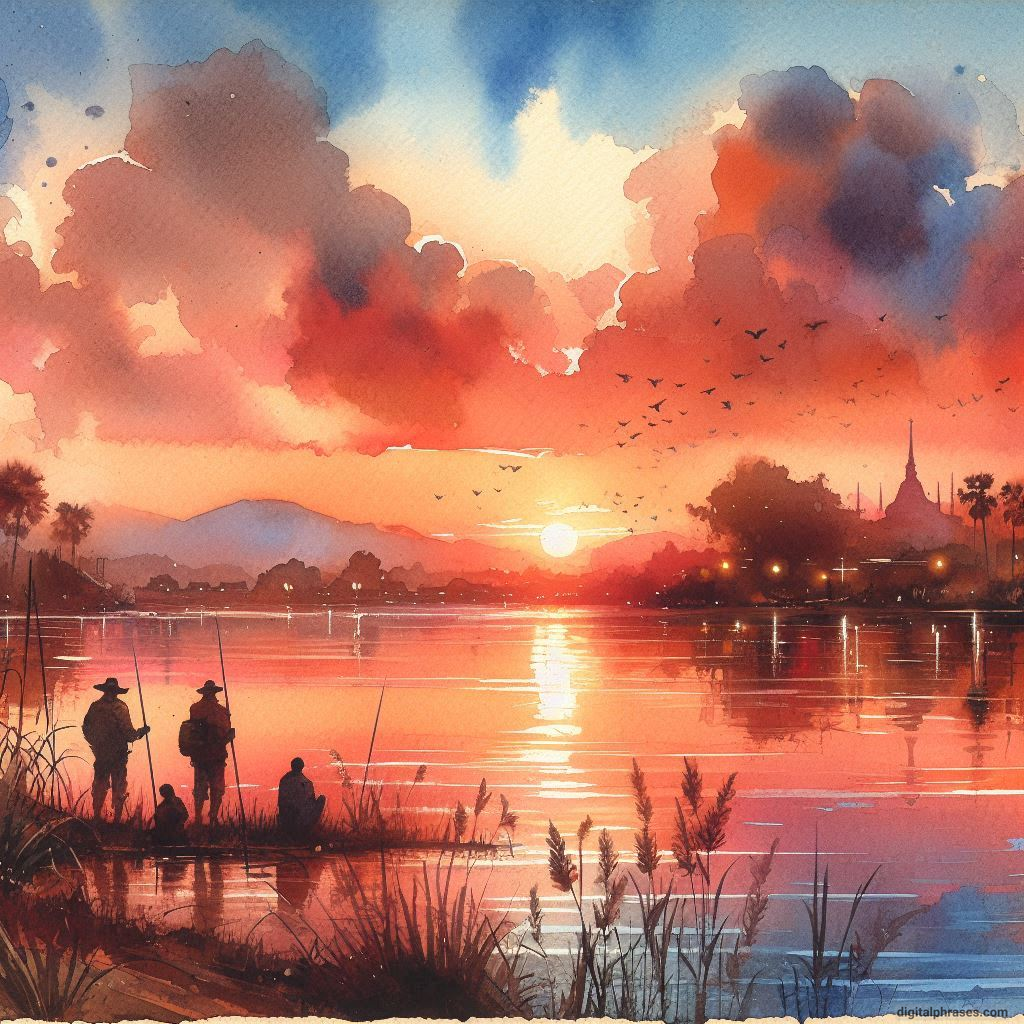
107
108

109
110
111

112

113
114

115
116

117

118
119
120

Things To Keep In Mind While Drawing a Sunset
1. Observe and Study Real Sunsets
One of the most important steps in drawing a sunset is to observe real sunsets as often as possible. Nature is the best teacher, and by studying how the colors change and blend into each other, you can gain a deeper understanding of the subject. Here are some specific points to consider:
A. Color Variation
Sunsets are known for their rich and varied color palettes. You will often see a blend of warm colors such as reds, oranges, and yellows transitioning into cooler hues like purples, blues, and pinks. Pay attention to how these colors transition into one another and the subtle gradients that form.
B. Light and Shadow
The way light behaves during a sunset is unique. Notice how the low angle of the sun casts long shadows and how objects are silhouetted against the bright sky. Understanding the interplay of light and shadow will help you add depth and realism to your drawing.
C. Atmospheric Perspective
Sunsets often create a sense of depth due to atmospheric perspective. Distant objects, such as mountains or buildings, appear lighter and less detailed because of the particles in the air scattering the light. Incorporating atmospheric perspective will give your drawing a three-dimensional feel.
D. Cloud Formations
Clouds play a significant role in the beauty of sunsets. Observe how different types of clouds catch the light and change color as the sun sets. Wispy clouds may appear pink or orange, while denser clouds might have darker, dramatic edges.
2. Choose the Right Medium
The medium you choose can greatly impact the final appearance of your sunset drawing. Different mediums offer various advantages and challenges, so it’s essential to select one that suits your style and desired outcome.
A. Colored Pencils
Colored pencils are a versatile medium that allows for detailed work and smooth color blending. They are ideal for artists who enjoy working with fine details and creating gradual color transitions.
B. Watercolors
Watercolors are excellent for capturing the fluidity and transparency of a sunset. They allow you to create soft gradients and can be used to produce both vibrant and subtle hues. However, watercolors can be challenging to control, so practice is key.
C. Pastels
Pastels offer rich colors and are great for creating bold, expressive works. They are especially effective for capturing the vibrant colors of a sunset. Blending pastels can be messy, but the results can be stunningly beautiful.
D. Digital Tools
Digital drawing tools provide the flexibility to experiment with different colors and techniques without the fear of making permanent mistakes. Software like Adobe Photoshop or Procreate allows you to work in layers and use a wide range of brushes and effects.
3. Master the Art of Blending
Blending is a crucial technique when drawing a sunset, as it helps create smooth transitions between colors. Here are some tips to achieve effective blending:
A. Gradual Layering
Whether you are using pencils, pastels, or digital tools, gradually layering colors will help you achieve a seamless blend. Start with the lightest colors and gradually add darker shades, using a light touch to build up the intensity.
B. Use of Blending Tools
Different mediums have different blending tools that can aid in creating smooth transitions. For colored pencils, a colorless blender pencil can help merge colors. For pastels, a blending stump or your fingers can work effectively. In digital art, using a soft brush with low opacity can mimic natural blending.
C. Experiment with Techniques
Experimenting with different blending techniques can yield unique results. For instance, try cross-hatching or circular motions with colored pencils or use a damp brush to blend watercolors. Digital tools allow you to explore a wide range of brush settings to find what works best for you.
4. Pay Attention to Composition
The composition of your drawing is vital in guiding the viewer’s eye and creating a balanced, harmonious piece. Here are some tips for composing your sunset drawing effectively:
A. Rule of Thirds
The rule of thirds is a fundamental principle of composition that suggests dividing your canvas into nine equal parts using two horizontal and two vertical lines. Placing key elements, such as the horizon or the sun, along these lines or at their intersections can create a more dynamic and engaging composition.
B. Focal Point
Identify a focal point in your drawing to draw the viewer’s attention. This could be the sun itself, a silhouetted object, or a particularly striking cloud formation. Use color, contrast, and detail to emphasize the focal point.
C. Foreground, Middle Ground, and Background
Creating distinct layers in your composition adds depth and interest. Consider including elements in the foreground, middle ground, and background to lead the viewer’s eye into the scene. This could be a silhouetted tree in the foreground, a body of water in the middle ground, and distant mountains in the background.
D. Balance and Harmony
Ensure that the elements in your drawing are balanced and harmonious. Avoid overcrowding one side of the composition and strive for symmetry or asymmetry that feels intentional and aesthetically pleasing.
5. Capture the Emotion and Atmosphere
A successful sunset drawing is not just about replicating what you see but also about conveying the emotion and atmosphere of the scene. Here are some ways to achieve this:
A. Mood and Tone
Think about the mood you want to convey with your sunset drawing. A fiery, dramatic sunset might evoke feelings of passion and energy, while a soft, pastel sunset could create a sense of calm and tranquility. Use color and composition to set the tone.
B. Personal Interpretation
Every artist brings their unique perspective to their work. Don’t be afraid to interpret the sunset in your way, emphasizing the elements that resonate with you. Your personal touch will make your drawing stand out and connect with viewers on an emotional level.
C. Storytelling
Consider incorporating elements that tell a story or suggest a narrative. This could be a lone figure gazing at the sunset, a flock of birds flying home, or a boat sailing into the horizon. These elements can add depth and intrigue to your drawing.
D. Experimentation
Finally, don’t be afraid to experiment and take risks. Art is about exploration and discovery, so try different techniques, color schemes, and compositions. You might stumble upon a new approach that elevates your work to new heights.
Drawing a sunset is a rewarding experience that allows you to explore the beauty and complexity of nature. By keeping these tips in mind—observing real sunsets, choosing the right medium, mastering blending techniques, paying attention to composition, and capturing the emotion and atmosphere—you can create stunning sunset drawings that capture the imagination and inspire others.
Remember, practice and experimentation are key, so embrace the journey and enjoy the process of creating your sunset masterpiece.


