45 Texture Drawing Ideas (Easy, For Kids and Pencil Sketches)
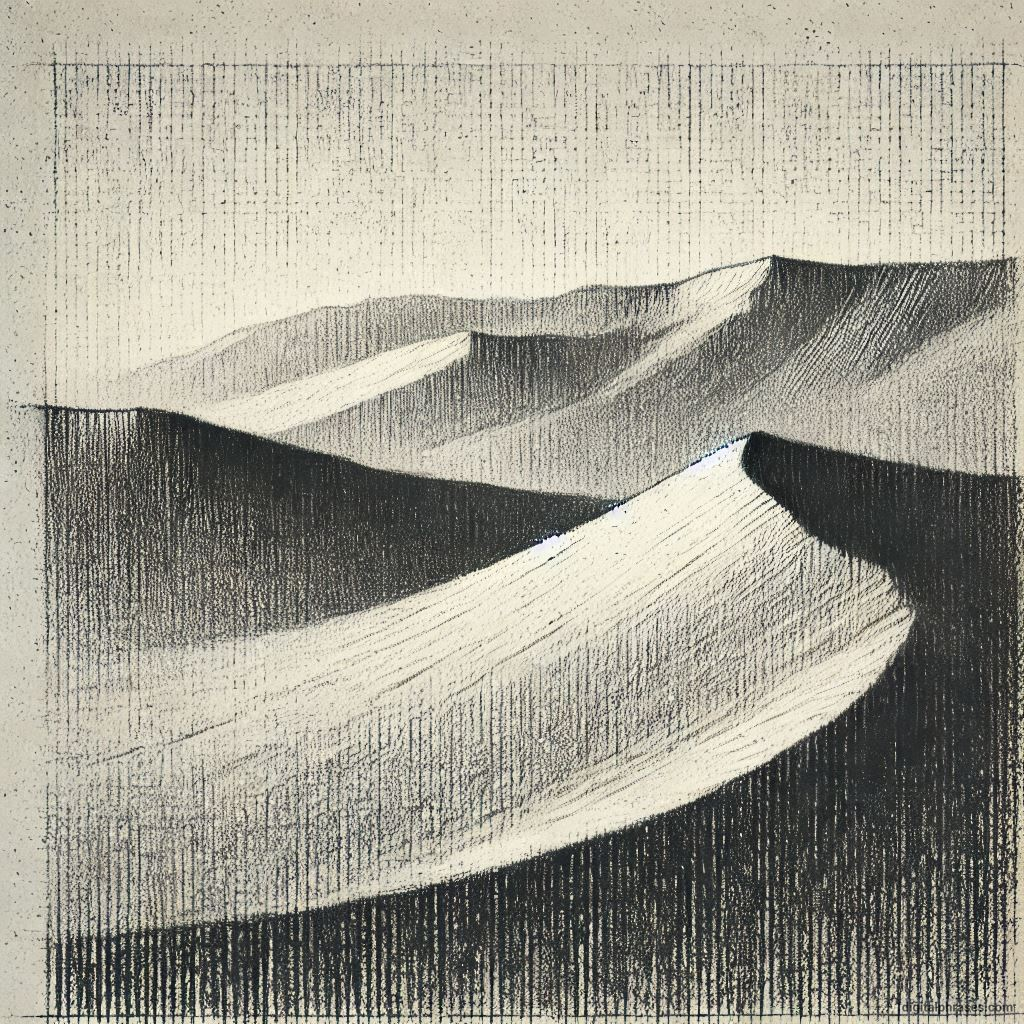
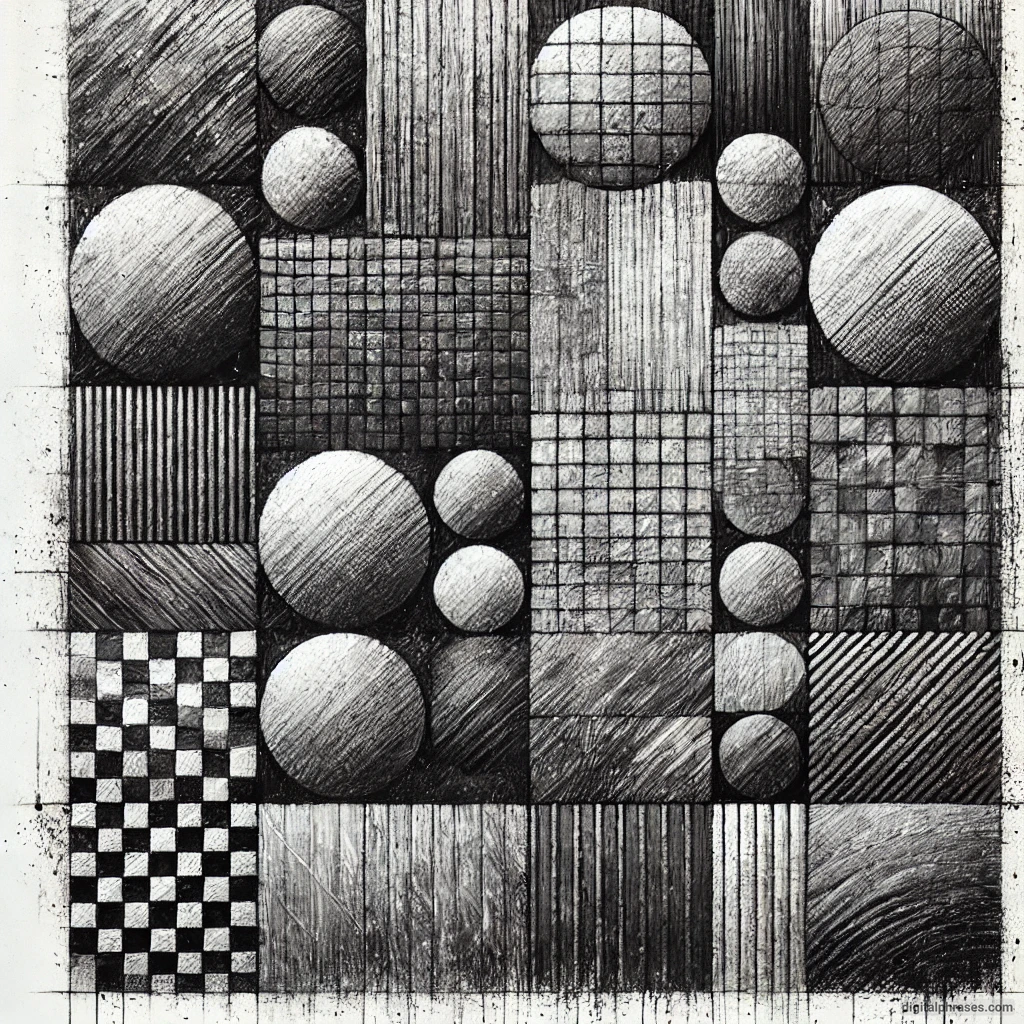
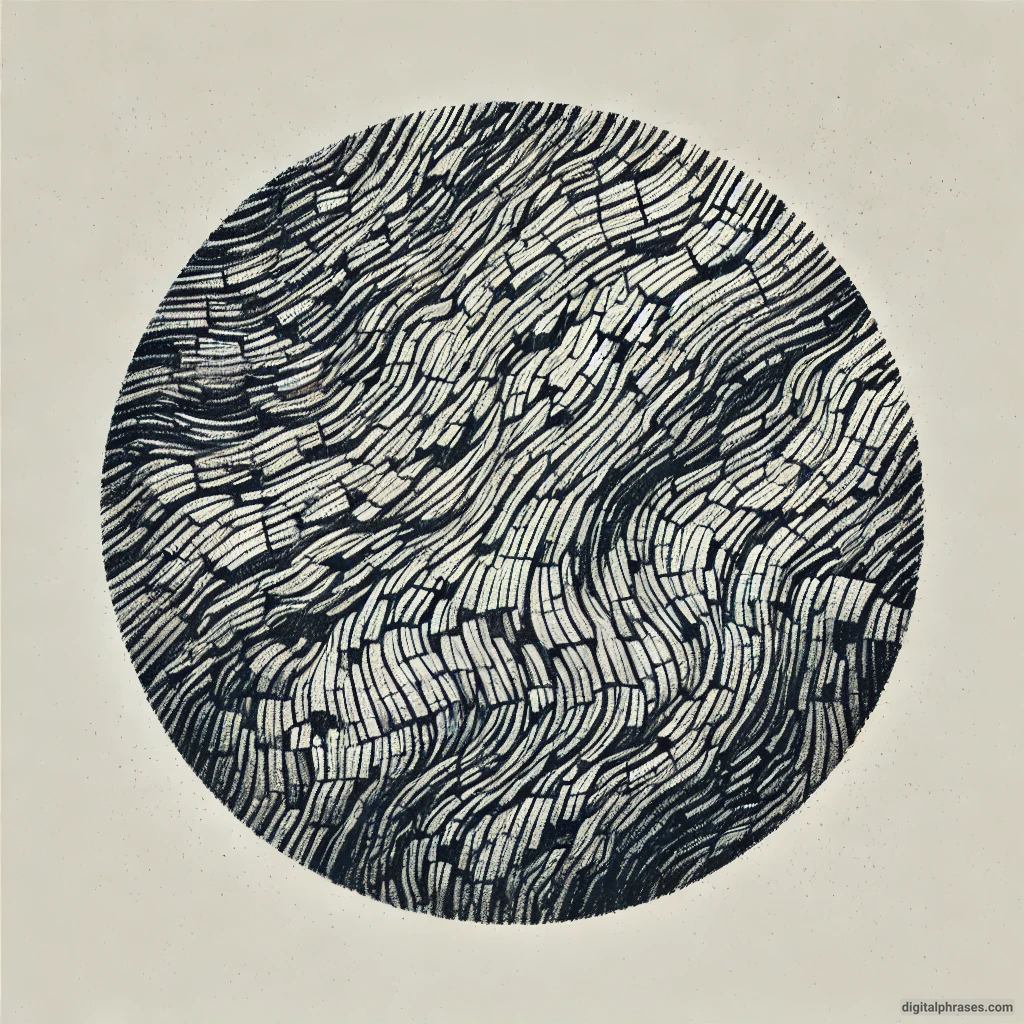
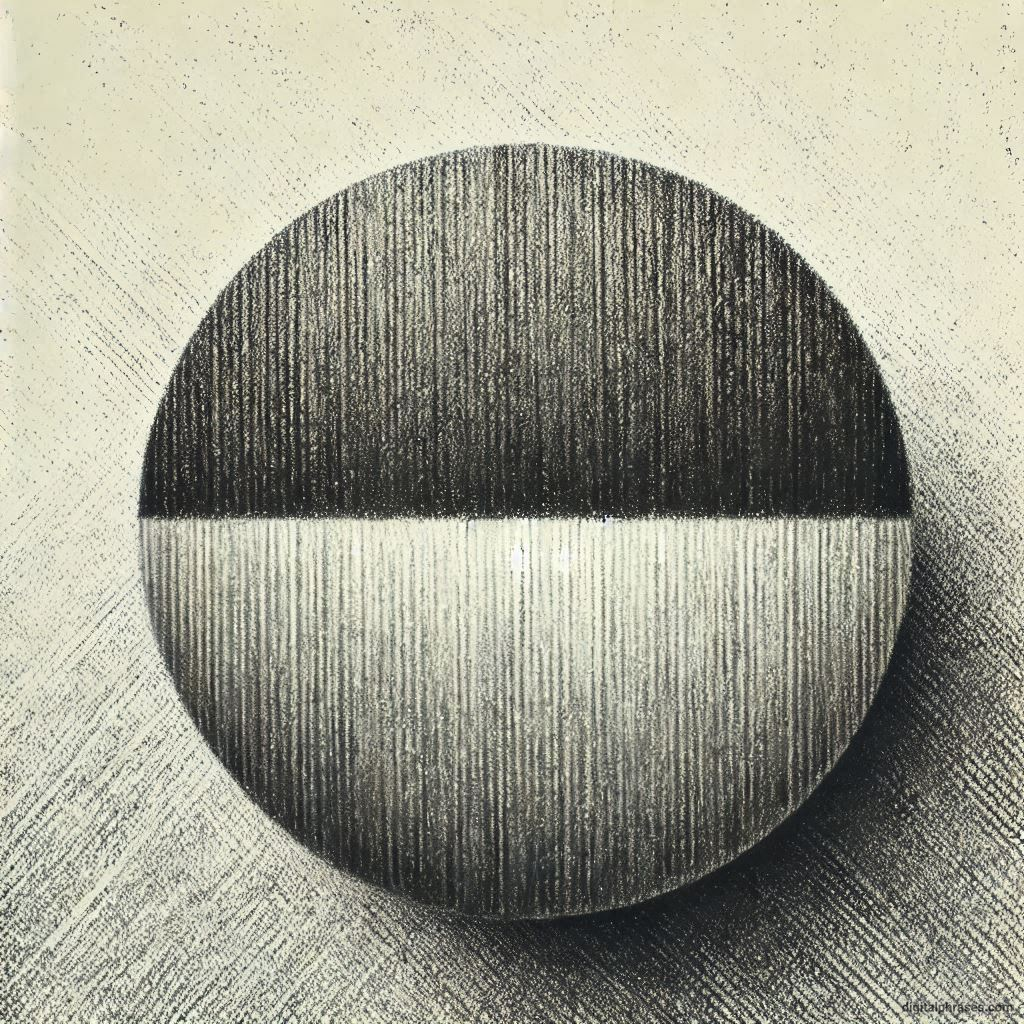
If you are looking for one of the most engaging and versatile aspects of art, texture drawing can actually end your search for it.
It allows you to bring life and depth to your creations, whether you’re sketching a rough tree bark, a soft feather, or the rippling surface of water.
In this blog, we’ll explore easy texture drawing ideas, fun activities for kids, pencil sketches of various textures, and some invaluable tips to help you excel at this art form.
Let’s go.
Easy Texture Drawings
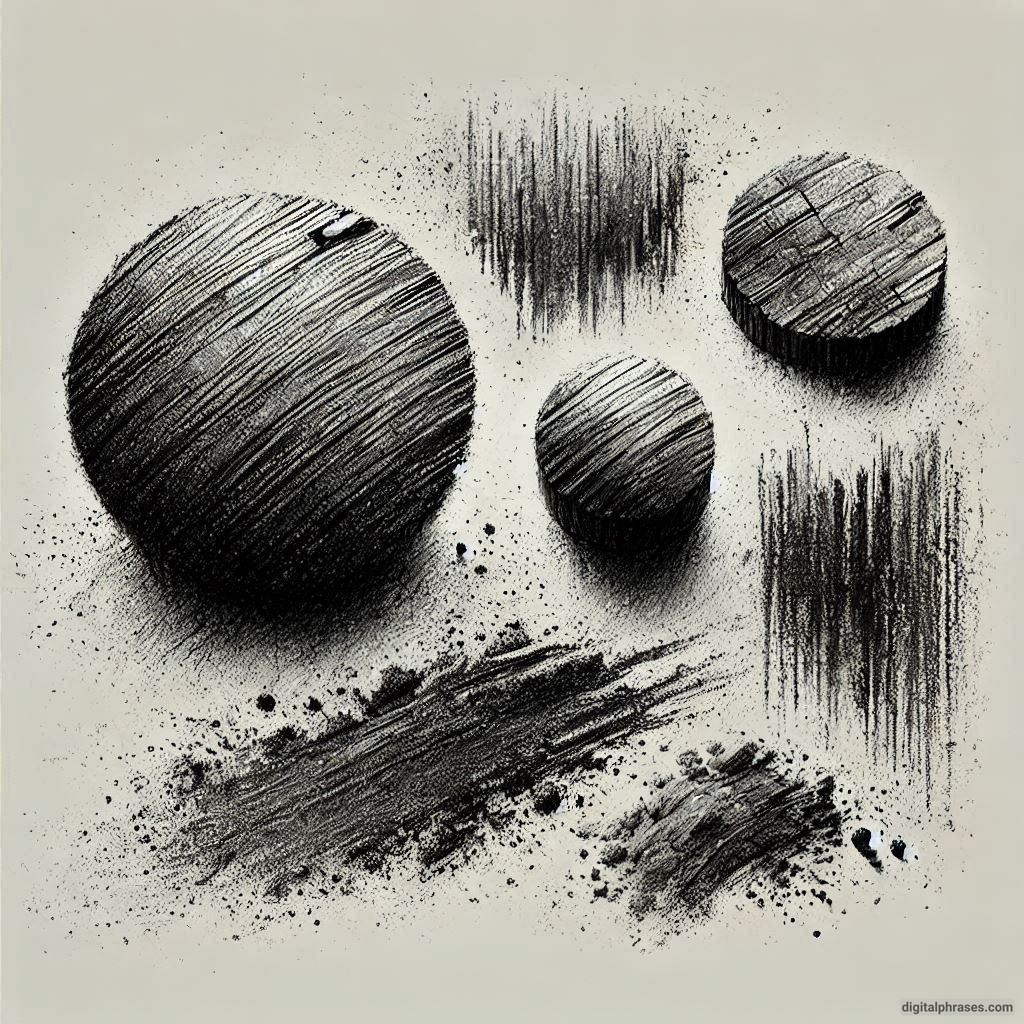
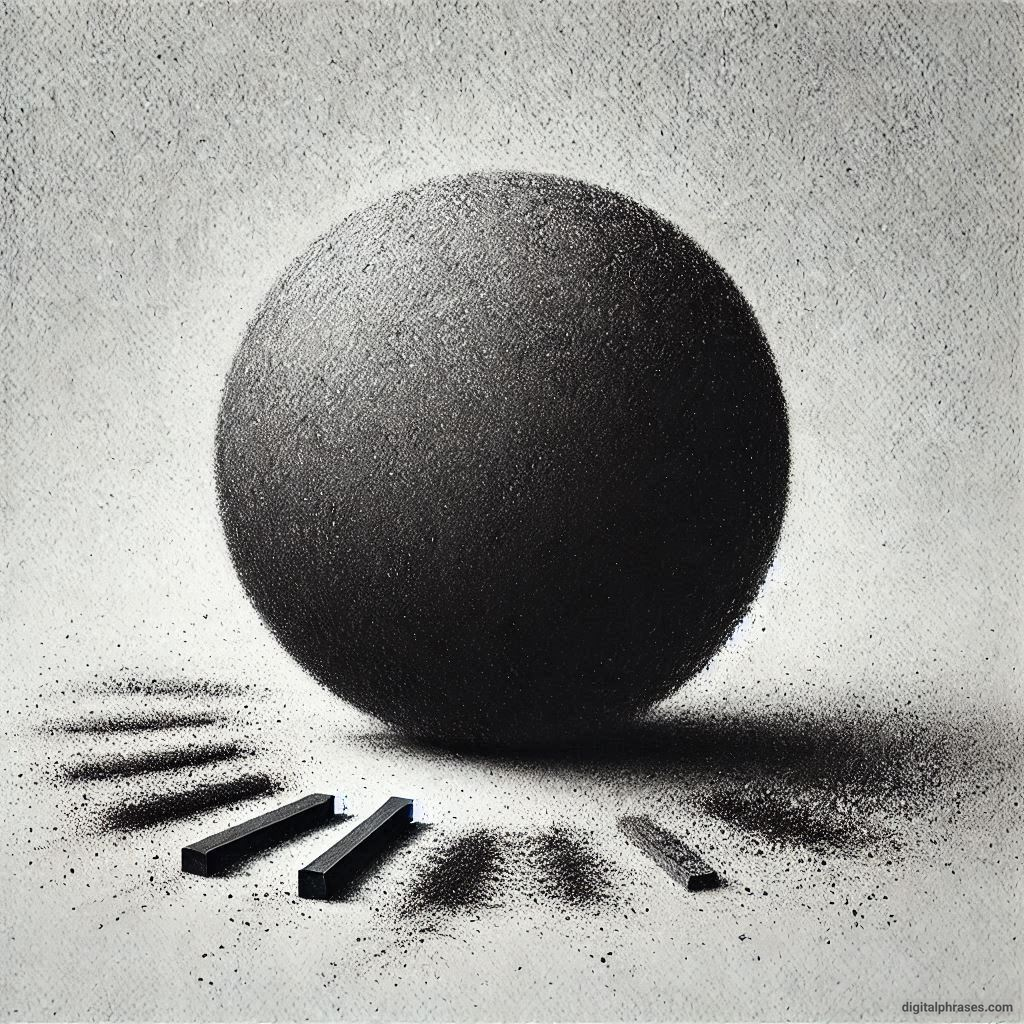
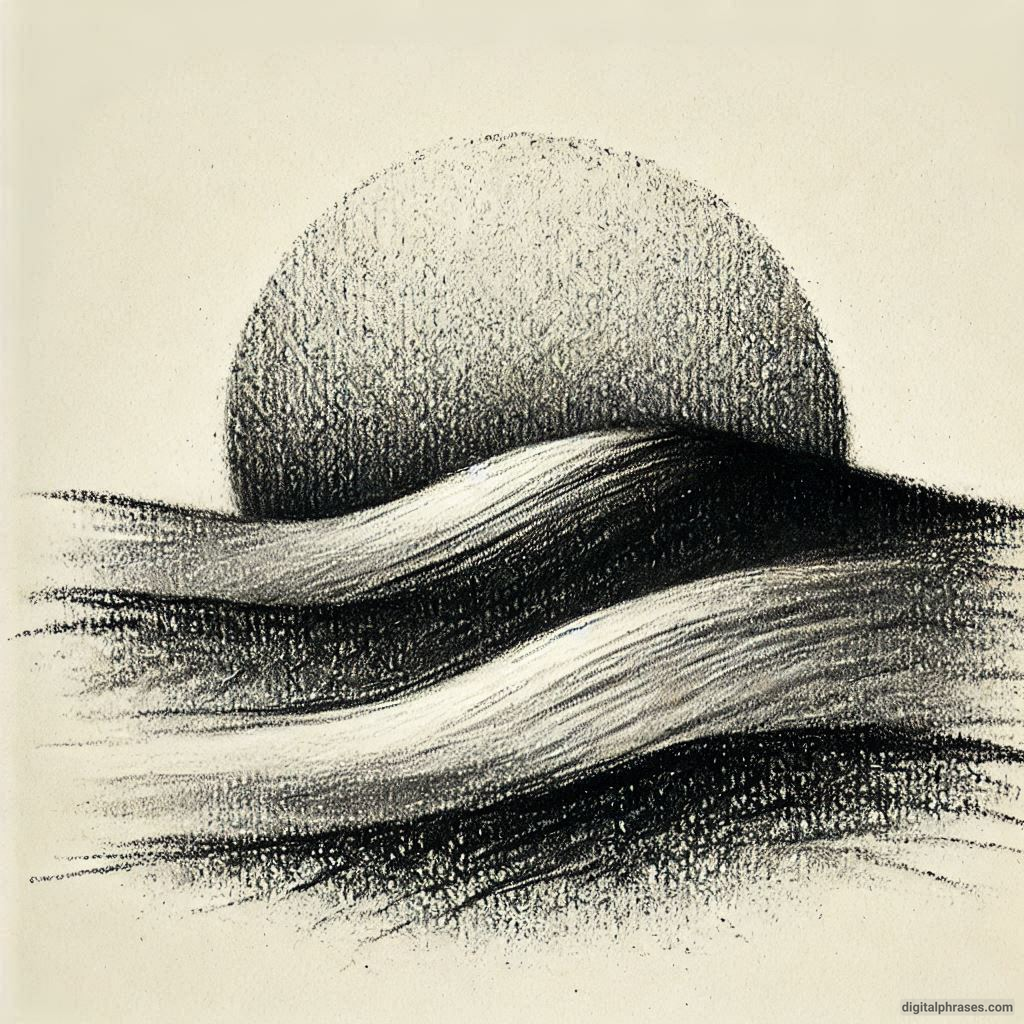
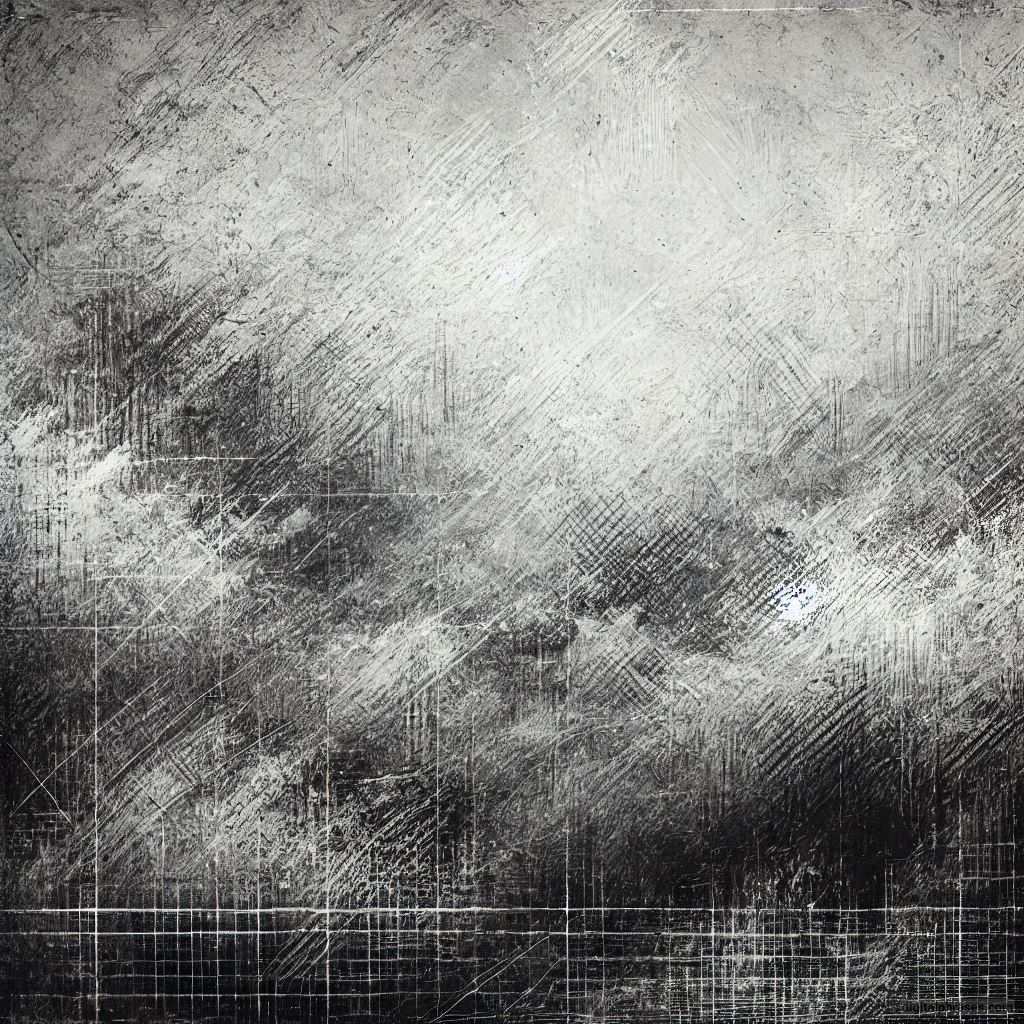
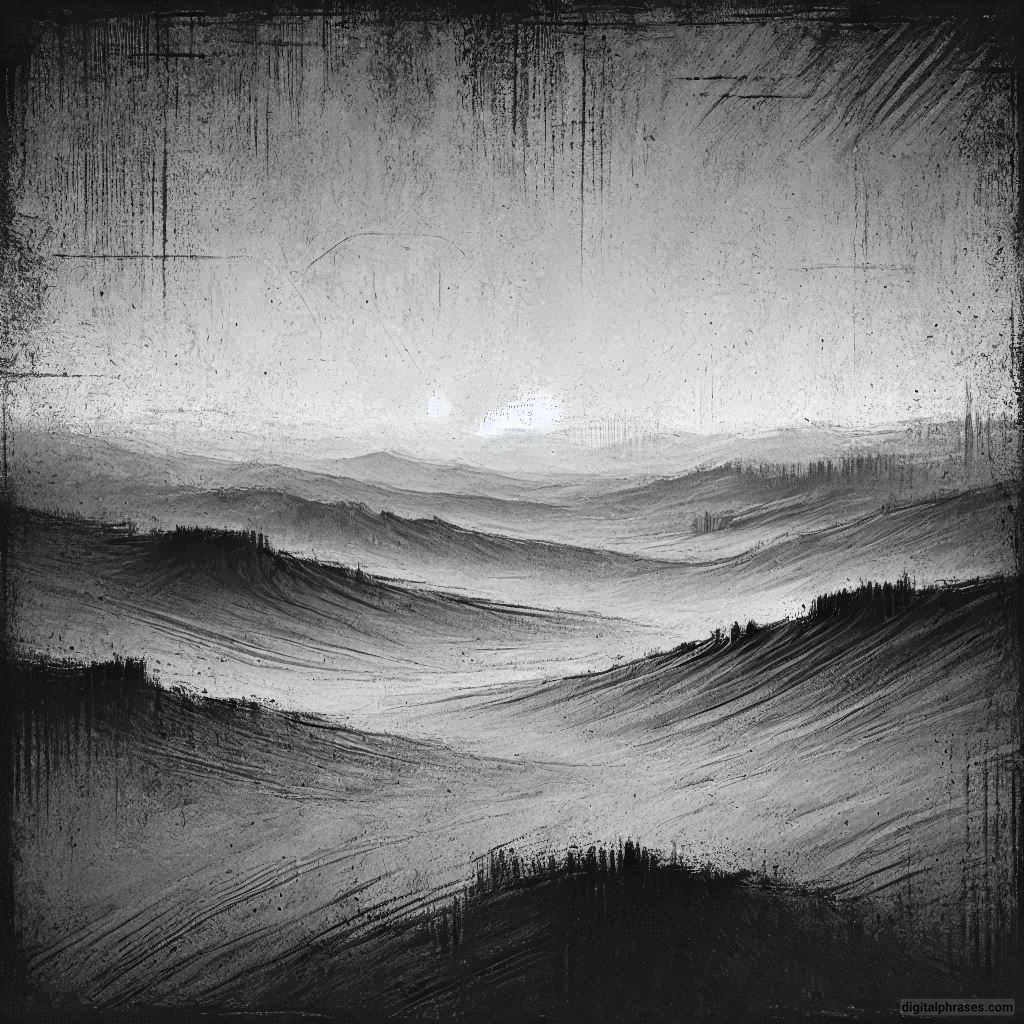
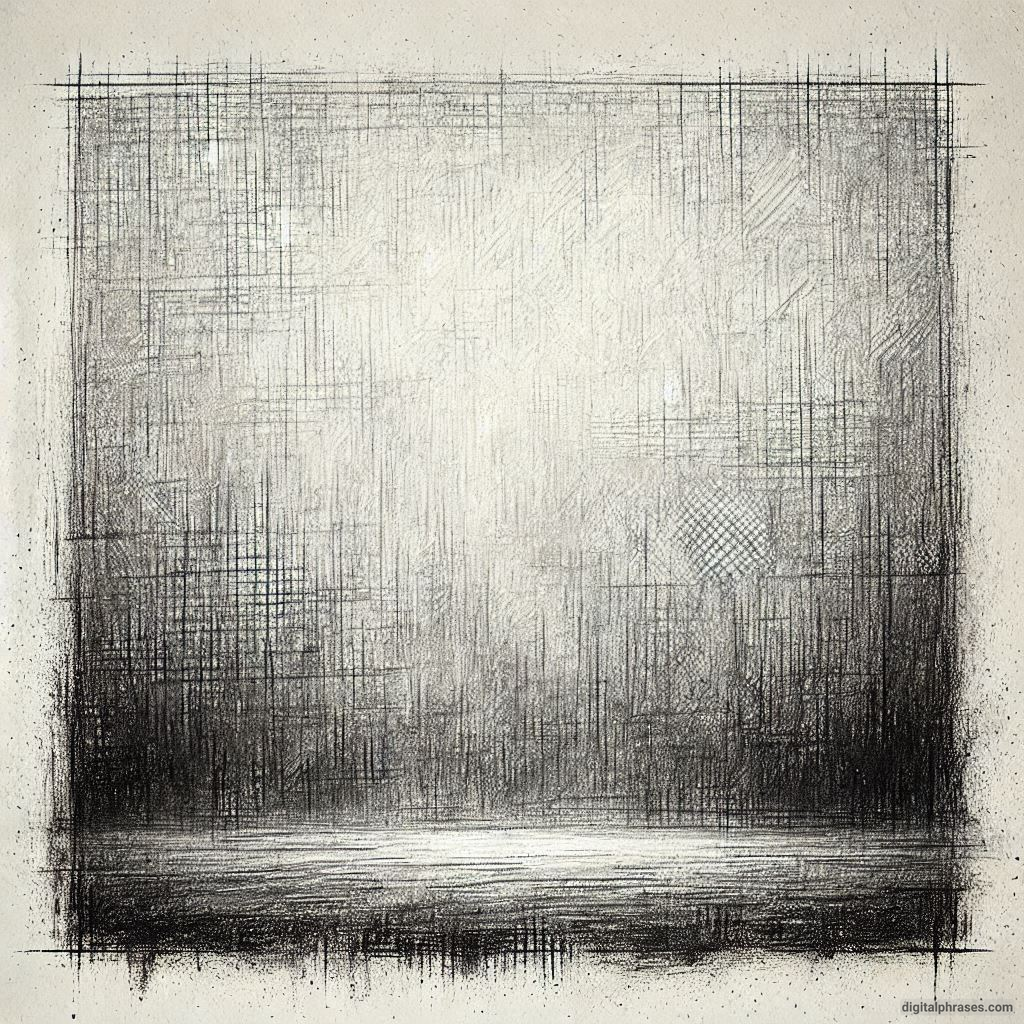
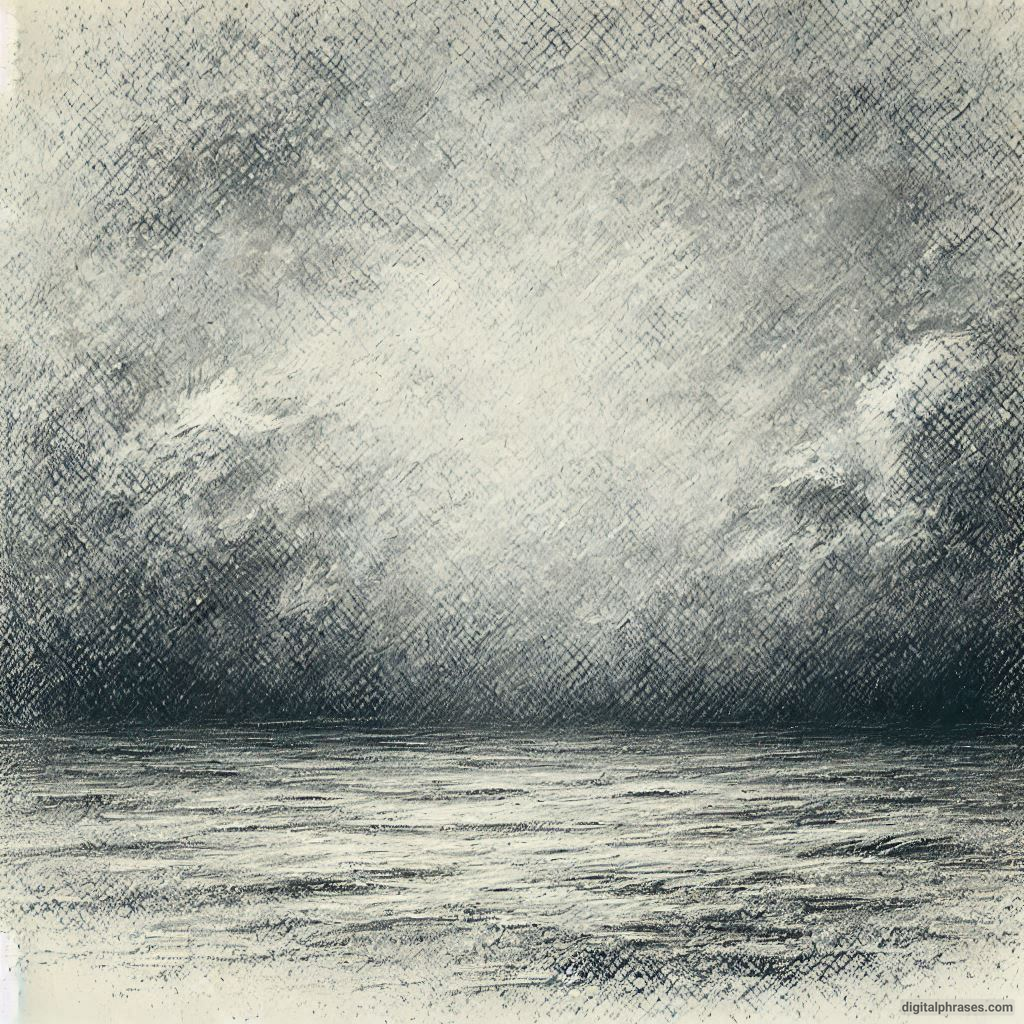
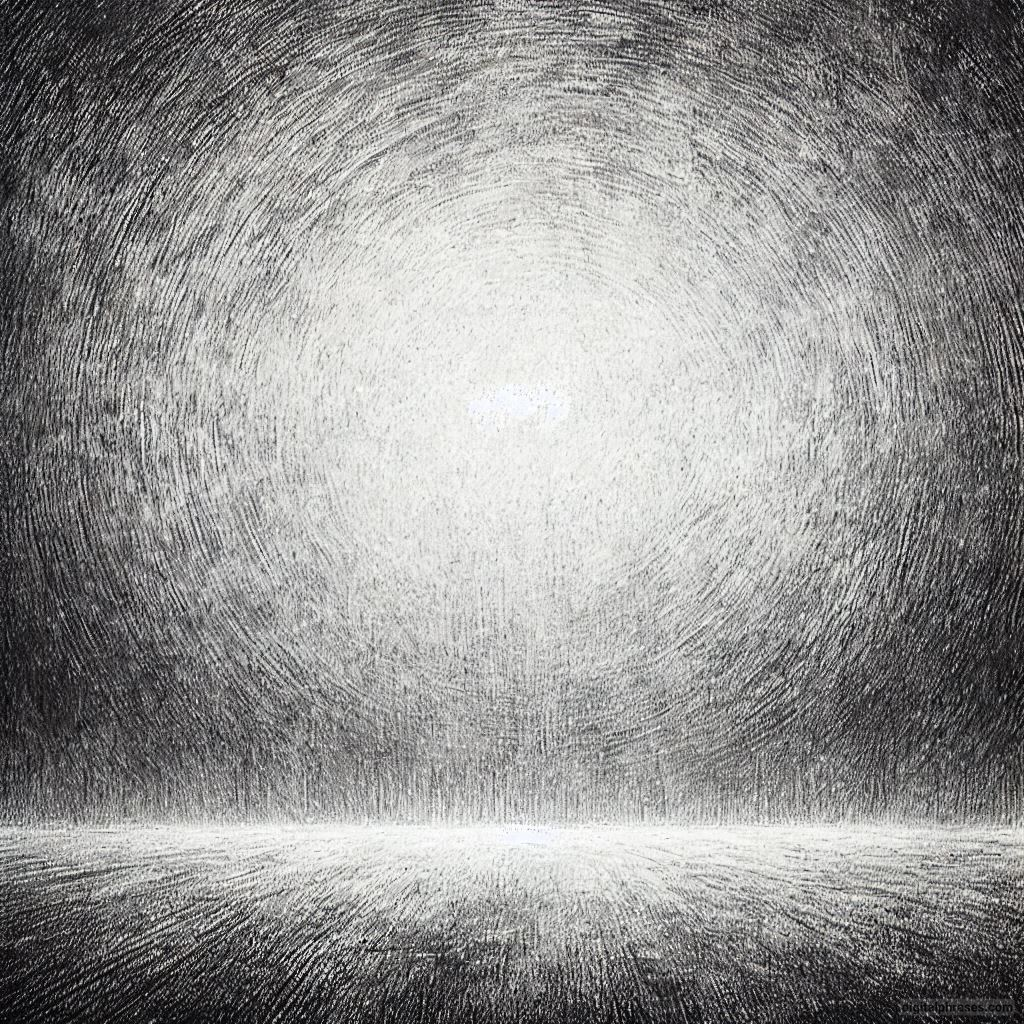
If you’re a beginner, start with simple textures that require minimal effort but yield impressive results.
Here are a few ideas to try:
1
2
3
4
5
6
7
8
9
10
11
12
13
14
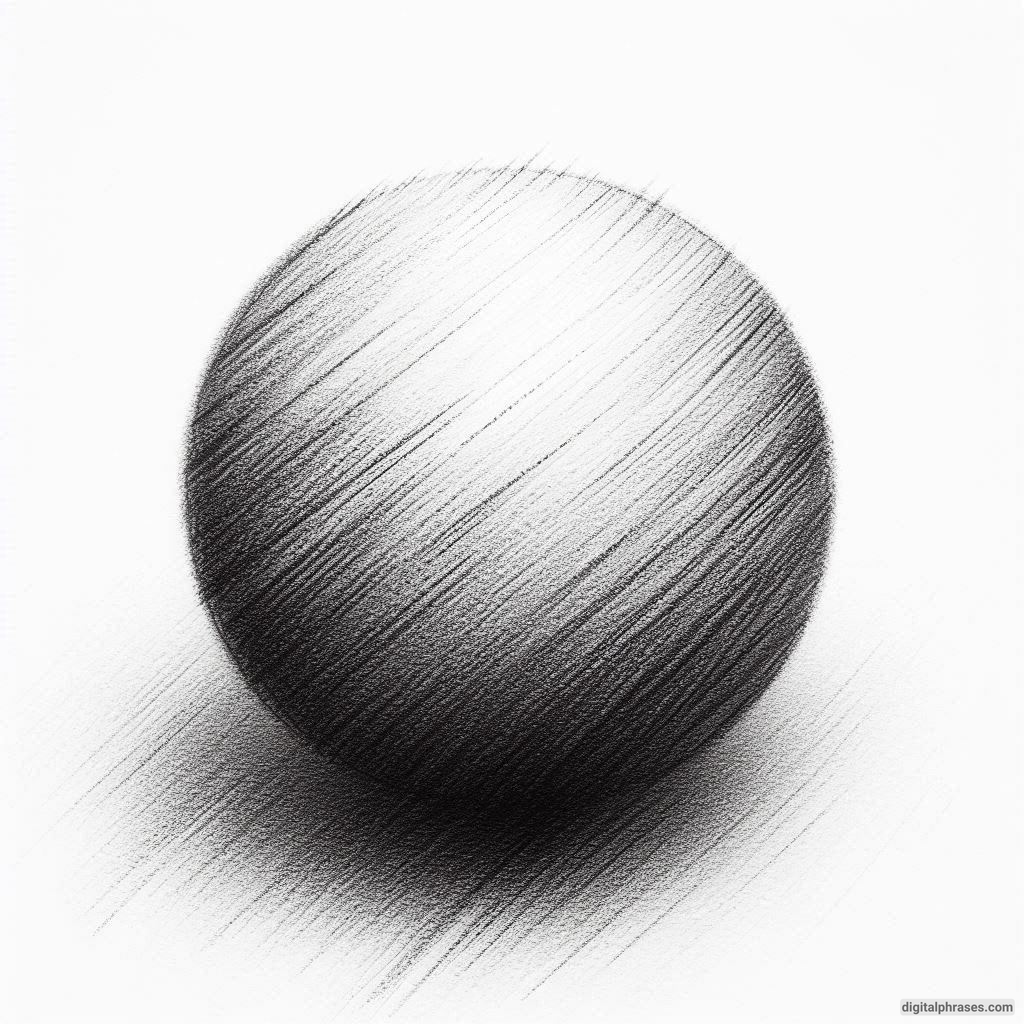
15
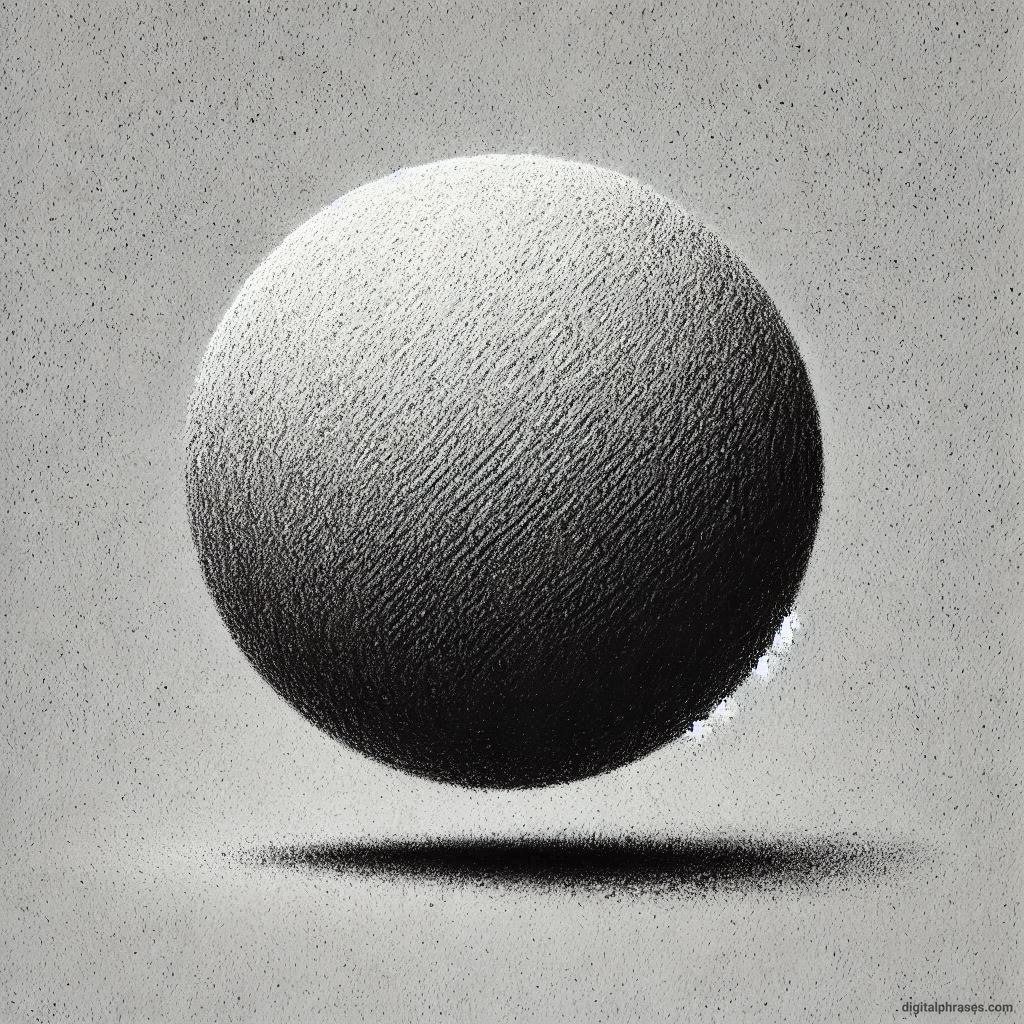
Texture Drawing Ideas for Kids
Encouraging children to explore textures in art not only sparks creativity but also improves their fine motor skills.
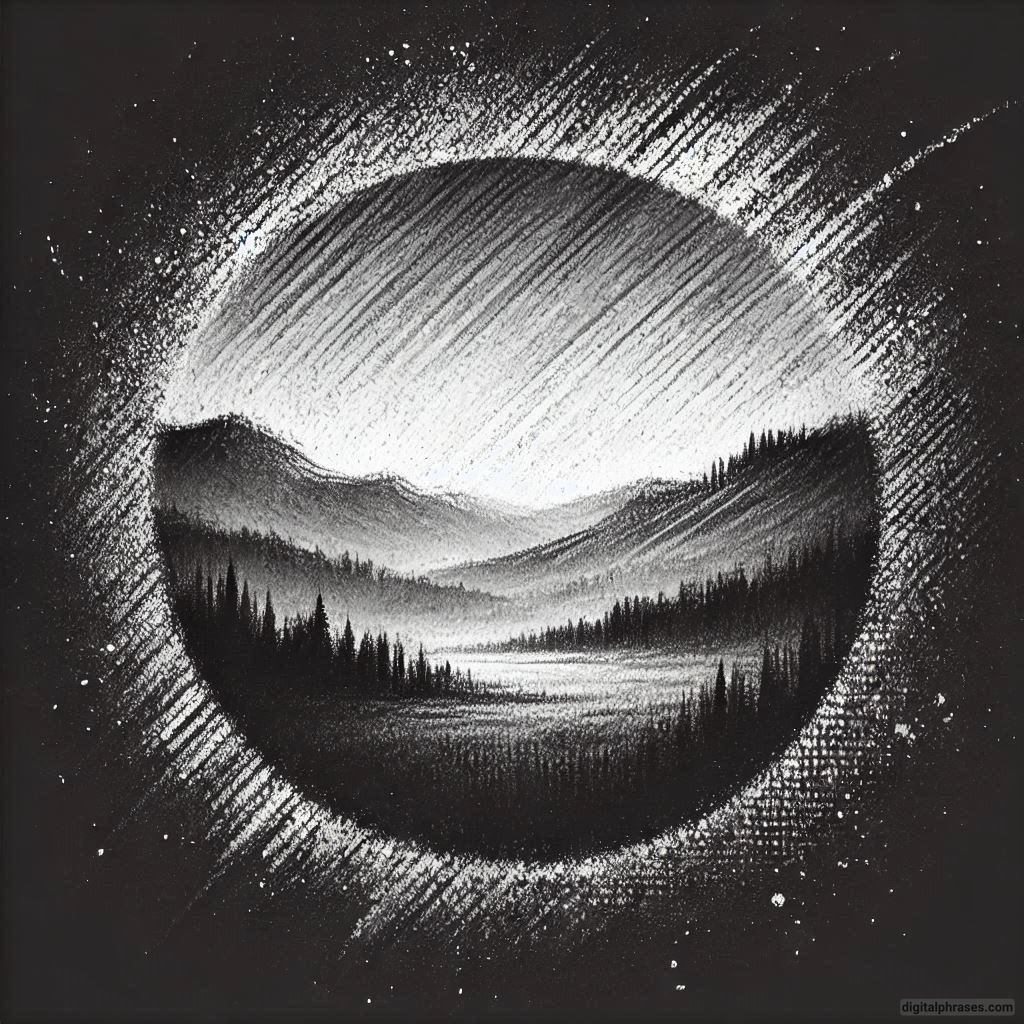
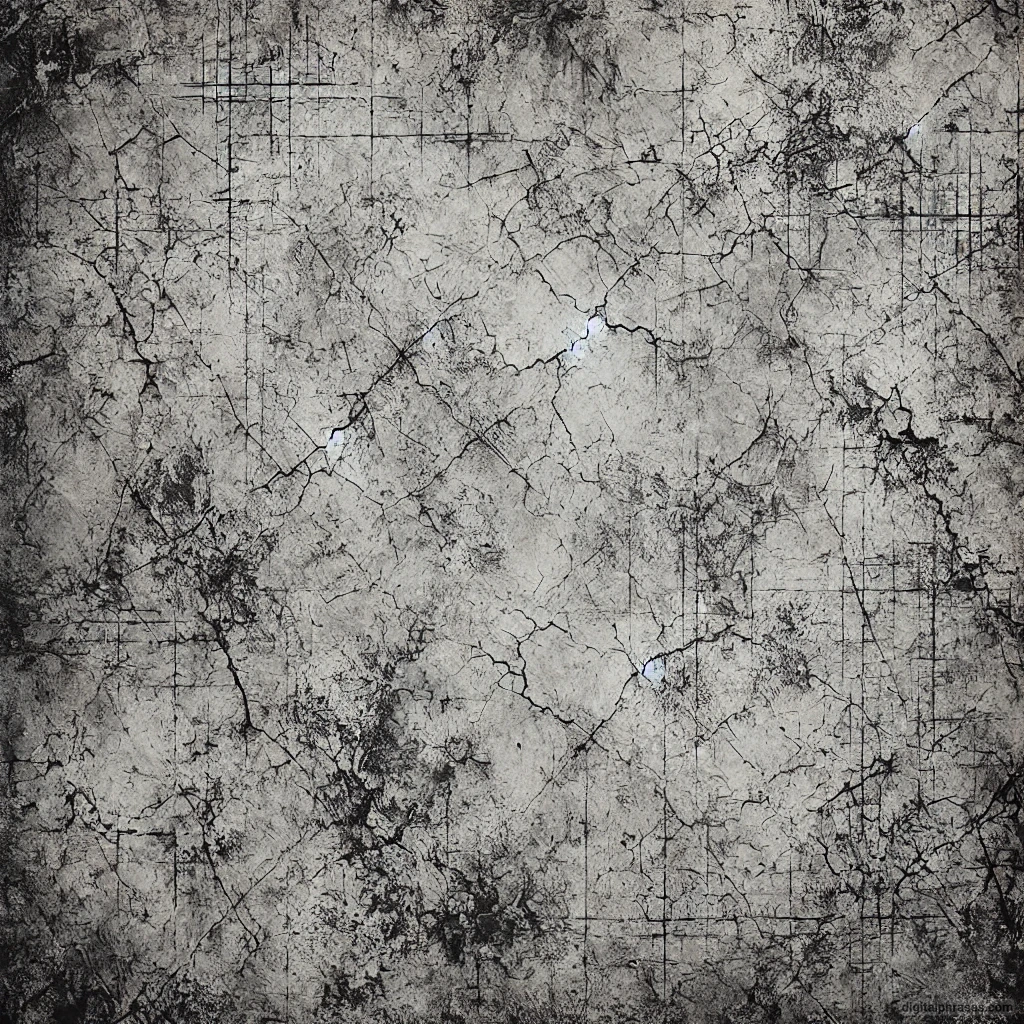
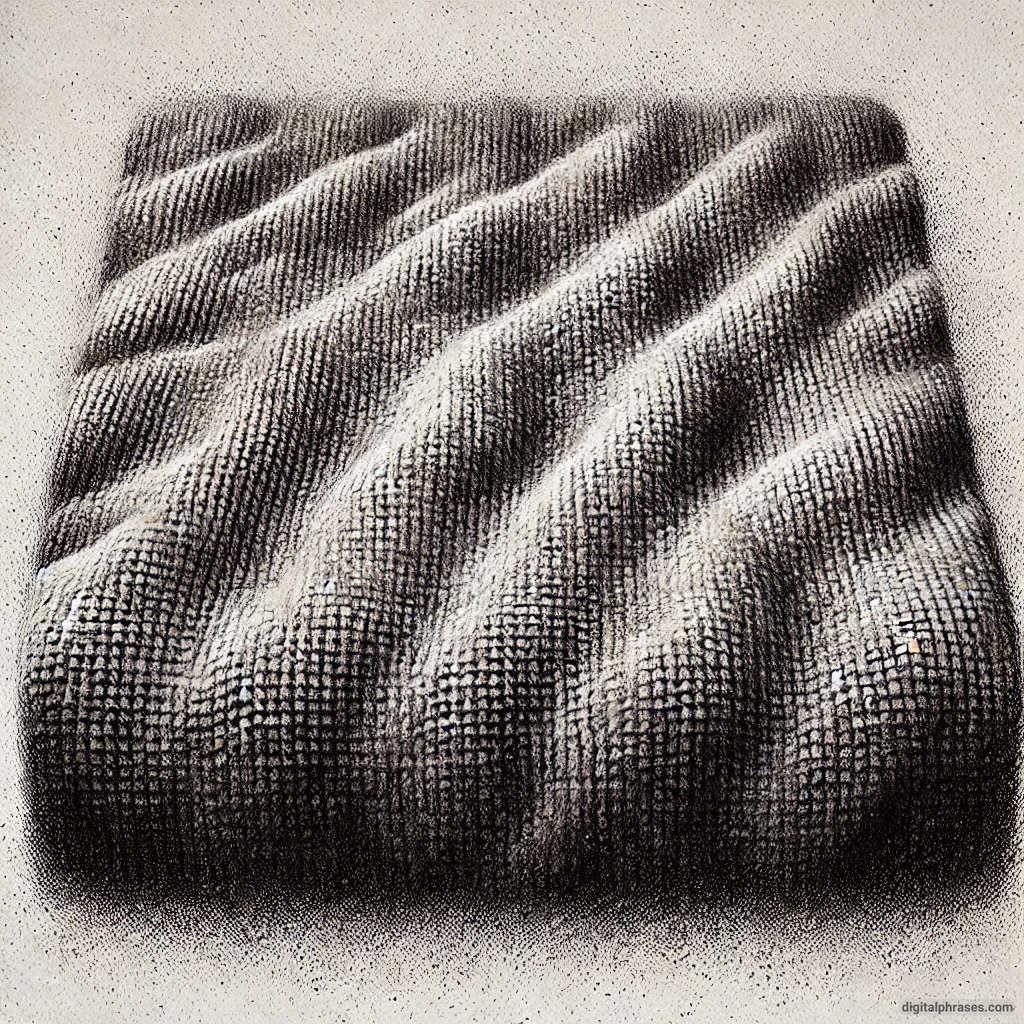
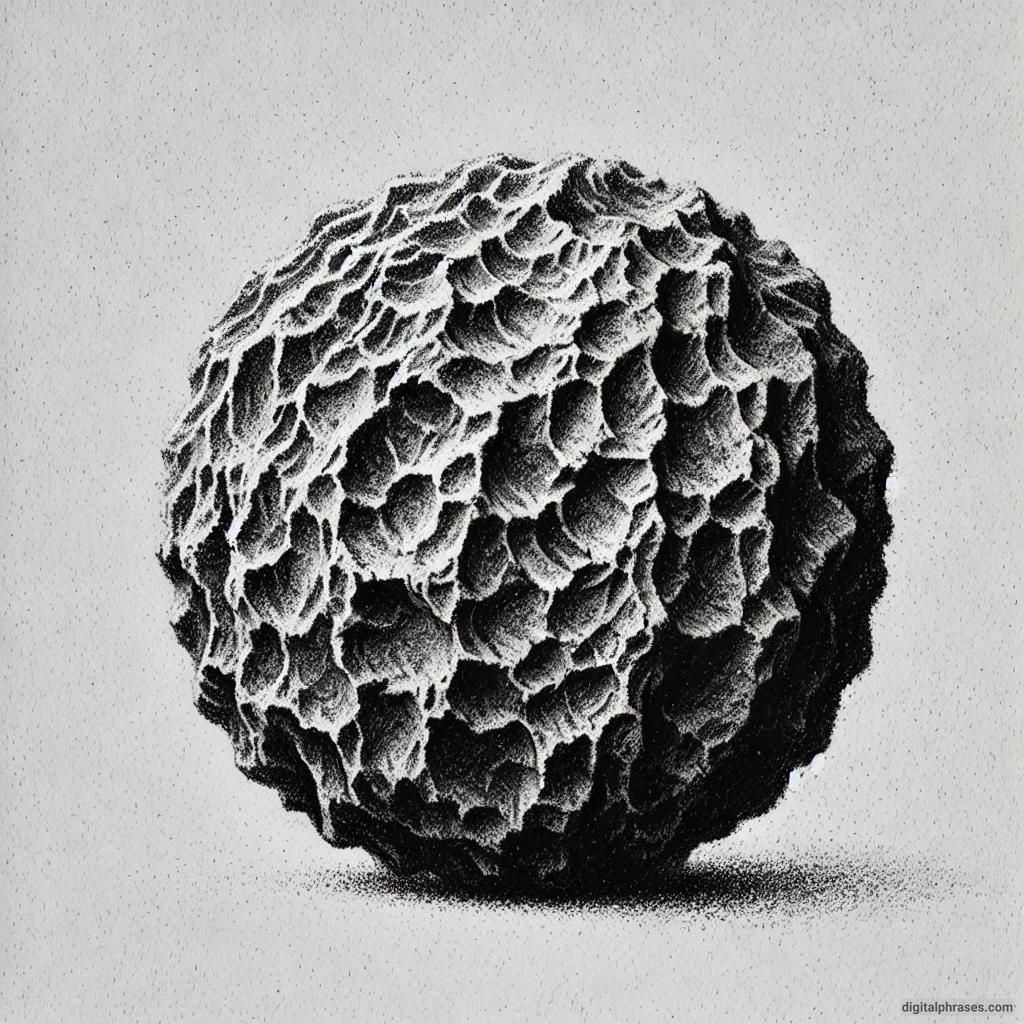
Here are some easy and fun texture drawing ideas tailored for young artists:
1
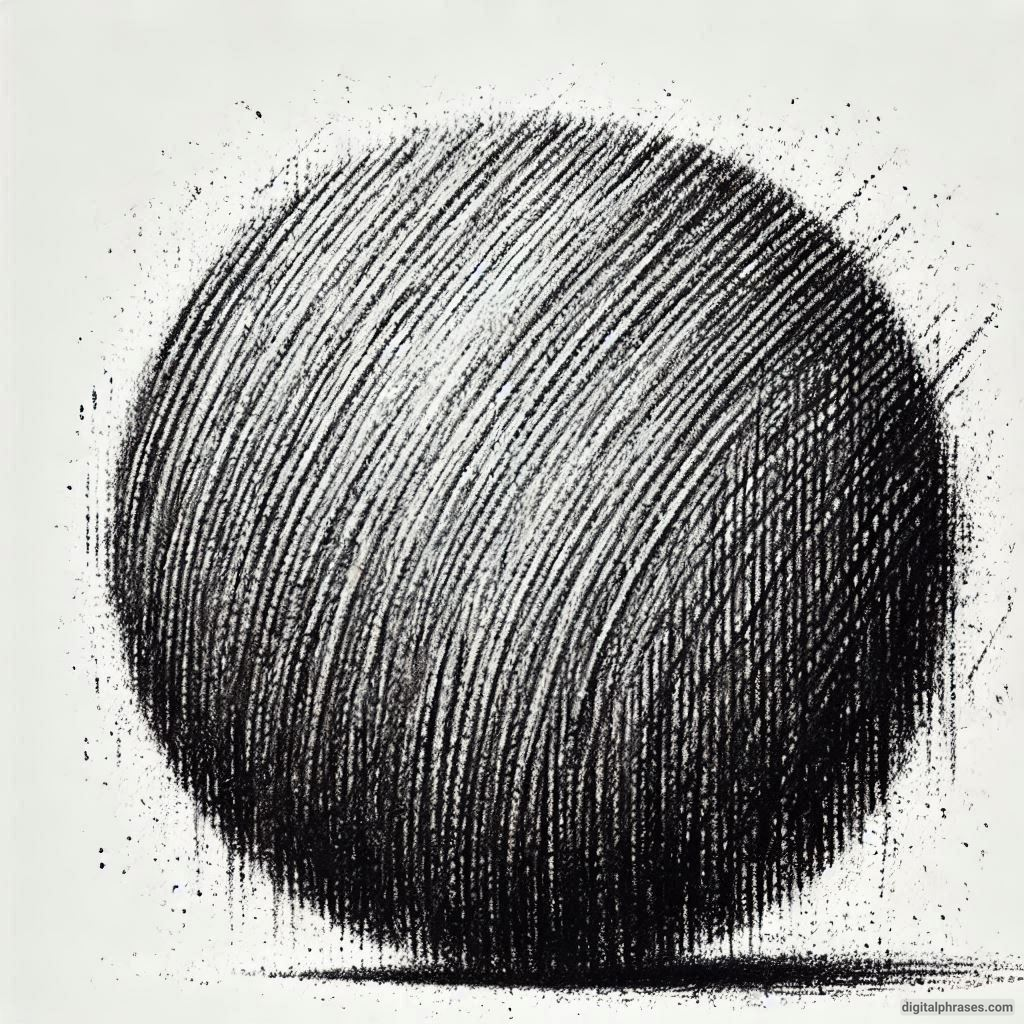
2
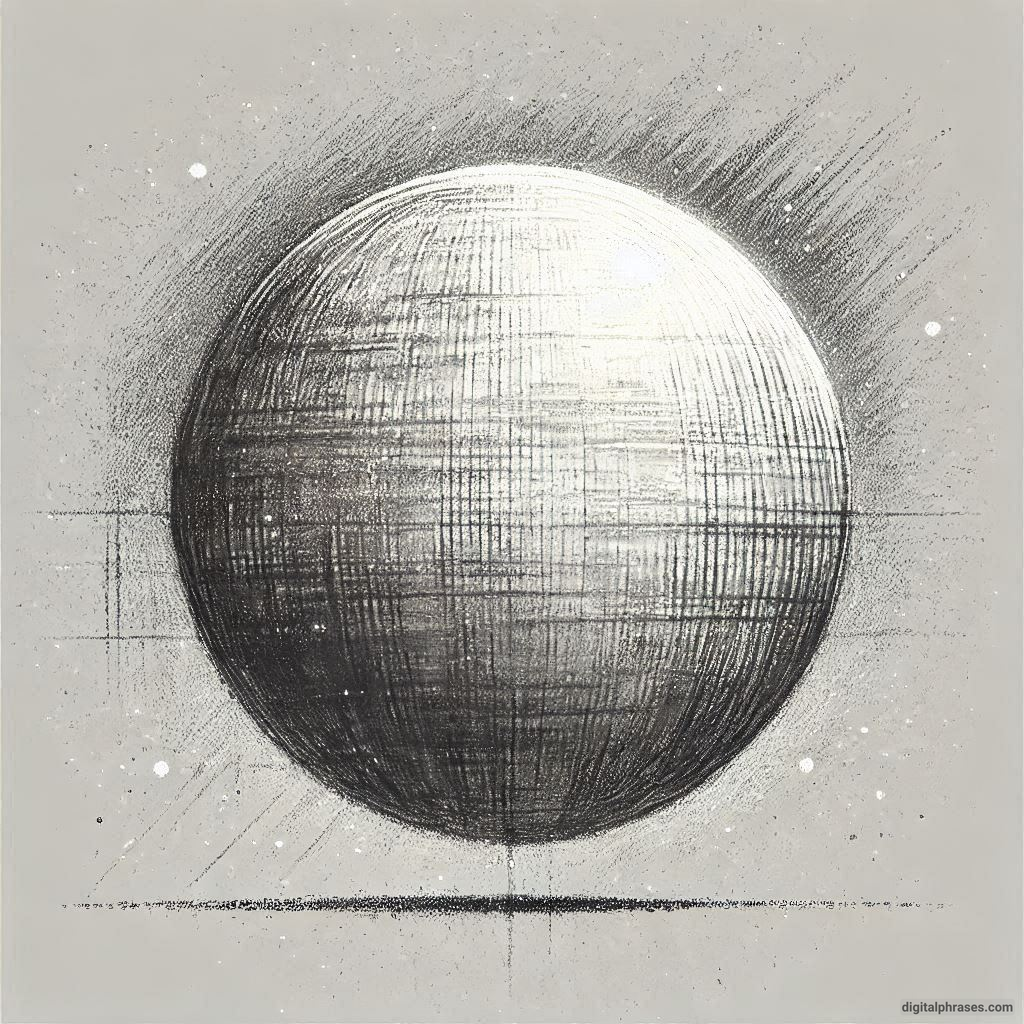
3
4
5
6
7
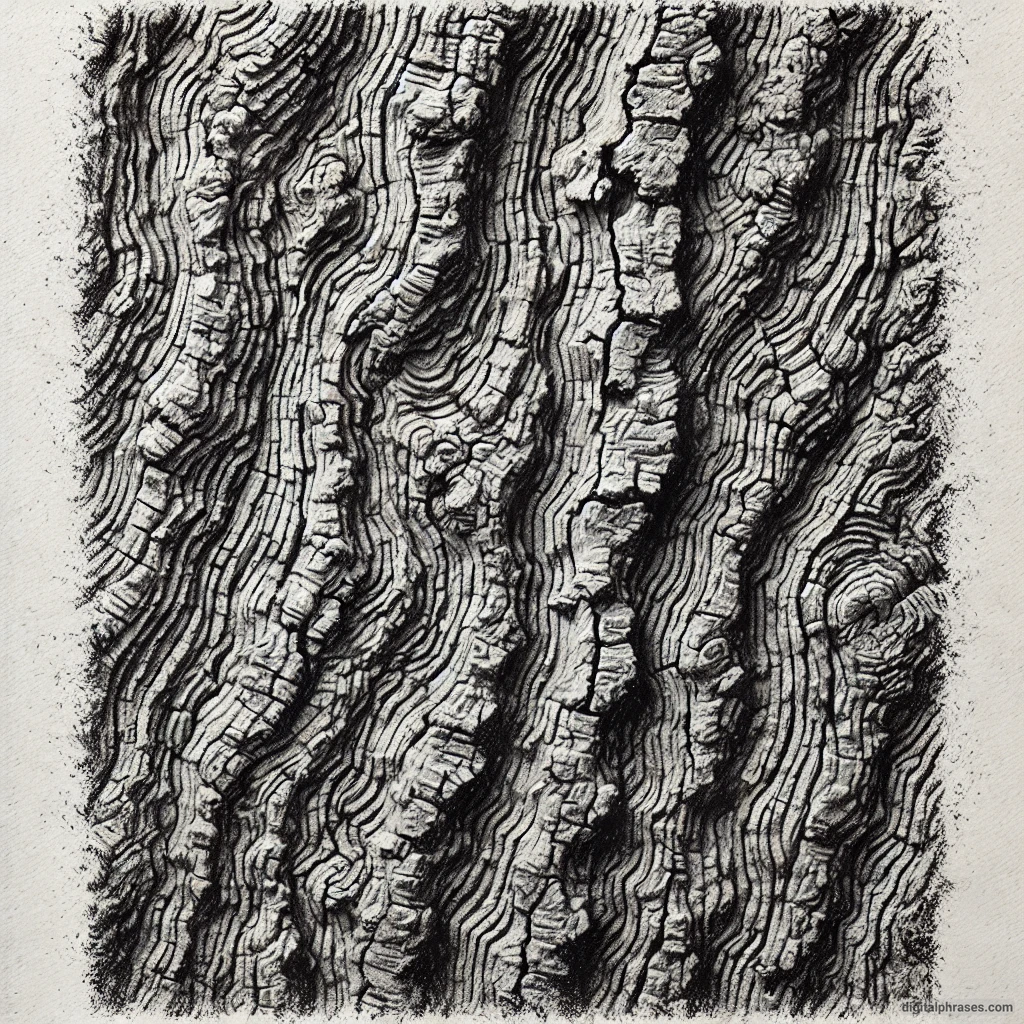
8
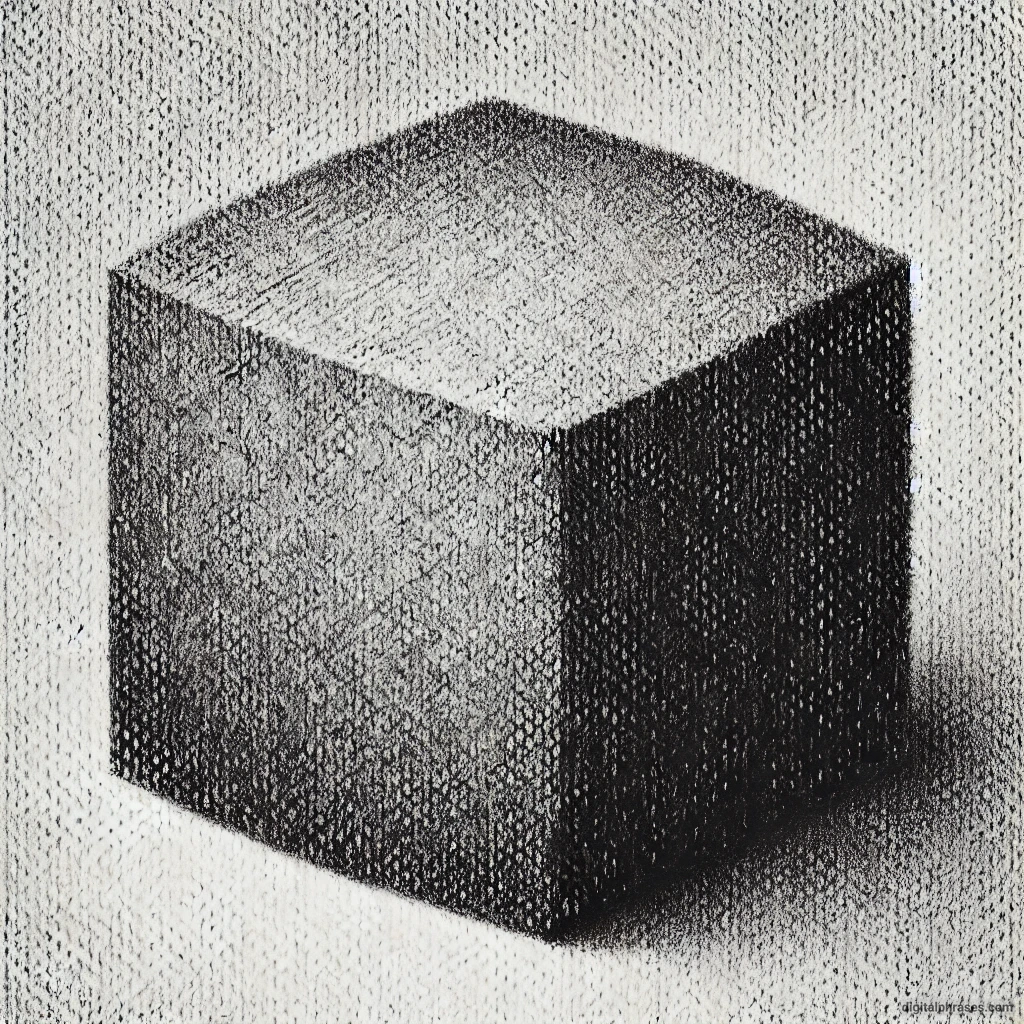
9
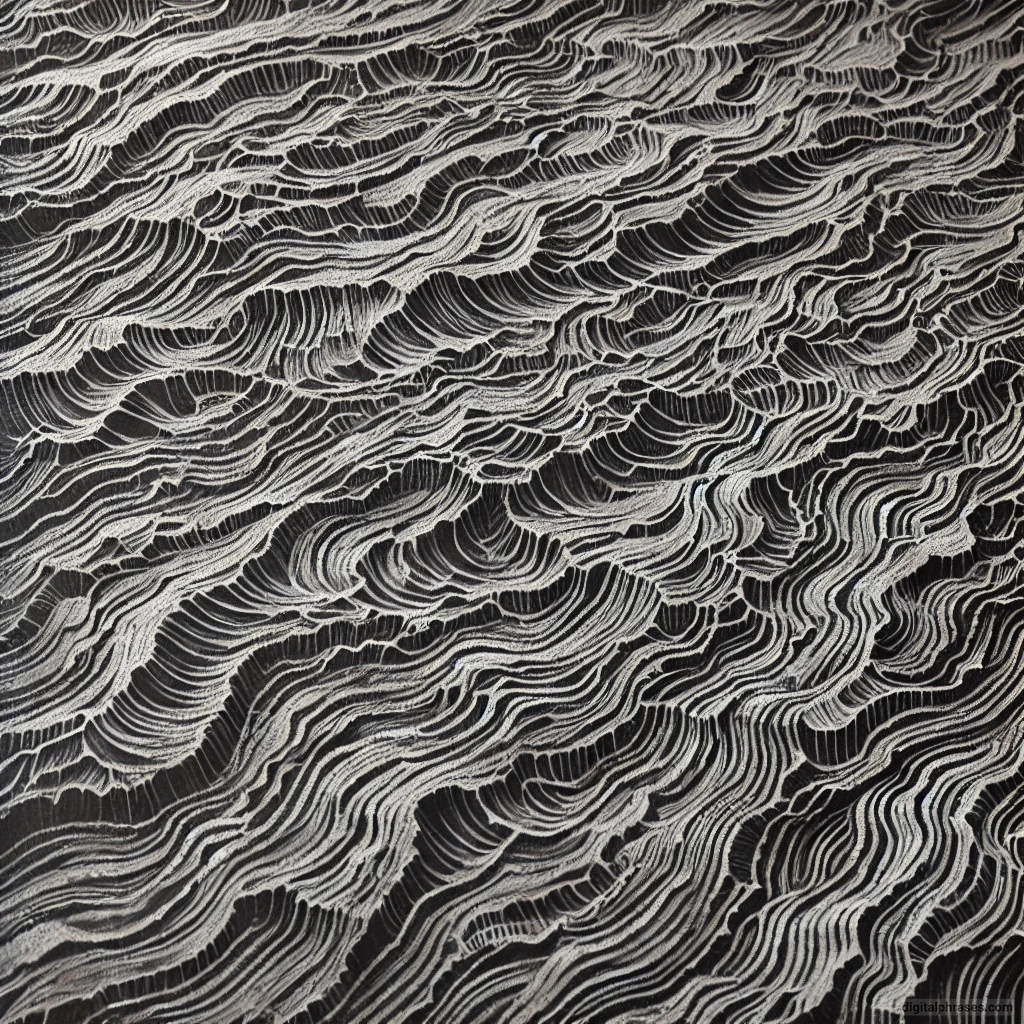
10
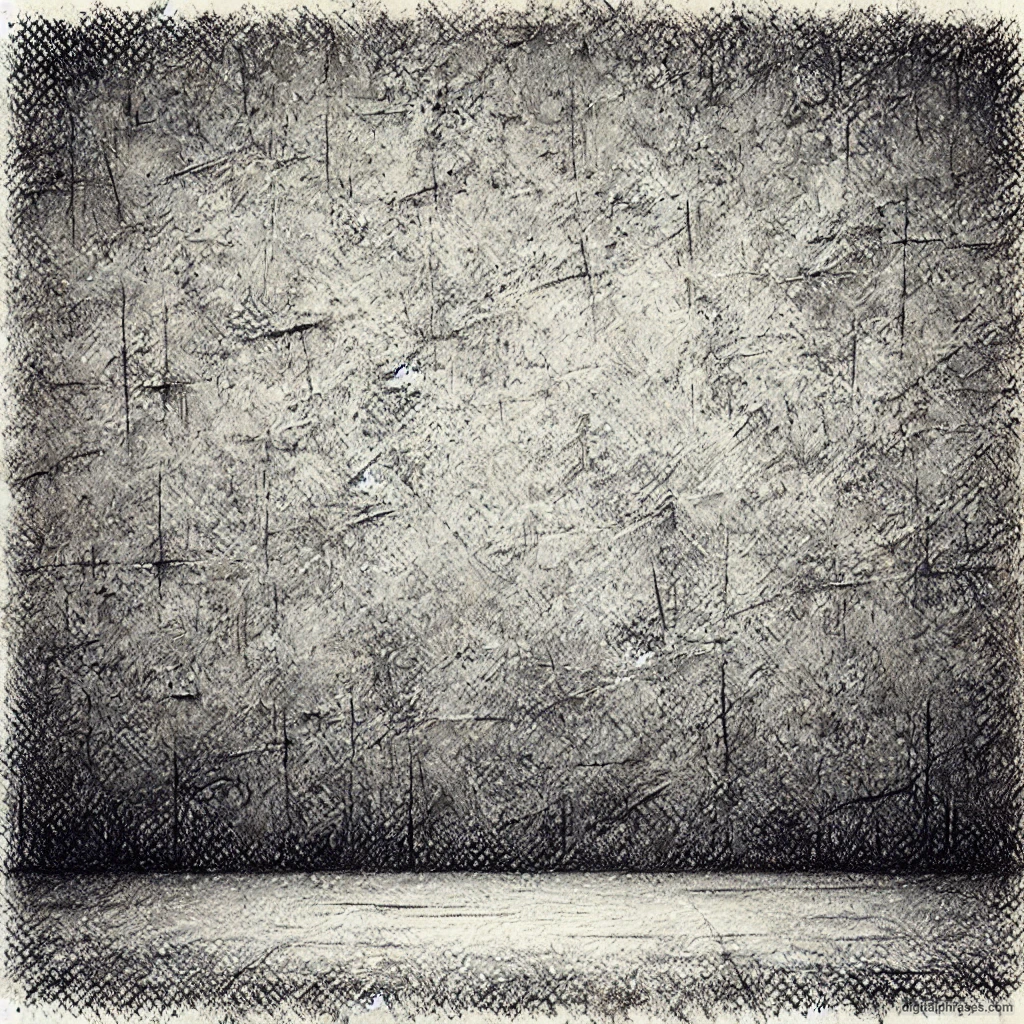
11
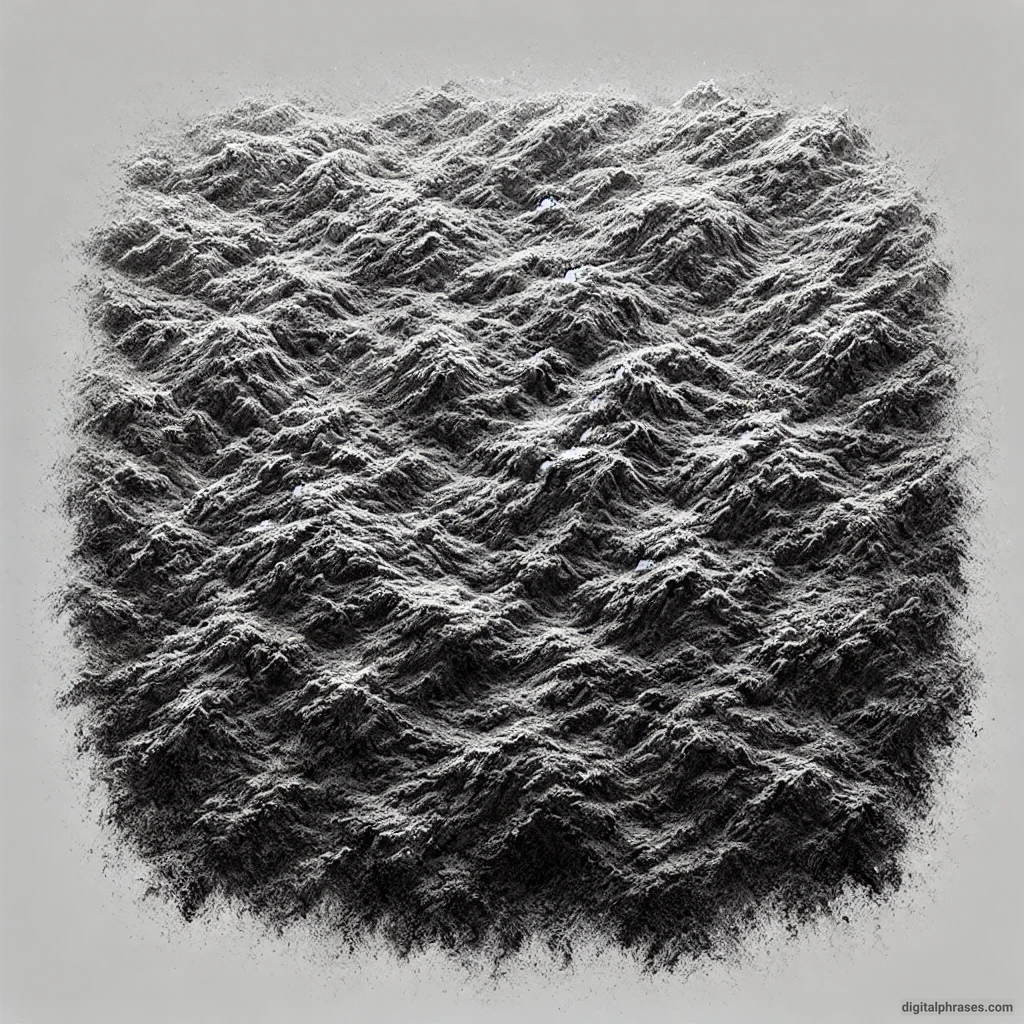
12
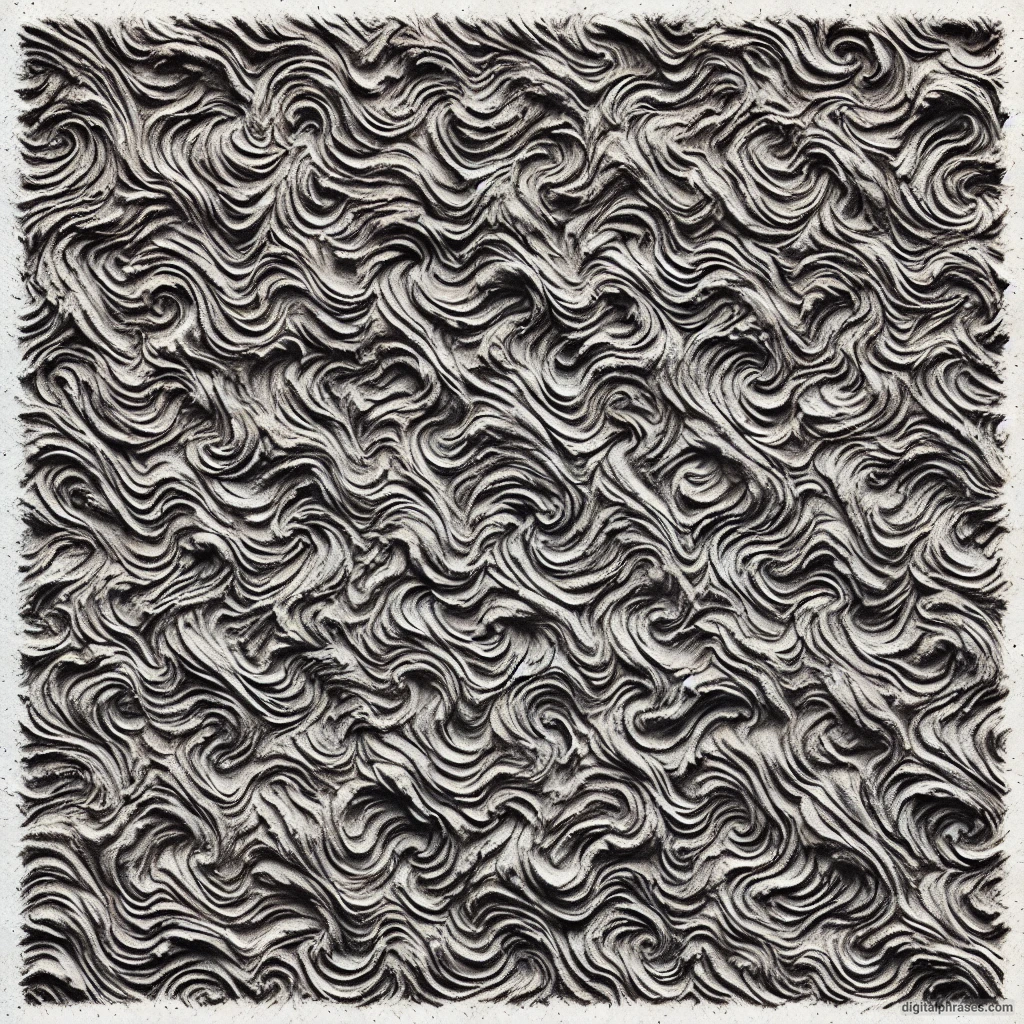
13
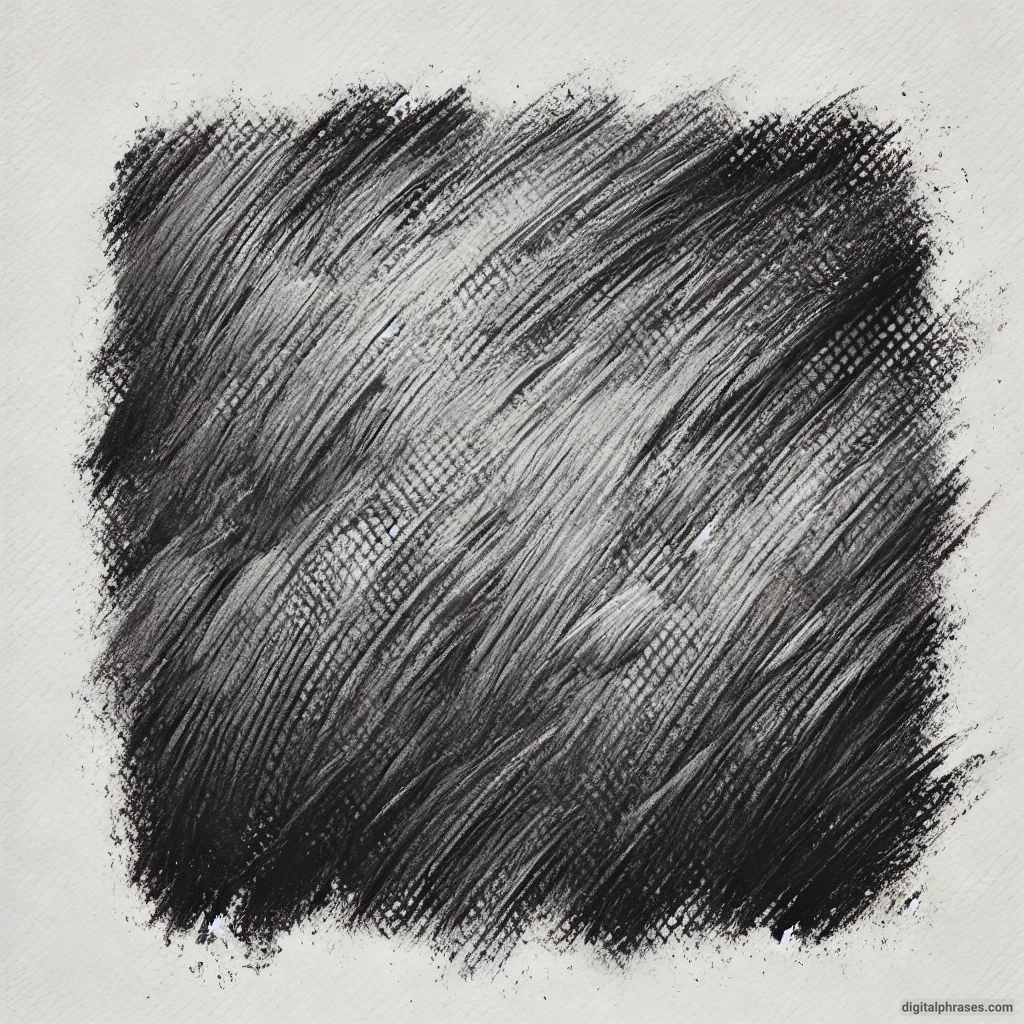
14
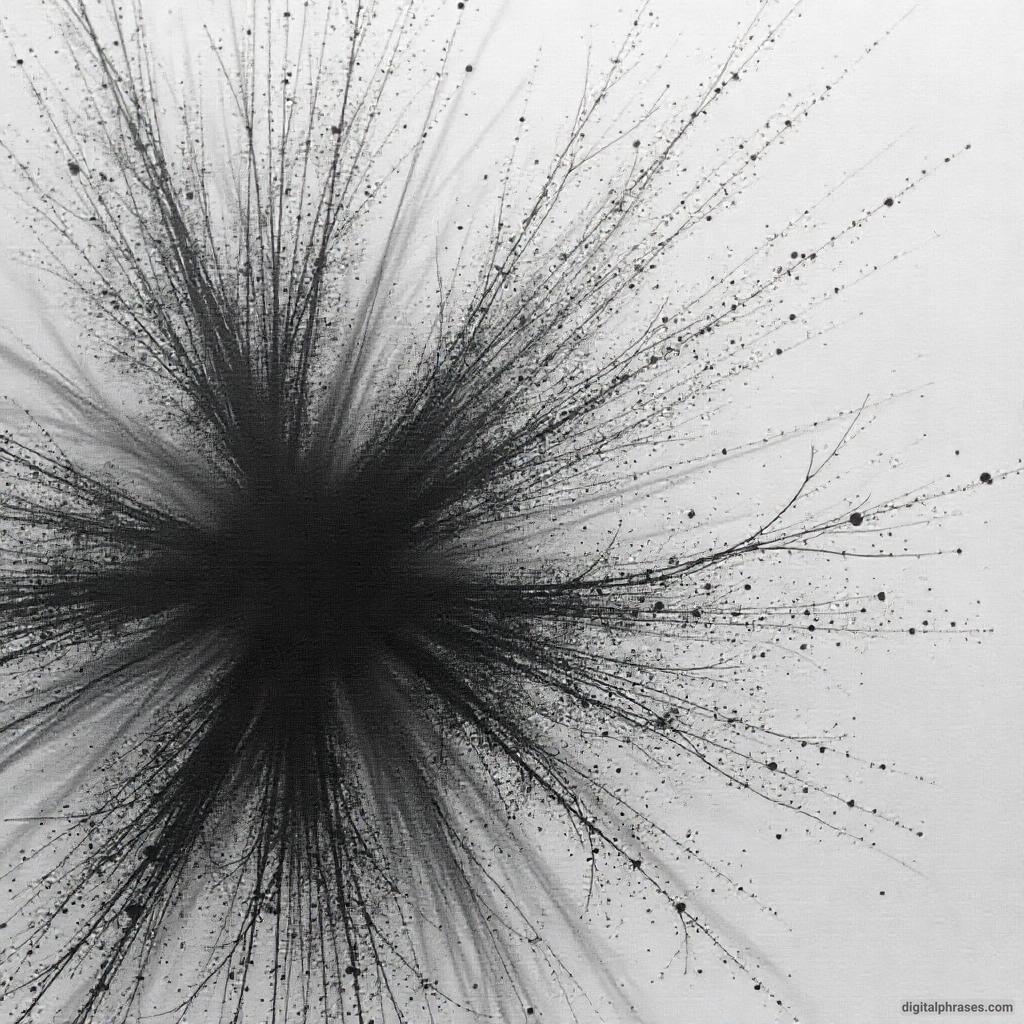
15
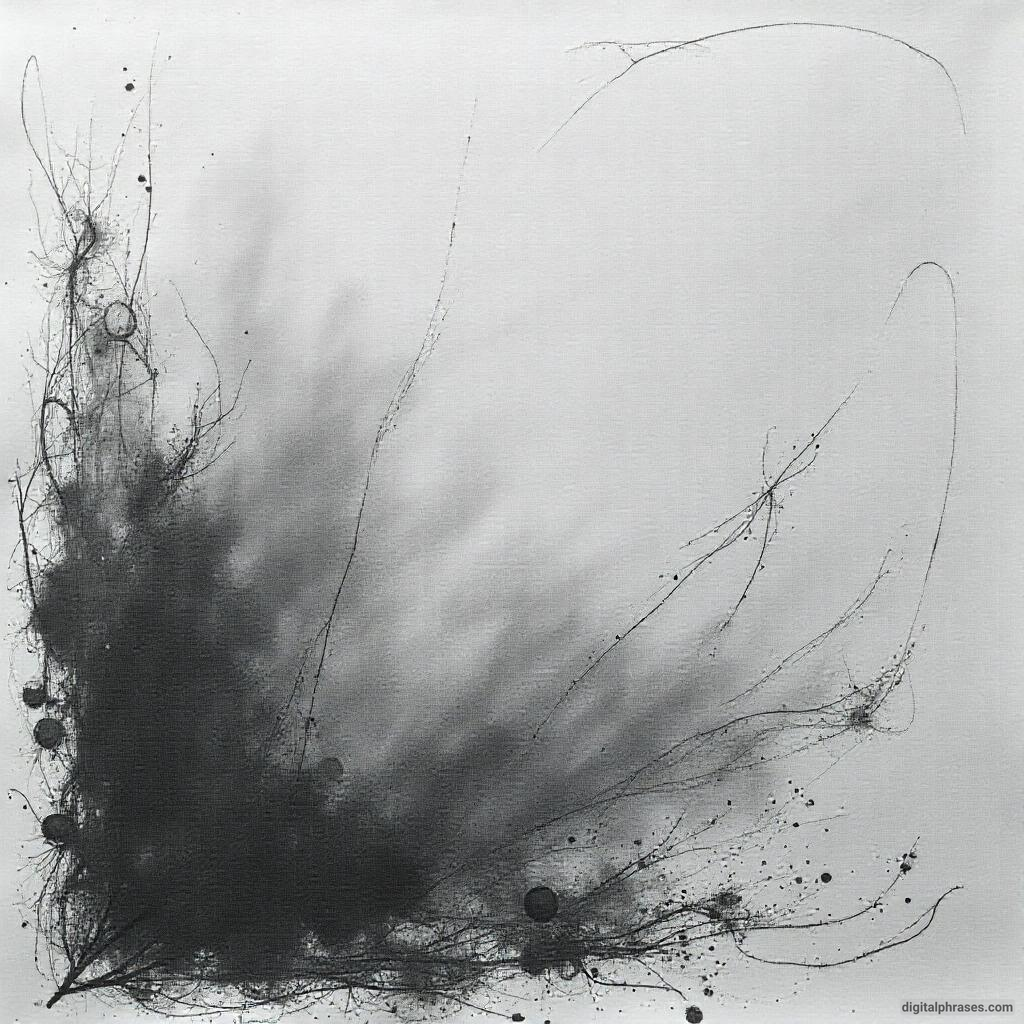
Pencil Sketches of Different Textures
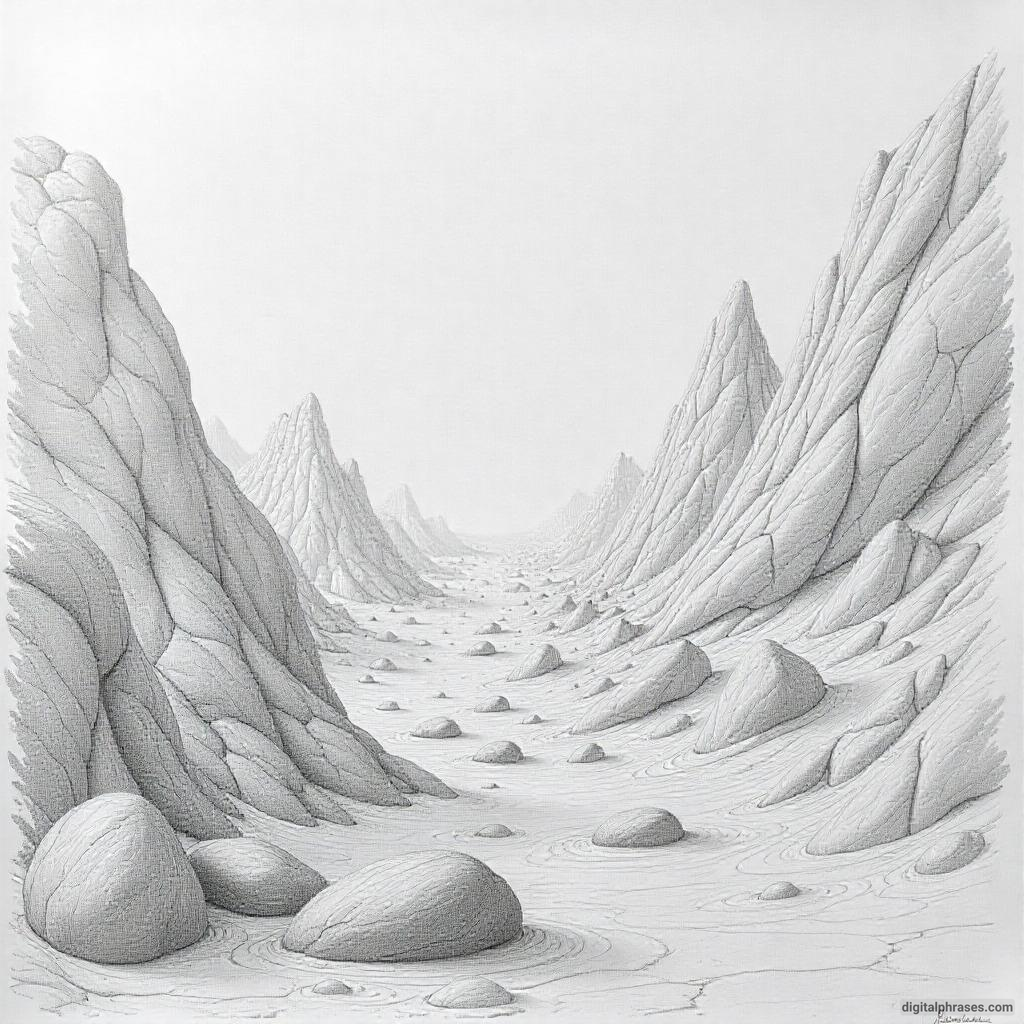
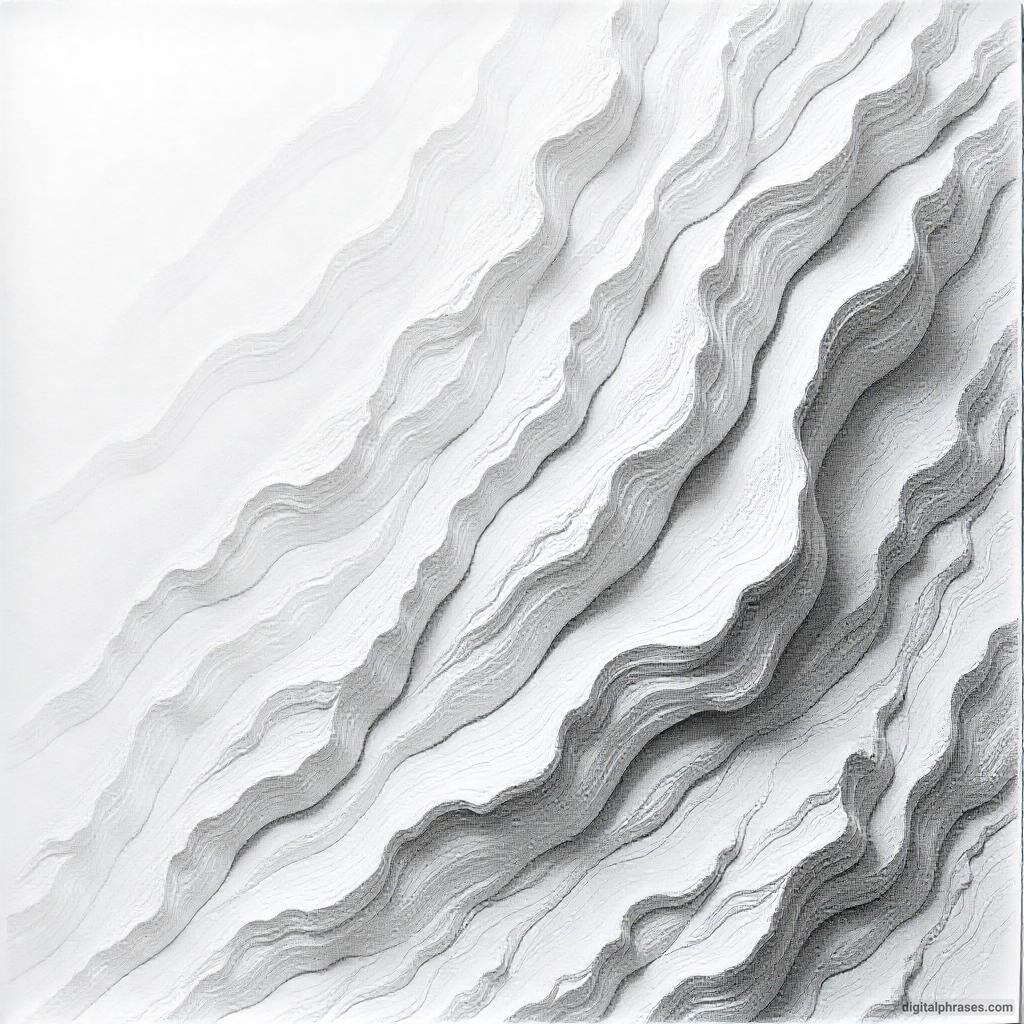
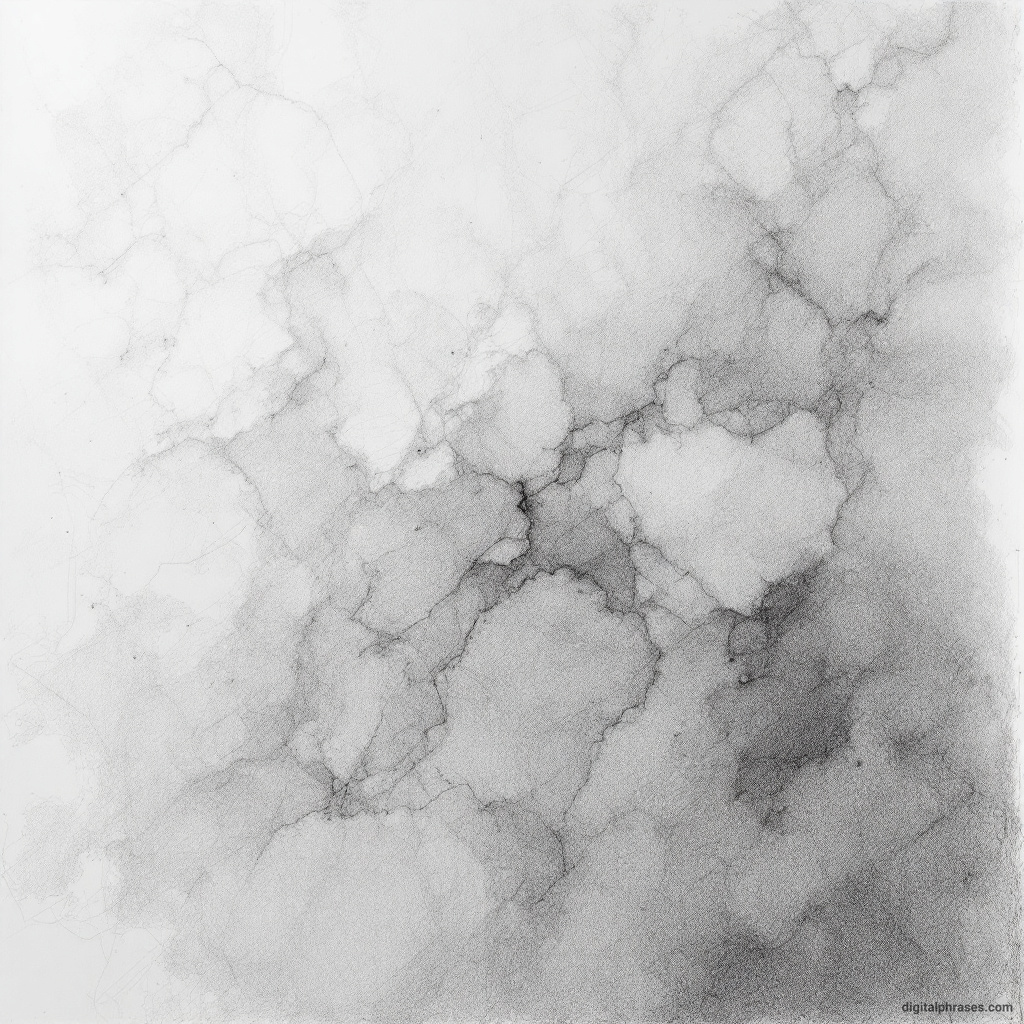
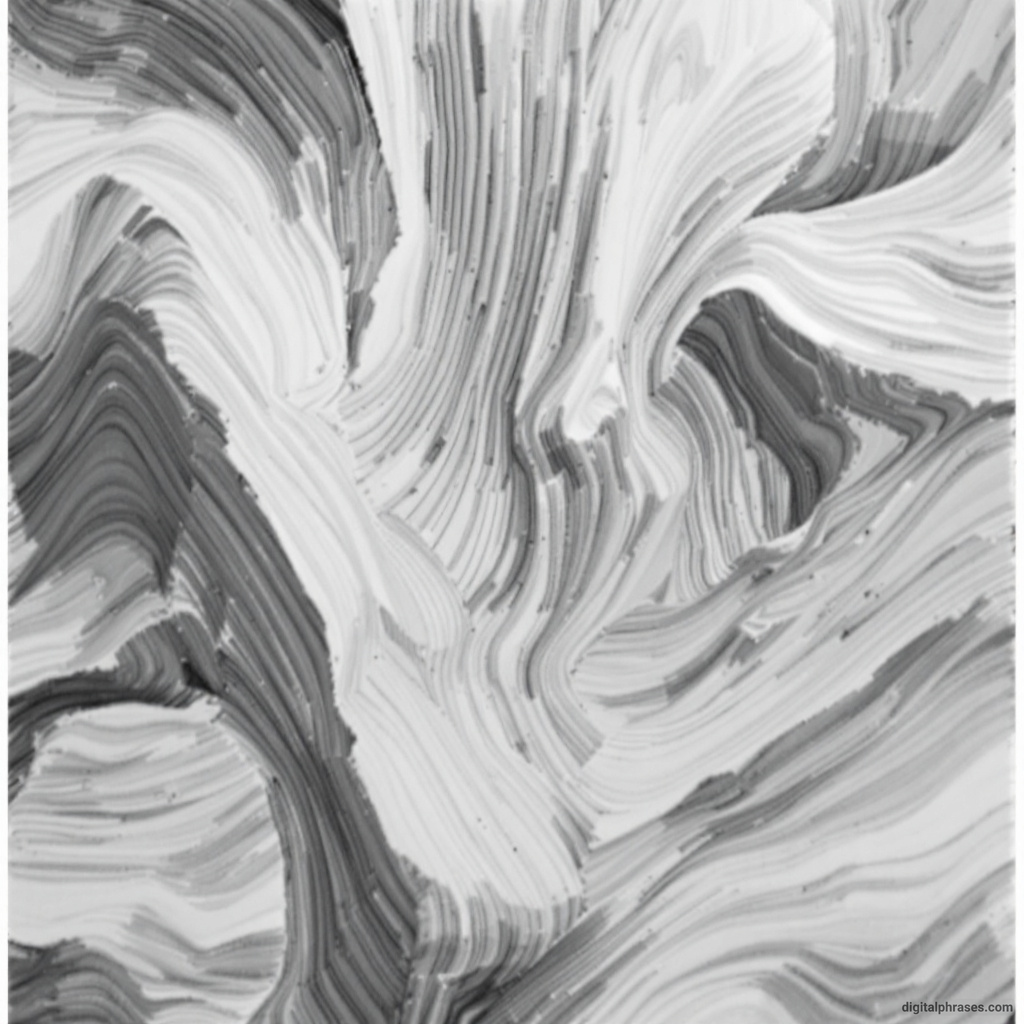
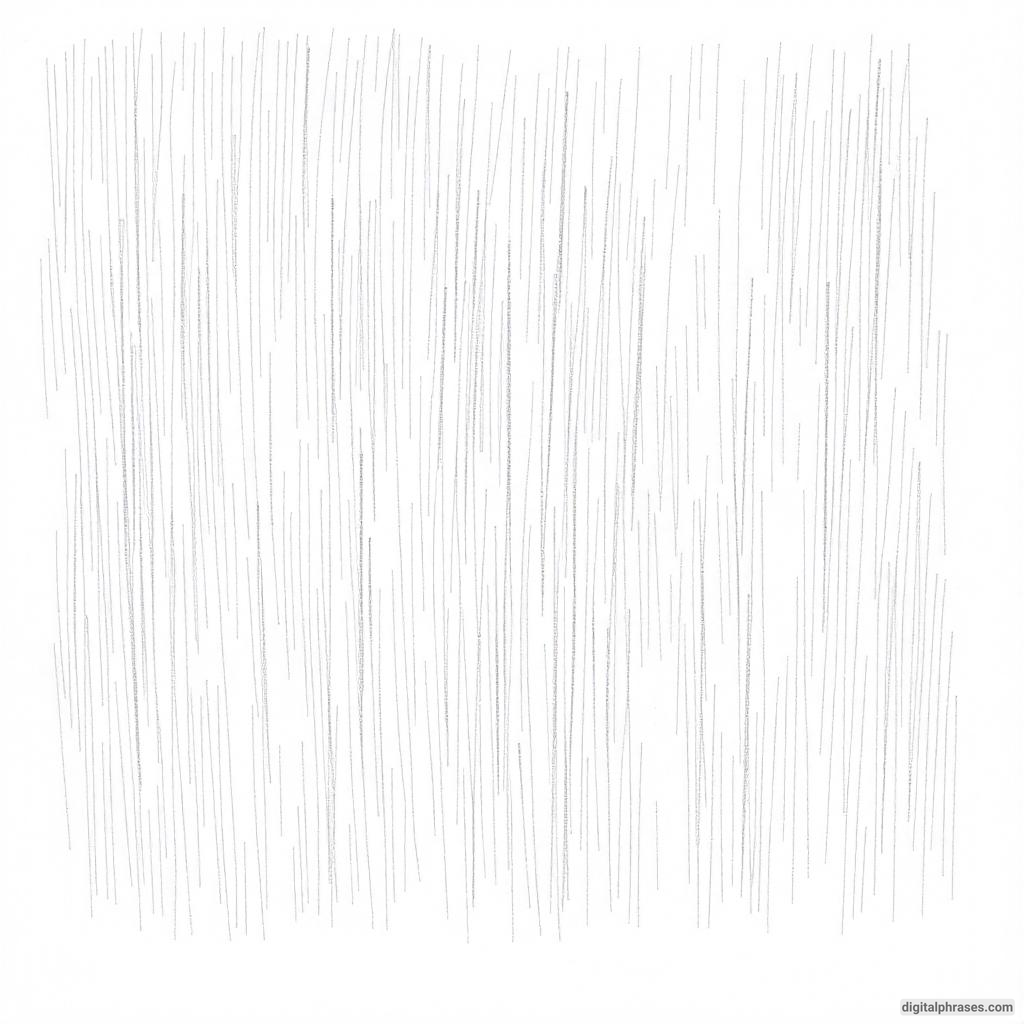
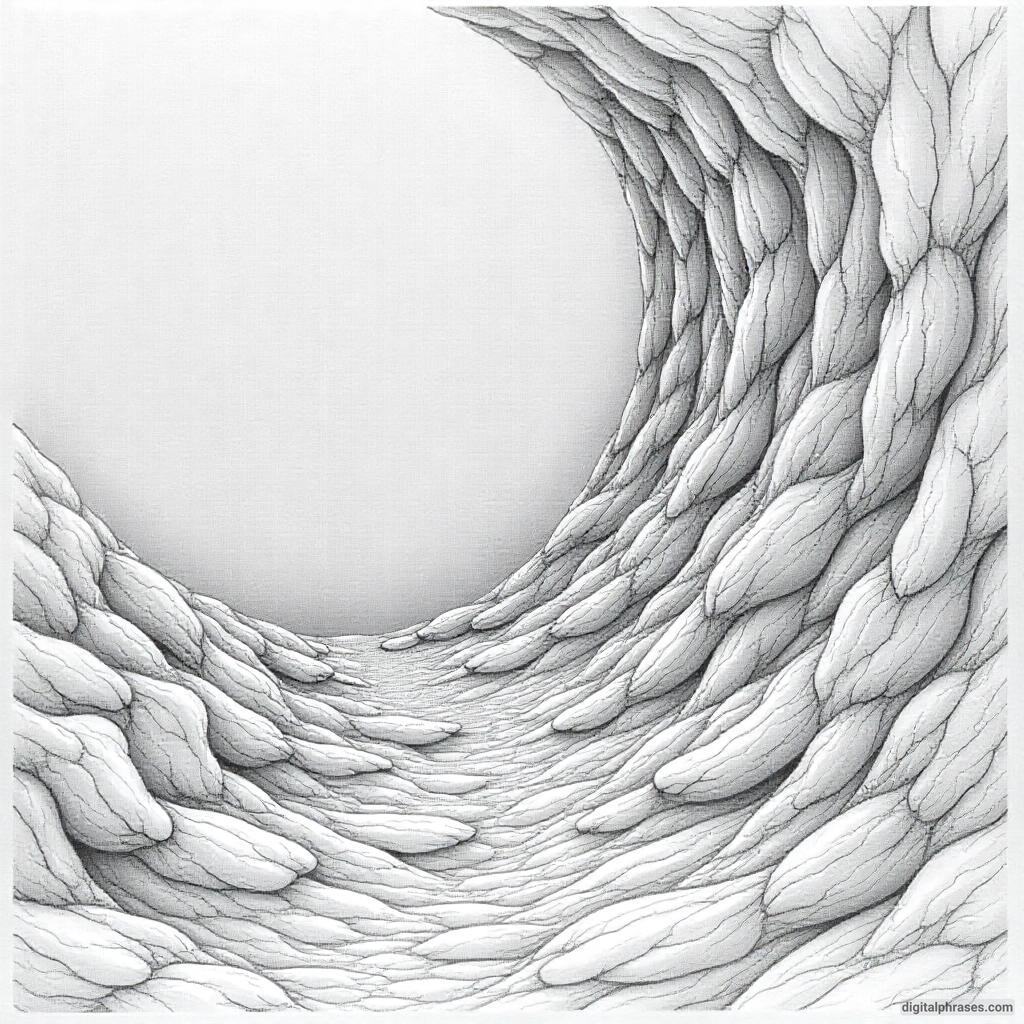
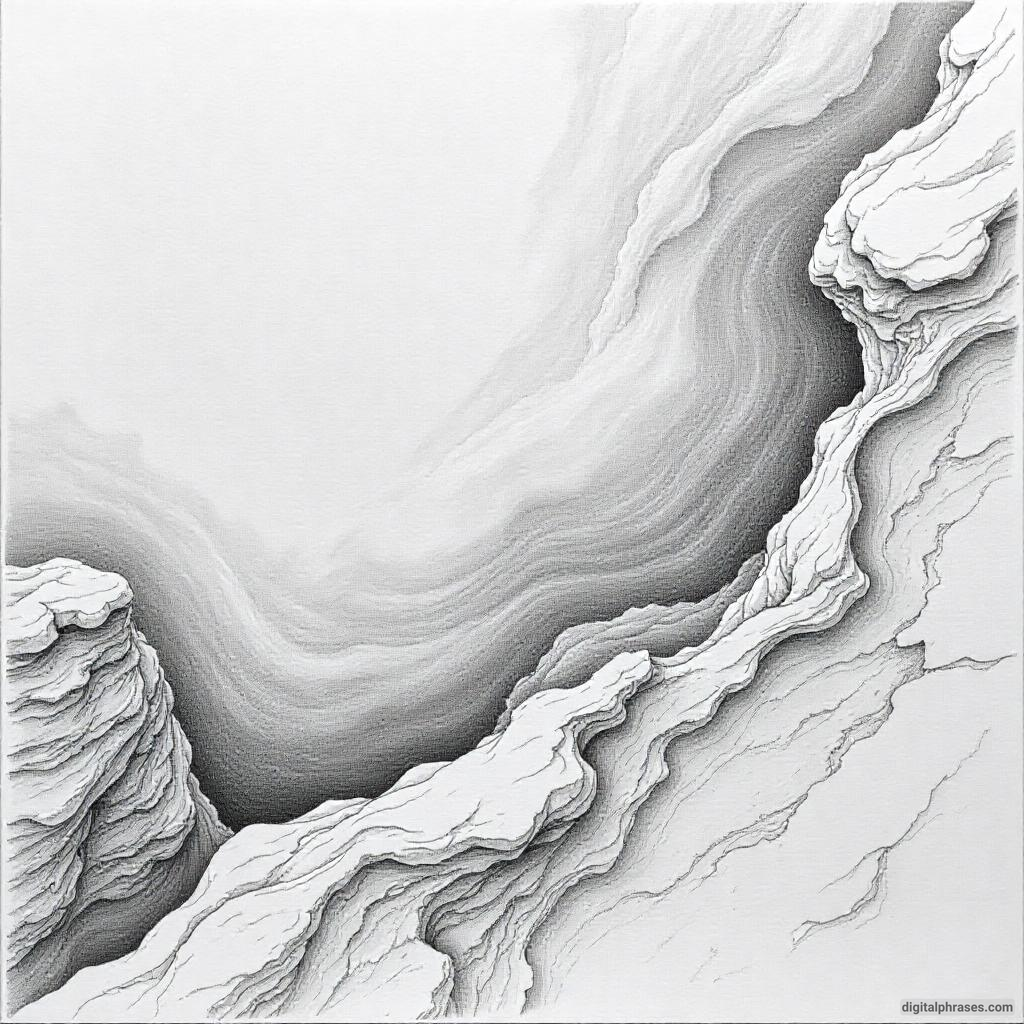
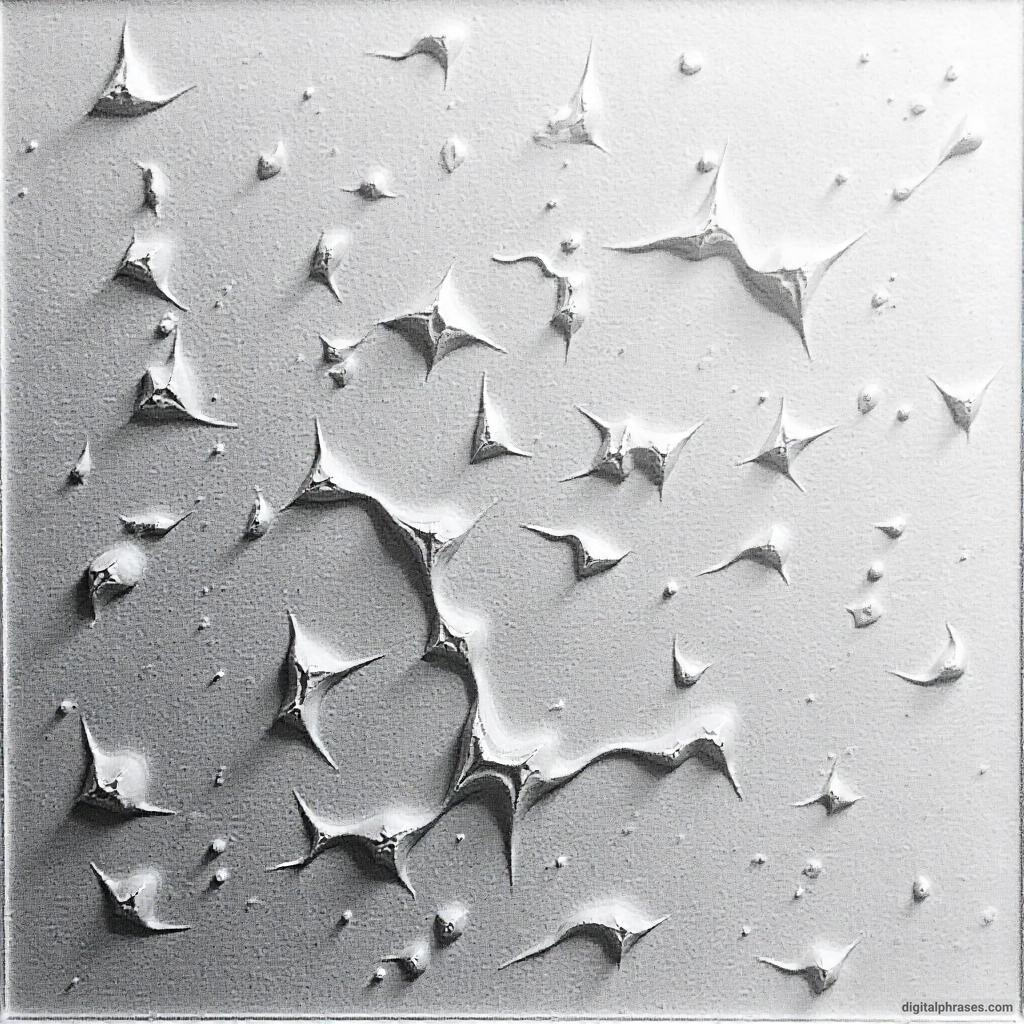
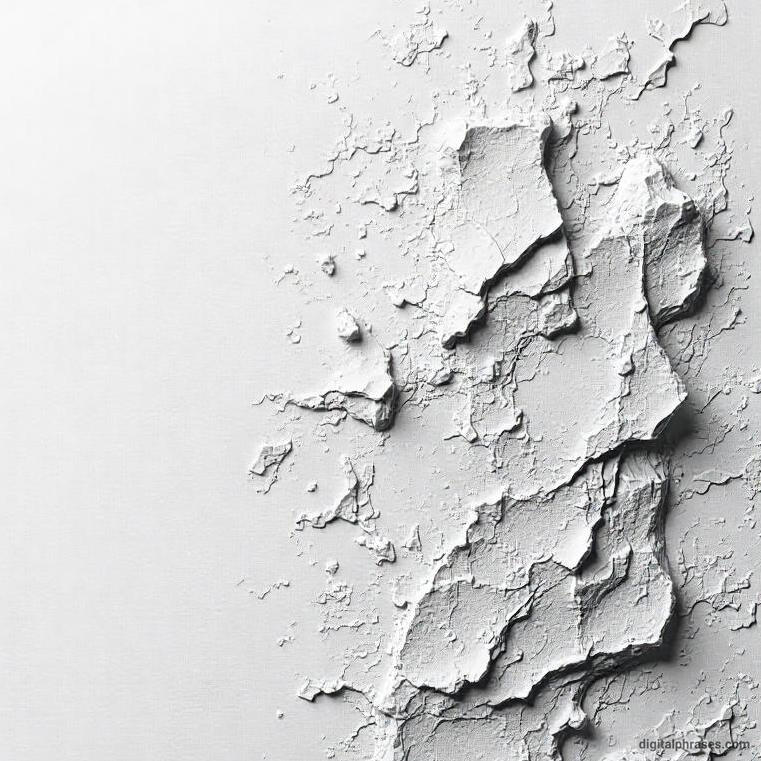
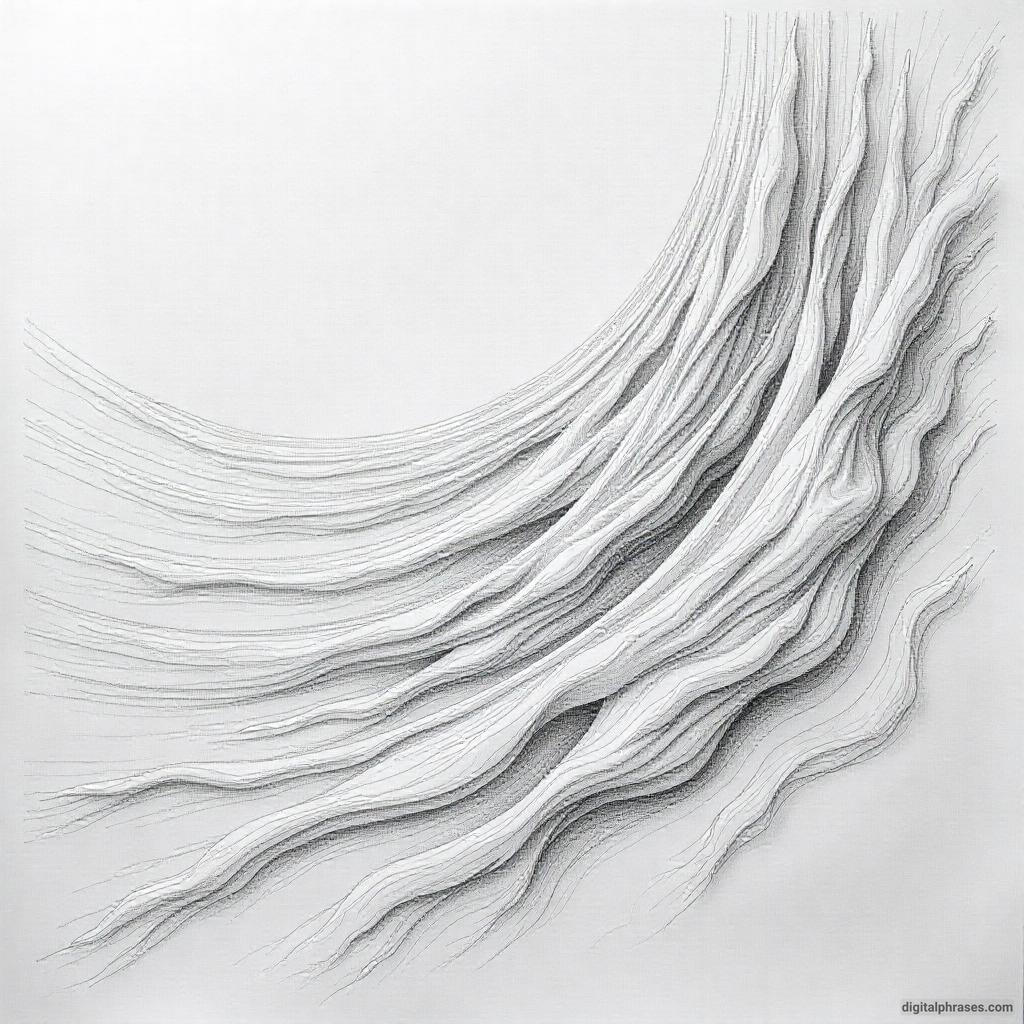
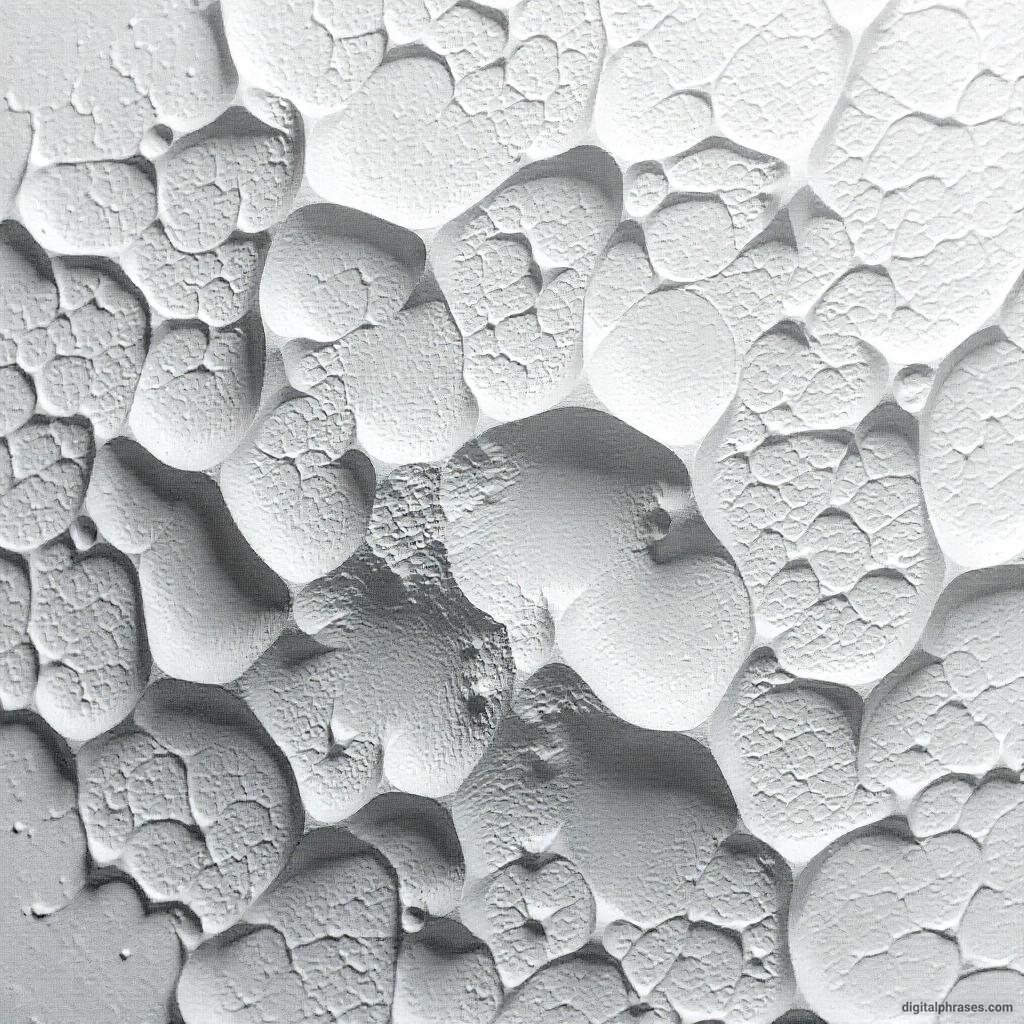
Pencil sketches are a fantastic way to practice texture drawing because they force you to focus on light, shadow, and detail. Let’s explore some common textures to try with just a pencil:
1
2
3
4
5
6
7
8
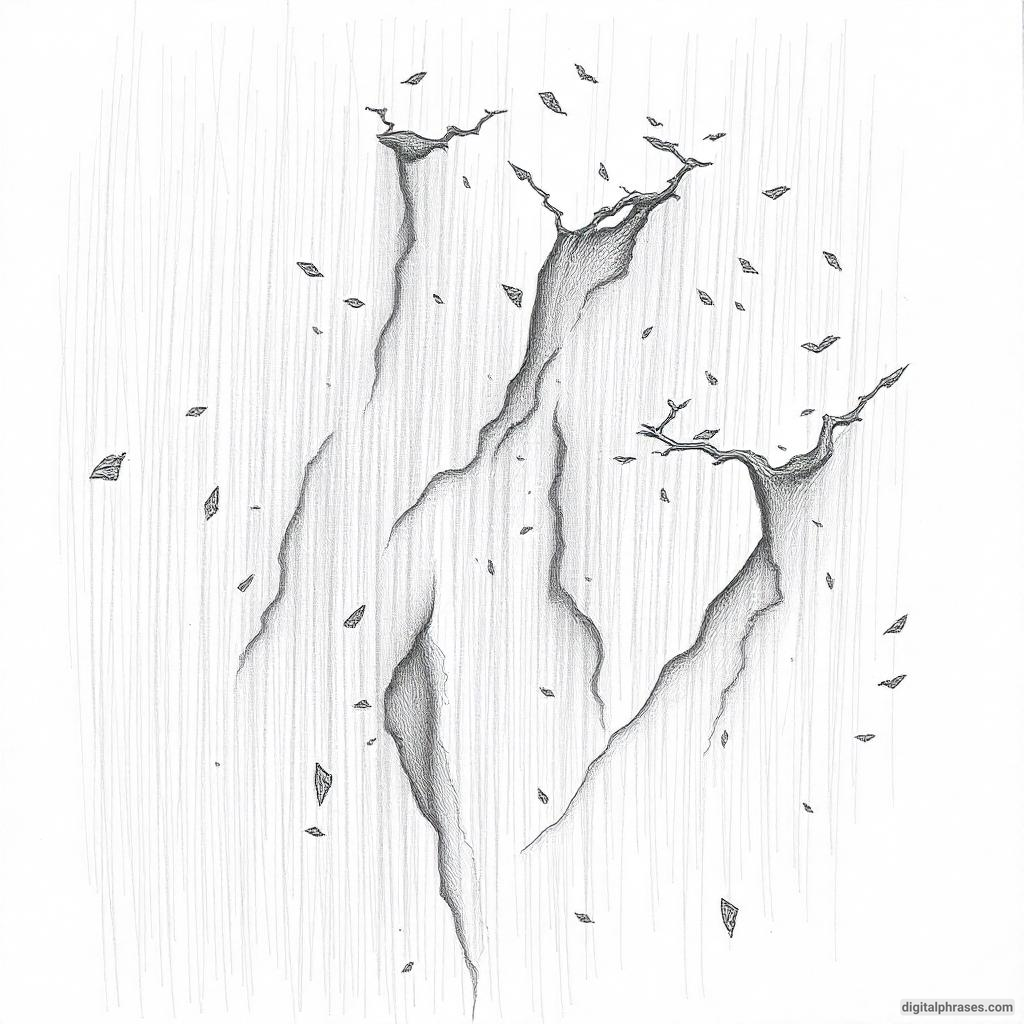
9
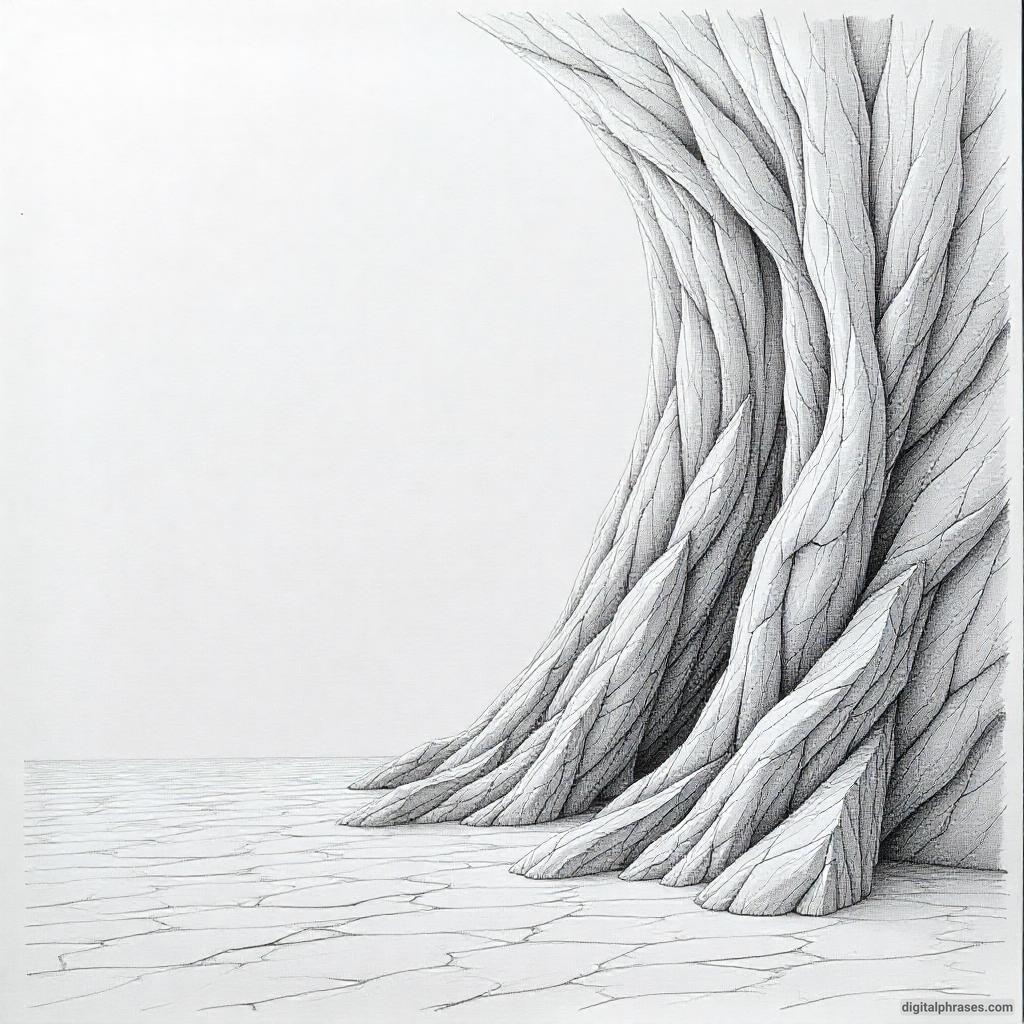
10
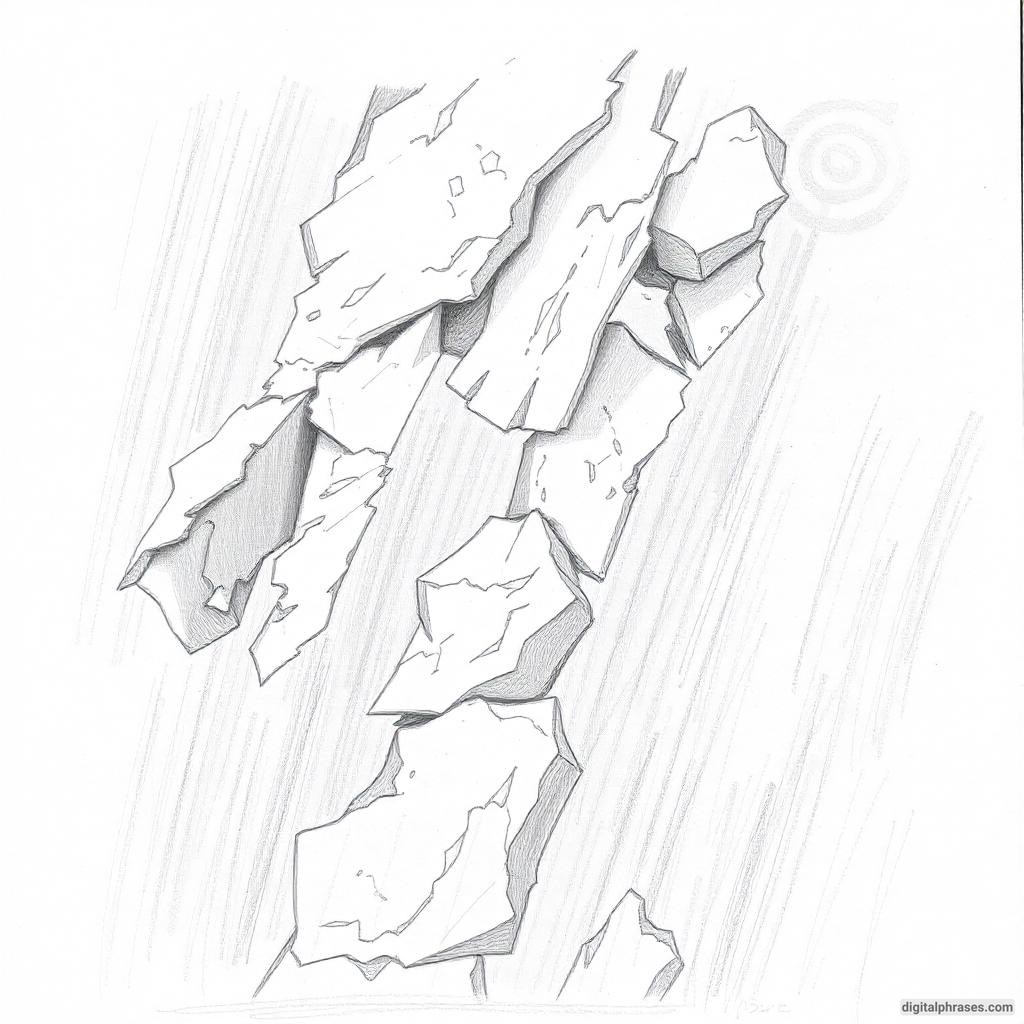
11
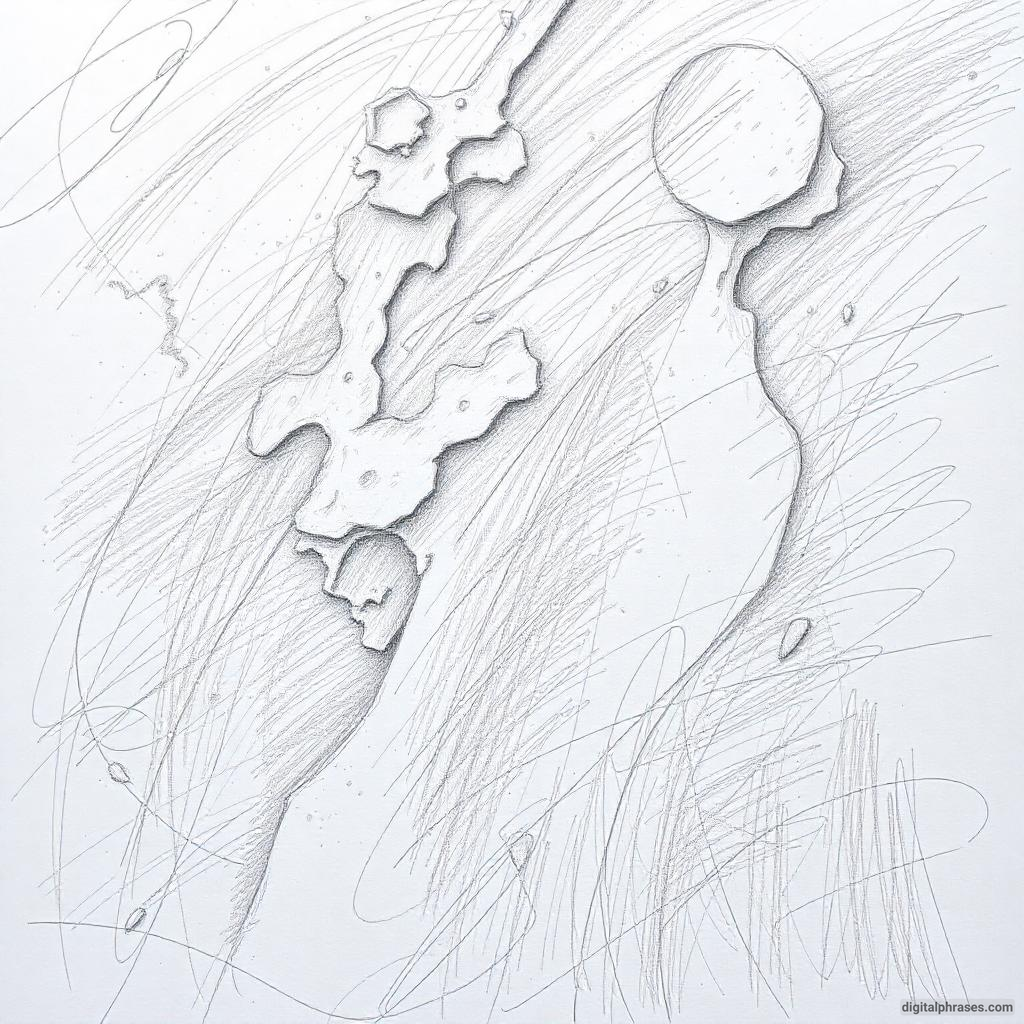
12
13
14
15
Tips To Keep in Mind While Drawing These Textures
1. Start with Observation
Before you even pick up your pencil, take time to observe the texture you want to draw. Observe how light interacts with the surface, how shadows form, and how the texture feels (if possible). Ask yourself questions like:
- Is the texture rough or smooth?
- Does it reflect light or absorb it?
- Are the details consistent, or do they vary?
Pro Tip: Create a “texture reference library.” Take photos of textures you encounter in daily life and use them as inspiration for your drawings.
2. Choose the Right Tools
Different tools produce different effects. The right choice of pencil, pen, or brush can make a big difference when drawing textures. Here are some suggestions:
- Graphite Pencils: Great for smooth gradients and soft textures like skin or silk.
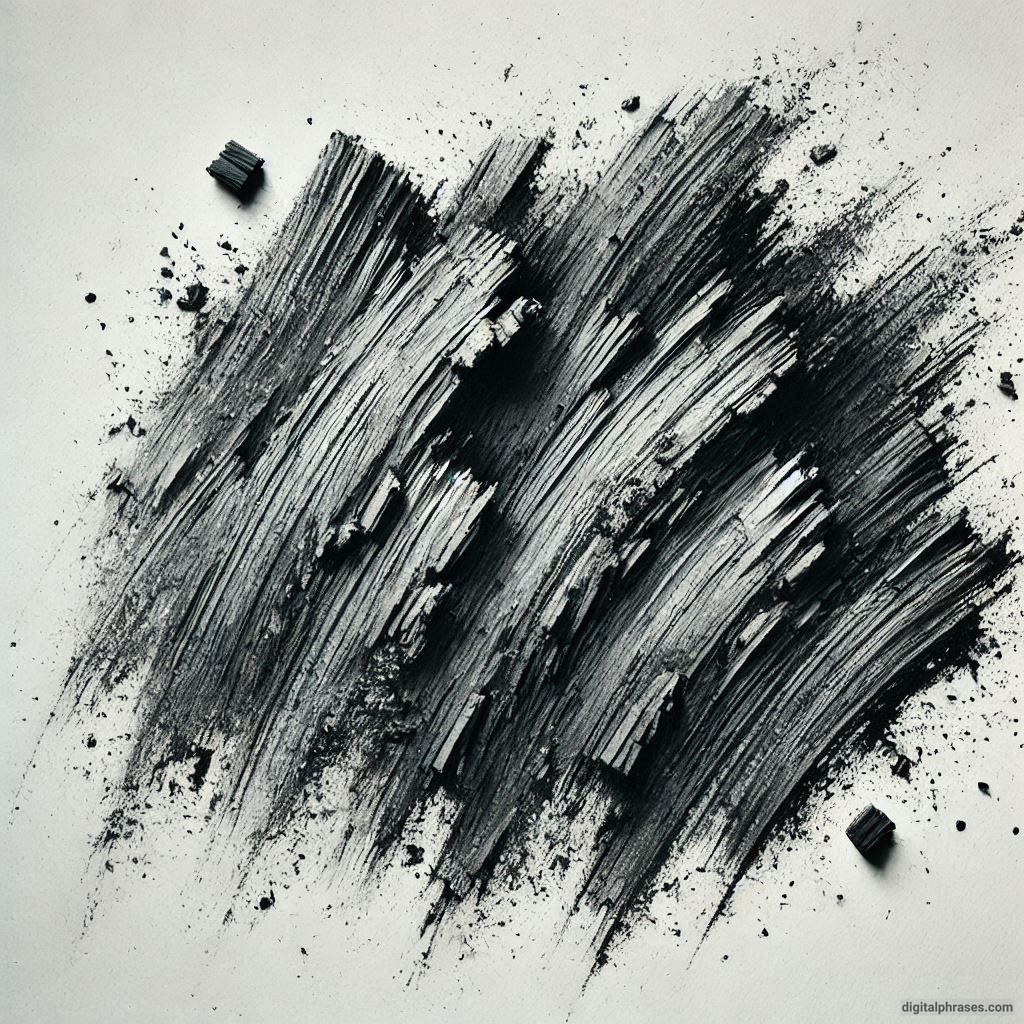
- Charcoal: Ideal for rough textures like wood or stone due to its gritty finish.
- Ink Pens: Excellent for detailed textures like fur or scales.
- Blending Stumps: Use these for blending smooth textures or creating subtle transitions.
- Erasers: Don’t underestimate the power of erasers. Use a kneaded eraser to lift highlights or add intricate details.
Pro Tip: Experiment with unconventional tools like sponges, toothbrushes, or even crumpled paper to achieve unique effects.
3. Understand the Surface You’re Working On
The paper you use can significantly affect how textures appear. Rough-textured paper works well for rugged, grainy effects, while smooth paper is better suited for fine details. Experiment with:
- Hot-Pressed Paper: Smooth surface, perfect for fine lines.
- Cold-Pressed Paper: Textured surface, ideal for adding a natural look to rough textures like foliage.
- Mixed-Media Paper: Versatile and can handle both wet and dry media.
4. Master Lighting and Shadows
Lighting plays a crucial role in how textures appear. Observe how light interacts with your subject, paying attention to:
- Highlights: Bright spots where light directly hits the surface.
- Midtones: The middle range of values that form the bulk of the texture.
- Shadows: Dark areas that add depth and dimension.
Pro Tip: Use a single light source while practicing. This simplifies shadow placement and helps you understand light behavior.
5. Focus on Layering
Textures often require multiple layers to achieve realism. Start with a base layer to define the overall tone, then gradually add details and depth. For example:
- For wood grain, start with light lines to establish the pattern, then darken key areas to add dimension.
- For fur, lay down a base of soft strokes to establish the direction, then add layers of fine, sharp lines for individual hairs.
Pro Tip: Patience is key. Avoid rushing through layers, as this can make the texture look flat or inconsistent.
6. Embrace Mark-Making
Mark-making refers to the unique marks you make on the surface to represent texture. Varying your strokes—direction, length, and pressure—can bring different textures to life:
- Hatching and Cross-Hatching: Great for fabrics and hair.
- Stippling: Perfect for creating rough, granular textures like sand or stone.
- Scumbling: Use this scribbling technique for irregular textures like clouds or foliage.
Pro Tip: Practice each mark-making technique individually to see how it affects the overall texture.
7. Consider the Context
Textures rarely exist in isolation. Think about how the texture interacts with its surroundings. For instance:
- A shiny surface will reflect nearby colors and shapes.
- A rough texture may cast irregular shadows on nearby objects.
Pro Tip: Use contrasts to highlight textures. For example, place a rough texture next to a smooth one to emphasize their differences.
8. Work from General to Specific
Begin with the overall shape and tone of the texture before adding details. This approach prevents your drawing from looking cluttered or overworked. For example:
- When drawing brick walls, sketch the overall pattern first, then add individual bricks’ imperfections.
- For leaves, block in the main shapes and shadows before detailing veins and edges.
Pro Tip: Squint at your reference to simplify what you see and identify the most prominent shapes and tones.
9. Don’t Overdo It
While details are essential, too much can overwhelm the viewer. Know when to stop and let the texture breathe. Subtlety often enhances realism.
Pro Tip: Step back from your work periodically to evaluate it as a whole. This helps you avoid getting lost in minute details.
10. Experiment with Color and Mediums
For artists working with color, textures take on a new dimension. Experiment with:
- Colored Pencils: Layer colors to mimic subtle variations in texture.
- Watercolors: Perfect for soft and organic textures like clouds or skin.
- Oil Pastels: Excellent for rich, bold textures like bark or fabric folds.
Pro Tip: Use complementary colors to add depth and richness to your textures.
11. Leverage Digital Tools
For digital artists, texture brushes and tools can save time and add precision. Most digital art programs offer brushes tailored for specific textures, such as:
- Grainy Brushes: For sand, stone, or rough surfaces.
- Fur Brushes: To quickly lay down convincing fur patterns.
- Custom Brushes: Create your own texture brushes for unique effects.
Pro Tip: Don’t rely solely on brushes. Combine manual techniques with brush tools for a more organic feel.
12. Practice, Practice, Practice
Drawing textures is a skill that improves with practice. Set aside time to study and replicate different textures. Focus on:
- Everyday Objects: Like fabrics, fruits, and household items.
- Natural Elements: Such as wood, water, and clouds.
- Uncommon Surfaces: Like rusted metal, cracked paint, or feathers.
Pro Tip: Challenge yourself by drawing a texture a day. Over time, you’ll develop a repertoire of techniques that you can apply to any project.
13. Learn from Masters
Study how professional artists approach textures. Analyze their techniques and try to replicate their work to understand their methods. This isn’t about copying; it’s about learning.
Pro Tip: Follow art tutorials online or join workshops that focus on texture drawing. Engaging with a community can provide valuable feedback and inspiration.
14. Keep a Sketchbook
Dedicate a sketchbook to practicing textures. Use it to experiment with new techniques, test different tools, and record your progress. Over time, this sketchbook will become an invaluable resource.
Pro Tip: Annotate your sketches with notes on what worked and what didn’t. This helps you build a deeper understanding of texture drawing.
15. Have Fun and Stay Curious
Above all, enjoy the process! Drawing textures is an opportunity to explore new techniques, push your boundaries, and express your creativity. Don’t be afraid to make mistakes; every stroke teaches you something new.
Pro Tip: Approach texture drawing as a playful experiment rather than a rigid task. This mindset keeps you motivated and eager to learn.
Final Thoughts
Mastering texture drawing is a journey, not a destination. With consistent practice, keen observation, and a willingness to experiment, you’ll develop the skills needed to bring your artwork to life.
Remember, every texture you encounter is an opportunity to refine your craft and tell a more compelling visual story.
So grab your sketchbook, choose a texture that intrigues you, and start drawing.
Happy drawing!


