23 Two Point Perspective Drawing Ideas of Objects
Let’s talk about something that’s both challenging and oddly satisfying—drawing with two-point perspective.
Now, if you’re anything like me, your first attempt at this probably looked like a spaghetti monster threw up on your sketchpad. (You know what I’m talking about: wobbly lines everywhere, buildings that resemble a bad Jenga game, and maybe a vanishing point that disappeared into a different dimension entirely.)
But fear not!
Because today, I’m here to save your artistic dignity with 25 ideas that’ll make your two-point perspective drawings so impressive, even your pet goldfish might give you a little side-eye of respect.
So grab your ruler, a pencil, and a big ol’ eraser (trust me, you’ll need it) because we’re about to dive into a whole bunch of objects you never thought you’d draw with such geometric precision.
And who knows?
By the end of this, you might even start seeing the world in two-point perspective… or at the very least, impress that one artsy friend who never shuts up about shading.
Let’s do this!
Two Point Perspective Drawing Ideas of Objects
1
2
3
4
5
6
7
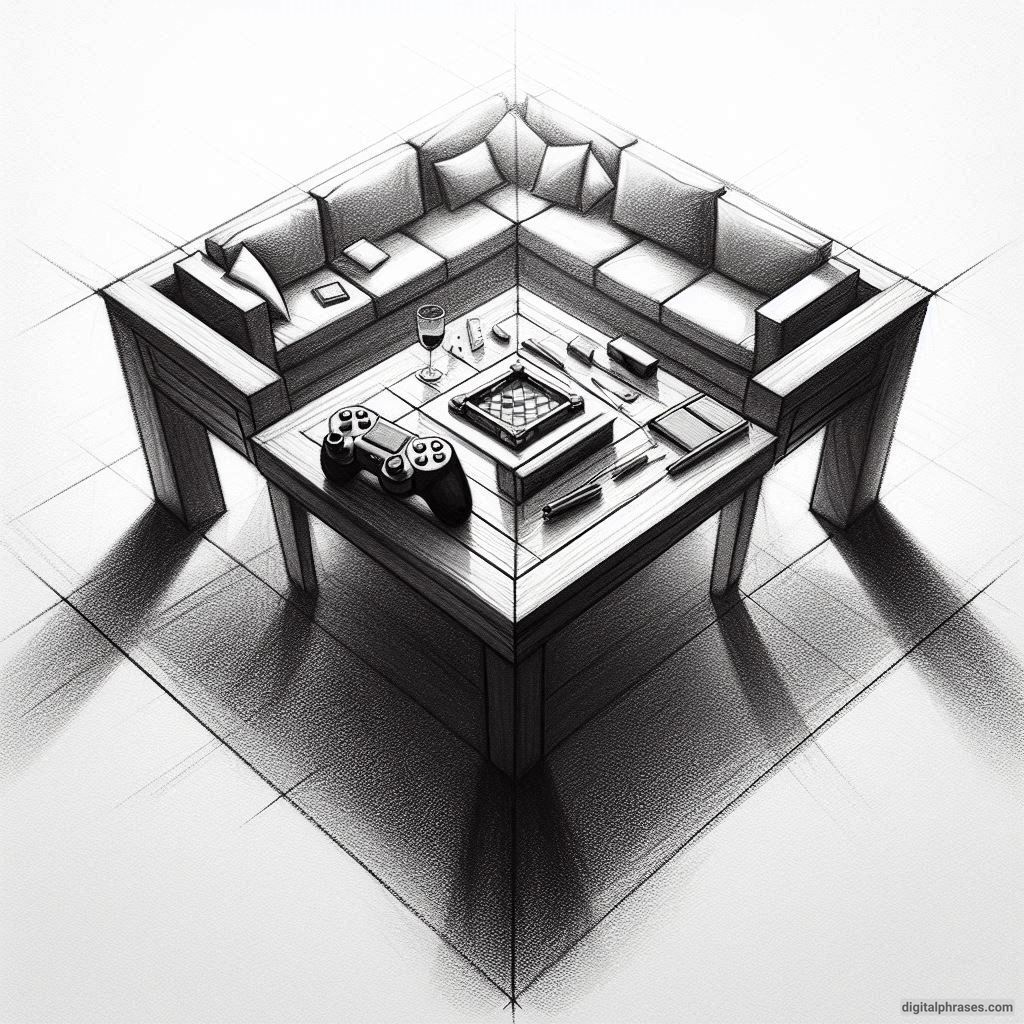
8
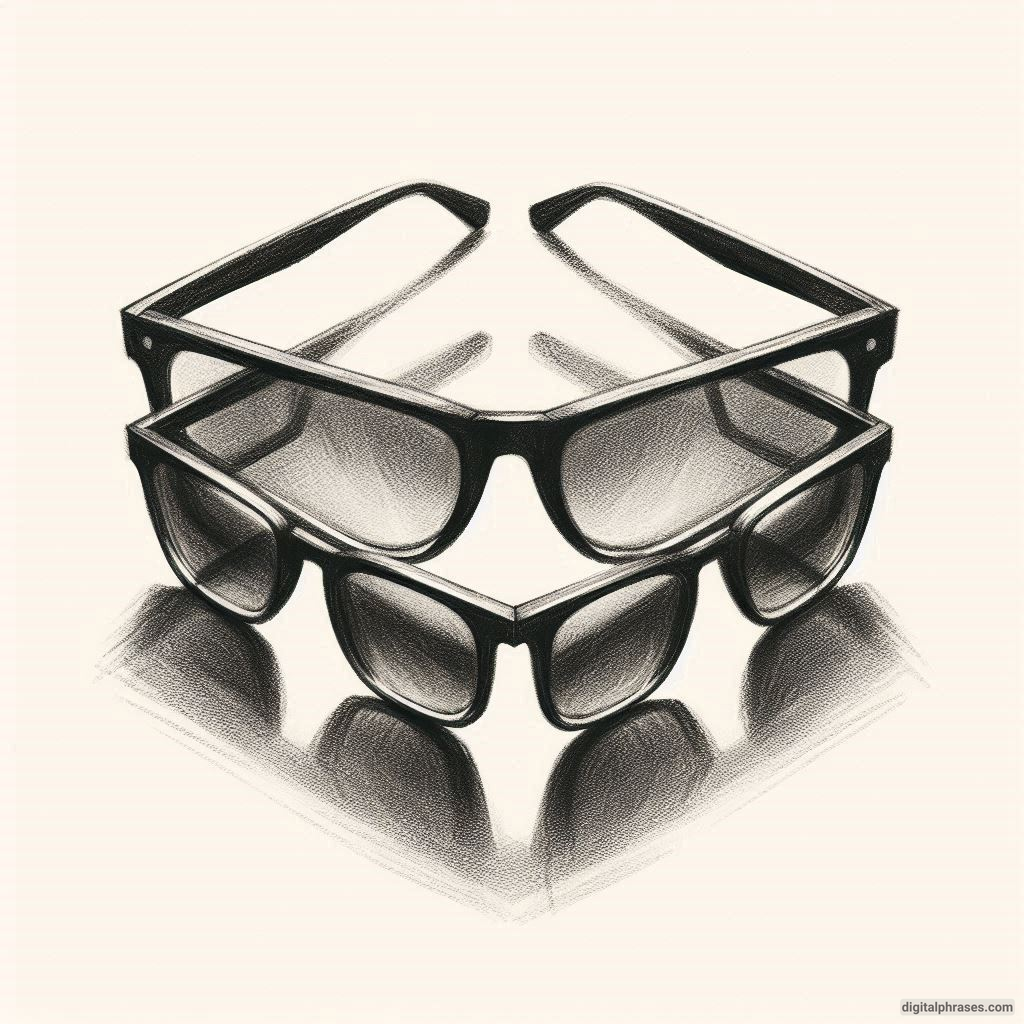
9
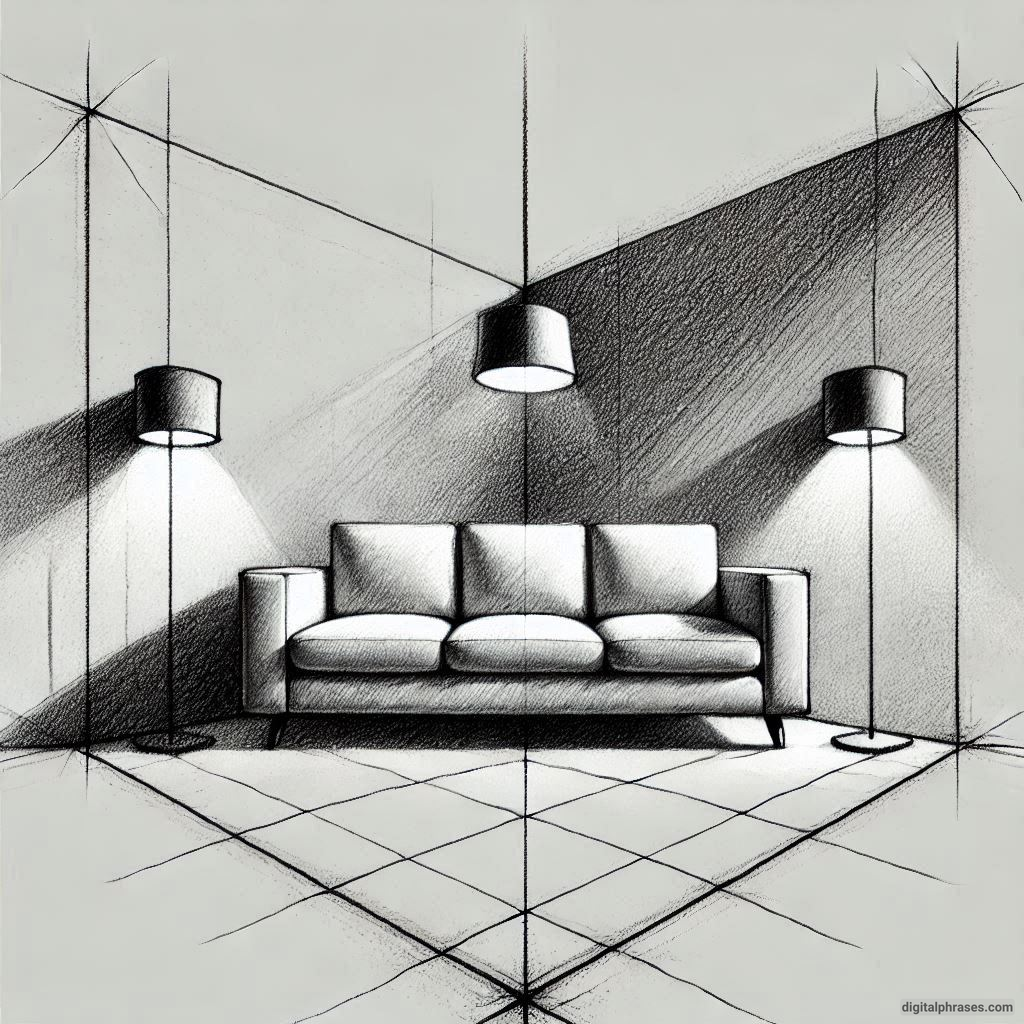
10
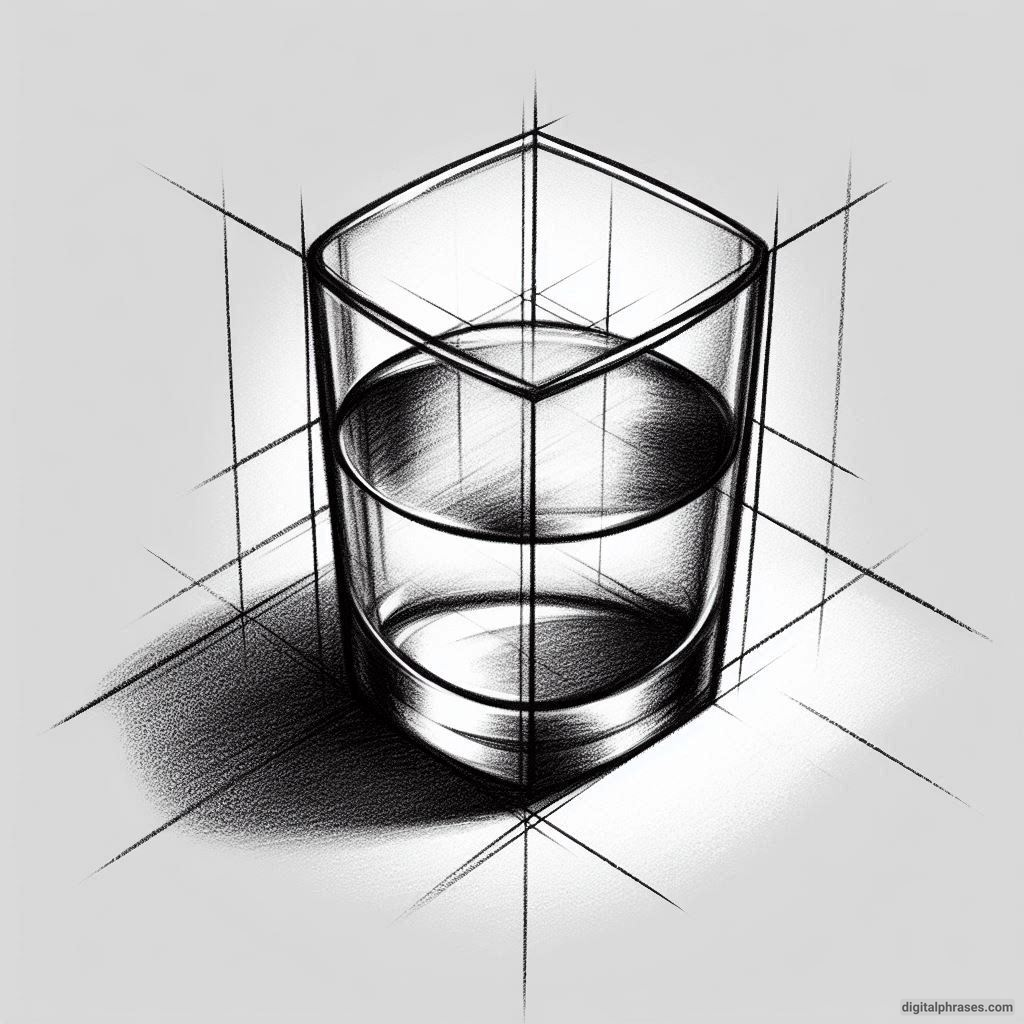
11
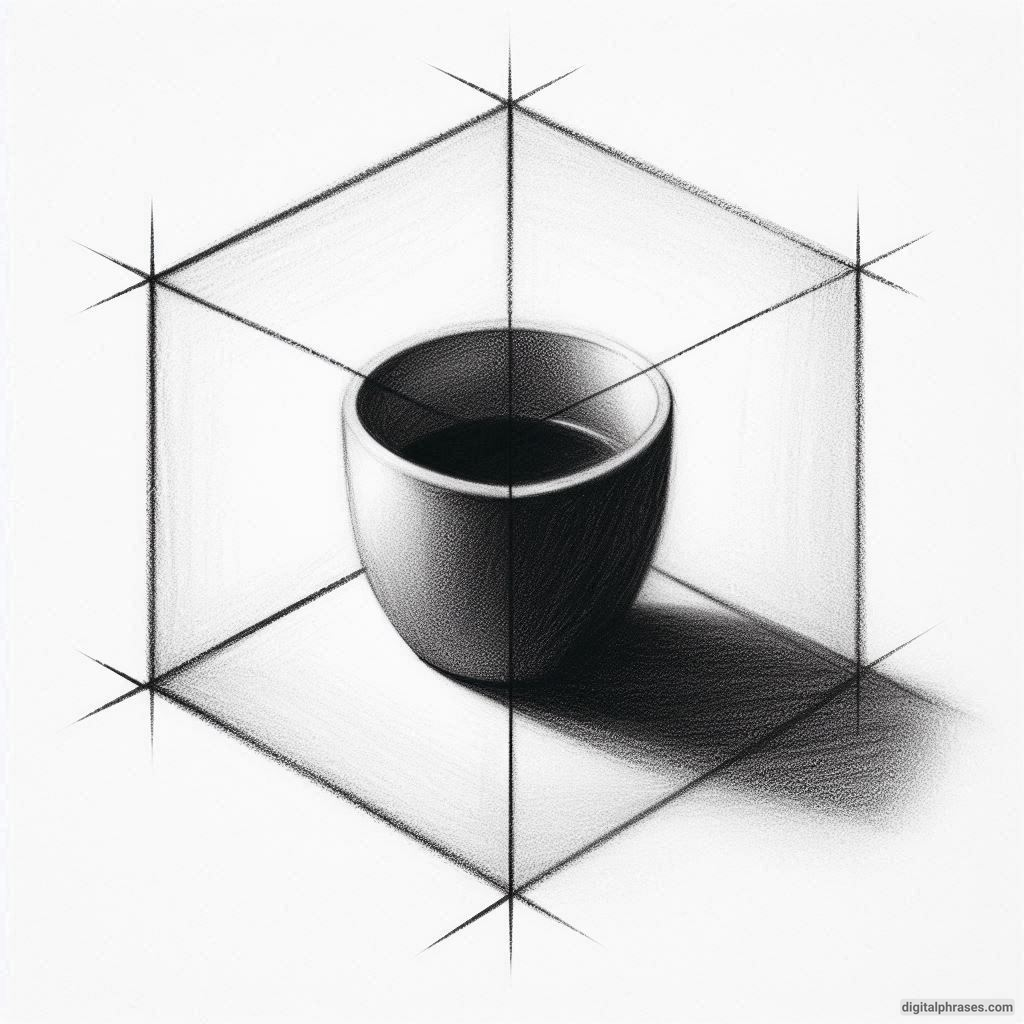
12
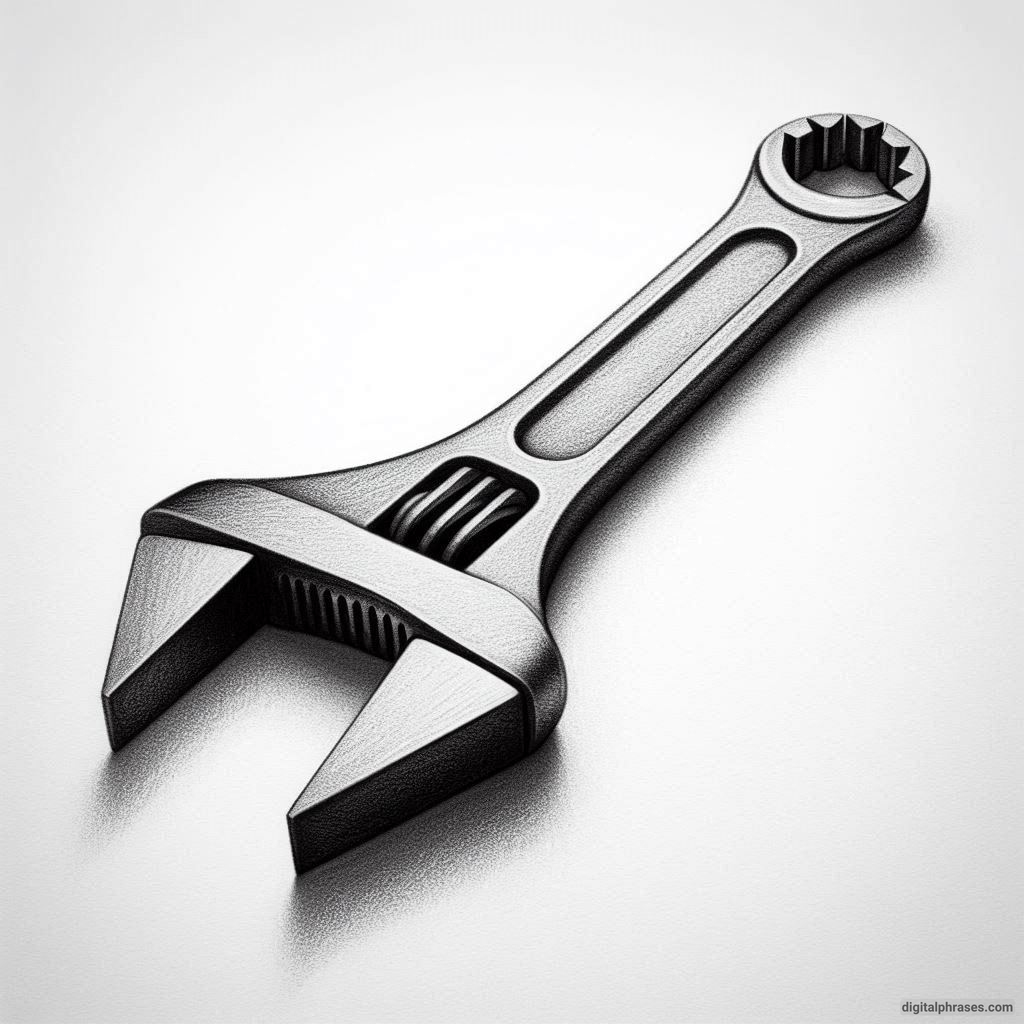
13
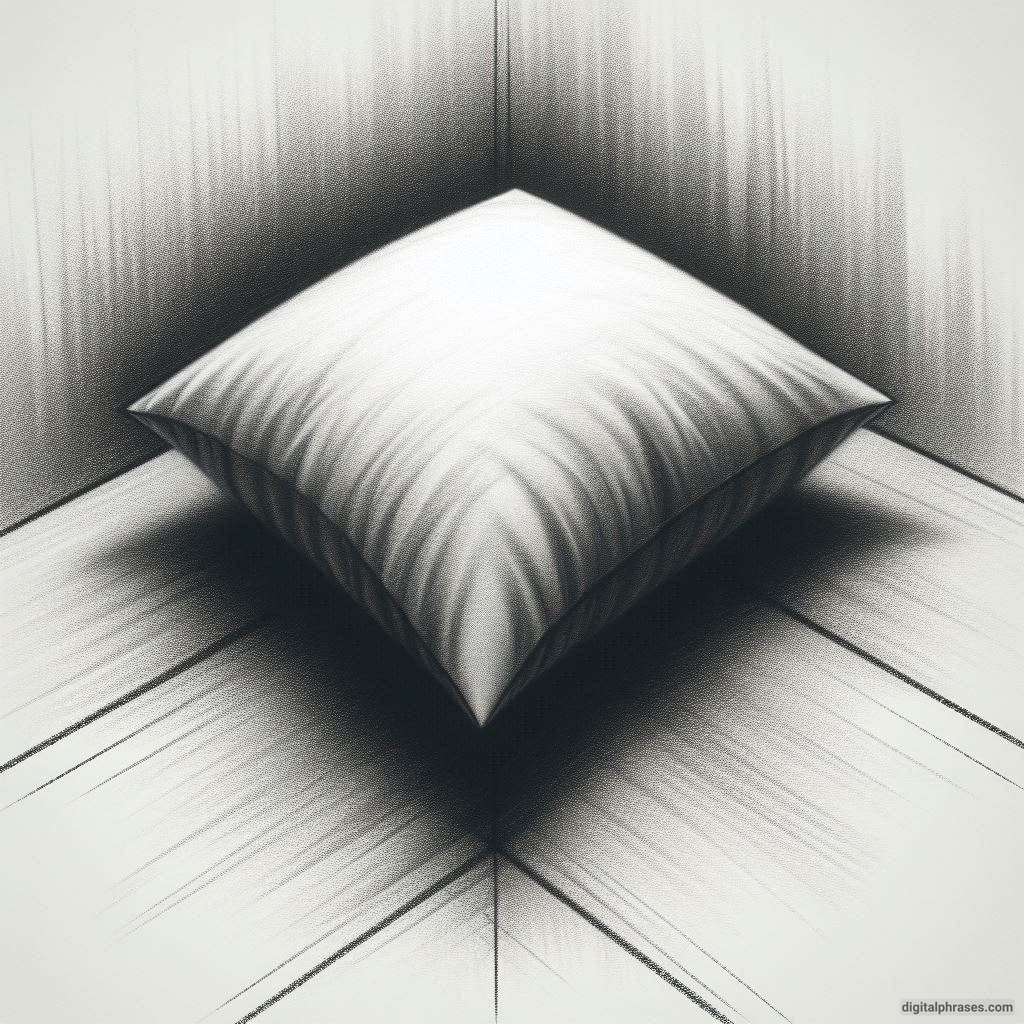
14
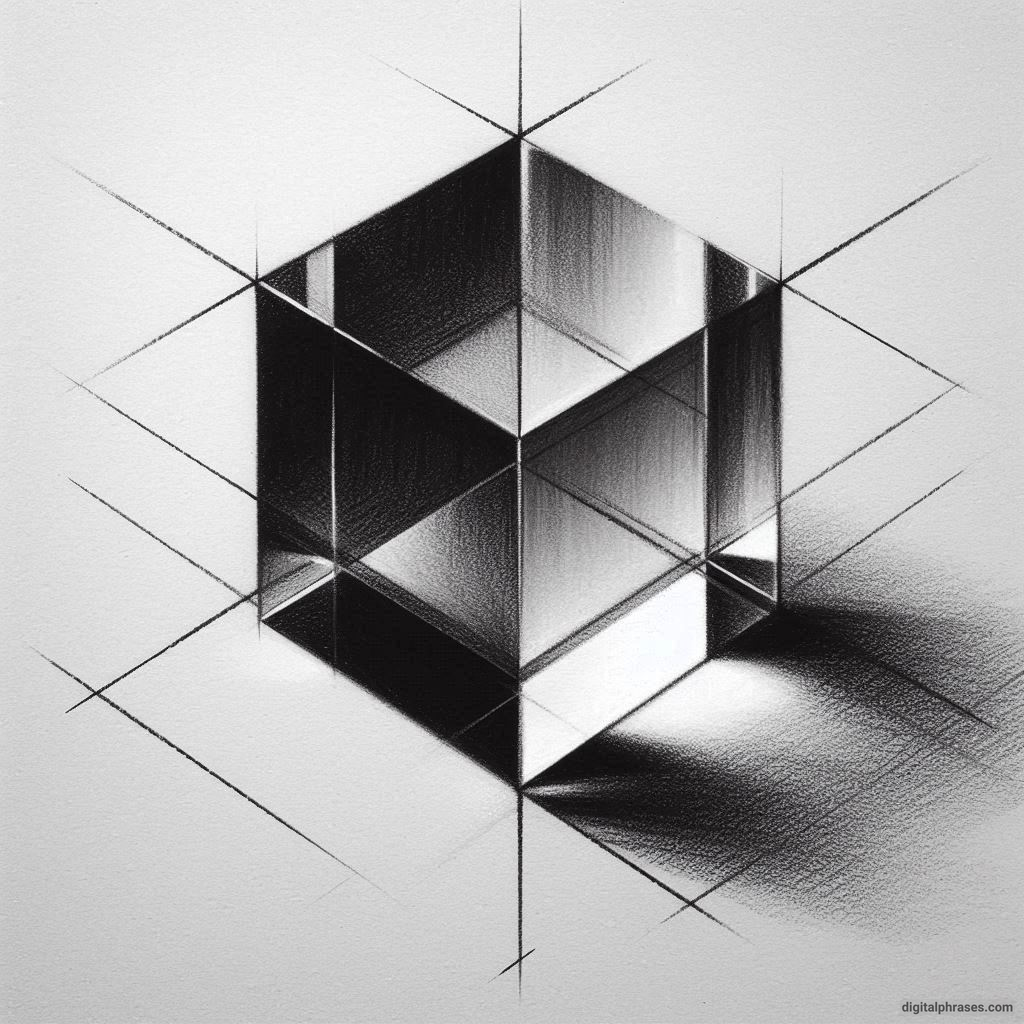
15
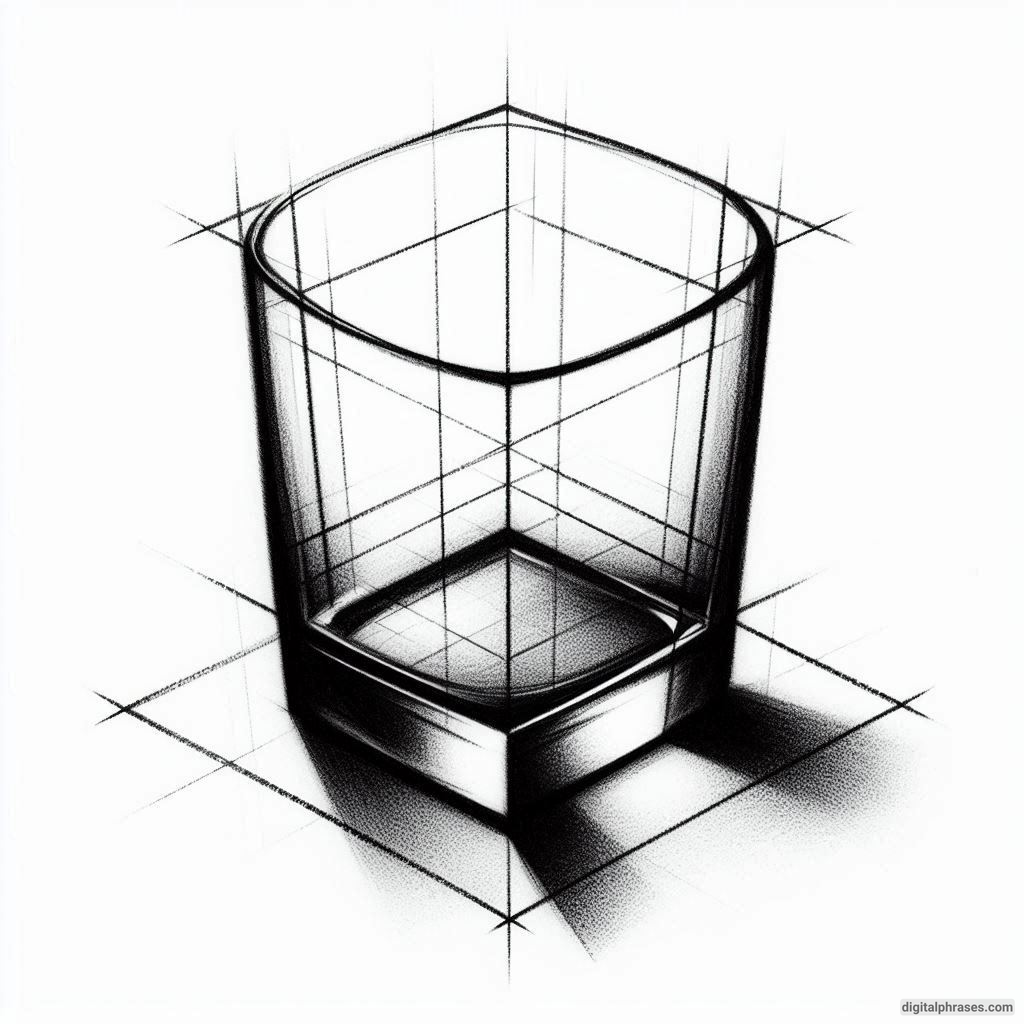
16
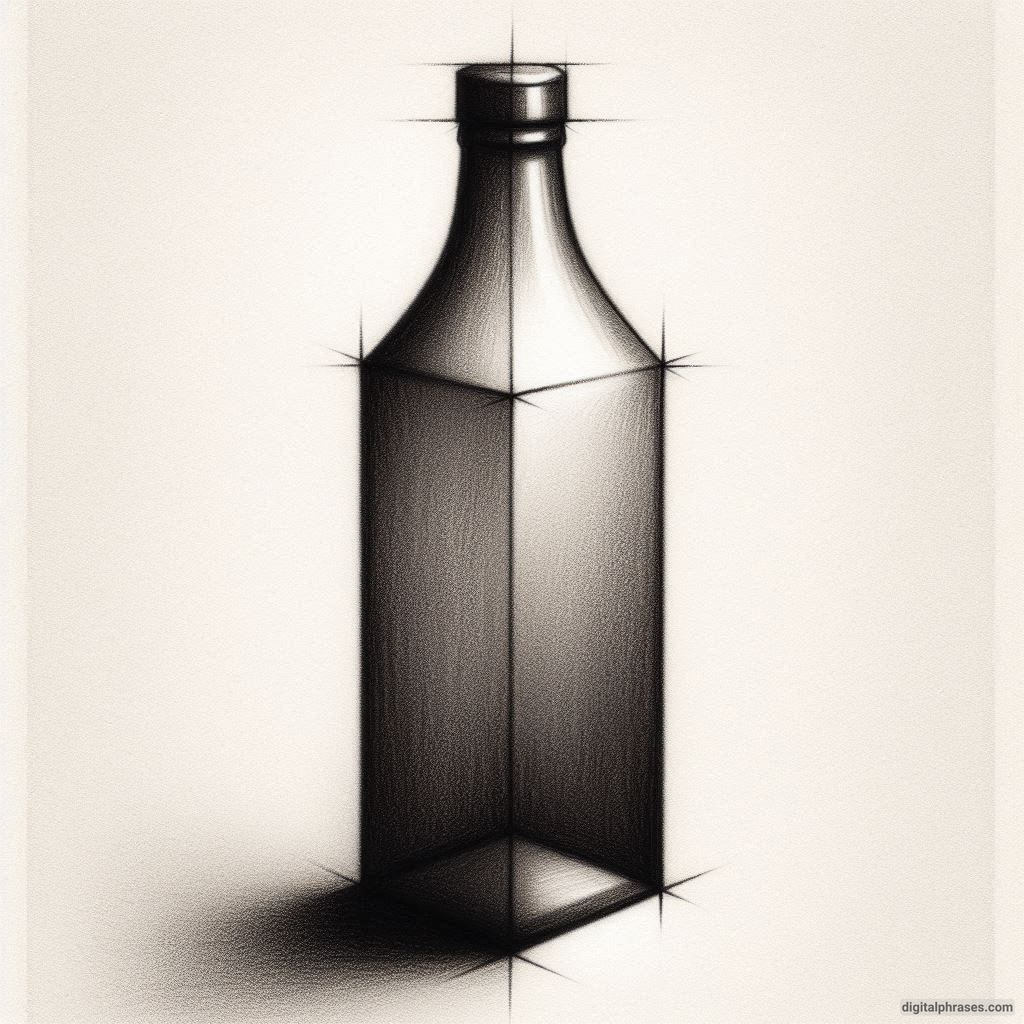
17
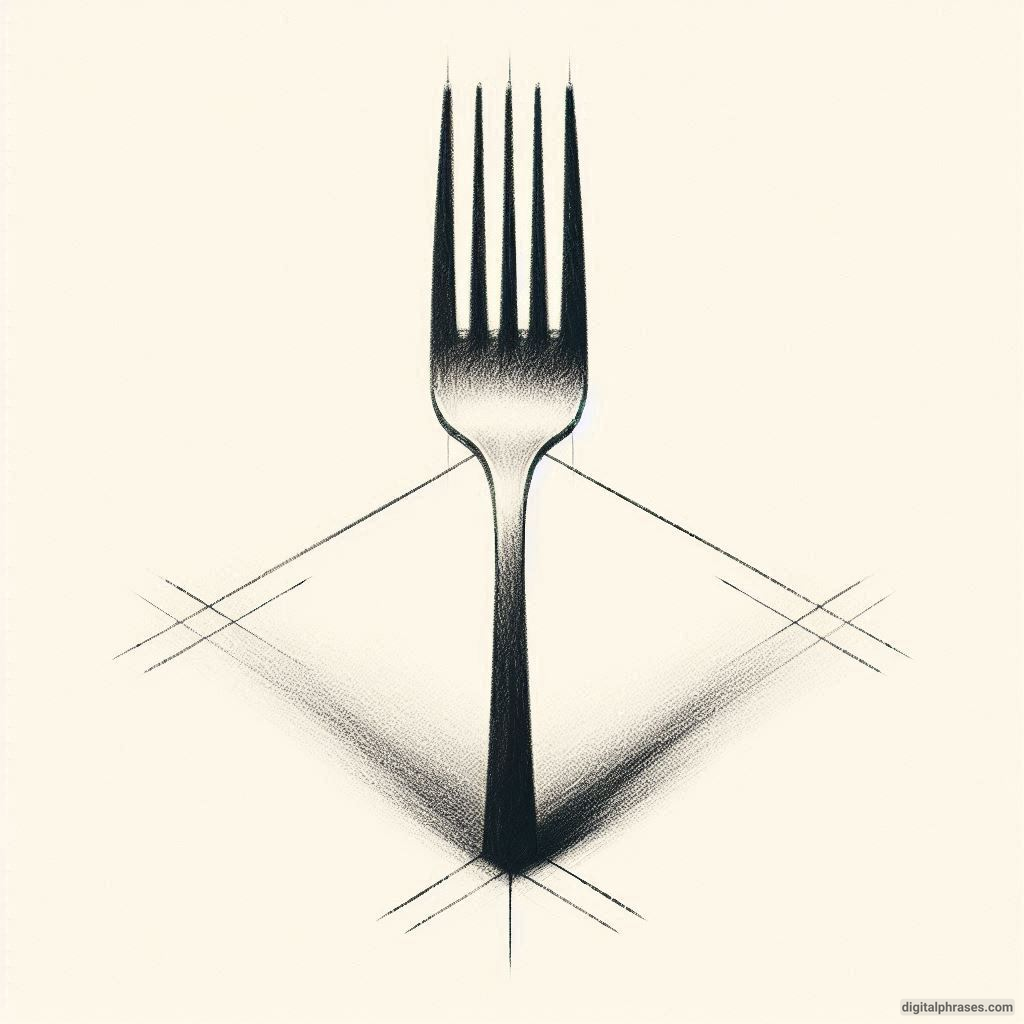
18
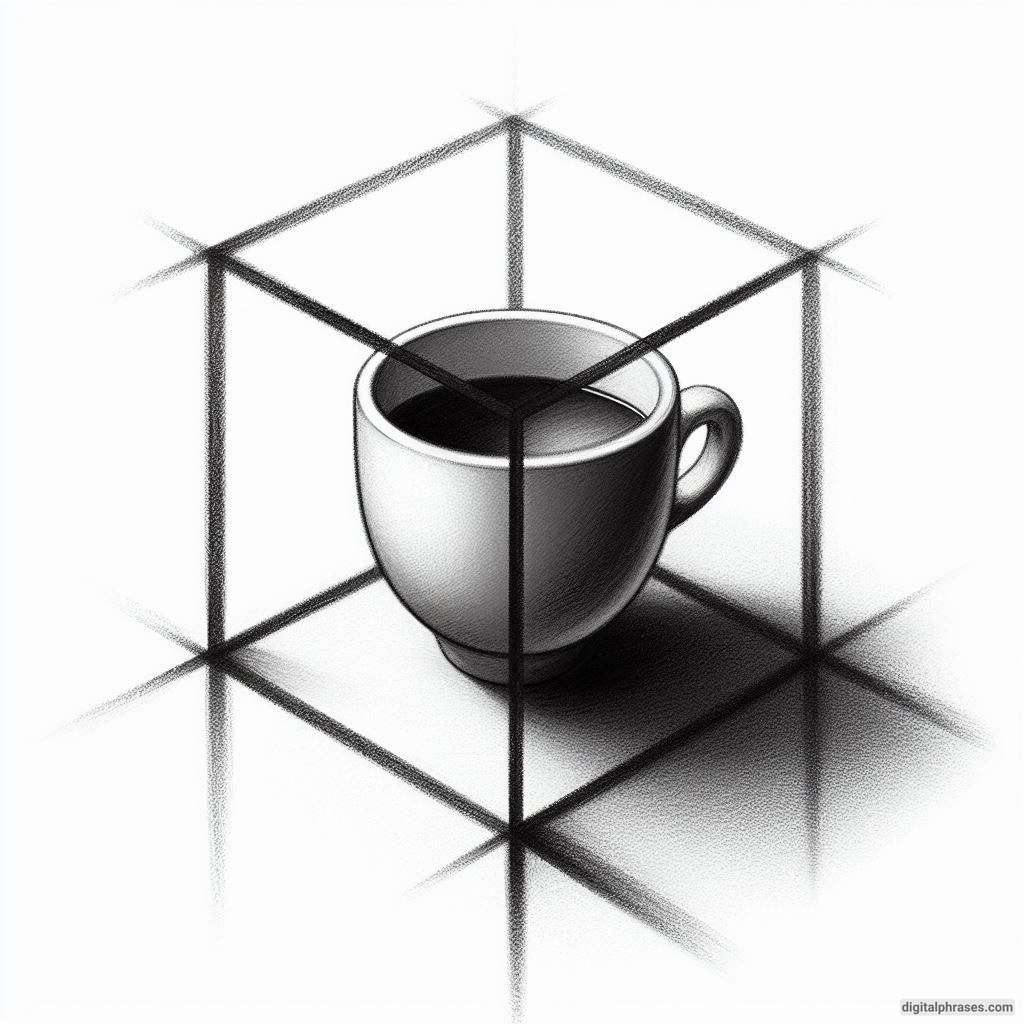
19
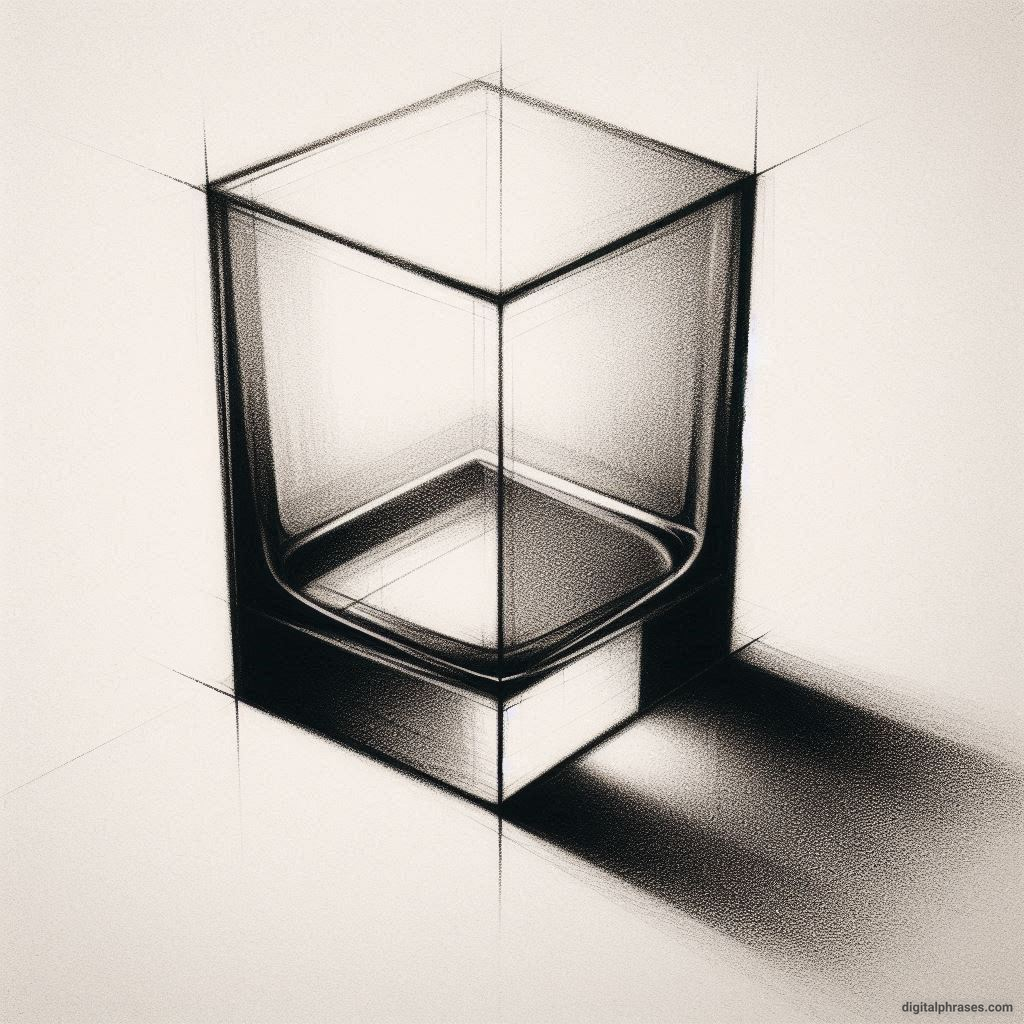
20
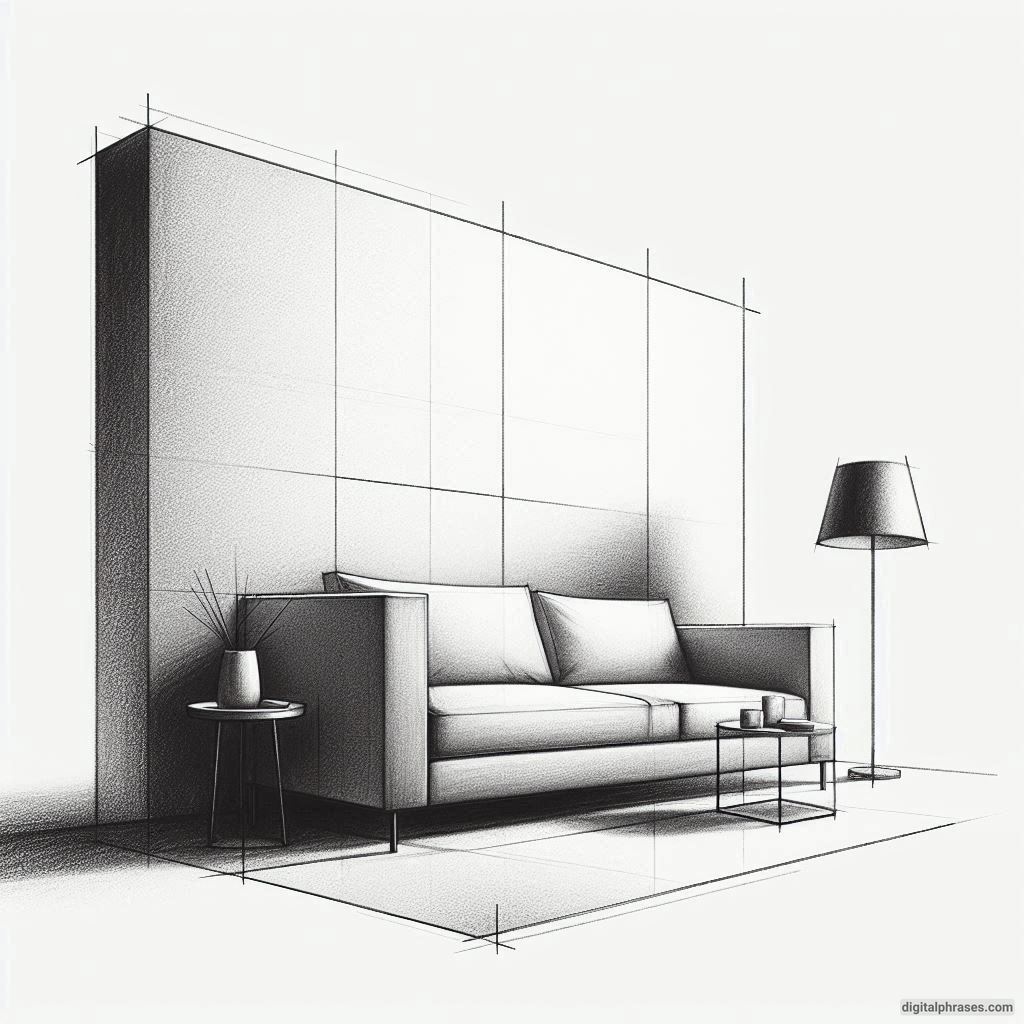
21
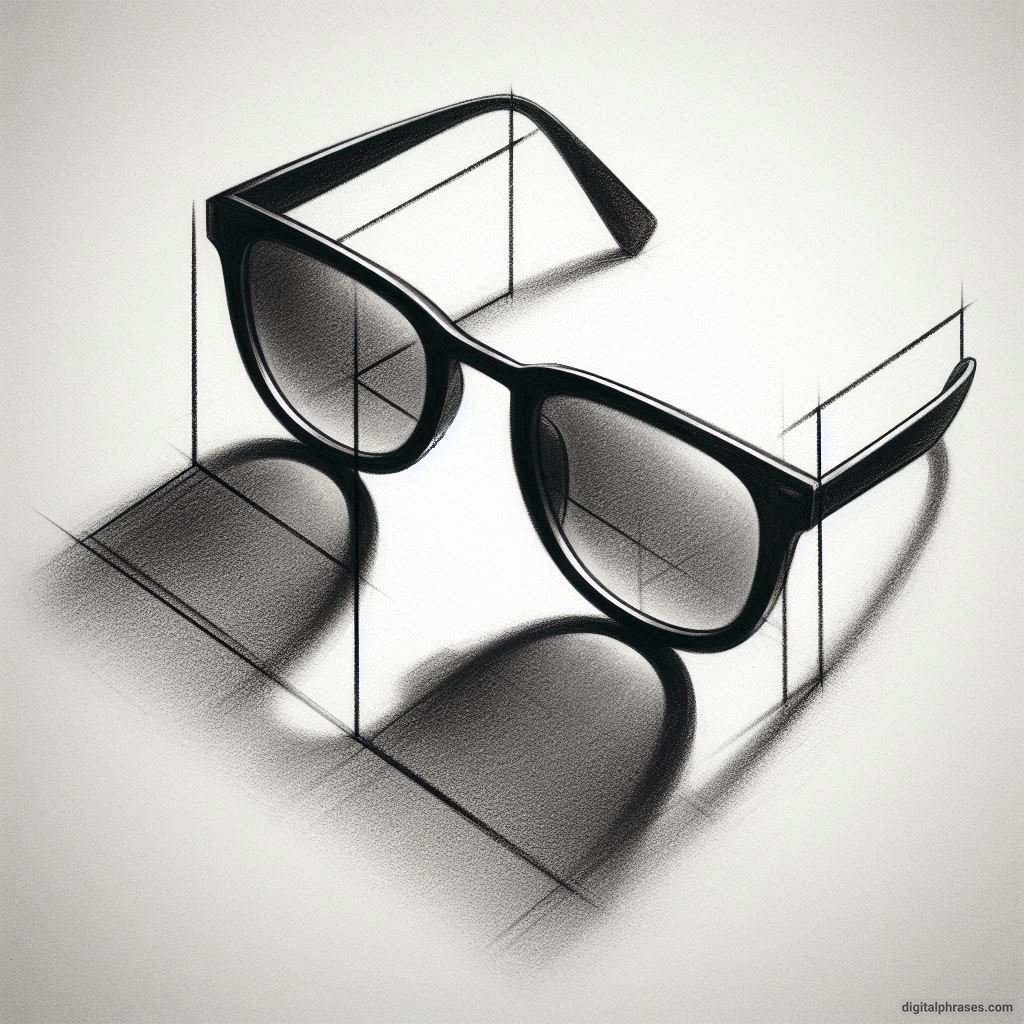
22
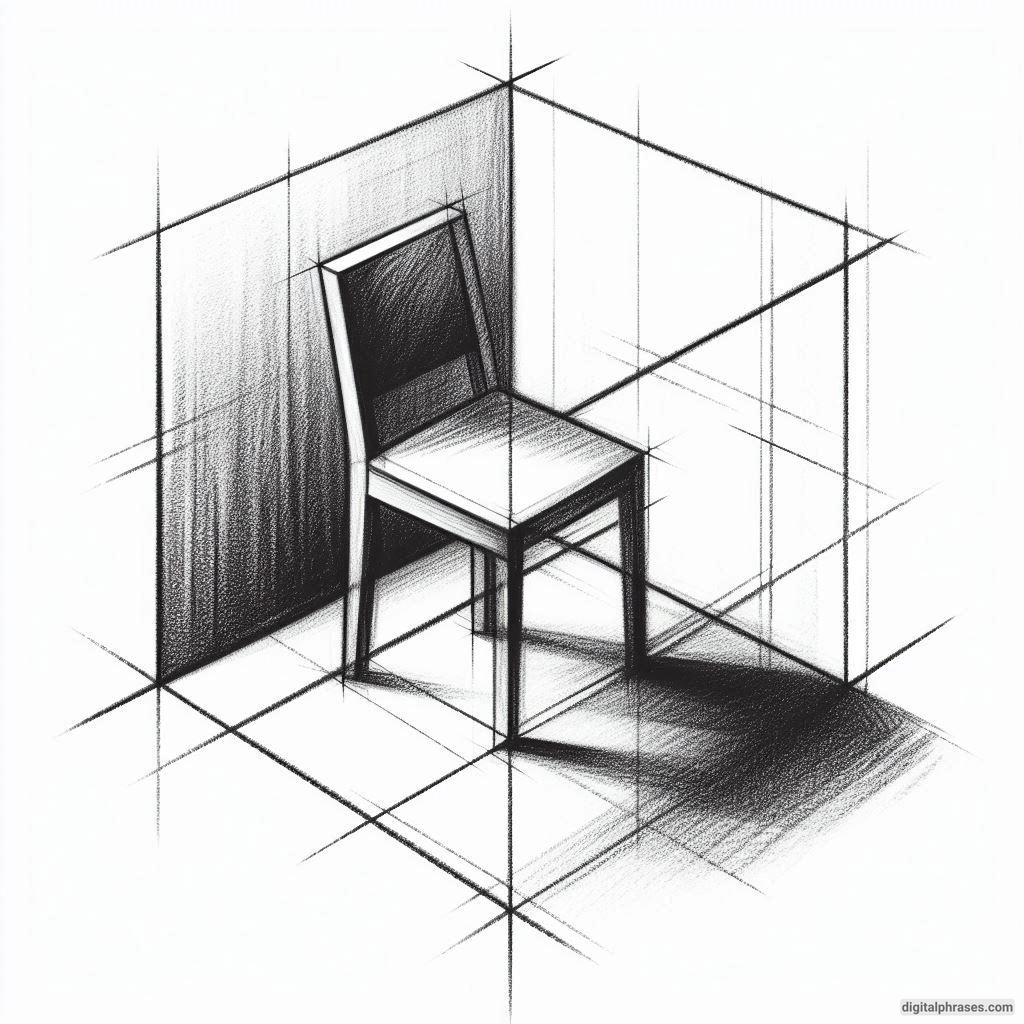
23
Tips and Tricks for Two-Point Perspective Object Drawings
Understanding Two-Point Perspective
Alright, the first thing you need to know is that two-point perspective is like having two imaginary friends who help you draw.
These friends are called “vanishing points,” and they live on the horizon line.
The horizon line is basically the eye level of your drawing — think of it as the stage where your imaginary friends hang out. They’re very chill but very judgmental, so try not to mess up.
Now, why are there two vanishing points, you ask? Great question! (Even if you didn’t ask, I’m pretending you did, because this is my blog and I need to fill space).
Two-point perspective is used when you’re drawing something at an angle, like a house or, more realistically, that one ugly lamp in your living room that you keep meaning to replace. You use one vanishing point for the lines going one way and the other vanishing point for the lines going… well, the other way.
Confused?
Good. That means you’re paying attention.
Getting Set Up
Before we dive into the actual drawing, let me give you a hot tip: rulers are your best friend. I used to try drawing freehand because I thought it would make me look artsy. Spoiler alert: it didn’t. My drawings looked like they were done by a caffeinated squirrel. So, if you want straight lines that actually look like they’re going somewhere, grab that ruler.
Here’s what you do:
- Draw a horizon line across your page.
- Place two dots on opposite ends of the horizon line — these are your vanishing points.
- Now, here’s where it gets tricky: don’t lose these vanishing points! I’ve had them disappear on me mid-drawing, and let me tell you, it’s like losing your keys but worse because now your cube looks like it got stepped on.
The Magic of Boxes
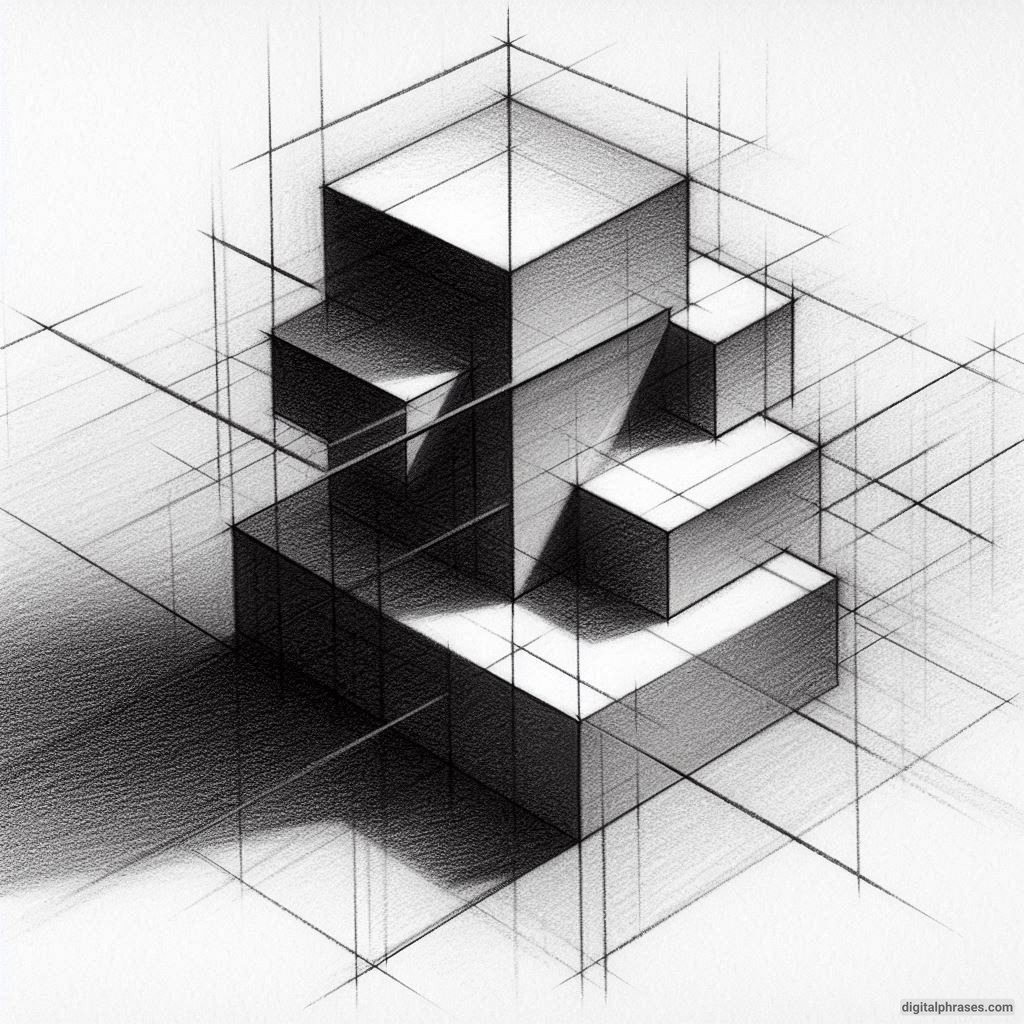
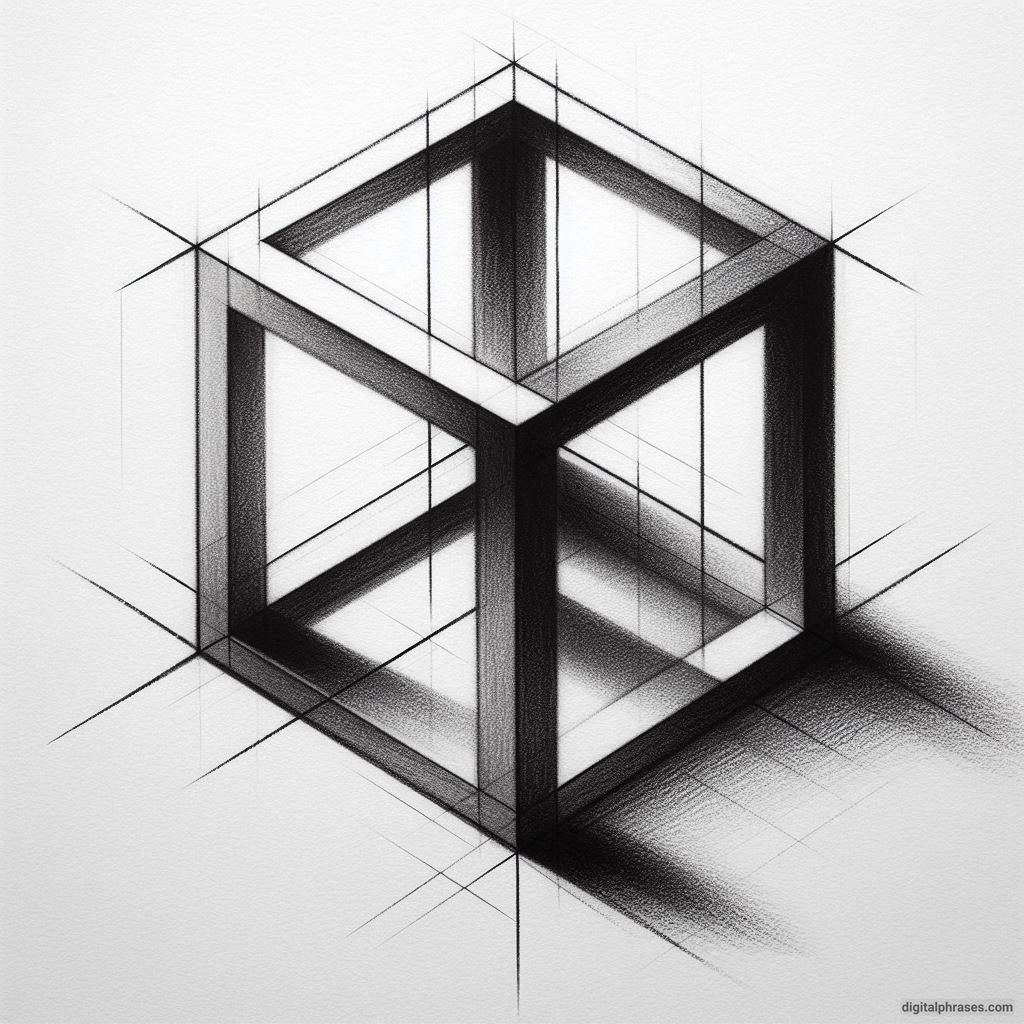
Alright, now that we have our horizon line and vanishing points, let’s draw something. And by “something,” I mean a box. That’s right — we’re going to start with a box because, let’s be honest, drawing boxes is about as thrilling as my Saturday night plans.
But the thing is, once you understand how to draw a box in two-point perspective, you can draw just about anything. Tables, books, that weird shoebox full of old receipts you’ve been meaning to organize — it all starts with a box.
Here’s how to draw one:
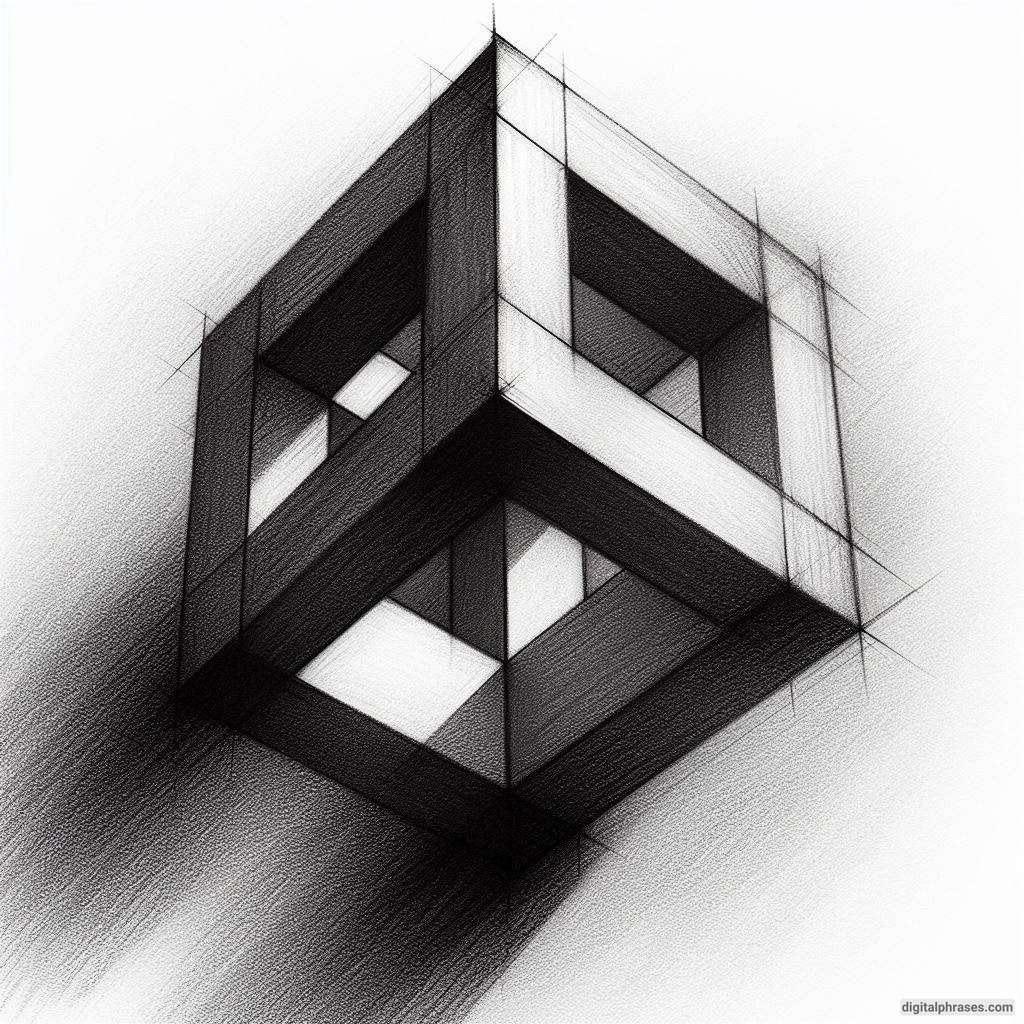
- Start by drawing a vertical line. This is the corner of your box.
- From the top and bottom of that line, draw two lines going to the left vanishing point and two lines going to the right vanishing point. Congratulations! You’ve just made the skeleton of a box.
- Now, draw two more vertical lines to close off the sides of the box. If you did it right, it should look like a 3D box. If it looks like a pizza box someone sat on, go back and check your lines.
This is the part where I usually stop to admire my work and pat myself on the back — until I realize I forgot to make the lines go to the vanishing points. Oops. So here’s my advice: don’t skip the checking phase. Double-check that everything connects to where it should, or you’ll end up with a very abstract, very confusing box.
Adding Details
Once you’ve mastered the art of drawing a plain old box, it’s time to get fancy. Now, you might be thinking, “How do I draw something more interesting than a box?” And that’s when I pull out my secret weapon: details.
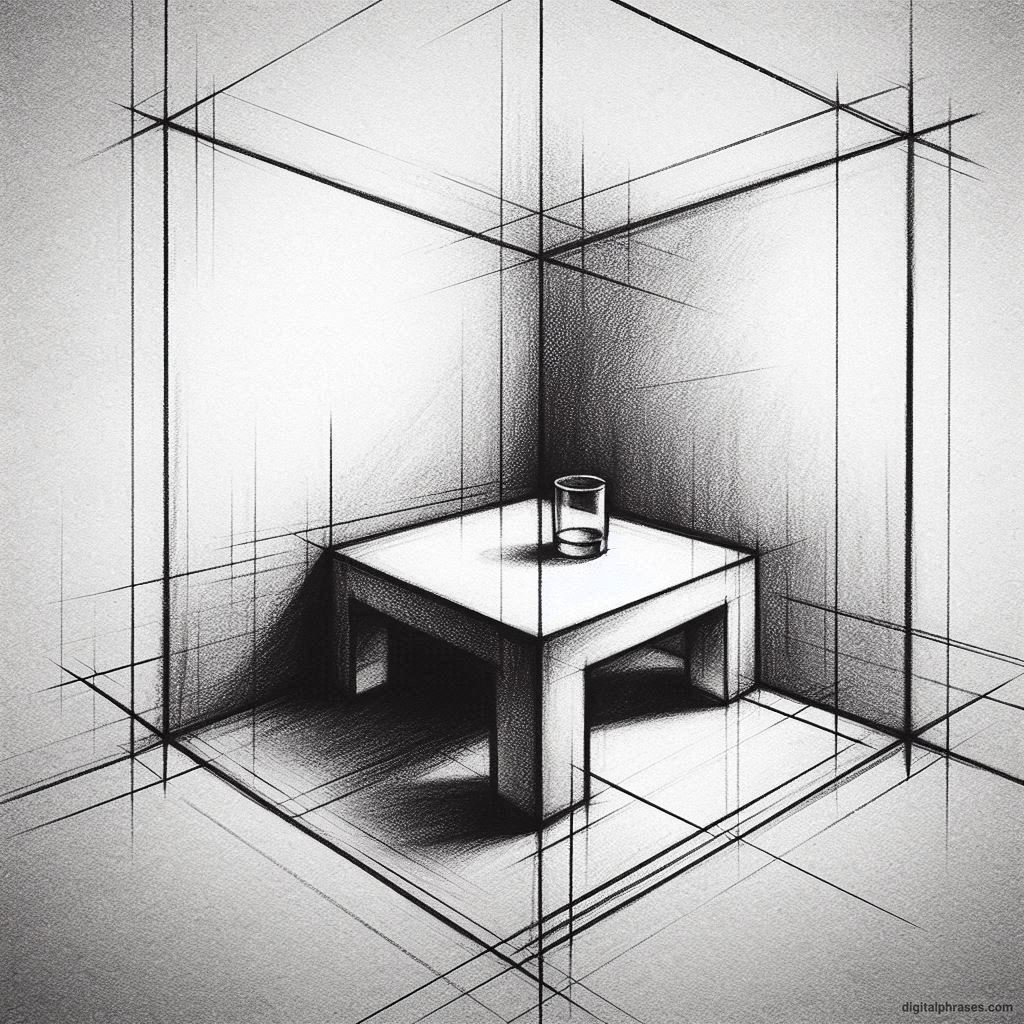
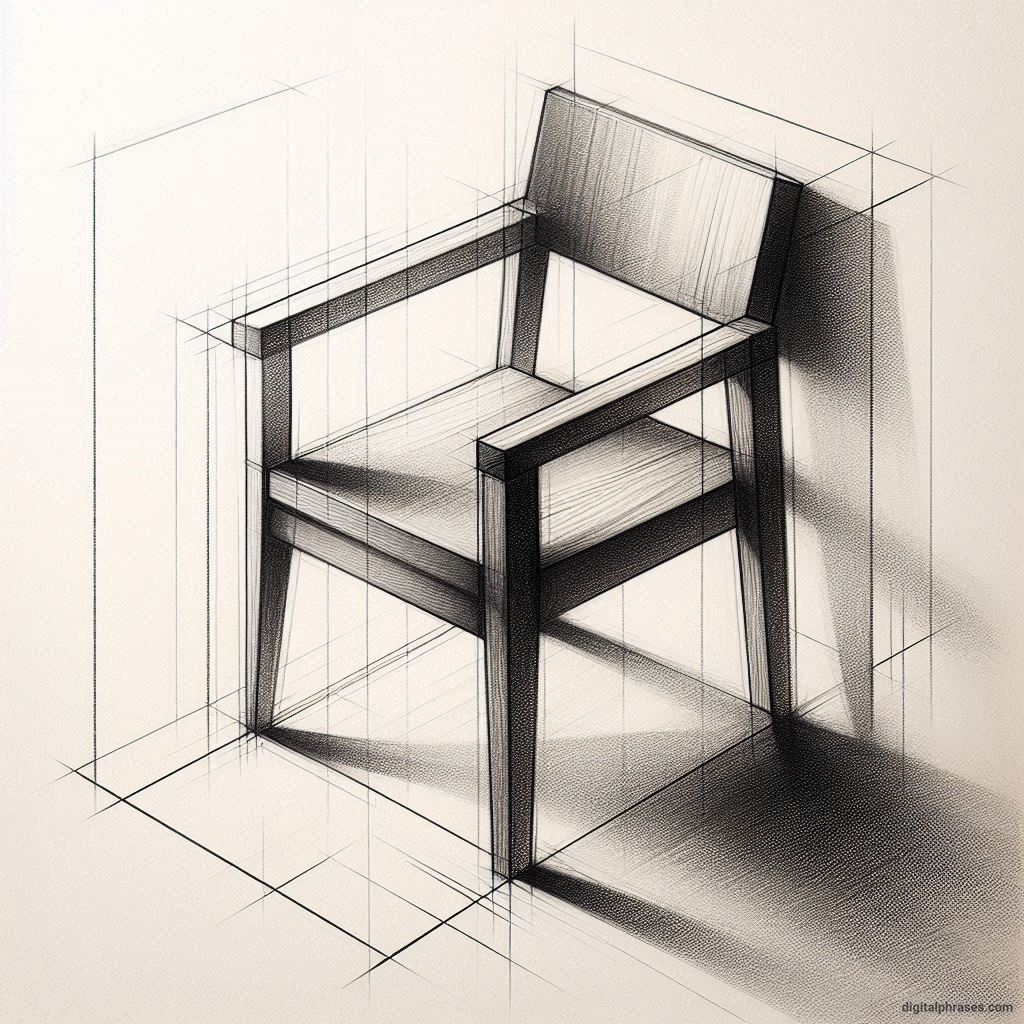
Let’s say you’re drawing an everyday object like a chair, a coffee table, or maybe even your dog’s crate because, hey, that’s the level of excitement we’re working with here. Once you’ve got the basic box shape down, you can start adding details like edges, handles, or that weird scratch your cat left on the corner.
Pro tip: When adding details, remember that all the lines still need to follow the vanishing points. It’s tempting to just wing it and draw wherever you feel like, but trust me, that’s how you end up with a chair that looks like it’s melting.
Shadows, Highlights, and Other Stuff That Makes You Look Like a Pro
You know what separates a good two-point perspective drawing from a “holy-cow-did-you-draw-that?!” kind of drawing? Shadows and highlights. That’s right, folks. Time to channel your inner Rembrandt and add some pizzazz to your sketch.
Here’s how you do it:
- First, figure out where your light source is. If you’re like me and you draw by the dim glow of your laptop at 2 AM, just pick a random corner of the page and say, “The light’s coming from there. Deal with it.”
- Add some shadows on the opposite side of your light source. Make it subtle, but not too subtle — this isn’t a conspiracy theory; we’re just drawing boxes.
- Use an eraser to add highlights where the light would naturally hit. This is the point where I usually get a little too excited and end up erasing half my drawing, but hey, that’s art, baby.
Taking It to the Next Level
At this point, you should have a pretty solid understanding of two-point perspective, or at the very least, a pile of crumpled-up paper and a newfound appreciation for geometry. But if you’re still hungry for more, let’s take it up a notch.
Try drawing objects with more complex shapes, like a bookshelf, a chair, or — if you’re feeling really ambitious — that old coffee maker in your kitchen that you never use. The key is to break everything down into basic shapes (yes, more boxes) and then add details.
And don’t forget to keep those vanishing points in check. You wouldn’t believe how many times I’ve drawn a table that looked more like an optical illusion just because I got lazy with my vanishing points.
Embracing the Mistakes
Here’s the thing: two-point perspective can be tricky. Sometimes your lines will go rogue, your vanishing points will vanish (pun intended), and your drawings will look like something Picasso would’ve painted in his “What Was I Thinking?” phase. And that’s okay!
Mistakes are part of the process. In fact, if you don’t mess up a few times, you’re either a robot or some kind of art wizard, and frankly, I’m jealous. But for the rest of us mere mortals, it’s all about practicing, learning, and laughing at your disastrous first attempts.

