How To Draw a Dolphin
Here’s a step-by-step process on how to draw a dolphin.
Step 1 – Sketch the Basic Shape
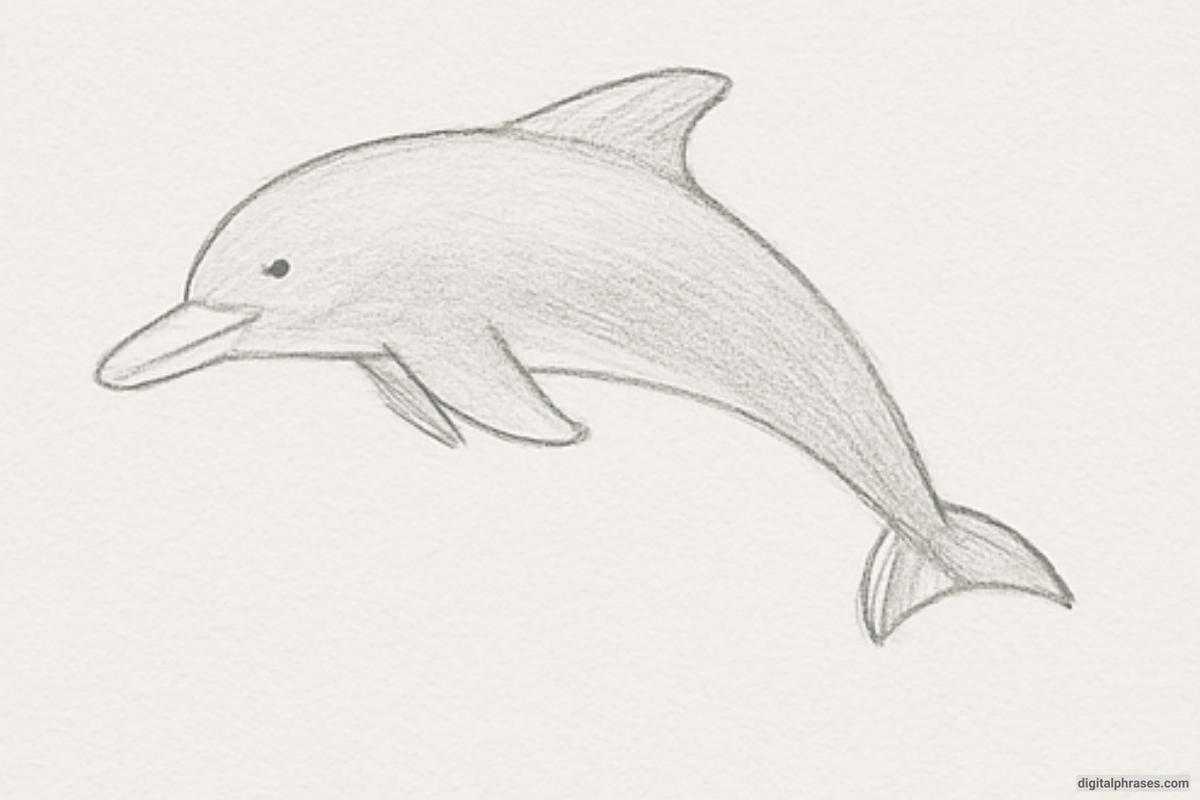
- Start by drawing the general outline of the dolphin’s body. Use a curved, elongated shape that resembles a soft “C” to represent the body of the dolphin. This is the foundation of the dolphin’s streamlined shape.
- Draw a small curved line for the dorsal fin at the top of the body, near the middle.
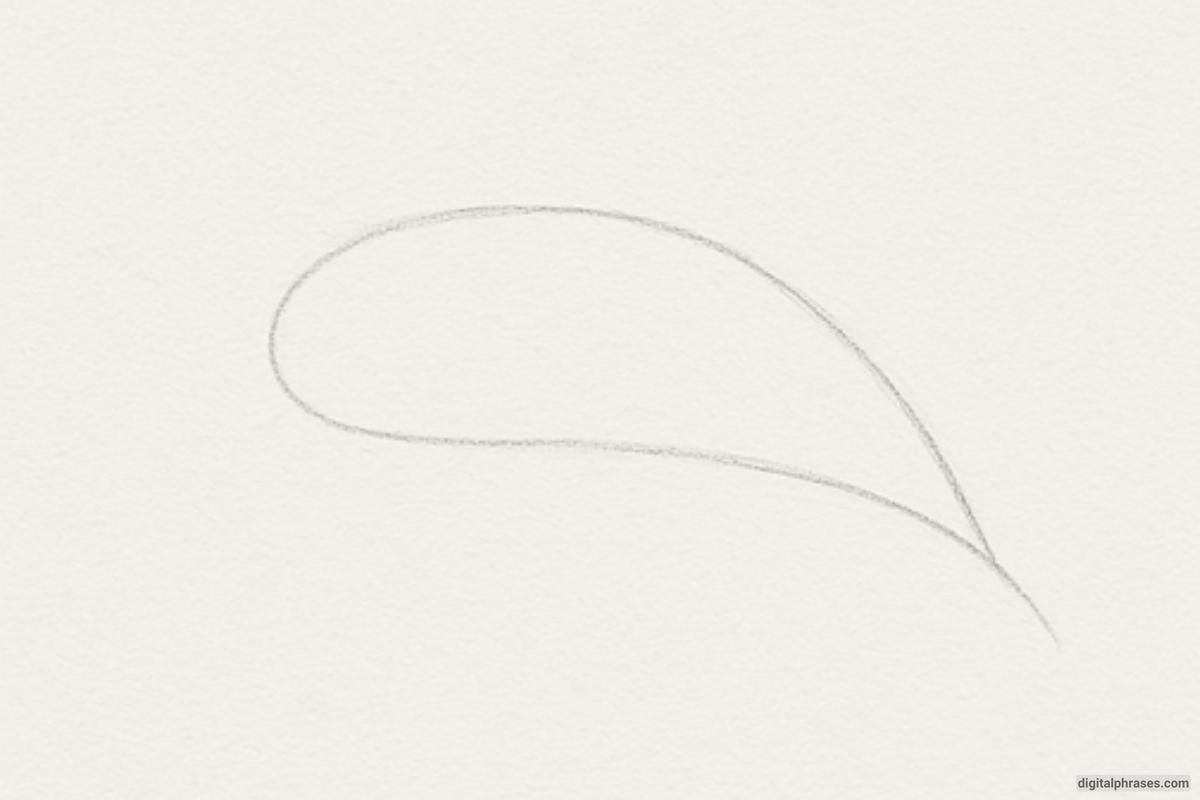
Step 2 – Refine the Body and Tail
- Now, refine the body by adding the distinct curve of the dolphin’s back and the more pointed nose or snout at the front.
- Define the tail by extending it outward from the body, creating a V shape to represent the tail fin.
- Make the outline of the dolphin’s body more defined, focusing on the sleek, curved nature of its form.
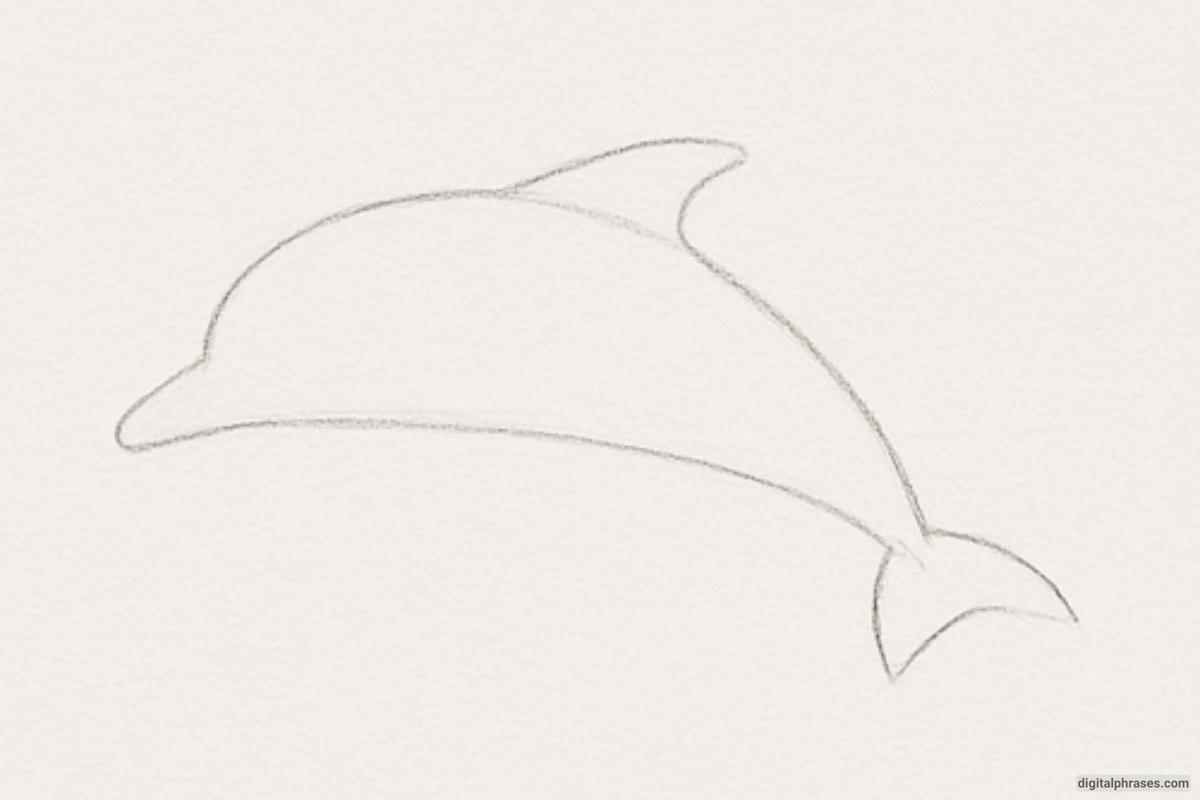
Step 3 – Add the Fins and Facial Features
- Add the pectoral fins on the sides of the dolphin’s body. These should be small and curved, located near the middle of the body.
- Draw the dorsal fin, adding slight curves to make it look natural. Then, add a small line for the mouth and draw the eye at the front of the face to complete the facial features.
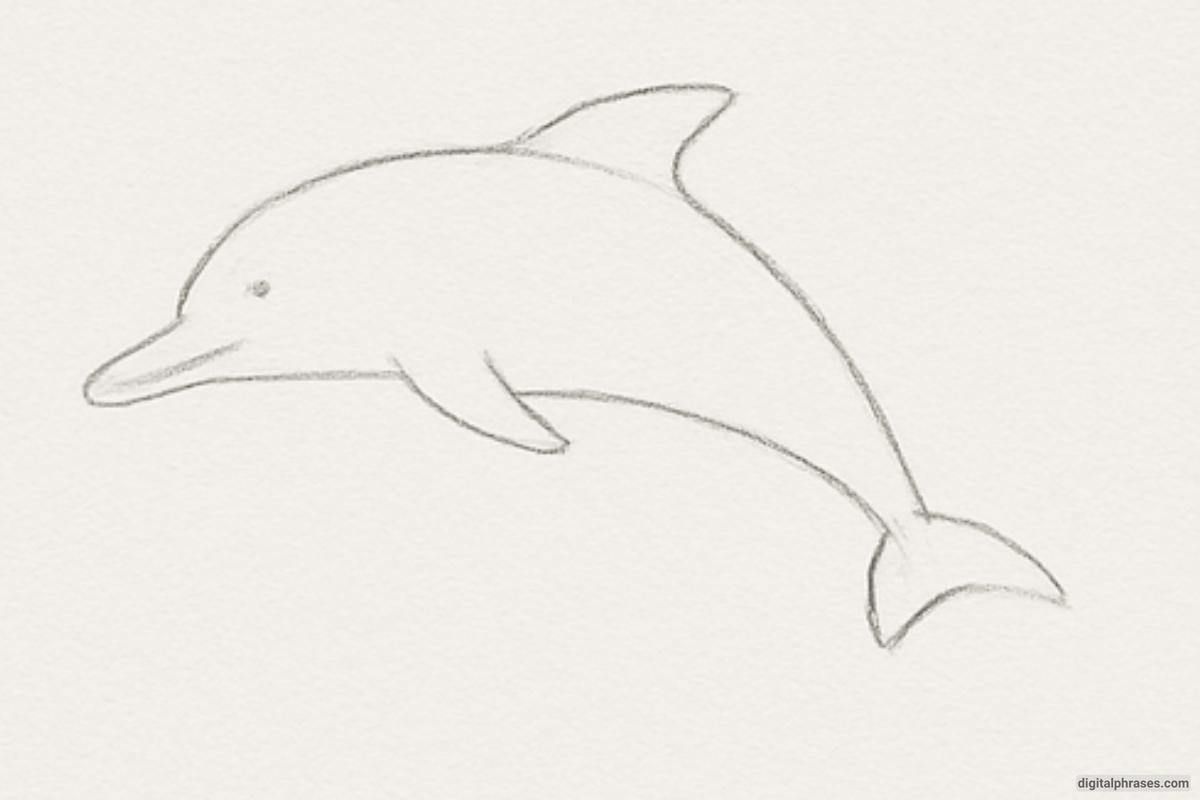
Step 4 – Apply Shading and Final Touches
- Finally, add shading to give the dolphin a more three-dimensional look. Focus on the body, adding shadow beneath the dolphin and along the back.
- Darken areas such as the underside of the body and around the tail fin to emphasize the dolphin’s rounded form.
- Clean up the lines and add any final details to the fins or face, such as small lines for texture, to make the dolphin look complete and polished.
