How To Draw an Easter Bunny
Here are the steps.
Steps For Drawing an Easter Bunny
Step 1 – Sketch the Basic Shapes (Your Bunny “Blueprint”)
- Start with very light pencil strokes so you can erase easily as you refine the drawing.
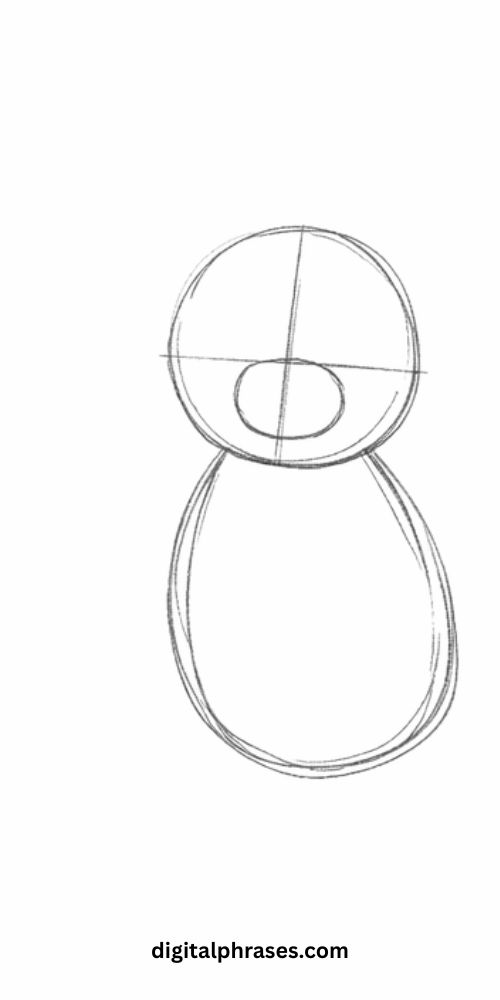
- Draw a large oval for the bunny’s body. Keep it slightly tilted if you want a playful pose.
- Add a smaller circle (or rounded oval) above the body for the head. Leave a small gap between them for the neck area.
- Place a tiny oval or circle where the muzzle will be, centered in the lower half of the head.
- Draw two long ear shapes on top of the head—think tall, rounded “leaf” shapes. Make one ear slightly bent or angled for extra character.
- Add guidelines: a faint vertical line down the face and a faint horizontal line across where the eyes will sit. These help keep features balanced.
Step 2 – Add the Face and Ear Details
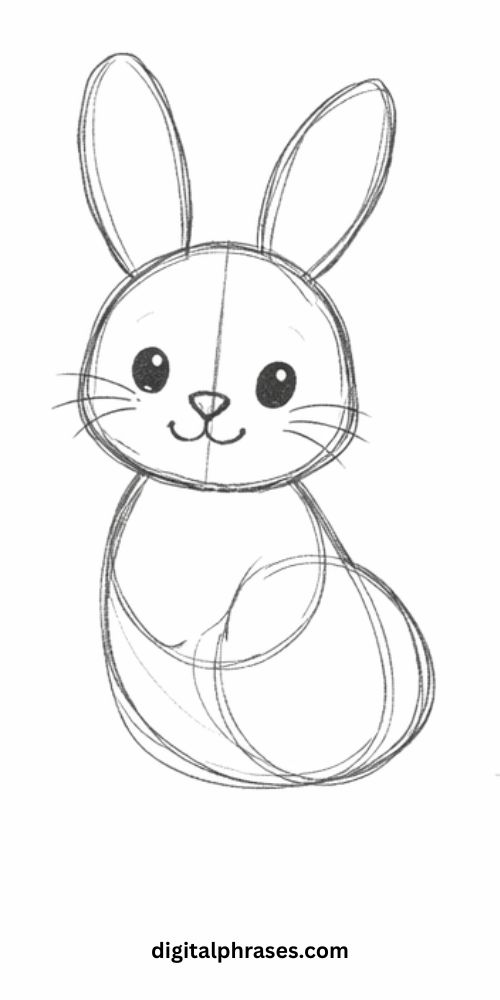
- Sketch two medium circles for the eyes along the horizontal guideline. Leave a little space between them so the bunny looks friendly, not startled.
- Inside each eye, add a smaller circle for shine; this makes the bunny feel lively and cute.
- Draw a small triangle or rounded “button” nose at the top of the muzzle shape.
- From the nose, add a short line down and then split it into a soft “W” or two curves for the mouth.
- Add whisker dots on each side of the muzzle, then draw a few whisker lines extending outward.
- Inside each ear, draw a thinner inner ear shape to show depth. Keep the inner shapes slightly smaller and centered.
Step 3 – Build the Bunny Body (Arms, Feet, and Tail)
- Connect the head and body with gentle curved lines, avoiding a stiff neck.
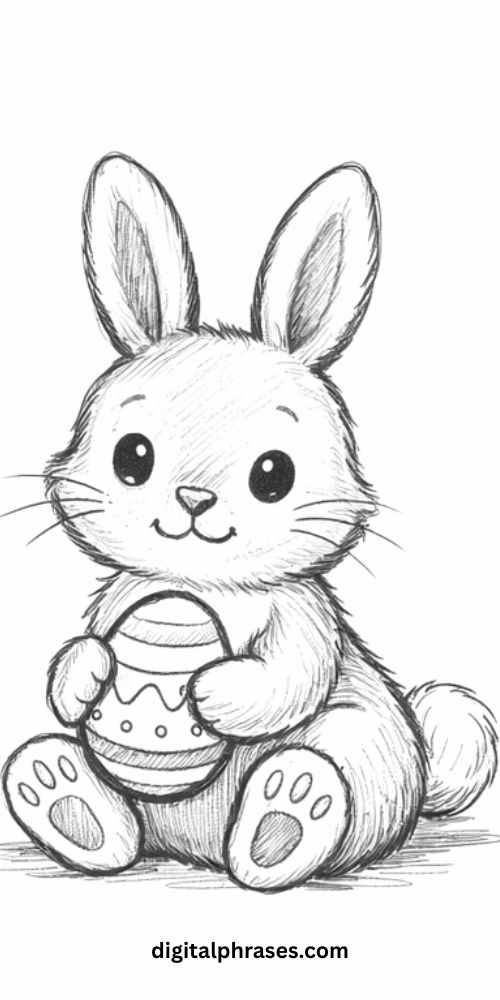
- Draw the bunny’s arms as rounded tubes or soft curves near the upper body—pose them holding an Easter egg, a carrot, or simply resting in front.
- Add feet at the bottom using big rounded shapes (almost like slippers). Make the toes subtle—small curved lines are enough.
- Draw a fluffy tail: a small cloud-like circle on one side of the bunny’s lower back.
- If you want an Easter vibe, sketch a simple egg shape near the paws and add zigzags, dots, or stripes for decoration.
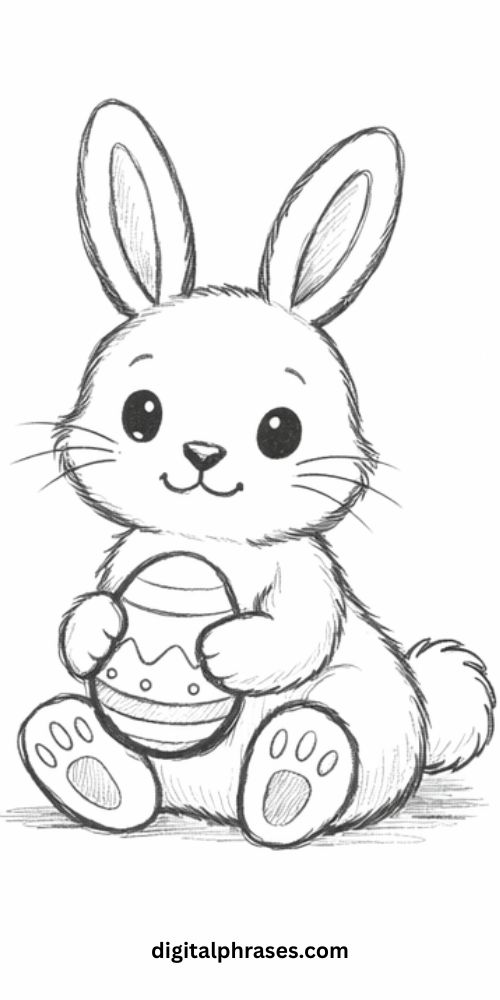
Step 4 – Clean Up, Outline, and Add Texture + Shading
- Erase the extra guidelines and overlapping construction shapes carefully, keeping your final lines intact.
- Outline the bunny with smoother, darker lines, but vary pressure slightly so the drawing looks natural and not “stuck-on.”
- Add fur texture using tiny short strokes around cheeks, chest, tail, and along the arms—don’t overdo it; a few texture zones look best.
- Shade lightly under the chin, beneath the arms, and at the base of the feet to give the bunny dimension.
- If using color, keep soft pastel tones for an Easter feel (light pink inner ears, gentle browns/greys/white fur, colorful egg patterns).
- Finish by thickening a few key outline areas (like the outer ears and body edge) to make the bunny stand out clearly.