How To Draw an Eye
Here is a step-by-step tutorial on how to draw an eye.
Step 1: Draw the Basic Shape
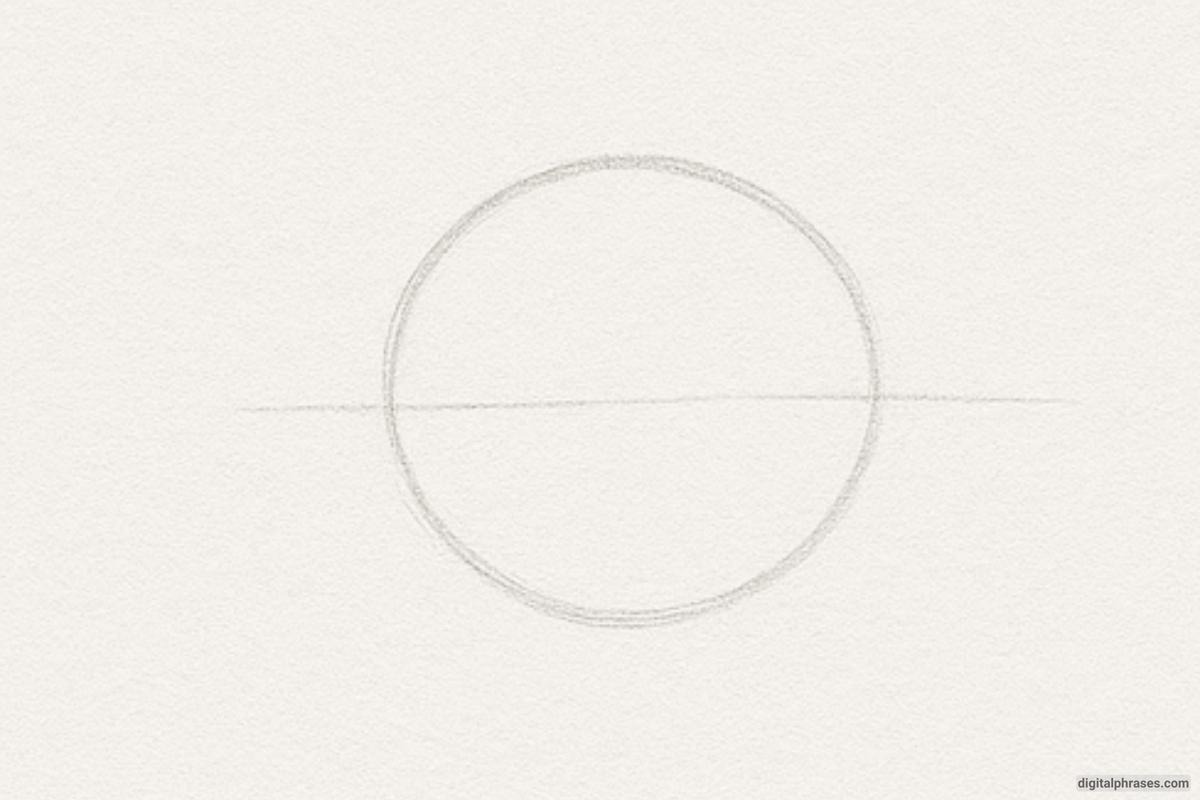
Start with a light pencil and draw a circle — this will be the eyeball.
Add a horizontal line through the middle of the circle. This helps you align the iris and the eyelids correctly.
Keep your lines very light — this is just a guide for the rest of the drawing.
Step 2: Sketch the Eyelids
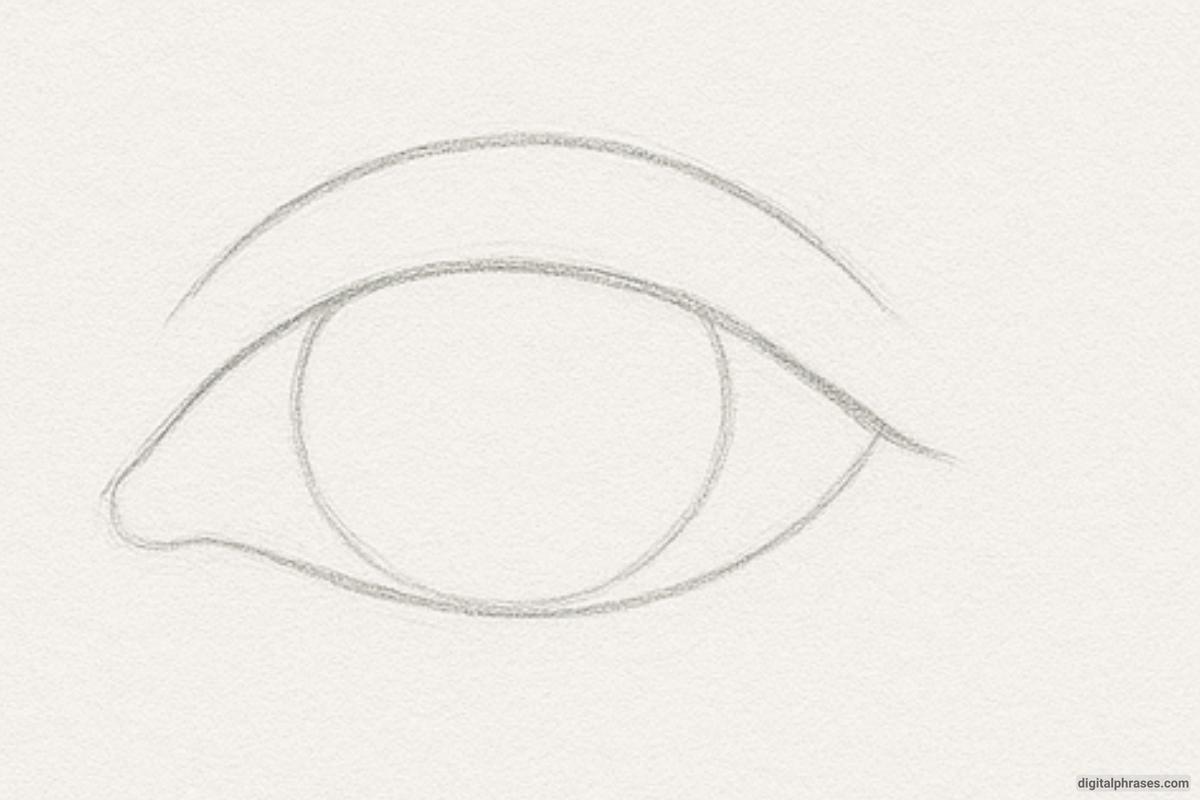
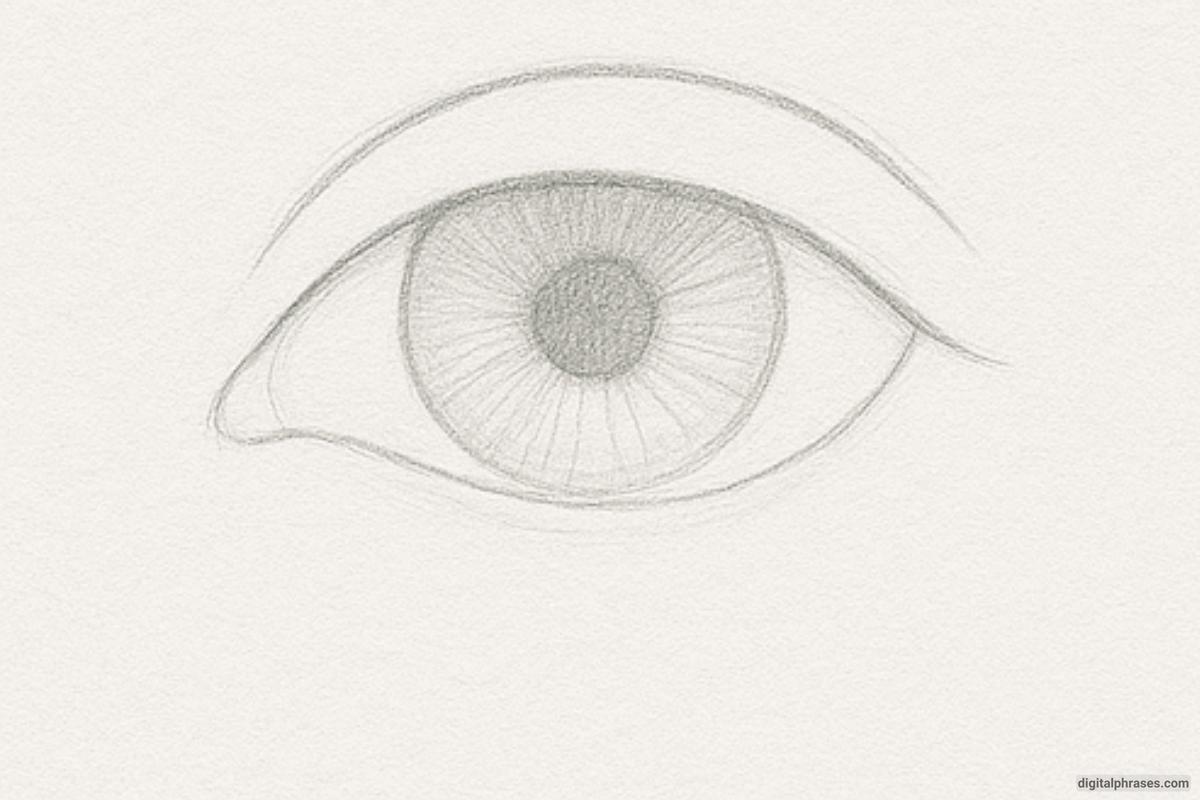
Use the circle as a reference to draw the upper and lower eyelids.
The eyelids don’t follow the circle exactly — notice how the top lid curves gently over the top of the eyeball and the bottom lid curves under it.
Don’t forget to add a small corner where the tear duct will go, toward the inner part of the eye.
Step 3: Add the Iris and Pupil
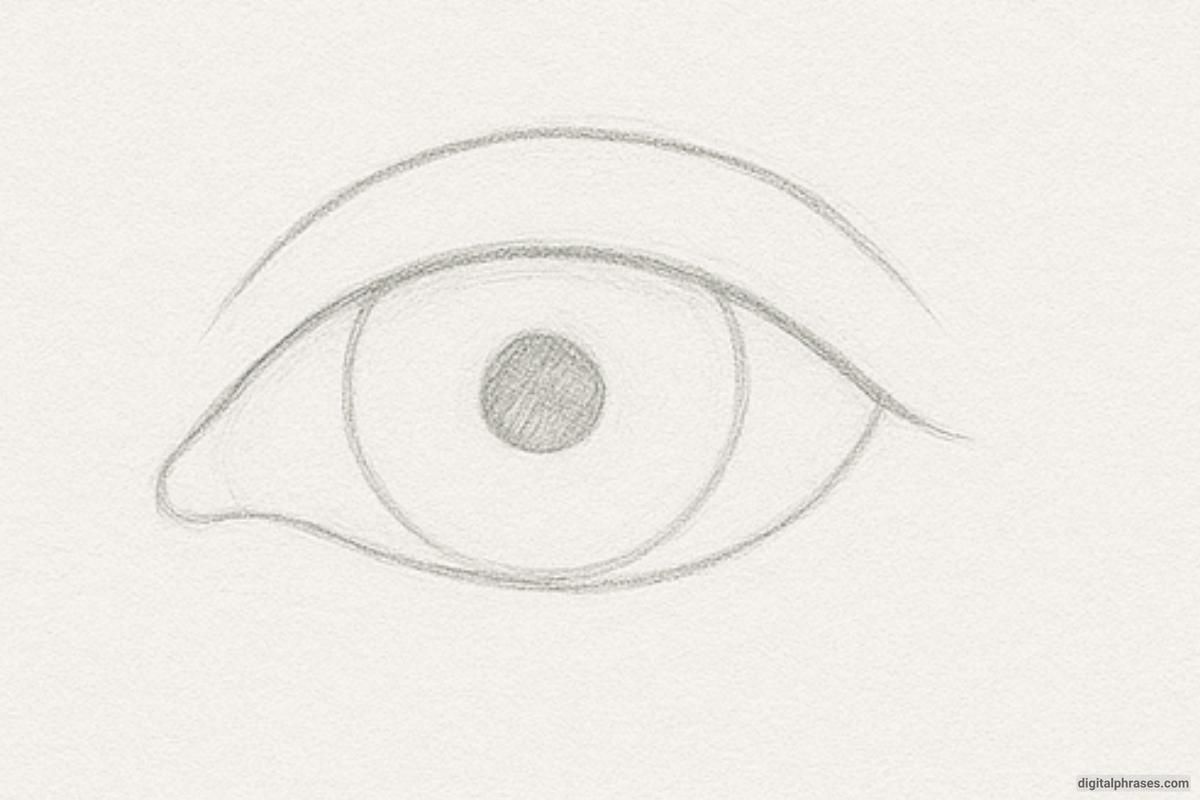
Draw a circle within the eye shape for the iris — this part should be centered on the horizontal line you drew earlier.
Inside the iris, draw a smaller filled-in circle for the pupil.
The upper eyelid might slightly cover the top of the iris, and that’s completely normal — it makes it look more realistic.
You can also lightly sketch a highlight (a small white spot or circle) that you’ll leave unshaded later to show light reflection.
Step 4: Add Texture and Start Shading
Begin adding texture to the iris by drawing lines radiating out from the pupil — these should look like soft, sunburst lines.
Lightly shade around the pupil and in the whites of the eyes to give the drawing depth.
Refine the shape of the eyelids and start softening your lines where needed.
You can also indicate the beginning of the upper lash line with a slightly darker outline.
Step 5: Final Details and Shading
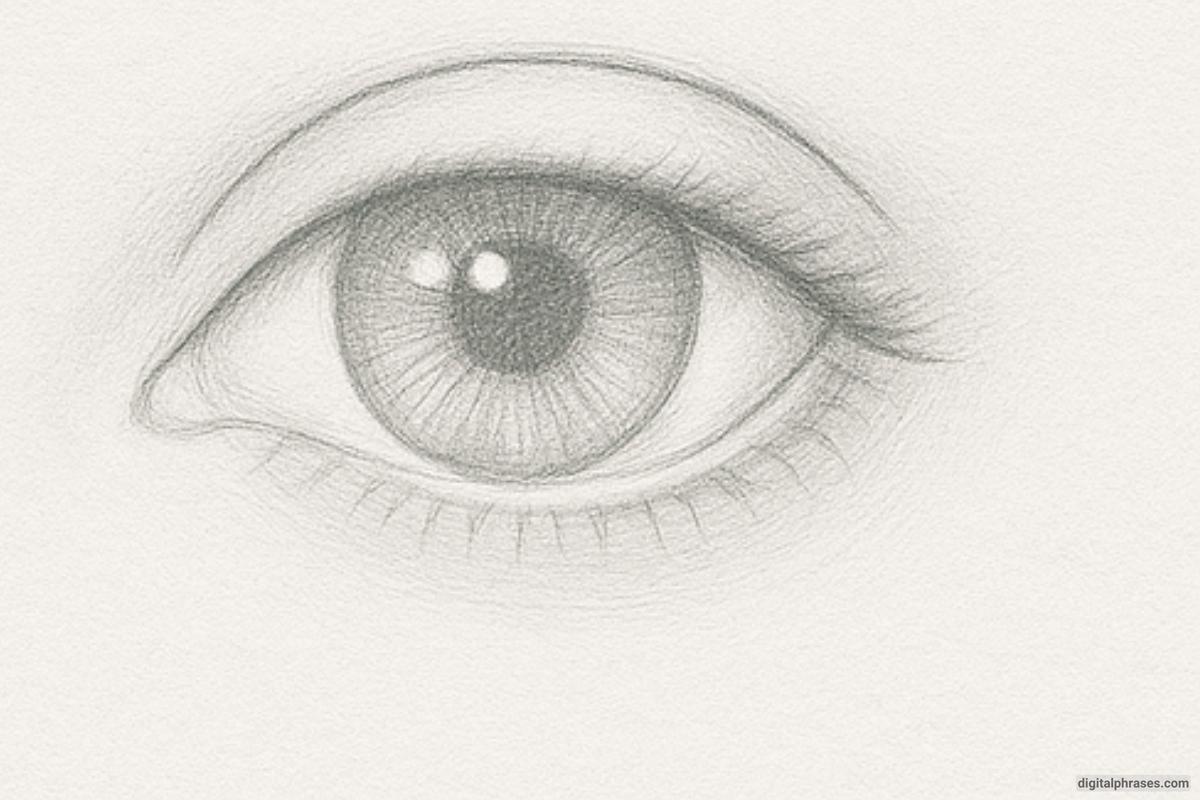
Now add eyelashes — draw them curving naturally from the upper and lower eyelids. They shouldn’t all be the same length or direction.
Darken the pupil completely, except for the highlight area you left earlier.
Add shading around the eyelid folds, beneath the eye, and where the eyeball meets the eyelid to create a realistic shadow.
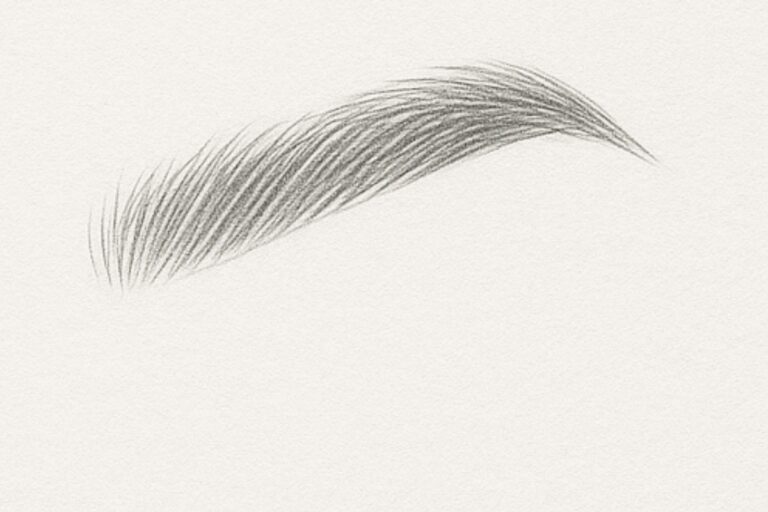
If you’d like, softly shade in a bit of the eyebrow area or surrounding skin for extra realism.
Finally, go over everything to smooth out the shading and sharpen important lines like the lash line and iris edge.
Equipment Needed
Basic Drawing Supplies:
- Pencils (preferably a range like HB, 2B, 4B, 6B):
- Use HB or 2H for light outlines.
- Use 2B–6B for shading and darker details.
- Erasers:
- Kneaded eraser: Great for lifting graphite without smudging.
- Regular eraser: For sharper highlights and clean corrections.
- Blending tools:
- Blending stumps or tortillons: For smooth shading.
- Cotton swabs or tissues can also work.
- Paper:
- Use smooth drawing paper (like Bristol or sketch pads) to allow for better control and smoother blending.
- Sharpener:
- A good quality sharpener is essential to keep pencil tips fine for detailed work.

