How To Draw a Haunted House
Here’s a step-by-step guide on how to draw a haunted house.
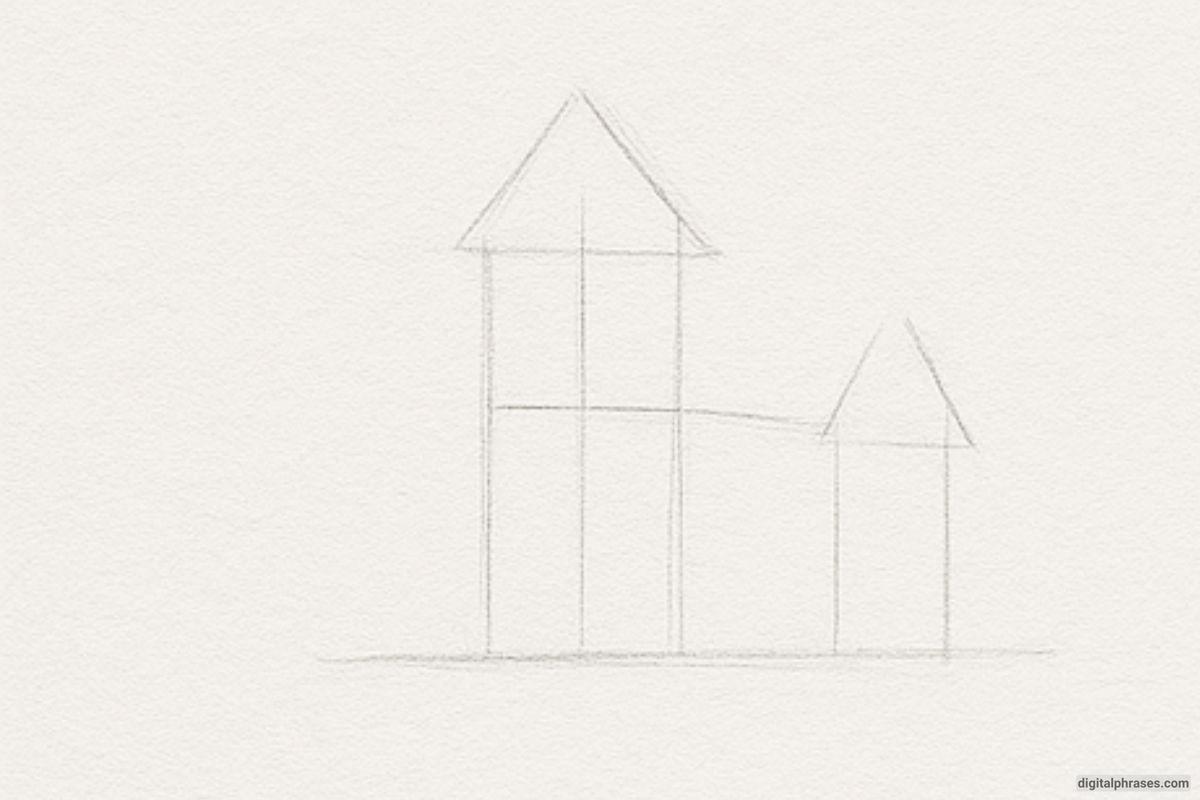
Step 1: Sketch the Basic Structure
- Begin with simple vertical rectangles to form the base of the towers and walls of the house.
- Add triangle shapes on top of the rectangles to represent the roofs.
- Keep the lines light and simple—this step is about mapping out proportions and positioning.
- Make sure to vary the sizes of the rectangles for an uneven, spooky look.
Step 2: Add Details to the Structure
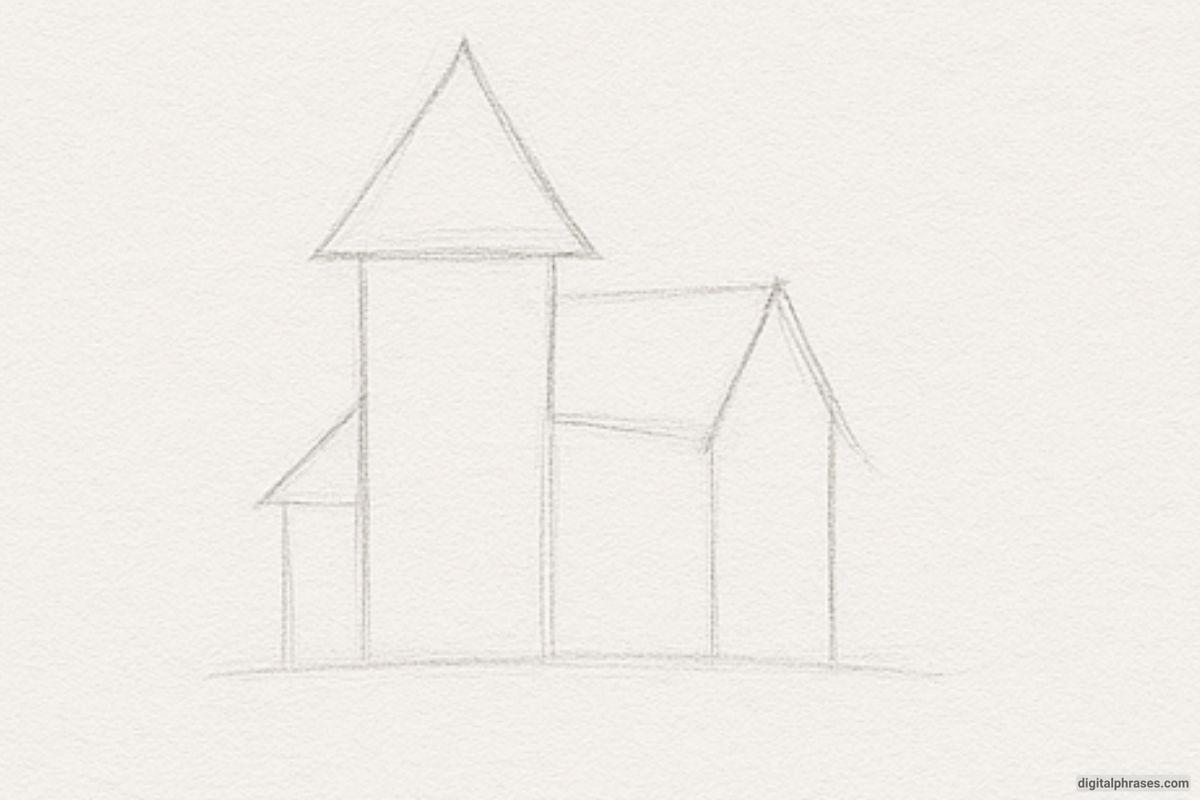
- Add more shape variety by sketching a smaller roof on the left side.
- Connect parts of the house with slanted lines to form the rooflines and extensions.
- Begin curving the base to give the house a slightly tilted, eerie stance.
- Continue refining the outlines to give the house a more cohesive structure.
Step 3: Refine with Architectural Features
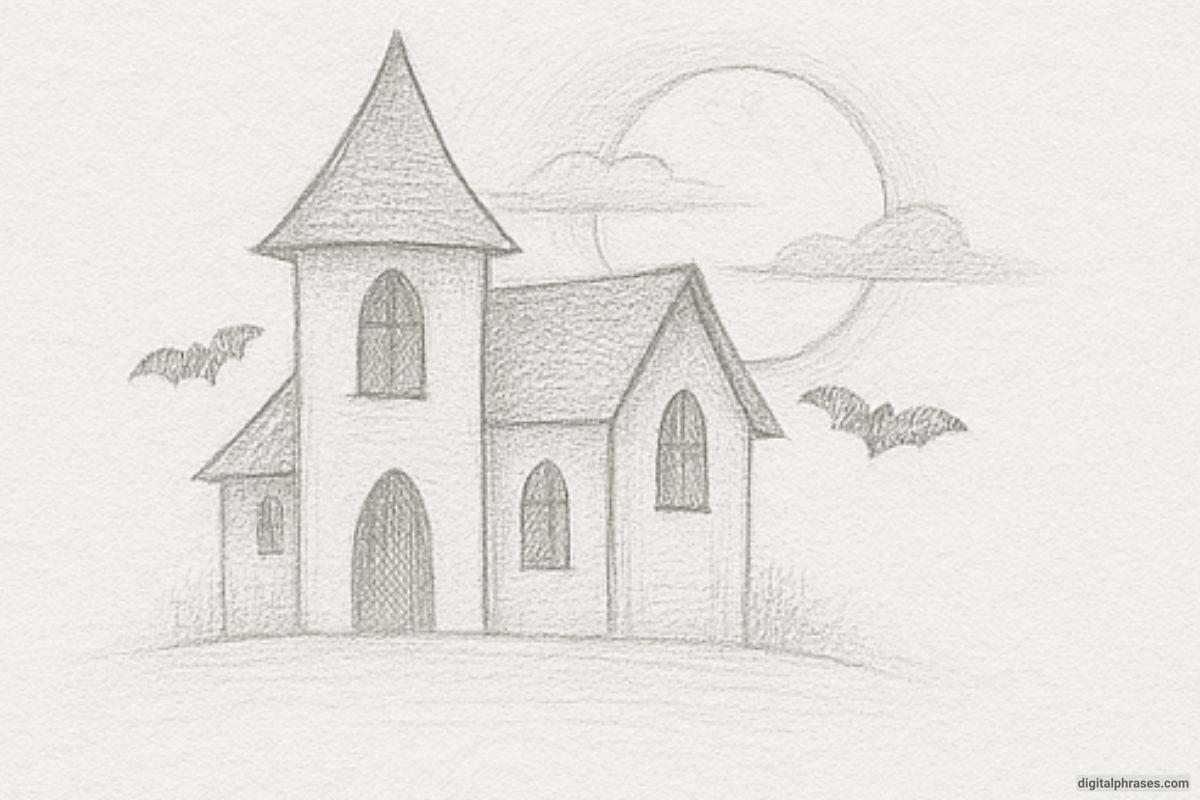
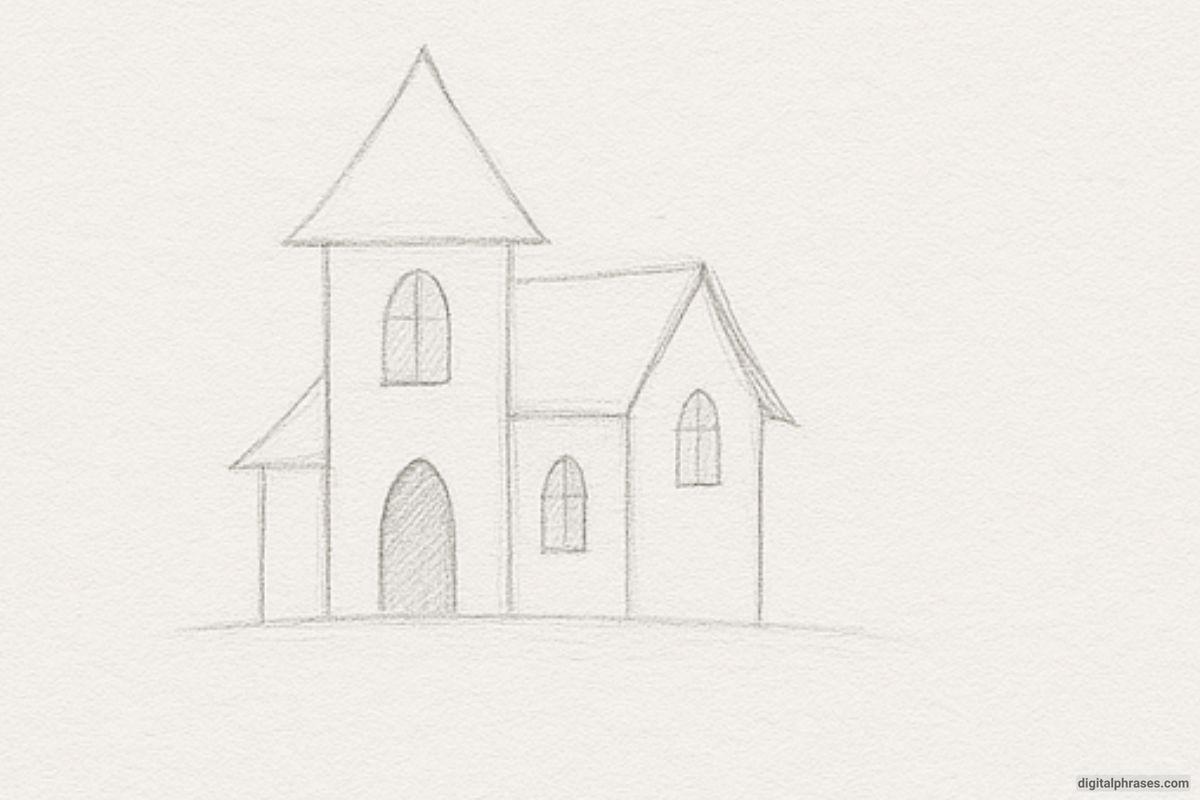
- Draw windows with arched or rectangular shapes to enhance the haunted vibe.
- Add a large arched doorway in the central tower.
- Begin shading or darkening certain areas to define depth and separation between house parts.
- Refine the roof and wall outlines for a cleaner but still eerie appearance.
Step 4: Final Touches and Spooky Elements
- Add environmental features like a full moon, clouds, and flying bats to set a haunted scene.
- Shade the windows and doorway to make them appear hollow and dark.
- Use light hatching and shadows to create a gloomy, mysterious atmosphere.
- Smooth out all final lines and ensure the structure has a balanced, spooky silhouette.
